Twirly Dolly Skirt Tutorial
So there are a million other things that I should be doing today. My house is a wreck from having the kids home for 2 weeks and I’ve got some deadlines to meet for some sewing projects…
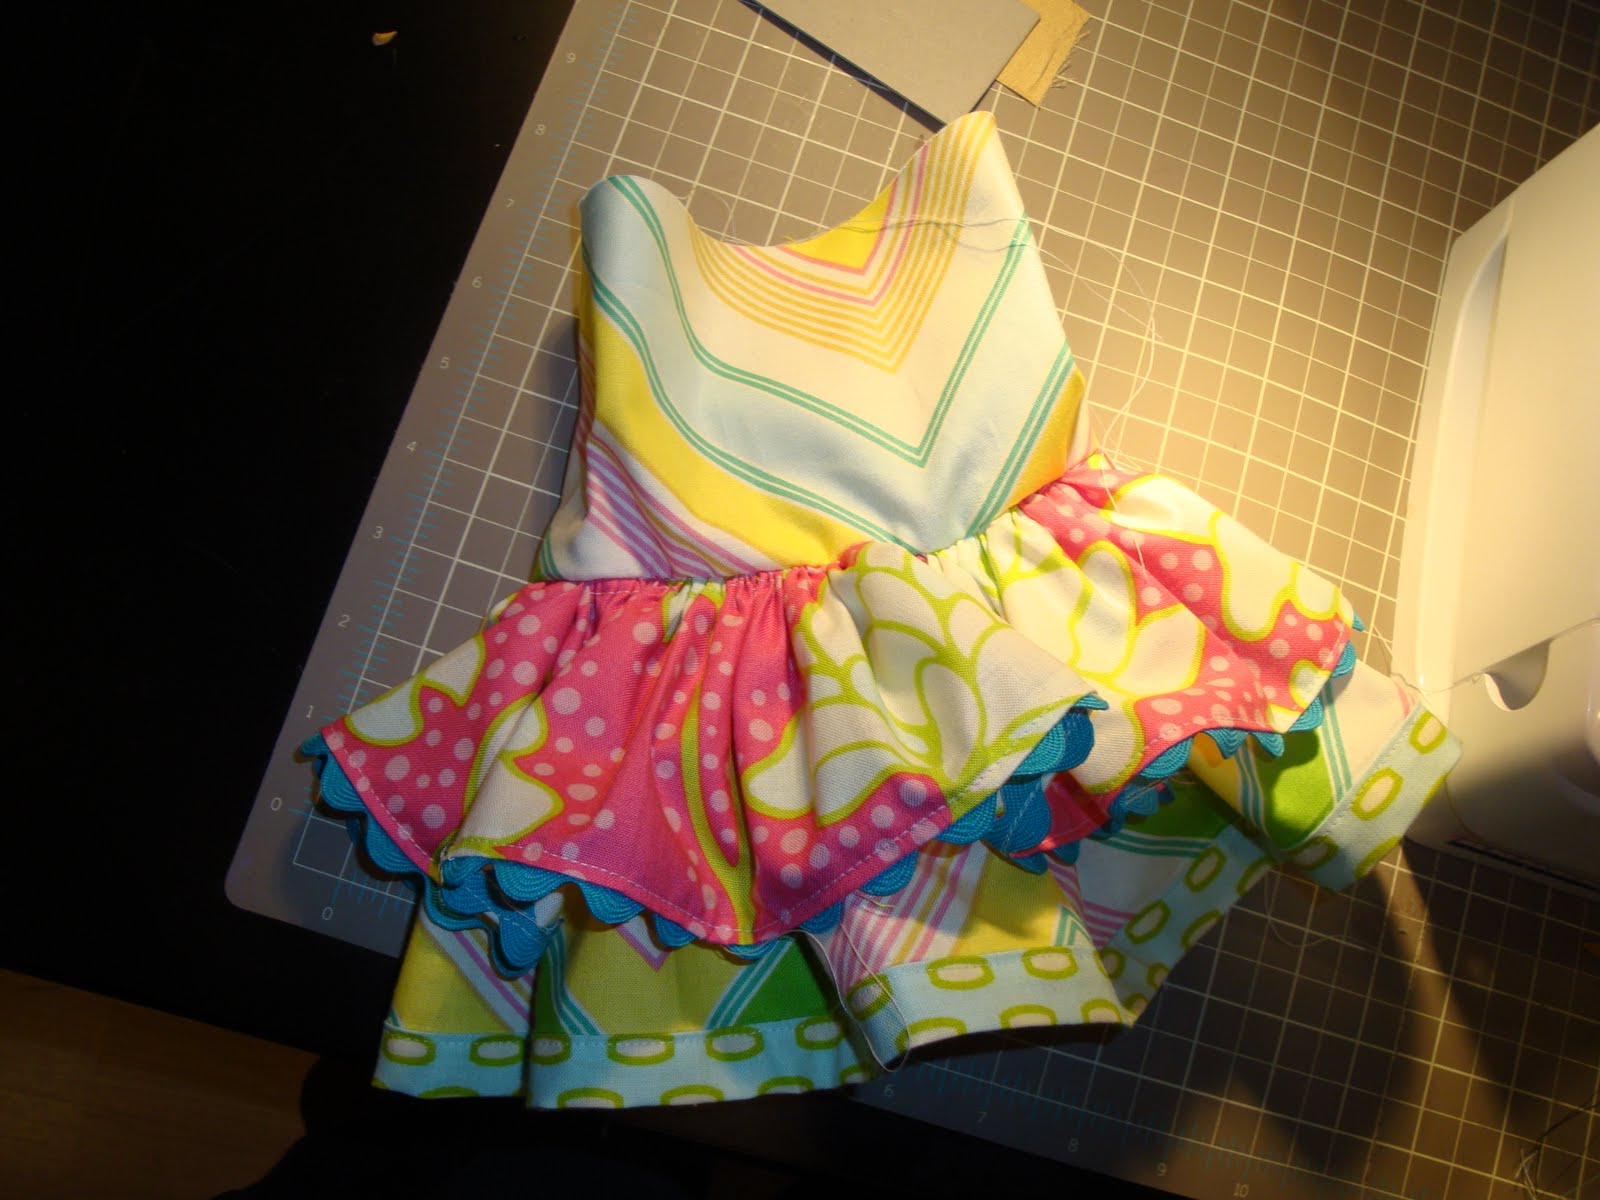
BUT instead of doing any of those things, I got a “bee in my bonnet” last night and decided to make this today:

Remember this skirt?

Well, I decided that her dolly needed one to match.

The construction is essentially the same as the kids skirt. Just a few changes and the math is different….
Since it’s been a little while since I’ve had a sewing tutorial on here, and since this IS a sewing blog…
Here you go!!

To begin you will need:
1- 4.25″ x 44 ” piece for the top skirt (just cut it the width of your fabric)
1- 5″ x 44″ piece for the underskirt
1- 2″ x 44″ piece for the skirt band
1 – 15″ x 4.5″ piece for the waistband.
You will also need:
1 package of rick rack
11″ of 1/4″ elastic
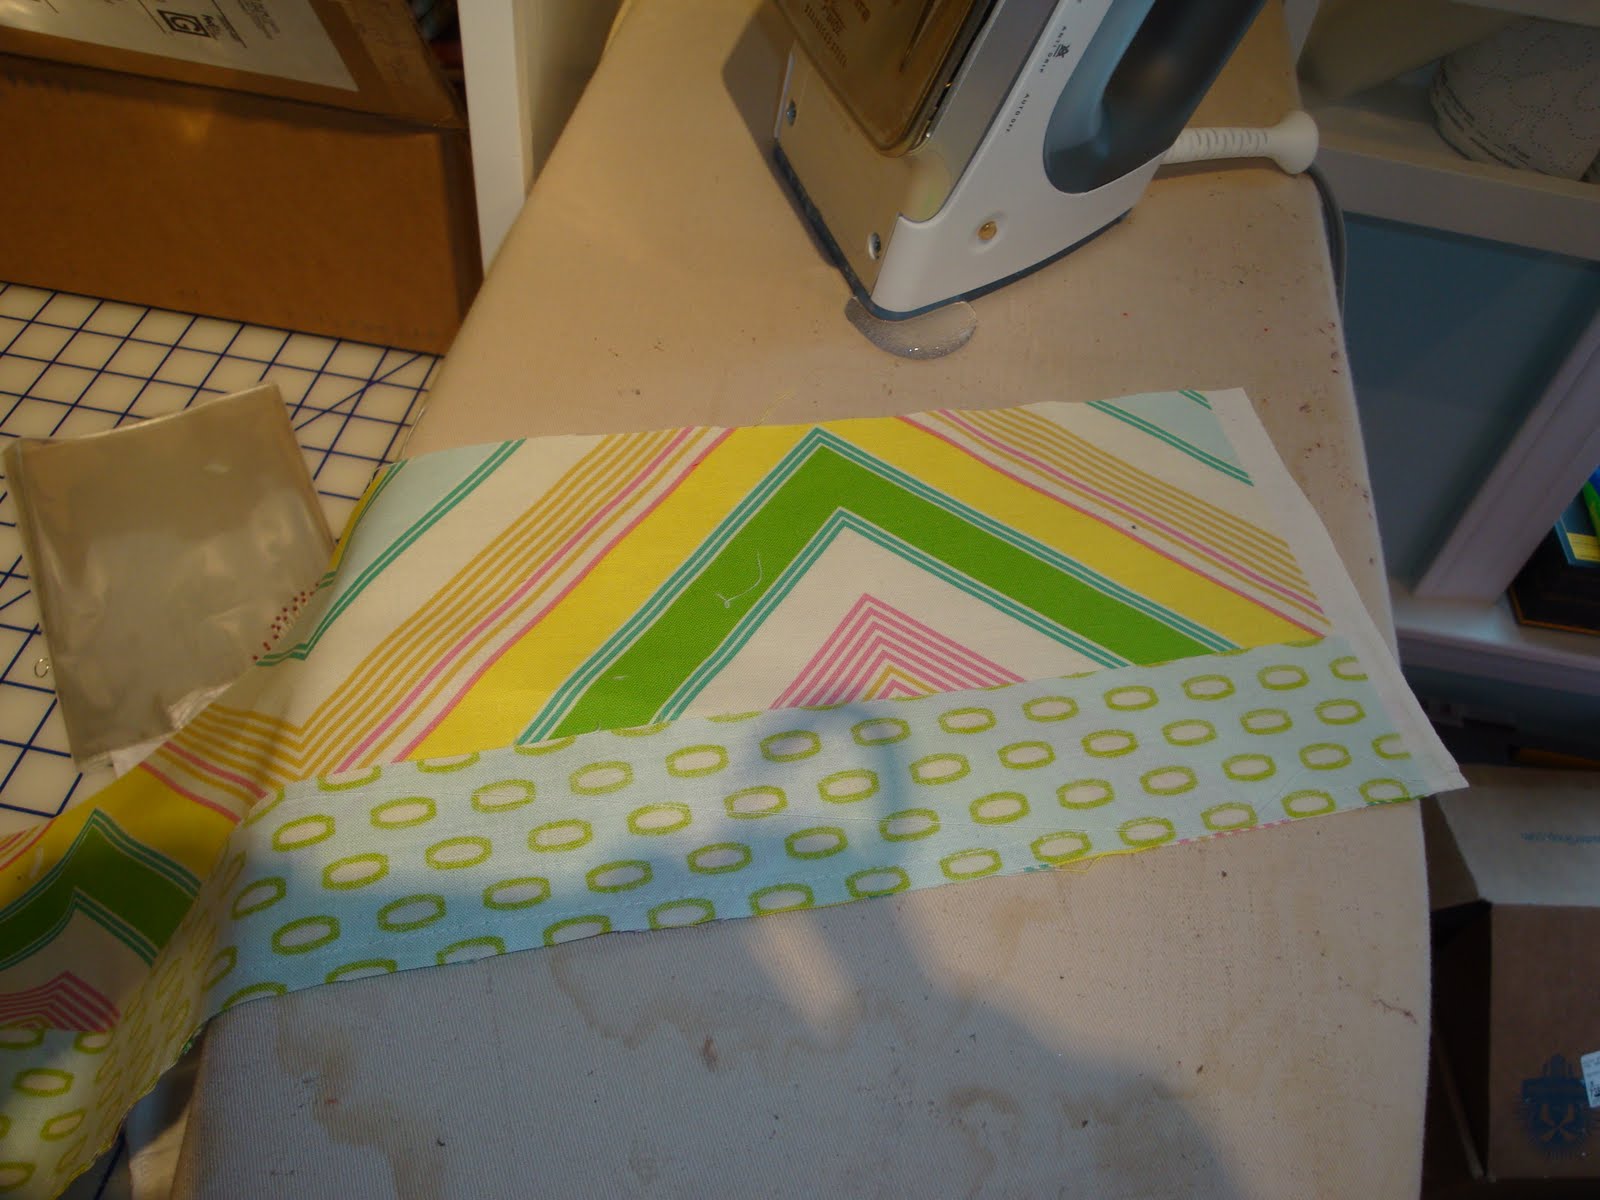
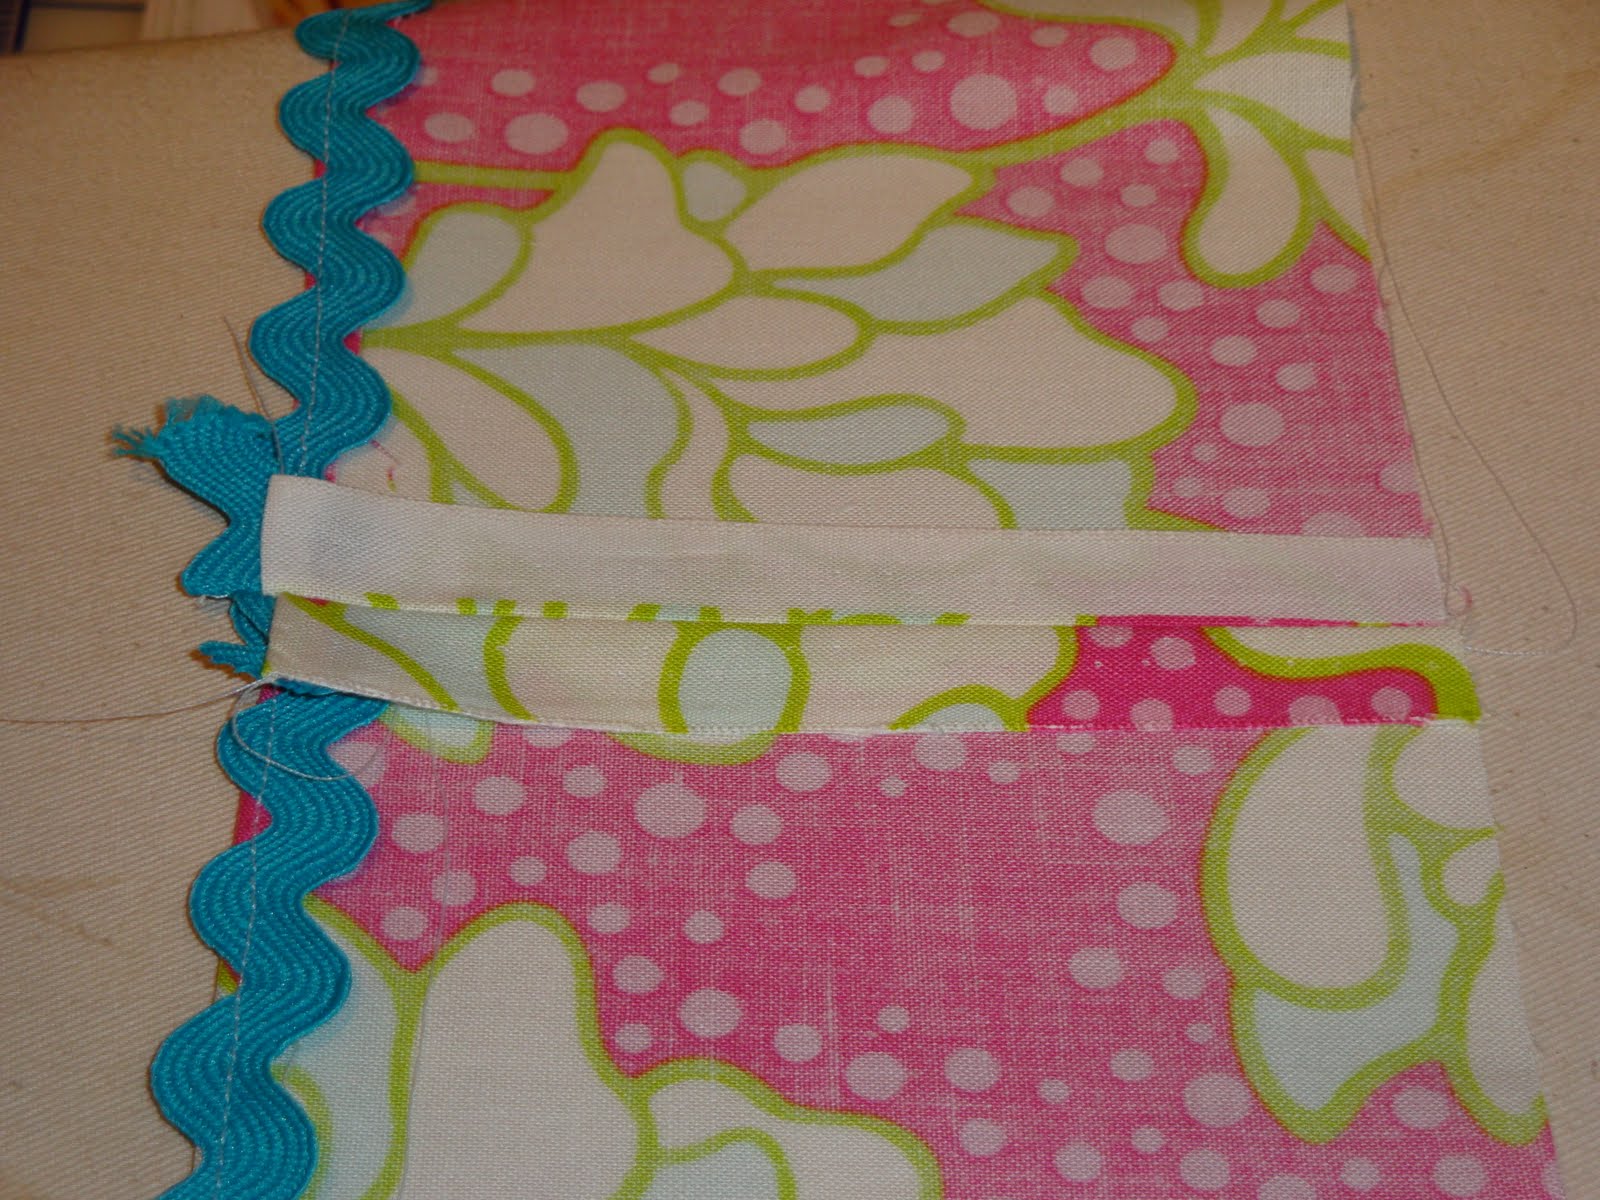
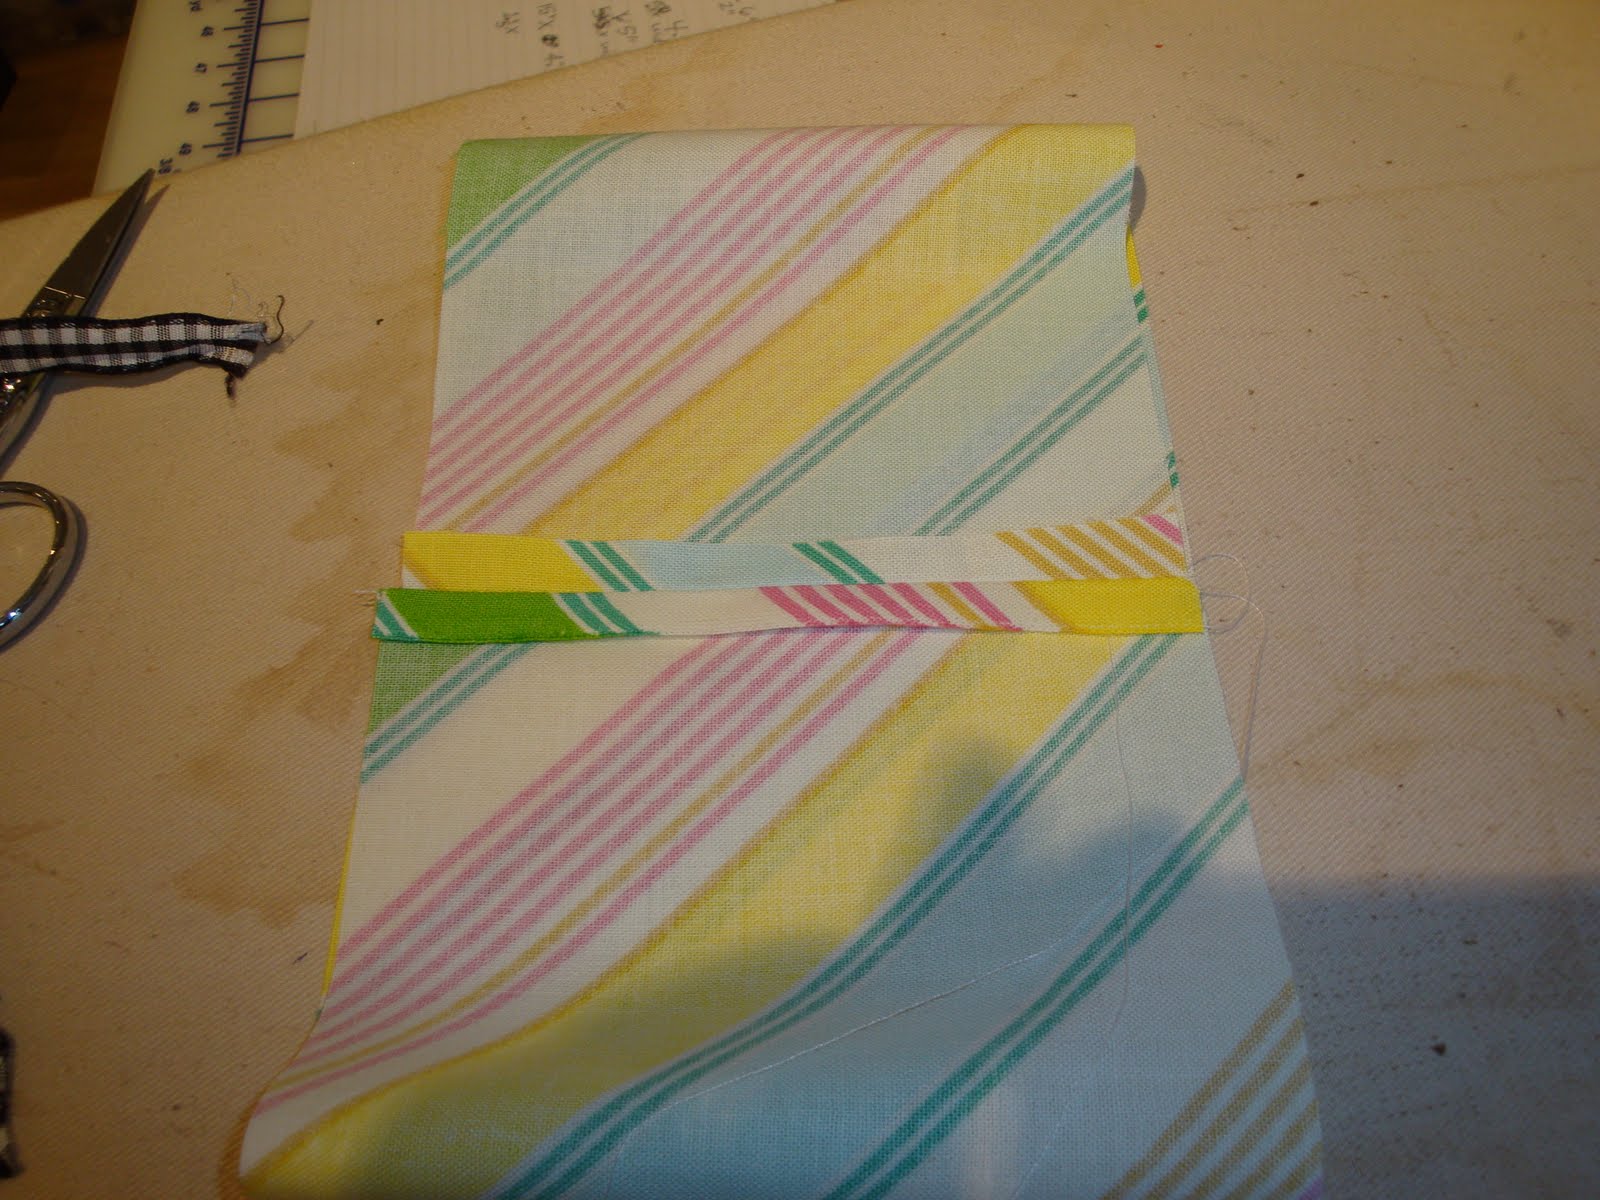
Sew the skirt band to the underskirt using a 1/4″ seam
Press seam towards skirt band
Sew sides of underskirt together. Press seam open
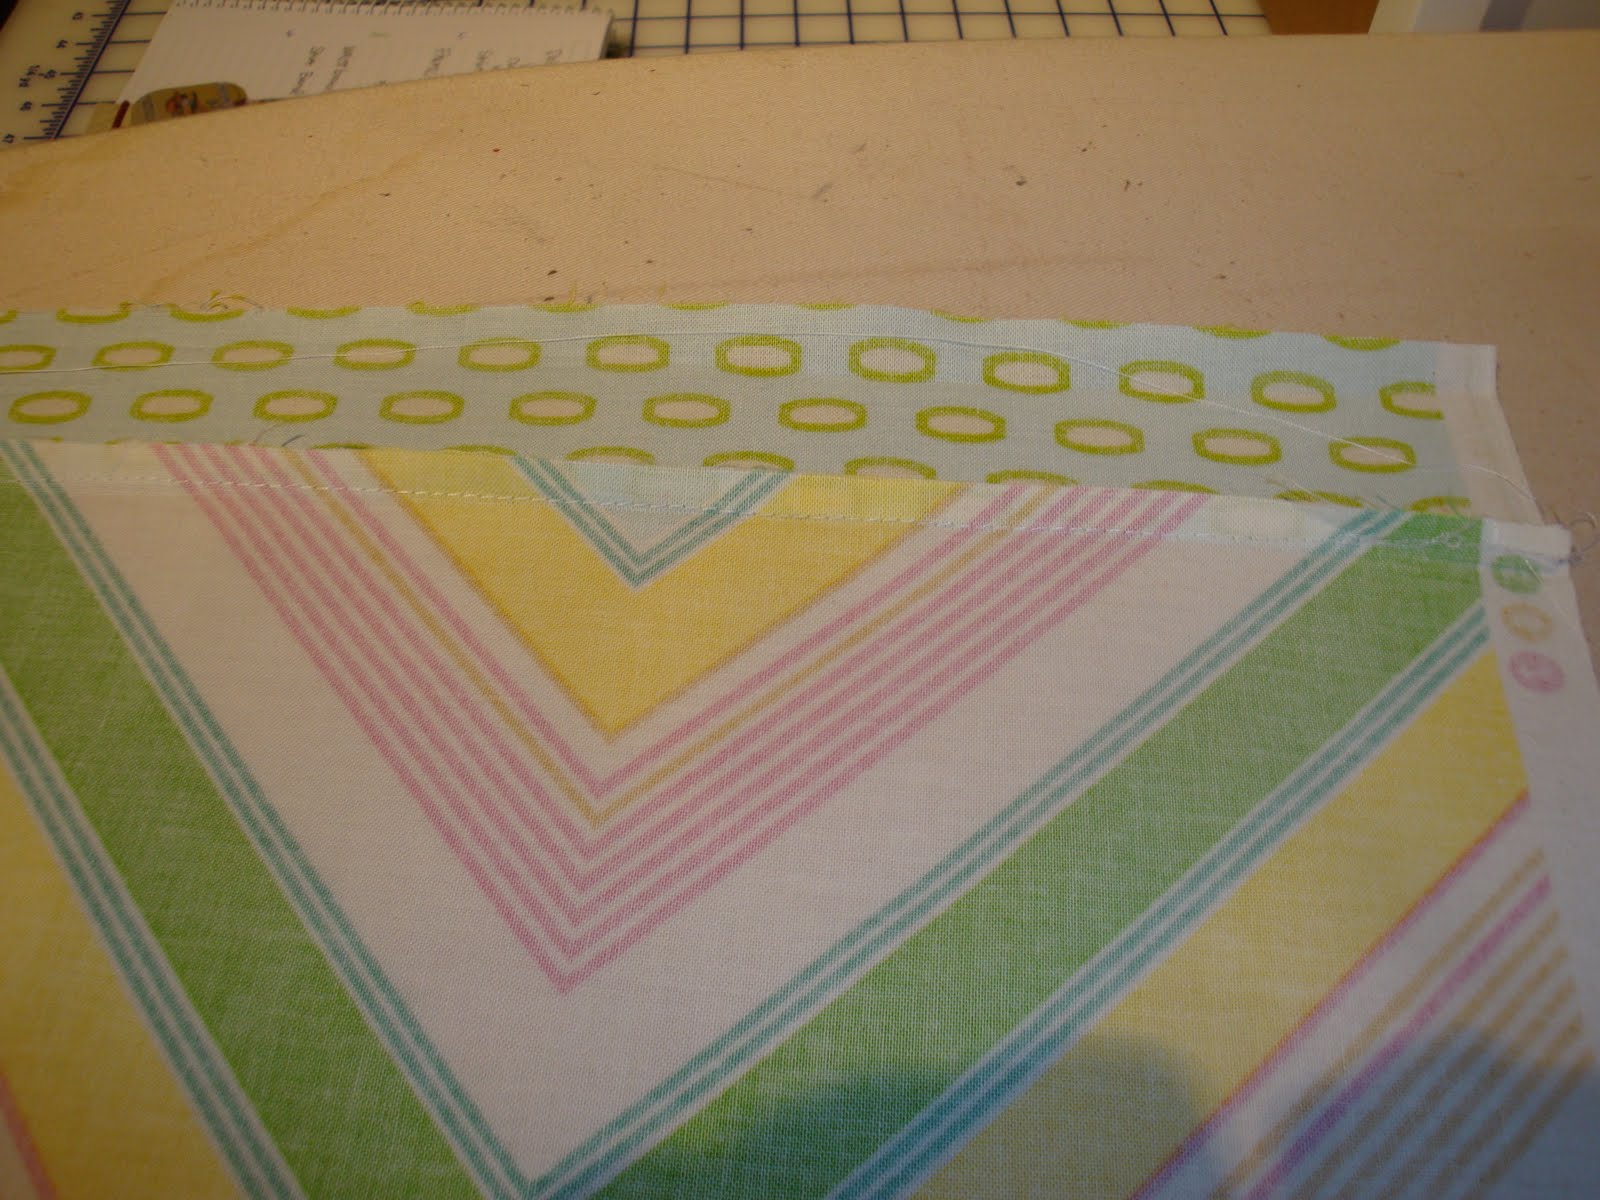
Turn under bottom edge of skirt band 1/4″ and press.

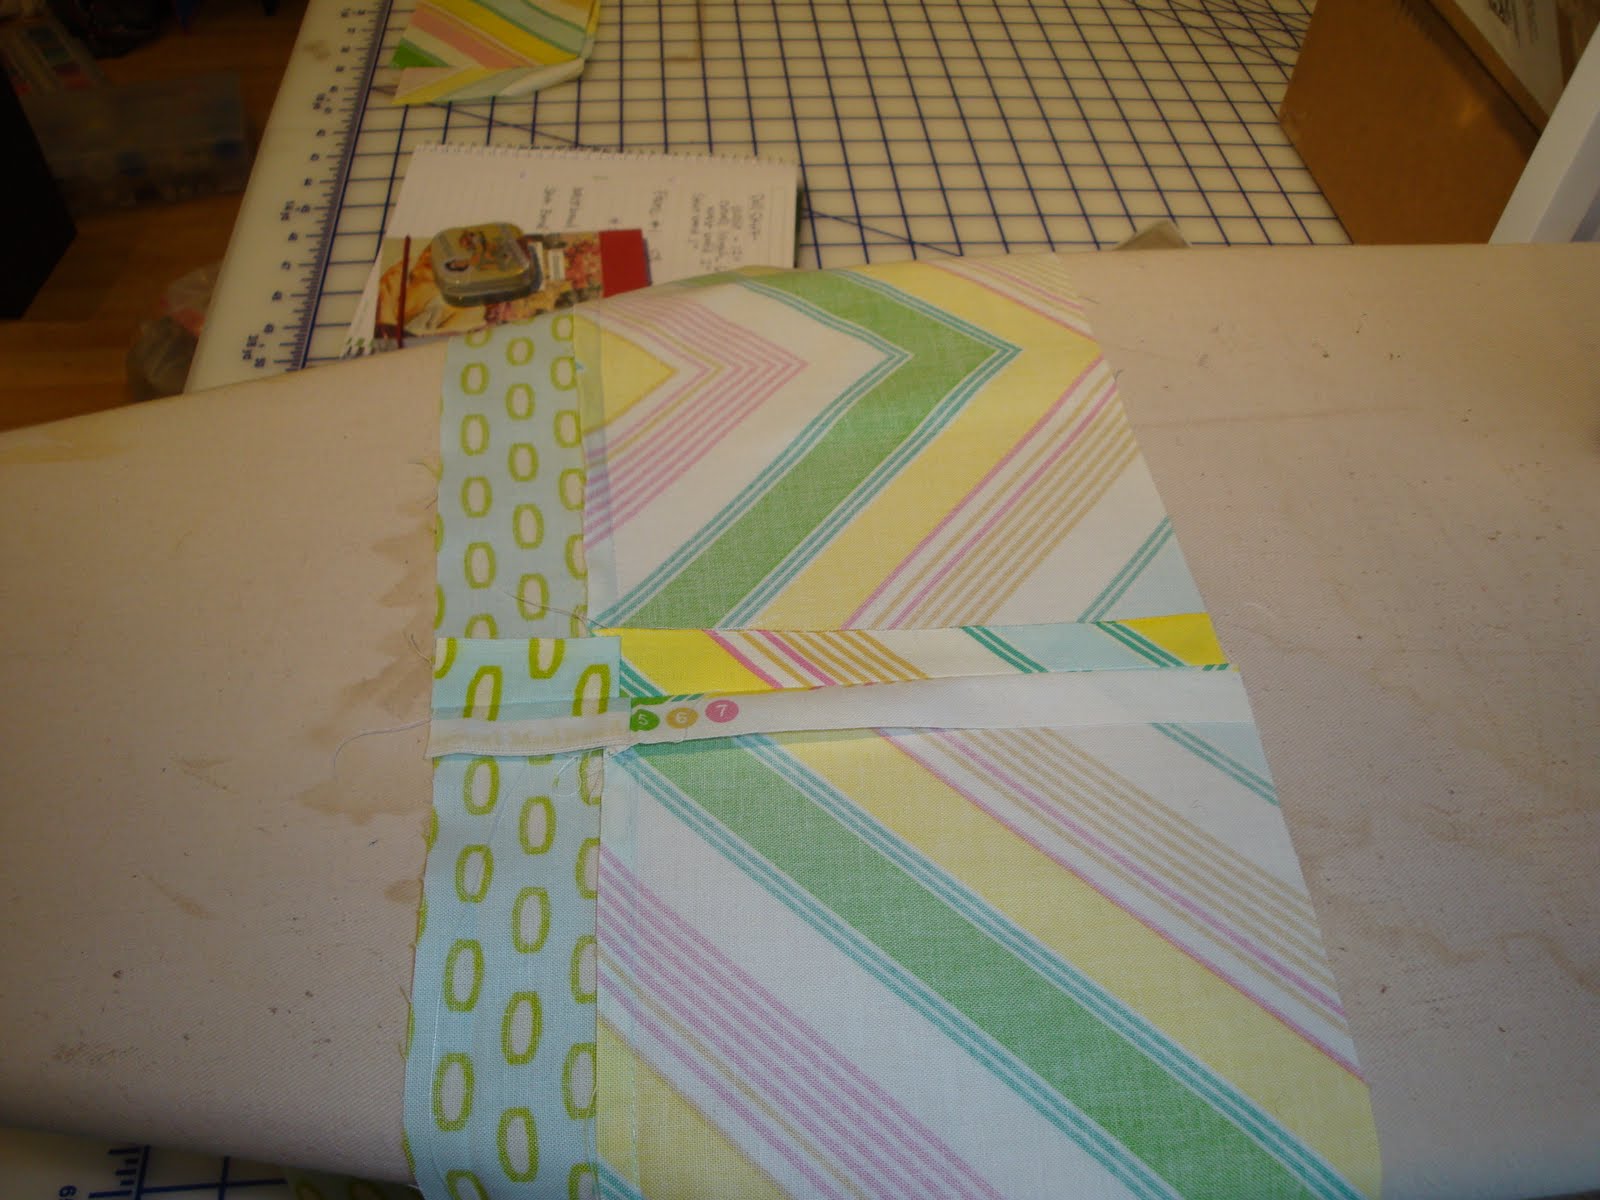
Fold skirt band so that the folded edge is flush with the seam between the underskirt and skirt band.
Press
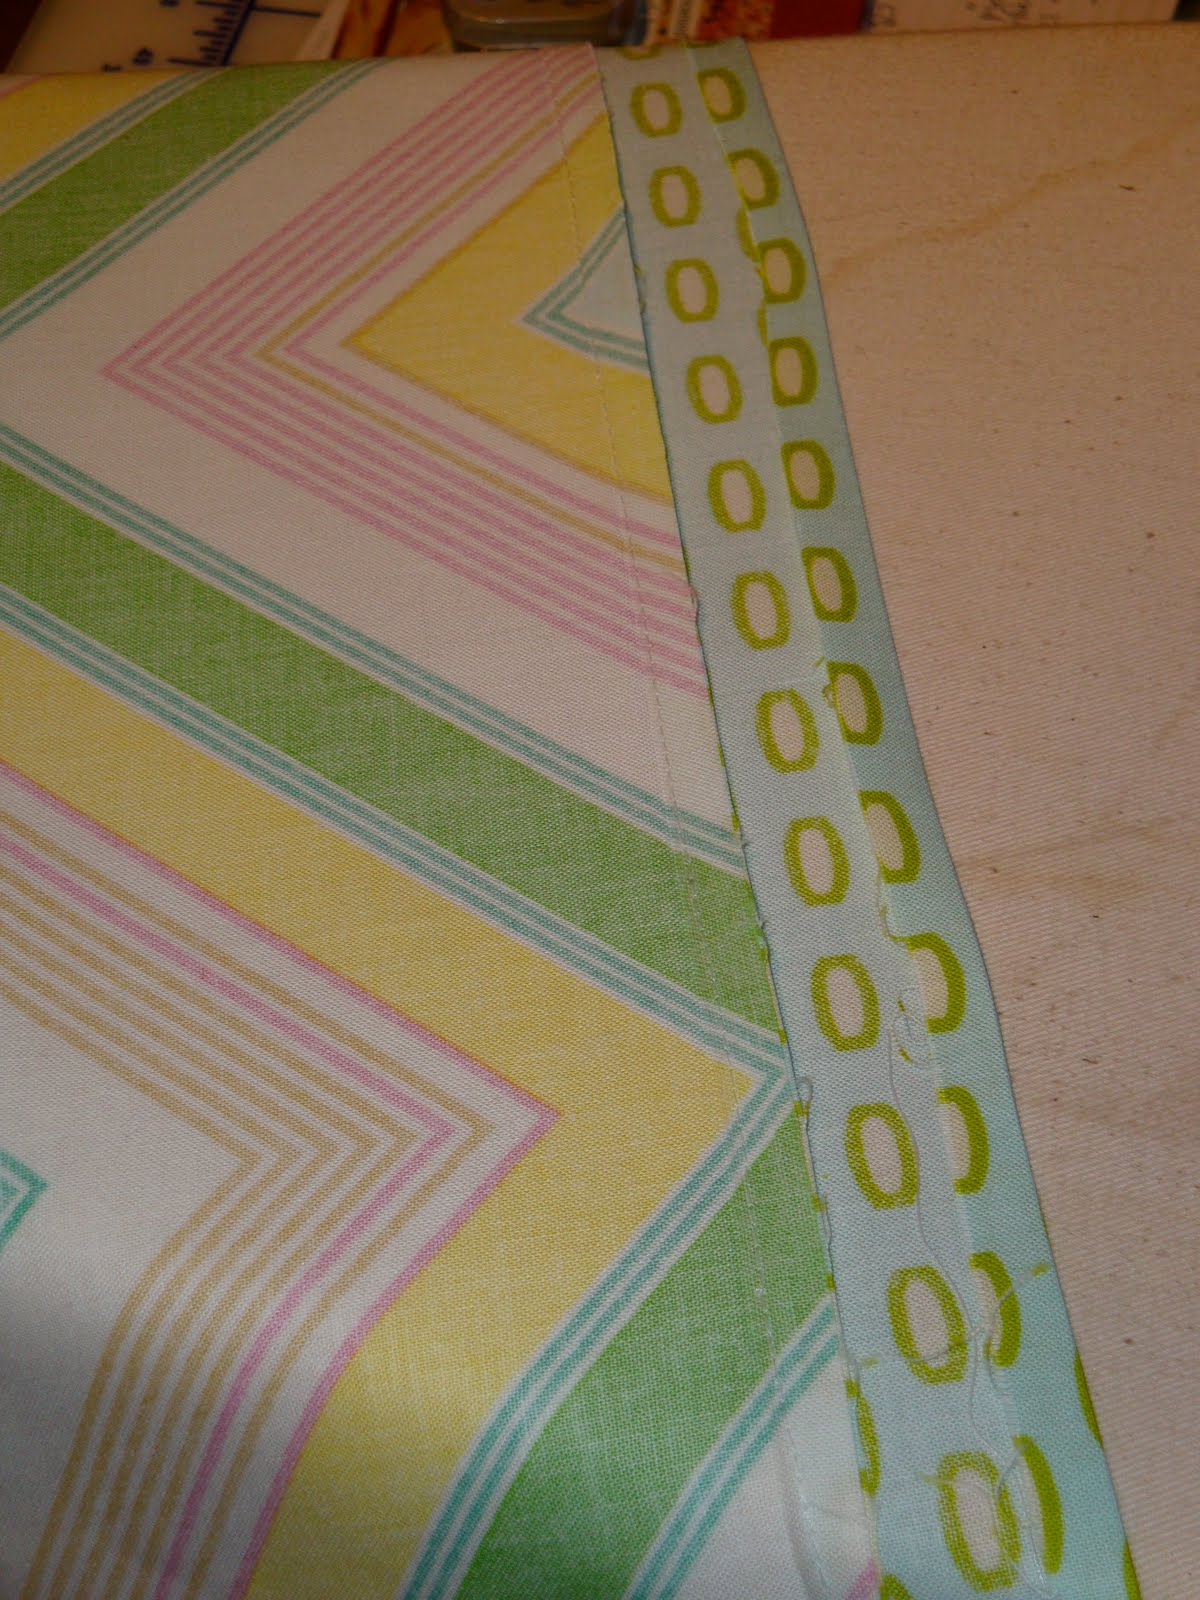
On right side of fabric, top stitch skirt band in place. Making sure to catch folded edge of skirt band as you sew.
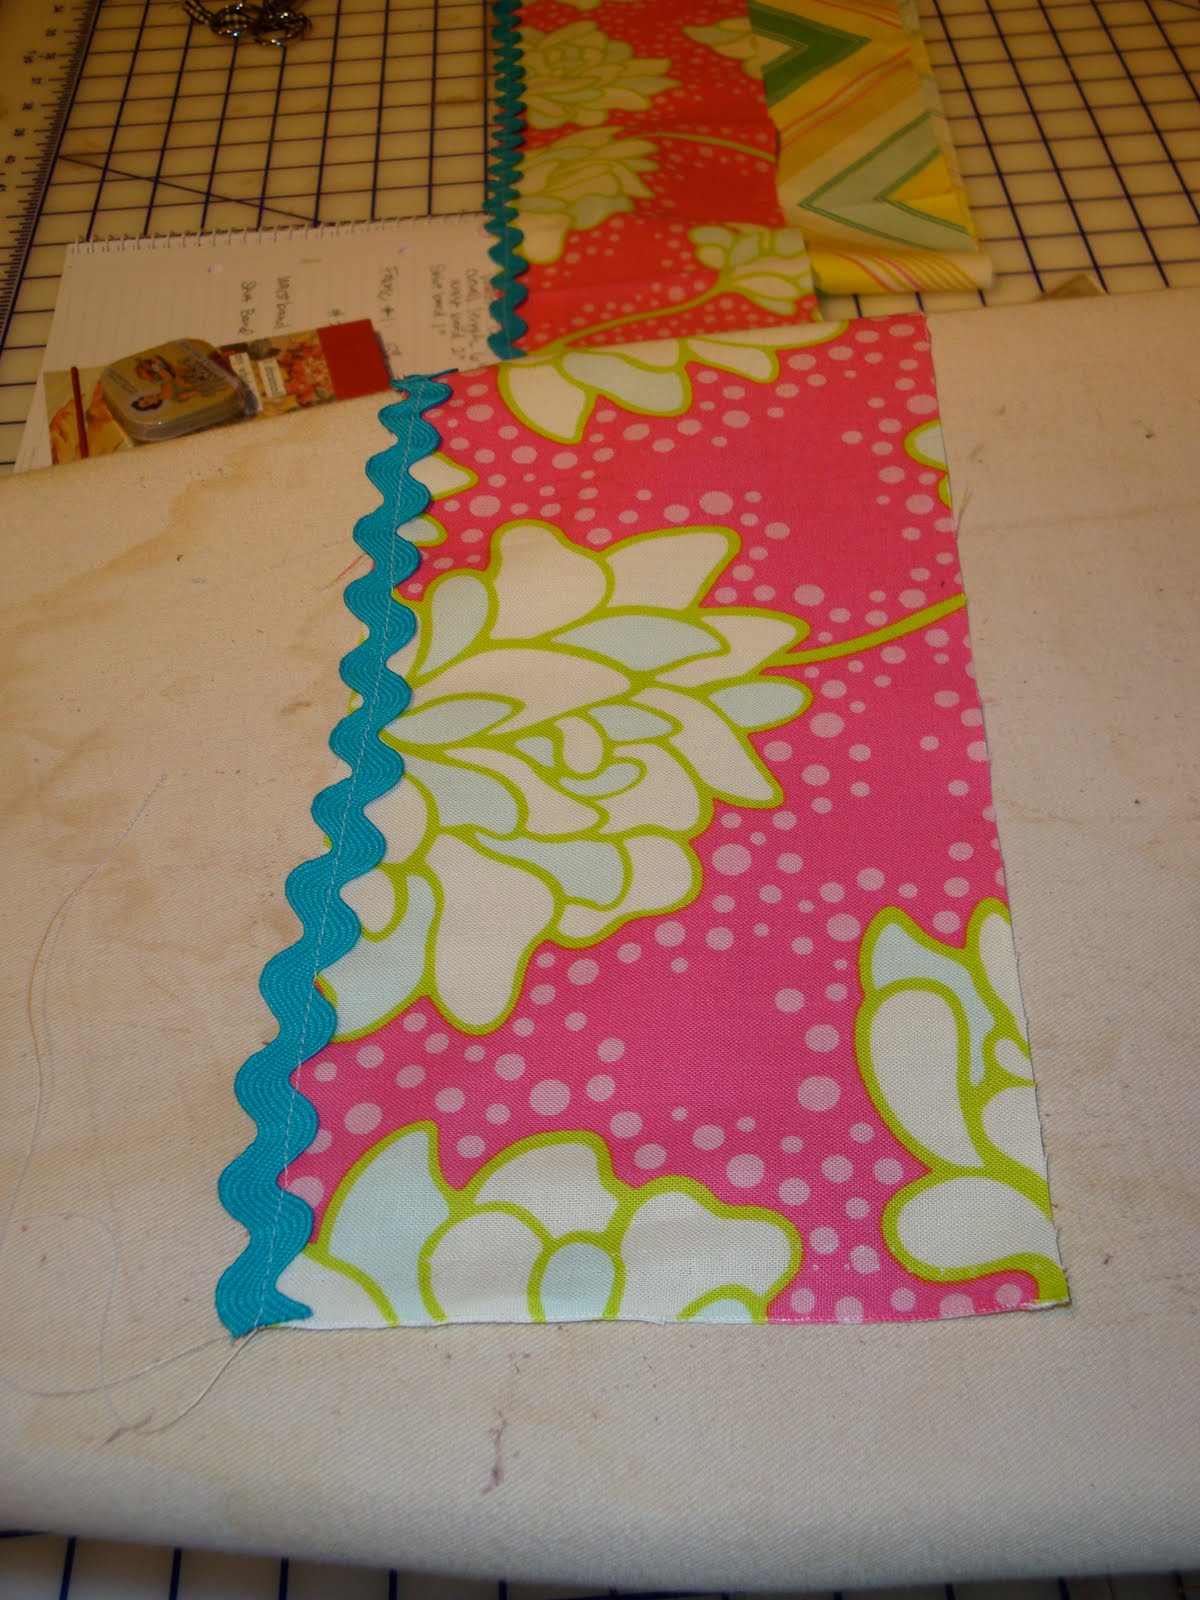
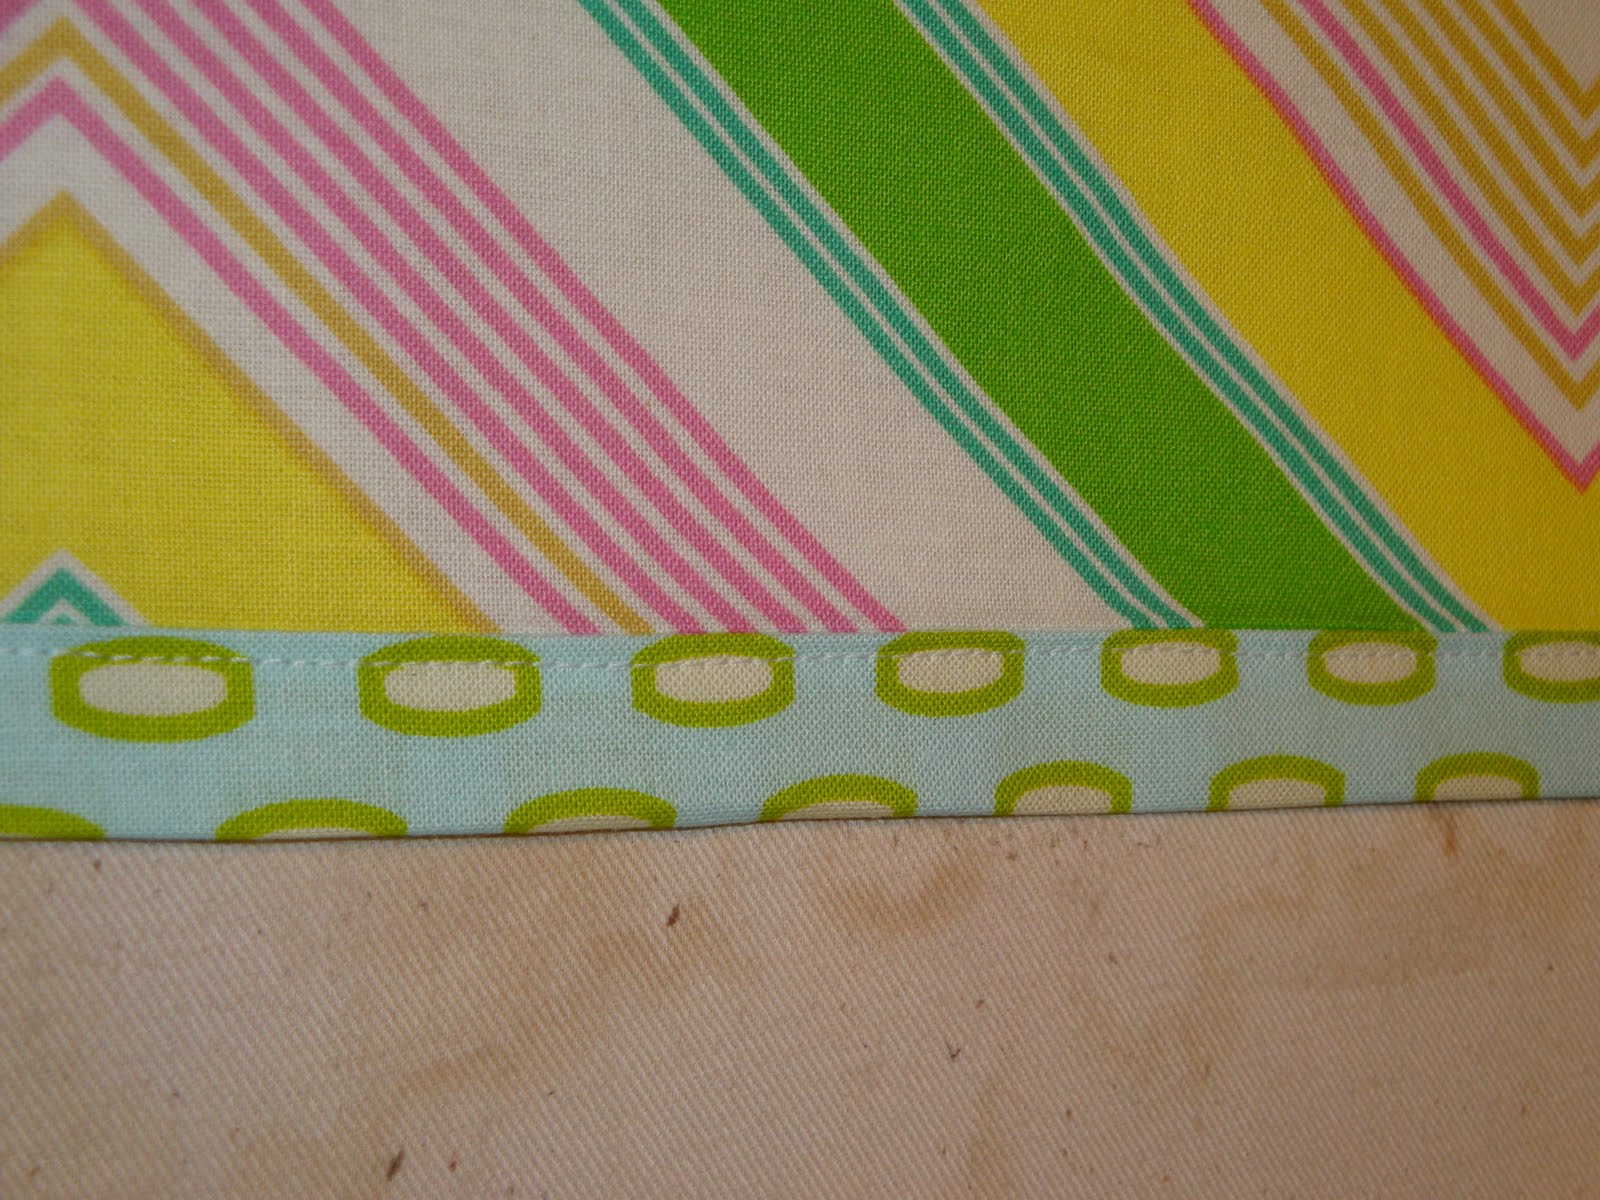
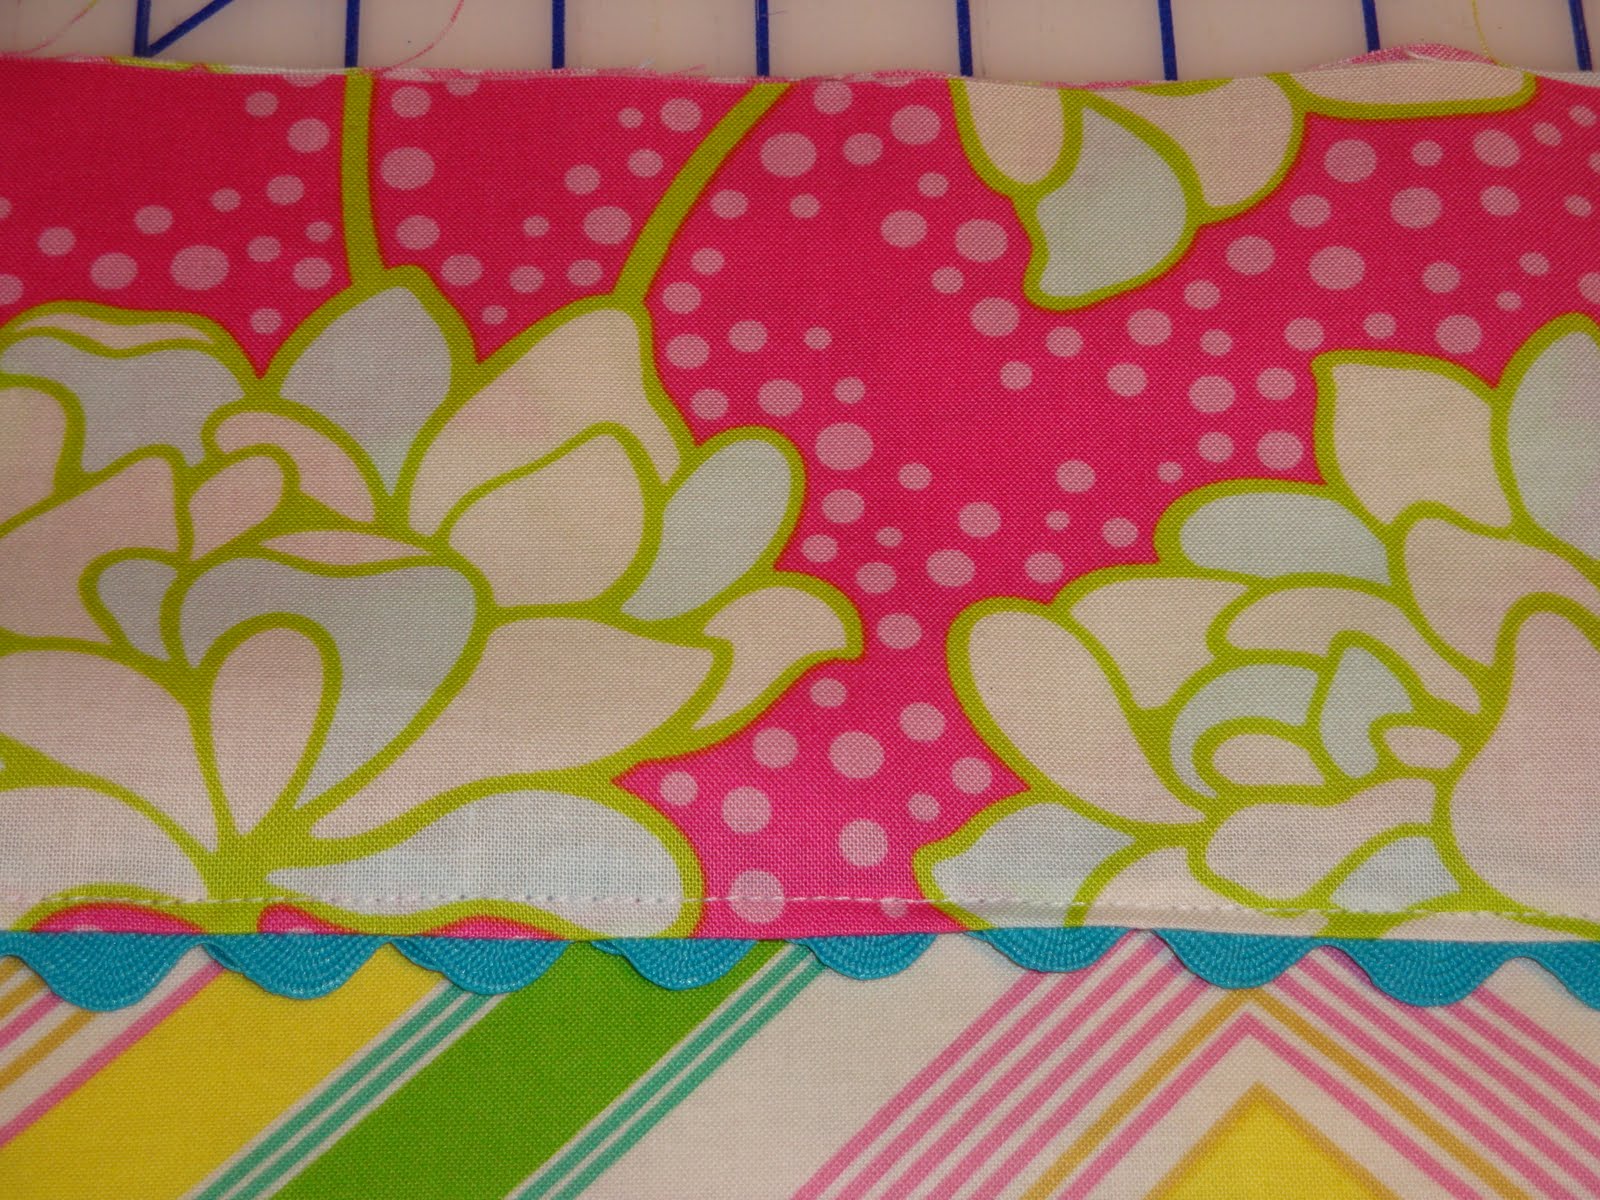
Stitch rick rack to bottom edge of top skirt piece. Stitch as close to the center of the rick rack as possible.
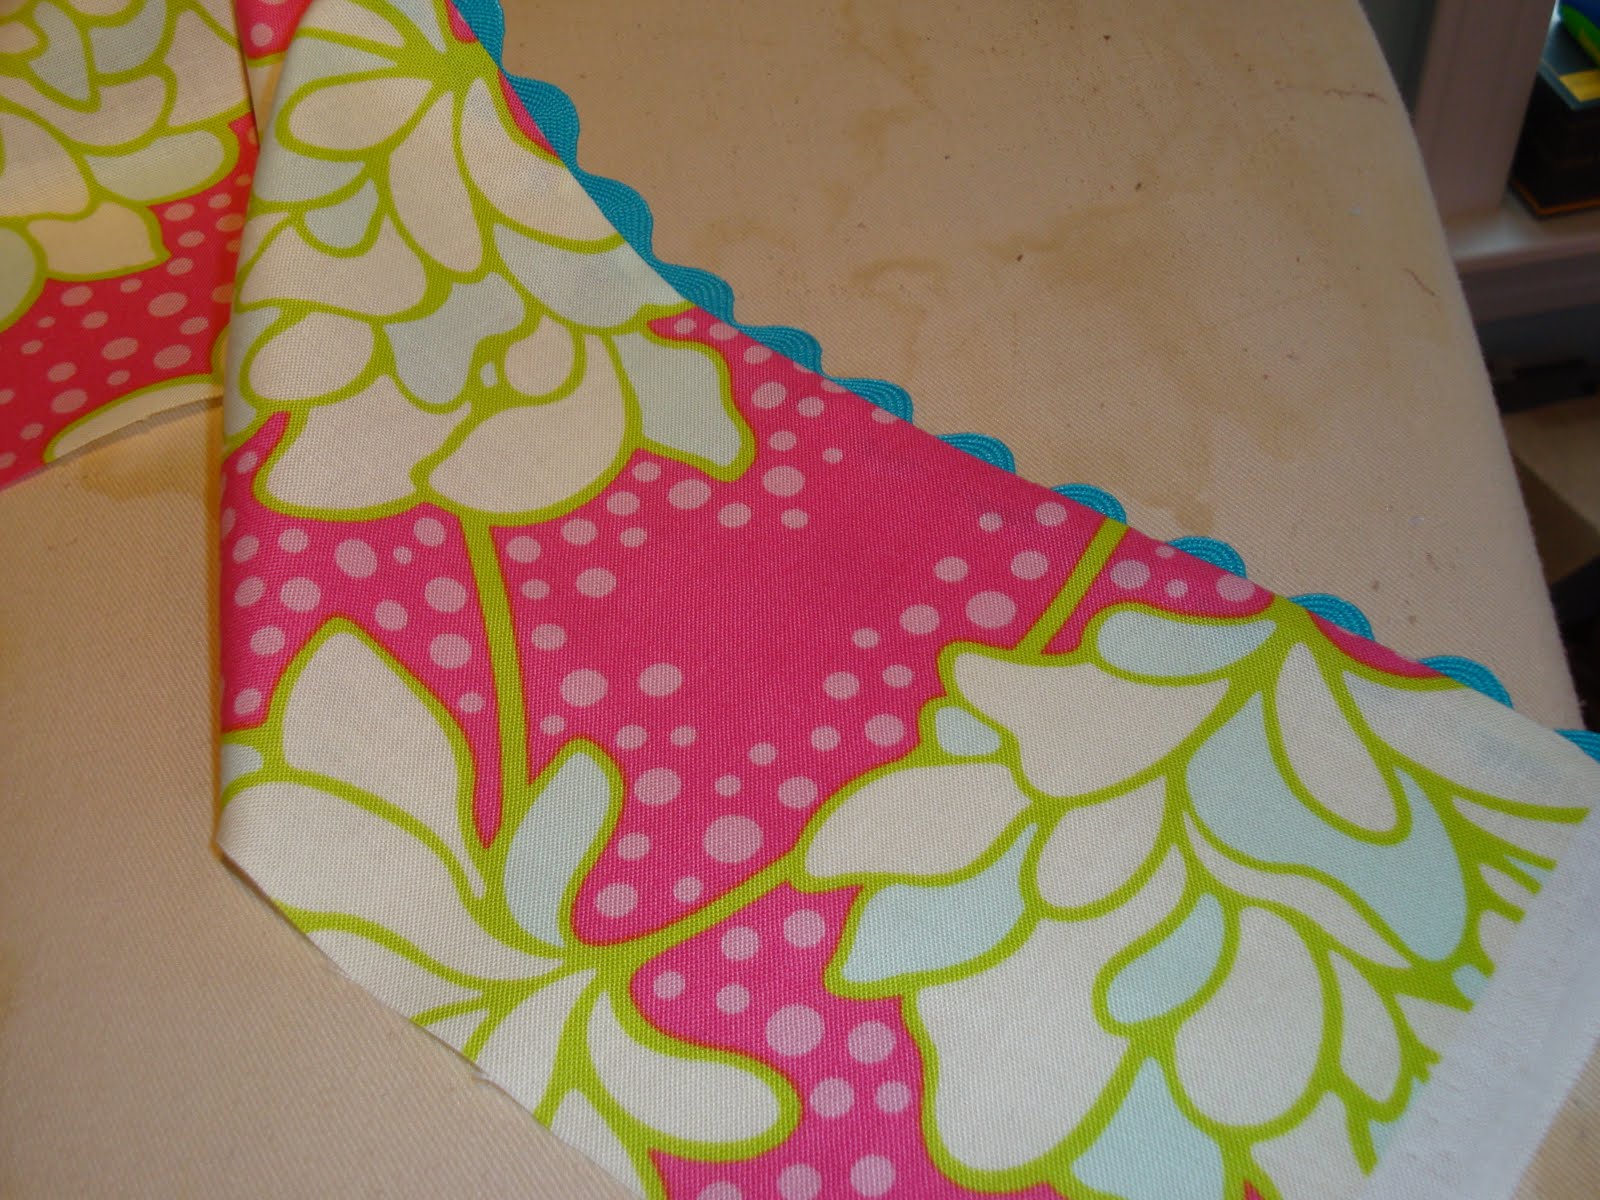
Turn rick rack under to wrong side of fabric and press.
Stitch upper skirt together. Press open, trim excess rick rack.
Top stitch rick rack in place.
Sew short sides of waistband piece together. Press seam open.
On both the top skirt and underskirt pieces, run 2 rows of gathering stitches 1/4″ and 1/2″ from the top of the fabric.
Mark the center of all 3 pieces (waistband, top skirt and underskirt).
Beginning with top skirt, pull up on the gathering stitches so that the skirt piece will fit inside the waistband piece. Match right sides together, match centers and seams.
Pin in place

Pull up on the gathering threads for underskirt piece.
Place it inside the waistband/top skirt piece. Match the right side of the underskirt to the wrong side of the top skirt.
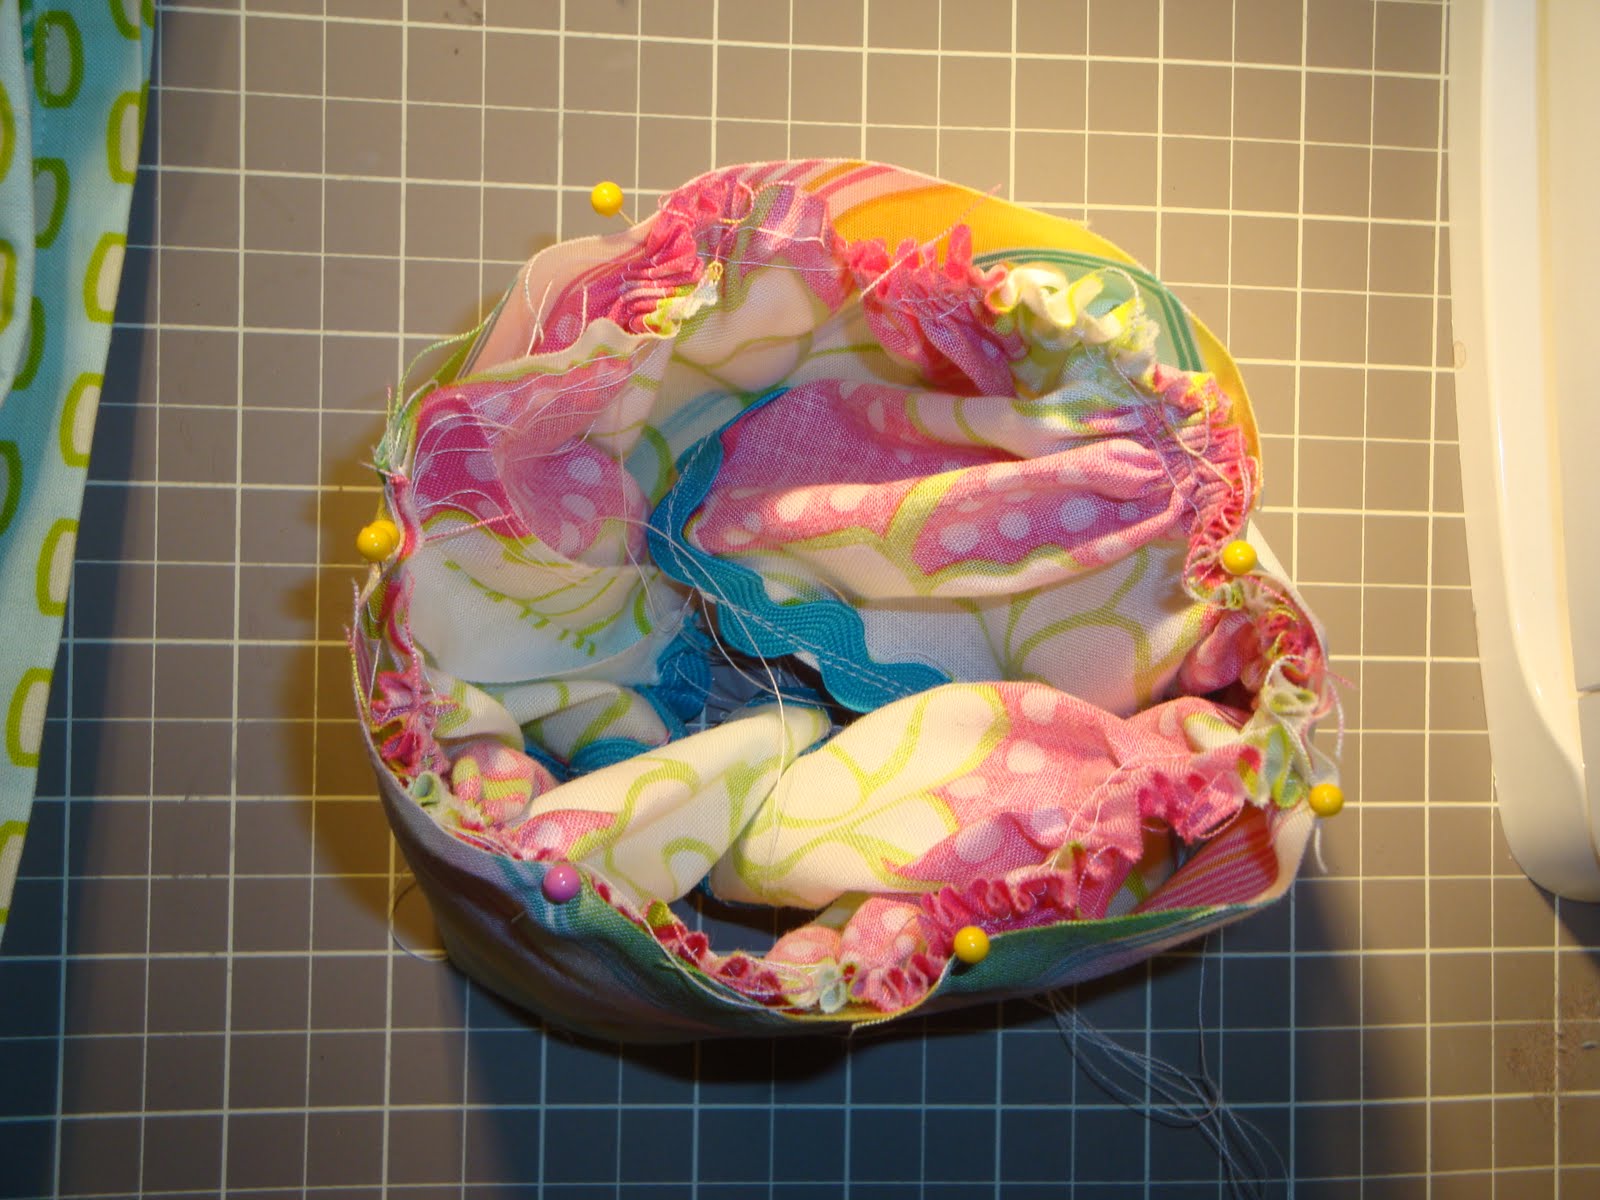
Pin in place… You will have a “sandwich” with the waistband on top, then the top skirt in the middle and the underskirt on the bottom.
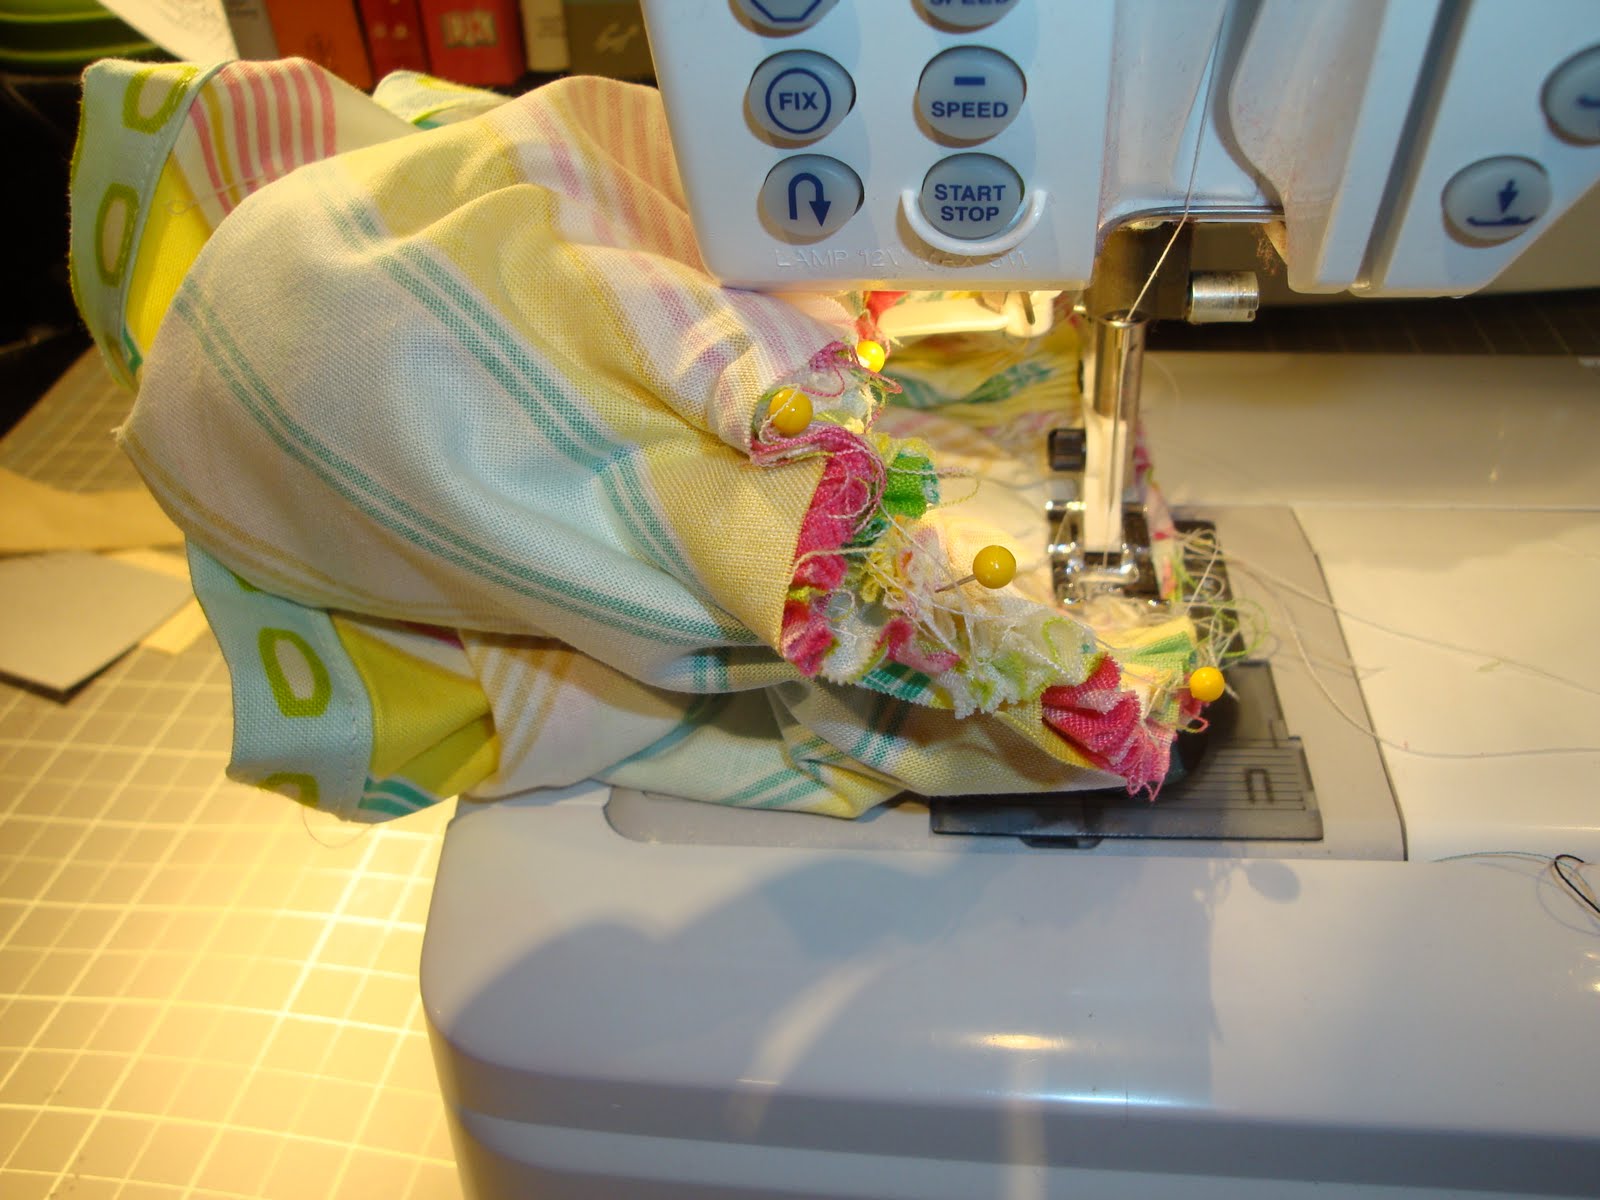
Sew through all 3 layers.
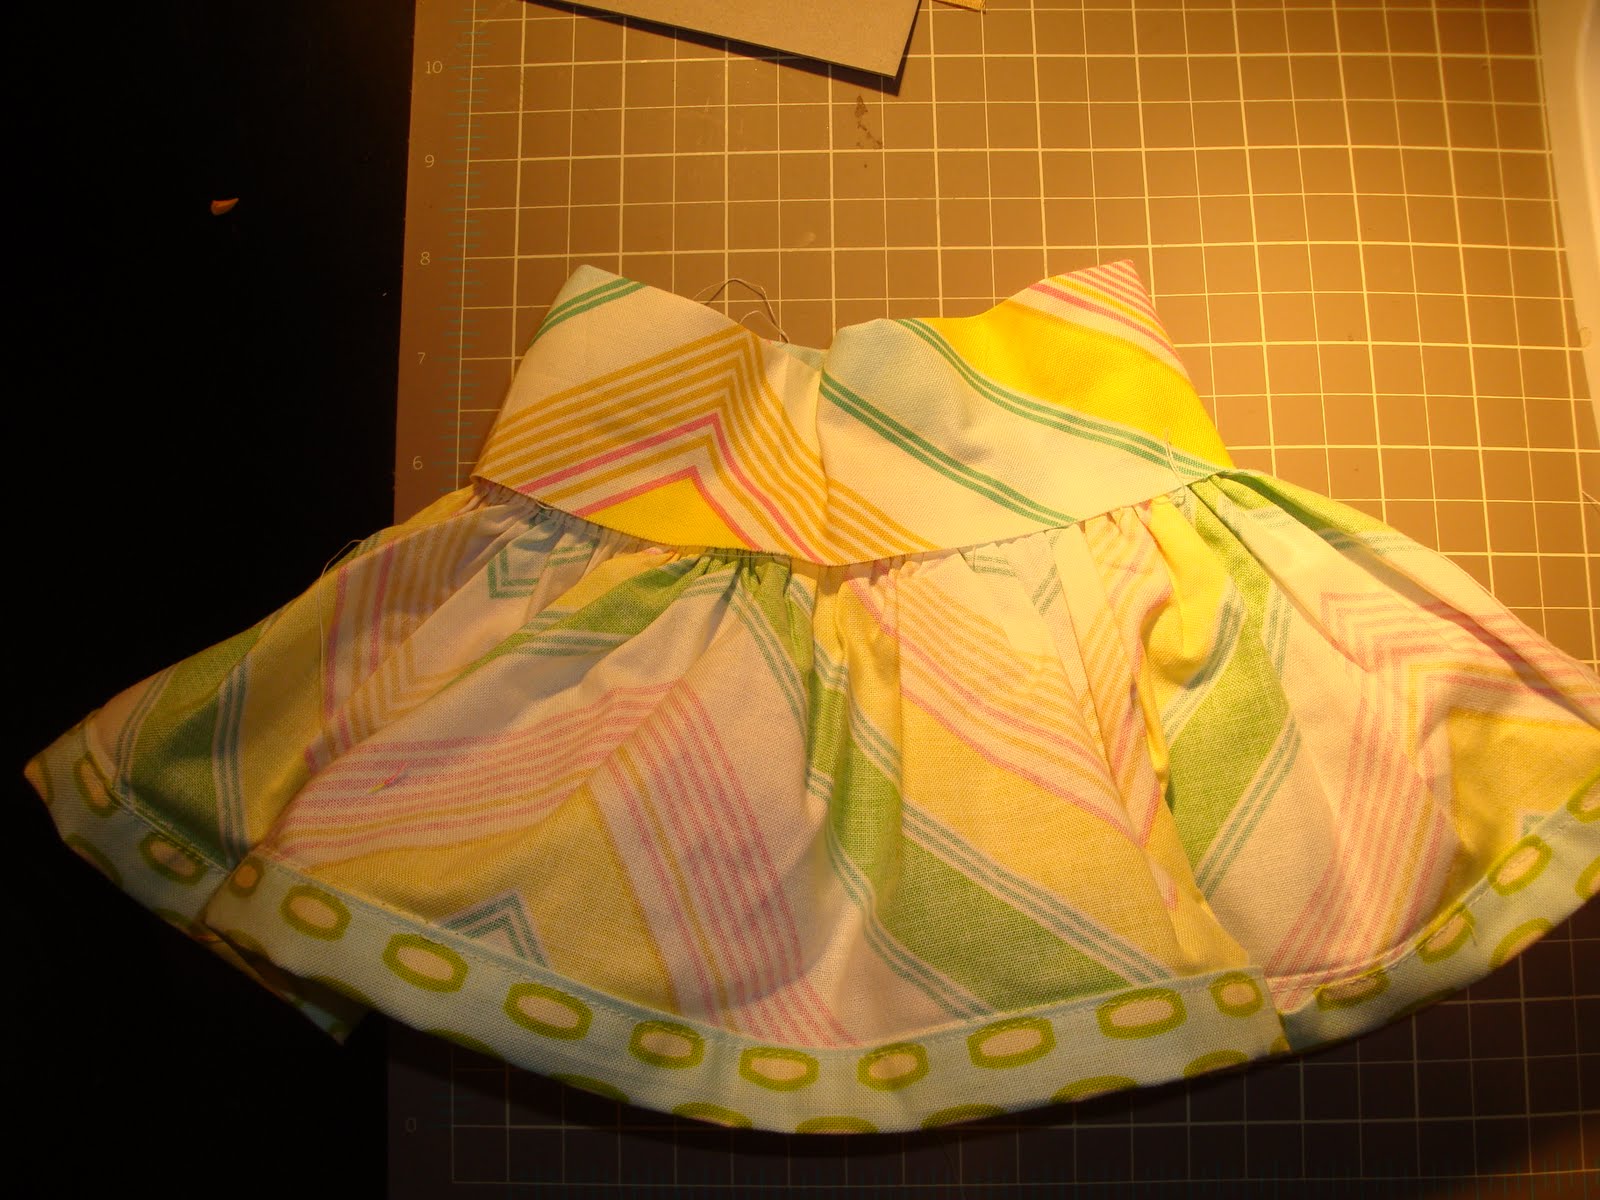
It will look like this when you are done:
Turn skirt inside out. Fold the waist band in half so that the raw edge of the waistband overlaps the seam of the skirt/waistband by about 1/2″
Press.
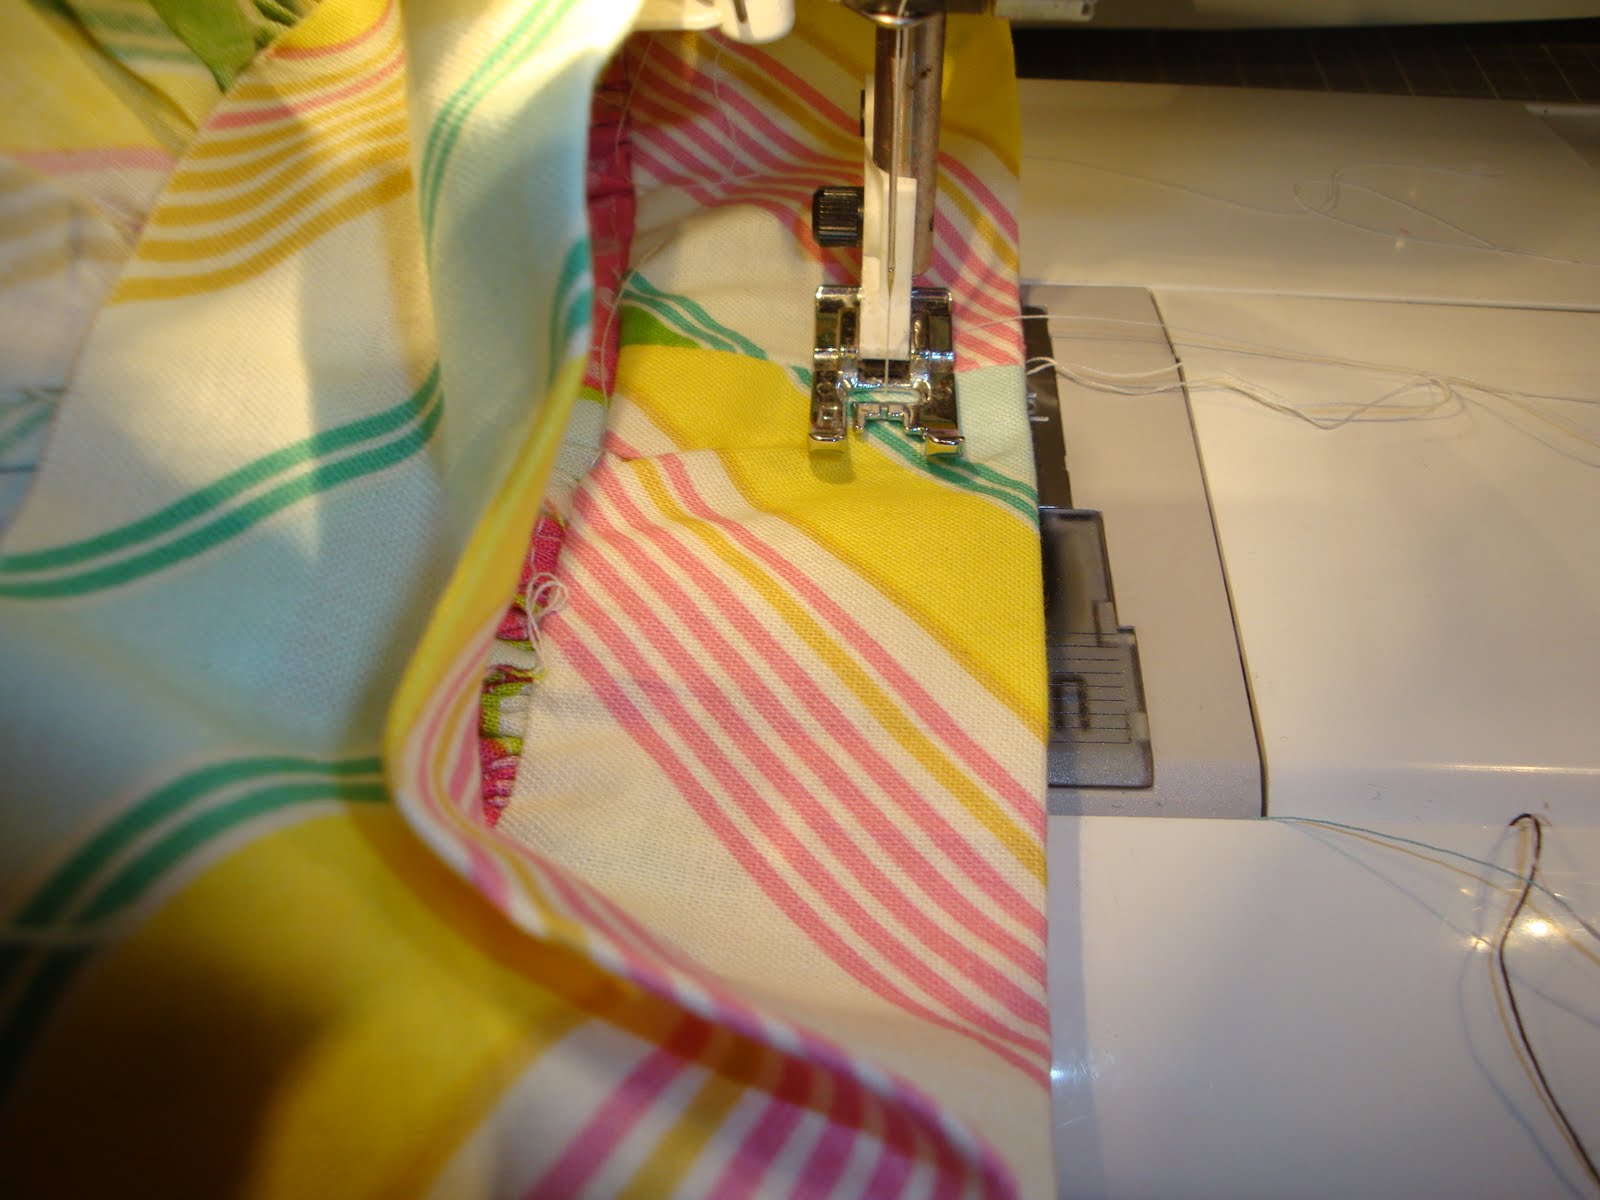
Sew a seam 1/2″ from the top folded edge of the waistband. This will be the casing for your elastic. Leave an opening to feed the elastic through.
To finish:.
Thread elastic through the casing, sew elastic together then sew the opening closed.
Fold under the raw edge of the waistband 1/4″ and whip stitch down. (since it is a skirt for a doll you could also use iron on seam tape to tack it down).
Clip threads
You’re done!

Is this for an 18” American girl doll?
yes
Thank you so much for generously sharing these patterns. Just purchased an American girl doll for my grandaughter and all your patterns will be of great help! You will be saving me a lot of time!
I suppose you could say I’m going through my second childhood. Especially, since today I have been married for 50 years and that alone is an indicator of age. I recently purchased an American Girl Doll. Her name is Samantha. My naked Sam had been loved my another until the owner had aged out of dolls. She is lovely but needs clothes desperately. While scanning the internet for patterns, I happened upon your blog. I loved the dress you made or skirt and was particularly impressed with the material. I’m sorry to say; I have never heard of this company. However, I have made note of it and in the future will inquire at Hobby Lobby or Joann’s to see if they carry it. In the meantime, I have my stash of fabric to begin sewing a little dress. Sam will look more like a “little lady” after she is bathed and dressed. Best Wishes!
I’m so excited that I found your pattern again! I found it months ago while on vacation and hand-sewed it. What an adventure! I was bored on evening after dinner, so I used my tablet to look for a free doll pattern that didn’t need printed and found yours. I ran to Walmart and bought fabric, thread and needles. However, I didn’t want to buy scissors or a ruler (although I can’t cut a straight line without drawing it first!). I discovered that a kitchen cutting board works great for drawing straight lines, and the cardboard on the packaging from the needles worked well for marking small lines to turn up and iron 1/4″ hem seams. Needless to say, I didn’t have the best tools but it was almost as much fun figuring out how to work without my usual tools as making the skirt. I used a pink fabric with glitter on it and silver rickrack to trip the bottom of the layer of the skirt. It came out really cute (if I do say so myself). I’m finally getting around to making my granddaughter a skirt to match. Fortunately they still have the fabric at Walmart. Thanks so much for sharing this simple pattern and your great skills in pattern design.
That’s so funny! It totally sounds like something I would do!!
This is the cutest skirt, for the AG doll and my granddaughter too. She would love it. I have 2 McCall patterns for AG doll pj’s and another outfit (when they were $.99 at Hobby Lobby) plus flannel but haven’t even opened the patterns yet. I have ordered matching outfits for my Grace and her Kate from zulily couple of times and she loves it. When Grace has on an outfit, her Kate is changed into the same outfit too. Great tutorial; thanks for sharing.
I’m so glad that you enjoyed the tutorial! I’ve really had fun making clothes for my daughters AG doll!