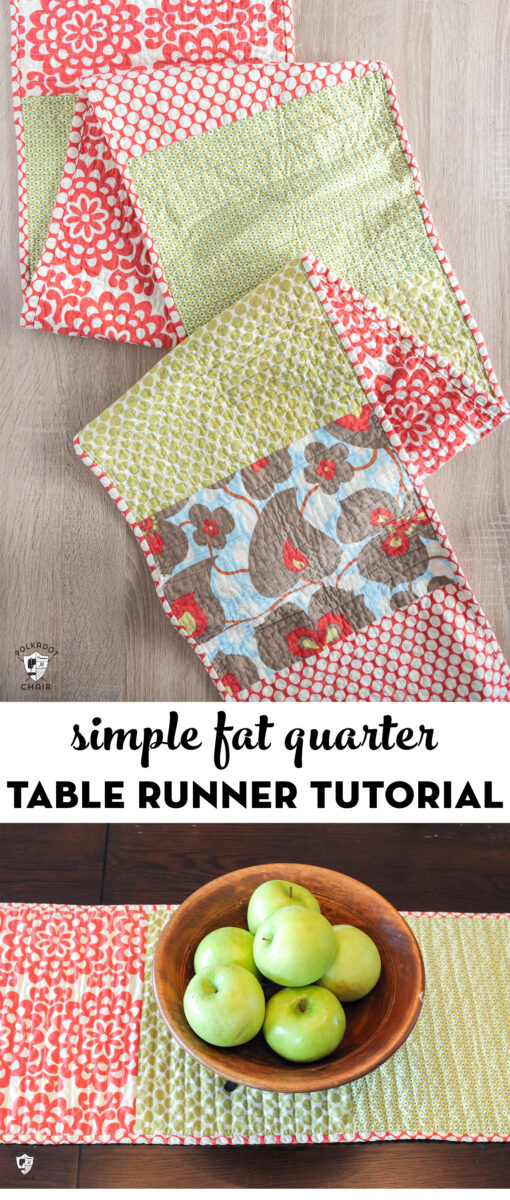
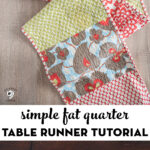
Simple Fat Quarter Table Runner Tutorial
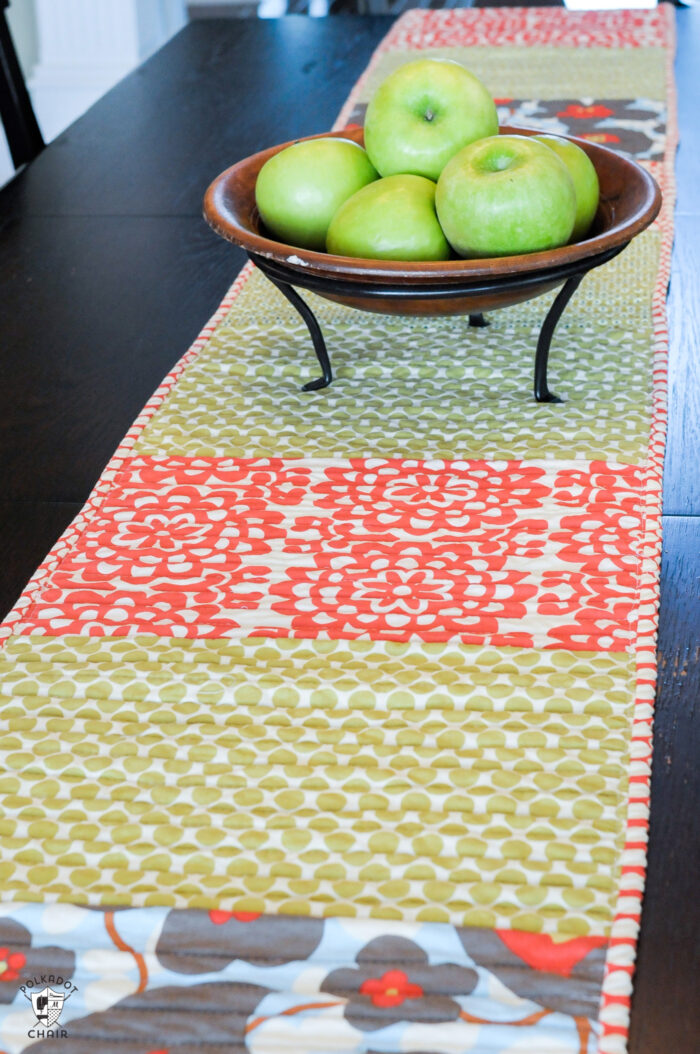
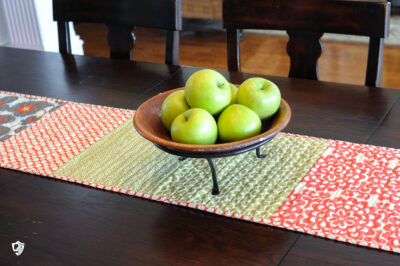
If you’re looking for a simple sewing project, then you may like this Fat Quarter table runner tutorial. It’s stylish, versatile, and best of all simple to create!

One of the first projects on this site was this Skinny Simple Table runner tutorial (it’s also been one of our most popular projects). Recently I looked back at the tutorial and realized that the instructions could be freshened up a bit. Today I’m excited to share with you the new and improved tutorial.
How to Make a Table Runner out of Fat Quarters
This tutorial is one of my favorites because it’s so easy to make and it’s easily made using Fat Quarters of fabric. Which makes it perfect for using up some scrap fabrics, or leftovers from a fat quarter pack of fabric.
I have got a very long kitchen table and frequently have a hard time finding table runners to fit. Since time is ALWAYS a problem for me (more ideas than time) I thought I’d just make a super simple runner for it using some of my favorite fabrics (that also match my kitchen perfectly!)
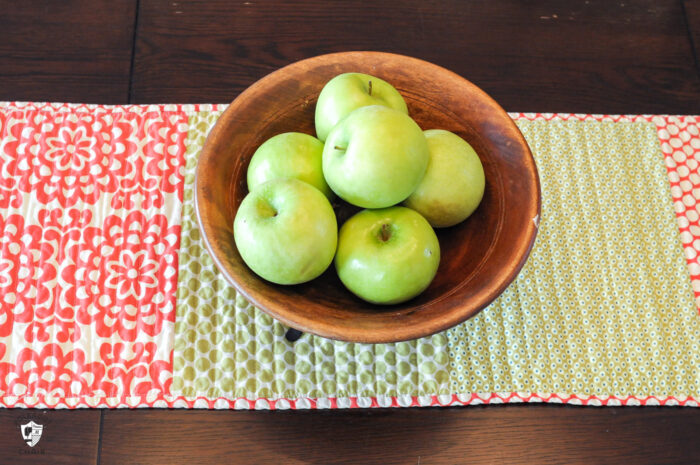
Table Runner Size
This runner is VERY easy, you could definitely do it in an afternoon or two. If you have not quilted before and would like to try it, it’s a very very easy project to start with. There are no corners to match up and the design is very flexible.
Just measure the length of your kitchen table to figure out how many blocks you need, it can be made to any length.
Simple Table Runner Supplies
My table runner about 14″ x 108 finished.
Before you start: Decide how long you’d like your table runner to be, then divide that number by 11. This will tell you how many rectangles you need to create your runner.
You can get 2 rectangles from each of your Fat Quarters. If you want your table runner to be made from 10 rectangles you’ll need to buy 5 fat quarters.
Fabric for Table Runner:
4 to 8 Fat Quarters of Fabric
Backing Fabric:
1 1/2 Yards. You may need more for a really long table runner.
Binding Fabric:
1/2 Yard
Batting:
I like to use 100% cotton batting. You will need about 108″ of batting that is 15″ wide. If you purchase a twin-sized batting pack you can use that, then you will have lots of batting leftover to make another table runner. You can also use it for small quilted projects or pillows.
Notions:
Walking foot for Sewing Machine
Construction Steps
Simple Skinny Fat Quarter Table Runner Tutorial
Equipment
- Walking foot for Sewing Machine
supplies
Fabric for Table Runner:
- 4 to 8 Fat Quarters of Fabric see notes at bottom
Backing Fabric:
- 1 ½ Yards You may need more for a really long table runner.
Binding Fabric:
- ½ Yard
Batting:
- 1 piece 15" x 108" I like to use 100% cotton batting.
Instructions
Construction Steps:
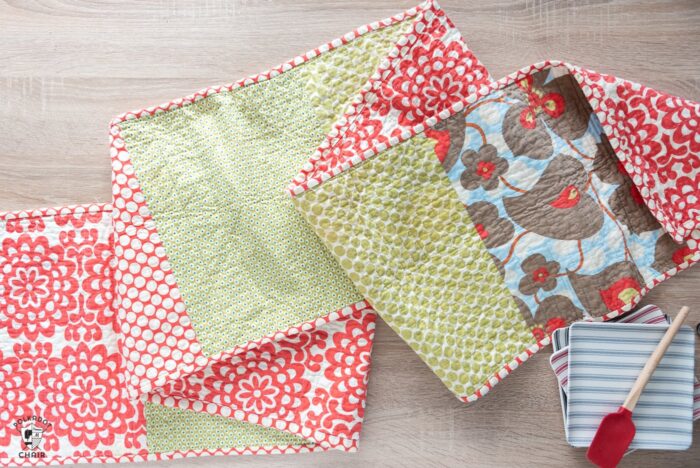
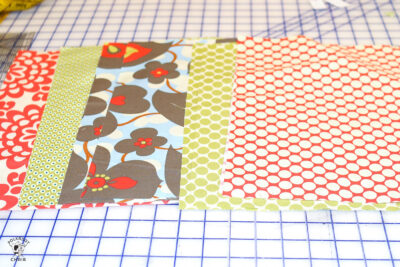
- Cut your fat quarters into pieces 14″ x 11″. You fat quarters are 18″ x 22″. So just cut it in half (11″) then in half again. If your fat quarter is not a perfect 18" x 22" you can adjust the size to work, just make sure all your pieces are cut the same size.
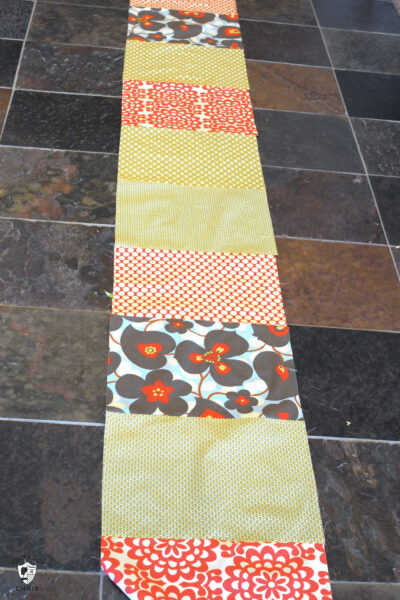
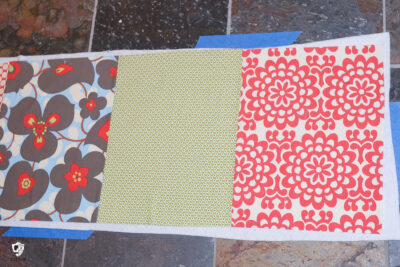
- Lay out your rectangles in an arrangement that you like. Then stitch the rectangles together along the 14″ sides. For my layout I stitched them in random order, making sure that no two of the same fabrics are next to each other.

- Stitch using a ¼″ seam allowance and press the seams to one side.

How to Quilt a Table Runner
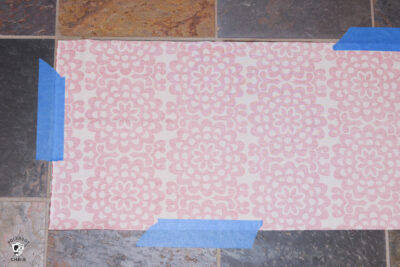
- Cut your backing material to 3″ wider and longer than your top. You will need to cut multiple strips of fabric, then stitch them together to get a piece long enough.
- Using painter’s tape, tape the backing to the floor. If you have a tile or wood floor, use the grout line in the tile to make sure that you have it taped down straight.
- Spray the backing with quilt basting spray (have something to catch the overspray otherwise you will have a sticky floor!)
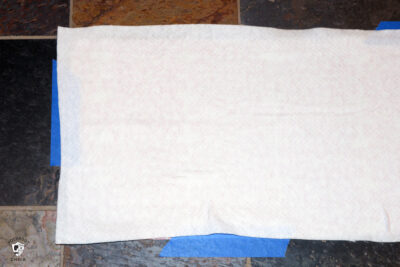
- Cut your batting to the same size as your backing (or about 1″ smaller). I used quilters dream cotton batting.
- Lay the batting over the backing, and use your hands to smooth out the batting so that there are no bubbles.
- Spray the batting with quilters basting spray. Then carefully layout your runner top. Use the lines on your floor to make sure it is straight. Smooth out to remove any wrinkles.
- Remove the tape and roll up the runner for quilting.
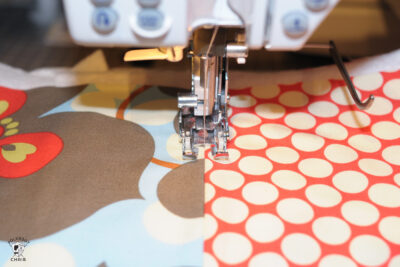
- For this project, you do need a walking foot. Otherwise, your fabric will bunch up and you will never get it to lay straight.
- Begin by sewing the seam between the 1st and 2nd blocks. Just sew straight down the center of the seam. Sometimes this is called stitching in the ditch.
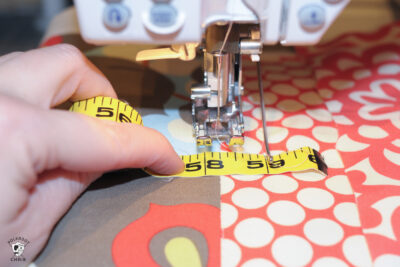
- Attach the seam guide to your walking foot. Position it so that it is ¾″ from the needle to the guide.
- Sew your next quilting line. Place your seam guide right over the top of the seam you just sewed. This will keep all of your quilting lines ¾″ apart. Keep sewing until you have sewn all the blocks. Roll the runner as you go to keep it out of the way.
- note: If for some reason your measurement is a bit off and your stitching line does not line up with your next seam, still stitch over the seam. You want to have a stitching line at every seam.
Finishing & Binding:
- After you are done with all of your stitching, lay your runner down on your table, and using a ruler and a rotary cutter, trim off your batting and backing pieces flush with the top of your runner.
- Bind the quilt using your preferred method. I like to bind mine by machine.
- After you have bound your quilt, throw it in the wash and dry it. This will give it a nice soft feel, all of your stitching lines will pucker up a bit, giving the runner some dimension!

Notes
More Simple Sewing Projects:
Farmhouse Style Hanging Dish Towel Tutorial
How to Make Oilcloth Placemats