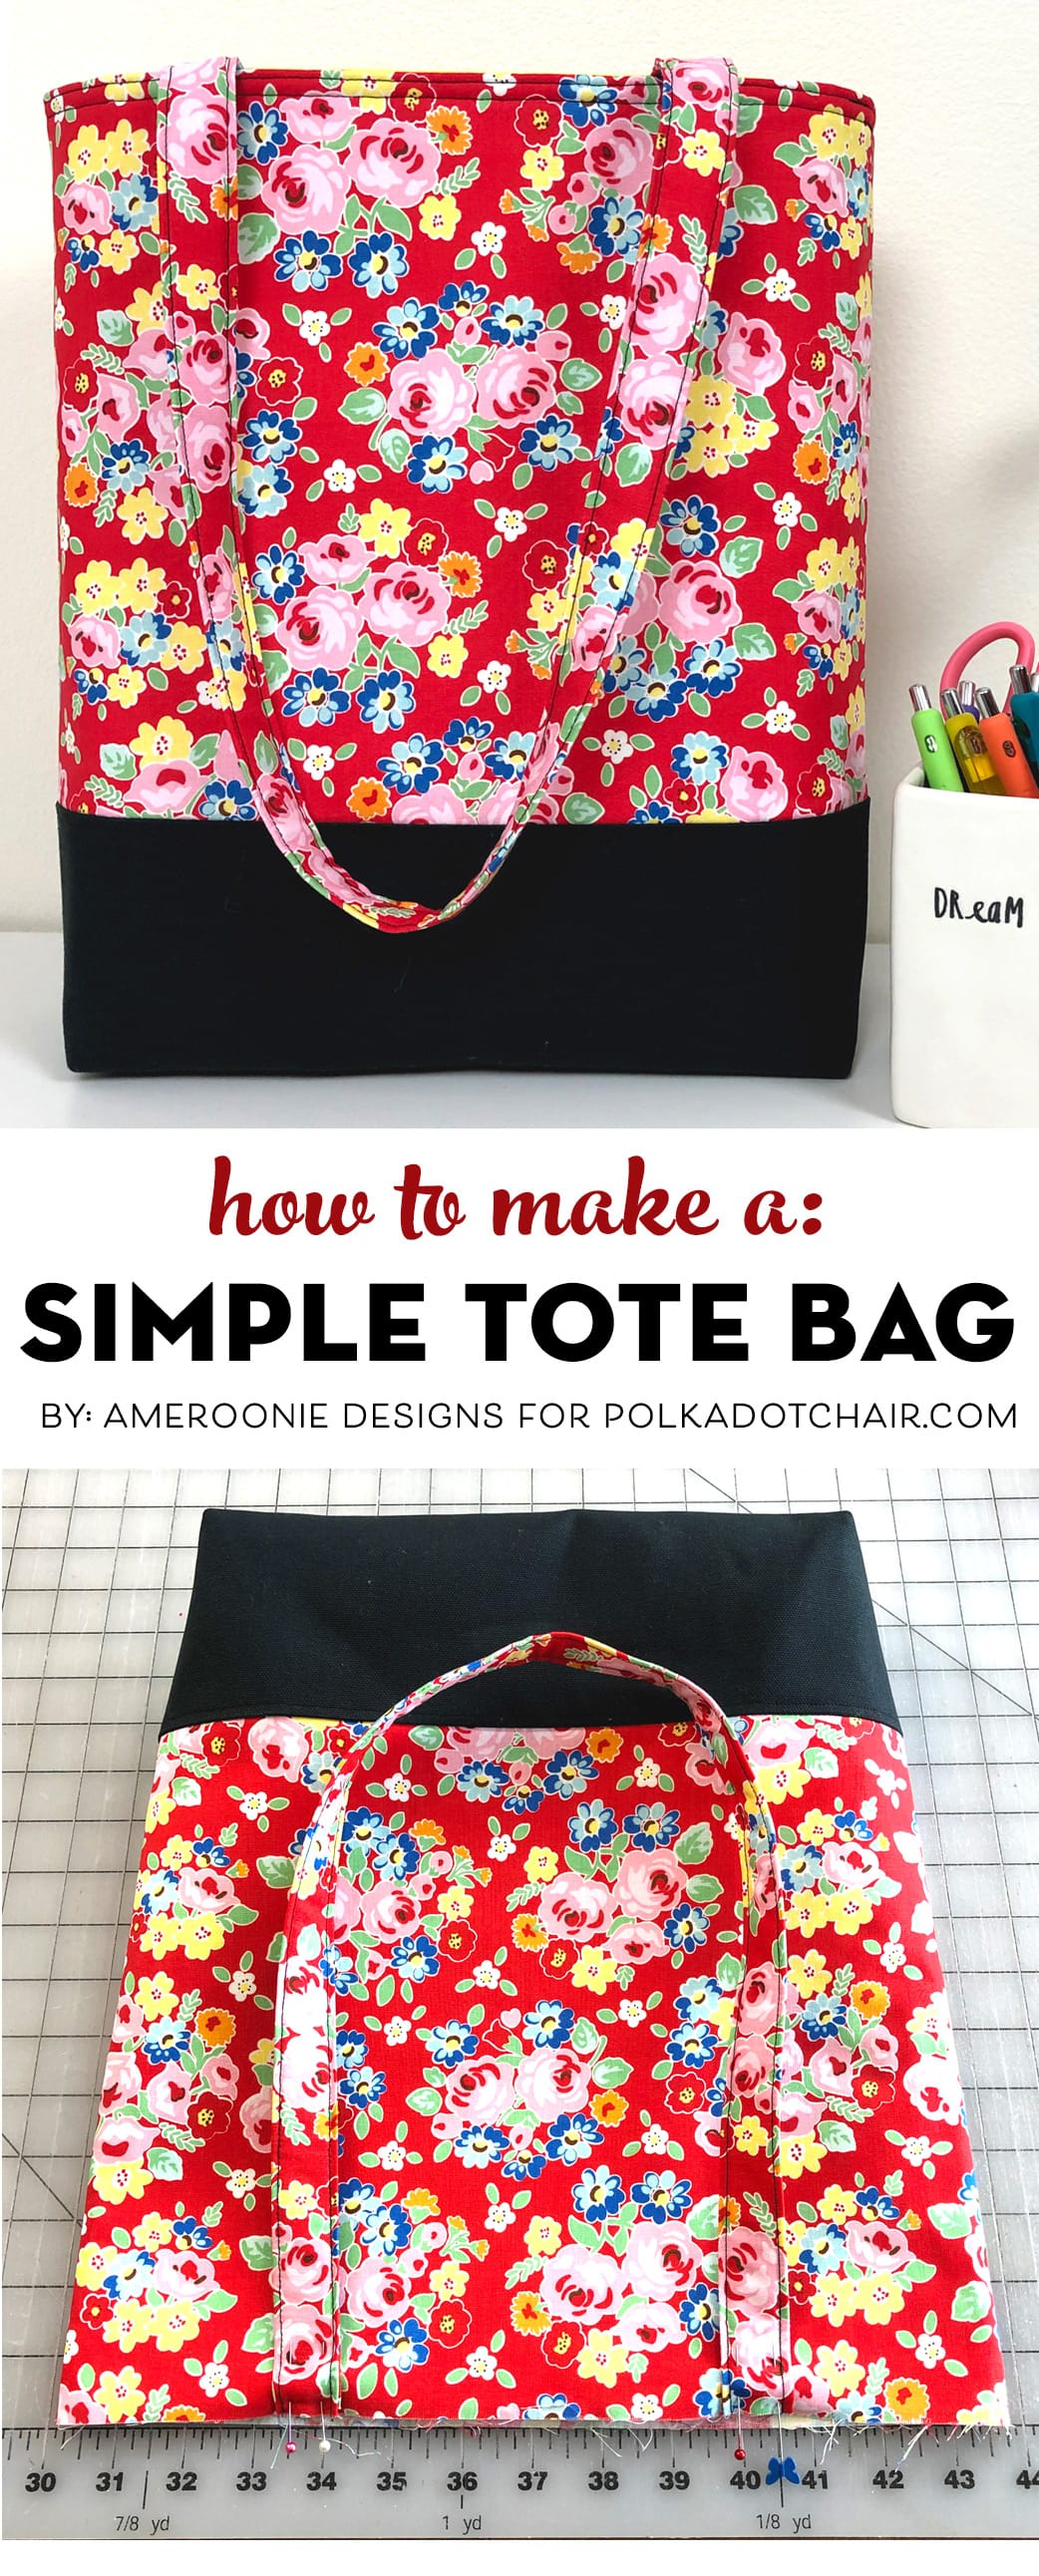
Learn How to Make a Bag; A Simple Tote Bag Pattern
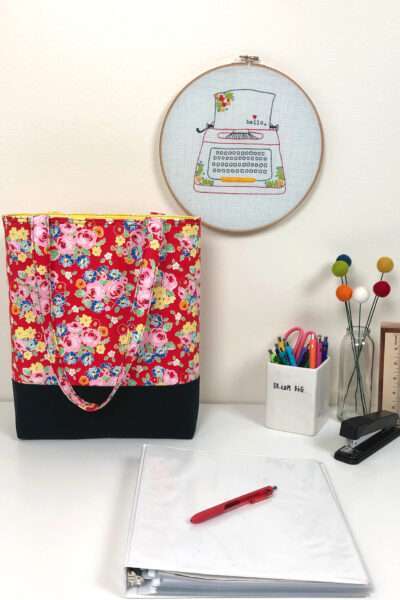
This simple tote bag pattern will teach you how to make a bag with a canvas bottom. It’s an excellent project for beginners in sewing or bag-making! The canvas bottom on this tote bag pattern makes it extra sturdy and perfect for toting all your stuff!
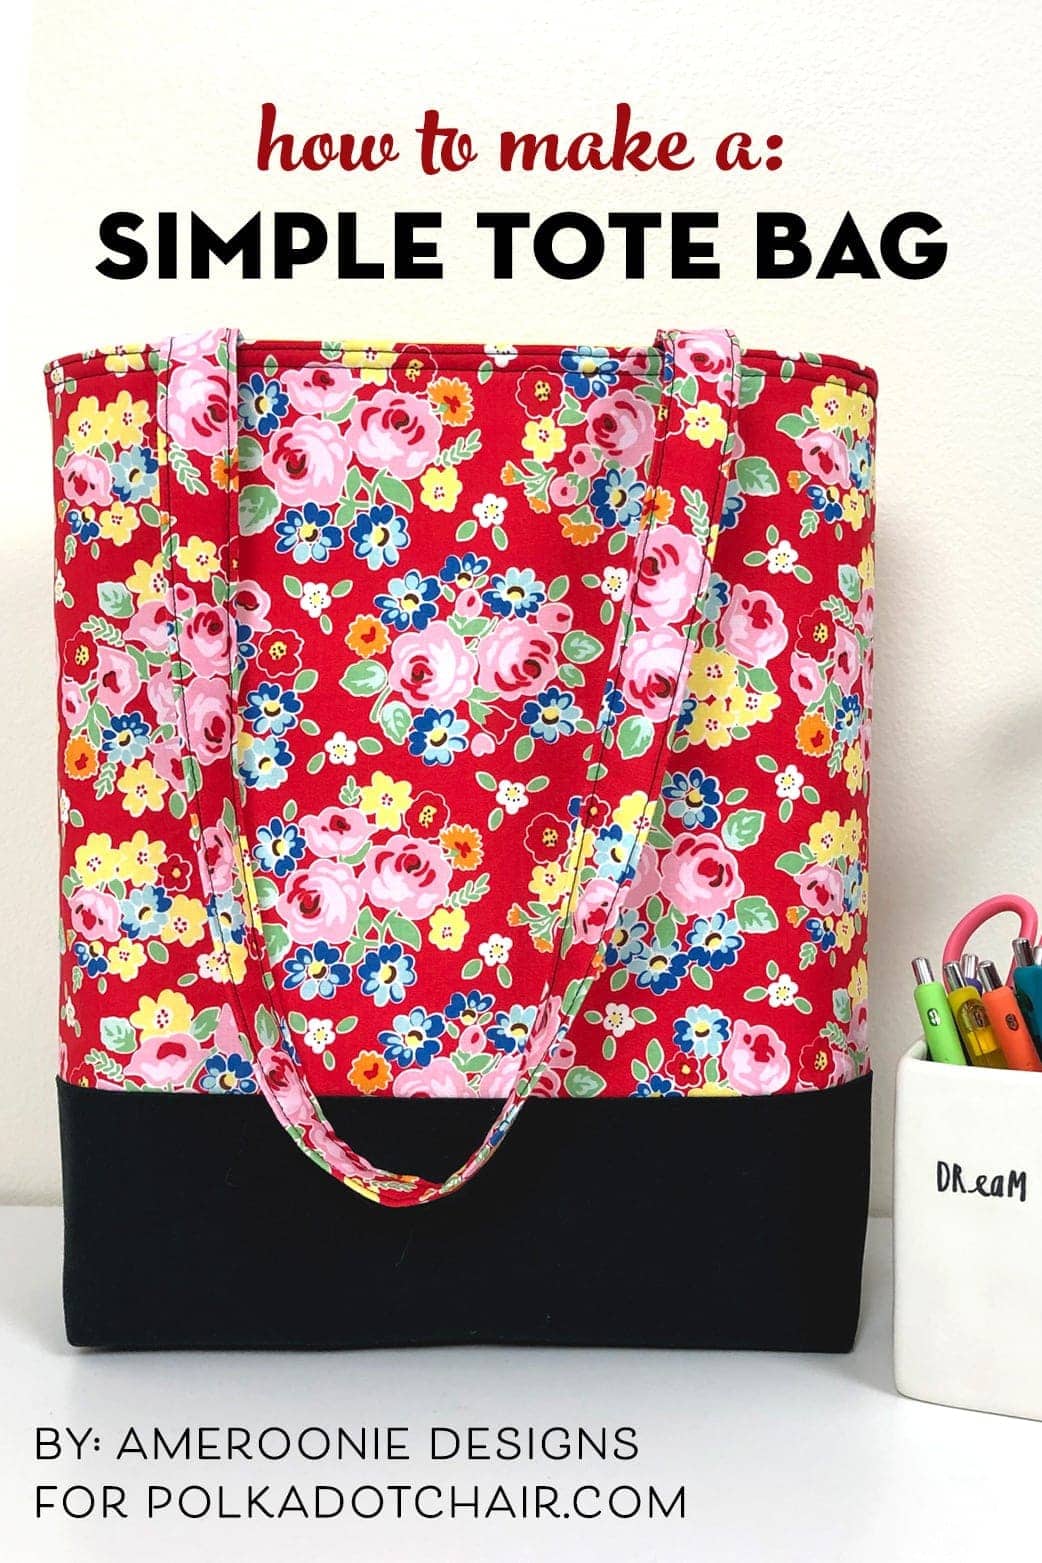
Please welcome Amy from Ameroonie Designs. Today, she’s teaching you how to make a bag!
Tote bags are always handy to have around. This free pattern for a simple canvas bottom tote bag will help ensure a few are always on hand. It can be used for library trips, music lessons, or as gifts.
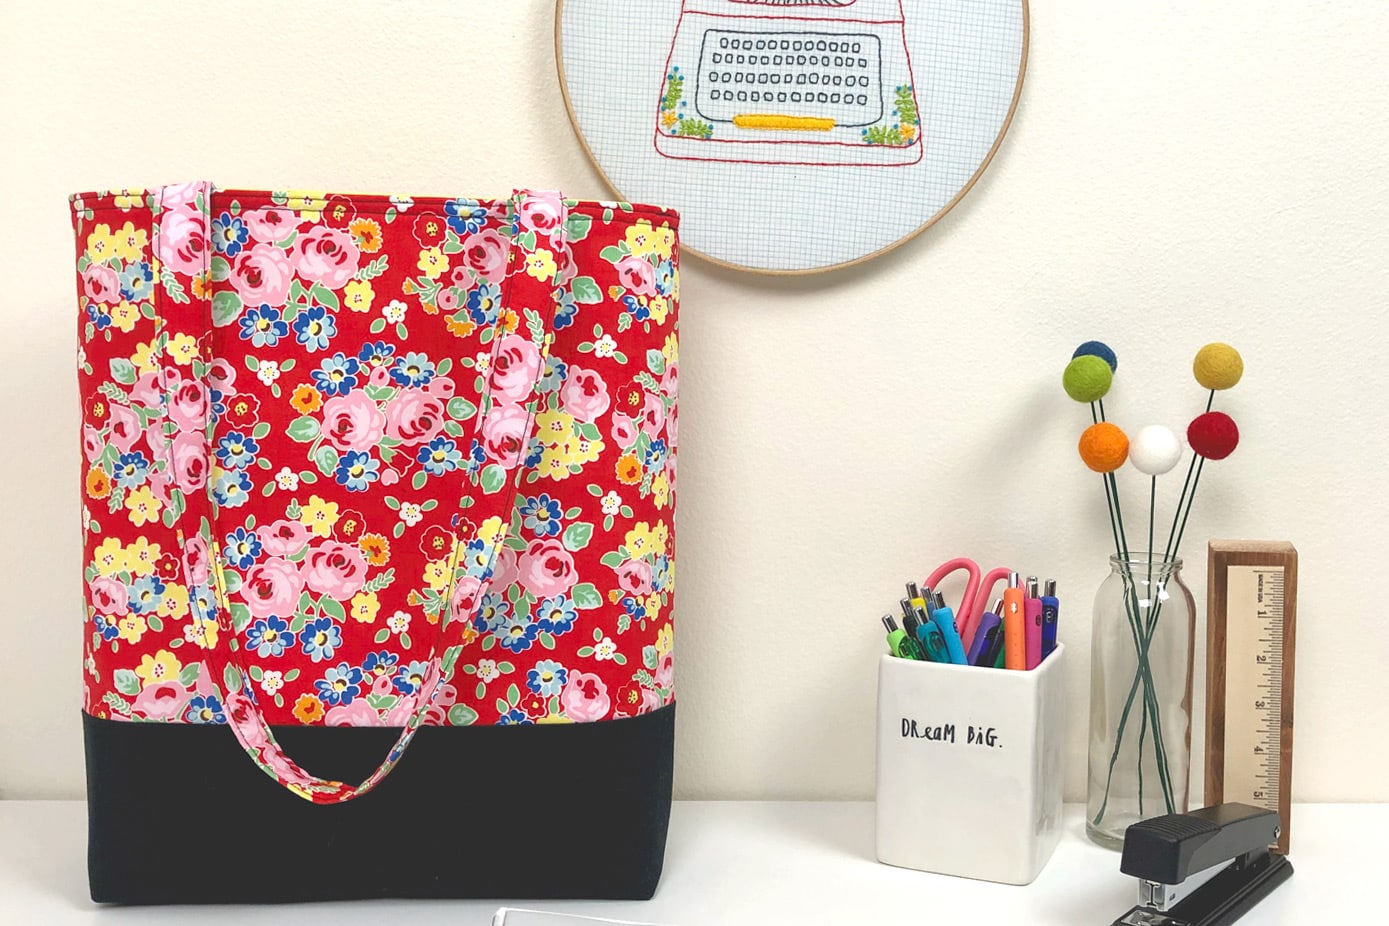
I think these would be especially lovely as a teacher appreciation gift! The canvas on the bottom of the tote bag helps reinforce the bottom and keeps dirt from showing quickly. I recommend choosing a dark color of canvas fabric for this reason. Adding fusible fleece and medium-weight interfacing gives the bag structure and body, giving your tote bag a wonderfully finished feel.
What can I use as a hard bottom of a tote bag?
You can use several materials to create a sturdy, hard bottom for a tote bag, depending on the level of support and durability needed.
Rigid and durable options include plastic canvas, heavy-duty cardboard, foam board, or quarter-inch foam. Layered fabric with heavy interfacing can work well if you prefer a more flexible but sturdy option. This Beach Bag Tutorial uses a plastic canvas to achieve this effect.
Simple Canvas Bottom Tote Bag Pattern
supplies
- 2/3 yard Exterior Fabric
- 1/2 yard Lining Fabric
- 1/6 yard Canvas or Duck fabric
- 1 yard Fusible Fleece
- 1 yard Medium Weight Interfacing
Instructions
Cutting directions:
- 16 1/2″ X 15″ from lining fabric, cut 216 1/2 X 15″ from exterior fabric, cut 24″ X 28″ from exterior fabric, cut 26″ X 15″ from canvas, cut 216″ X 14 1/2″ from fusible fleece, cut 23/4″ X 27 1/2″ from fusible fleece (cut a generous 3/4″ wide strip), cut 216″ X 14 1/2″ from medium-weight interfacing, cut 2
Step One: Fuse Interfacing and Fleece.
- First, take your exterior fabric and fusible fleece to your ironing board. Follow the package instructions to fuse the fleece to the wrong side of the exterior fabric.

- Fuse the medium-weight interfacing to the wrong side of the lining fabric- again, follow the manufacturer’s instructions.
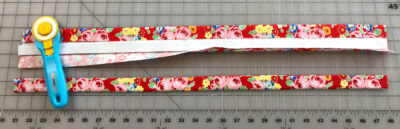
- Press your 4″ strips in half on the long side. Open this crease and bring the two outer edges into the creased line. Press.
- Open up one side and place your strip of fusible fleece inside the fold. Re-fold the crease and then fold along the original center crease as well.
- Fuse the fleece inside the folded straps.

Step Two Bag Assembly:
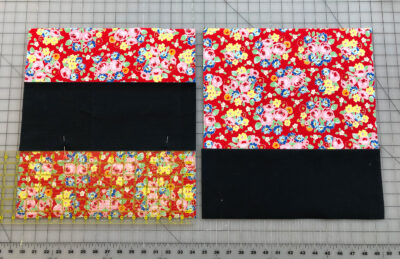
- Take two exterior fabric pieces. Measure up 5 1/2″ from the bottom and line up the canvas with your ruler. Pin in place.
- Sew along the bottom of the canvas piece using a 1/4″ seam allowance.
- Press the canvas down over the seam allowance. Square up to exterior fabric.
- Top stitch along the top seam of the canvas.

Step Three: Add Corners
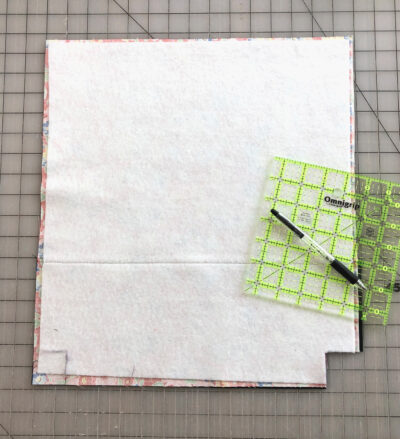
- For both Exterior and lining pieces of fabric, mark a 1 1/2″ square on both bottom corners of each piece.
- Cut out the 1 1/2″ squares.
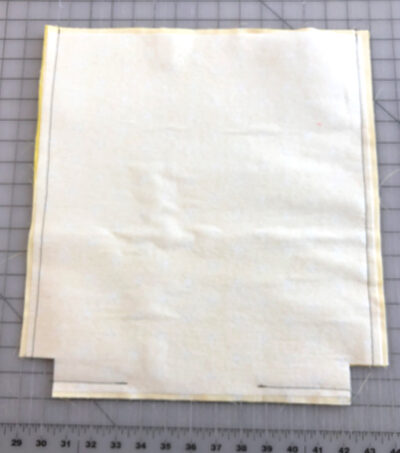
- Place the two matching pieces (lining together, exterior together) on the right sides, lining up all sides.
- Sew both side seams and bottom seam using a 1/2″ seam allowance- on LINING ONLY, leave an opening for turning on the bottom seam.

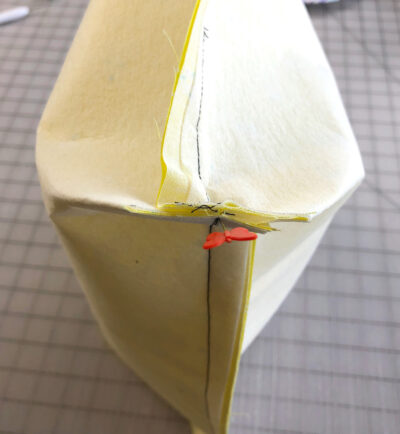
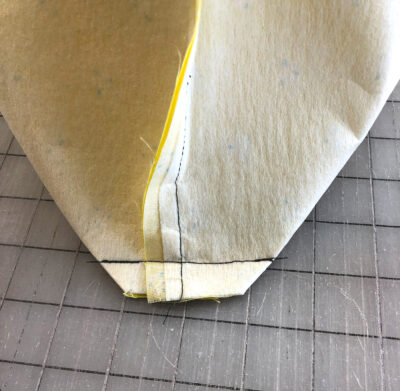
Step Four: Boxing Bottom Corners
- Pull the corners of the cut-out square away from each other to make a line.

- Line up the bottom seam with the side seam and push them in opposite directions to help the seams nest nicely. Pin in place.

- Sew along this edge using a 1/2″ seam allowance. Make sure to backstitch at the beginning and end of your stitching. Repeat this for both the bottom corners of the lining and the exterior. Press your seam allowances on the sides.
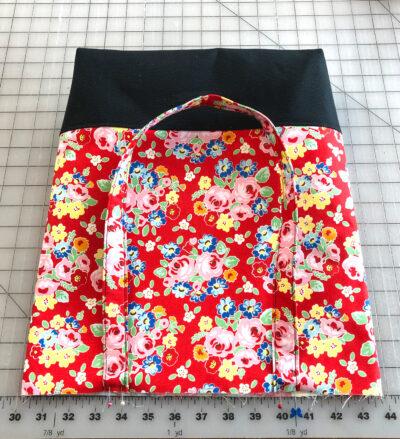
Step Five: Add Straps to Your Tote Bag
- Use an edge stitch to sew down both sides of both straps and turn your bag exterior right side out.
- Pull the two side seams out to create a flat line to the top.
- Measure in 3 1/4″ from each side and line up the edge of your strip with this mark.
- Pin strap in place- *I use two pins to keep the strap from shifting as I sew around the bag so they stay straight. Also, ensure your straps aren’t twisted as you pin them in place.
- Repeat for the second strap on the other side of the tote exterior.

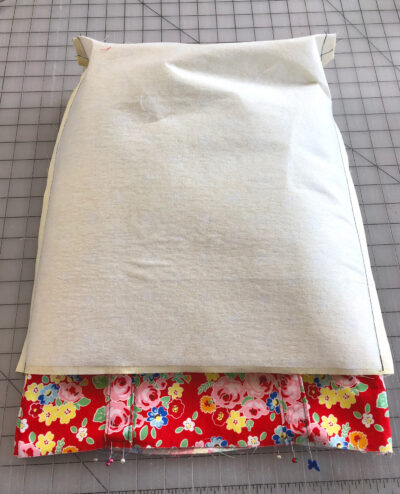
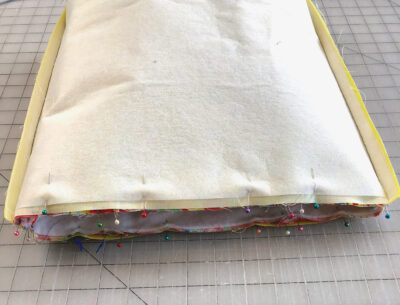
Step Six: Bag Finishing Steps
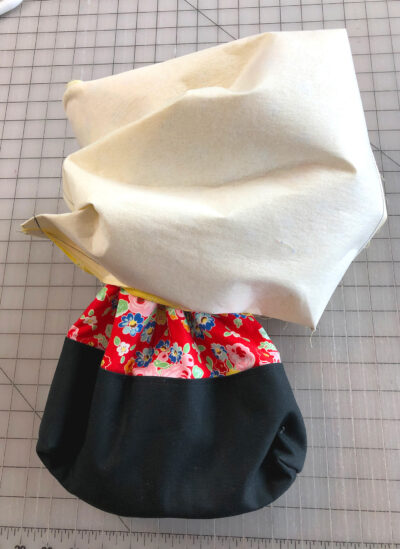
- Slide your bag exterior inside of your bag lining. Make sure the side seams are going in opposite directions.

- Match up the side seams and line up the tops of the two bag pieces. Pin around the entire top of the bag. Sew around this seam using a 1/2″ seam allowance. *TIP: When I sew over the straps, I like to backstitch at the beginning and end of the strap to reinforce this seam since it will get a lot of stress, especially if the tote is loaded with something heavy.

- Pull the bag’s exterior out through the opening left in the bottom of the lining. Turn the lining right side out as well.
- Sew the opening in the lining shut using an edge stitch. *you can always sew this opening shut by hand to hide the seam, but I find it unnecessary.
- Push the lining of the tote bag inside the exterior of the tote bag.
- Press the top seam well.
- Top stitch around the top of the tote bag.
- Give your tote bag one final press, and Enjoy!

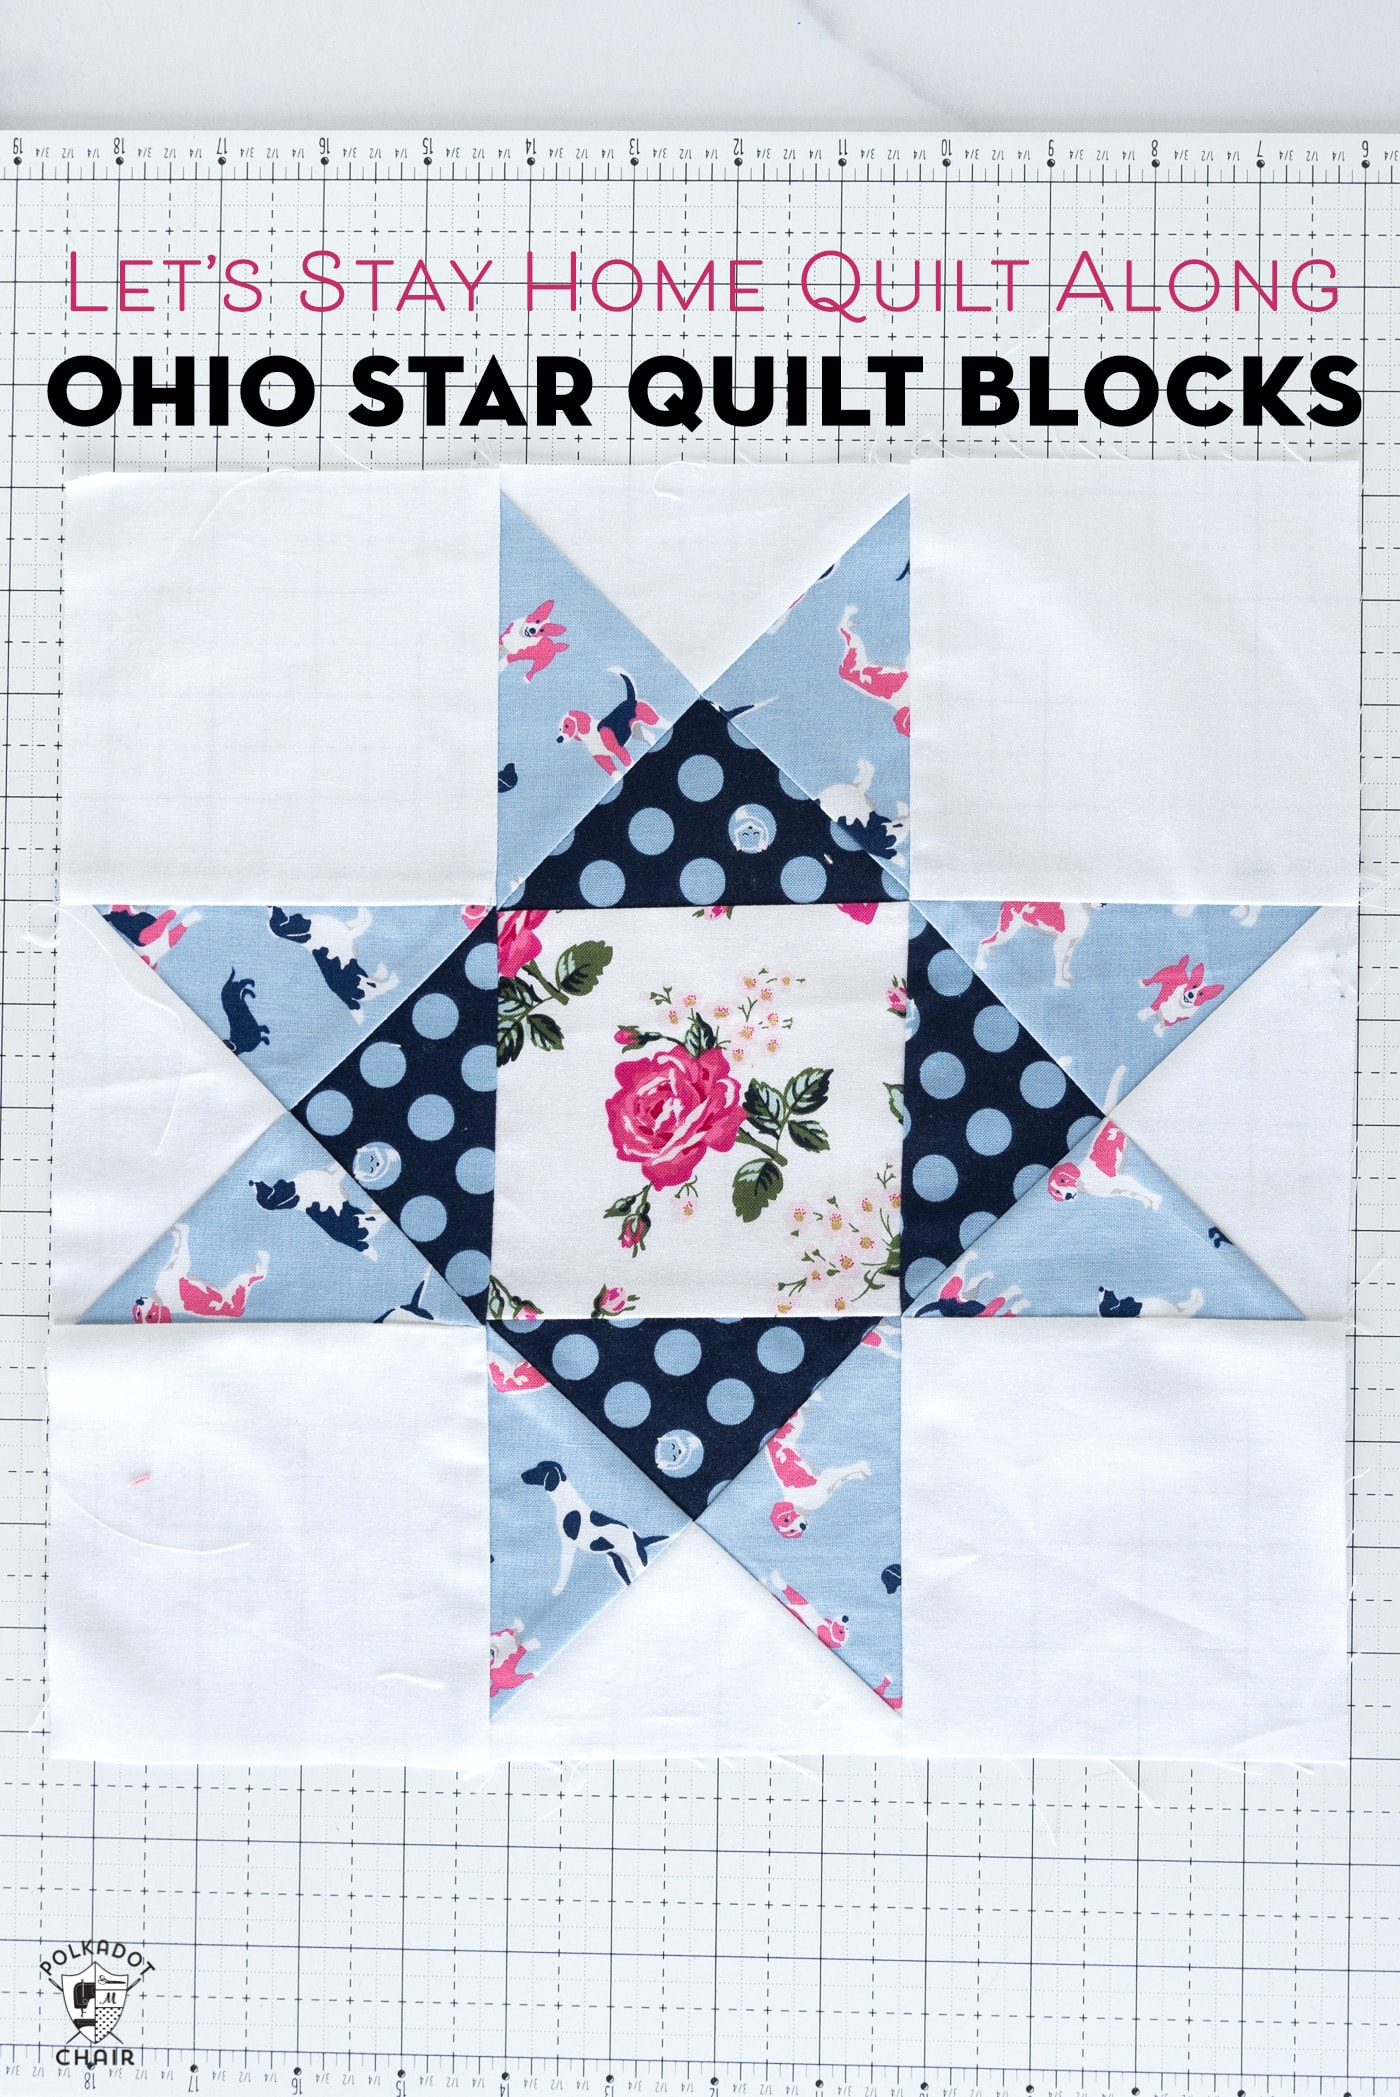
Useful and beautiful- you may find yourself making these tote bags often! They would be a great way to use orphan quilt blocks- add borders to get them to the proper size for your tote! Check out this Tote Bag Tutorial if you want to make more bags!
More Great Bag Patterns from Amy:
And if you’d like to sew up a zipper pouch to go along with your tote.
Ruffle Zip Pouch Sewing Tutorial
About the Maker:

Hello! I’m Amy Chappell, the person behind Ameroonie Designs. I’m a sewing and quilt pattern designer, and I’m proud to say that my work has been featured in several print publications and popular DIY websites.
I am the mom of six kids- which is a big reason I create and sew. I find that I am happiest when I am making things, and taking time to be happy makes me a better mom.
Join me in my exclusive Let’s Sew Friends membership, where you’ll find small, manageable monthly sewing patterns, live classes, and lots of video tutorials!
More Fun Bag Making Tutorials & Tips:
15 Must-Know Bag Making Tips & Tricks
How to Make a Quilt Block Tote Bag
Oversized Beach Bag Sewing Pattern

Great tutorial for a tote. I’m planning on trying it this Fall. Is there way to have you consider making this into a video tutorial. For me and, I’m sure, many others it’s best to see the actual making of an item in progress.
I’ll try to send you a picture once I complete my project.
Again, great tutorial.
This is such a cute tote bag. Thank you for sharing the information with us.
Amy what a wonderful tutorial for a cute tote. I could even see this as a scrap buster if you make the big panels out of some scraps. The bottom looks really sturdy from the duck cloth!
thank you for the tutorial.