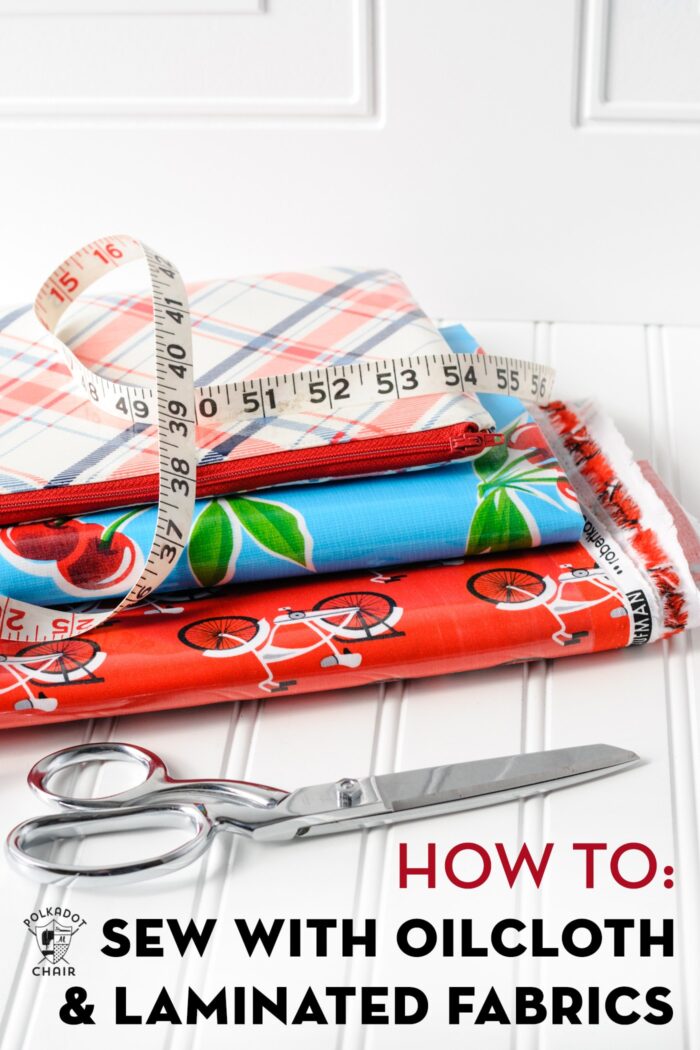
How to Sew with Laminated Fabric & Oilcloth
Learn how to Sew with Laminated Fabric and Oilcloth using these simple tips, tricks, and techniques!
I love to sew with laminated fabrics. The lamination gives the fabric a nice sheen and has the added benefit being easier to keep clean. Whenever I post a project using a laminate fabric, I get a lot of questions about how to sew with it.
Most people seem a bit intimidated. I’m here to tell you that it’s easy to sew with if you know a few sewing tips, tricks, and rules.
What is Laminated Fabric?
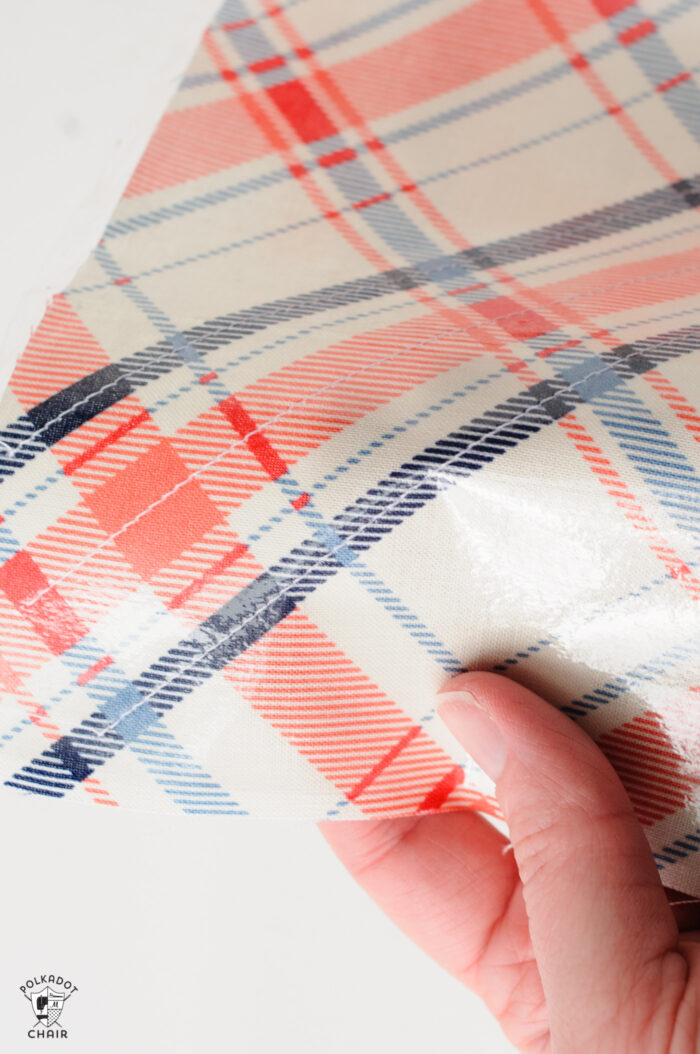
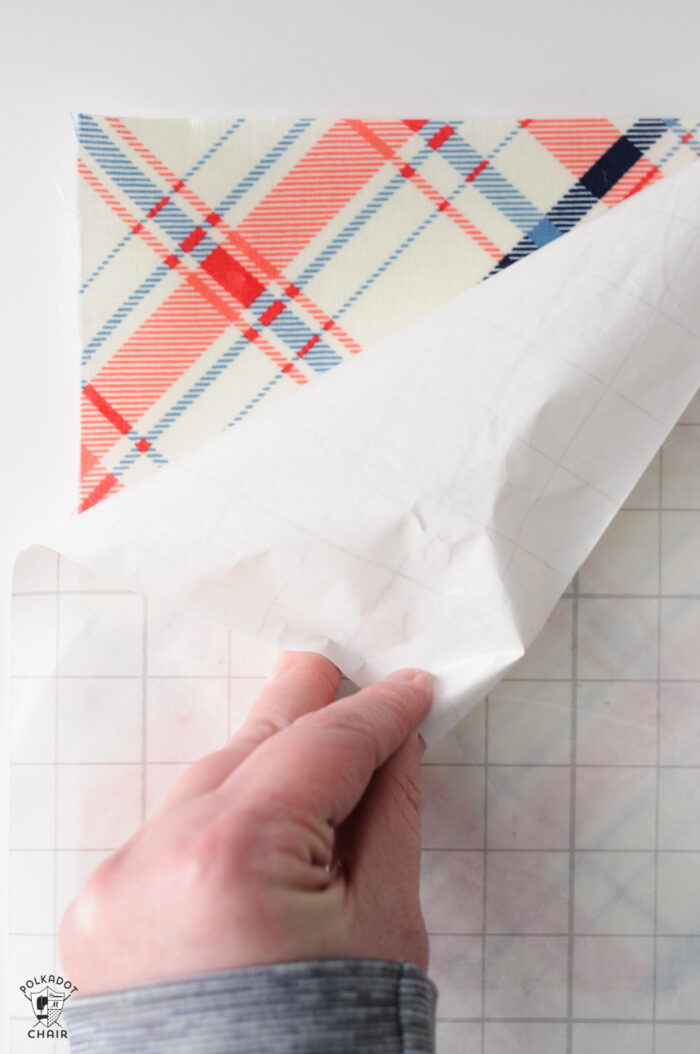
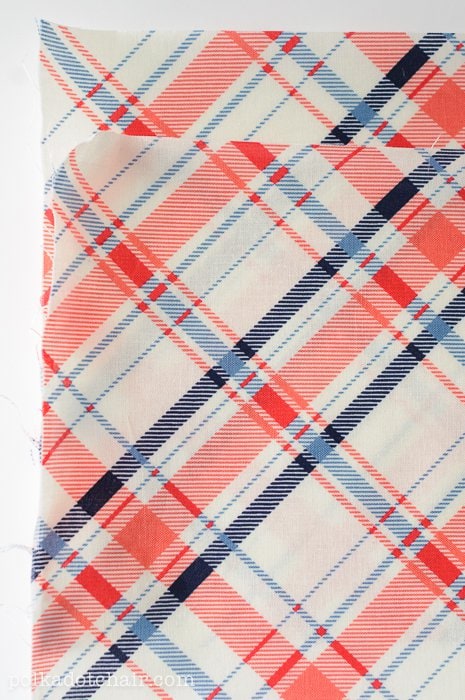
Laminated fabric (including oilcloth and chalk cloth) has a plastic coating on the front. Most of the time it’s added after the fabric is printed by the factory. (You can also add it yourself later, but it’s not as sturdy as the pre-laminated version).
For simplicities sake, we’ll just call all laminate, oilcloth or coated fabrics – laminated from this point forward.
The plastic coating on the fabric makes the fabric water-resistant and easy to clean up. This makes the fabric great for bags and children’s items.
This also makes it hard to sew with because the plastic coating has a tendency to get stuck under your presser foot.
This becomes an even bigger problem if your laminate fabric is facing the feed dogs of your sewing machine, as the feed dogs can damage the fabric.
Luckily most of the time when I sew with a laminate fabric, I don’t need to sew with laminate both under my presser foot and facing my feed dogs at the same time. Most of the time I’m just topstitching or attaching a zipper.
However, I will teach you a few tricks and things to try if your project features laminate fabric on both sides of your project.
Supplies Needed when Working with Laminated Fabric or Oilcloth
When I work with laminate fabrics there are a few things I like to have on hand.
- Teflon Pressing Sheet (or paper leftover paper backing from a package of Iron-on Vinyl)
- Teflon Sewing Machine Foot – you can also use Scotch Tape
- Sewer’s Aid – This comes in a small bottle and is available in the sewing notions section. It is an oil that you apply to the top of your fabric to allow your presser foot to glide over the material.
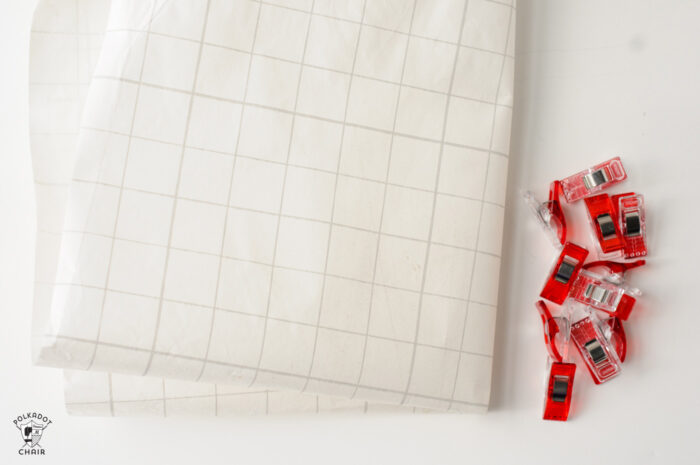
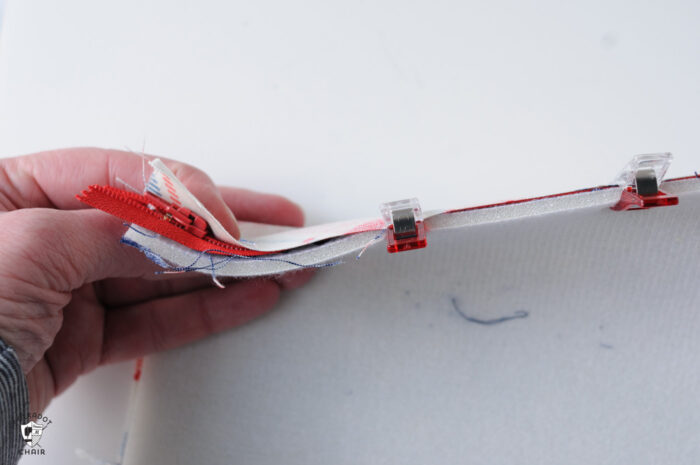
- Binding Clips – Pins and laminate usually don’t get along, so I find that using binding clips makes sewing much easier.
Where to Buy Laminated Fabrics
First, check your local quilt and sewing shops. Sometimes it can be a bit hard to find laminate fabric in stock. I like to buy mine from this Etsy shop. They carry many laminated fabrics including many from my fabric lines.
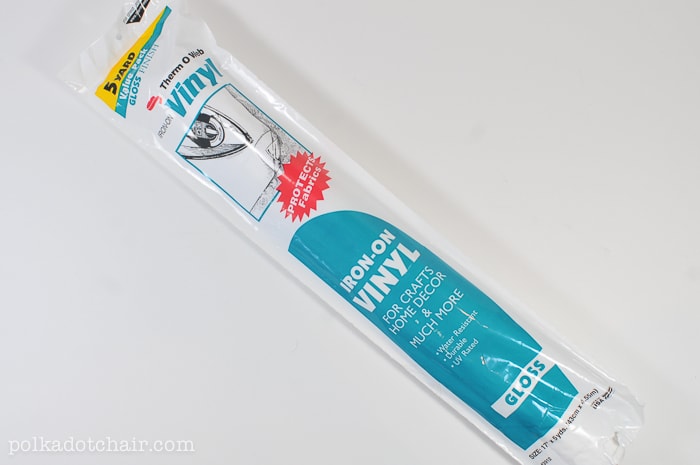
How to Laminate Fabric Yourself
Many times I will want to sew with laminate fabric but I either can’t find it, or the manufacturer didn’t laminate the print that I want. In this case, I will laminate it myself using Iron-on Vinyl. It’s made by Thermoweb and you can find it online.
Iron-On Vinyl is very easy and straight forward to work with.
To apply it to fabric, cut your vinyl the same size as your fabric piece (note it’s only 17” wide so plan accordingly).
Peel off the paper backing and place the sticky side onto the right side of your fabric. Then using the paper backing, iron the vinyl onto the fabric. There are more detailed directions on the package if you need them.
Things to Note:
- You HAVE to use the paper backing. Otherwise, the vinyl will just MELT right onto your iron. The bigger the piece of backing the better.
- I prefer to make sure that the paper backing is larger than the piece I’m ironing. Otherwise, you run the risk of melting the vinyl with just the corner of your iron.
- The shiny side of the backing faces the vinyl and the paper side (with the grid) faces your iron.
How to Sewing Directly on Laminated Fabrics
When I’m sewing any project using a coated fabric, I know that ANY time my machine foot touches the coating that I need to have a buffer between my foot and my fabric.
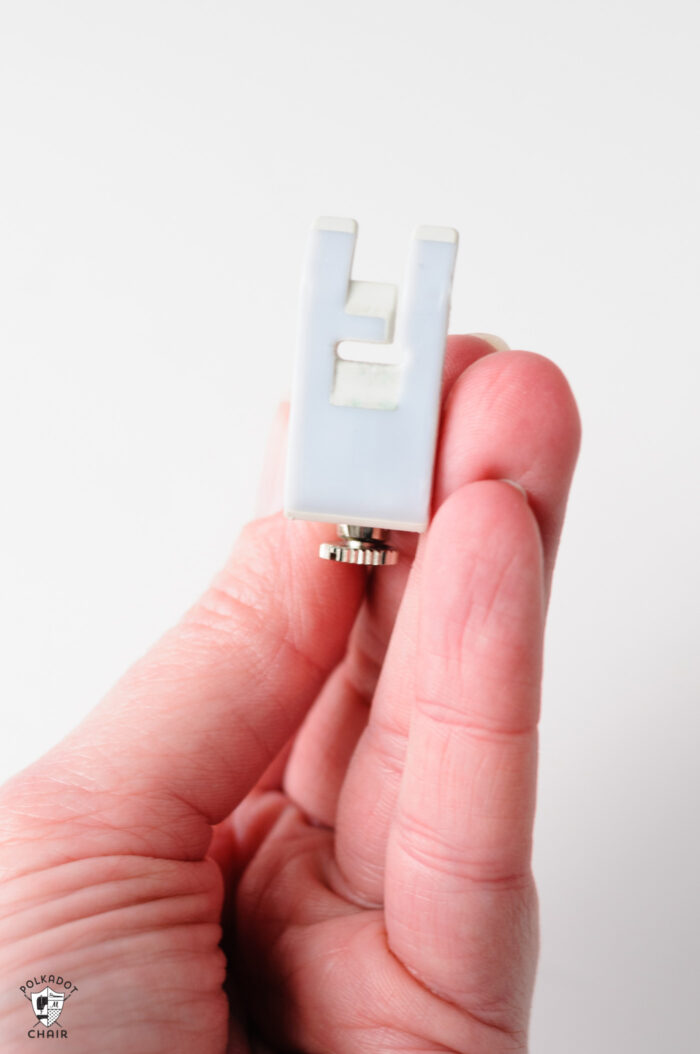
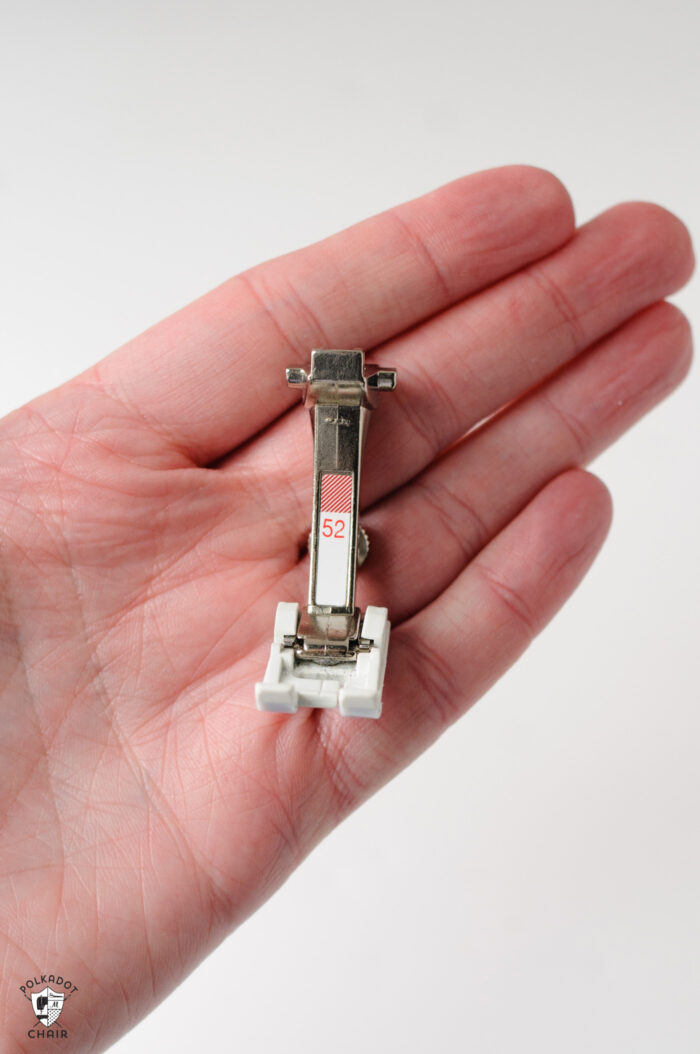
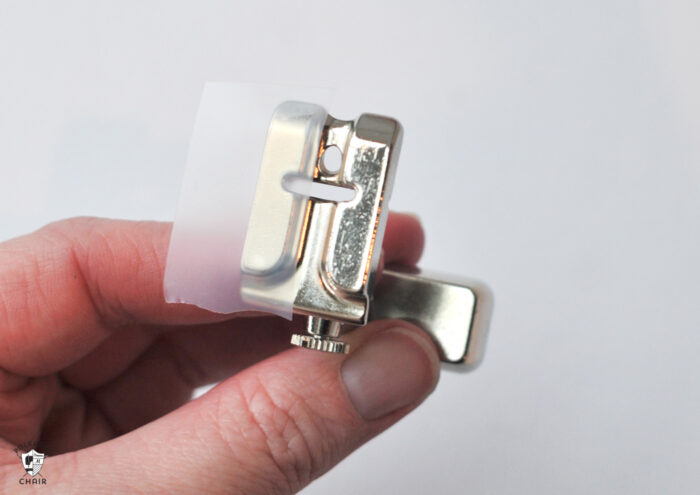
Option 1: Use a Teflon Foot
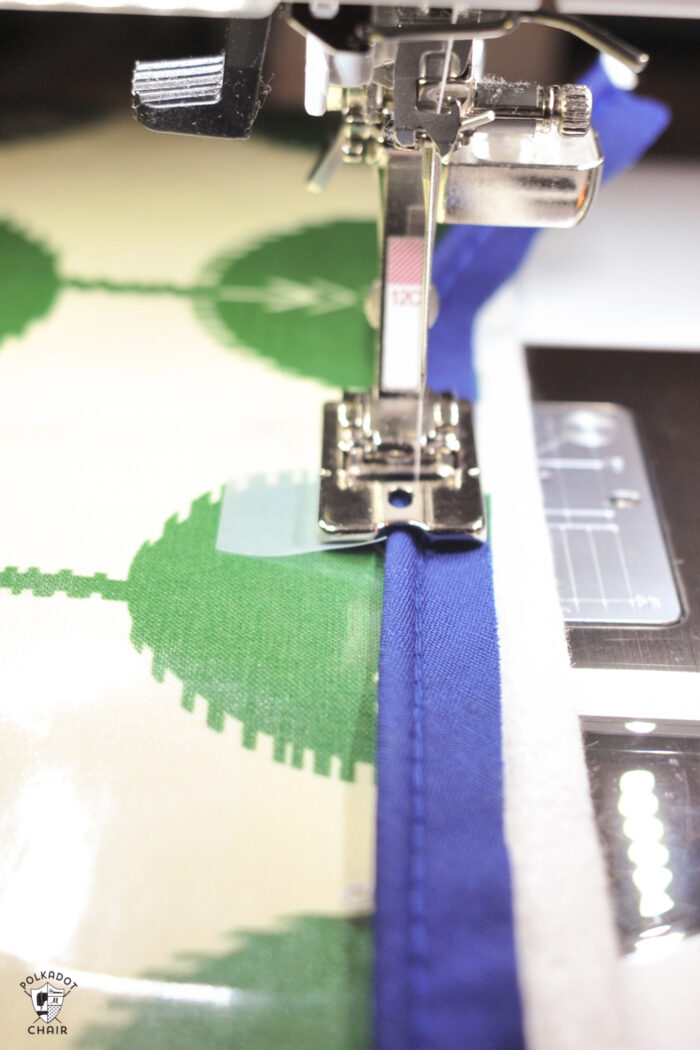
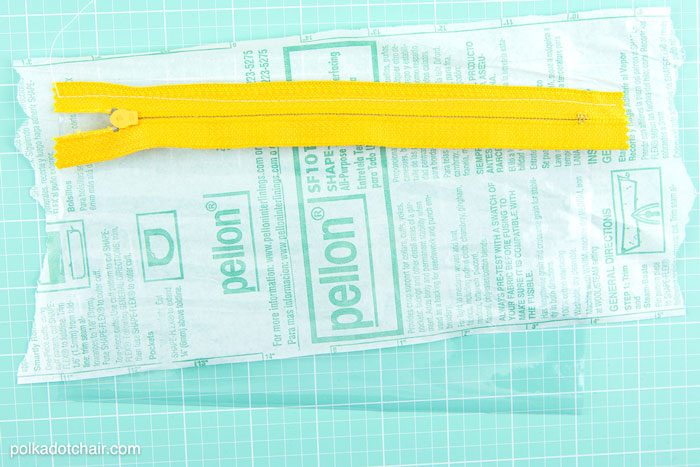
My favorite way to do this is to use a Teflon foot. BERNINA actually makes several Teflon coated feet. The one I use is #52. It’s narrow enough to topstitch near a zipper and it has a wide enough opening to move my needle to the position that I need it.
At times you may run into a situation where you need to use a special foot (i.e. a piping foot) on a laminated fabric.
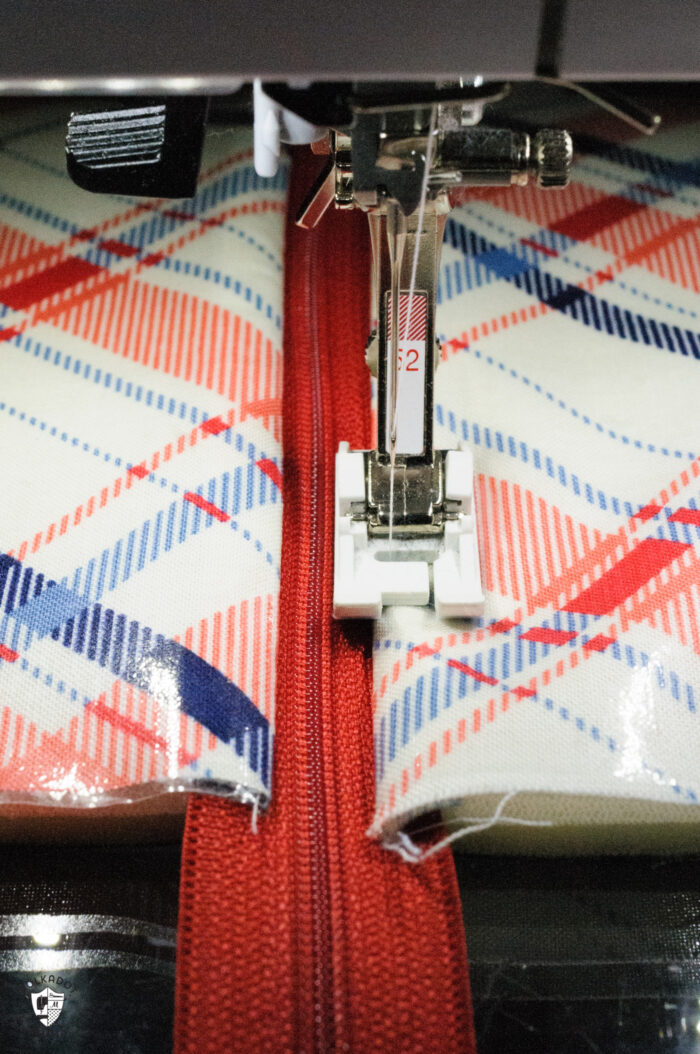
For example, if I’m stitching piping down to the edge of my fabric but half of the foot is touching the coated fabric. If I left it alone, the fabric would pull under my foot, and my piping would not be stitched down completely. To remedy this, I place a strip of scotch tape on the half of my foot that is touching my coated fabric.
Option 2: Use Scotch Tape on your Presser Foot
Now, you can, of course, use this trick with ANY machine foot instead of buying a Teflon foot.
However, I notice that this trick works best only for a little bit, the tape is not super sturdy. If I’m sewing a large project I’ll have to keep reapplying the tape, so for that reason, I like to just have a Teflon foot.
Things to Remember when Sewing with Coated Fabrics
1- DO NOT iron directly on the coated fabric.
2- Use a buffer between your machine and the fabric. Either a Teflon coated foot, tissue paper or scotch tape.
3- Your sewing needle will leave holes in the coating, however, you CAN unpick. After you’re done unpicking run your iron over your fabric (using your paper backing) to seal up the holes left by the sewing needle. I recommend using binding clips when sewing with laminated fabric for this reason.
4- The fabric is not super foolproof. If you unpick a few too many times, or twist and turn the fabric too much, it’s going to damage it and look bad. You probably just need to start over at that point. DO NOT turn it right side out more than 1 or two times.
5- You can iron coated fabrics, just either iron the wrong side of the fabric or use a backing sheet between your iron and your fabric. To be safe, especially when working with oilcloth, test a piece first. You may need to use a lower heat setting on your iron.
6- Be aware if you ever want to use a coated fabric as a lining, you will need to ensure that your coated fabrics don’t touch each other while pressing at any step in your construction. This is especially important during the final pressings.
Once I made a pouch with a laminated fabric lining and when I pressed it for the final time the linings touched and melted together!! Ruined my entire project. For this reason, I don’t usually use coated fabrics as linings.
Tips for Sewing with Laminated Fabrics
Tip One: Use Sewer’s Aid
This is an oil-based product for sale at most fabric stores. Place a small bead of Sewer’s Aid on the fabric you want to sew. Spread it out with your finger then sew.
Tip Two: Finishing Seams is Easy
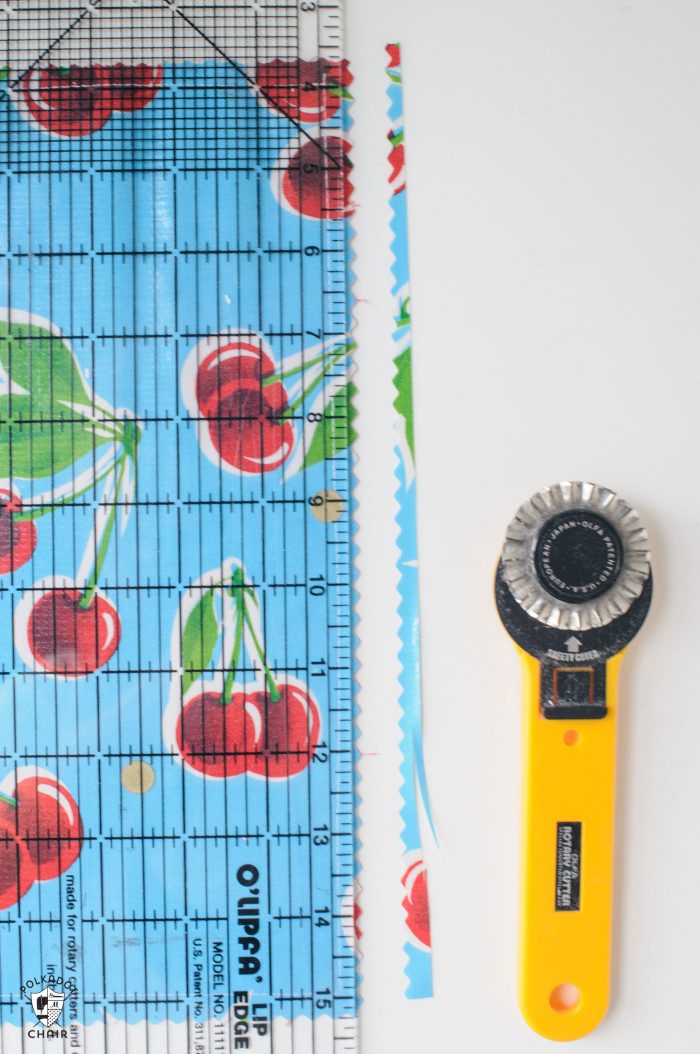
Coated fabrics do not fray (due to the plastic coating) so there is no need to finish off the seams. You can use this feature to your advantage and have your seams exposed on the right side of your sewing project. Use a pinking blade on your rotary cutter to add a nice finish to the edge if your seams are showing.
Tip Three: Use Scraps of Tissue Paper or Interfacing Paper
Okay now, what do you do if your coated fabric is facing your feed dogs? Use tissue paper. I cut a piece of tissue paper about 1” wide by the length of the portion to be stitched. I then place it between my coated fabric and the feed dogs on my machine. Stitch as normal then pull off the tissue paper when you are done sewing.
Tip Four: Be Careful When Ironing
DO NOT ever touch your iron to the front of your coated fabric. It will melt the fabric onto your iron and leave a permanent mark. Instead, use a warm iron on the WRONG side of the fabric when pressing is necessary.
If you do need to press the right side of the fabric, use a pressing cloth or a silicone pressing sheet to keep the iron from sticking to the fabric.
Project Ideas for Laminated Fabrics
1. DIY Disney Bags made with Vinyl Fabric
4. Wet Pouch made from a Shower Curtain
7. Makeup Bag with a Vinyl Lining – Tutorial
12. Oilcloth Pencil Pouch Tutorial
13. How to Make Oilcloth Placemats
This post was originally published earlier and has been revised with improved and updated content.

Any advice on elasticized edges? I want to make a square fitted table cloth.
Hi, I just finished making three aprons using laminated fabric. Will not really fabric but put the laminated vinyl over paper and ironed it on the apron. Was looking for some answers and came across your tutorial. Though your tutorial didn’t answer my questions I found it helpful and easy to understand. So I thought I ask you my questions. First can the laminated vinyl be used over paper? And I know laminated vinyl is used to keep the fabric clean by just wiping it. Since I used the vinyl in a small area on the pockets, can the apron be put in the washer? Thank you for any answers you might can give me.
I have a roller foot. Would that work the same as a teflon foot?
I have not tried it but I’m told it works the same way.
I’ve got some of your beautiful prints professionally laminated now
They are listed in my etsy store here https://www.etsy.com/shop/Laminates too
Melissa, bom dia ! Suas dicas são maravilhosas, obrigada!
I have a mattress pad with waterproofing; I want to cut it and use it for another project. Is this considered a laminated fabric with the same instructions?
Thanks for the helpful information!
Do you have any idea if it is possible to laminate pieced fabric, e.g. parts of a bag?
This is really great advice thank you. I am fairly new to sewing, but got excited when I saw this. I would like to make a box for my kitchen that I can put my recyclable items in, and have been wondering how to go about doing this, so that it looks nice and is durable. I’m pretty sure now reading this blog that I may be able to do this using oil cloth. I will let you know how it turns out. Thanks for your tutorial.
Angela x
Oh my gosh, this is so helpful! I’d really love to know where that awesome bike fabric is from, I’ve been wanting to use a laminated fabric to make bike bags.
HI I sew laminated fabric just once but I have very good experience with walking foot, no gathering under foot and the feeding was nice even.
Thank you for sharing this wonderful tutorial.
Thanks putting together this great tutorial on how to sew with laminated fabric, it’s long been an ambition of mine to sew with oil cloth so this is really useful. I have shared it with on my Facebook page and blog
I just discovered your blog last week (courtesy of A Girl & A Glue Gun) and wanted to say I think I’m in love. I am also addicted to polka dots. They’re just so darn happy! I saw this tutorial yesterday & it was just the inspiration I needed to make myself a new makeup bag (I received Urban Decay’s Naked Palette for Christmas & they just don’t make bags to fit those things!). This method worked wonderfully for some beautiful printed cotton I picked up at Hobby Lobby. Thanks so much for giving me the courage to try laminated cotton!! You are awesome & you’ve certainly gained a new fan.
Hi!
I’m so glad it worked for you!!! It really is one of my favorite fabrics to sew with. Thank you so much for your kind words!
I made a clothespin pouch using coated fabric over the summer. Having never used the stuff before I just use the good ol’ trial and error method as I went along. I found that regular blue painters tape worked amazing!
I’ve always got rolls of the stuff laying around so I used tape to hold my pieces together where we would traditionally use pins. I also unrolled tape on the coated fabric where I wanted my stitch lines to be and then placed the coated fabric down against my feed dogs and my lining fabric up under my (non-teflon) presser foot. I sewed it up and then just pulled the tape off after. It’s much more sturdy than scotch tape so it stays put, and it pulls off cleanly as it’s designed to do on your walls.
Okay that is genius. I never thought of using painters tape before but I bet that is so much easier than messing with the tissue paper. Thank you for sharing your tip!
love this idea, i shall have to make one 🙂
http://willowandthewolfe.blogspot.co.uk/
I want to make a rain hat and your tutorial is so helpful, especially the part about making my own coated fabric. I just wondered, will the stitching lines create holes which will defeat the purpose of the rain hat keeping me dry? Or do I need to spray it with something after I sew it?
I don’t think the needle will make holes big enough to worry about. You should be fine.
Great tips! Shiny fabrics make me happy, too. I’ve got a Craft Gossip post scheduled for later today that links to your post: http://sewing.craftgossip.com/tips-for-sewing-on-laminated-fabrics/2014/03/02/
–Anne
As always, thank you so much Anne!
Can you tell me what size needle you use for laminate? I had a problem with skipped stitches the last time I sewed on laminate. I did use a Teflon foot. Thank you for the informative post.
I usually use a size 80 Schmetz needle, make sure it’s a new one. If you sew with a dull needle it will cause problem. You also might want to try microtex needles if you’re having troubles. They are super sharp and may help punch through the laminate cleanly.