Create a Disney Canvas Tote Bag with Appliqué and Thread Sketching
If you’re a Disney fan, this DIY project is perfect for you! In this tutorial, we’ll teach you step-by-step how to make a personalized Mickey and Minnie Mouse canvas tote bag using fabric appliqué and thread sketching techniques.
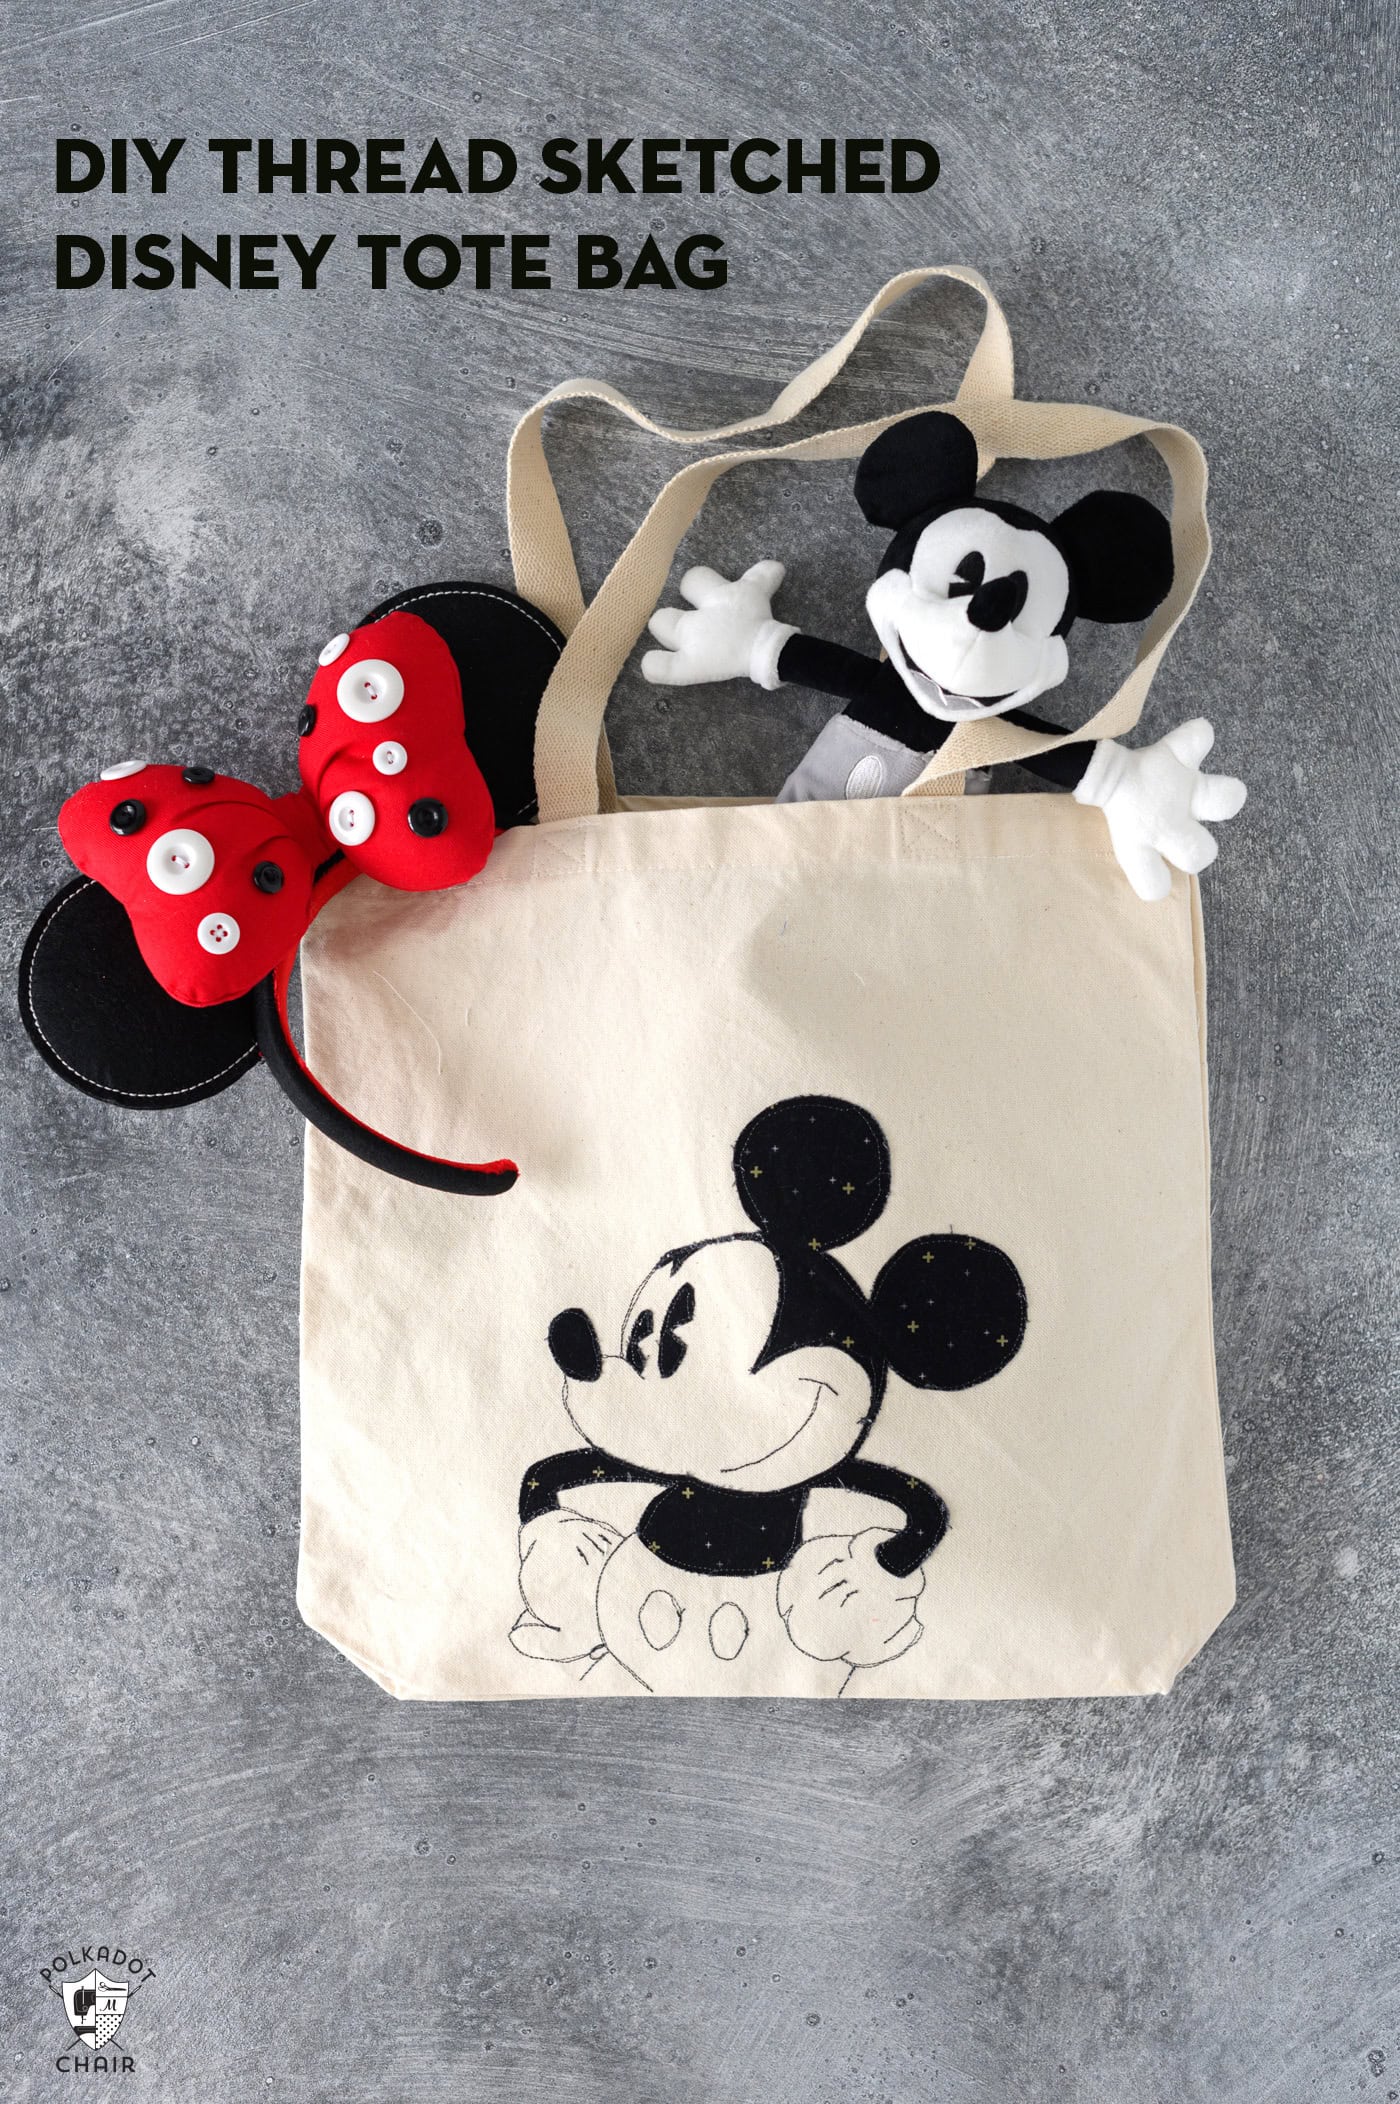
Use your sewing machine and black thread to create a unique fabric-sketched image reminiscent of classic animation techniques.
We recently visited Epcot at Walt Disney World during their Festival of the Arts. Many of you who have been here for a while know that I always like to DIY something to take with me on vacation, especially to Disneyworld.
DIY Canvas Tote Supplies
You need an image to turn into your fabric sketch. If you want to use the ones I did, you can fill out the form on this page. I’ll email you a PDF with the images. They are just coloring pages that I cleaned up a bit.
These are for personal use only and are not to be used for any commercial purpose.
TIP: You can do the same thing with any coloring book image. You don’t need to make these bags Disney-themed. You can find many free coloring book images online.
Things You Need to Make a Tote
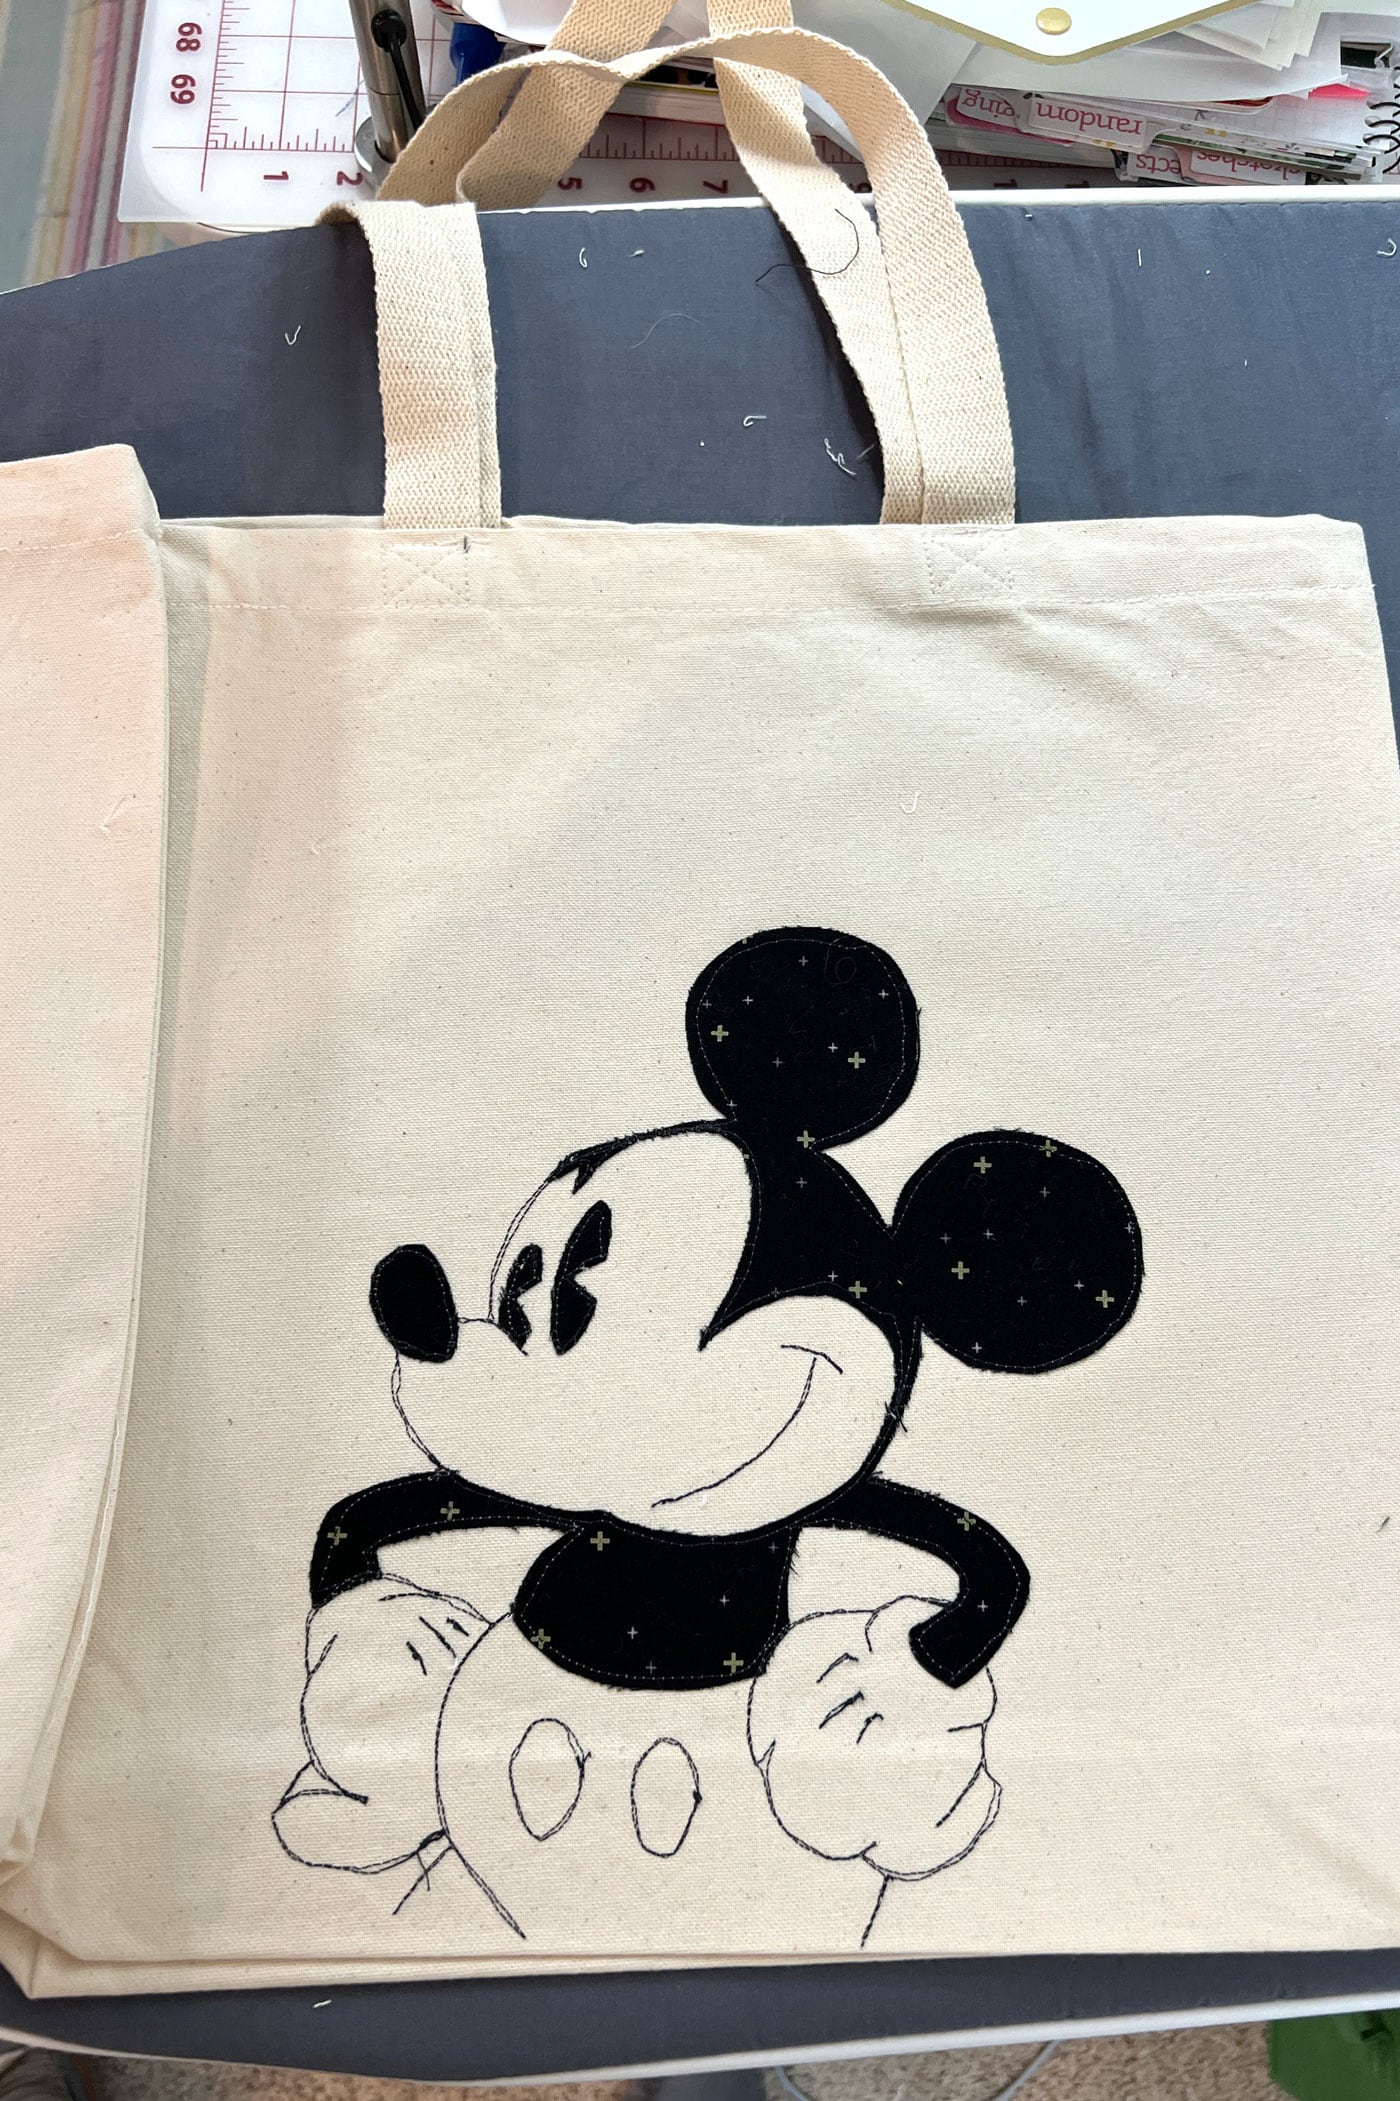
Project Inspiration
I ordered several tote bags on Amazon and challenged myself to see how many ways I could decorate them. I ended up creating four unique tote bags. You can see the cute Mickey Heads tote I created with fabric scraps in this tutorial. I still have one more DIY Disney tote bag to share with you in the coming months!
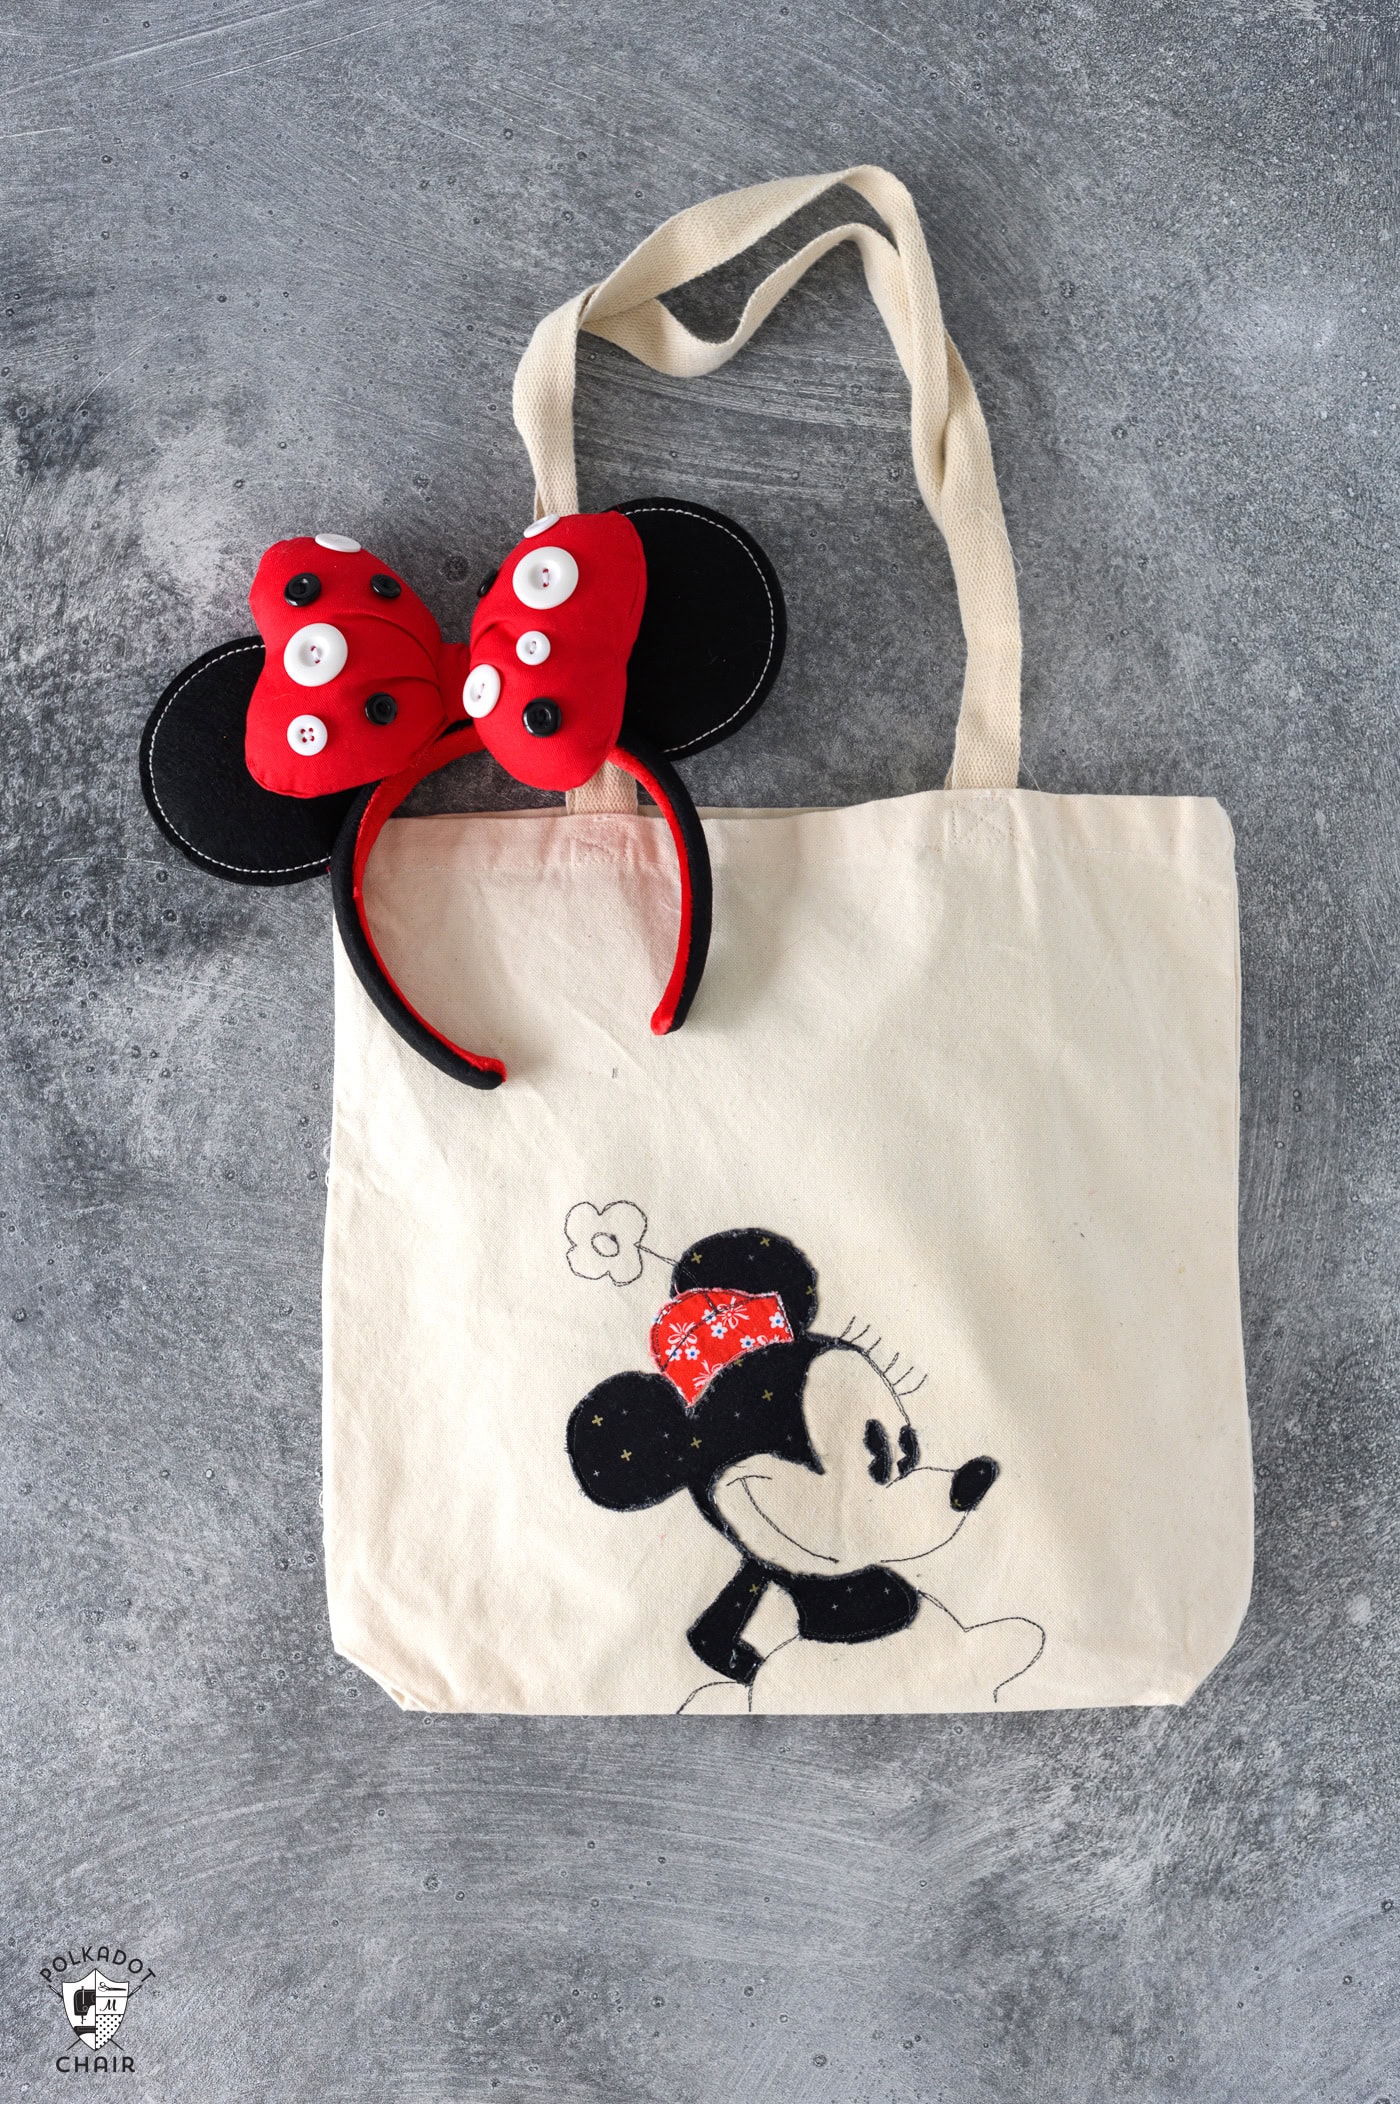
Since we were visiting during the Festival of the Arts, I thought creating something inspired by hand-drawn animation would be nice. I especially love the initial pencil or pen-and-ink sketch an animator does when beginning a new project.
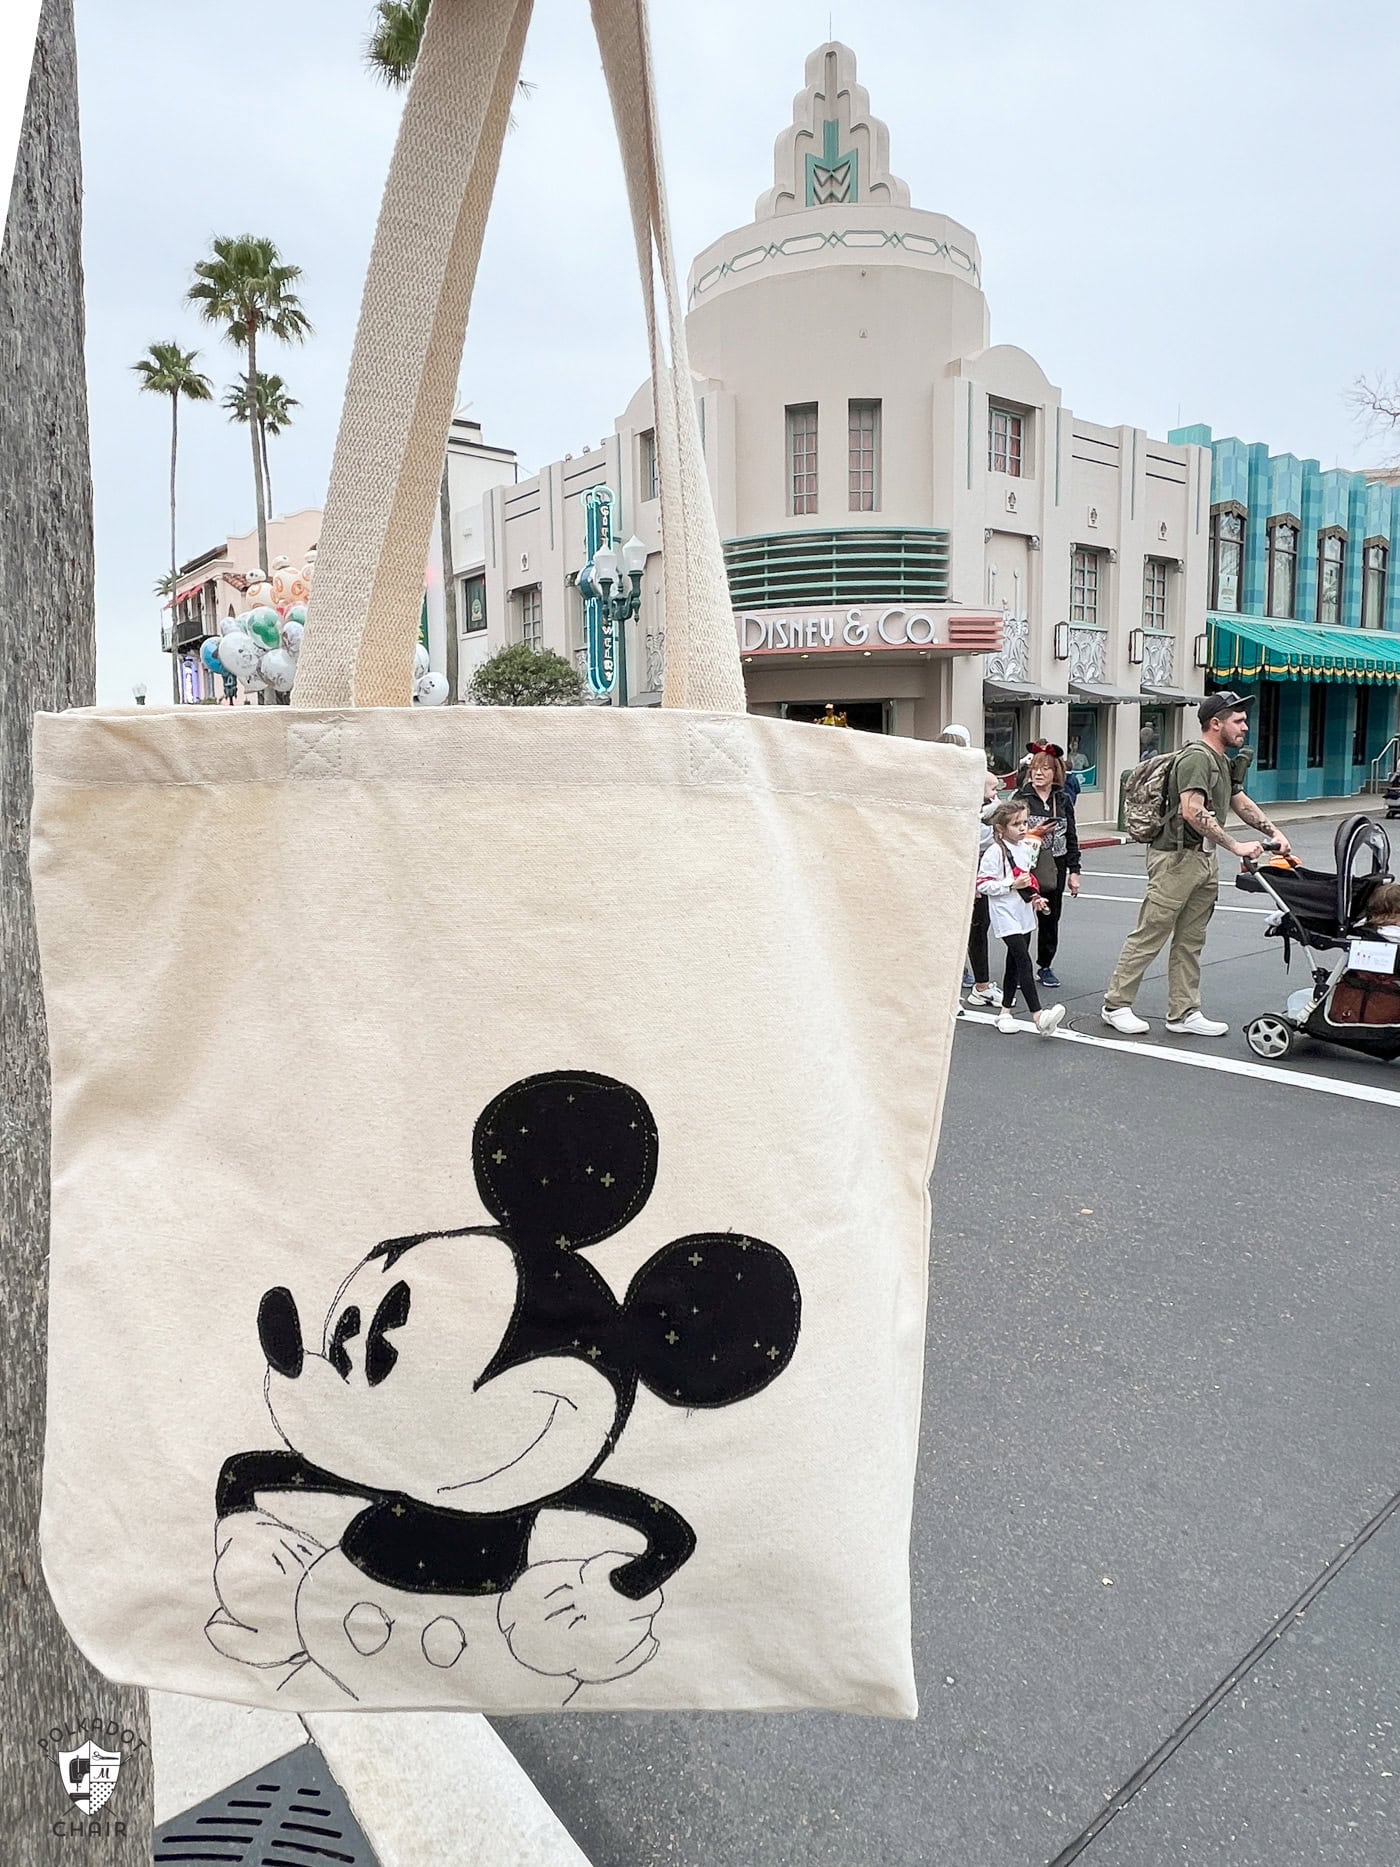
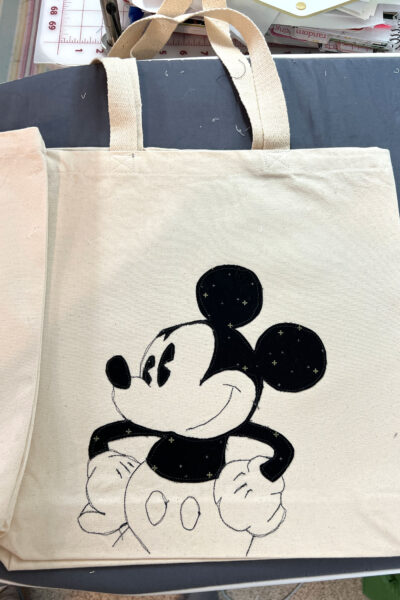
I created these classic Mickey and Minne tote bags using fabric applique and thread drawing techniques. The improvisational style of thread drawing reminded me of a pen and ink sketch. They were super easy to make. Let me show you how they are made.
What is Thread Sketching or Drawing?
Thread sketching is a sewing technique that mimics the look of hand-drawn sketches using a sewing machine. Instead of sketching with a pencil on paper, the Maker moves the fabric under the needle to “draw” shapes, patterns, or even images directly onto the fabric with thread.
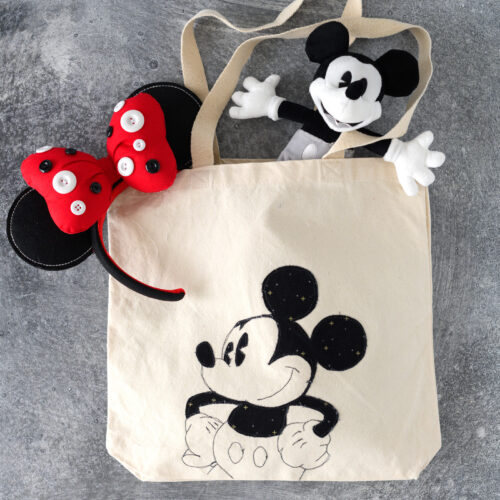
How to Make an Applique Thread Sketched Disney Tote Bag
Equipment
- Pencil
- Scotch Tape
supplies
- 1 Printed Image You need an image to turn into your fabric sketch. If you would like to use the ones that I did you can fill out the form on this page. I’ll email you a PDF with the images.
- 1 Bag Tote Bag
- 2-3 large scraps Fabric to match your sketch in my case, I used Black and Red fabric since those are classic Mikey colors.
- 1 spool Thread in a contrasting color. I used black as I wanted my bag to resemble a pen and ink sketch.
- 1 package Heat N Bond use regular or lite.
- 1 Disappearing Ink Pen – I use a Frixion
Instructions
Prep
- Print your applique image.
- Wash your tote bag, I noticed the bags I ordered had some coating that made it hard for the Heat N Bond adhesive to adhere.
- After you wash your bag, it will be pretty wrinkled, so you’ll need to press it with a lot of steam. You can also use a bit of starch if it feels too soft.
Step One: Create Fabric Applique Shapes
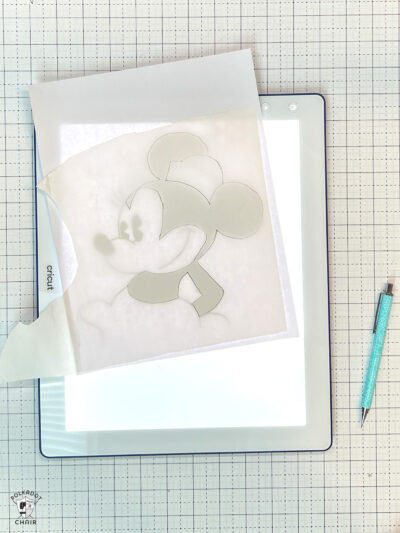
- Place your image upside down on your lightbox.
- Trace the portions of the image that will be fabric onto the paper side of the heat and bond lite, using a pencil. (Part of the image will be just thread, so you don’t need to trace that yet.)
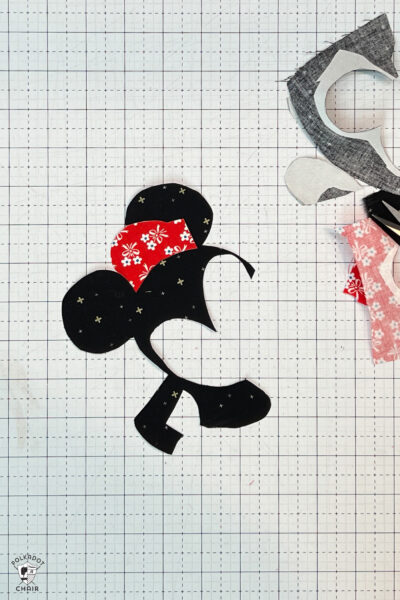
- Cut out the traced pieces loosely. Using the directions on the package, iron the cut pieces onto the wrong side of the fabric.Need more help with Applique? Check out our How to Applique Step by Step Guide.
- Cut out precisely and peel off the paper backing.
Step Two: Adhere Fabric to Tote Bag
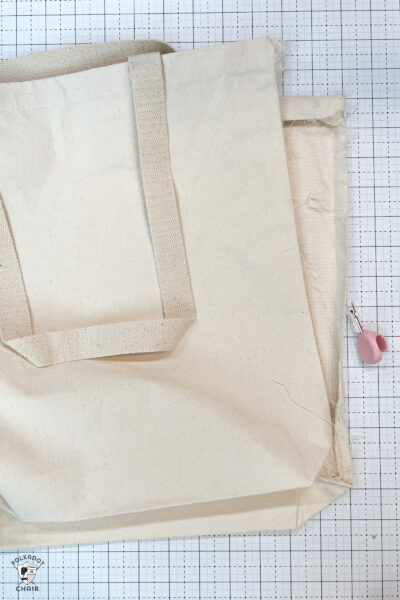
- Unpick the seams of the side seams of your tote bag so that it lays flat.
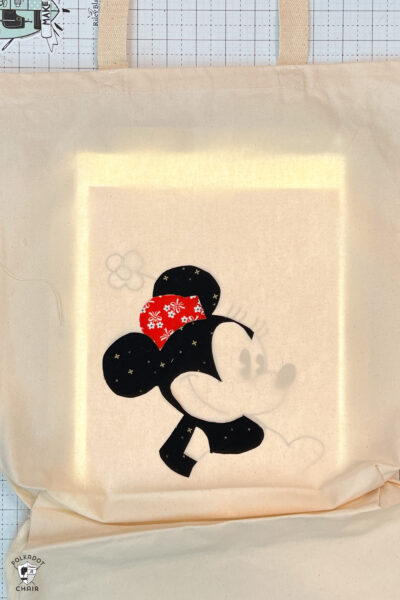
- Place your image back on your lightbox, right side up. Tape it in place, you’ll need to ensure it stays in the same spot for a bit.
- Place the tote bag, right side up on top of the lightbox. Using the image as a guide, place the cut pieces on the tote bag in where indicated in your image.
- Use a pin to keep the items in place as you work.
- Once all of the cut pieces of fabric are in their correct place, move the tote bag over to your ironing board and adhere the pieces in place with your iron.
- Go slowly to make sure the pieces have adhered well, and they don’t shift as you work.
Step Three: Trace Fabric Sketching Lines
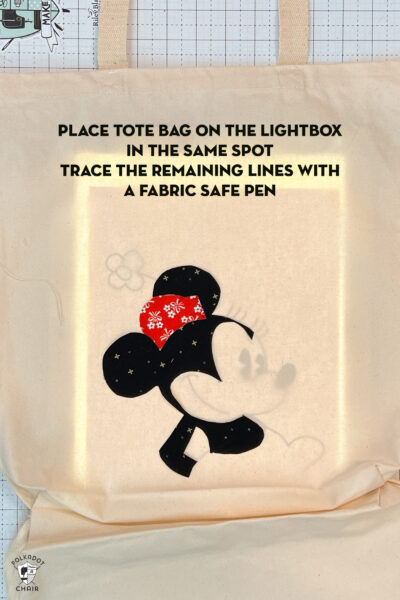
- Move your tote bag back to the lightbox (your image is still taped to the top).
- Using a fabric-safe pen (I prefer Frixon, as the ink disappears with heat), trace the portions of the image that need to be “illustrated” with thread—this will most likely be all of the image’s outlines.
- After tracing, move the tote bag over to your sewing machine.
Step Four: Sewing
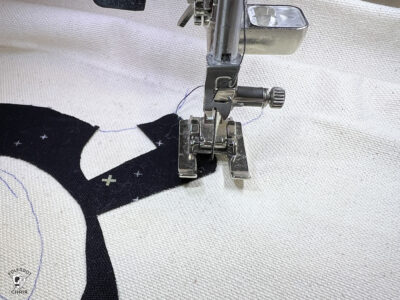
- Using an open-toe foot on your machine (So you can see where you are sewing), thread your machine with black thread on top and white thread in the bobbin (make the bobbin thread color close to the color of your tote bag).
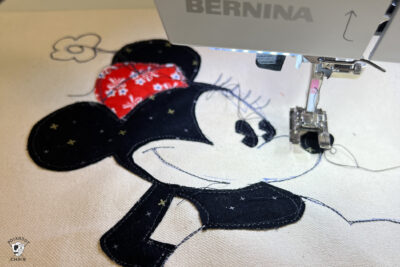
- Sew around each piece of appliqued fabric at least twice. Then, sew along all of the lines, I stitched each of my lines 2-3 times so they would show up well. When you stop and start, be sure to lock your stitch.
- Keep sewing until your image is fully “illustrated”. You don’t need to be precise this is supposed to look “sketchy.”
Finishing:
- Give the tote a good press, the iron heat will remove the pen marks and help to further set the appliqued fabric portions of the image on the front of the bag.
- Using your sewing machine sew the side seams of the bag. Make sure you change your thread back to white (if you are sewing with a canvas colored tote bag, if your tote is another color, choose thread that matches the fabric).
What do you think?
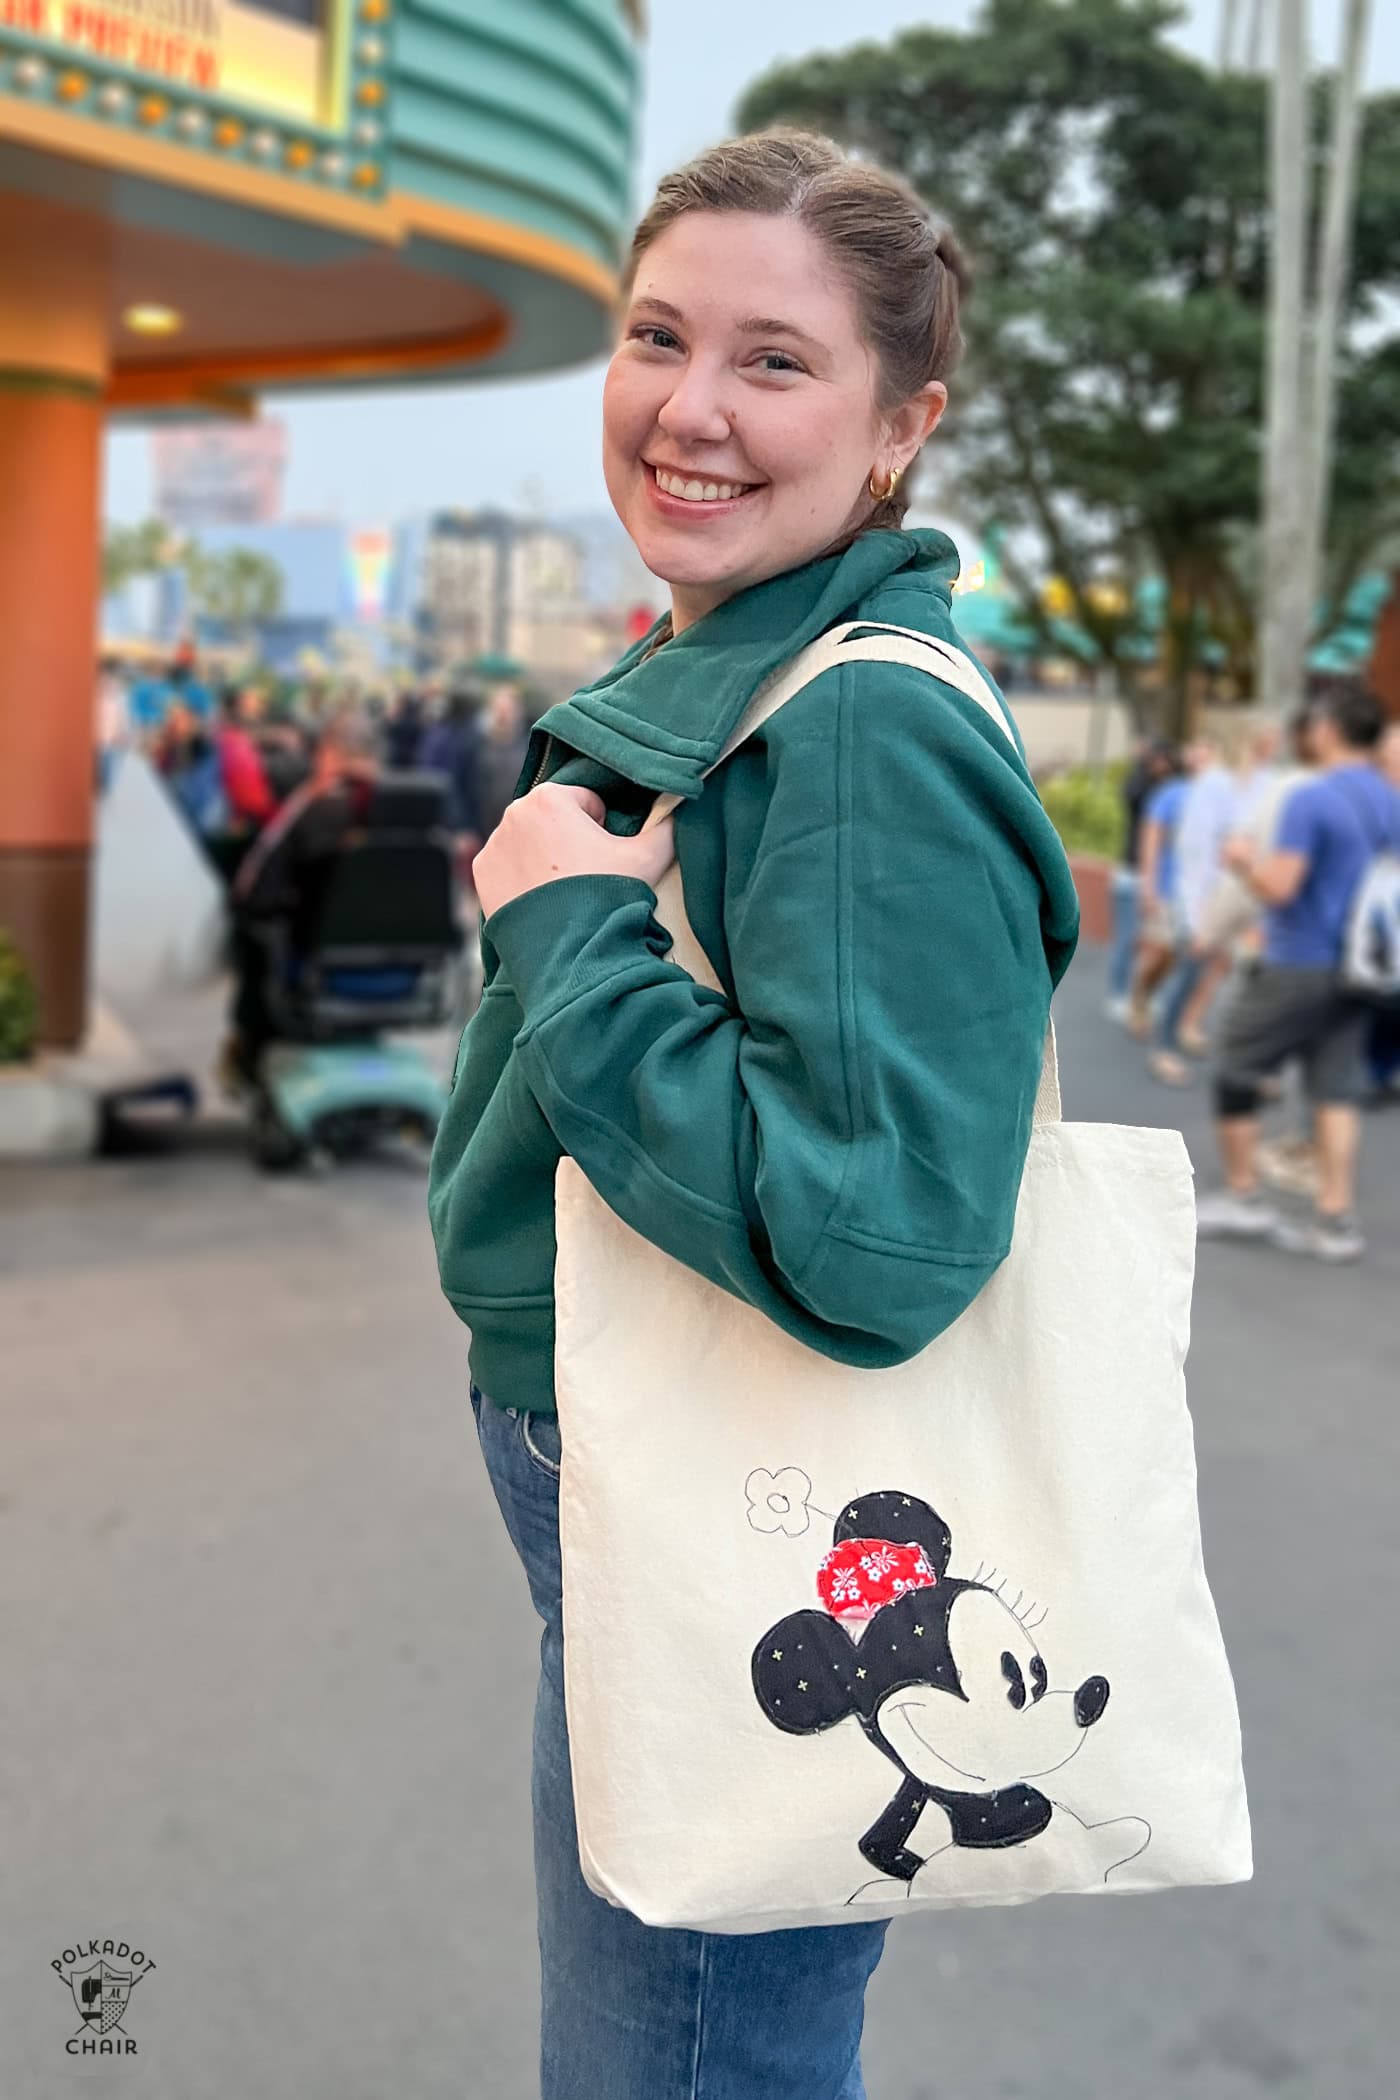
We love our totes and use them all over the Parks!

