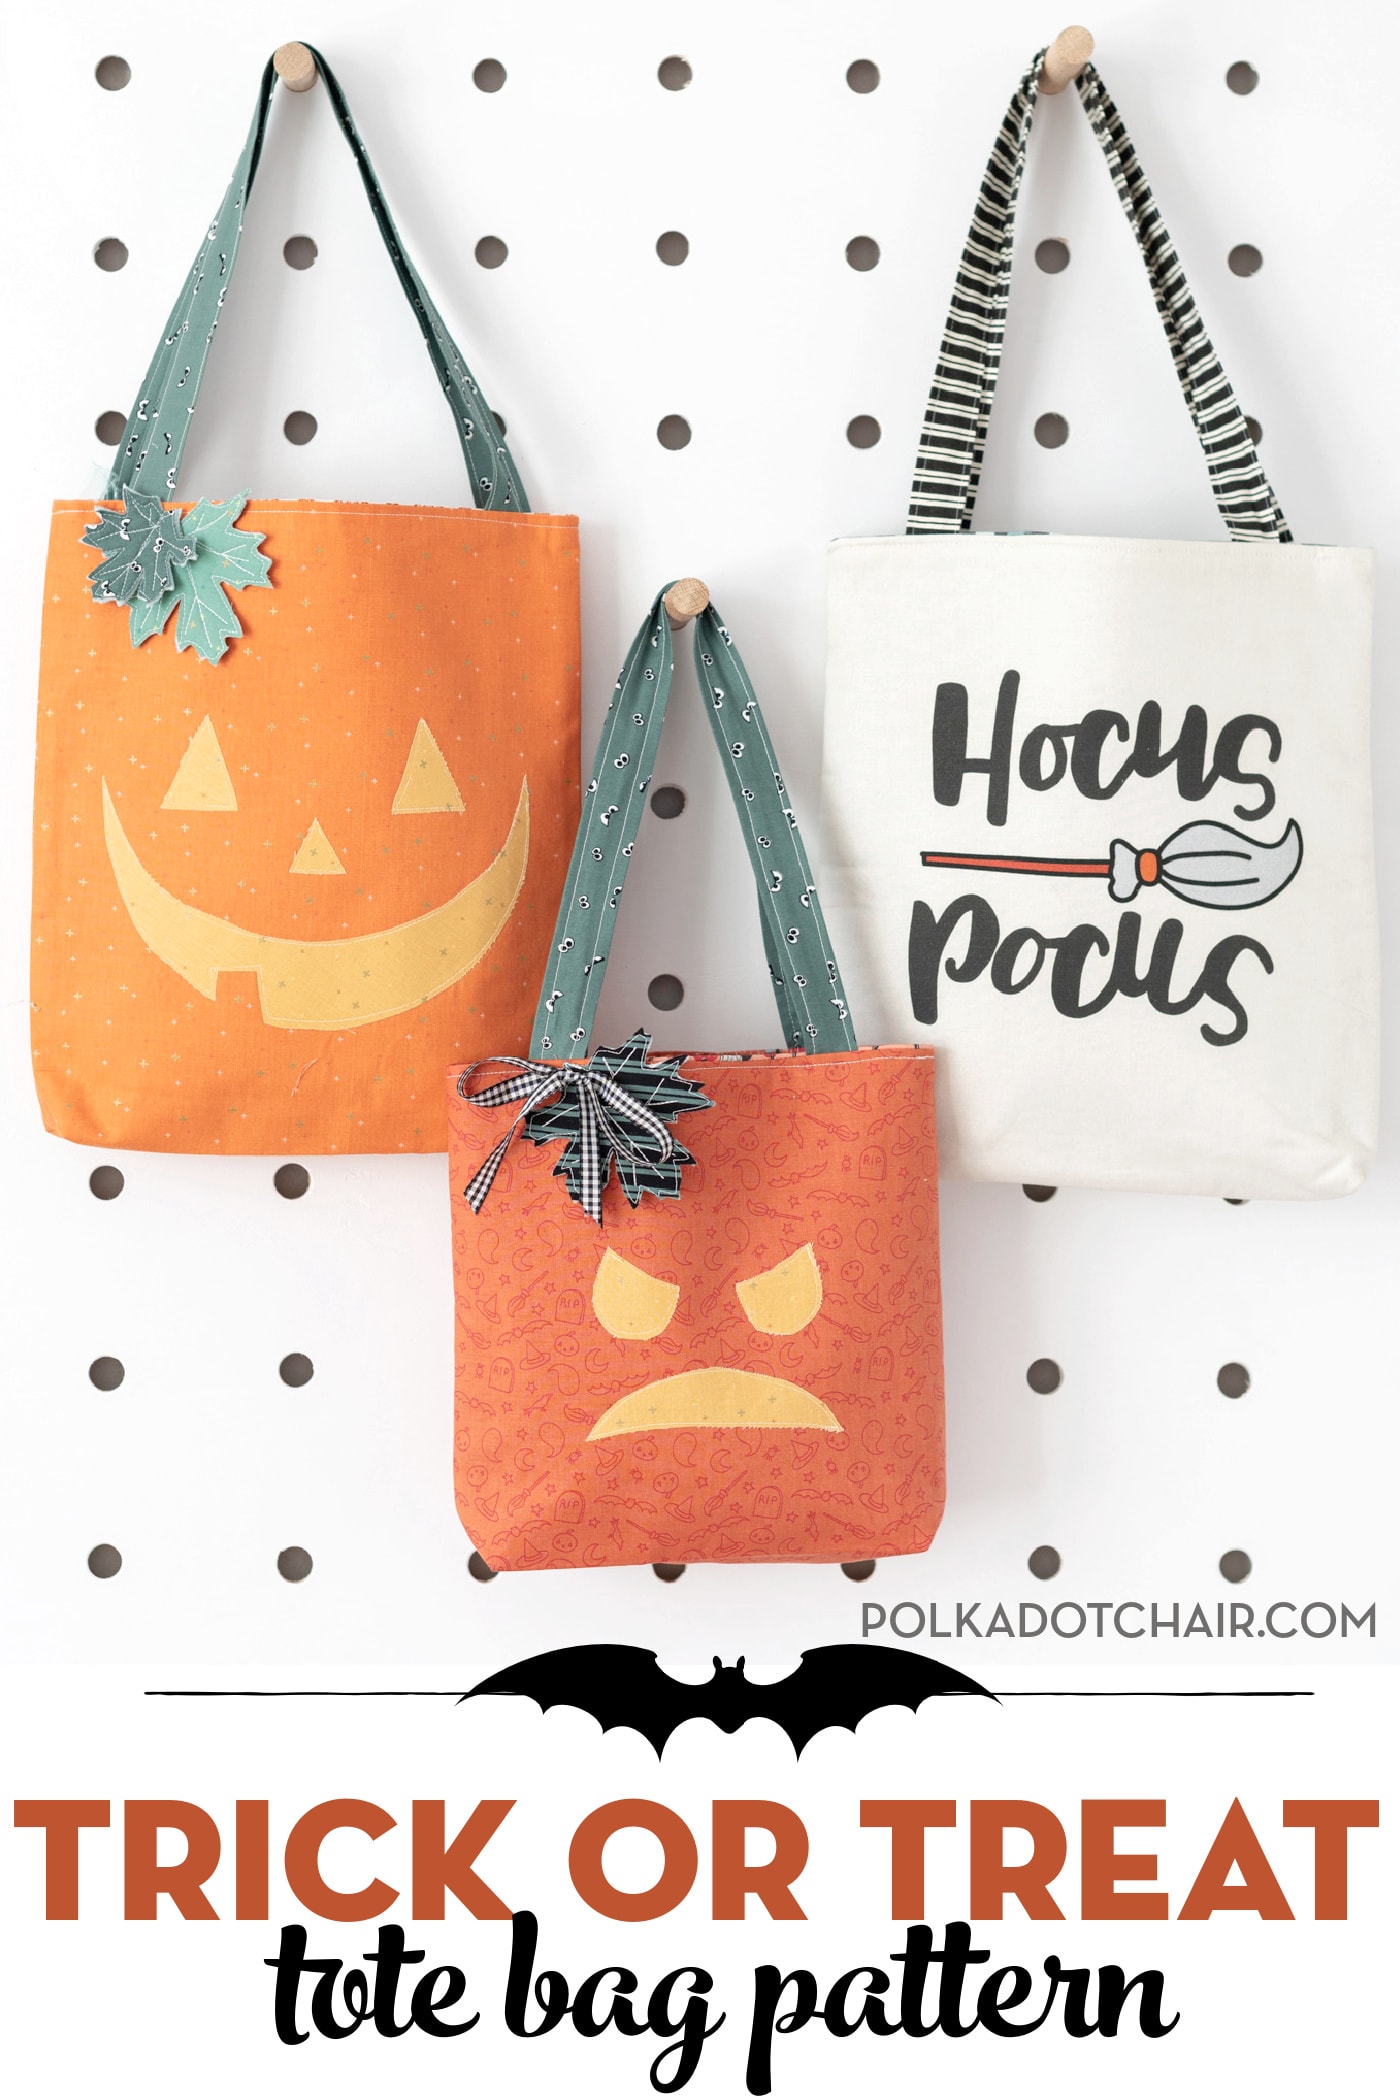
How to Sew a Simple Trick or Treat Bag
Learn how to make a simple trick or treat bag with our free sewing pattern. This trick-or-treat tote is fully lined and can be personalized with a bit of applique. It’s also, oh so cute!!
Do you want to learn how to create the easiest trick or treat bag ever!?! Ok, it might not be the EASIEST one, but it’s definitely in the top three!
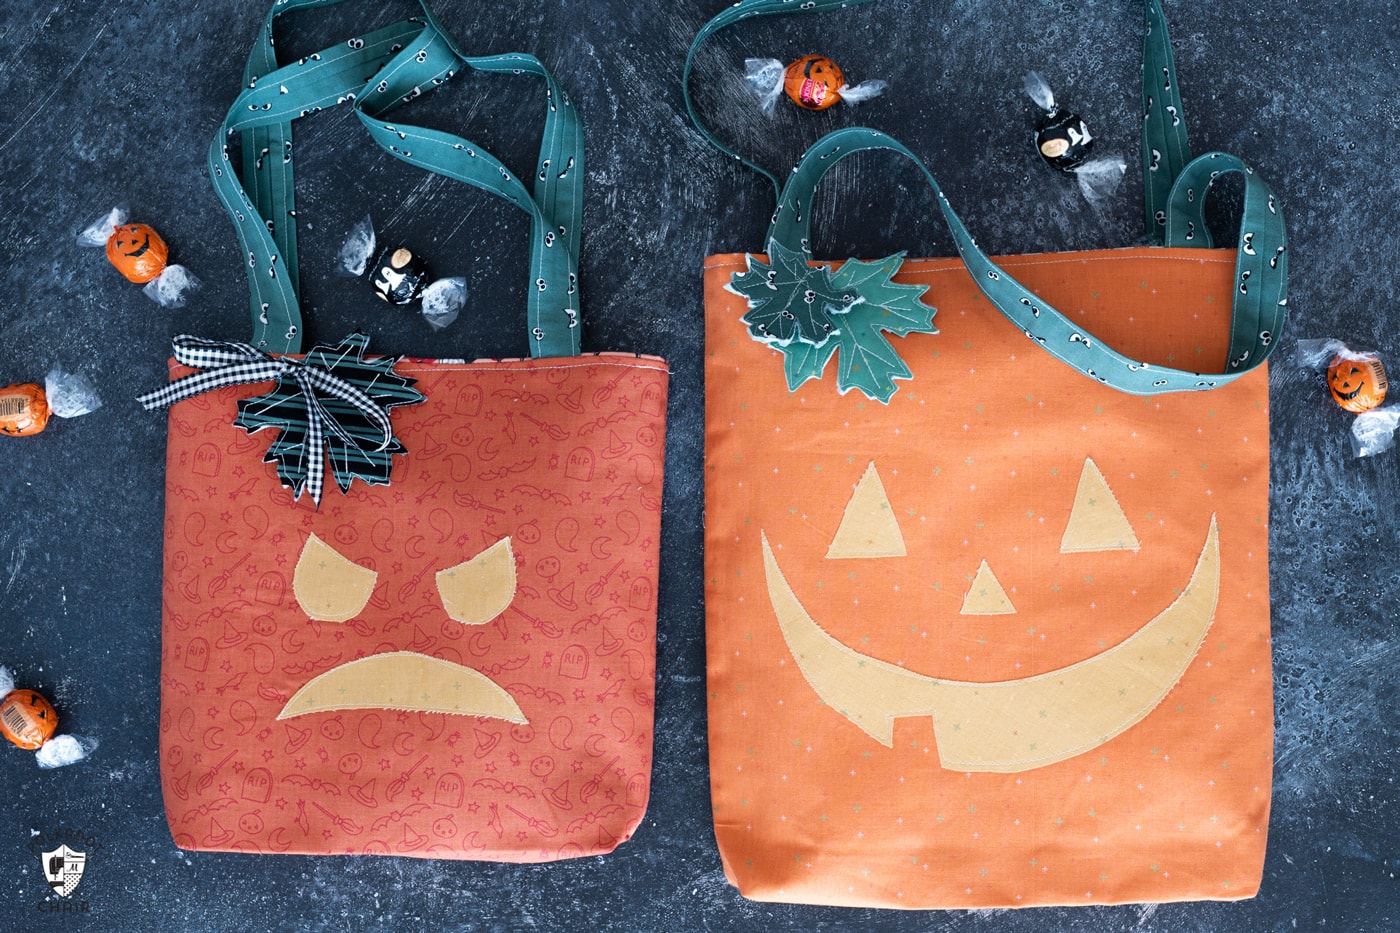
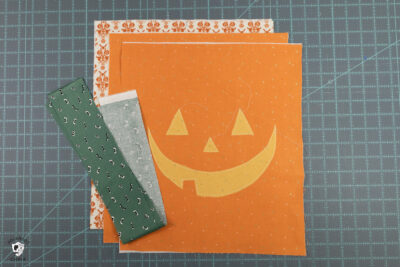
The trick-or-treat bags in our free tutorial feature fabric from my Spooky Hollow fabric collection with Riley Blake Designs.
One of the trick-or-treat totes is created using pieces of fabric from the panel that is a part of the collection.
This panel is designed specifically to be turned into trick-or-treat bags. You only need to cut out a piece for the bag’s front and back. Then, cut out the straps. If you want to make the bag unlined, there are directions on the panel.
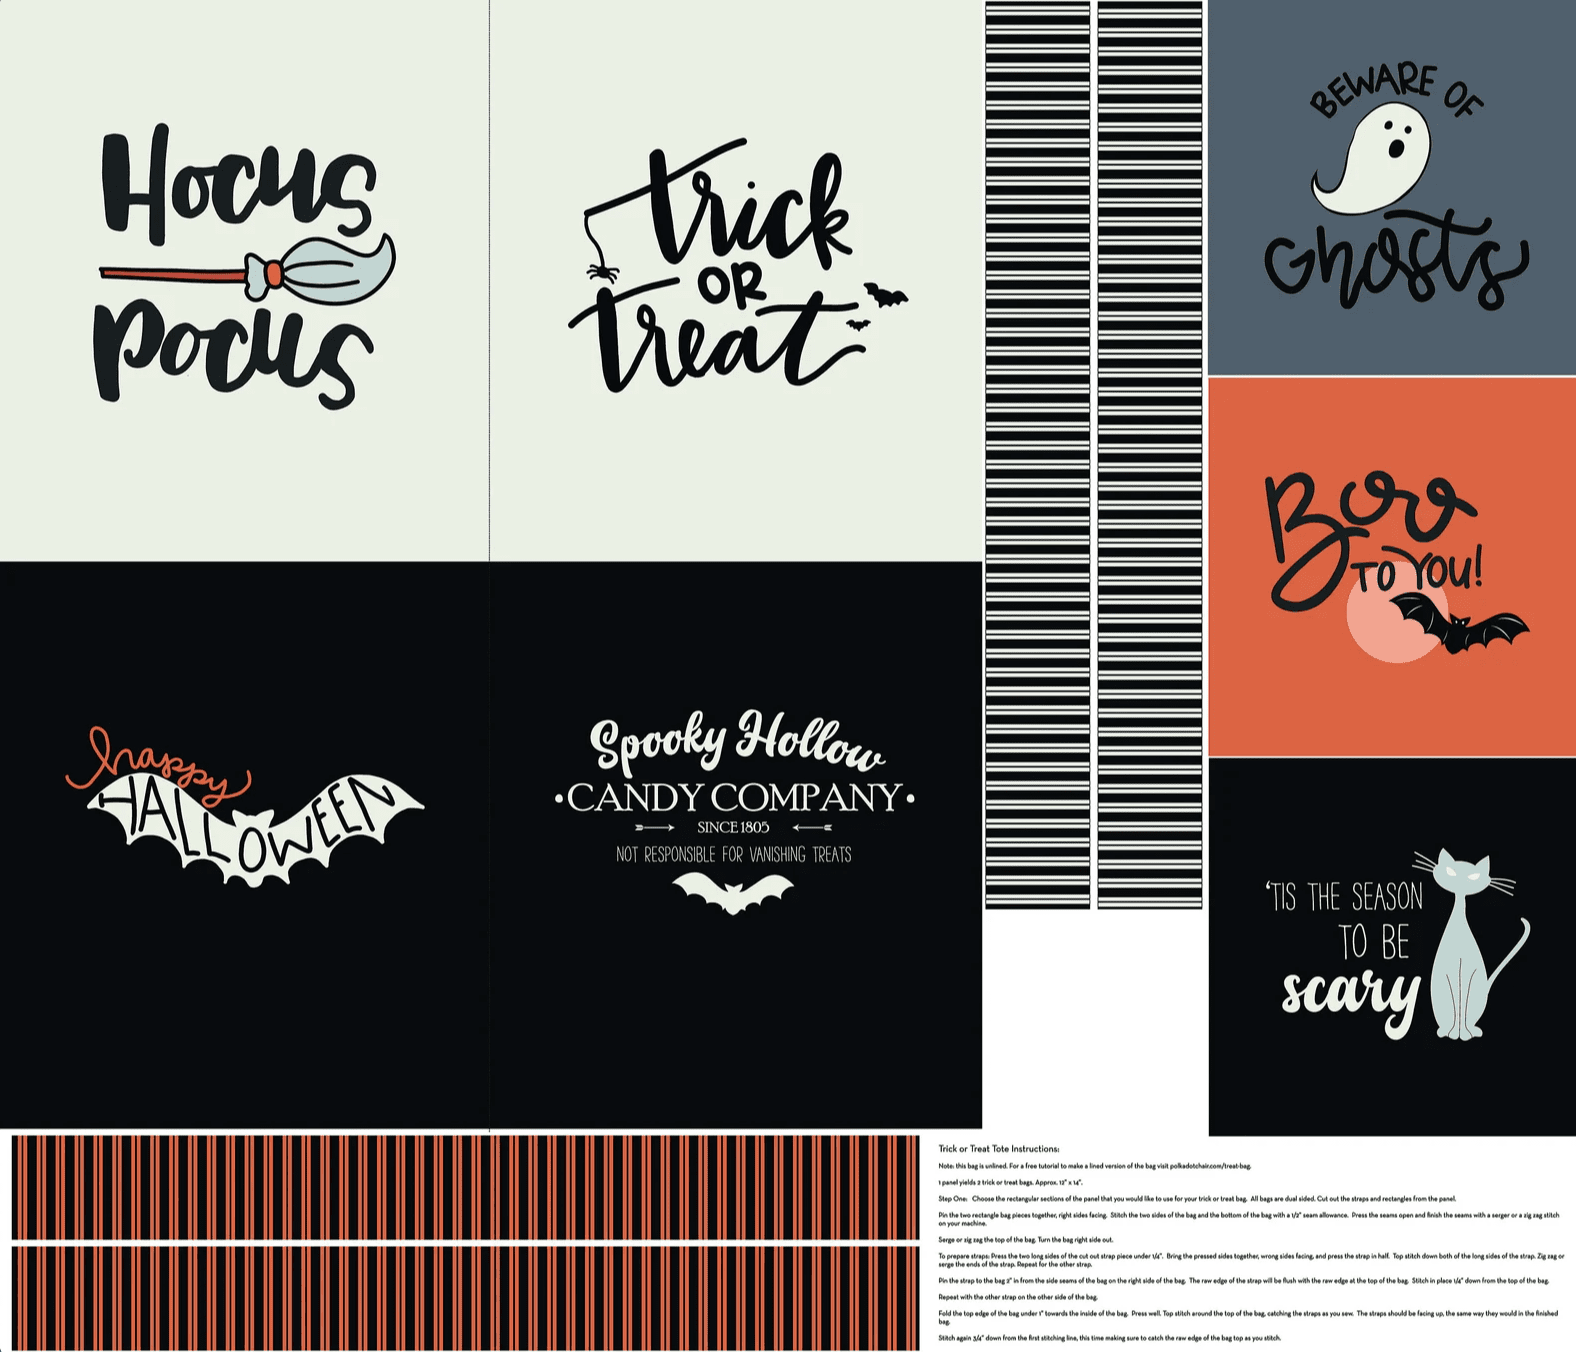
However, if you’d like to make a lined version of the bag with a gusseted bottom, I will show you how to do it today!

If you don’t have the Spooky Hollow fabric panel, don’t worry! You can use any of your favorite Halloween fabrics!
About the Trick or Treat Totes
This pattern includes directions for two sizes of trick-or-treat bags. A rectangle bag that is about 12″ x 14″ x 1″ when finished, and a smaller tote that is about 11″ x 11″ x 1″ when finished.
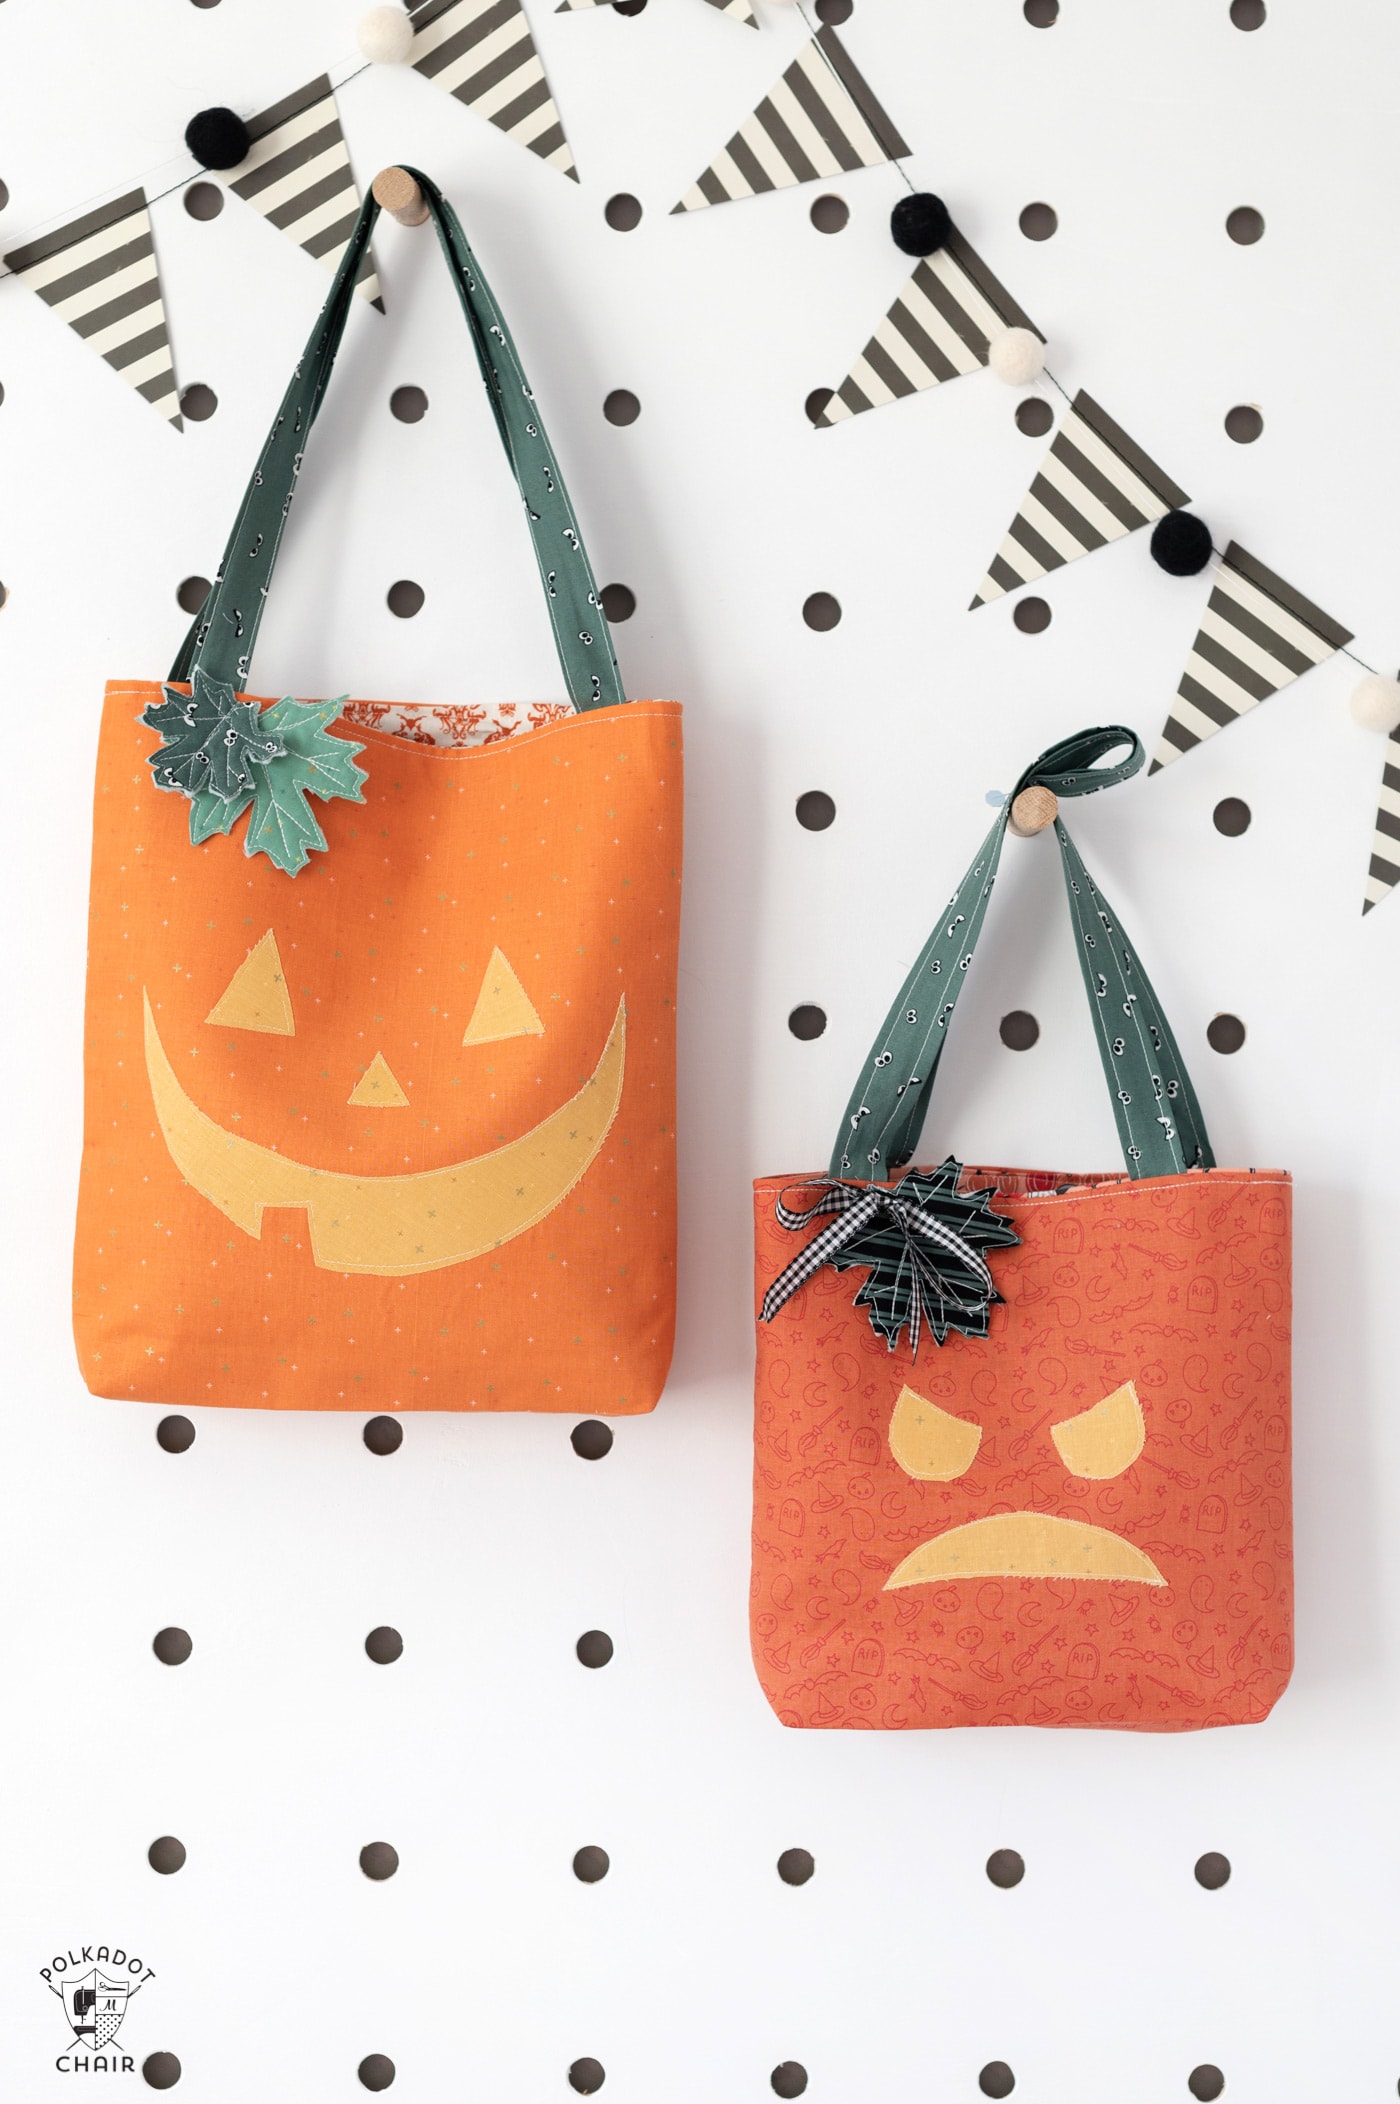
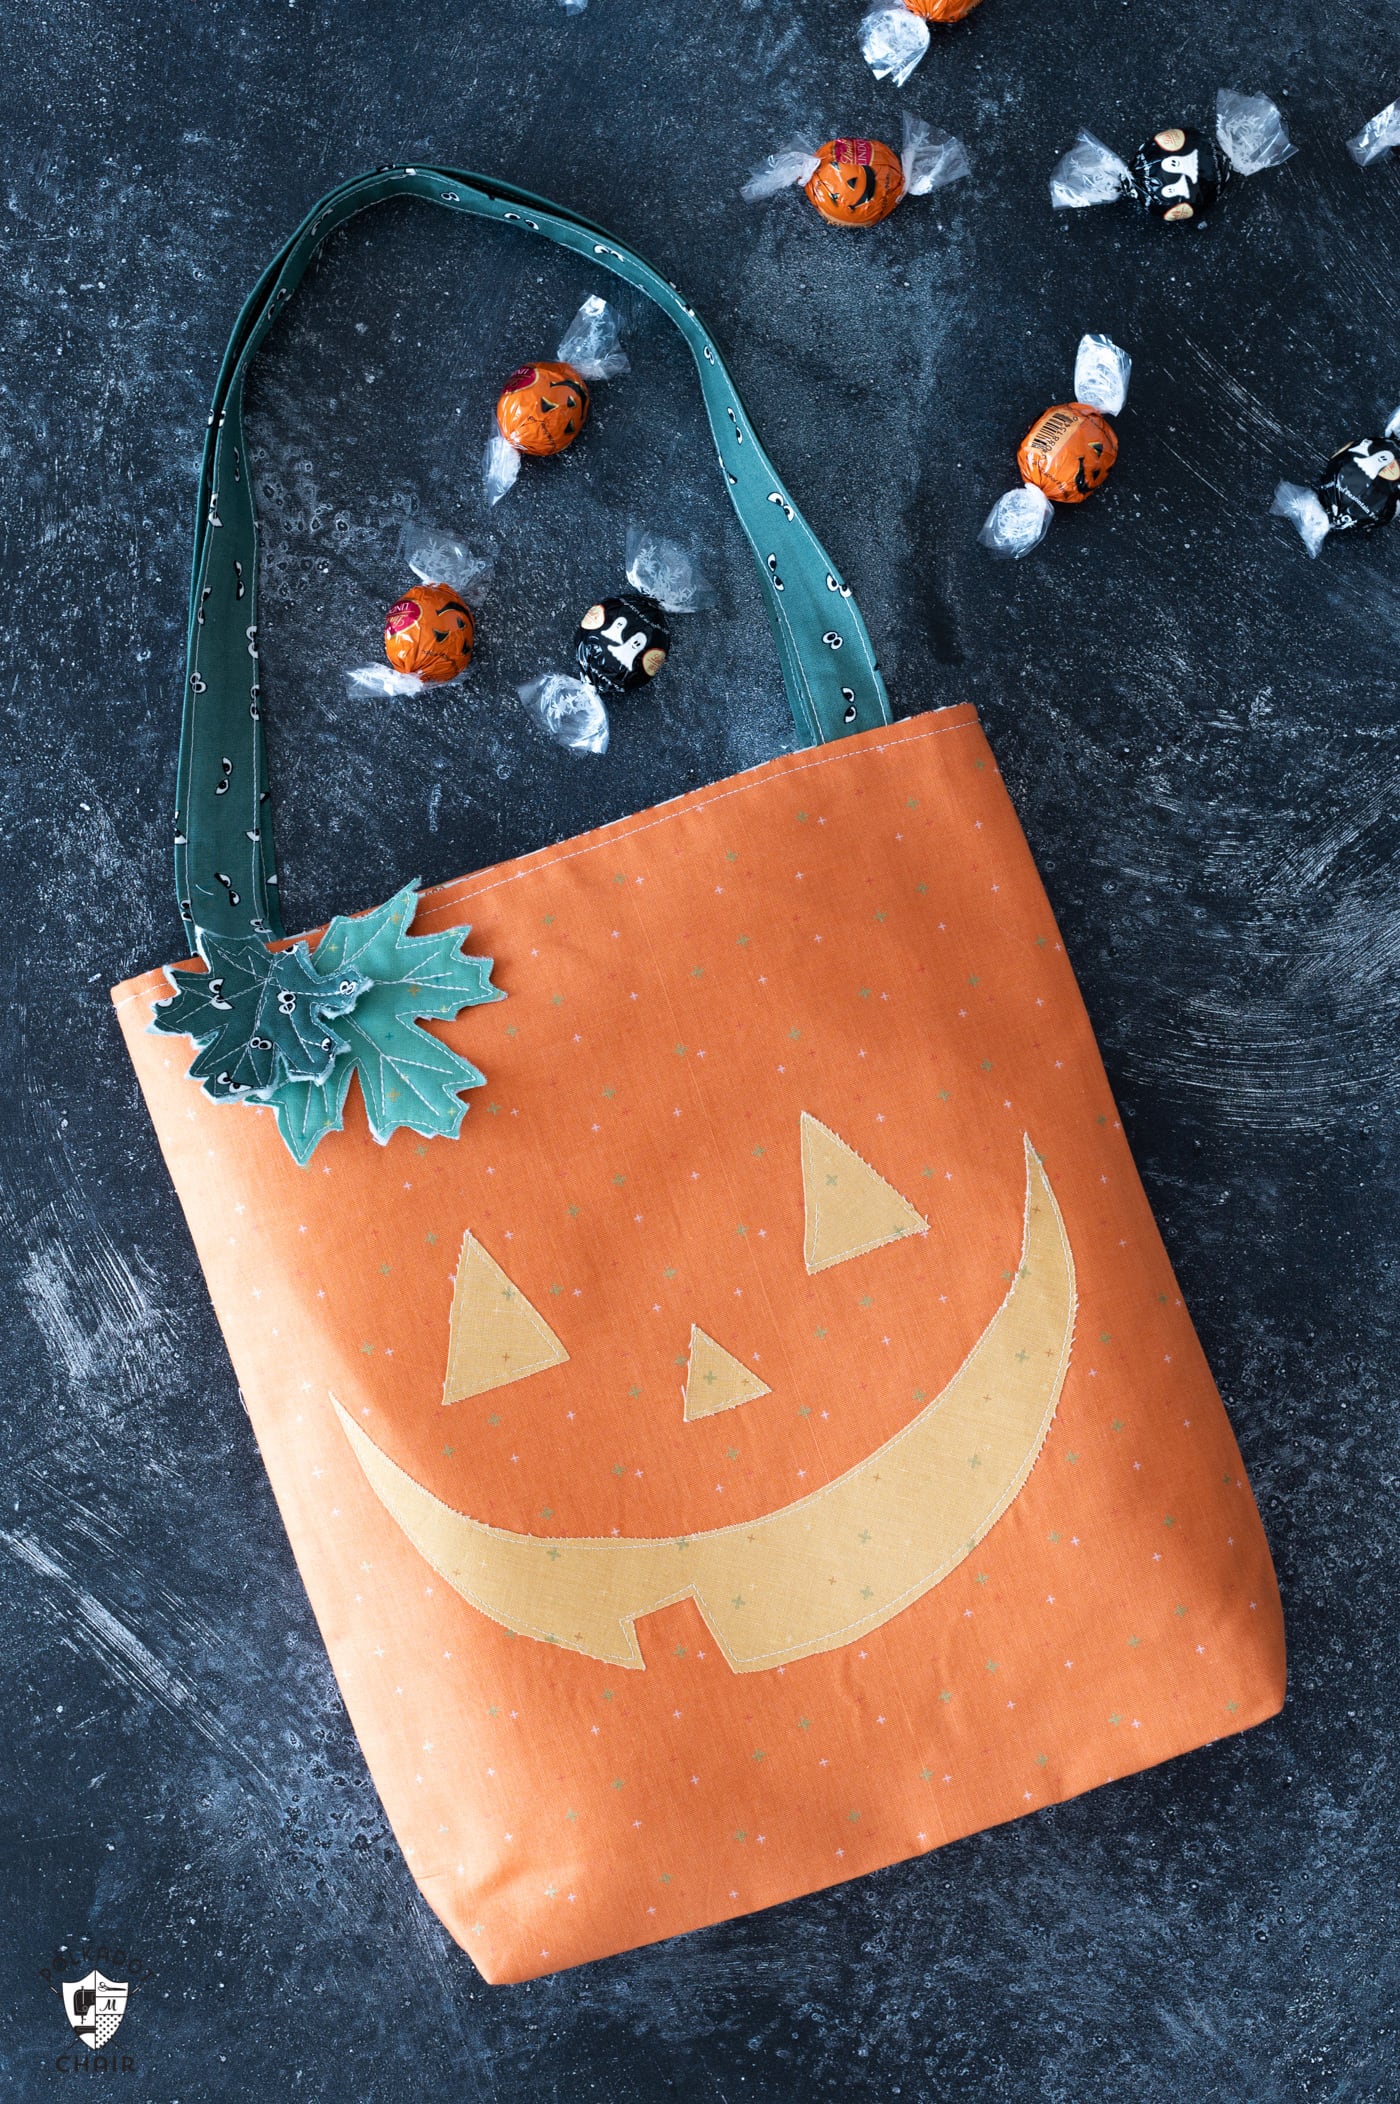
How to Make the Pumpkin Faces
If you’d like, I’ve created a simple raw edge applique pattern so that you can get the faces on pumpkin tote bags. There are three faces included in the printable, along with the shape for the leaf to add to the bag as well.
If you’re unfamiliar with raw edge applique, you’ll want to ensure you check our Raw Edge Applique tutorial. We walk you through all the steps that you need to know to create ANY applique shape to add to a tote bag. You can also use the same technique to add applique shapes to other sewing projects or clothing items.
How to Get the Printable
Fill out this form, and we will email you the printable. You will still need to read the directions on this site to finish your tote bag.
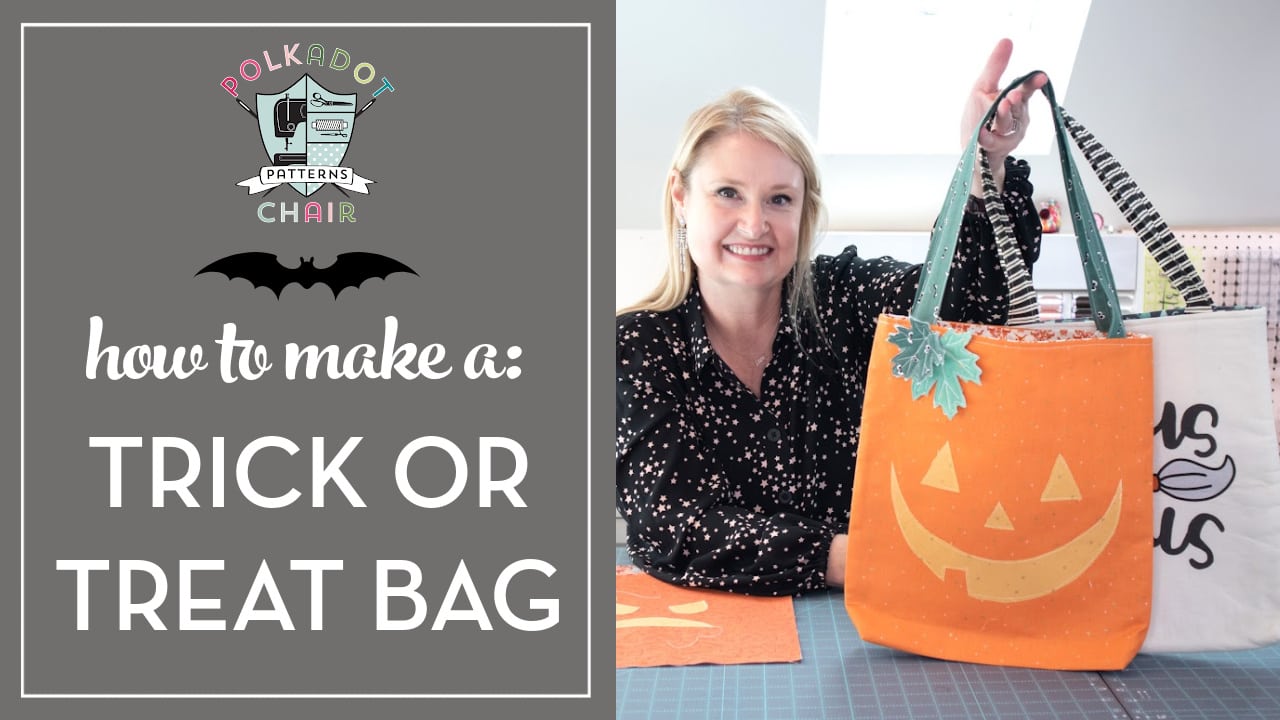
Video Instructions
If you need a bit of help, be sure to check out the video on our YouTube channel!
Simple Trick or Treat Bag Sewing Pattern
Equipment
supplies
- 1/2 Yard Fabric for Bag Outside or one fabric panel designed for a Trick or Treat Bag
- 1/2 Yard Fabric for Bag Lining
- 1/4 Yard Fabric for Straps
- 1/2 Yard Lightweight Fusible Interfacing You can also use Fusible Fleece if you'd like a sturdier bag
- 2 scraps Green Fabric at least 5" x 5"
- 1 piece Paper Backed Fusible Web I like Heat N Bond Lite
- 1 fat quarter Fabric for applique face
- 1 Face & Leaf Template print out from our site by filling out the box on this page.
Instructions
Cutting
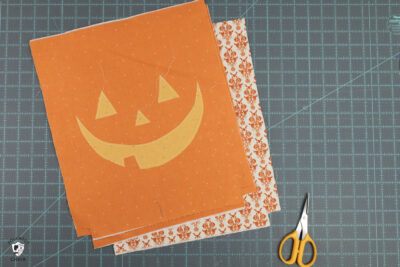
- For the Large Tote Option 1:To make a bag using a Trick or Treat Bag panel like the one from my Spooky Hollow or Spooky Schoolhouse fabric collection cut:1 panel piece for the bag front1 panel piece for the bag backCut out the two straps on the panelFor the Large Tote Option 2:If you are using fabric yardage cut:2 pieces 13" x 15" for the bag front and back pieces2 pieces 2 1/2" x 24" for the bag strapsFor Both Versions Cut2 pieces 13" x 15" for the Bag Lining2 pieces 13" x 15" from Interfacing
- For the Small Tote Cut:2 pieces 12" x 12" for the Bag Front & Back2 pieces 12" x 12" for the Lining2 pieces 12" x 12" from Interfacing2 pieces 2 1/2" x 24" for the Bag Straps
Prep (instructions are the same for both size totes)
- Iron the lightweight fusible interfacing on to the wrong side of the two bag outside pieces.
- If desired, print out the applique pattern from this article and applique pumpkin face shapes onto the front of your fabric piece. If you need help with this step please see our "how to raw edge applique" article.

- On the bottom two corners of the bag outside and bag lining pieces, cut out a 1" x 1" square.
Step One: Create Bag
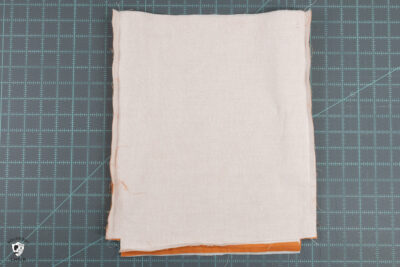
- Pin the two bag outside pieces together, right sides facing. Sew the side and bottom seams with a 1/2" seam allowance. Press the seams open.
- Repeat but this time with the two bag lining pieces.
Step Two: Straps
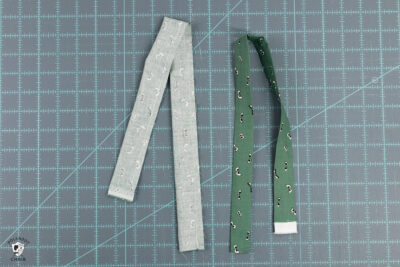
- Fold the strap pieces in half lengthwise and stitch down the long sides with a 1/4" seam allowance.
- Turn right side out and press so that the seam is in the center of the strap.
- Topstitch down both sides of the strap.
- Repeat for the second strap.
Step Three: Assembly
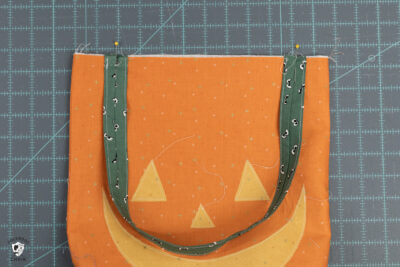
- Turn the bag outside piece right side out and place a mark 2" in from the side seam on both the right and left sides of the bag.
- Pin the bag strap to the bag, right sides facing, inside the mark that you made.
- Stitch in place close to the edge of the fabric.
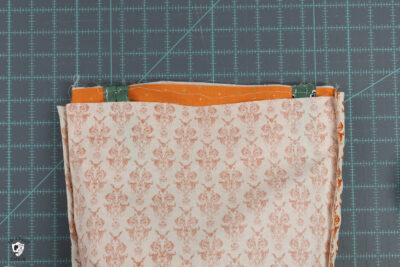
- Slip the bag outside piece into the bag lining piece so that the top edges of the bag are even and the side seams are lined up.
- Pin the bag all the way around. Leaving a space between the straps on the back of the bag.
- TIP: If you can, remove the arm of your sewing machine for the next steps.
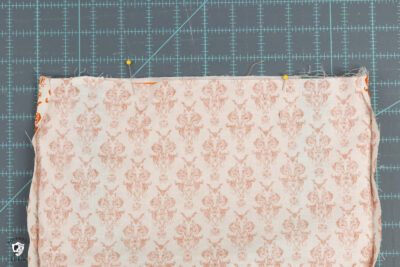
- Sew the top of the bag, beginning on the back of the bag just before the strap, around to the front of the bag, stopping at the other side of the other strap.
- You should have a 4"-5" hole in your seam.
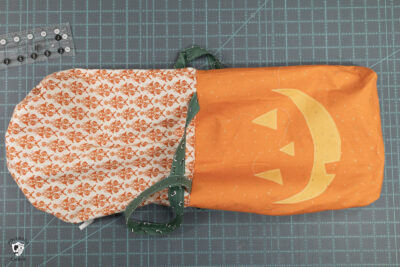
- Turn the bag right side out through the hole in the seam.
- Press the bag well, and topstitch around the top edge. Make sure to catch the opening in the seam as you sew.
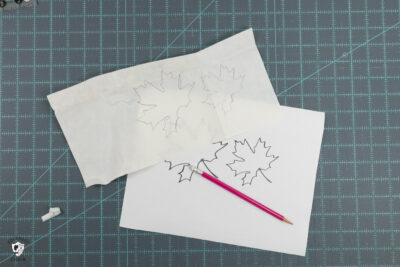
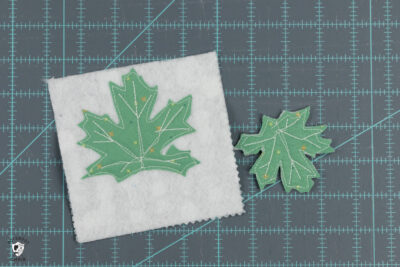
To Make the Leaf Shape
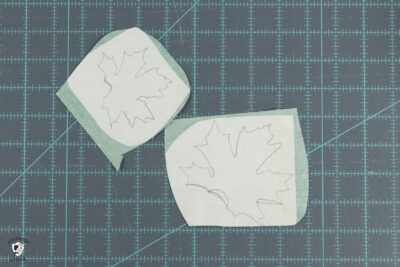
- Trace the leaf shape onto the paper side of heat n bond lite.
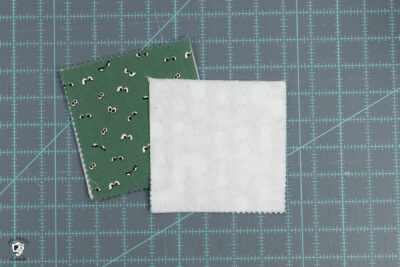
- Cut out loosely and iron onto the wrong side of one of your green fabric scraps.
- Cut out the shape, precisely this time.
- Iron a piece of fusible fleece to the wrong side of the other green fabric scrap.
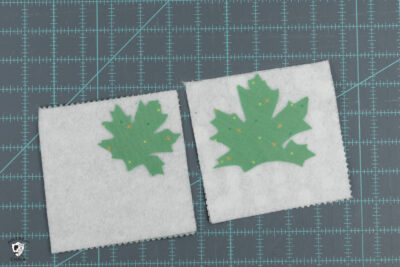
- Remove the paper backing from the leaf shape, and iron onto the fusible fleece/green fabric piece.
- Top stitch around the edge of your leaf. Add a few decorative stitches as well to mimic the stems of the leaf.
- Cut out.
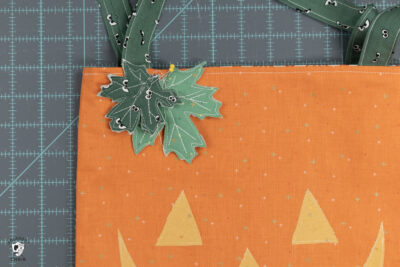
- Adhere to the bag front by stitching it in place. If you like, you can also add a bit of ribbon to the leaf as well.