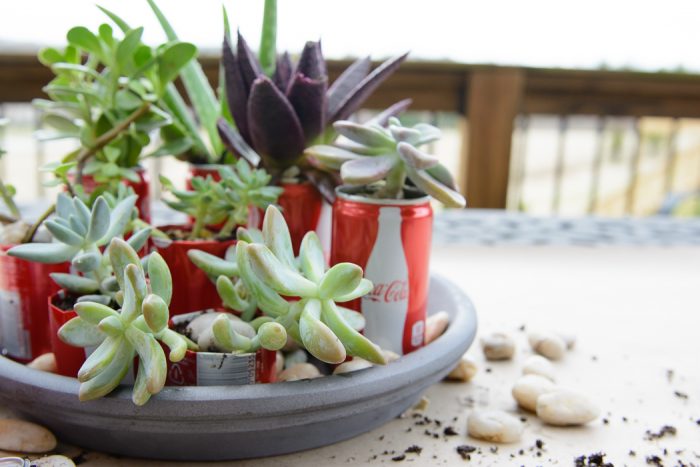
Upcycled Coke® Can DIY Succulent Planter
Upcycle aluminum soda cans into useful and cute succulent planters with this DIY Succulent planter tutorial! This post is sponsored by Coke®.
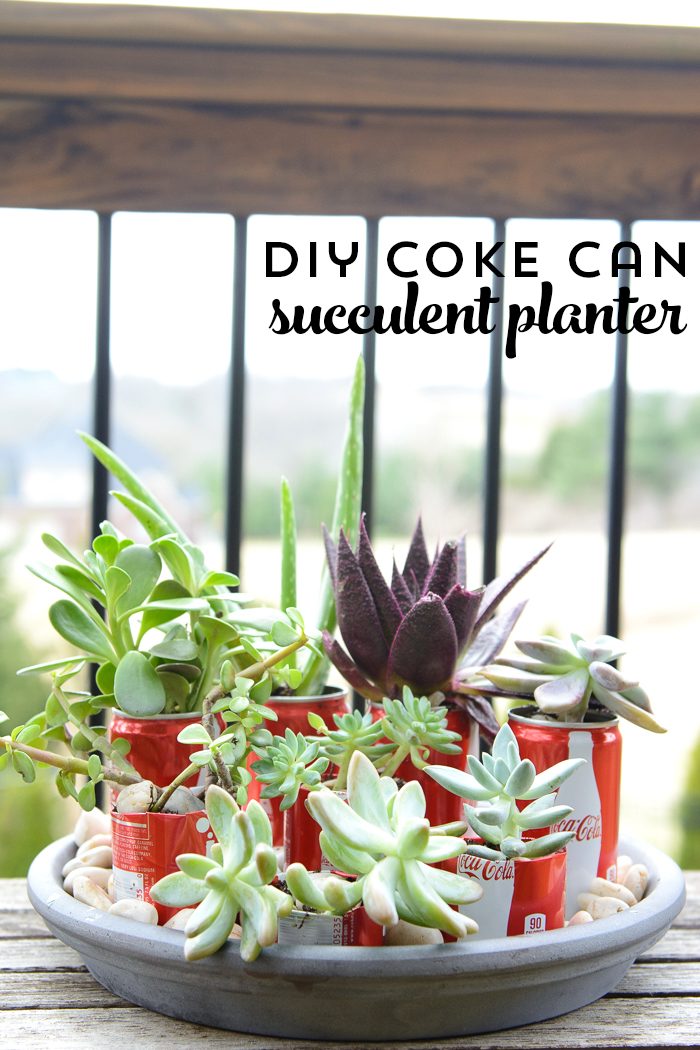
Today it was 77 degrees and sunny outside. Two weeks ago it was 5 degrees and there was a foot of snow on the ground. Am I allowed to think that Spring may have finally decided to make an appearance? The presence of 4 or 5 days with temperatures above 60 degrees has led me to believe that a gardening project is totally justified.
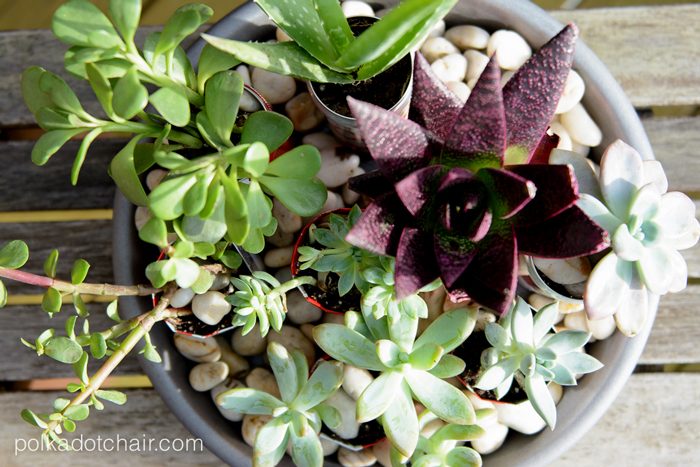
Our local garden center is short on flowers, so I decided to play around with some succulents to make a fun centerpiece for our table.
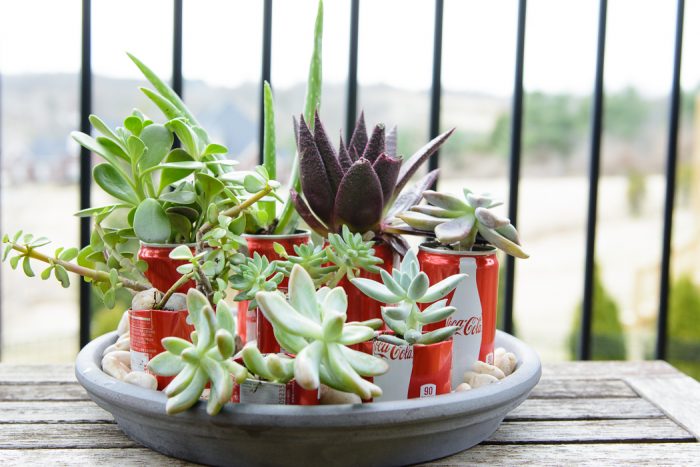
Last summer we had a succulent planter on our back deck and it was just what we needed out there. The summers here can get long and hot and potted flowers to have a tendency to dry out quickly in the sun.
Why Succulents?
Succulents are easy to care for and are more heat and drought-resistant than potted plants. Which pretty much just means, that if I forget to water them, they don’t die. I have 3 kids and a dog to take care of, I can’t keep up with a million needy plants too.
Creative Succulent Planter Ideas
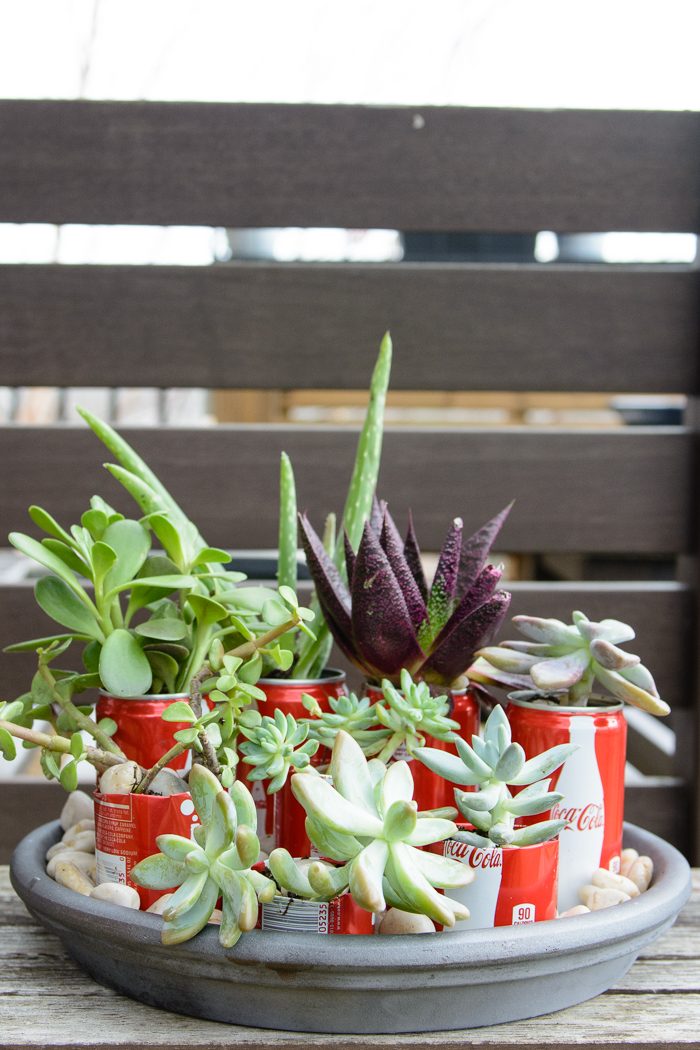
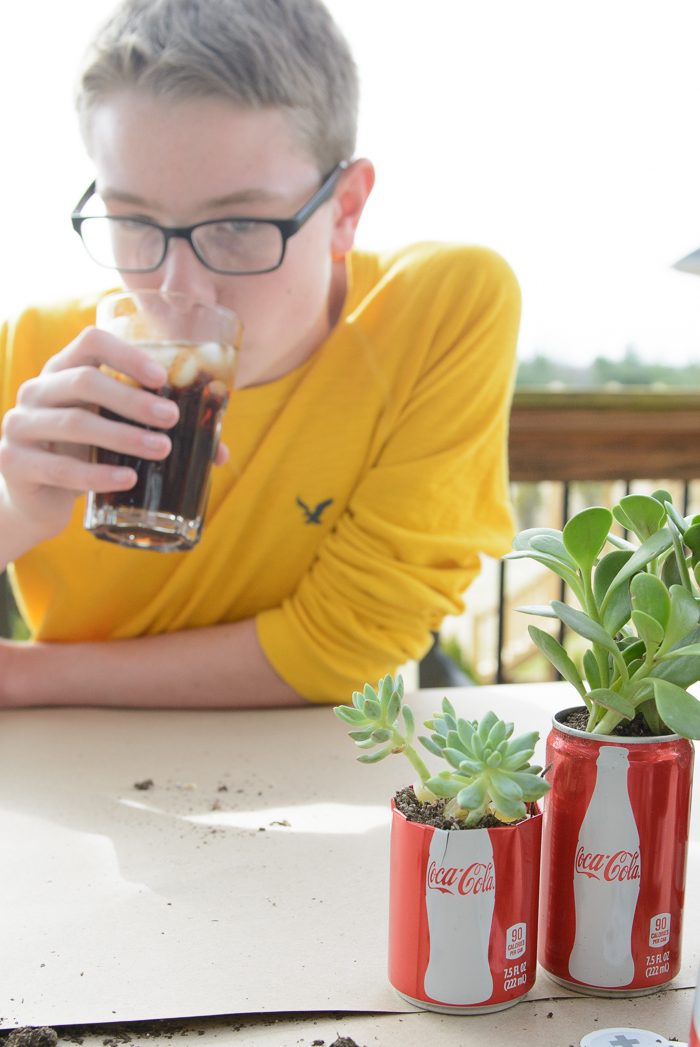
To make the planter a bit more fun, I decided to repot the succulents into mini Coke® cans. I’m sure you’ve seen them at the store, they are absolutely adorable. When my teenage son saw what I was working on he said “good grief, now you’re crafting with Coke too?”.
My love for the stuff is well known in our house, and I’m teased about it on a regular basis. Everybody knows not to drink the last Diet Coke® in the house, lest they face the wrath of Mom.
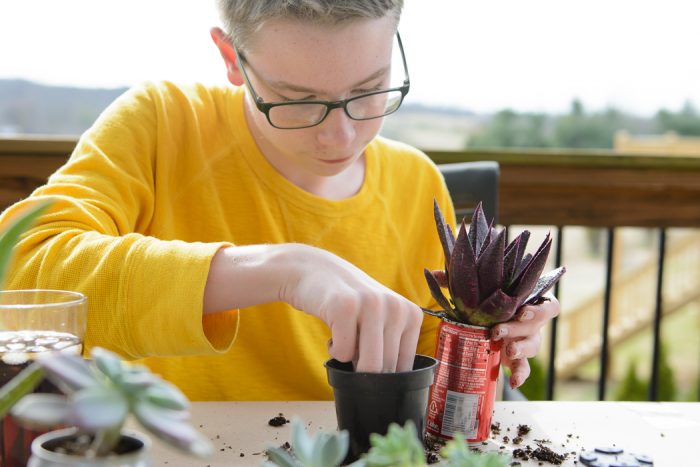
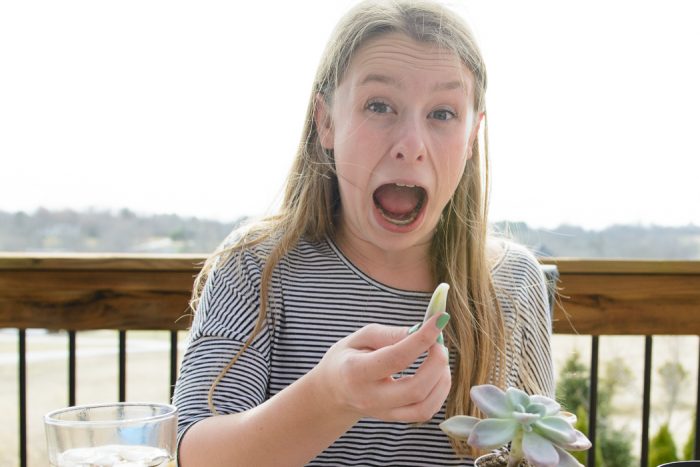
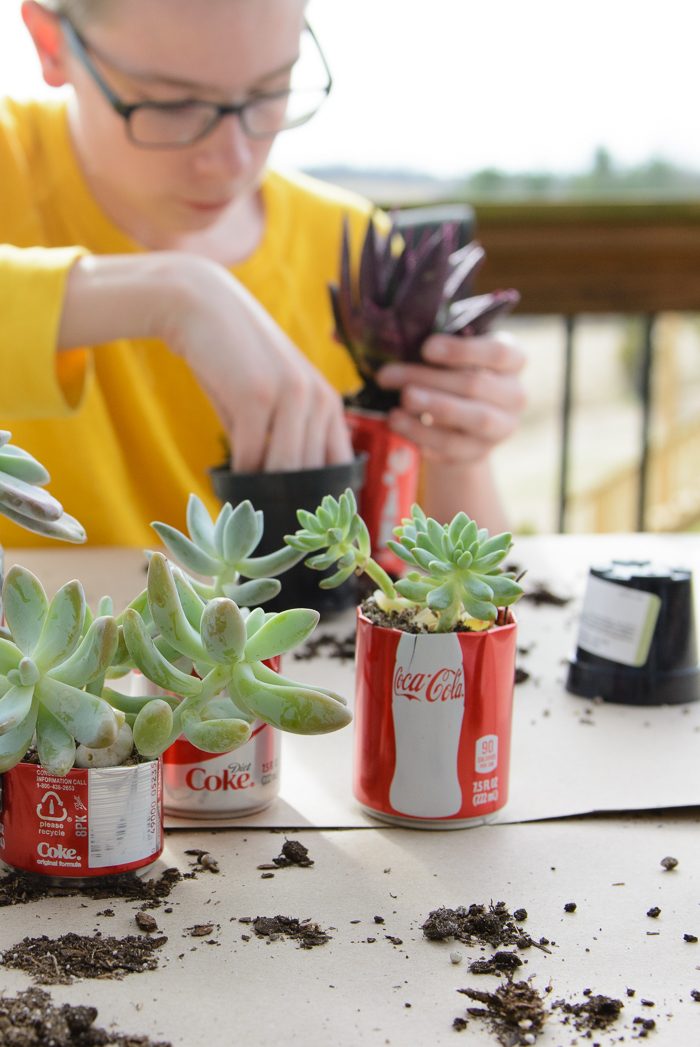
Since my kids have been stuck inside the house all winter, I decided that they needed some time outside so they could get their hands a bit dirty. It turns out they were really good helpers.
If you’d like to make a planter for yourself, here’s what you’ll need.
Planter Supplies
- Coke Mini Cans
- Can Opener
- Scissors
- Awl, or another sharp-pointed object
- River Rocks
- Tray or Dish (mine is a terracotta platter spray-painted gray)
- Succulents
- A bit of potting soil
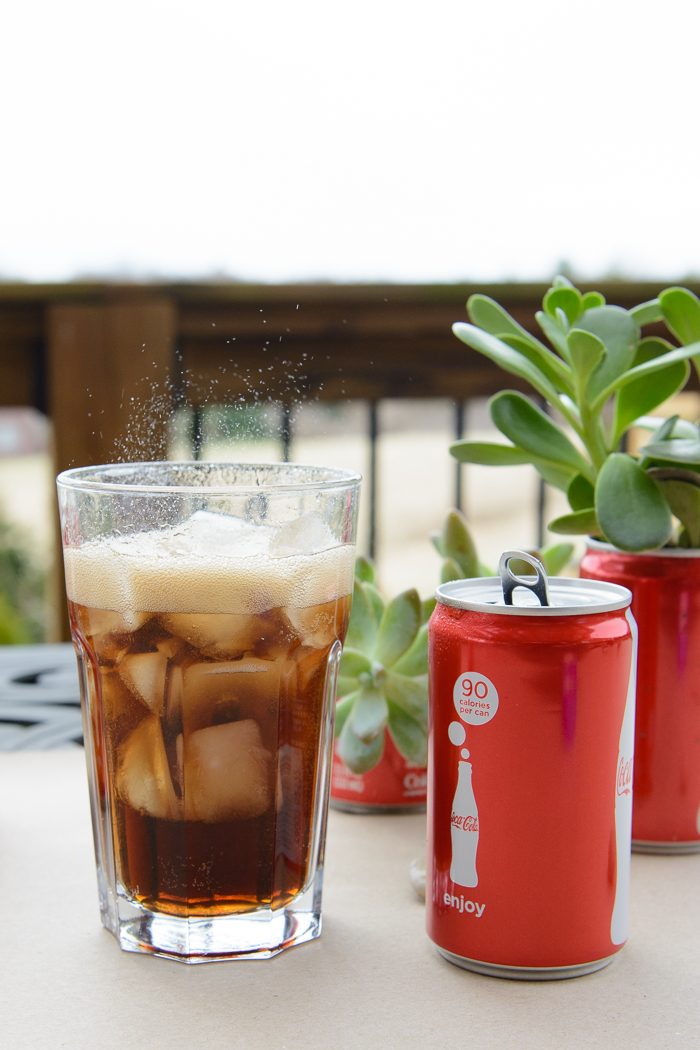
Step One: Prep
Fill up a glass with ice, open up your Coke and pour it over the ice. Drink. Repeat 6-8 times.
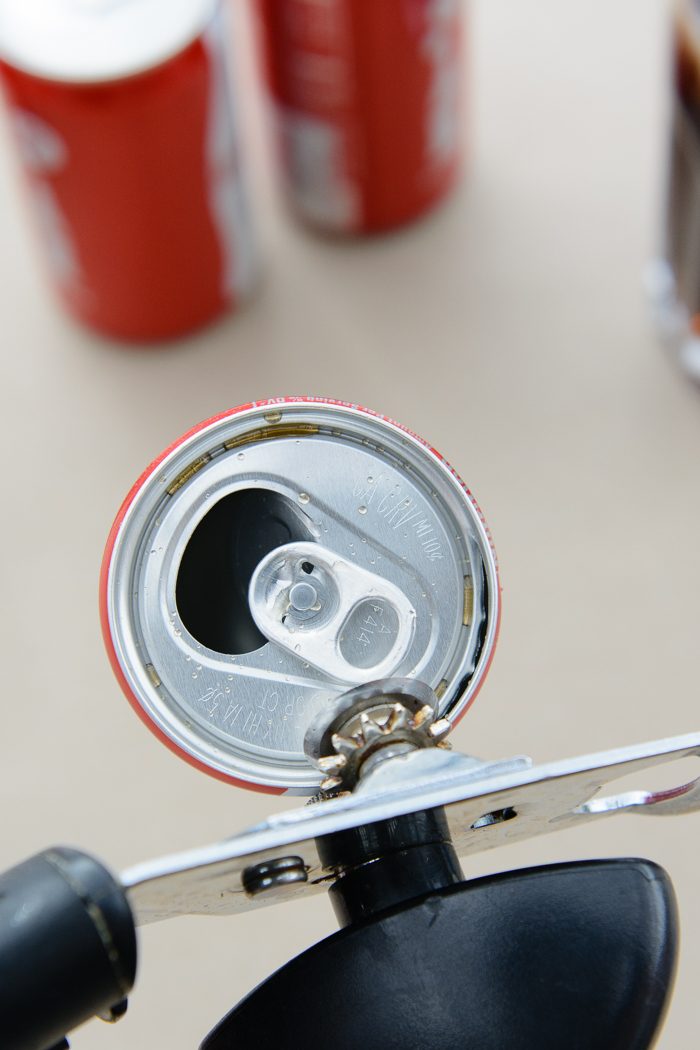
Step Two:
(Note: you’ll want to complete this step before you have your kids help you).
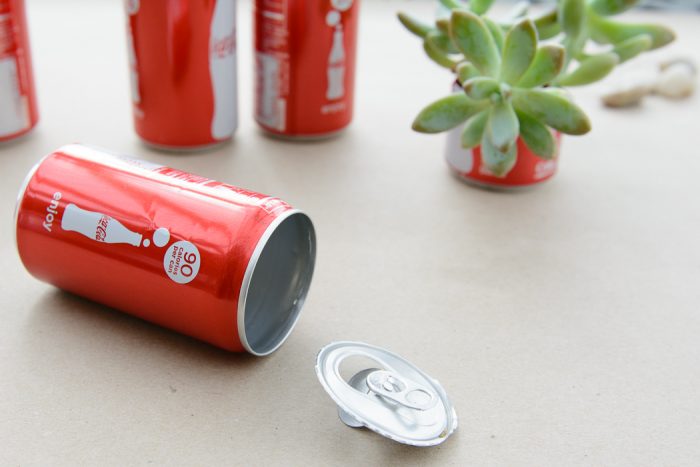
Using a can opener, remove the top from the empty Coke can. It will pop right off, leaving a smooth edge. Discard the top as the edges are sharp. Be careful not to cut yourself during this step. You may need to wear protective gloves.
Using your awl, poke a couple of holes in the bottom of the can for drainage. If you want to use the full-size min can just set it aside.
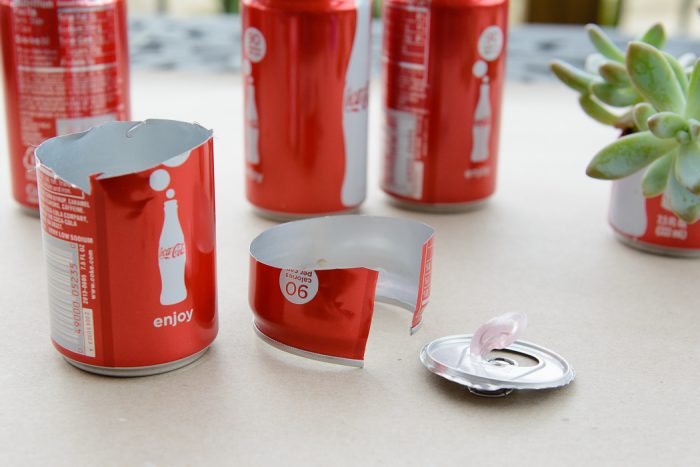
To make the can smaller, use a standard pair of scissors and cut off a portion of the top of the can. Then cut slits in the can all the way around. Make sure each of the slits ends the same distance from the bottom of the can.
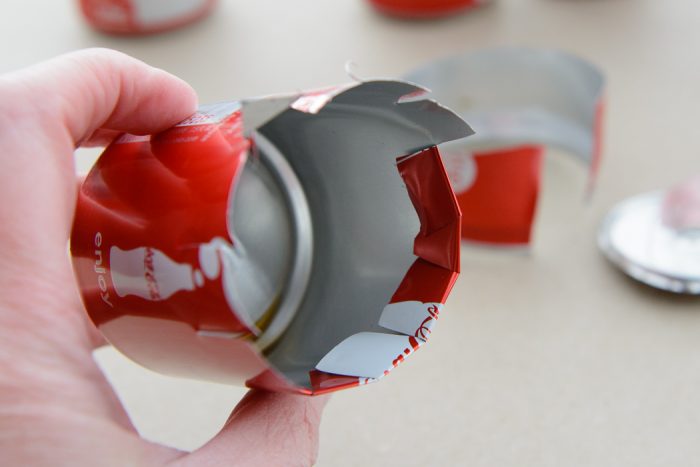
Using your fingers and being careful not to cut yourself, fold down the edge of the can along the slits. This will give you a smooth edge to work with as you repot your plants.
Step Three:
Place a few river rocks in the bottom of the can. These aid in drainage. The worst thing you can do to a succulent is to water it too much or not provide it with sufficient drainage.
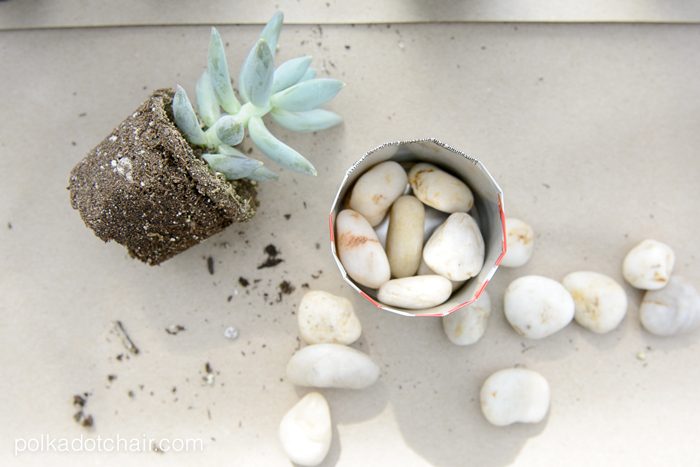
The rocks will allow the water to pool at the bottom of the can and not in the roots or the soil. Remove the succulent from its container.
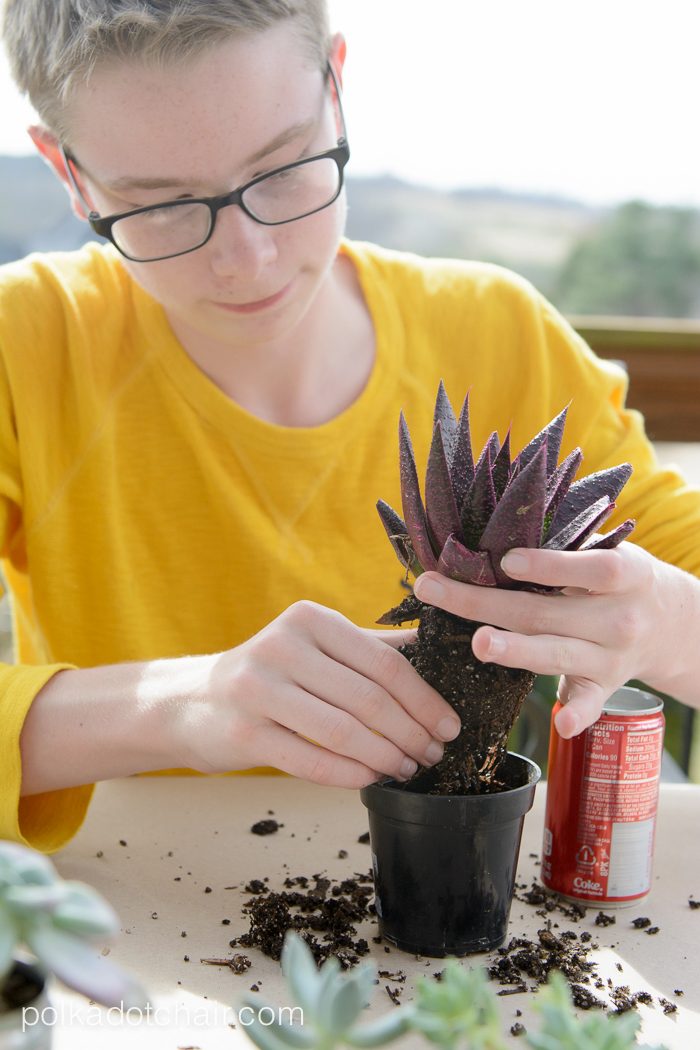
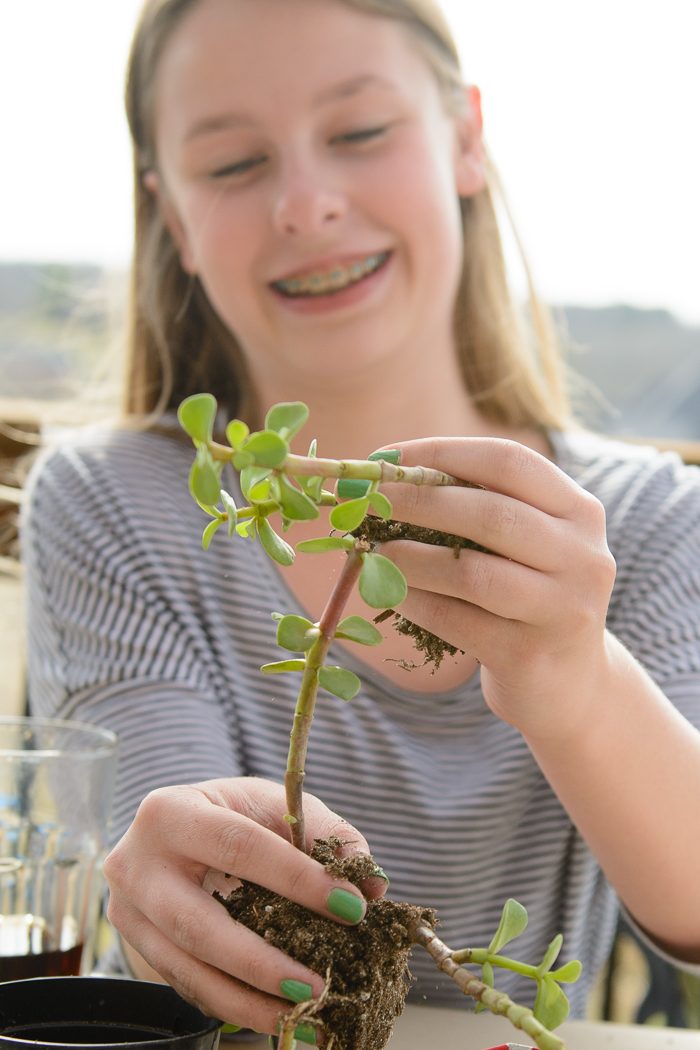
You’ll need to brush off some of the soil to get it to fit in the can. Place the succulent in the can. Fill in the excess space around the plant with soil. If you’re using a tall can you may need more rocks in the bottom to make the plant tall enough to fit in the can.
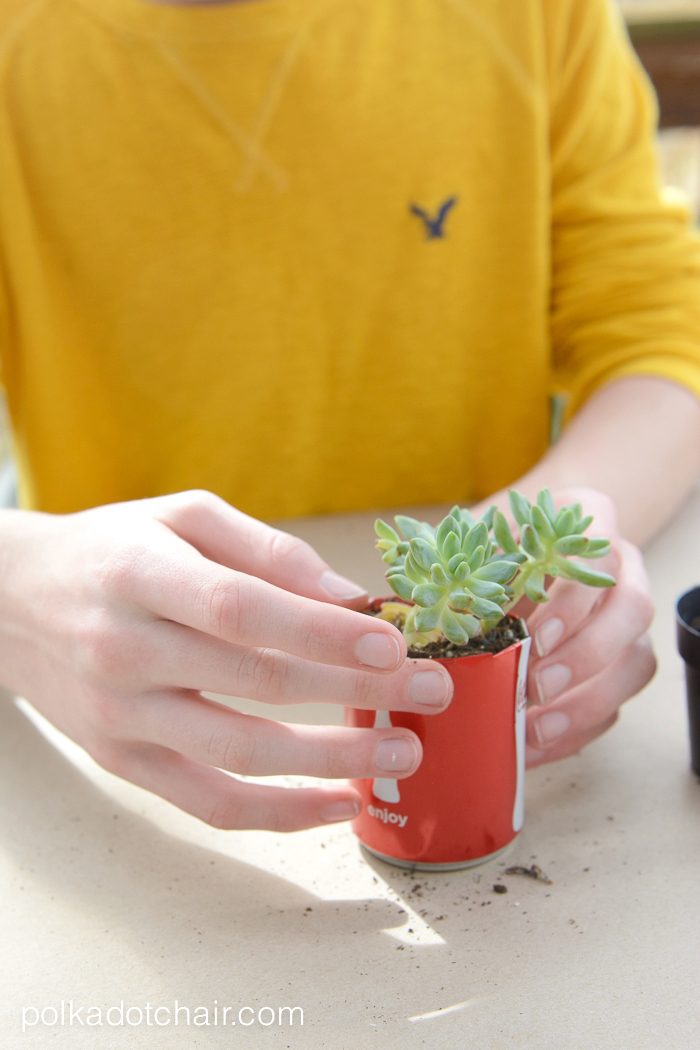
If you want, you can divide the succulents up. Just carefully pull them apart at the roots, and place them in the cans. Handle the succulents carefully, but know that you may lose a leaf or two in the process. Don’t worry too much if this happens.
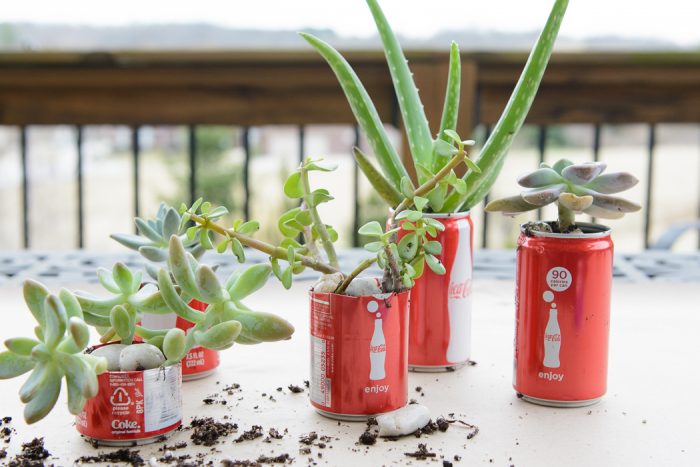
Keep working and repotting the plants until you have enough to fill up your tray. Take frequent breaks.
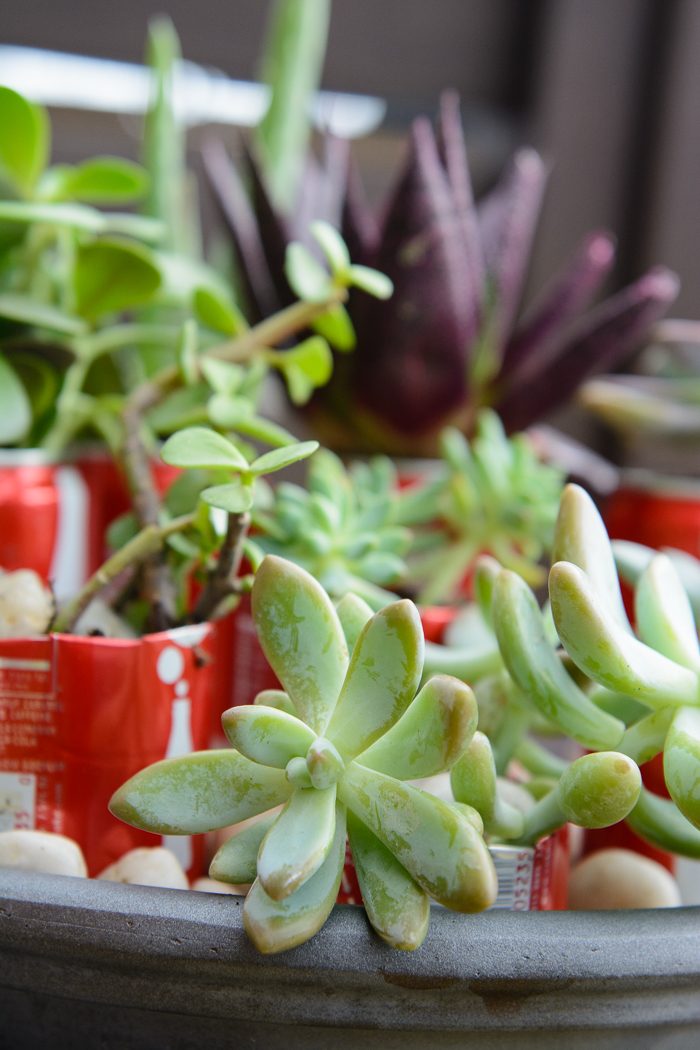
As we worked we tried to match up the size of the cans with the size of the plants. The larger “wider” plants did a bit better in the shorter cans.
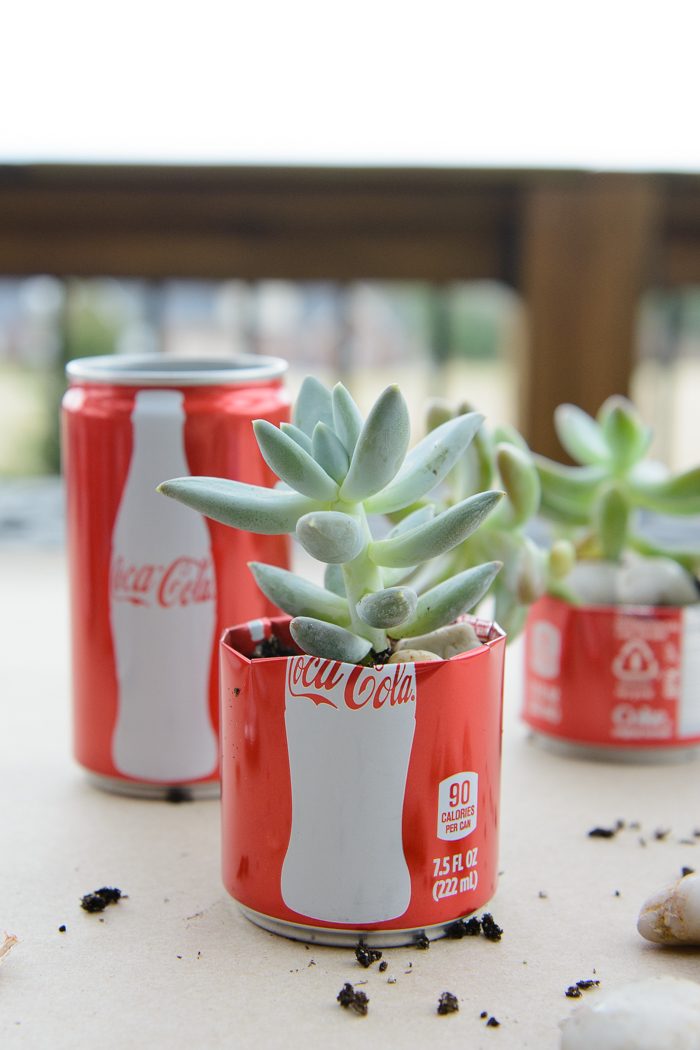
The taller skinnier plants seemed to fit well in the taller cans. After you have all of the plants repotted, arrange them on your tray.
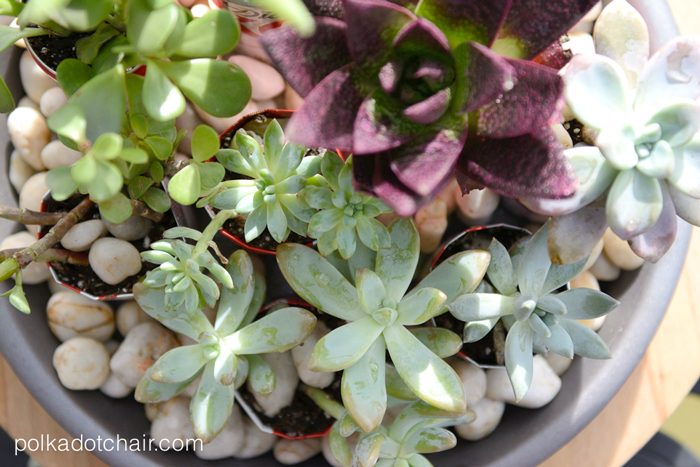
Fill in the empty spaces between cans with river rocks. The rocks will help keep the humidity around the plants.
A few tips for arranging your tray:
- Place the taller plants in the back.
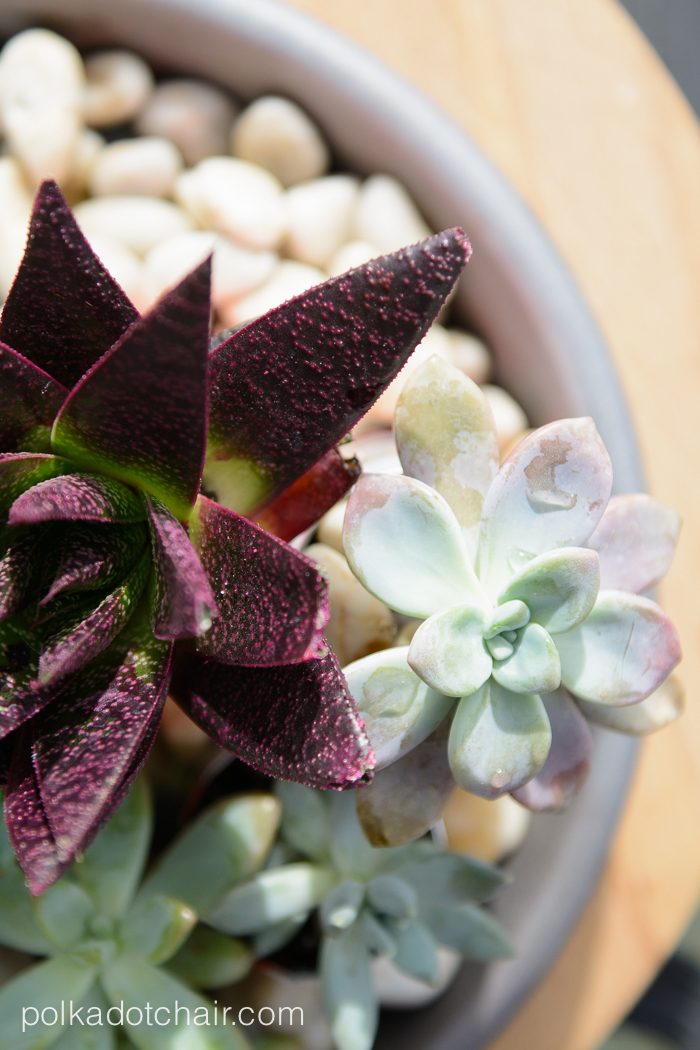
- Pick succulents in a variety of colors and textures to add visual interest.
- Have a few of the plants tilting out from the center of the arrangement That’s pretty much all there is to it.
- Succulents are very susceptible to frost. Don’t leave them outside if there is a chance of cold weather at night. I would recommend keeping them inside the house until later in the season.
- You can also keep them in the house all year long if you like, just find them a sunny spot. -When you see the soil is dry, water them. Do not overwater.
- If you need to, you can place a few of the river rocks on top of the soil to keep the succulents in place as they grow in their new containers
