Colorful Cricut Craft Room Organization Ideas
Are you drowning in Vinyl scraps? I am! I love to use my Cricut machine to create all kinds of crafts, but I find myself with so many scraps that I don’t want to throw away! Today I’m going to share with you some fun and colorful craft room organization ideas, along with a tutorial for a project you can make to organize your vinyl scraps.

I work as a brand ambassador for Cricut; this is sponsored content.
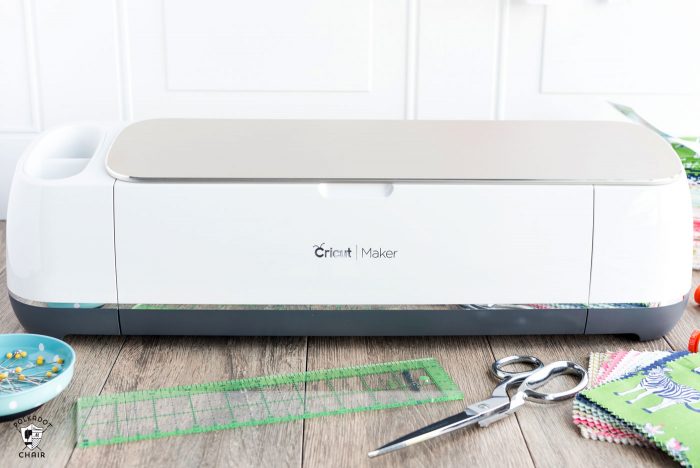
As much as I love to make fun t-shirts and other projects with my Cricut Maker, one of my favorite things to make with it are labels to help me organize things around the house.
My kids are almost 18, and one thing I’ve learned over the years is that if a bin/drawer/plastic tub is not labeled, then it’s not going to stay organized.
Even IF it is labeled, it might not stay organized either, but at least there’s a better chance it will stay the way you want it if it’s got a label.
I’ve used my Cricut to make labels to organize shelves in my pantry, drawers in my kid’s closets, and glass jars for holding everything from buttons to ribbons.
Since I’ve been using my Cricut machine more, I find myself absolutely drowning in vinyl scraps! I have been keeping them on my craft table in a basket, but I’ve grown tired of always sorting through the basket to find exactly what I need.
Cricut Vinyl Scrap Storage Ideas
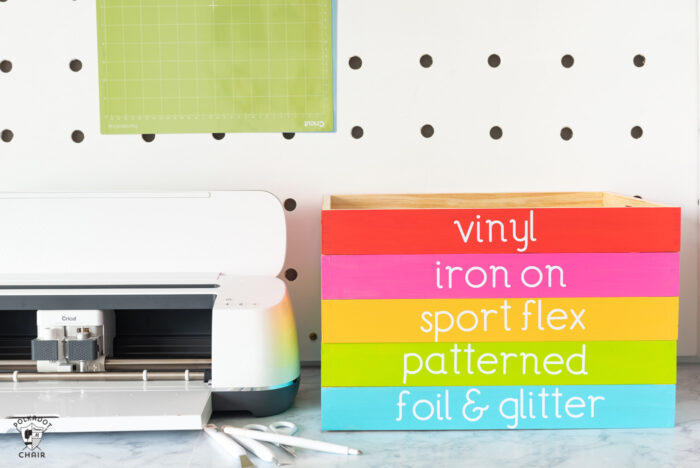
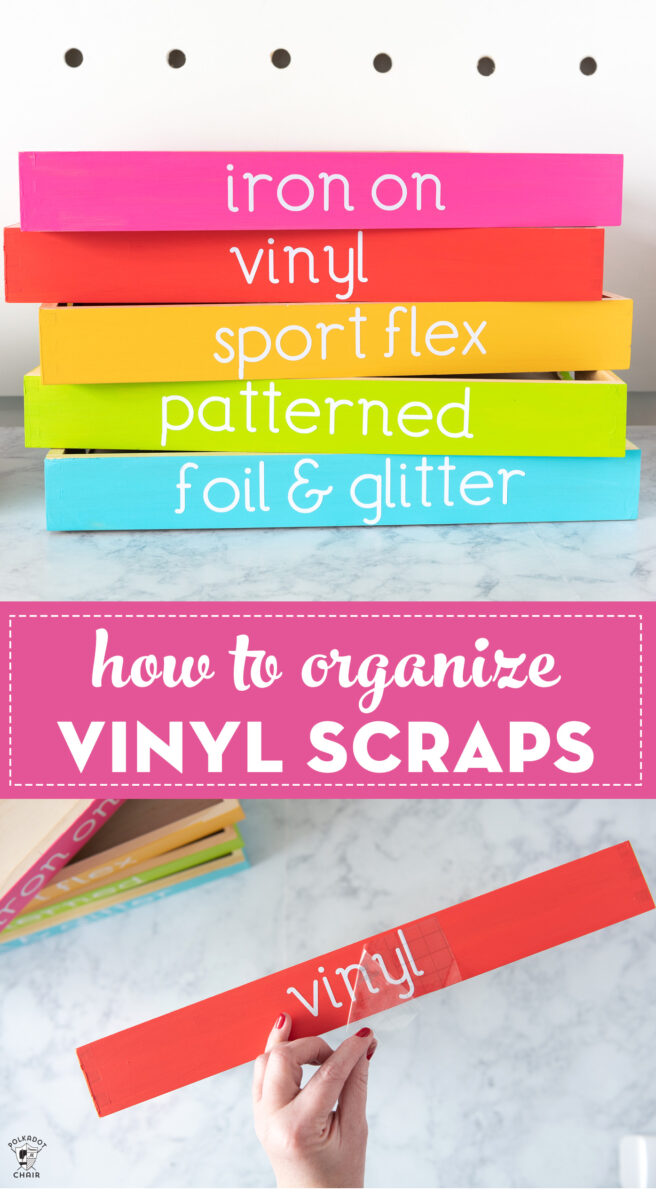
The dreary winter weather has me craving color, so I thought it would be fun to create a colorful stack of trays to keep my vinyl scraps organized.
I know that many crafters prefer to use drawers to keep vinyl organized, but I don’t have space for a set of drawers. I do have an empty spot on my craft table and thought a set of trays that I could stack and unstack would be the perfect way to wrangle my scraps.
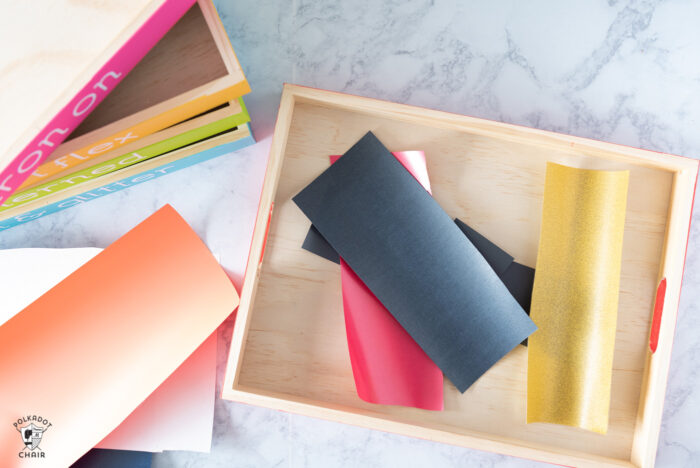
To make the set, I purchased simple wood trays that would stack on top of each other. My original plan was to store my scraps by color; then I decided it would be better to store them by type.
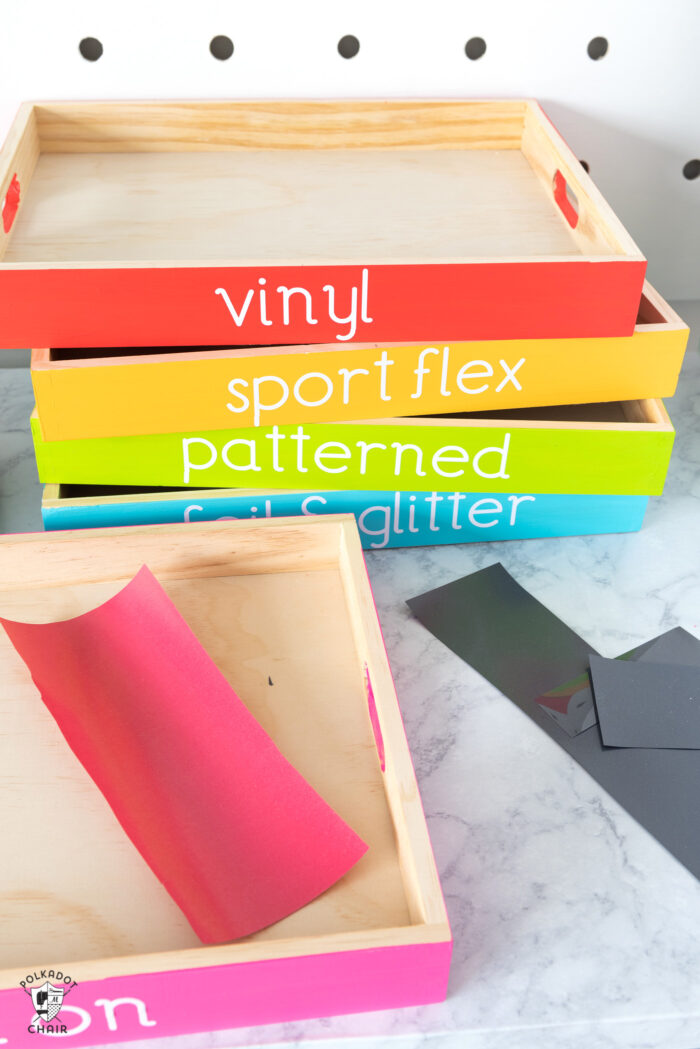
I painted each tray a different bright candy color and then created labels for the trays based on the types of vinyl that I use the most.
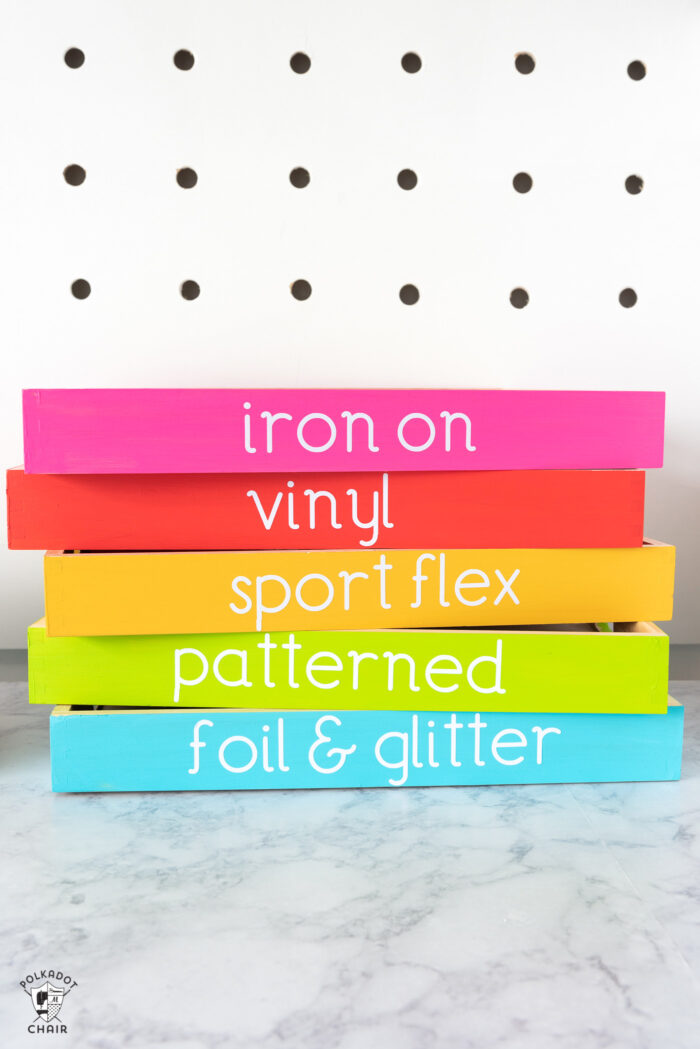
If you’d like to make, your own set of stackable trays, here’s how you can do it.
How to Make Colorful Wood Storage Trays for your Vinyl Scraps
Supplies:
- Cricut Maker 3 (you can get great deals on machine bundles on Cricut.com)
- Roll Holder for Maker 3
- Cricut EasyPress (I like the large size the best): Make sure you get the EasyPress mat as well.
- Cricut Weeding Tools: (I use the small hook tool ALL the time, making weeding vinyl so much easier).
- Cricut BrightPad: A cordless, flat, bright lightbox. I use it to weed Cricut vinyl and use it all the time to trace applique shapes for sewing & quilting.
- Cricut Iron On Vinyl
- Cricut Permanent Vinyl
- Unpainted Wood Trays – purchased at Target
- Acrylic Paint in Various Colors
- Foam Brush
- Wax or Lightweight Varnish
- Painters Tape
Cricut Vinyl Labels File- grab in Design Space HERE
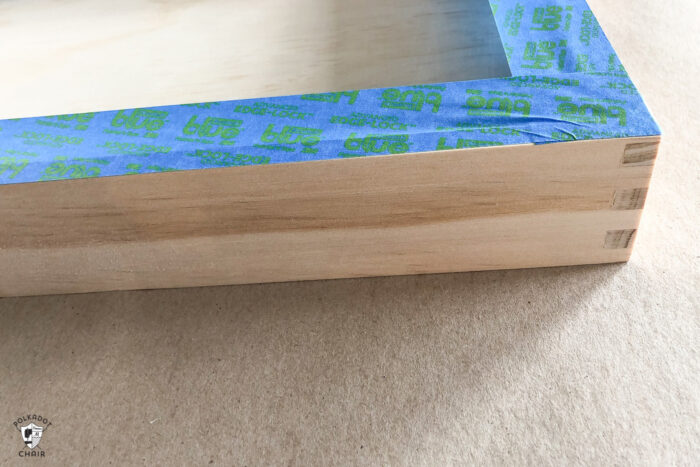
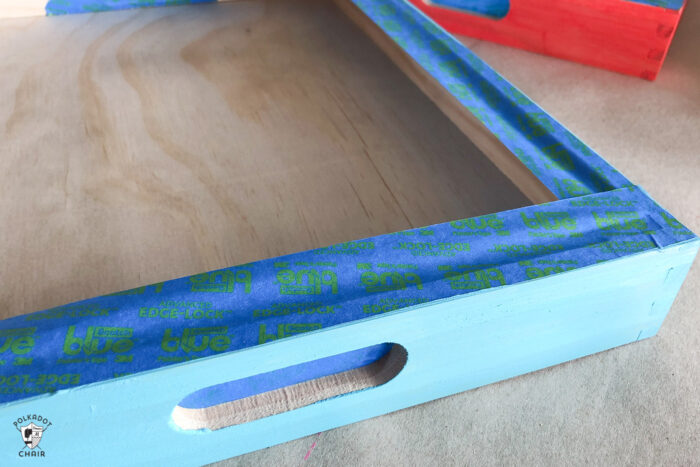
To Begin, Paint your Trays
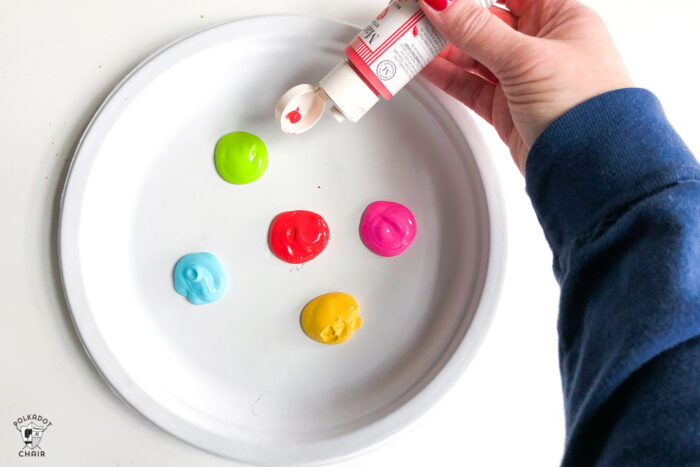
The first thing you need to do is decide on a color scheme and paint your trays. I recommend taping off parts of your tray with painter’s tape. If you are stacking your trays, they may stick to each other if the top and bottom edges are painted. So you’ll want to run a bit of painter’s tape over the top rim to keep the edge clean.
Using a foam brush, paint your trays. It may take a few coats to get the right color. After you’re done painting, seal the paint with a bit of wax or varnish.
Create the Labels:
If you’d like the same labels that I made, you can just hop on over to Cricut Design Space and use my file. I’ve made it public, so I can share it with you. Measure the height of your trays and type in the word you want into Design Space. Size it so that it’s not too tall for the tray. Repeat until you’ve created all your words.
When you’re ready, cut out the labels with your Cricut Machine from white Permanent Vinyl.
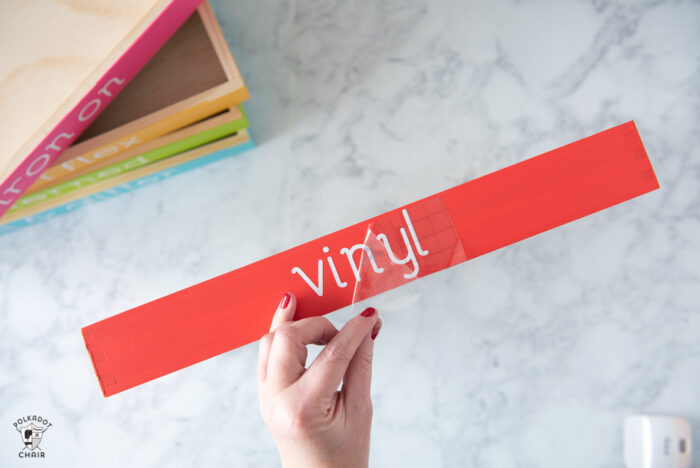
Apply the Labels:
Peel off the excess vinyl from your labels. Cut a piece of Transfer Tape a bit bigger than your labels. Apply it to the front of the label, then peel off the backing.
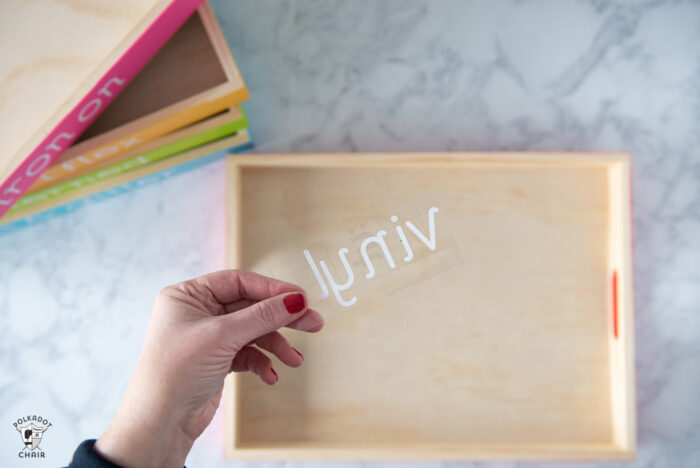
Apply it to the tray, use a Cricut tool to adhere it, then peel away the transfer tape.
That’s it! Now stack and organize all of your vinyl!
More Fun Projects to Make with your Cricut:
DIY Ballet T-Shirts and Warm-Ups
Simple Personalised Pillowcase Tutorial
How to Decorate a Graduation Cap
How to Make Disney Purses with a Cricut Maker
This is a sponsored conversation written by me on behalf of Cricut. The opinions and text are all mine.

The trays are adorable. The font is one that I have been searching for; however, I am having trouble opening the file. Could you please help?
Hoping to find out the size of your wood trays and where you purchased them.
This is a great idea! 🙂 thanks for sharing