5 Home Organization Projects to Tackle with Your Cricut Joy
This is a sponsored post written by me on behalf of Cricut for Cricut. All opinions are 100% mine.
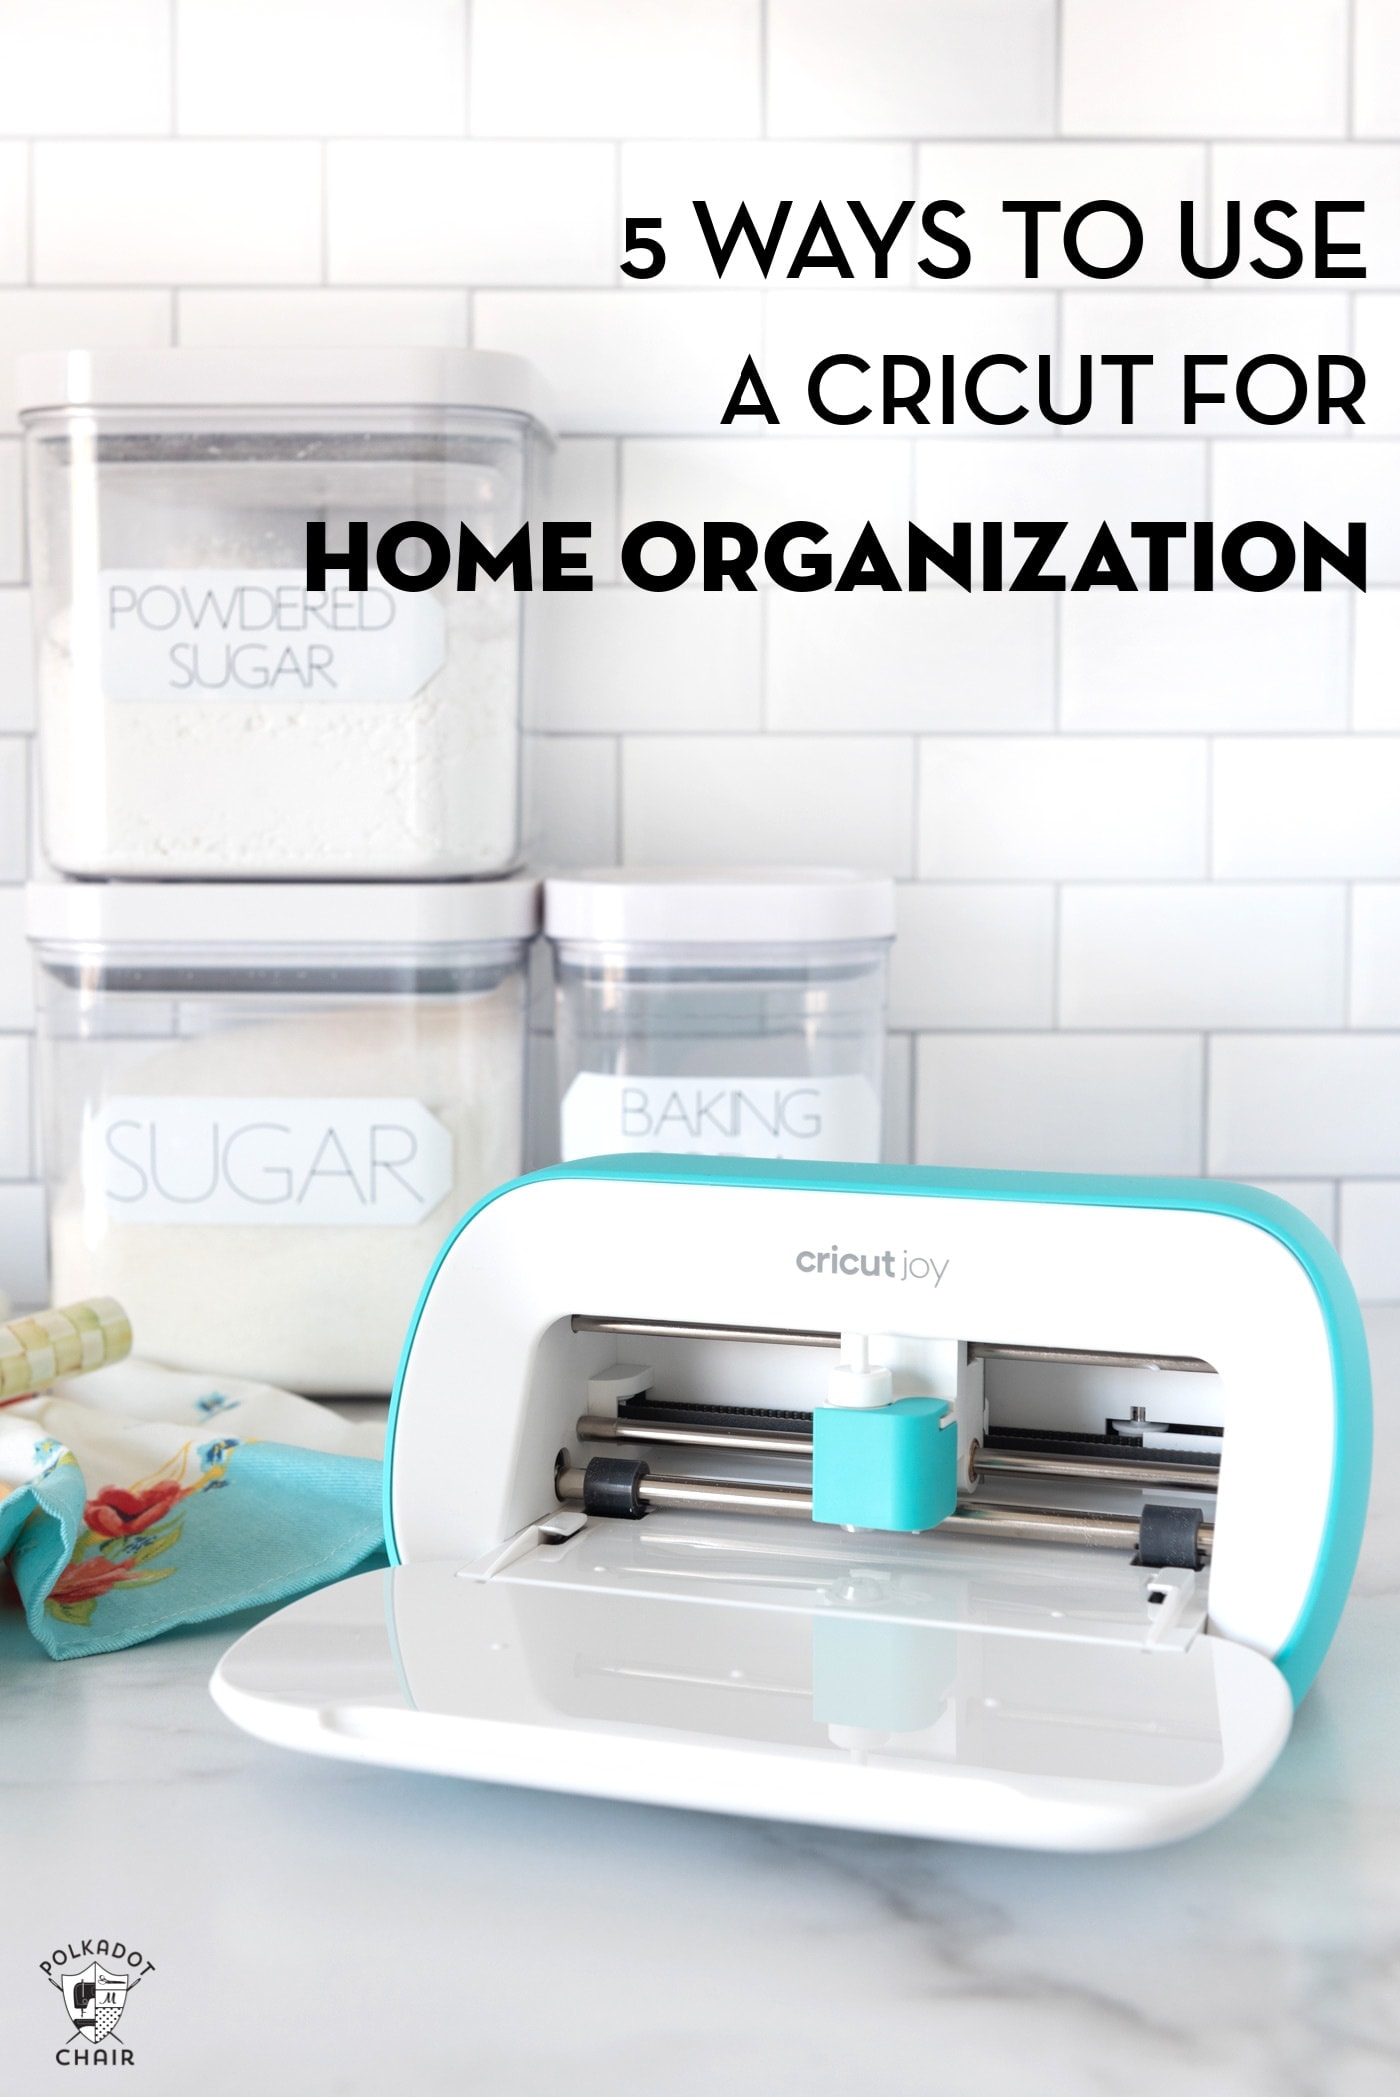
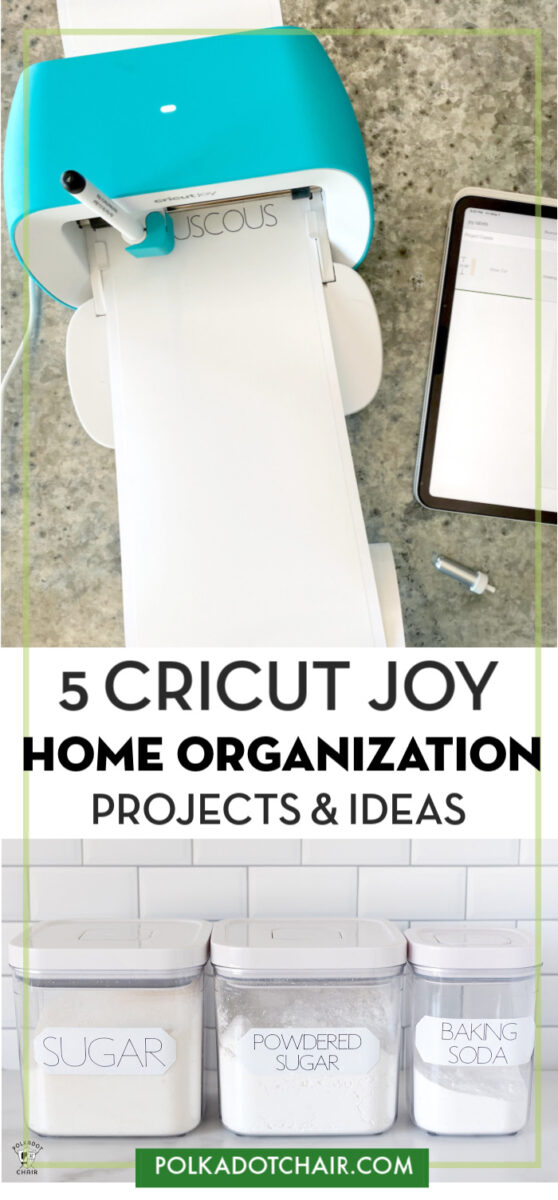
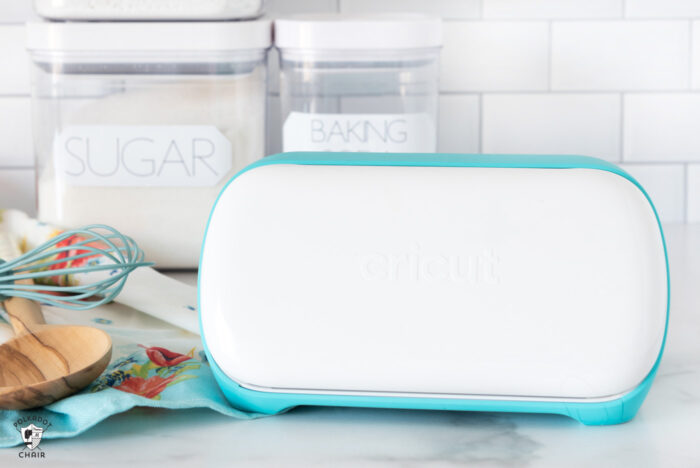
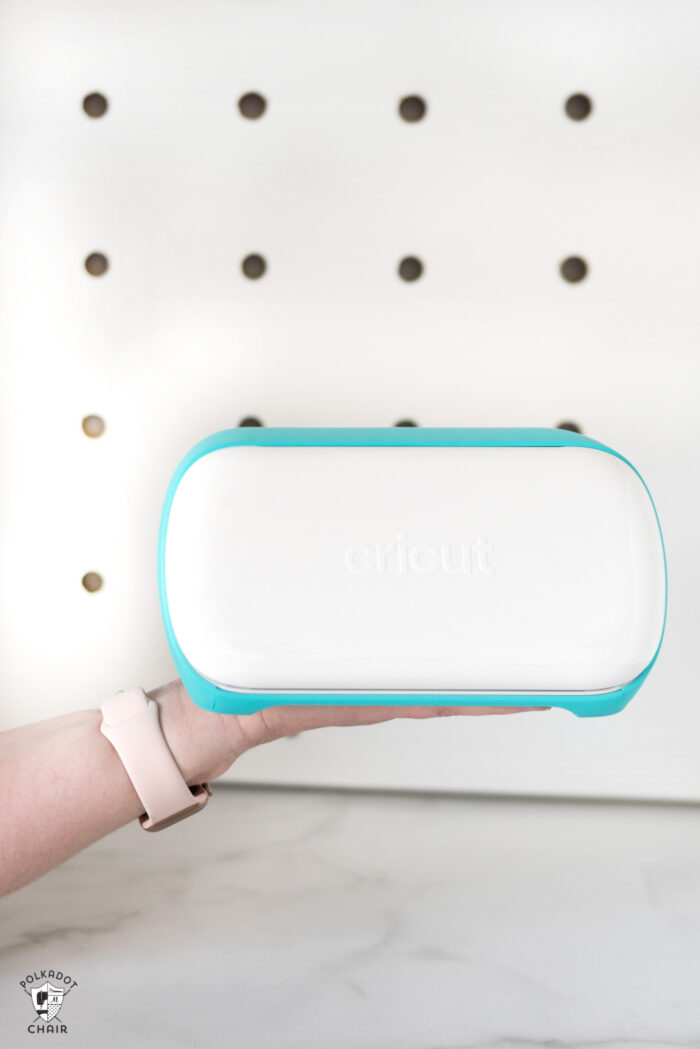
Recently Cricut added a new machine to their lineup. Let me tell you, it’s an adorable addition! The Cricut Joy is a smaller Cricut machine made to be portable.
The machine can write and cut. It can also cut a wide variety of materials and can cut materials without a mat! The machine can also be cut using a mat so you can use all of your existing Cricut materials with it.
When I first saw the new machine, I got excited. My kids are now adults, but when they were younger, I spent countless hours doing craft projects in school and church classrooms.
Do you know how much I would have loved to have this little machine back then? It would have been perfect for taking with me and letting the kids design and cut out their own projects.
I have a dedicated craft room. I keep my sewing machine and all of my Cricut stuff in there. It’s tucked away in the corner of the upstairs, which makes it great for work (it’s quiet) but also not great too.
When I would want to make something for another area of my house, I would end up waking up and down the stairs a million times between taking measurements, retaking measurements, forgetting tools, etc.
Cricut sent me a Joy to try out, and I thought it would be perfect to use to knock out some of the home organization projects that I have been putting off around the house.
5 Simple Ways to Get Your Home Organized with the Cricut Joy
1. Organize Your Pantry Staples
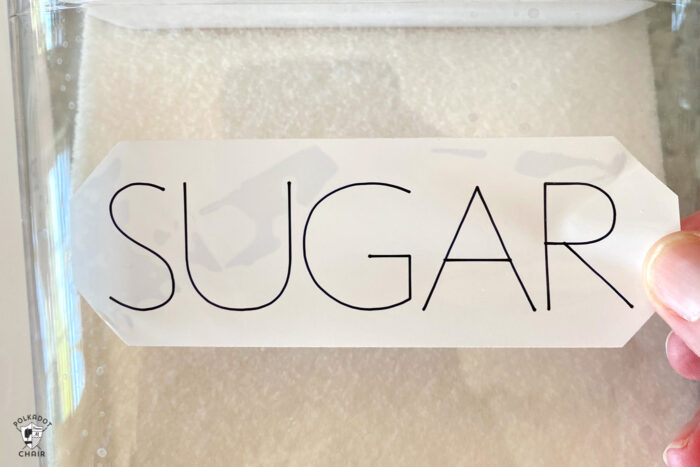
I recently moved all of my pantry staples into airtight canisters (we live in a very humid climate, stuff gets ruined so fast). I don’t have a label maker (shocker, I know), so I just tore off the package label and put it in the container so I would know what’s inside. Great system right?
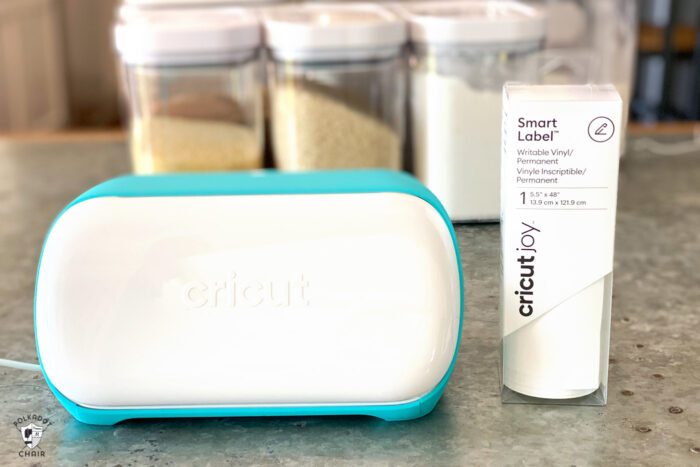
I kept meaning to go upstairs and cut out vinyl for the canisters but kept finding reasons not to.
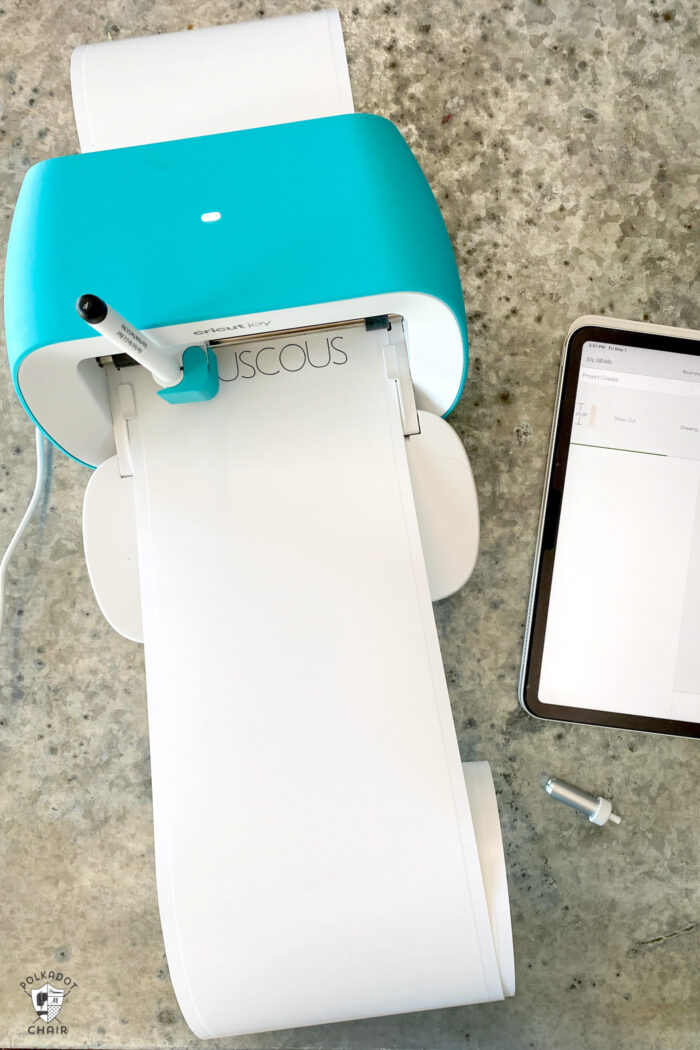
Since the Cricut Joy is so small and portable, it was perfect for this project. I set it up on my kitchen table and went to work.
How to Cut & Write Labels with Cricut Joy
One: Design your Labels
In Cricut Design space, design your labels. You can cut out your labels with a simple rectangle or circle shape or use a premade shape in Design Space.
Create the shape of the label. Click “duplicate” until you have the number of labels you want to write & cut.
Next, using a “write” font in Design Space, type the name of the label you want to create. (you can sort by “write” fonts in Design Space, it will save you loads of time looking for a font you like.)
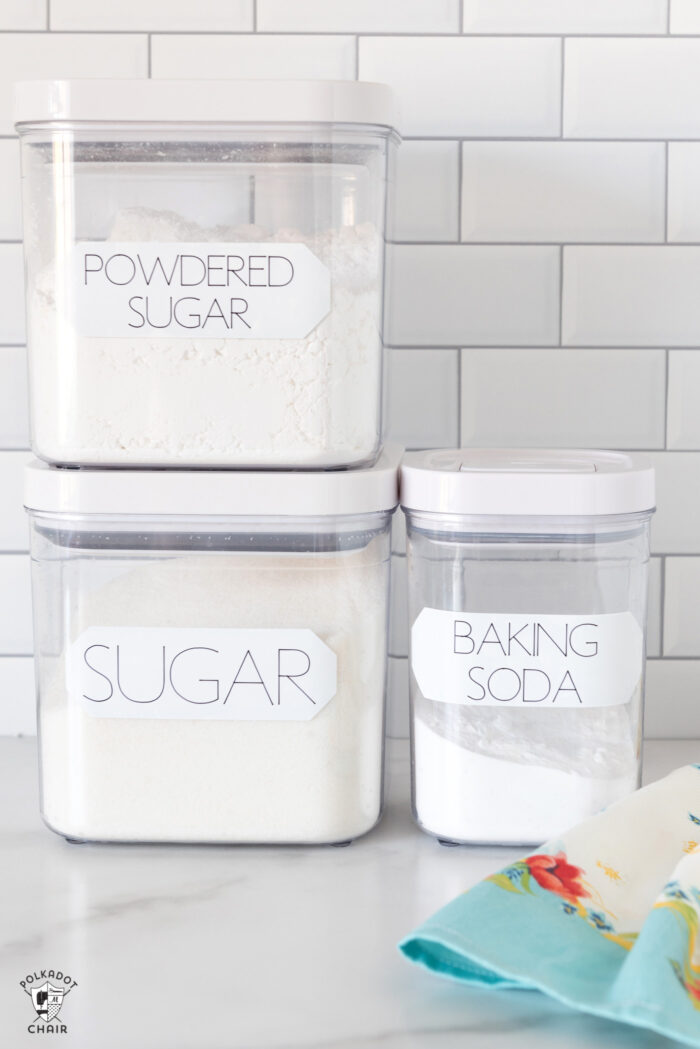
Type out your label, for example, “baking soda”, and make sure it fits in the label shape you created. Next, click ‘duplicate” to copy the label and paste it. Change the text in the next label to what you’d like (say sugar). Repeat until you have all of your labels.
Tip: use the align button in the Edit Menu to perfectly center your text and label.
Lastly, attach ONE label shape to ONE text box. (Don’t attach all of them to each other). You can find “attach” in the Edit menu.
Two: Cut out your Labels
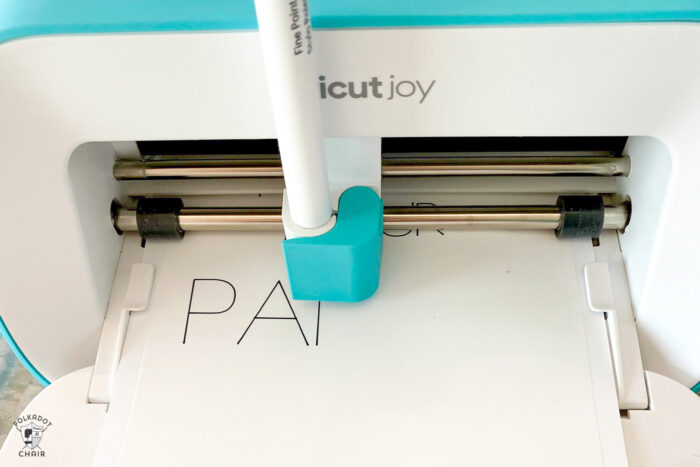
Click Make it. When prompted, load the label material and the pen into the Cricut Joy. It will write all of the letters. Next, when prompted, swap out the pen for the blade.
It will tell you when it’s done.
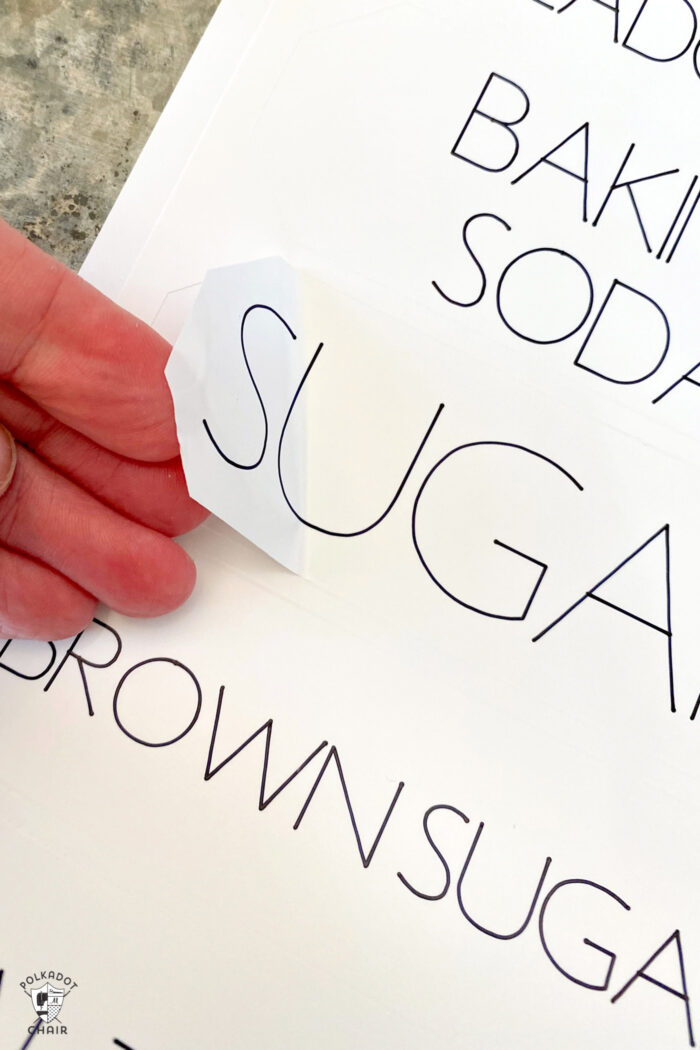
The last thing you need to do is unload the labels and peel them off and apply them to your canisters.

2. DIY Bathroom Organization
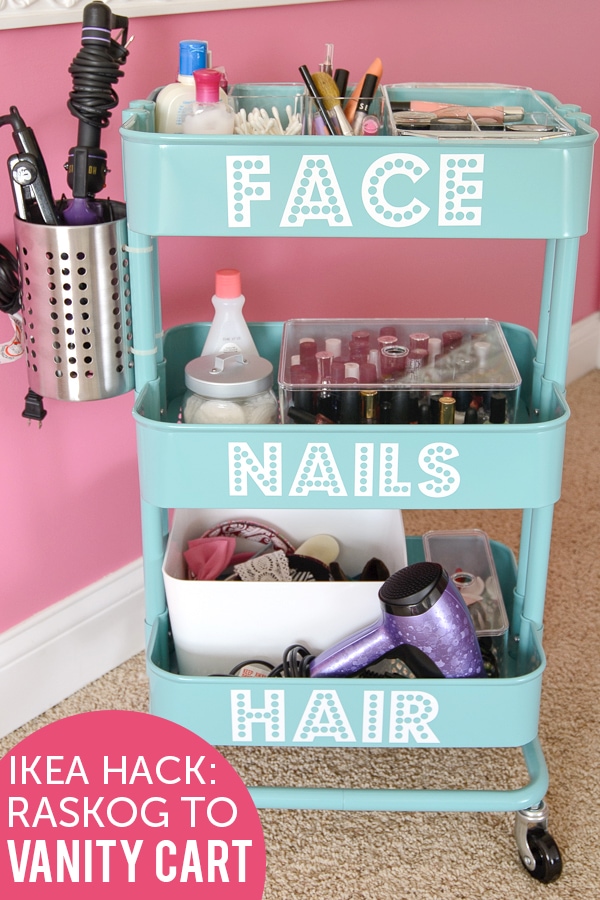
Years ago, I made a DIY Vanity cart for my daughter. It was the perfect solution for a small, shared bath space. I used my Cricut to create the labels for the shelves in the vanity cart. Since the Cricut Joy can cut letters up to 4 1/2″ tall, it’s perfect for this project.
3. Media Organization
I’m the resident “electronics” expert. I hook up the TVs, fix the wifi, etc. It drives me crazy when I’m trying to “fix” something with the tv, and I can’t figure out what cord goes to what.
I think the label feature of the Cricut Joy would be perfect to use to label cords. Just create the label and wrap it around the cord.
4. Organize Your Cleaning Caddy
Vanessa from Tried & True Blog used her Cricut Joy to create labels for her cleaning supplies. This is such a great idea! I can’t think of how often I’ve wondered if a squirt bottle has water or vinegar inside! (She is also offering a free SVG of her bottle designs).
5. Create an Organized Mudroom with Cute Labels
I love how Lela of Organized*ish used her Cricut to make labels for her mudroom. The basket idea is genius! Right now, we have a “bag of bags” I feel like her basket solution is so much better. (note: she cut out the leather with her Cricut Maker, which the Joy cannot cut. You can still do this with tags you already have, or you can use paper).
A Few Things You Should Know About the Cricut Joy
- It’s small but accurate and powerful. Don’t let its size fool you.
- It can cut smart materials up to 4 1/2″ wide by 20′ (feet, yes FEET) long.
- Smart Materials are made by Cricut, especially for use with the Joy, and do not require a mat.
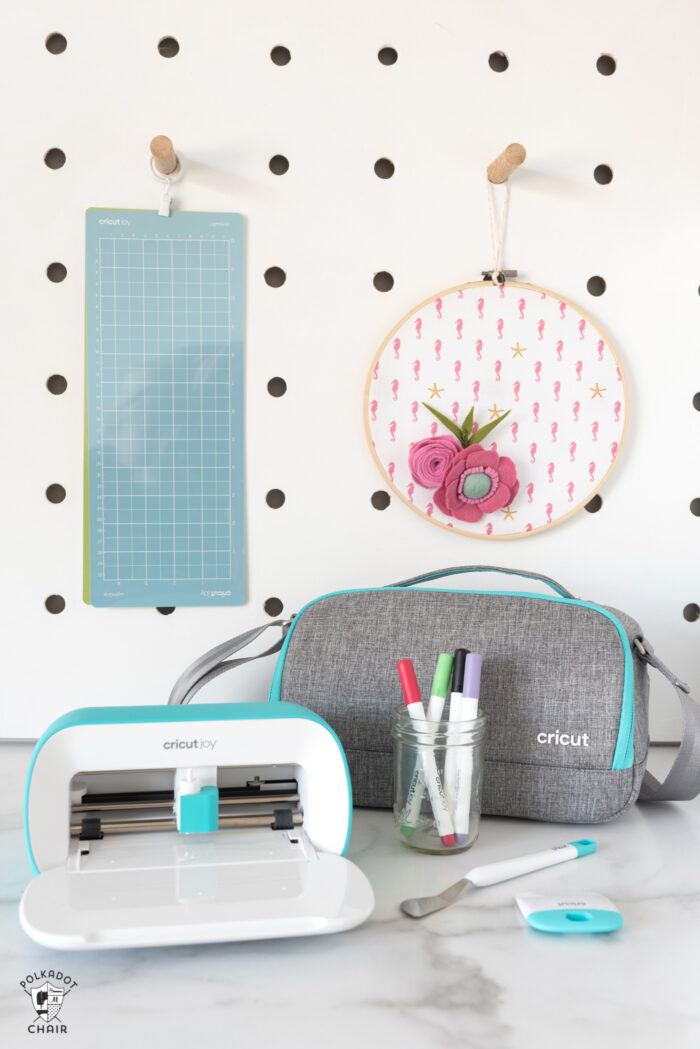
- The machine can also cut with a mat and does come with one. It also comes with a blade and pen.
- It’s easily transportable. It even has its own special traveling case!
Where to Buy
You can find the Cricut Joy at your local craft shop or on Cricut.com! I’ll share more about the Joy in the coming weeks, including a full FAQ post! If you have questions about the machine, leave them in the comments section, and I’ll be sure to answer them in my upcoming post.