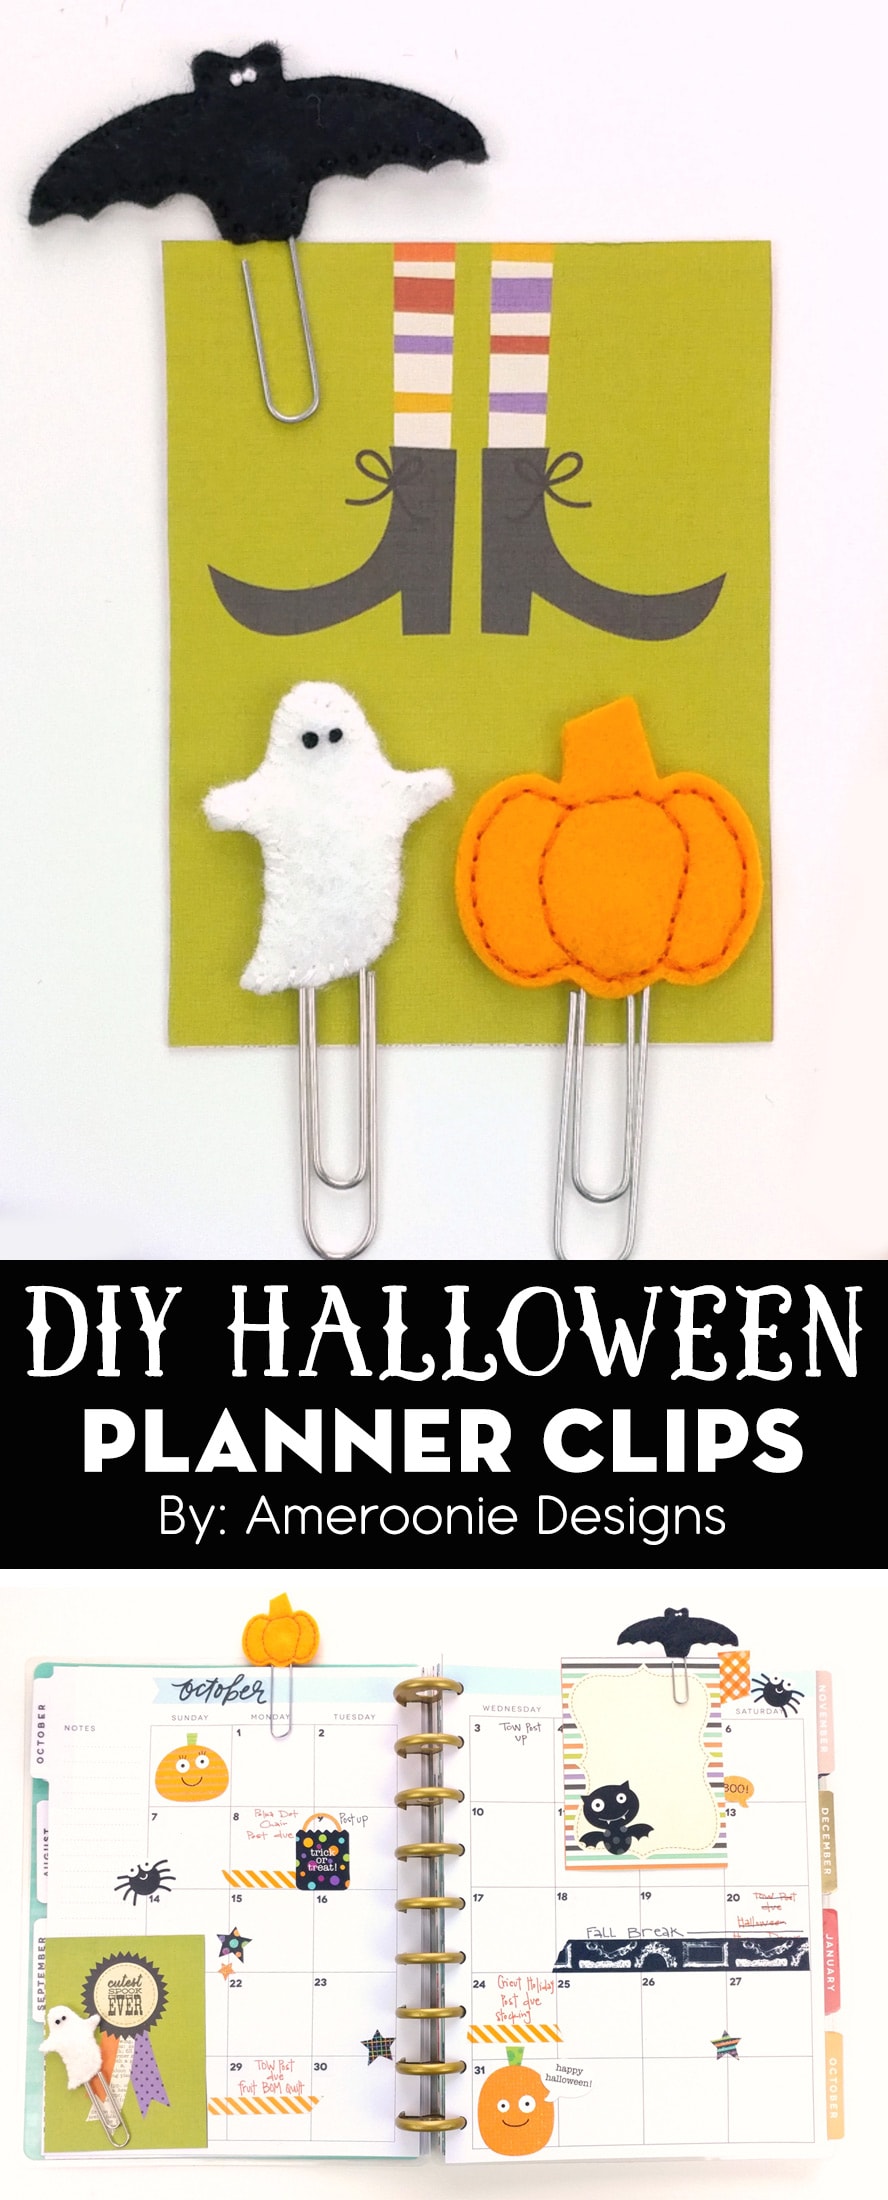
How to Make Cute Felt Planner Clips for Halloween!
Have you jumped on the planner craze? If you have, then you’re going to LOVE today’s tutorial featuring some DIY Planner Accessories perfect for Halloween.
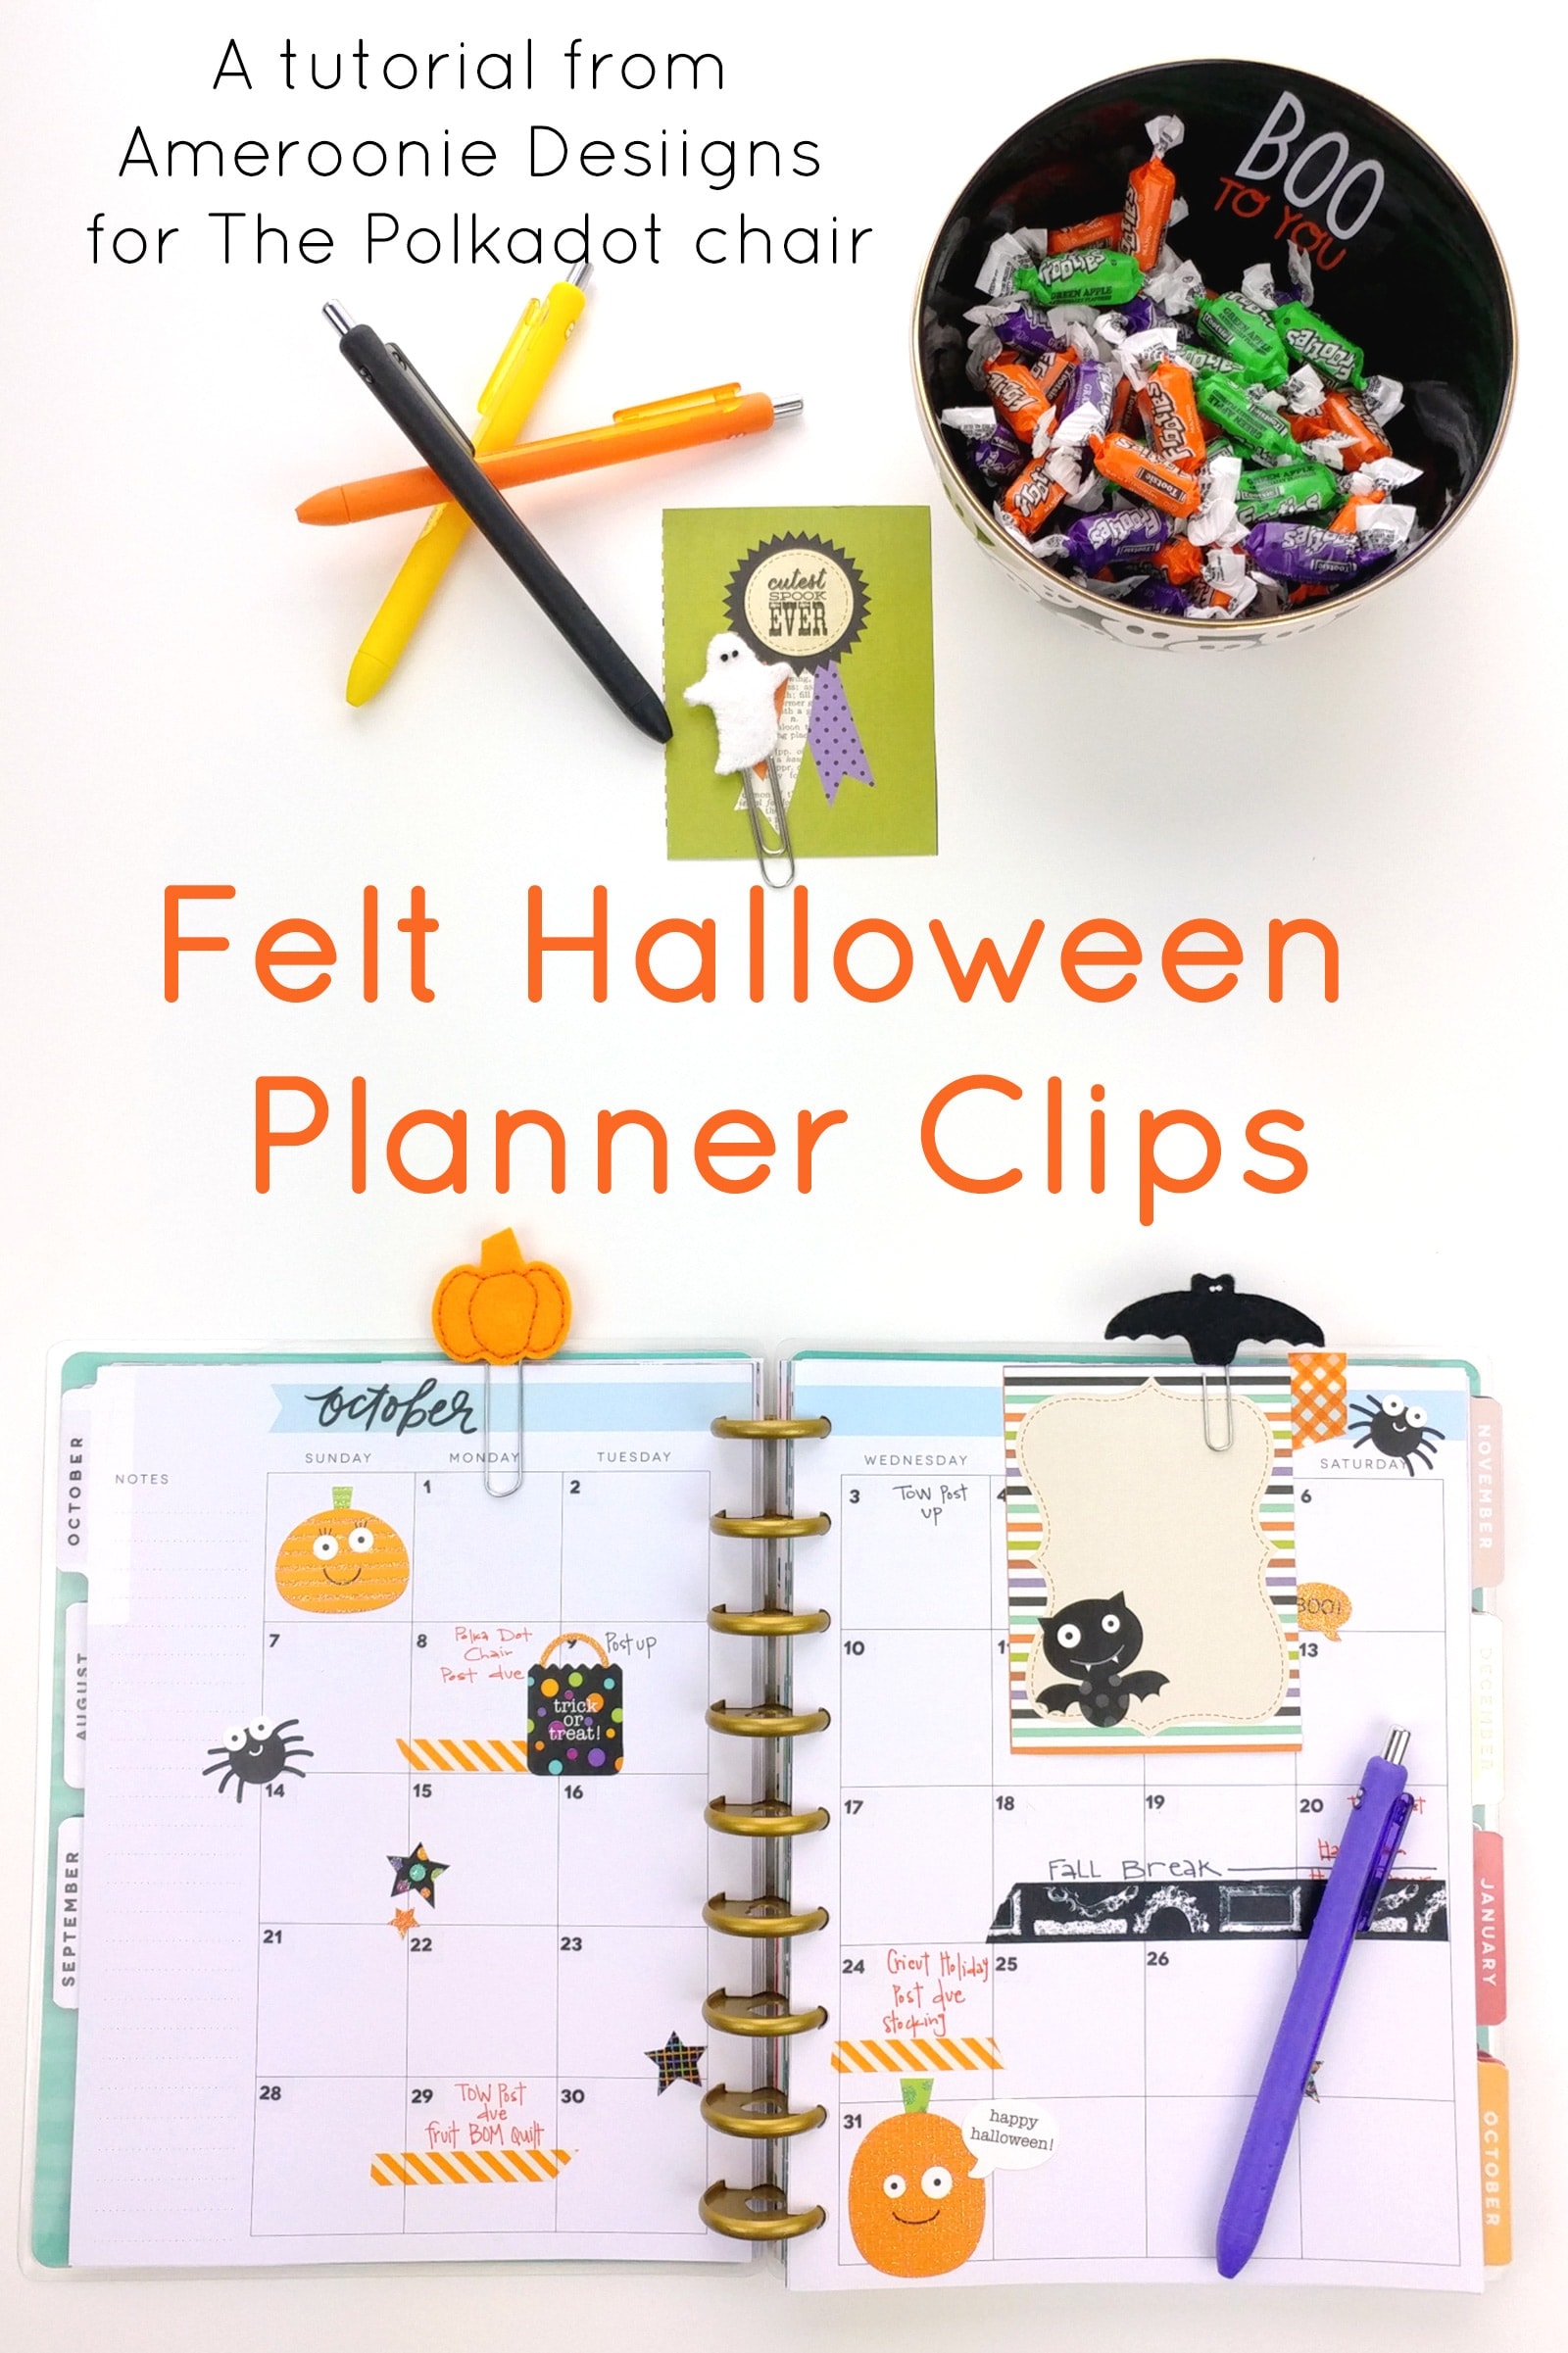
Amy from Ameroonie Designs created these cute Felt Halloween Planner Clips and is sharing a free pattern to make them.
Hi all! It’s Amy from Ameroonie Designs here again. Today, I want to share with you a free pattern for making some felt Halloween Planner Clips!
Has the planner bug bitten you as hard as I have? I love seeing all my goals, to-dos, and appointments in one place, and making it cute with stickers, washi tape, and colorful pens adds to the fun!
I am so excited to share the free file to cut out these fun clips and a couple of ways you can put them together!
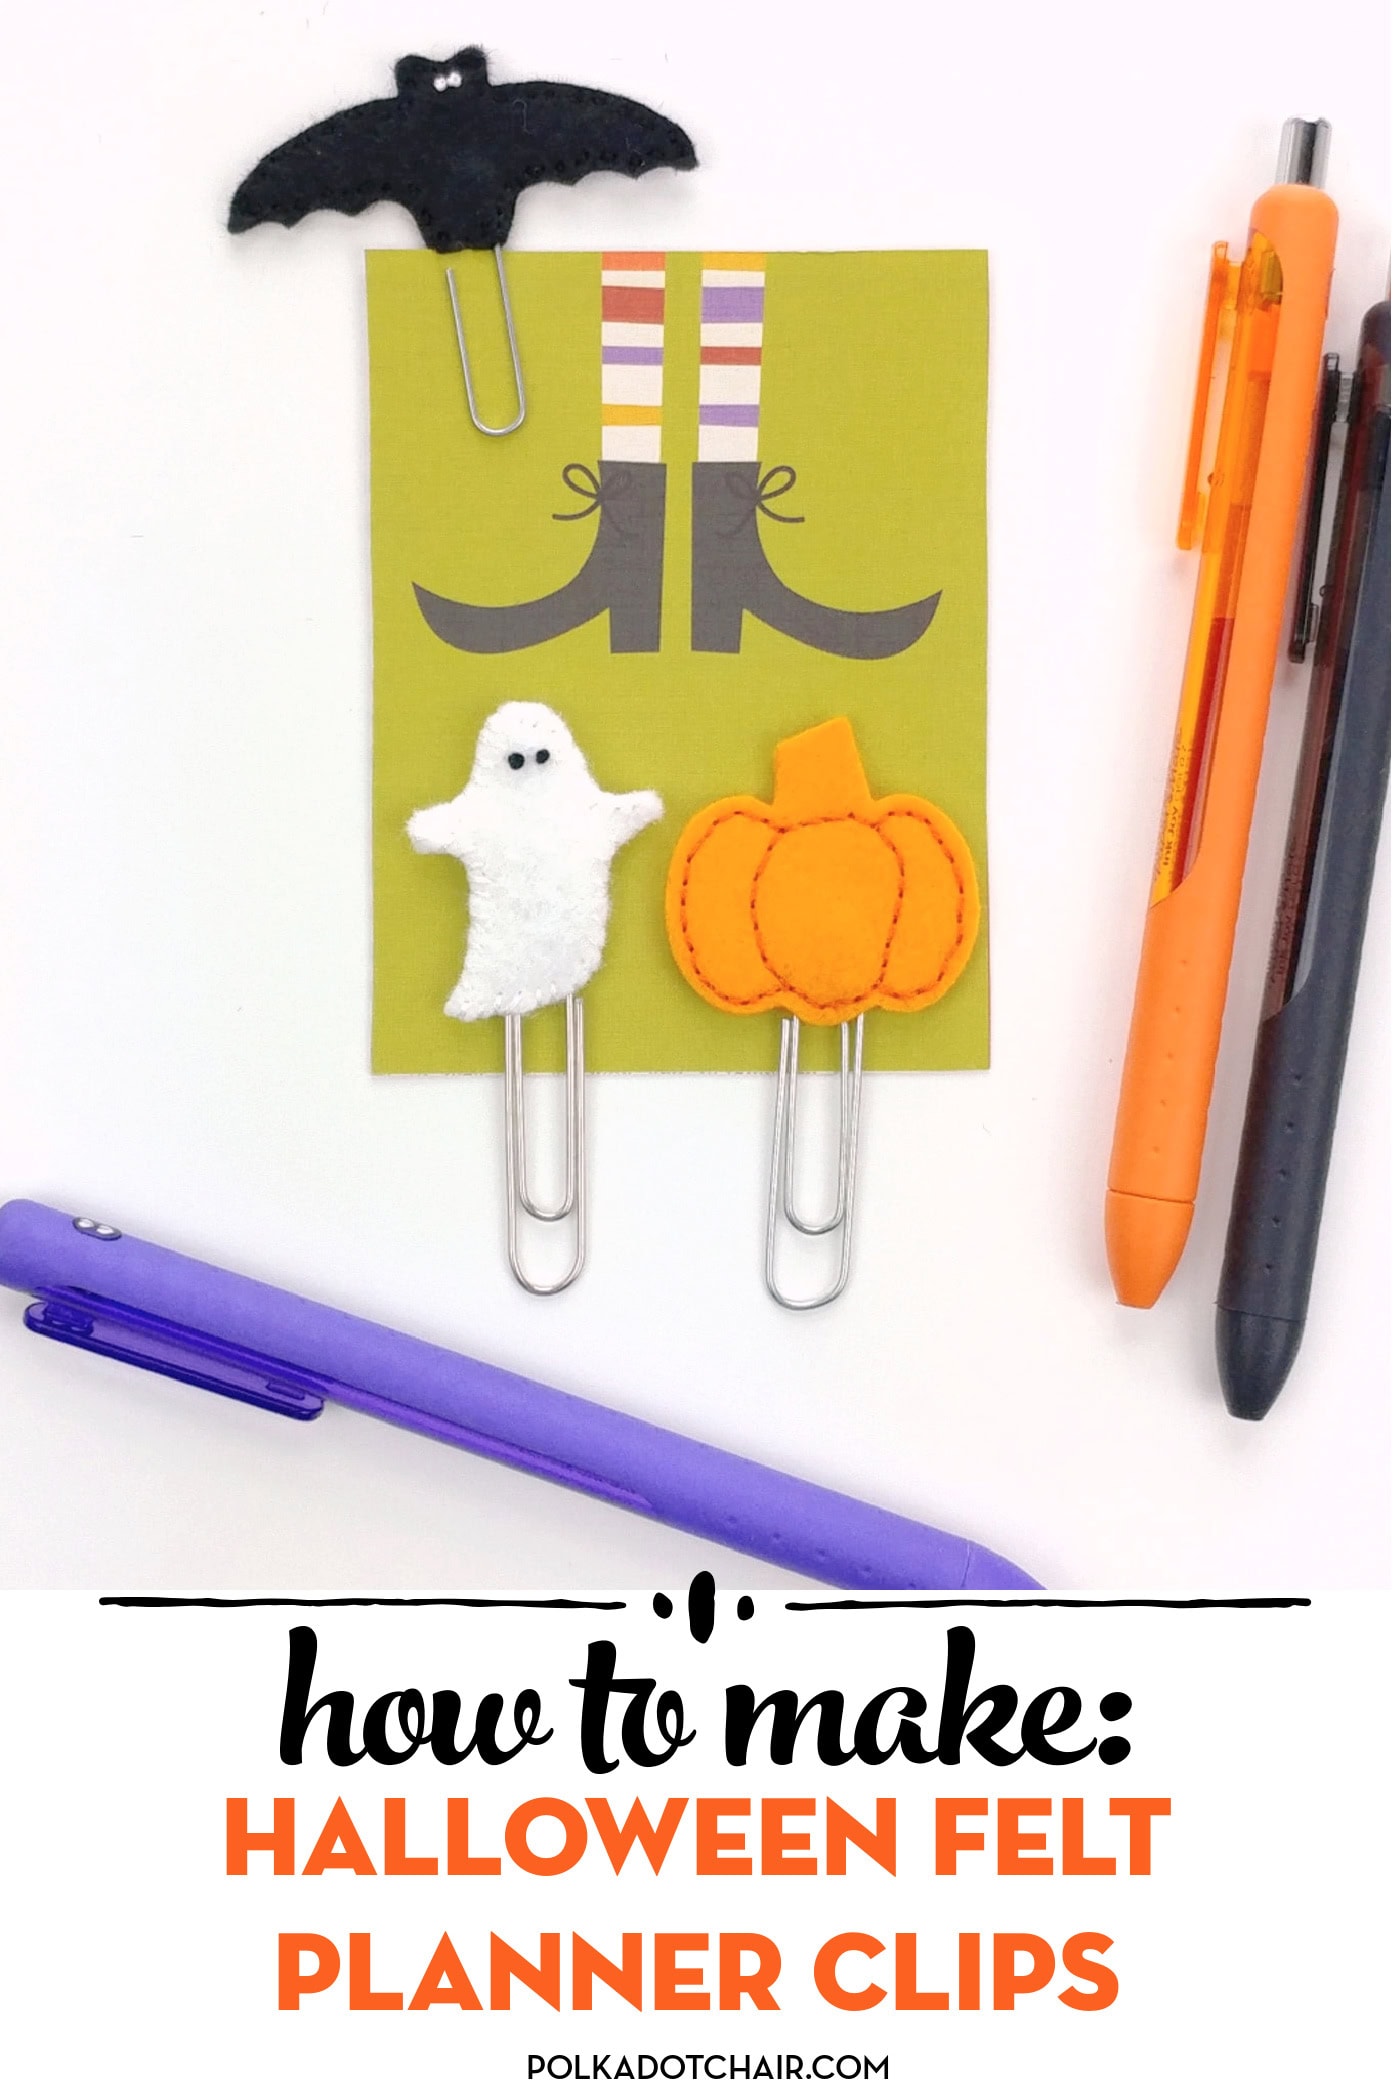
DIY Planner Accessories; How to Make Halloween Felt Planner Clips
Planner Clips Required Supplies
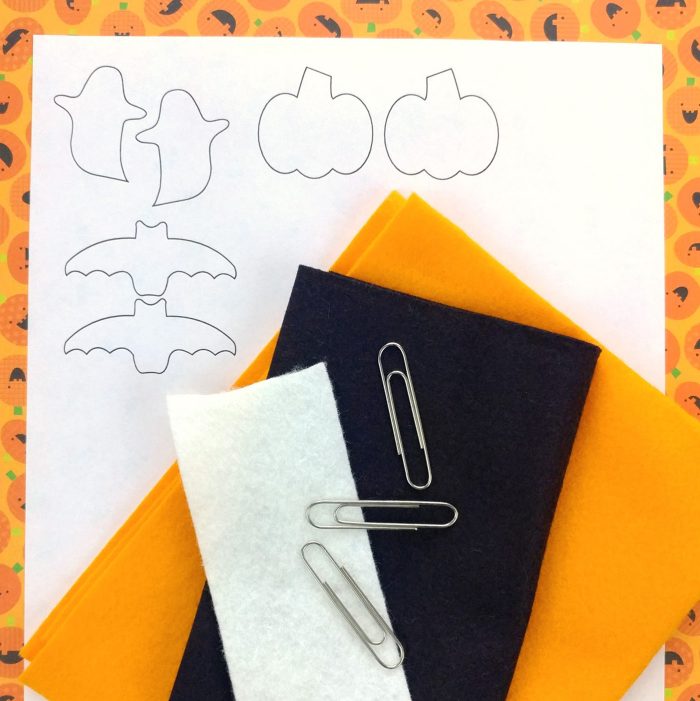
- Halloween Shapes
- Freezer paper
- Paper clips
- Felt scraps
- Embroidery floss and needle or glue
To get the file with the felt shapes, simply fill out this form, and we will email it to you.
Step One: Cut Shapes from Felt

Trace your pattern shapes onto the paper (not shiny) side of the freezer paper. Place the shiny side of the freezer paper down on the felt.
Use a medium heat iron with no steam to adhere the freezer paper to the felt- it only takes a couple of seconds for the wax to melt! Cut out your shape. Remove the freezer paper.
Place the back felt piece with the wrong side up. (depending on what kind of felt you are using there may be a side that is fuzzier, I like the smoother side to be the “right” side, but that’s just me)
Step Two: Attaching the Paper Clip
Center the single side of the paper clip so the double side hangs down below the felt piece. Attach it in place with either a few stitches of embroidery floss or glue.
Layer the second felt piece on top (the pattern includes pieces that are mirror images of each other so they should line up).
Stitch to attach them together, OR you can simply glue the two felt pieces together if you don’t want to sew them. This is a fun and simple beginning embroidery project that allows you to practice stitching!
How to Make Halloween Felt Magnets
Another way to finish the felt pieces is to add a small disc magnet between the two layers instead of a paper clip. I started stitching around the shape and then added the magnet right before closing the opening between the layers.
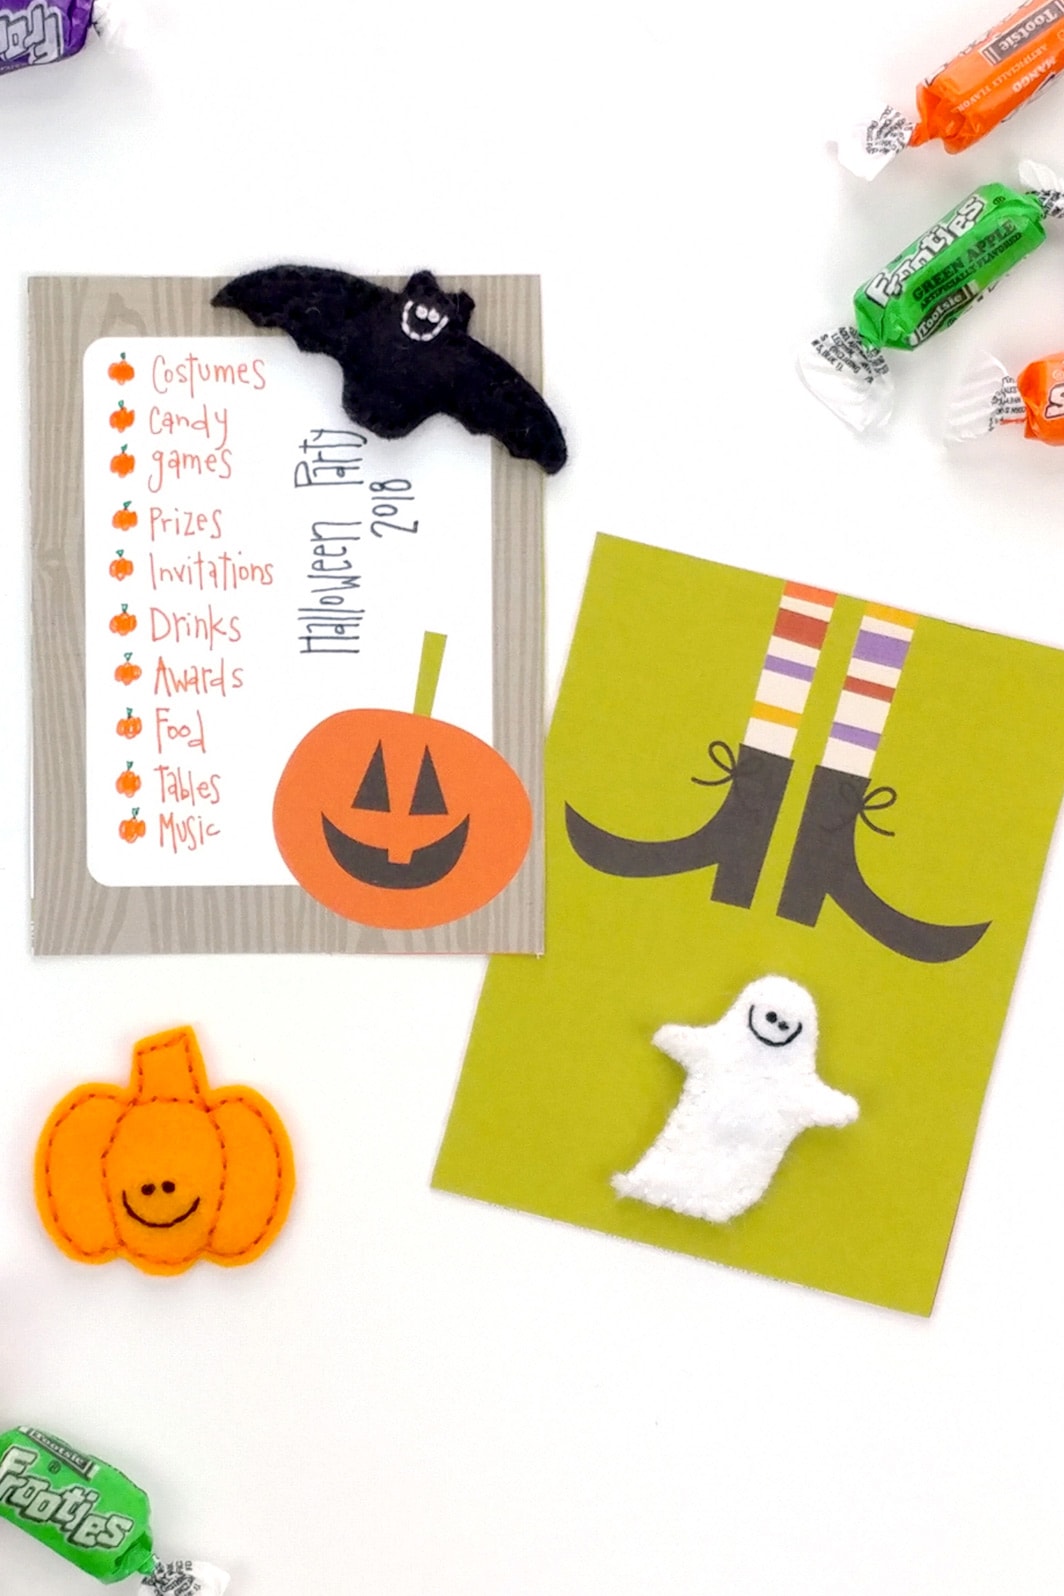
Make up a few of them to create a Tic Tac Toe game, or gift them in a set to a friend!
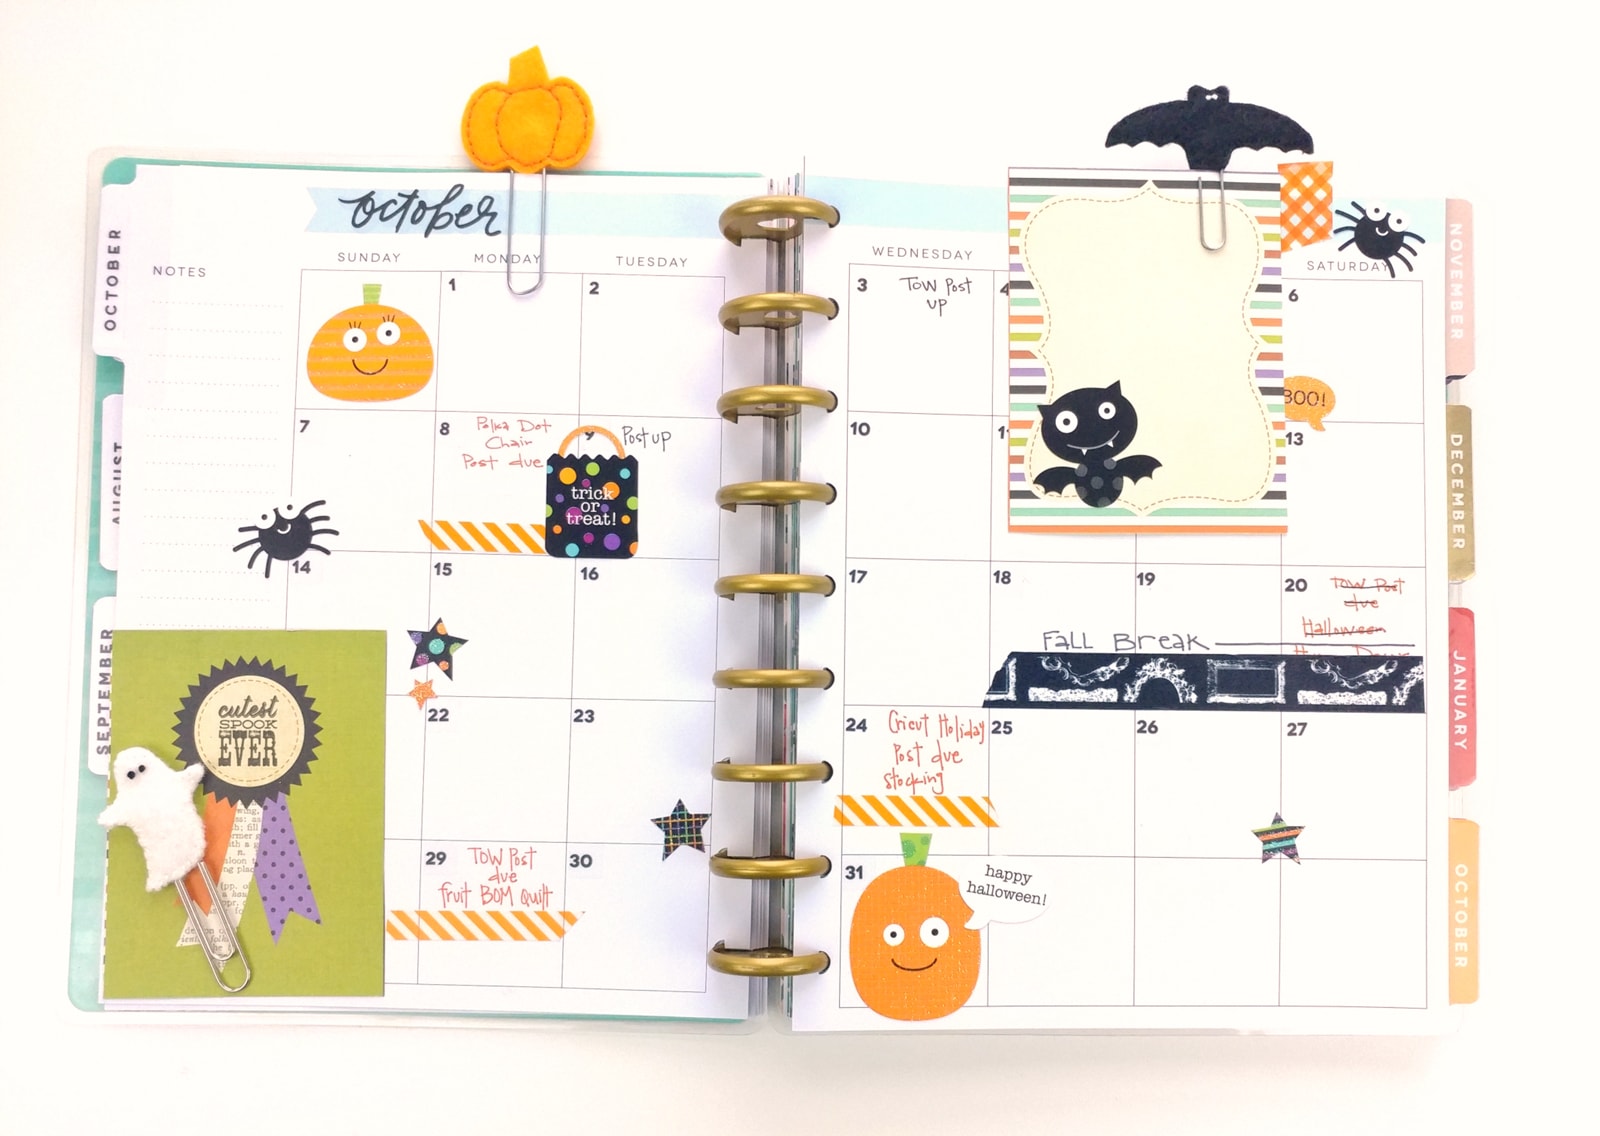
I love how the clips look in my planner! They aren’t too big or bulky but make it super easy to get to the right page, and they are darling sticking out of it! Now I’m all ready to tackle October and all my Halloween plans!
About the Maker:

Hello! I’m Amy Chappell, the person behind Ameroonie Designs. I’m a sewing and quilt pattern designer, and I’m proud to say that my work has been featured in several print publications and popular DIY websites.
I am the mom of six kids- which is a big reason I create and sew. I find that I am happiest when I am making things, and taking time to be happy makes me a better mom.
Join me in my exclusive Let’s Sew Friends membership, where you’ll find small, manageable monthly sewing patterns, live classes, and lots of video tutorials!
More Cute Projects by Amy:
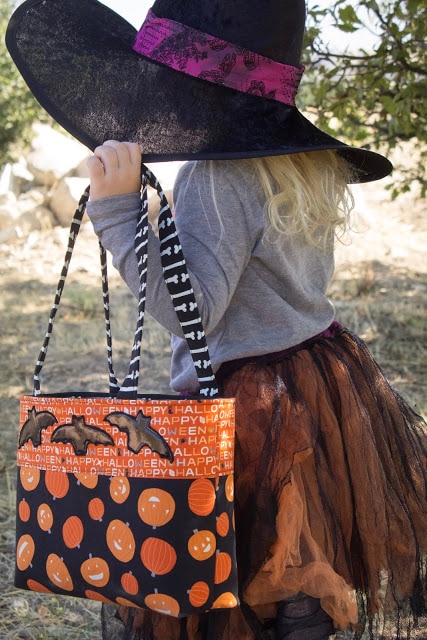
Embellished Trick or Treat Tote Pattern
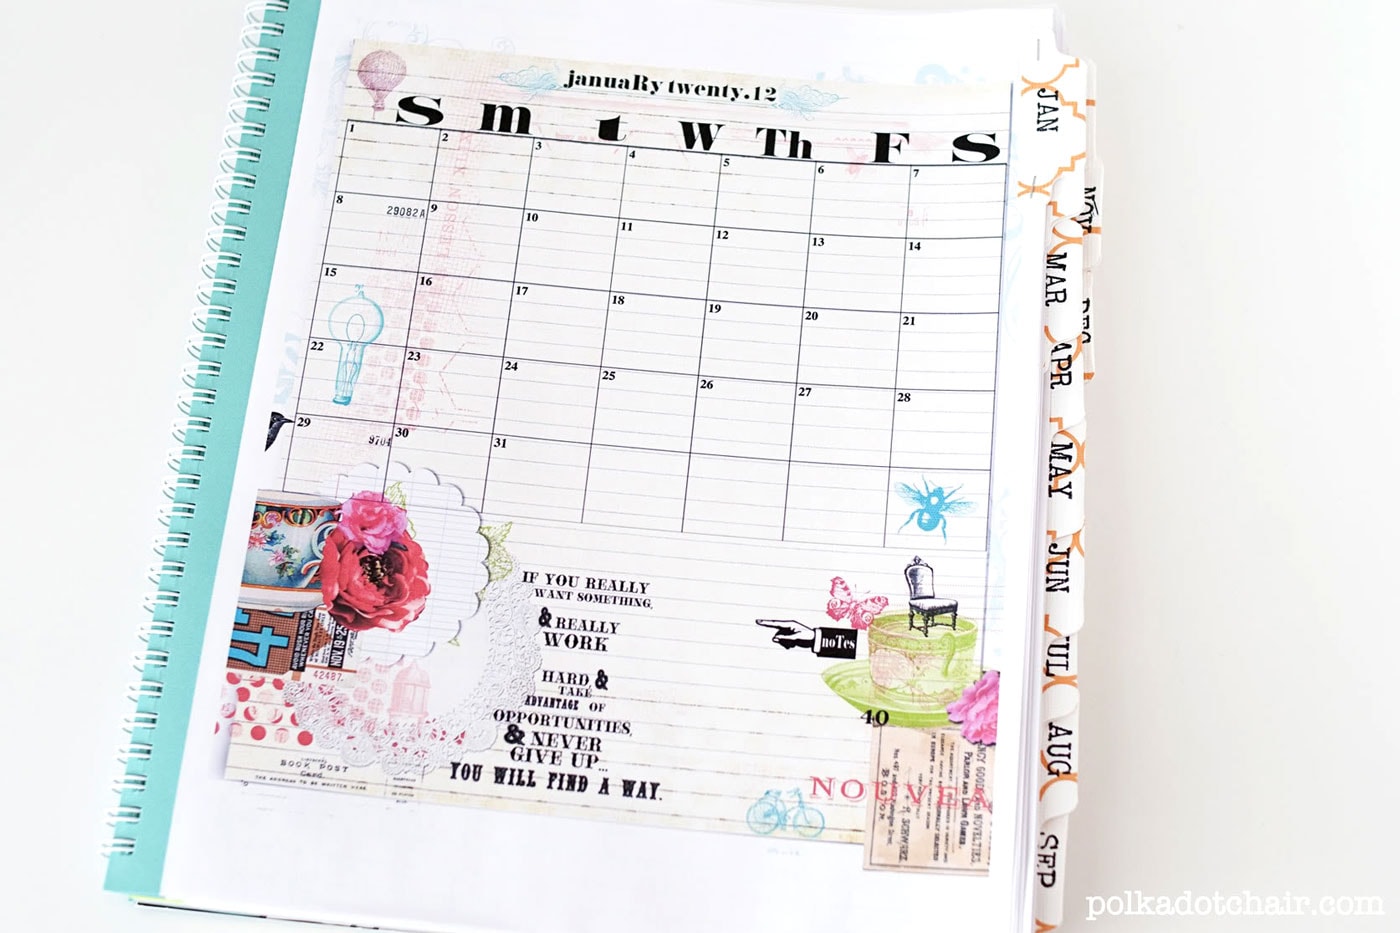
Other DIY Planner Projects & Ideas:
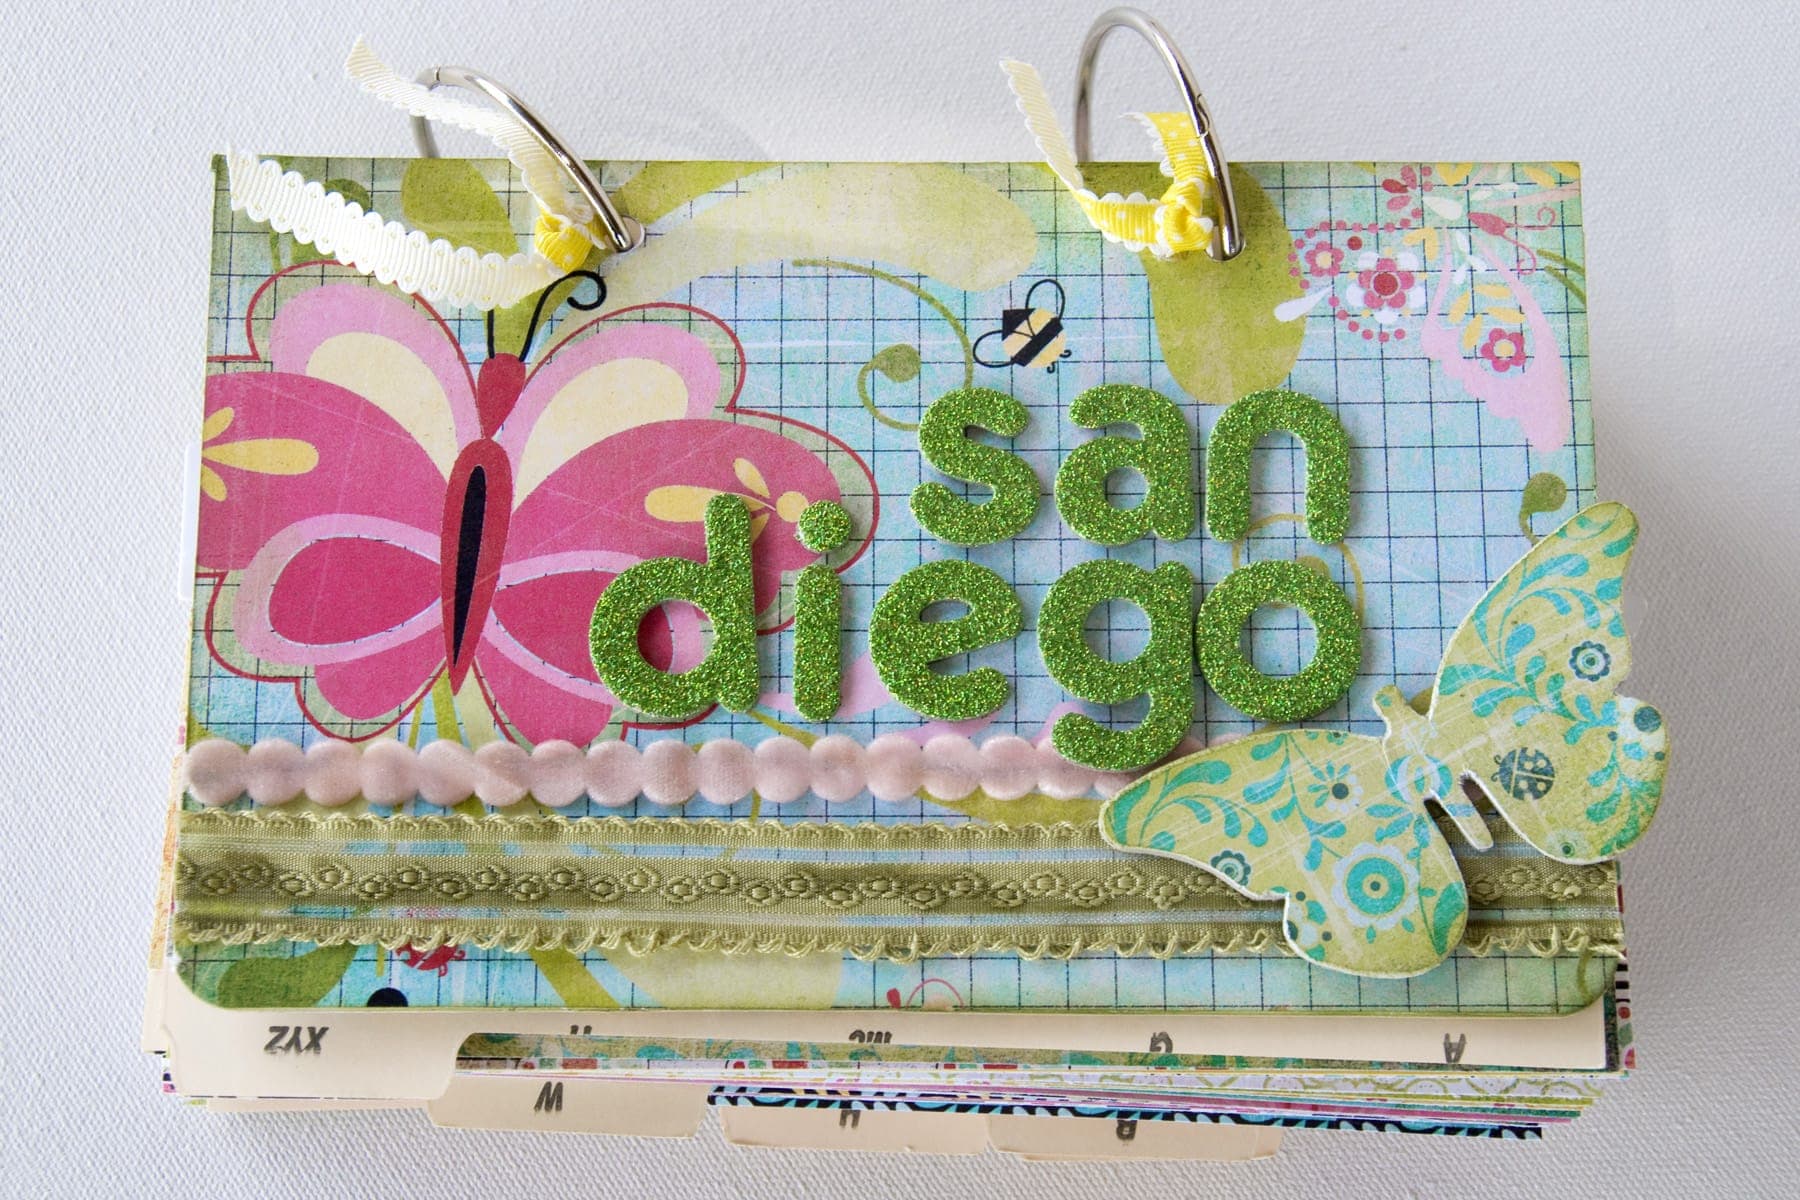
How to make a Planner from a Plain Notebook
These are really cute! I think I will use them with my costume patterns 🙂