Easy Fabric Bookmark Tutorial
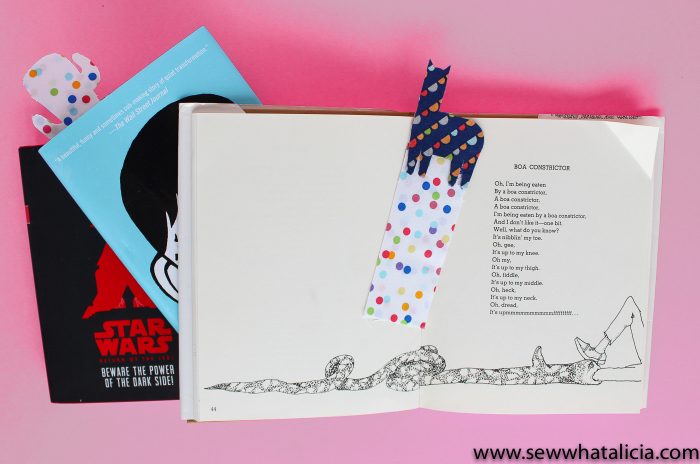
Alicia from SewWhatAlicia is back with us today sharing a Simple Fabric Bookmark Tutorial. With the school year ending soon, these adorable little bookmarks would be perfect to help encourage kids to do their summer reading! They would also be fun back to school craft project!
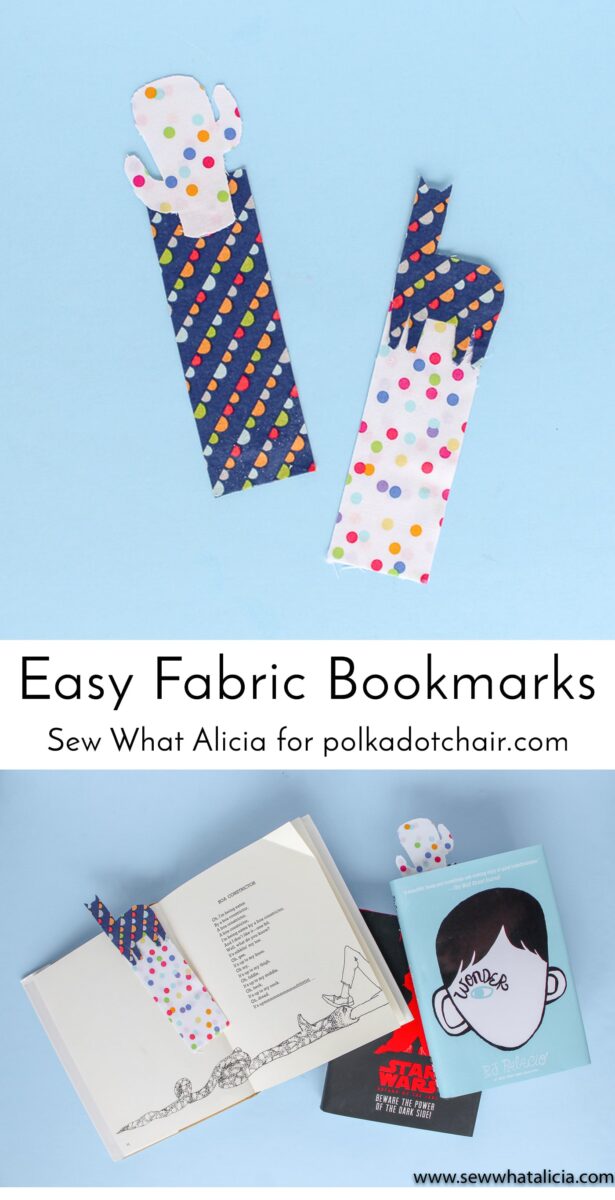
Hi friends! Alicia here again from Sew What Alicia. Today I have a really fun project that you can make with the kiddos that will help encourage them to read!! These can be stitched or you can make them without sewing. I will show you how to make them without sewing but I will tell you what to do if you want to stitch them instead! I used my Cricut Maker to cut the fabric but you could also cut them by hand if you don’t have a cutting machine. The llama and cactus are so cute and are perfect as Cinco de Mayo goodies.
Easy Fabric Bookmark Tutorial:
Supplies:
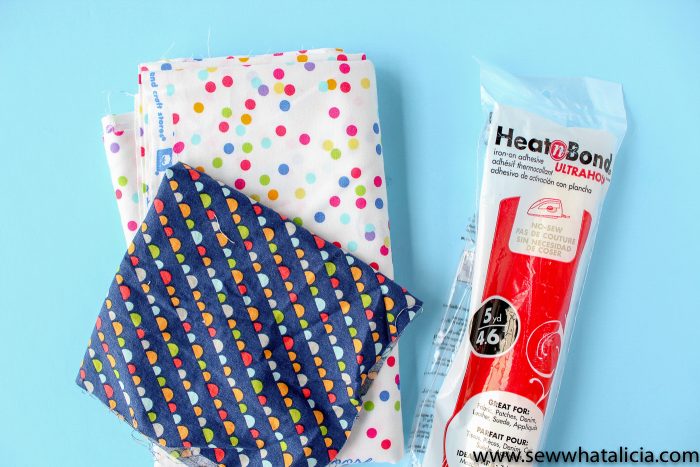
Heat N Bond Ultra (for no sew)
Heat N Bond Lite (you can sew right over this)
Fabric
Design Space Project (this links to the cactus and llama bookmarks pictured.)
Fray Check
Cricut Easy Press or Iron
Instructions:
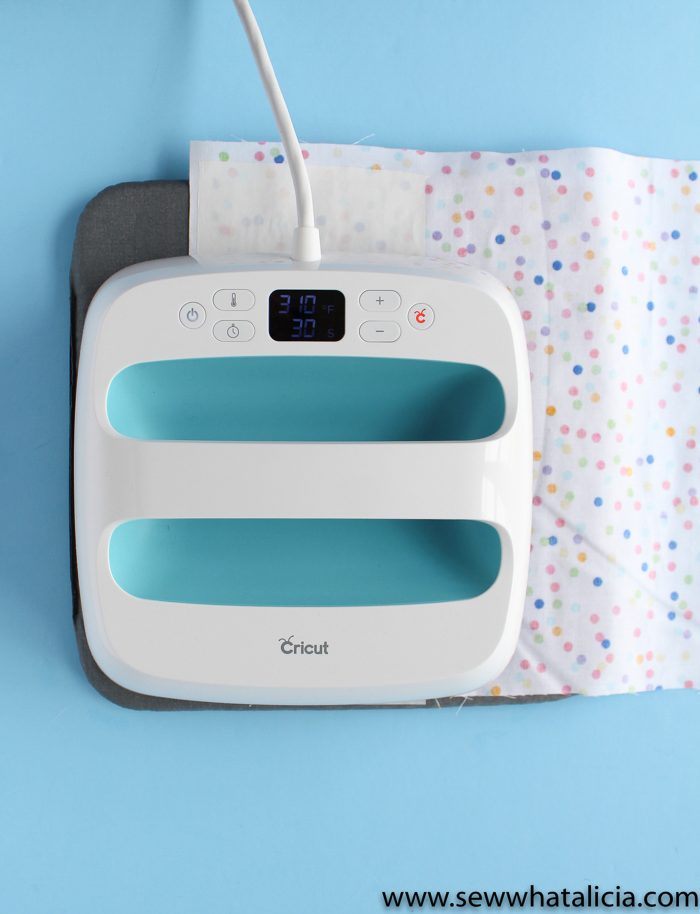
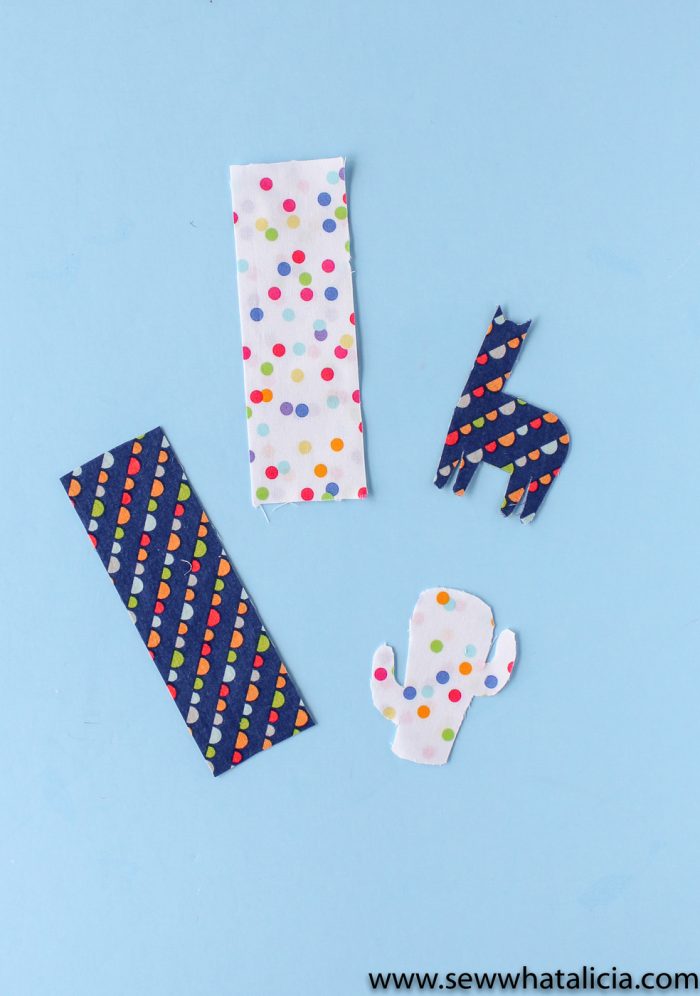
Cut a square of fabric to fit your pink fabric cutting mat. Cut a piece of Heat N Bond that is half the width of the square. Press in place.
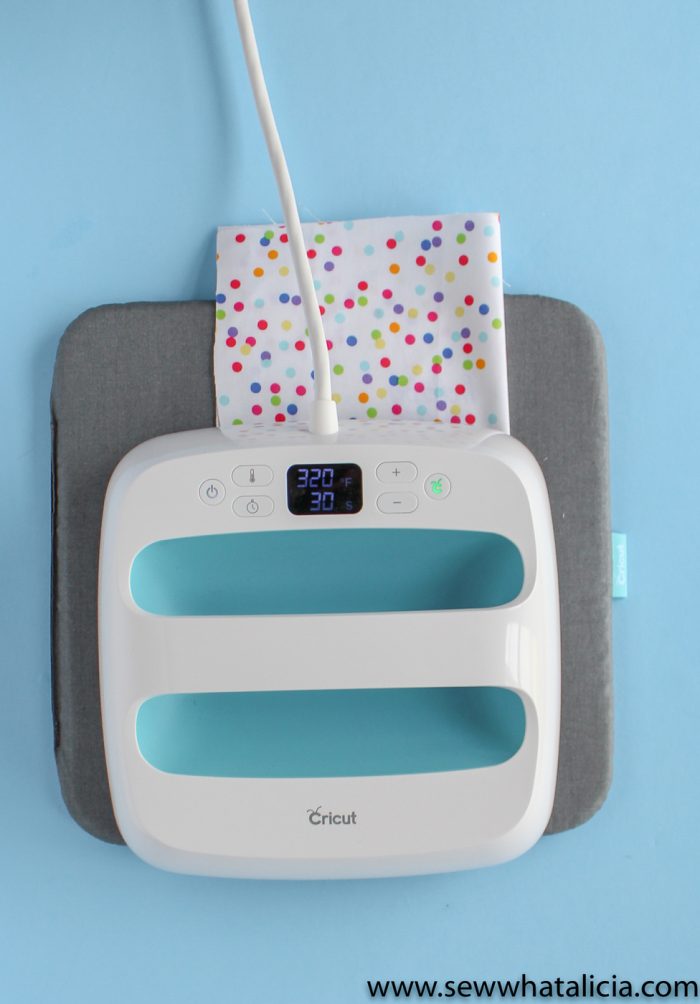
Heat N Bond is meant to be peeled cold, wait for it to cool so the adhesive can set before you try and peel the paper. Peel the paper from the Heat N Bond. Then fold the fabric over and press in place. Again wait until it has cooled before manipulating the fabric in any way.
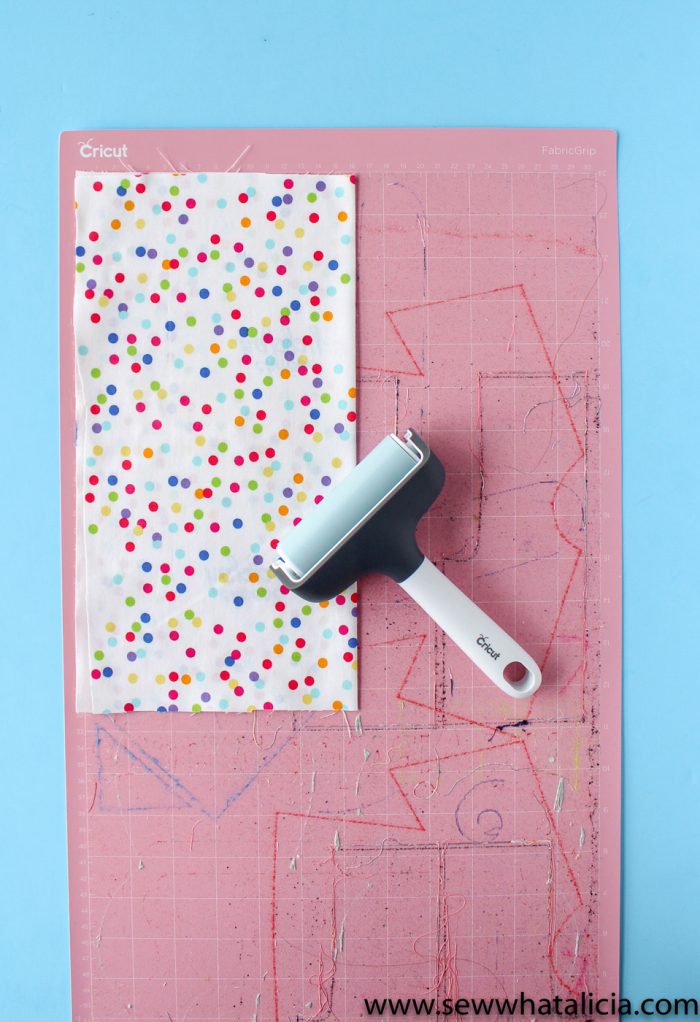
Place the fabric onto your pink fabric mat. Use a brayer or rolling pin to press the fabric firmly into the mat. This is especially true if you are using a mat that isn’t brand new (as I obviously did!!)
When setting up the cutting settings select bonded cotton as your material, change the pressure to MORE, and change the cutting device to rotary cutter (unless you have a bonded fabric blade.) Cut!
Once you have removed the pieces from the mat you might need to clean the edges up with scissors. I like to give it one more press with my heat source to be sure that all the edges have firmly adhered (but this is probably overkill so you decide!) Then hit the edges with fray check to keep them from fraying, it will also give it a bit more stability as the fray check tends to harden the fabric a bit.
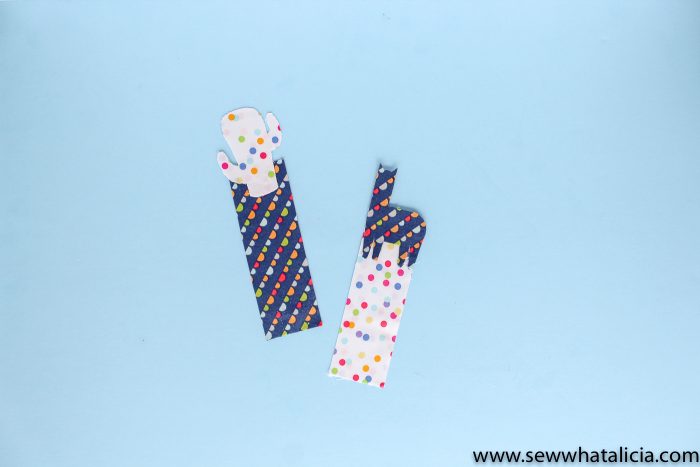
Use your favorite fabric glue to attach the two pieces together. I opted for hot glue but any fabric glue should work.
Finishing:
If you are going the no-sew route then your bookmarks are finished! If you are stitching them you know what to do! I would stitch around the rectangle on its own and then stitch the topper to the rectangle but there are many different ways you could add stitching. You could also add some fun embroidery to the cactus or llama if you are so inclined.
Thanks for letting me share this fun tutorial with you! Anything to help encourage the kids to read is a plus here in my house! We are definitely a family of bookworms!
About the Maker:
I am a wife and a mother and a jill of all trades! I love to sew and craft, I love yoga and running, and I am a hard working momma to two special boys! I can usually be found at the sewing machine or at yoga class…haha just kidding I am usually chasing my two boys around but I squeeze those other things in whenever I get a chance, which is not as often as I would like!
Connect with Sew What Alicia
Facebook // Pinterest // Instagram // Twitter // Youtube
If you love this you might also love these FABULOUS PROJECTS by Alicia:
// Personalized Leather Journal //
You May Also Like:
- Easy Peasy No Tie Fleece Blanket Tutorial
- Simple Summer Backpack Sewing Pattern
- Kids Summer Journal Ideas & Free Printables

