Project Life Pages and Organization Ideas
Disclosure: This post is sponsored by American Crafts// I’m starting to make some progress on my 2013 Project Life album. I’m sticking with the monthly format like I did for my 2012 album but have simplified it a bit from last year.
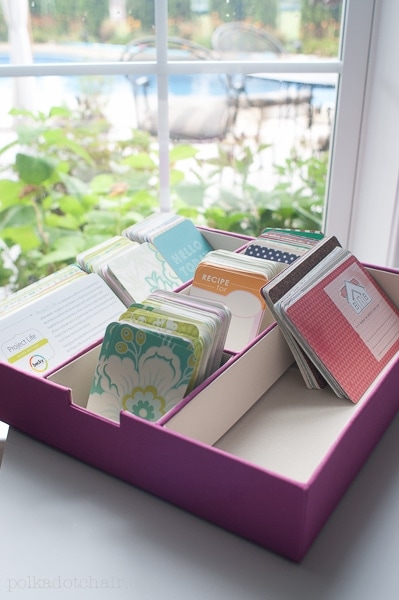
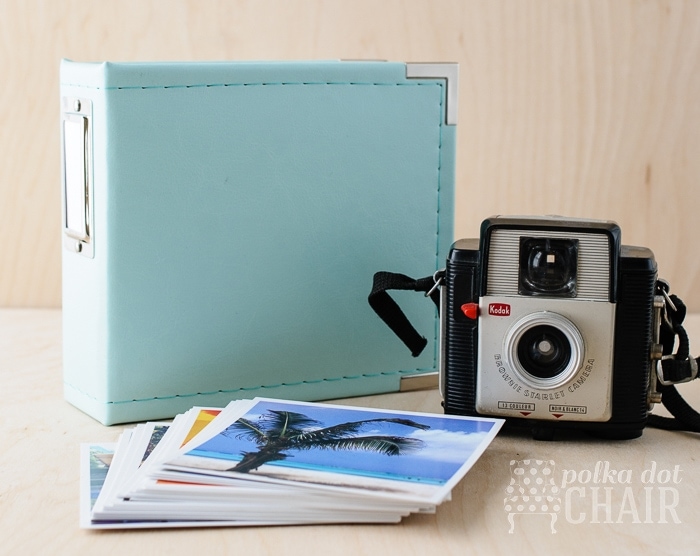
I’ve stocked up on Project Life cards and thought I’d show you how I keep them organized. I have a fabric covered tray that I picked up last year that I keep on my desk. The tray is perfect for all of my project life cards. The open top makes it easy to thumb through the cards to see which ones I want to use.
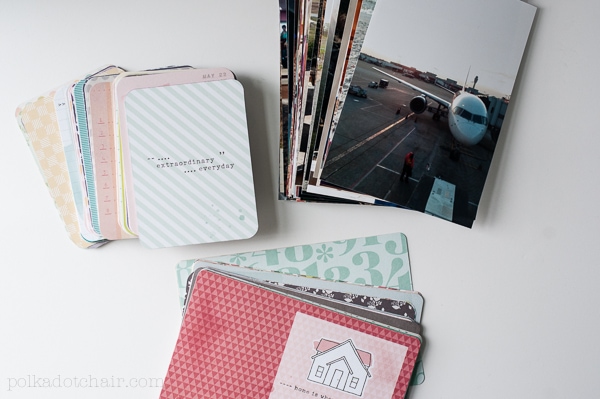
Last week I got the new 5th and Frolic Project Life kit to add to my stash! It’s designed by Elizabeth Kartchner and coordinates perfectly with the Olive edition kit that I picked up earlier this year.
The 5th and Frolic Kit is available exclusively at Michaels Stores starting this month.
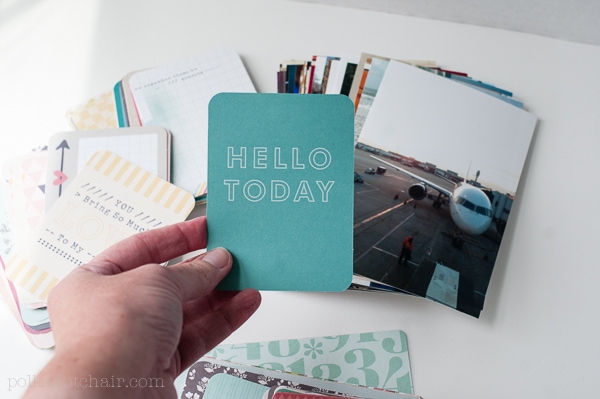
The kit as so many adorable cards and images in it that I had a hard time deciding which ones that I wanted to use!!
I don’t work in order with my Project Life album, I also don’t scrapbook every week. I just organize the pages by month and each month has a different number of finished pages in it. It just depends on how many photos I have and what was going on that particular month. I know it seems a bit disorganized, but it works for me. The best part is that I don’t feel overwhelmed by the process.
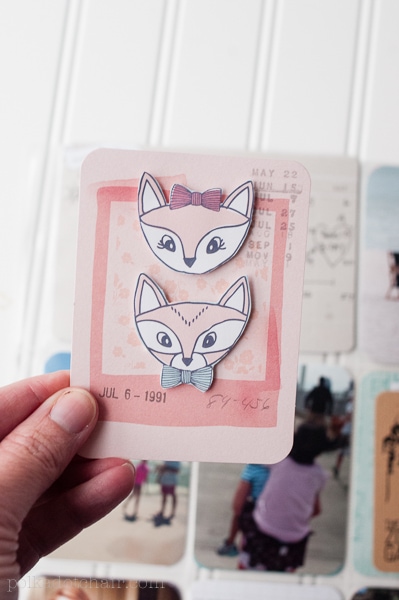
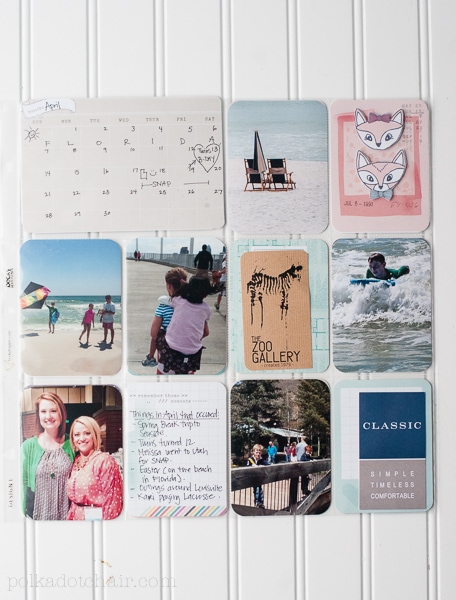
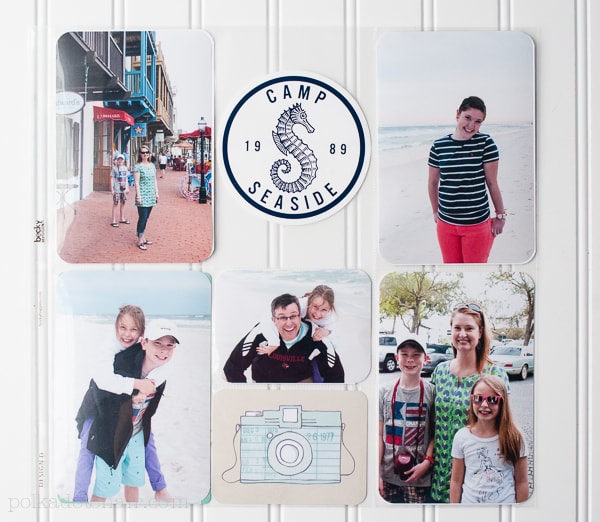
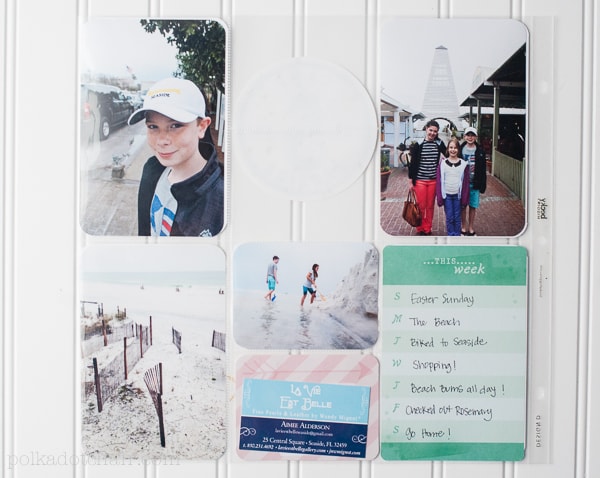
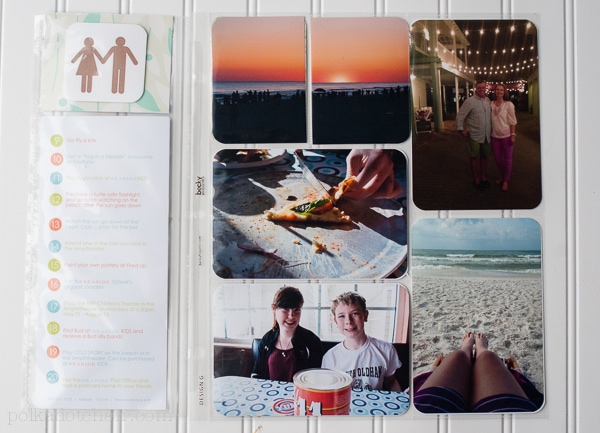
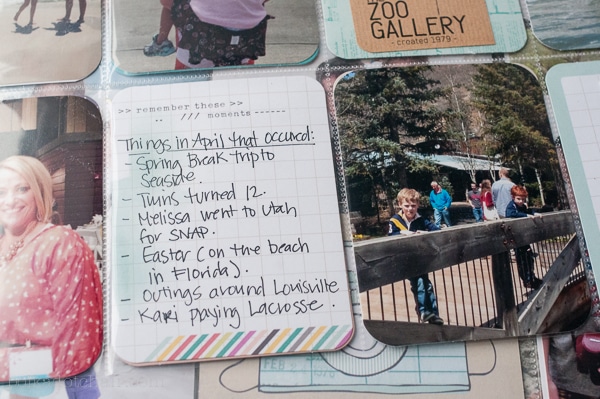
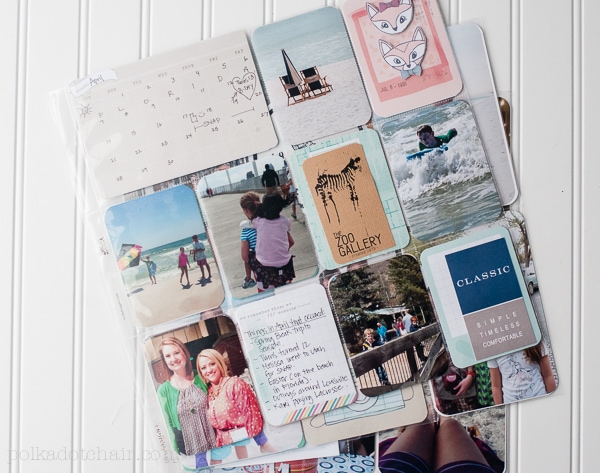
I used the 5th and Frolic kit to scrapbook my April 2013 photos. We took a trip to the beach for Spring Break and they seemed perfect for beach photos with their light and airy designs.
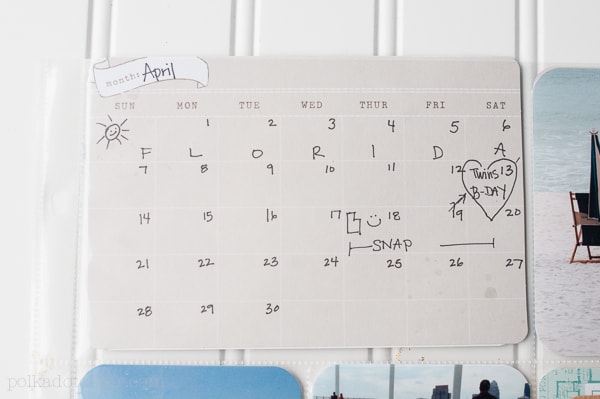
I love the calendar cards. I need more of these! I think it’s nice to have a visual representation of what was going on that month.
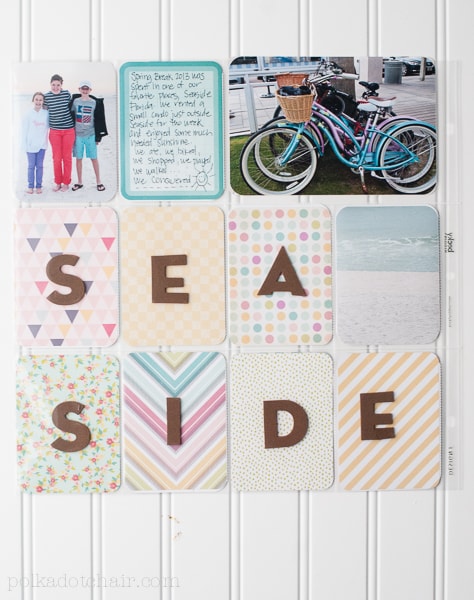
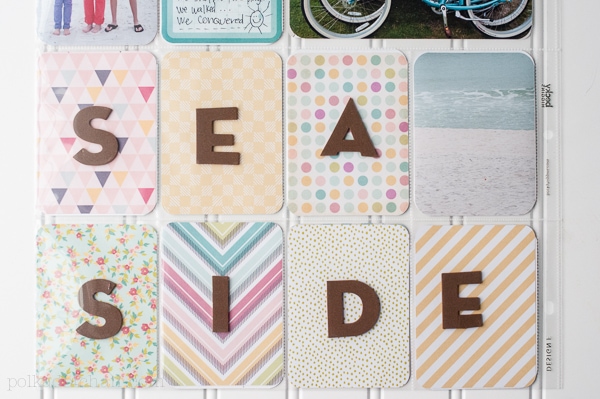
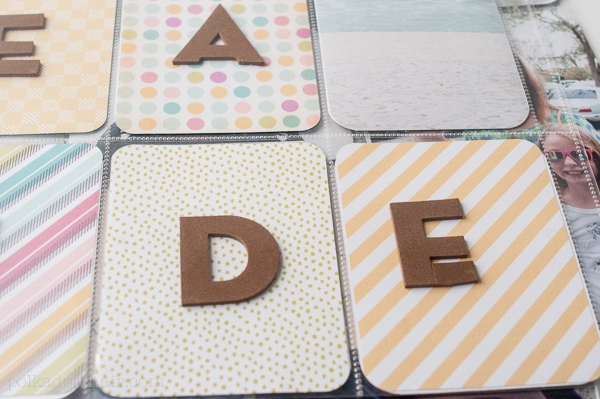
For my Seaside photos I used the back of many of the cards and some letter stickers to make a title page for that section of my album.
The the rest of the pages showcase our trip with the other “regular” things that happened during the month in the pages after that.
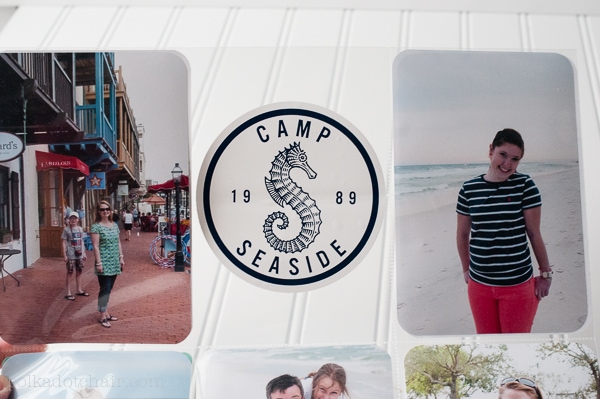
On one of the pages I used a bumper sticker that I picked up on vacation. I just stuck it right on top of the page protector.
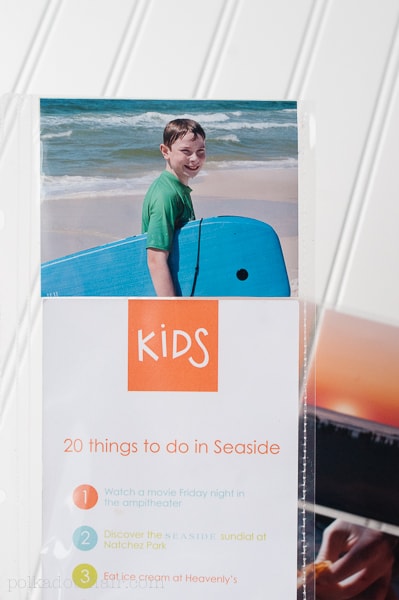
To fit some of memorabilia in the album, I took a 12×12 page protector and sewed the edge with INVISIBLE thread in my sewing machine. Then trimmed it down. VOILA a page protector in a custom size. If you do this just make sure you use a teflon foot in your machine.
The 5th and Frolic Kit is available now at Michaels stores!
If you’d like to learn more about Project Life click here.
To connect with American Crafts be sure to check them out online!
- Facebook: http://facebook.com/americancrafts
- Instagram: http://instagram.com/americancrafts
- Pinterest: http://pinterest.com/americancrafts
- Twitter: http://twitter.com/amcrafts
Disclosure: This is a compensated post. I was provided with product to review in exchange for this post. All work, opinions and ideas are 100% mine.

