How to Make Book Page Wreath that’s Perfect for Fall
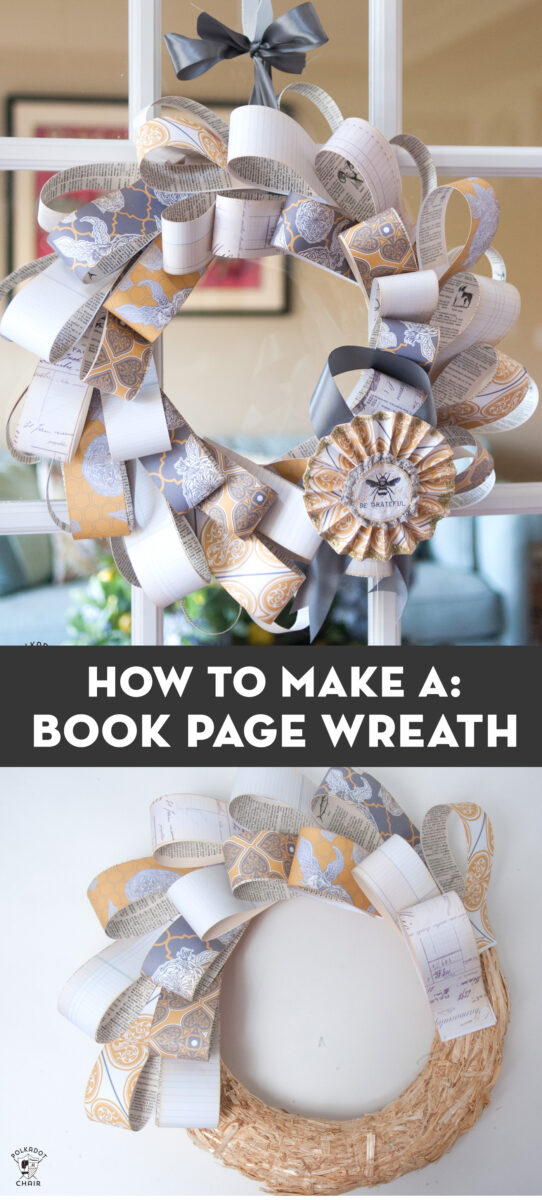
I can feel summer starting to fade into Fall. Every year around this time I start to make Fall Crafts to add to my home decor. This Book Page Wreath is simple to make and would be perfect for a crafternoon with your friends!
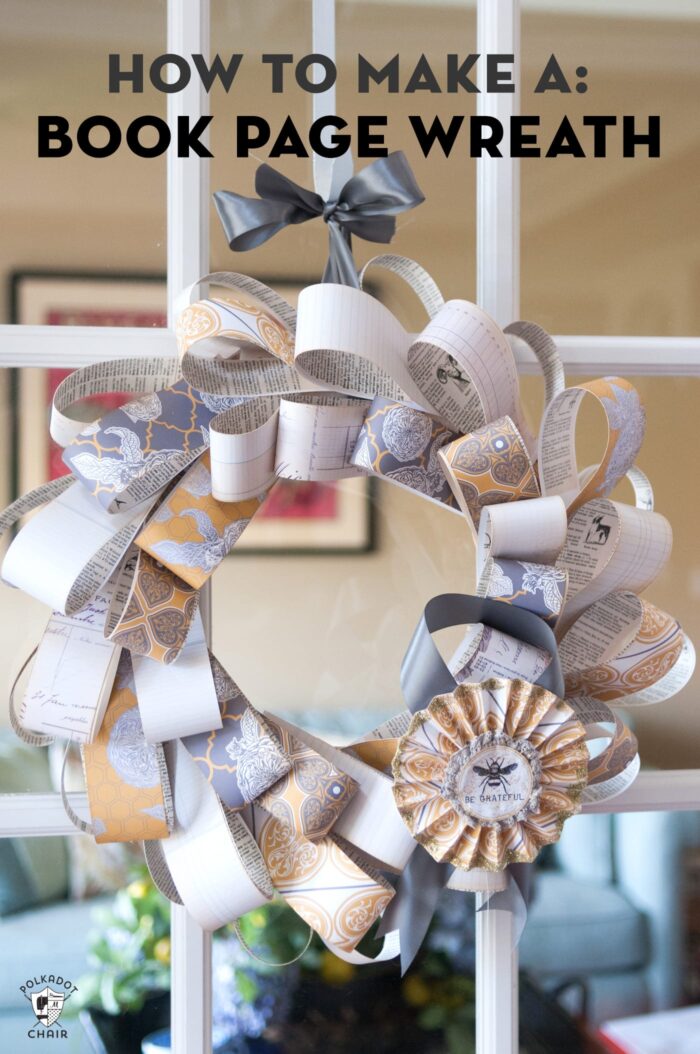
I created the Grateful Book Page wreath a few years ago and it’s still one of my favorite things to pull out of storage every Fall. This wreath was so easy to make, I don’t even think it took an entire afternoon to make it.
I chose to give my wreath a “Grateful” theme making it perfect for Thanksgiving or Fall. You could easily switch out the scrapbook paper you use on the wreath to make a book page wreath for any holiday or season (how cute would this be for Easter?)
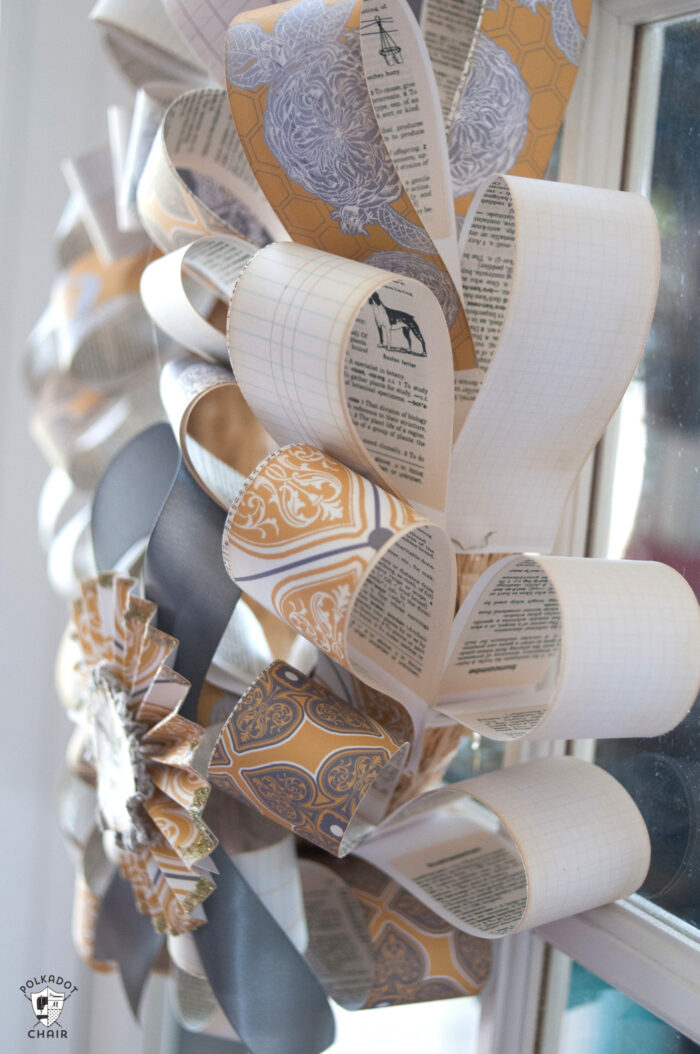
You can find scrapbook paper at craft stores in a wide variety of prints and colors. The paper I used is from Rhonna Designs. She has digital versions available here.
Use whatever paper you like best. I’ll link up to some that I love online below for you to help you out.
Book Page Wreath Tutorial:
Book Page Wreath Supplies:
- 14″ Straw Wreath (you could use 16″ or 18″ easily)
- U shaped pins (buy in the floral section of the craft store)
- Scrapbook Paper
- Glue (I like UHU brand for papercrafts
- Old book – check your local thrift shops
- Distress Ink
- Glitter Glue
- 2″ satin ribbon
- 2″ Circle Punch (optional)
- Paper Scoring Tool (to make the rosette)
Step One: Cut your Paper Into Strips
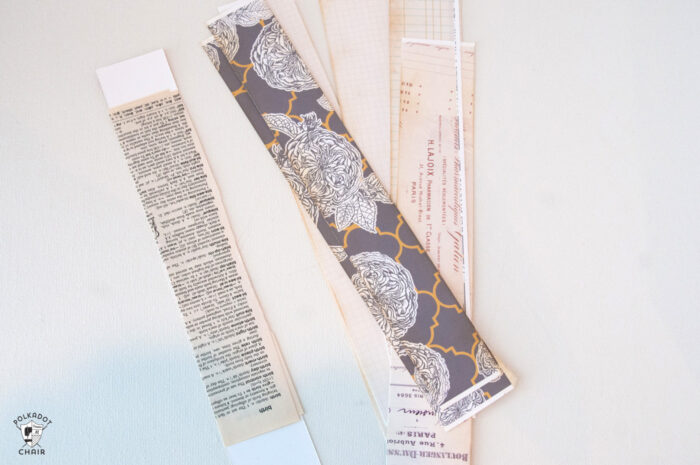
Cut paper into 2″ strips lengthwise (you will have 2″ x 12″ strips).
Cut up an old book into 2″ strips also. The book pages can be a bit shorter than the printed strips.
Step Two: Glue the Book Pages to the Strips
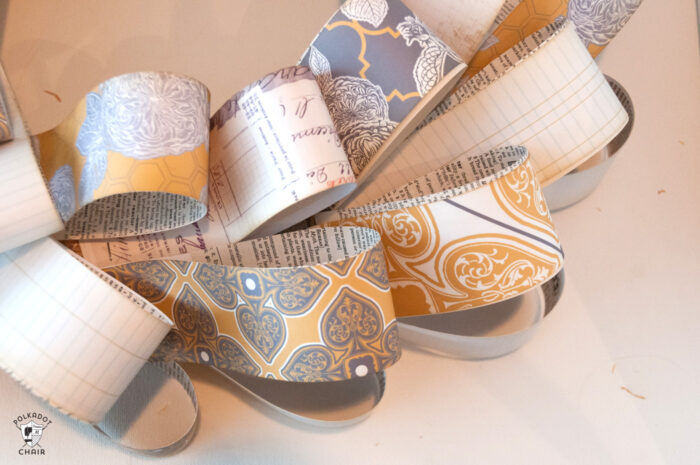
Glue one book page to the back of each paper strip.
Using antique linen distress ink, lightly distress the edges of all of your pieces.
Step Three: Attach to the Wreath
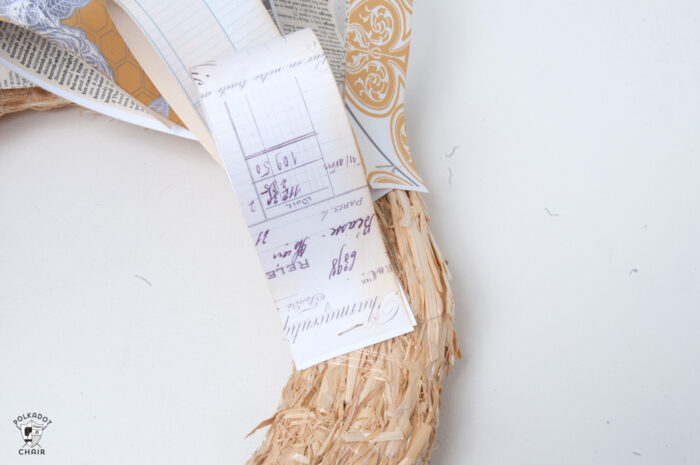
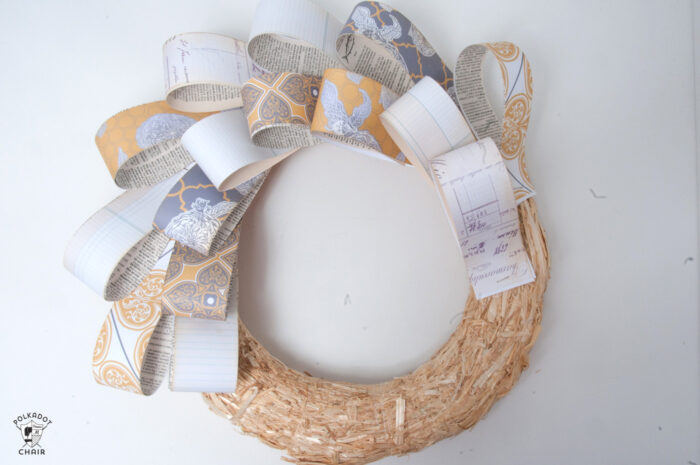
Fold your strips in half (do not crease) and start pinning them using the U shaped pins to the wreath. You will have 2 strips across the front of the wreath and one on the outside edge of the wreath.
Keep pinning overlapping your strips until you’ve covered the entire front.
Step Four: Create the Rosette
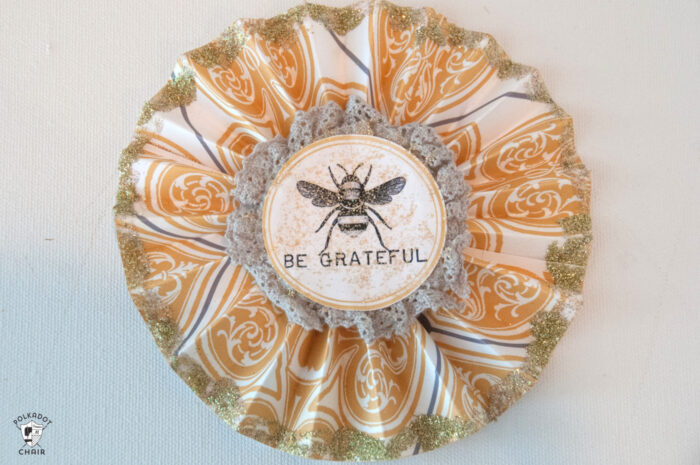
Using 2 2″ wide strips form a rosette by folding the paper accordion style. (you will be working with 2″ x about 20″ strip of paper).
To learn how to make a Paper Rosette visit THIS POST
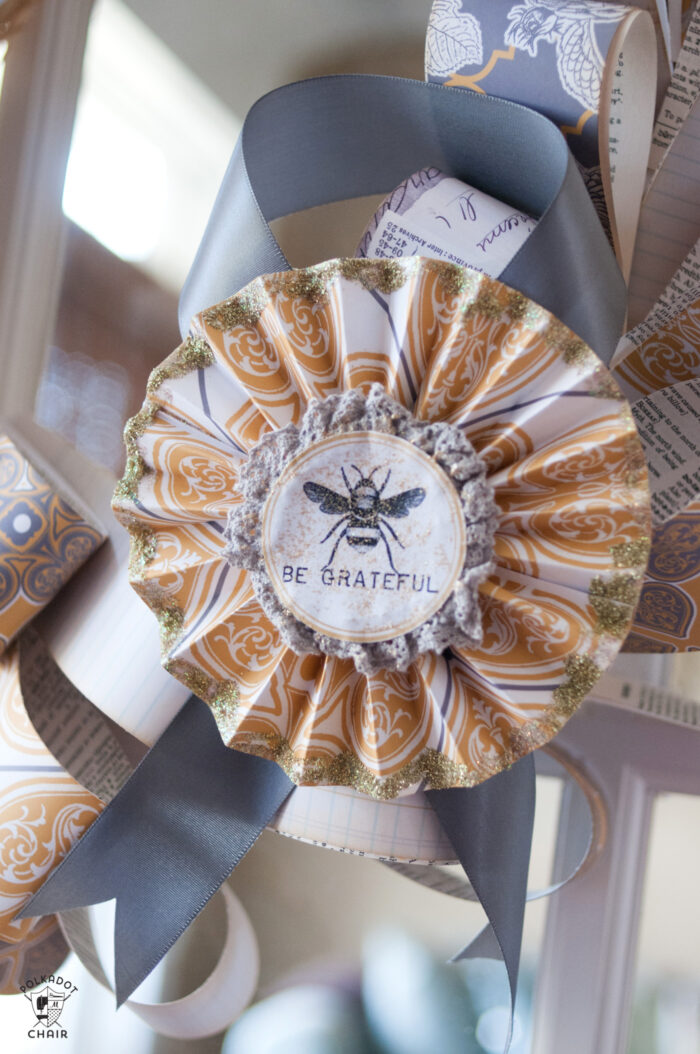
Embellish the rosette with lace and glitter. I used a circle punch and punched out a section of my scrapbook paper for the center of the rosette. You could also use a button, pin or anything else you’d like.
Glue a piece of satin ribbon to the back of the rosette, and glue to your wreath. I used hot glue for this part.
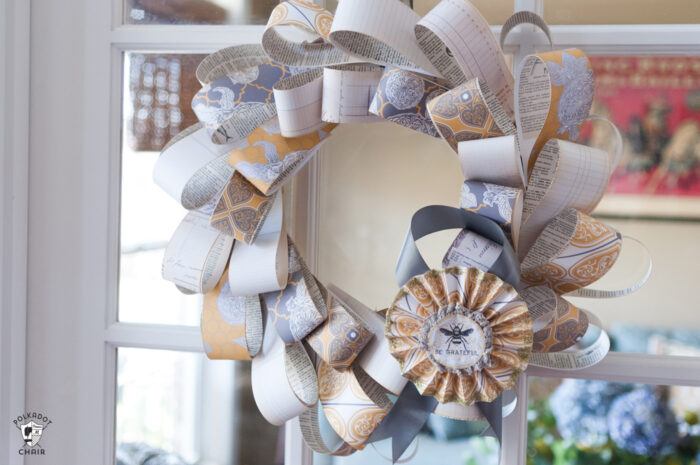
Use some extra satin ribbon to hang your wreath, and you’re done!
More Fall Paper Craft Ideas:
How to Make a Paper Leaf Wreath
