How to Make a Paper Award Ribbon
Paper Award Rosettes are so simple to make and are a great addition to any party! You can use them as party decorations or as prizes for party games! Learn how to make Paper Award Ribbons with our simple, easy-to-follow tutorial.
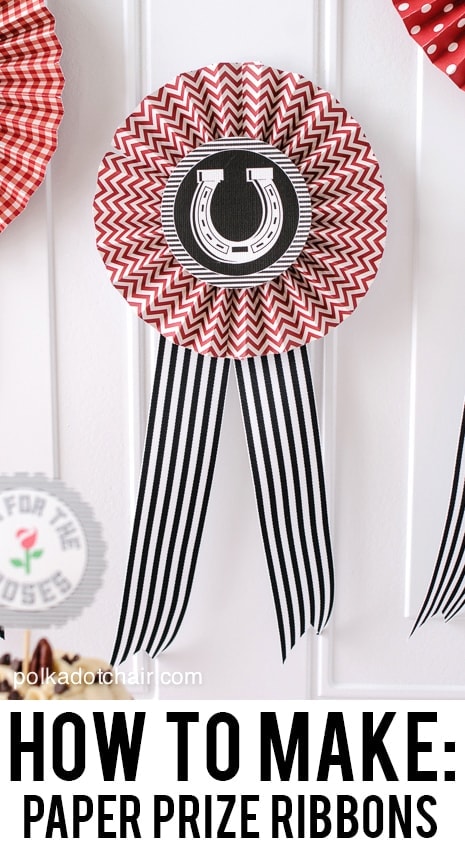
The Kentucky Derby is coming up in just a couple of weeks. Yesterday I pulled out my Derby Prize Ribbon decorations from last year and thought I’d share with you a tutorial on how to make the paper prize ribbons. Today is 10-minute Tuesday and this is definitely a “do-able” 10-minute project!
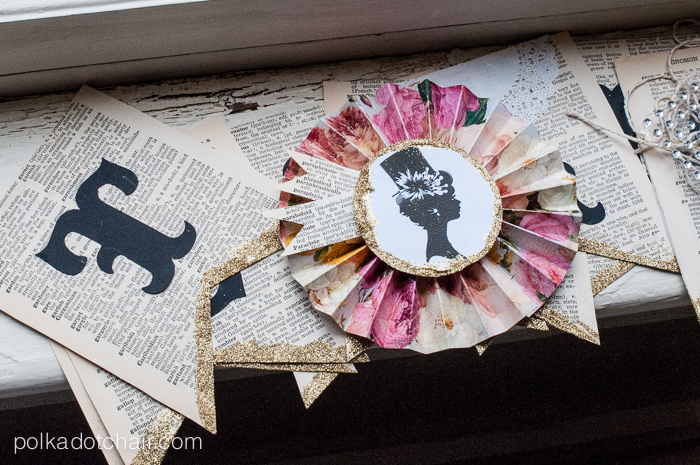
About the Award Rosettes
Sometimes these ribbons are also called Paper Rosettes, or Award Ribbons. They are really simple to make and you can change the look and size of them as you like. I’ve been making them for a few years now and love adding them as a finishing touch to a craft project.
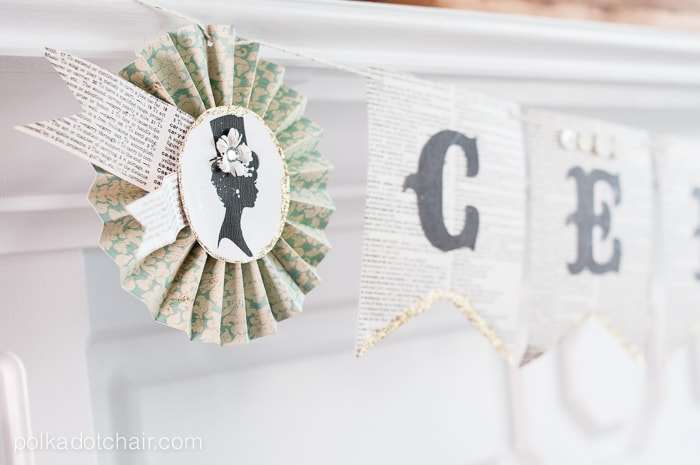
They’re perfect for Kentucky Derby crafts, but you can also use them for a lot of other occasions. Here I’ve added one to a “Celebrate” book page banner.
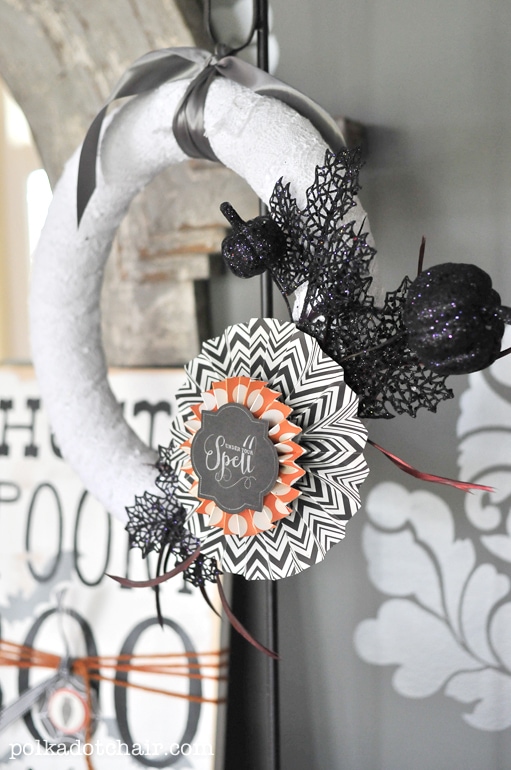
I also added one to a Halloween wreath that I made a couple of years ago.
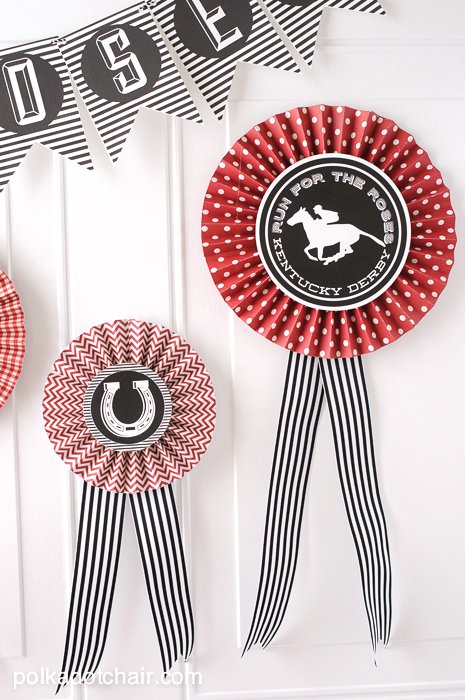
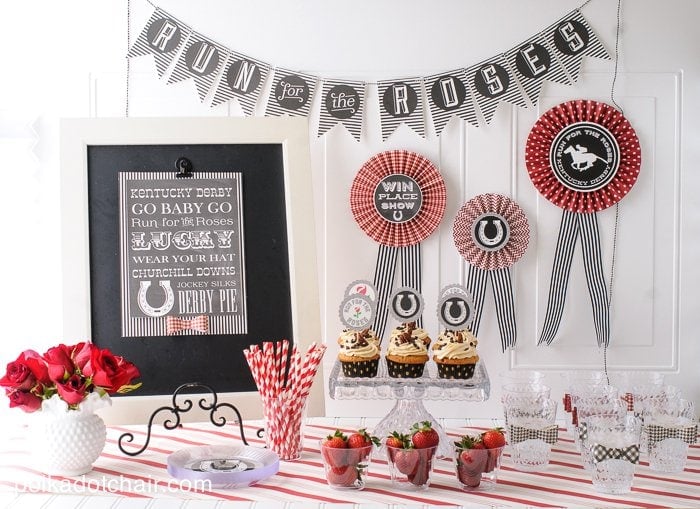
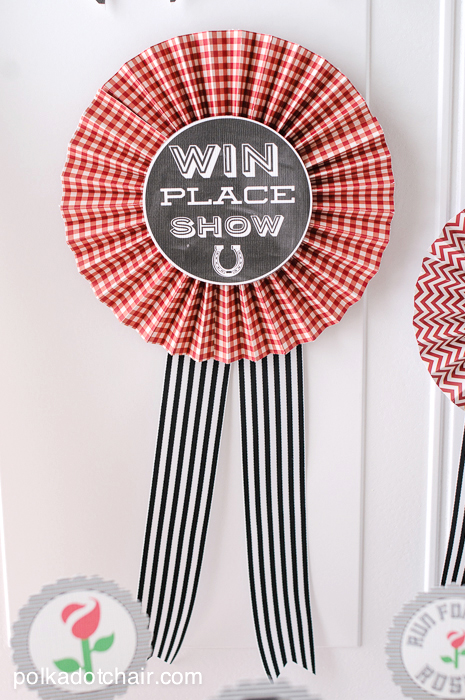
If you’d like to make one (or two or three) as a Kentucky Derby Decoration, you can buy the printable for the centers of the ribbons in the shop (there are also a bunch of other Kentucky Derby Party printables there too).
Supplies
- 12″ x 12″ piece of patterned cardstock
- Glue Gun
- Ribbon
- Bone Folder, or scoring tool
- Square of cardstock (it can be any color, it won’t show)
- Circle of cardstock for the center.
- Scoring Board or Ruler.
Step One: Cut the Paper
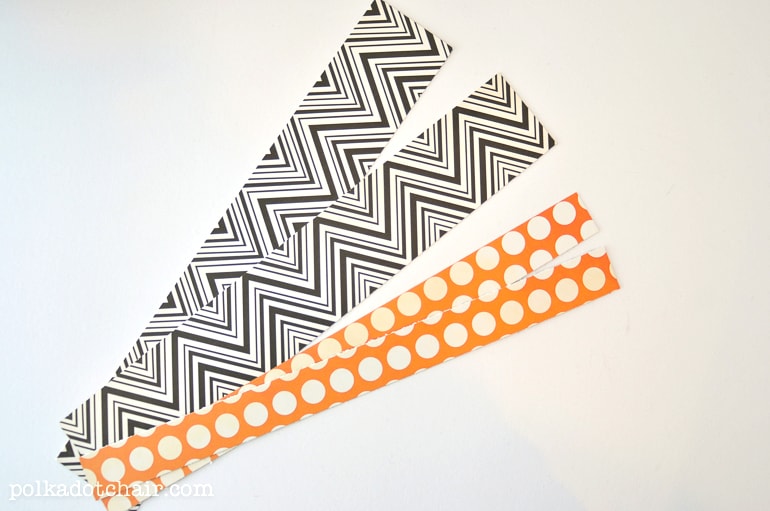
Begin with 2 strips of 2” wide 12” scrapbook paper (you can also use 1″ x 12″ scrapbook paper if you want a smaller rosette).
Step Two: Create Scoring Lines
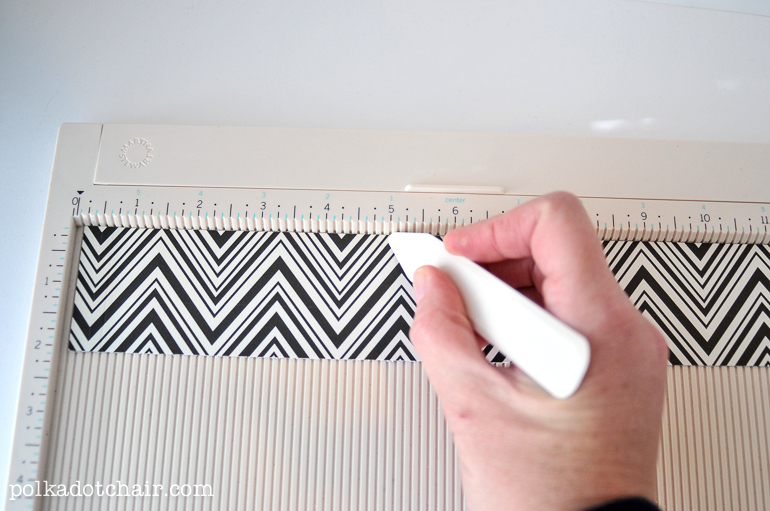
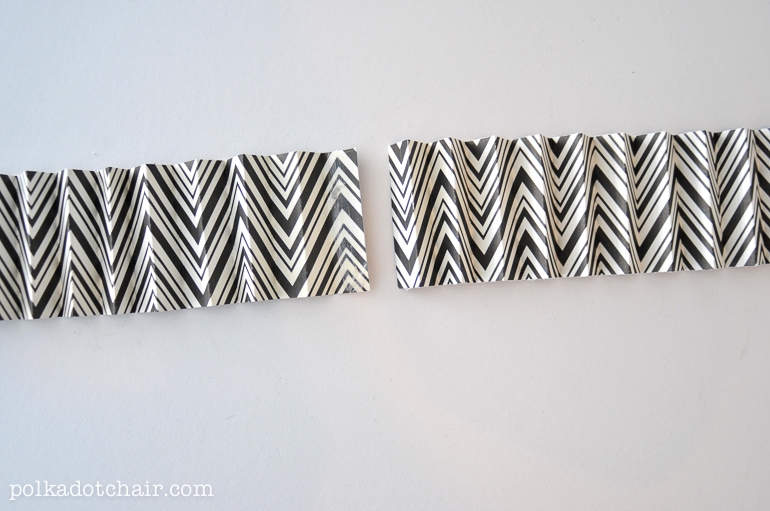
Start by scoring the paper every 1/2” using a scoring tool. There are other ways to do this but if you are going to make a lot of these I’d recommend a scoring tool, saves loads of time!
If you don’t have a scoring tool, just use the bone folder or other plastic-tipped item (like the lid of a pen) and make a mark every 1/2″ all the way down the paper. Just use a ruler and a somewhat soft surface, like a cutting mat.
Step Three: Fold
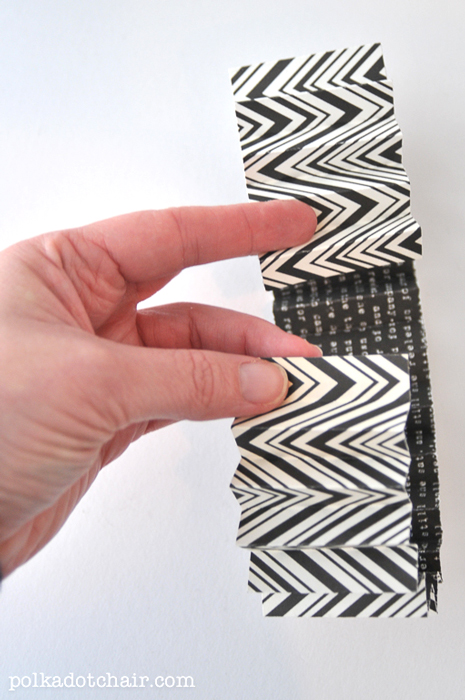
Next, fold both 12” strips accordion style. Apply a bit of adhesive to the end of one of the strips and nest the 2nd strip into the first strip.
Repeat for the other side so that you have one big circle (you can also use hot glue if you prefer).
Step Four: Assemble
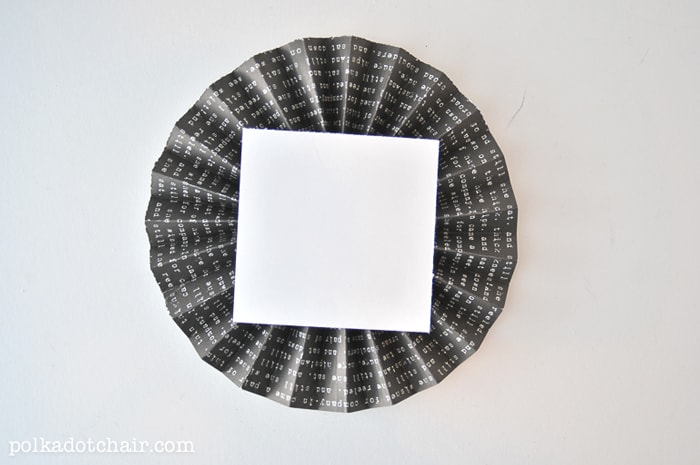
Flatten out the circle and attach a square of paper to the back using a hot glue gun. This will flatten out the rosette and keep it in place.
Finishing
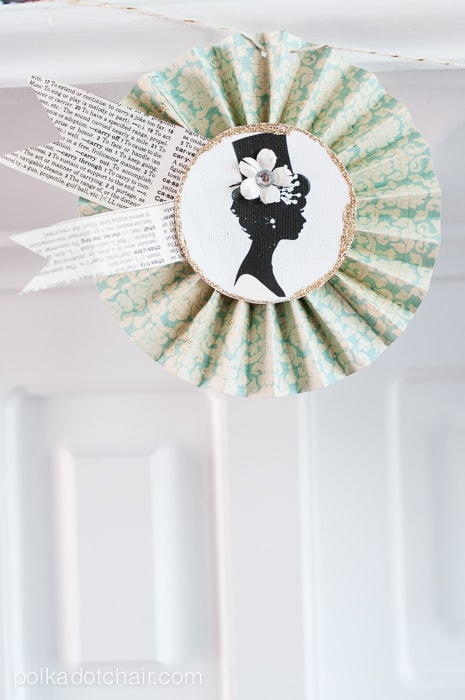
Now all you have to do is flip the rosette over and use the hot glue to attach the circle to the center of the folded paper. You can embellish it as you like with ribbon, glitter, stickers, etc.
A few things to keep in mind
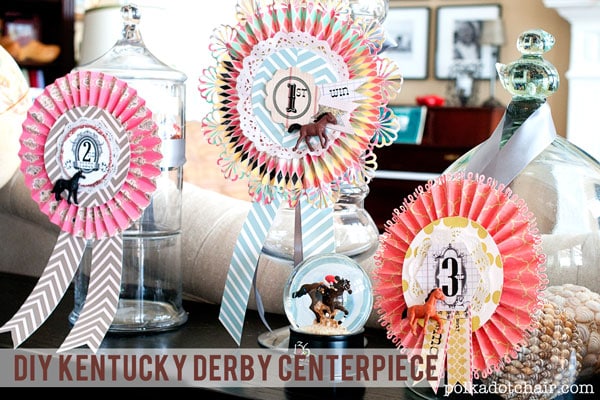
The wider the paper strips the bigger the rosette. If you want a really large rosette like the ones from these Derby Centerpieces you might need 3 strips of paper.
You can also change how “condensed” the rosette is and change the size of it as you like. Push it in more and it’s smaller, pull it out and it becomes larger. When you get it as you want, use the hot glue to secure it.
For the Derby ribbons above, I also punched the edges of a couple of the rosettes with a decorative border punch before I folded them. You can be as creative as you like and adapt the rosettes to make them your own style.
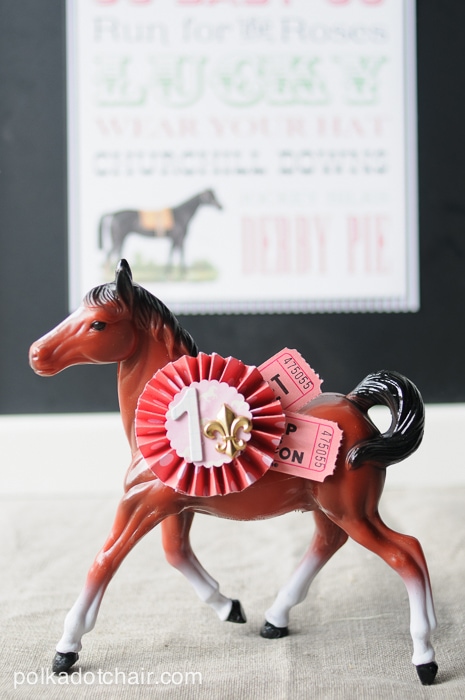
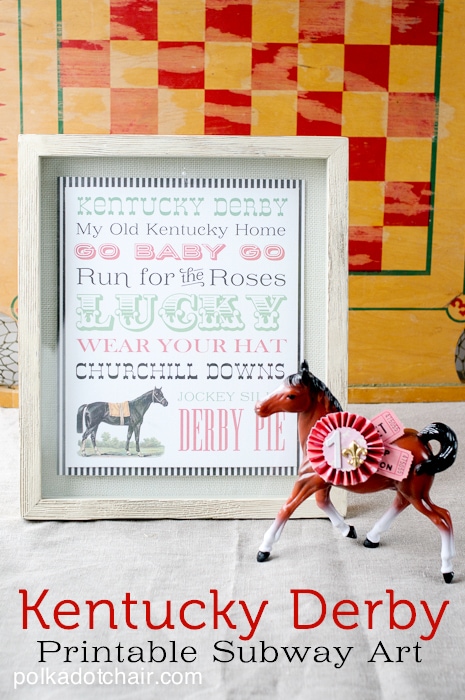
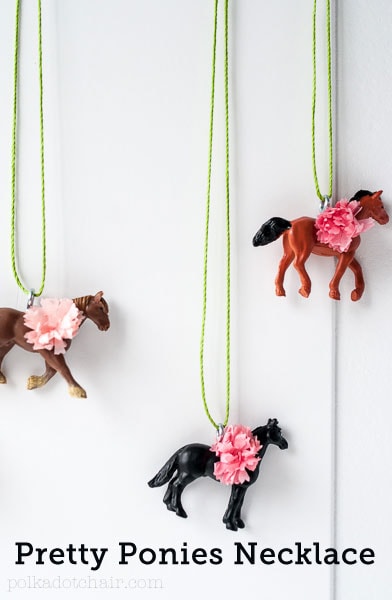
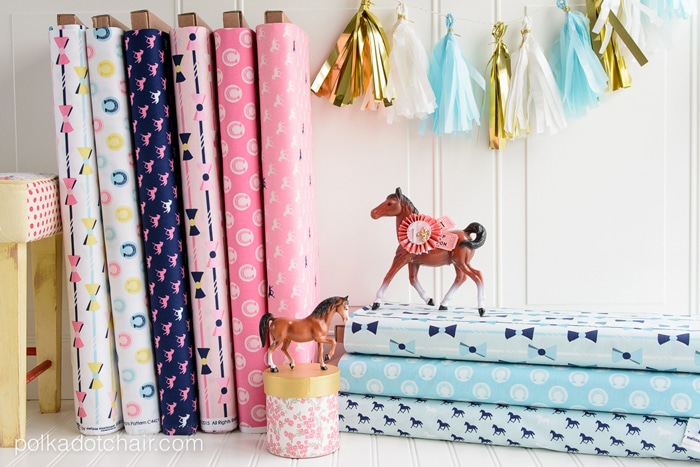
Here I’ve added a small rosette to a plastic horse I purchased at the craft store.
Derby Party Ideas and Decorations
If you’re looking for more ideas for the Kentucky Derby you may also enjoy these posts:
Run for the Roses Kentucky Derby Party Ideas
Free Printable Kentucky Derby Subway Art

