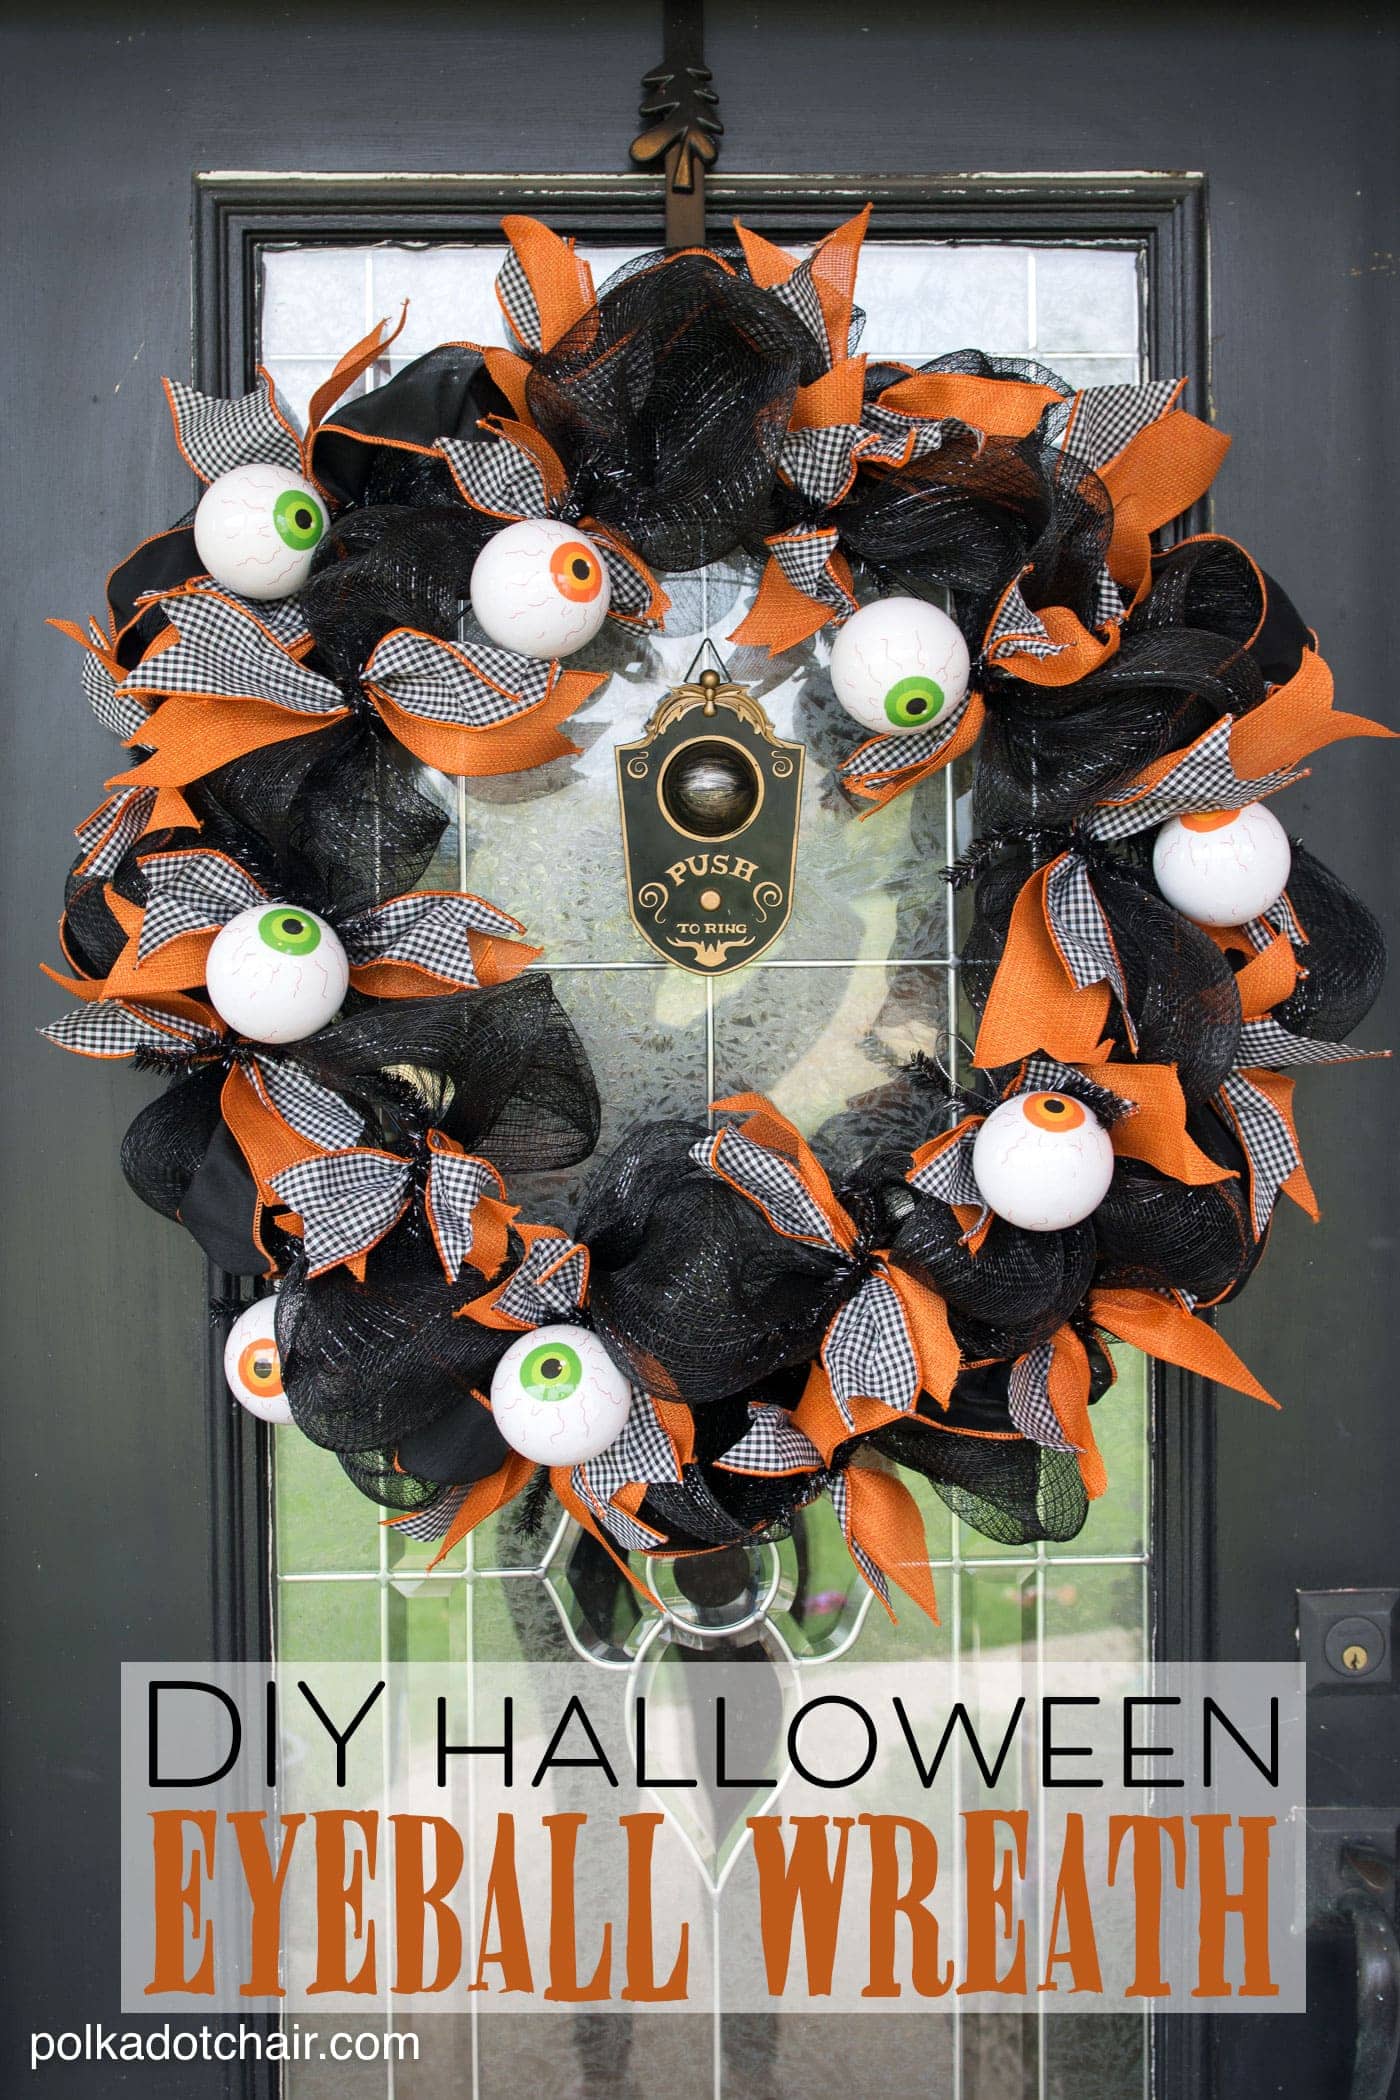
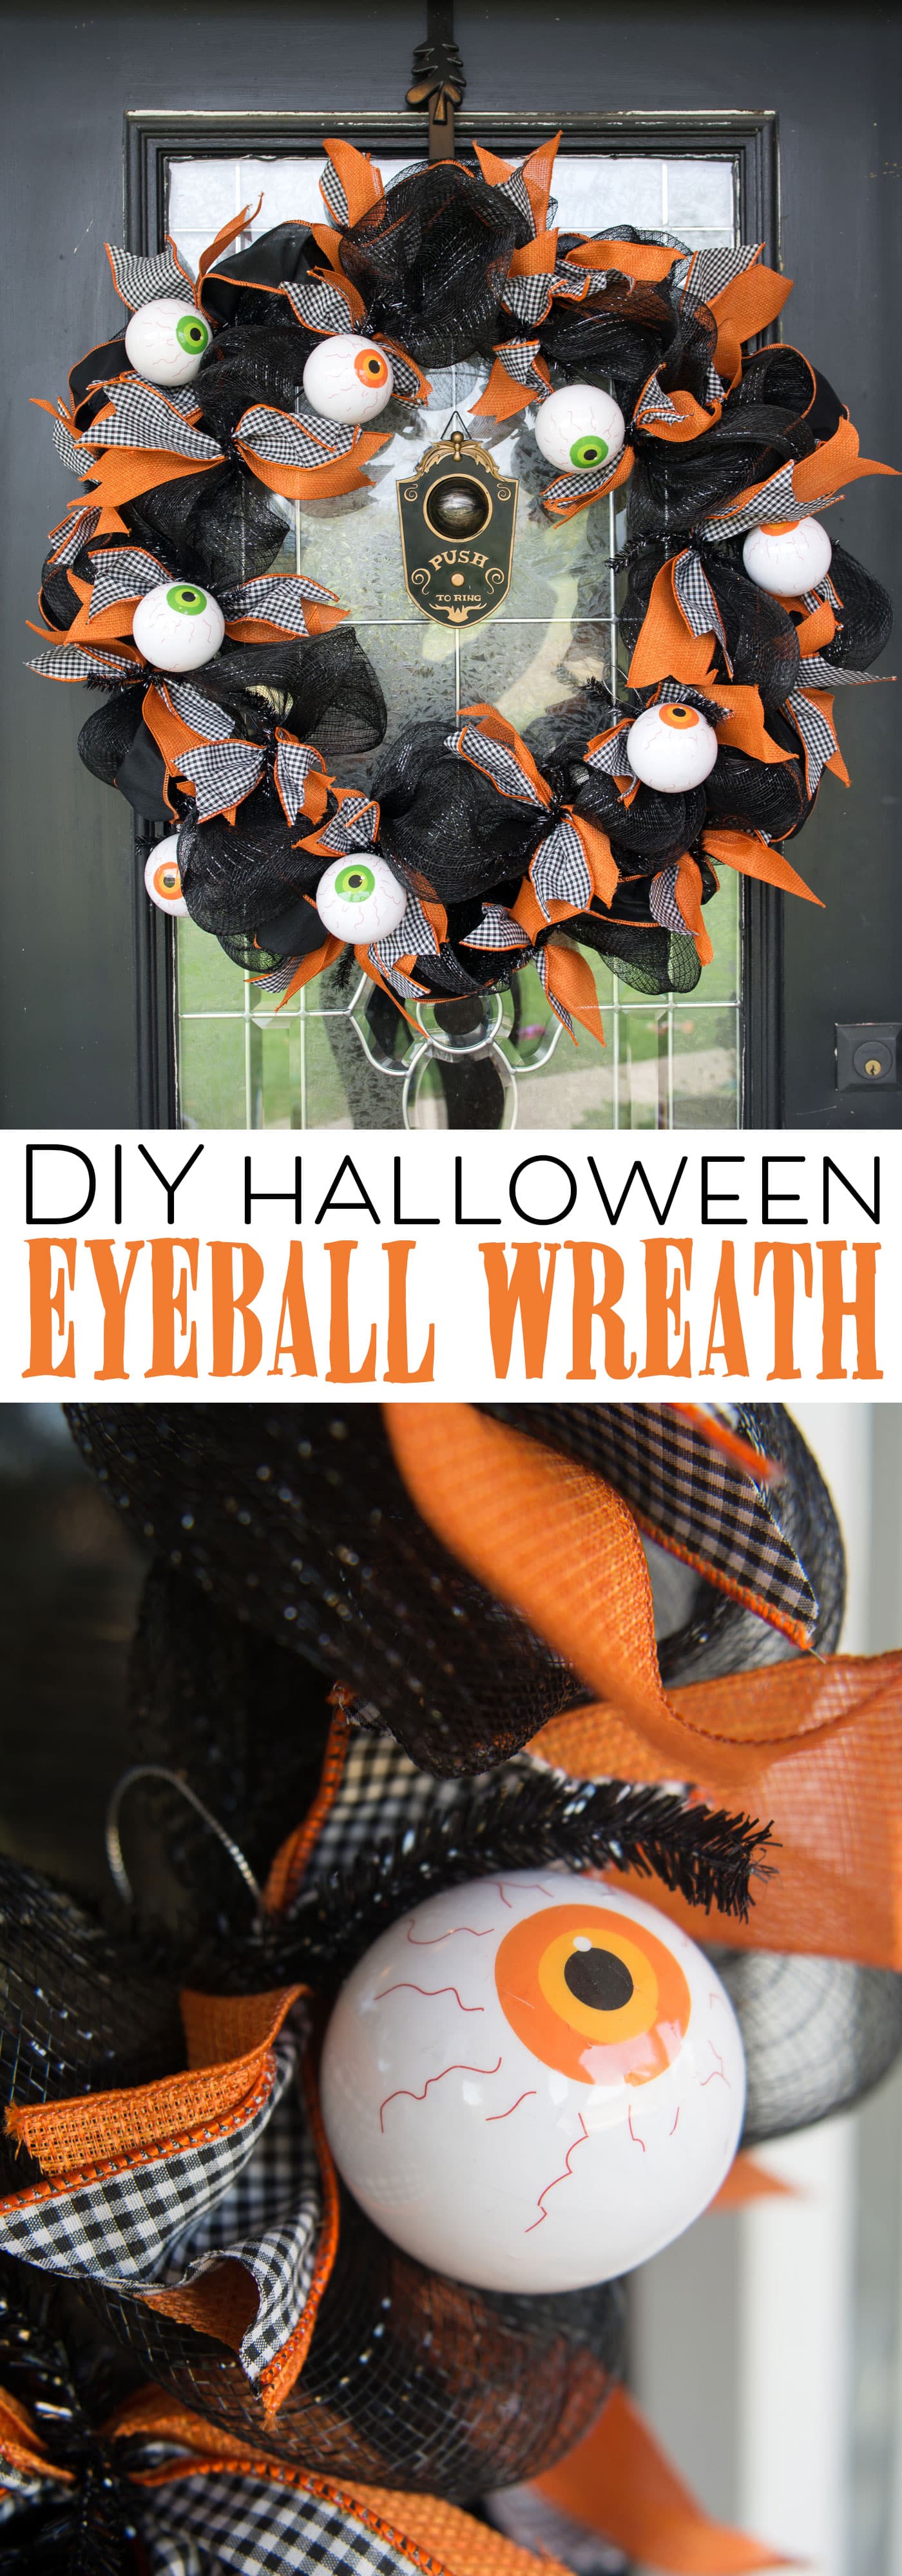
How to Make a Geo Mesh Wreath for Halloween
Today I’m going to show you how to make a Halloween Mesh Wreath using geo mesh and ribbon. If you like this project you may also like to see how I hung Witch’s Hats on my front porch as a Halloween decoration.
It seems like every year, I make a new wreath for my front door for Halloween. I don’t know why something about Halloween brings out my crafty side.
Usually, it starts because I decide the wreath I made for the previous year won’t hold up well outside, and I want to make one that’s okay to use on the outside of the front door. Then I decided I didn’t want to hang it outside, so I returned to the drawing board.
About the Mesh Eyeball Wreath
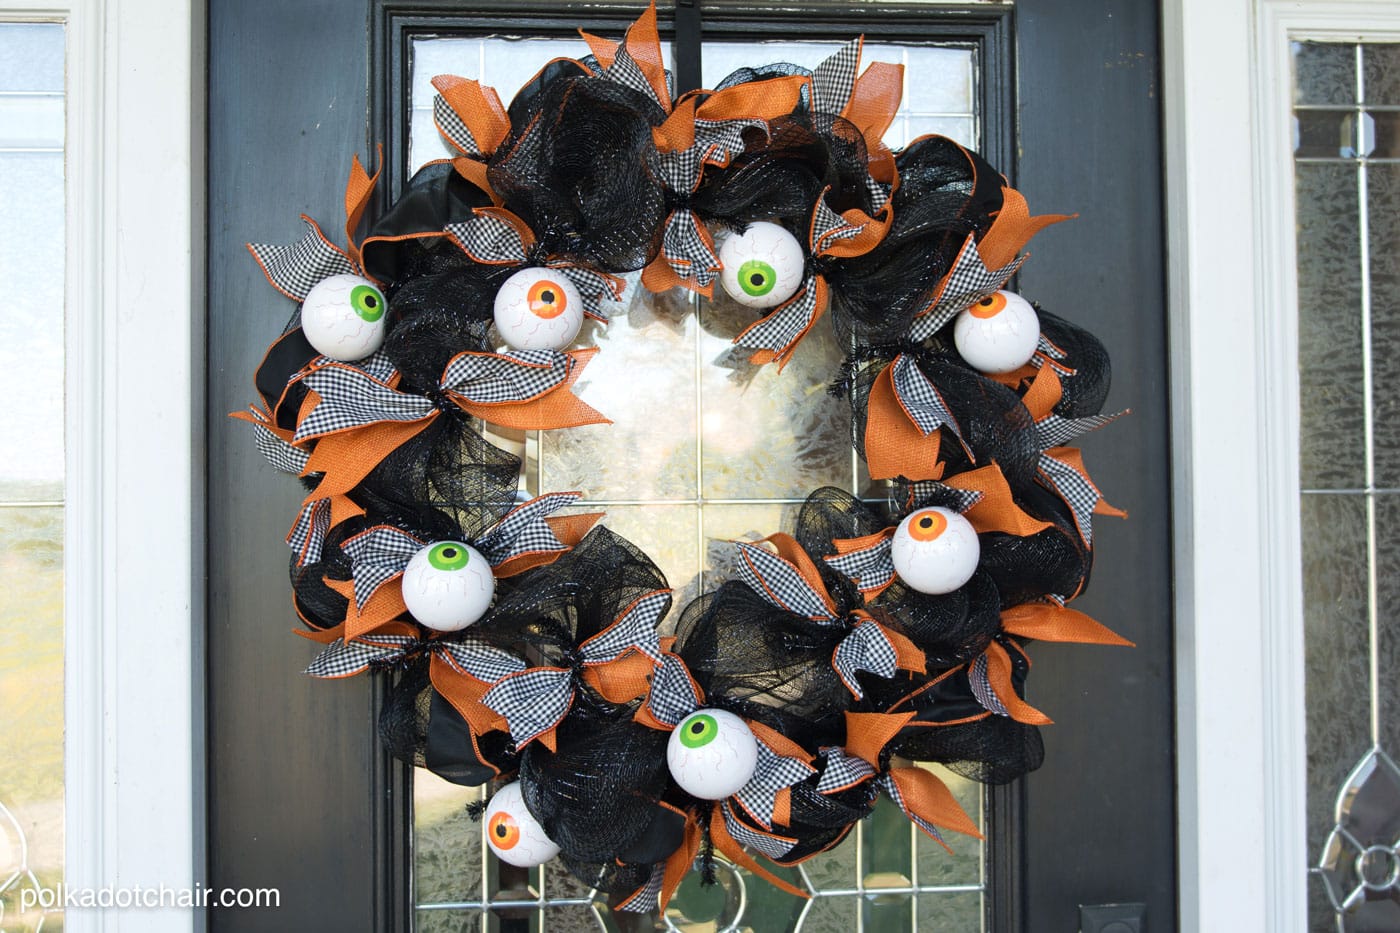
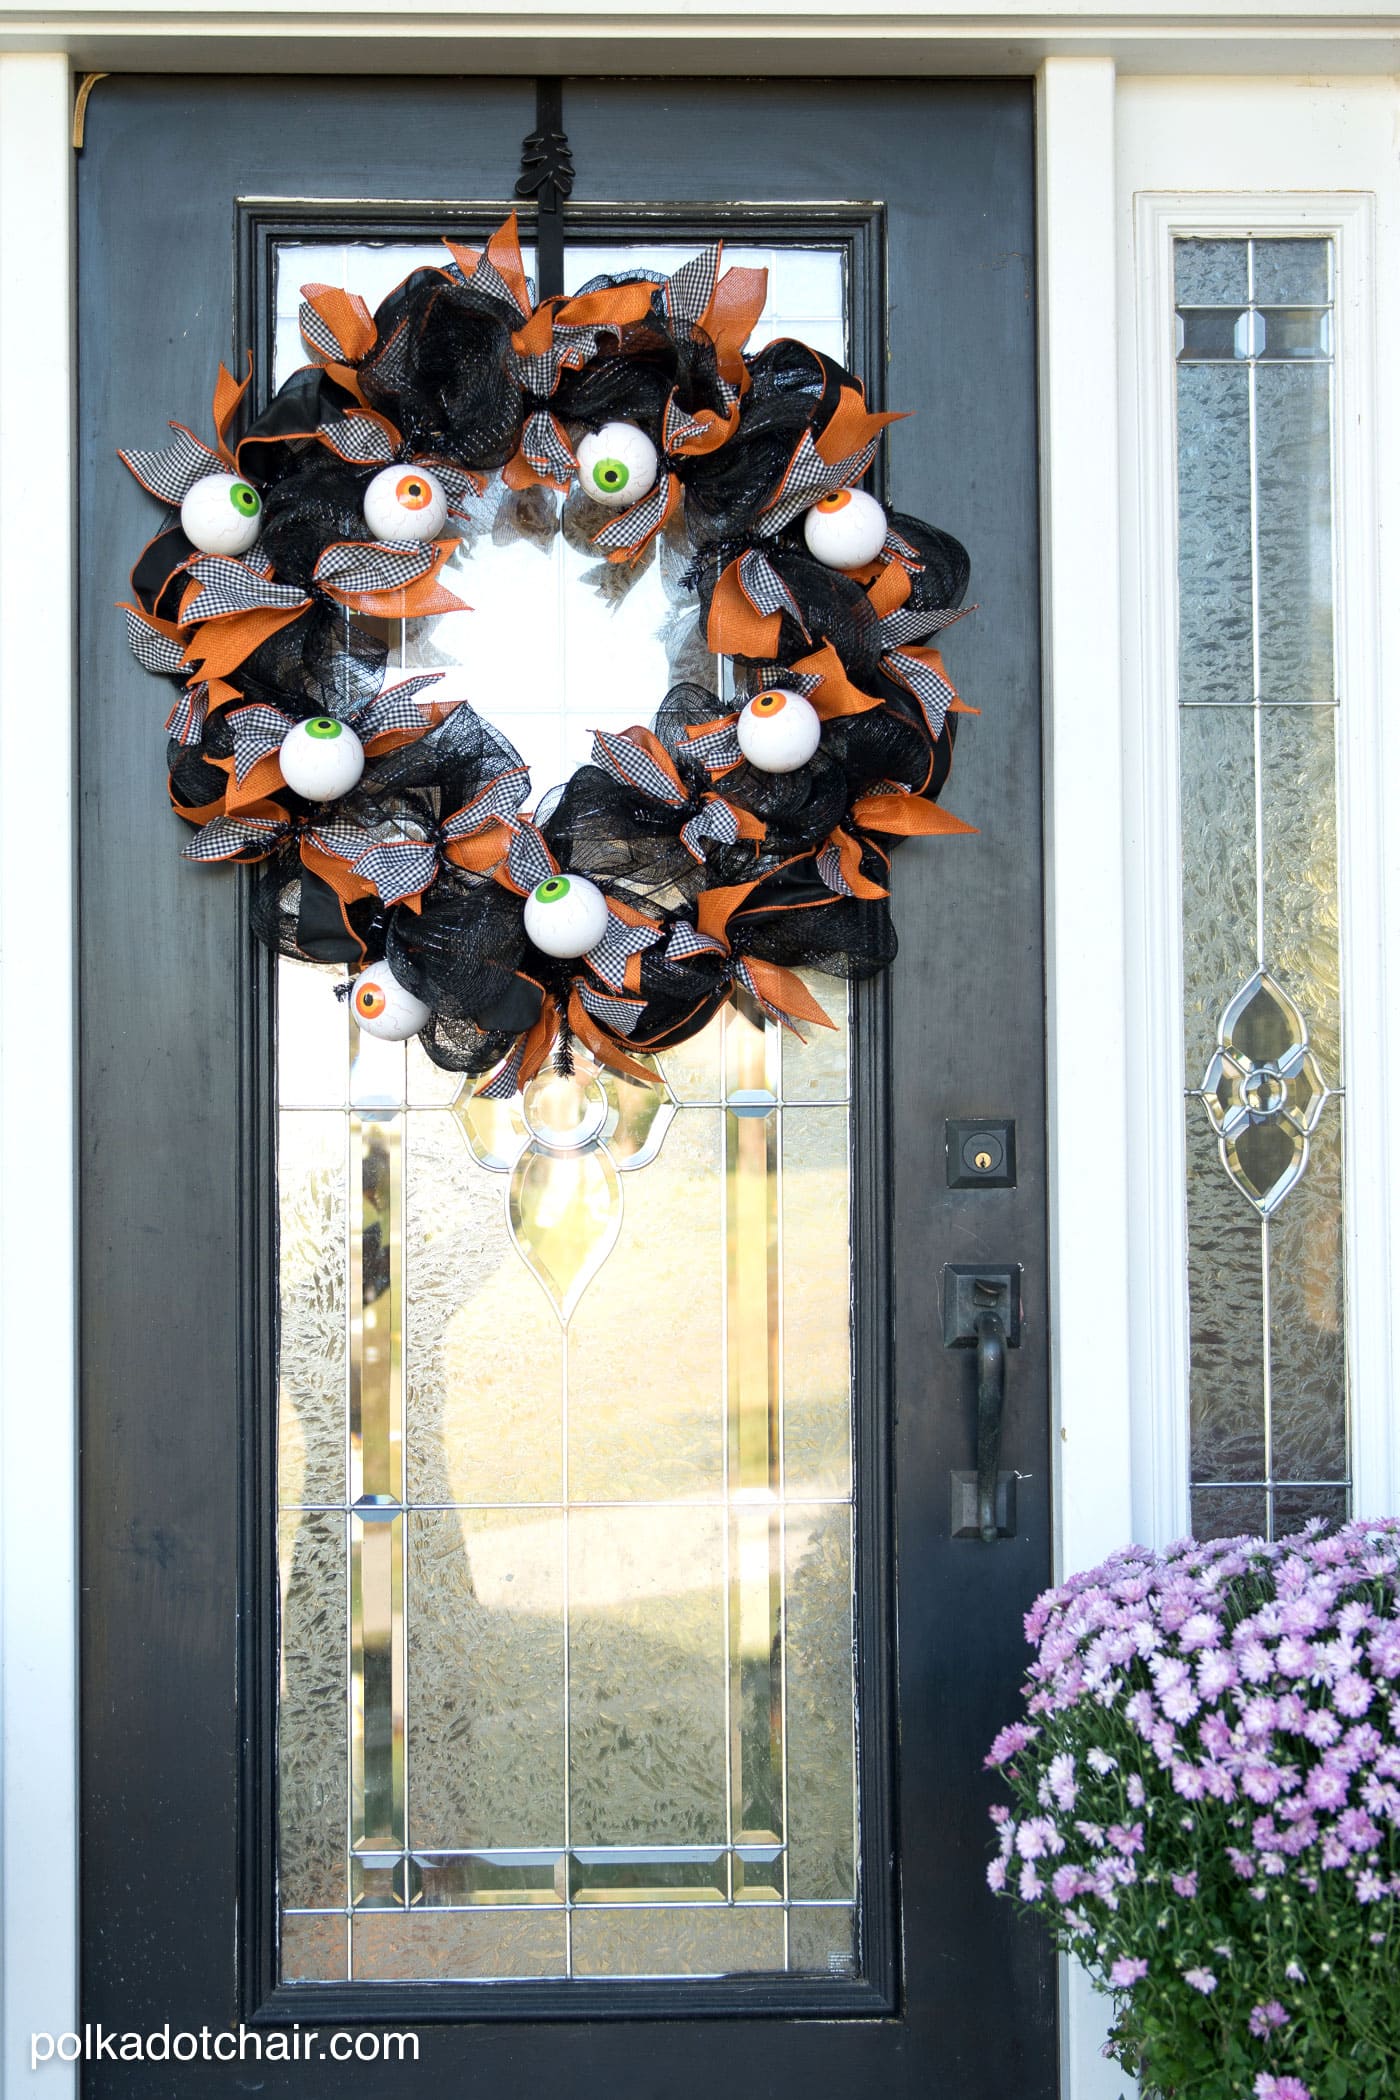
This year, my contribution to my Halloween Wreath collection is this Eyeball wreath made out of geo mesh and ribbon.
A local craft store always makes the cutest geo mesh wreaths, but I always looked at them and thought they were way too hard to make.
A few weeks ago, I asked the lady there to show me how to start making a wreath. She explained quickly, and I went, “DUH.” These things are crazy easy to make, and I don’t know why I haven’t tried them before.
Geo Mesh Halloween Wreath Tutorial
Ready to make one? Grab a few friends and have a nice wreath making “crafternoon”.
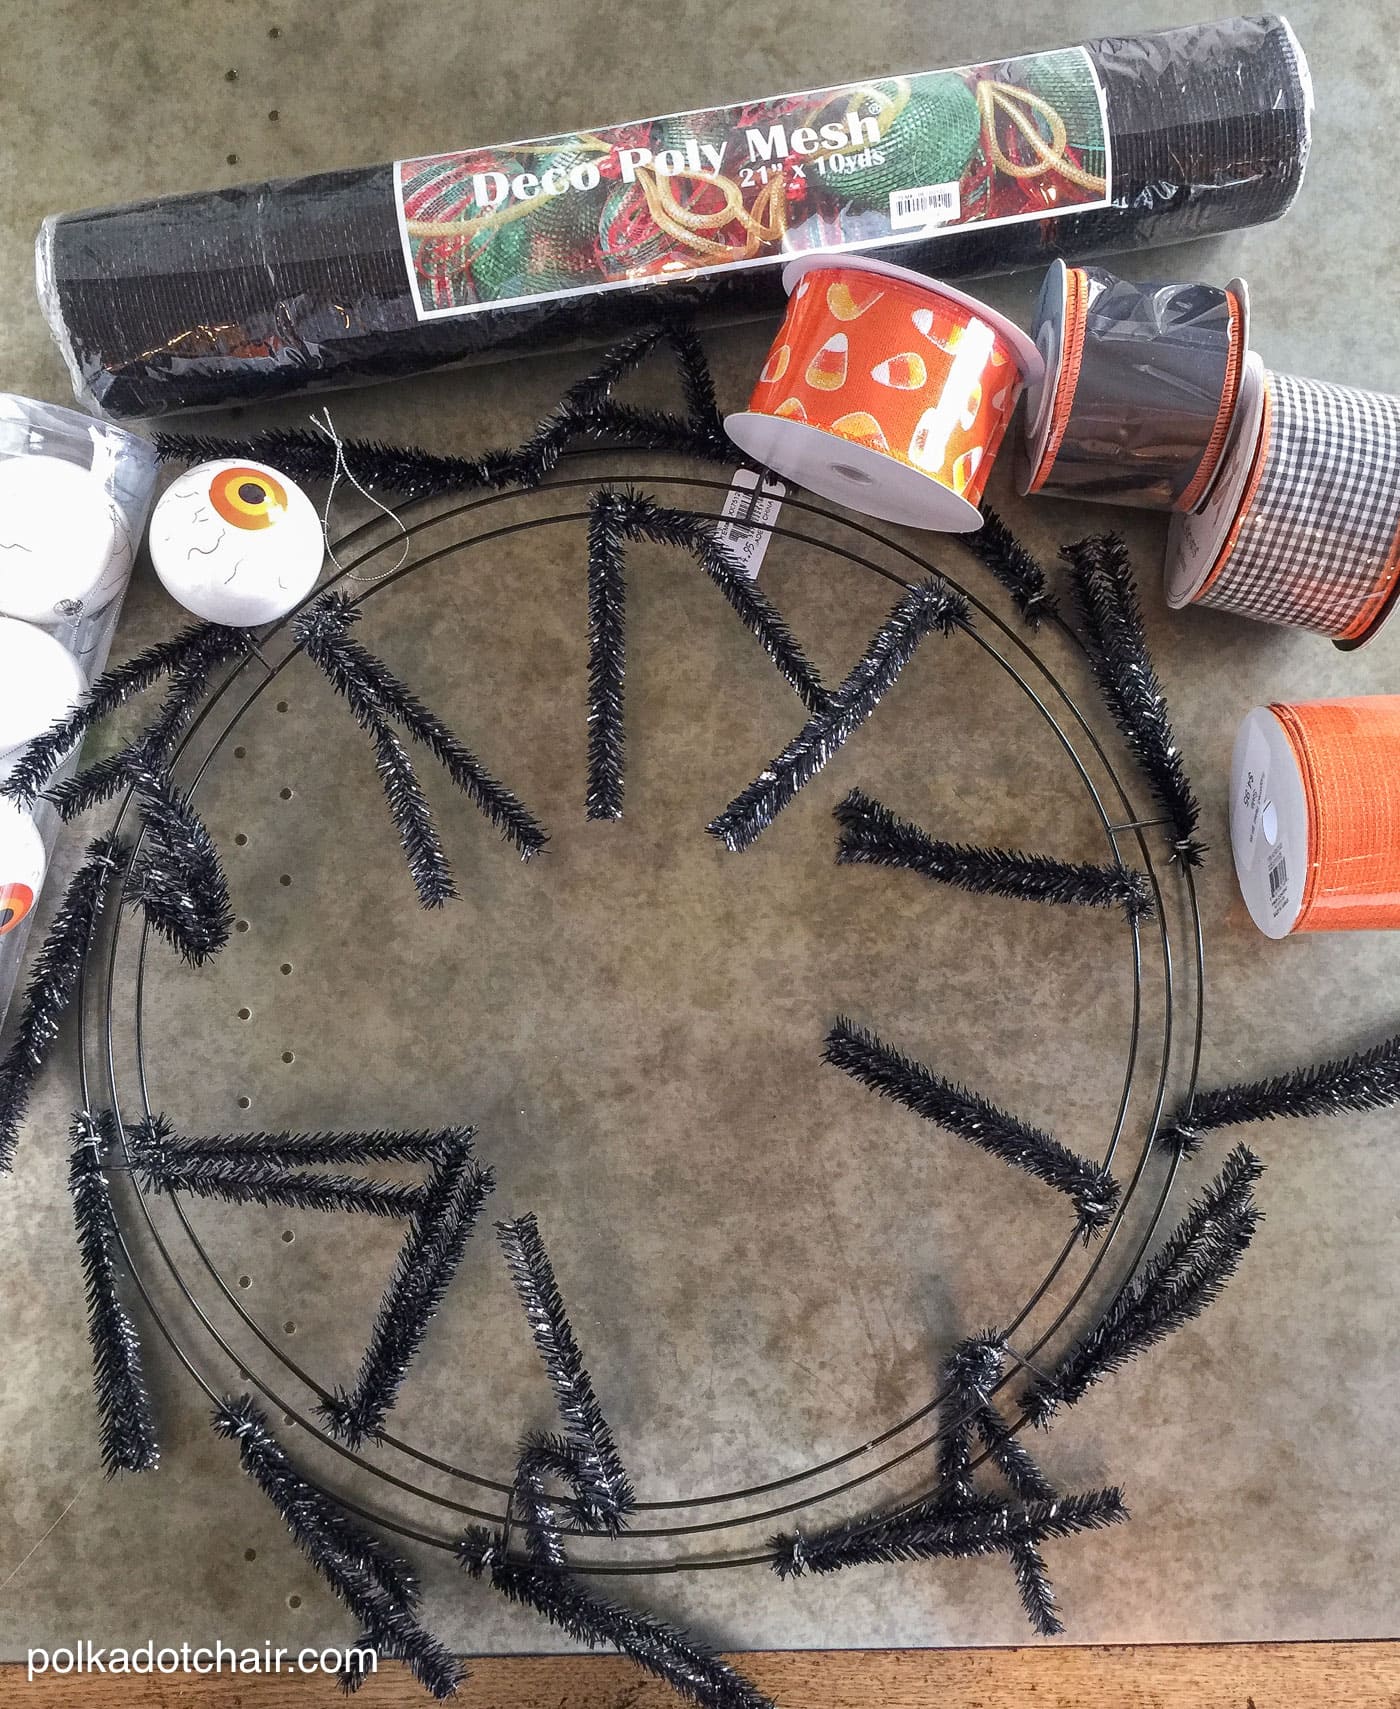
Halloween Mesh Wreath Supplies
You’re going to need:
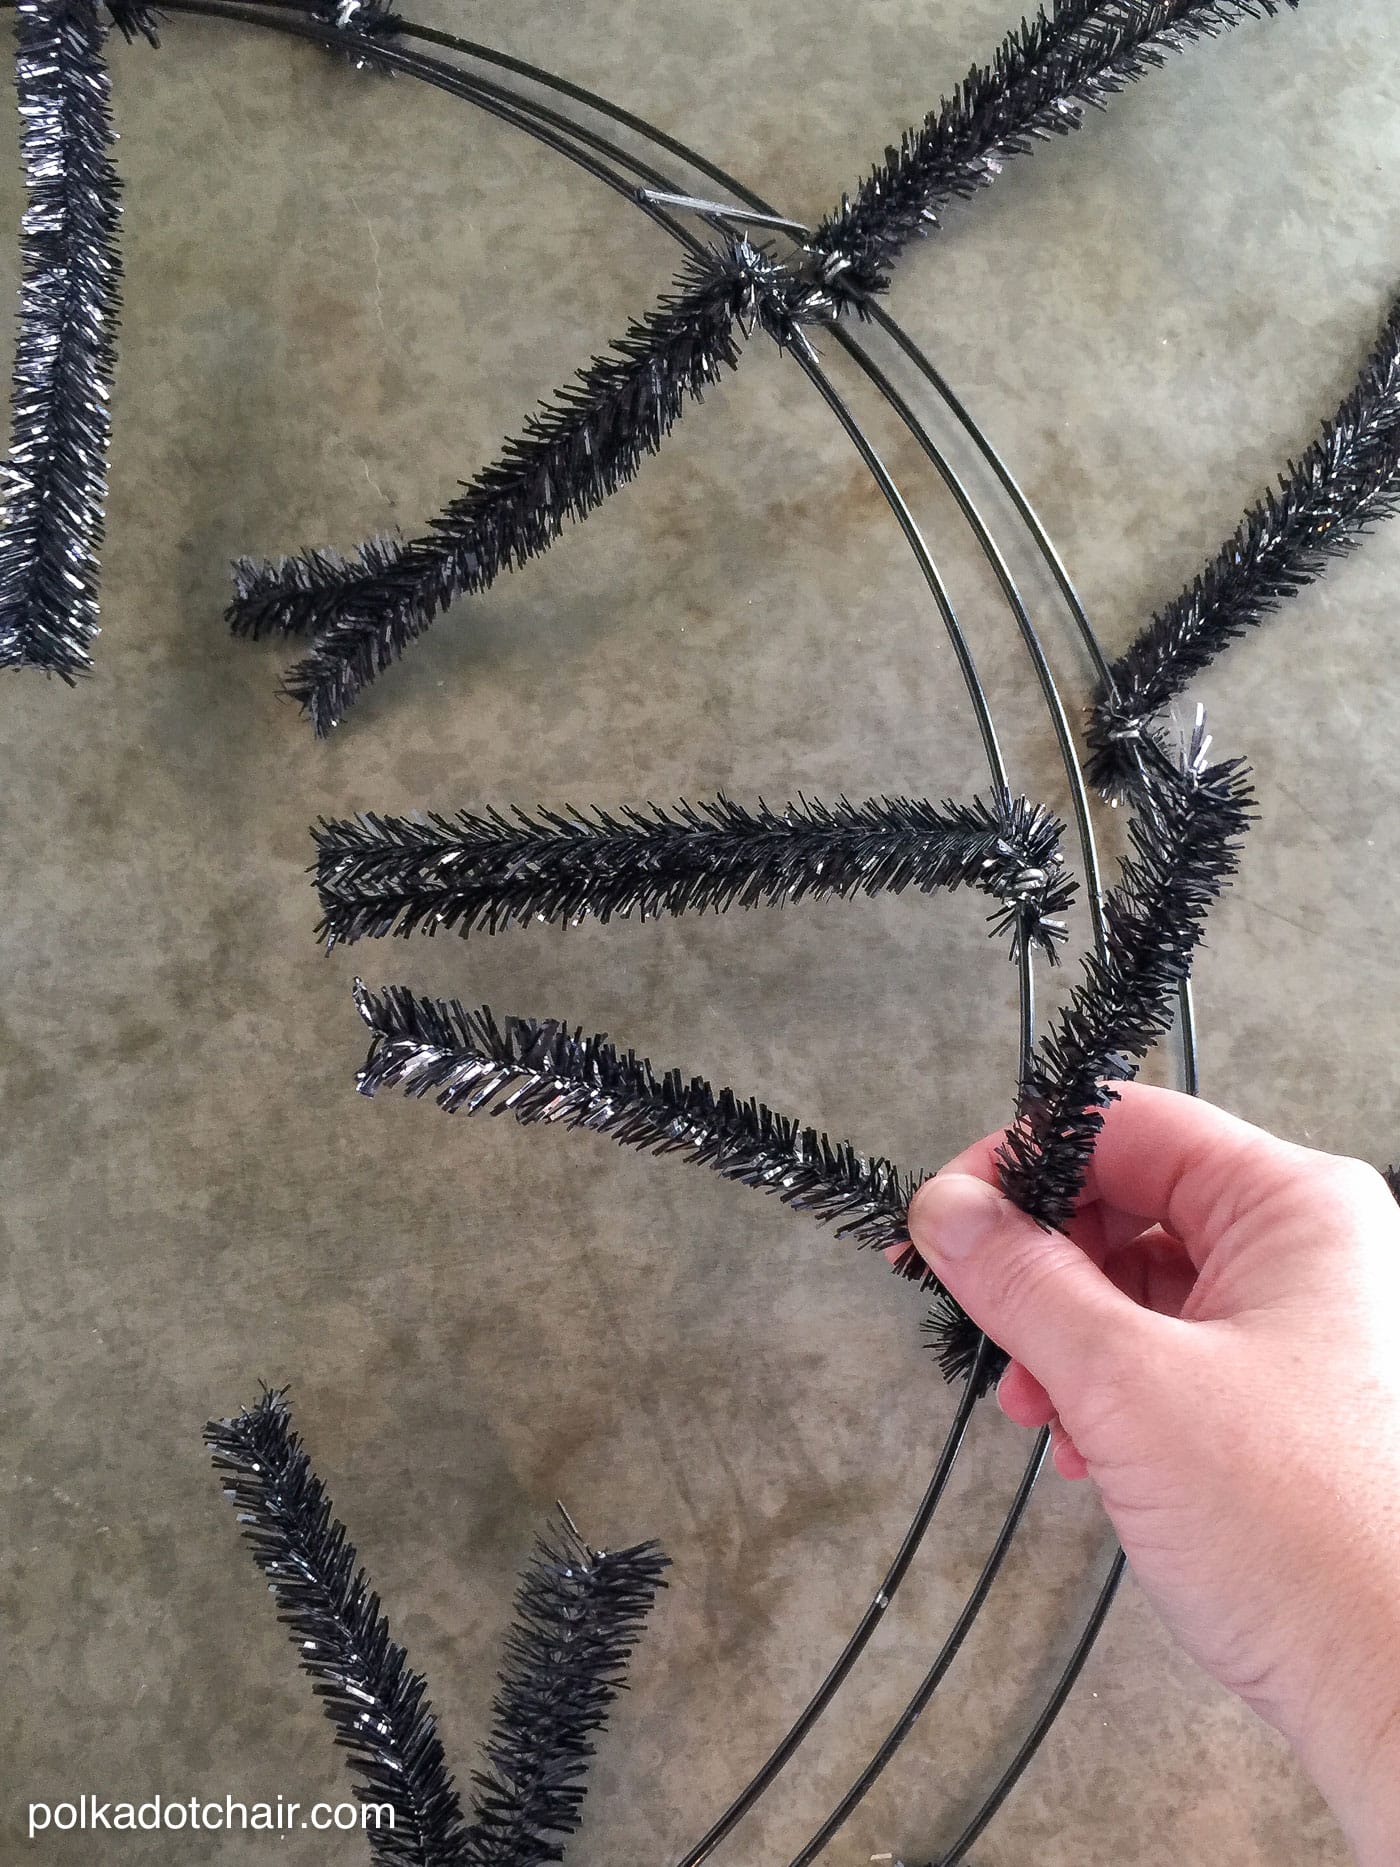
- Geo Mesh Work Wreath frame – try to get one that has “twistys” attached to it, otherwise, you’ll also need some pipe cleaners.
- -Geo Mesh
- -Wired Ribbon
- -Eyeball Ornaments
Step One: Attach Mesh to the Work Wreath
The work wreath frame has pre-attached pipe cleaners. You are basically going to twist them around the geo mesh in a circle around the entire wreath.
You can leave as much or a little geo mesh between the twist ties as you like.
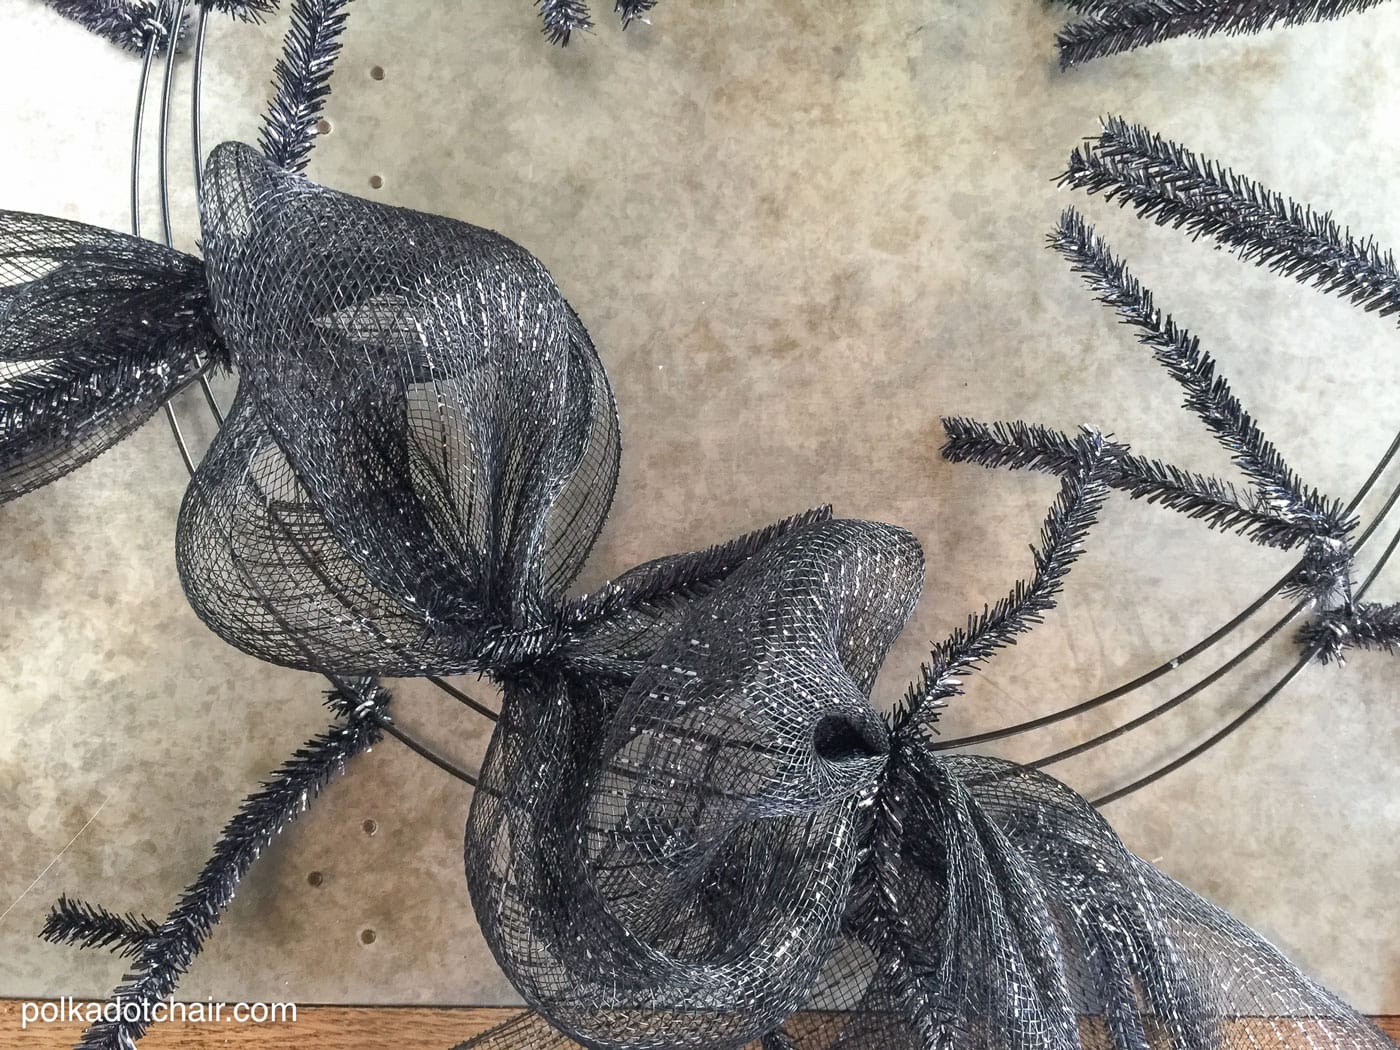
To attach the mesh to the wreath, pinch the mesh and feed it through the pipe cleaners. Twist the pipe cleaners to secure the mesh.
Move 6″ – 8″ further down your piece of geo mesh and do it again.
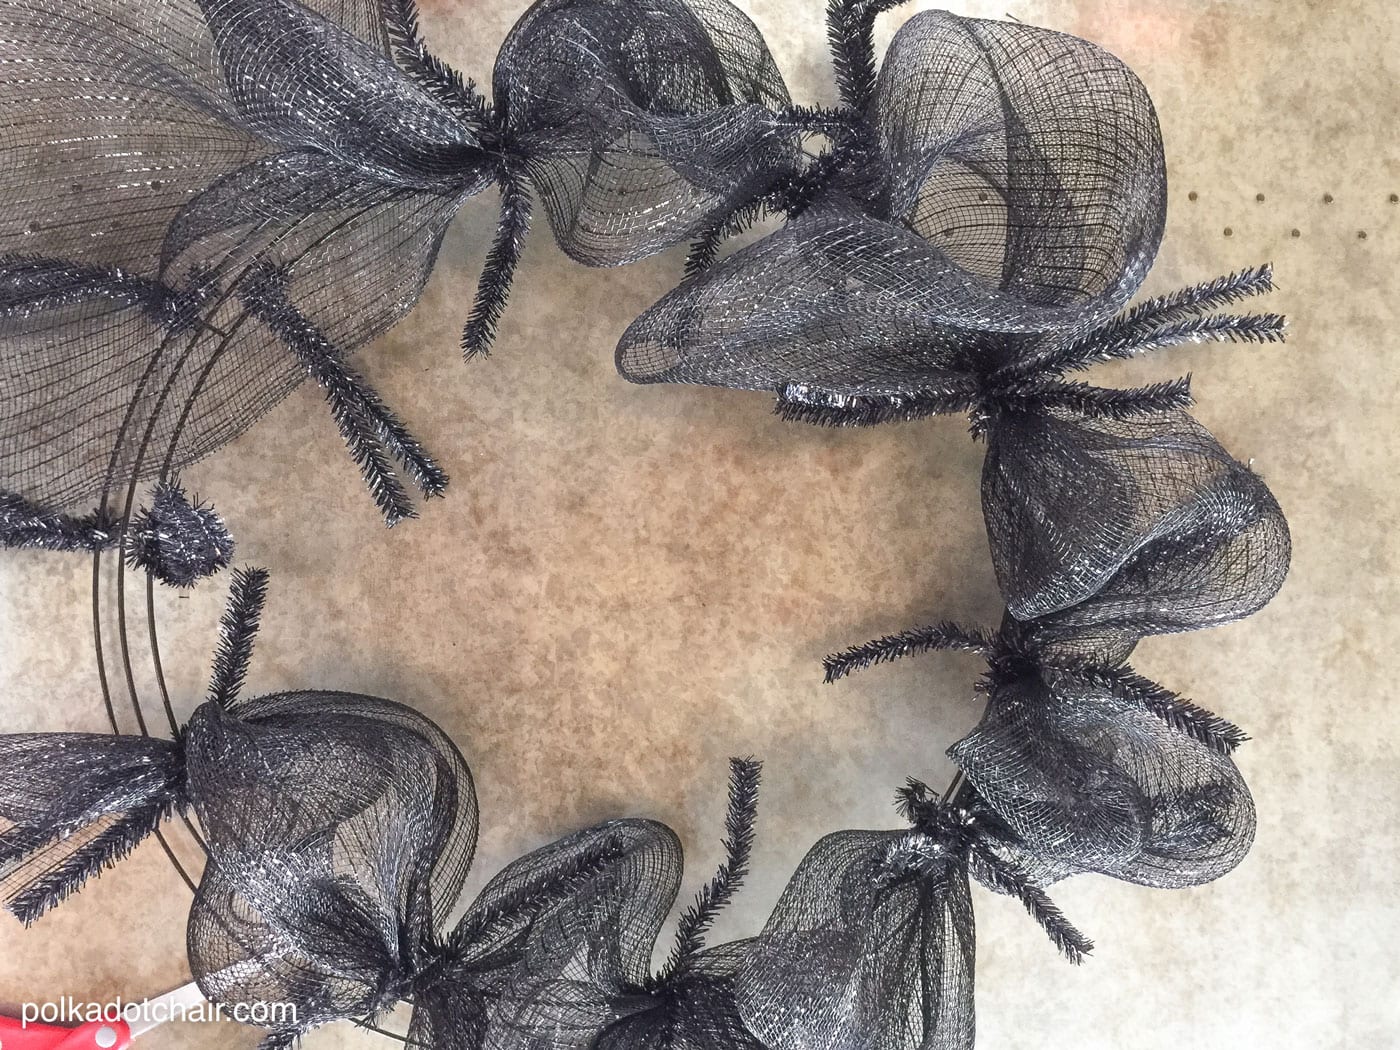
Keep going around the wreath form until you’ve covered the entire top row, then move on and cover the bottom row. The larger the space you leave between attachment points the “floofier” your wreath will be.
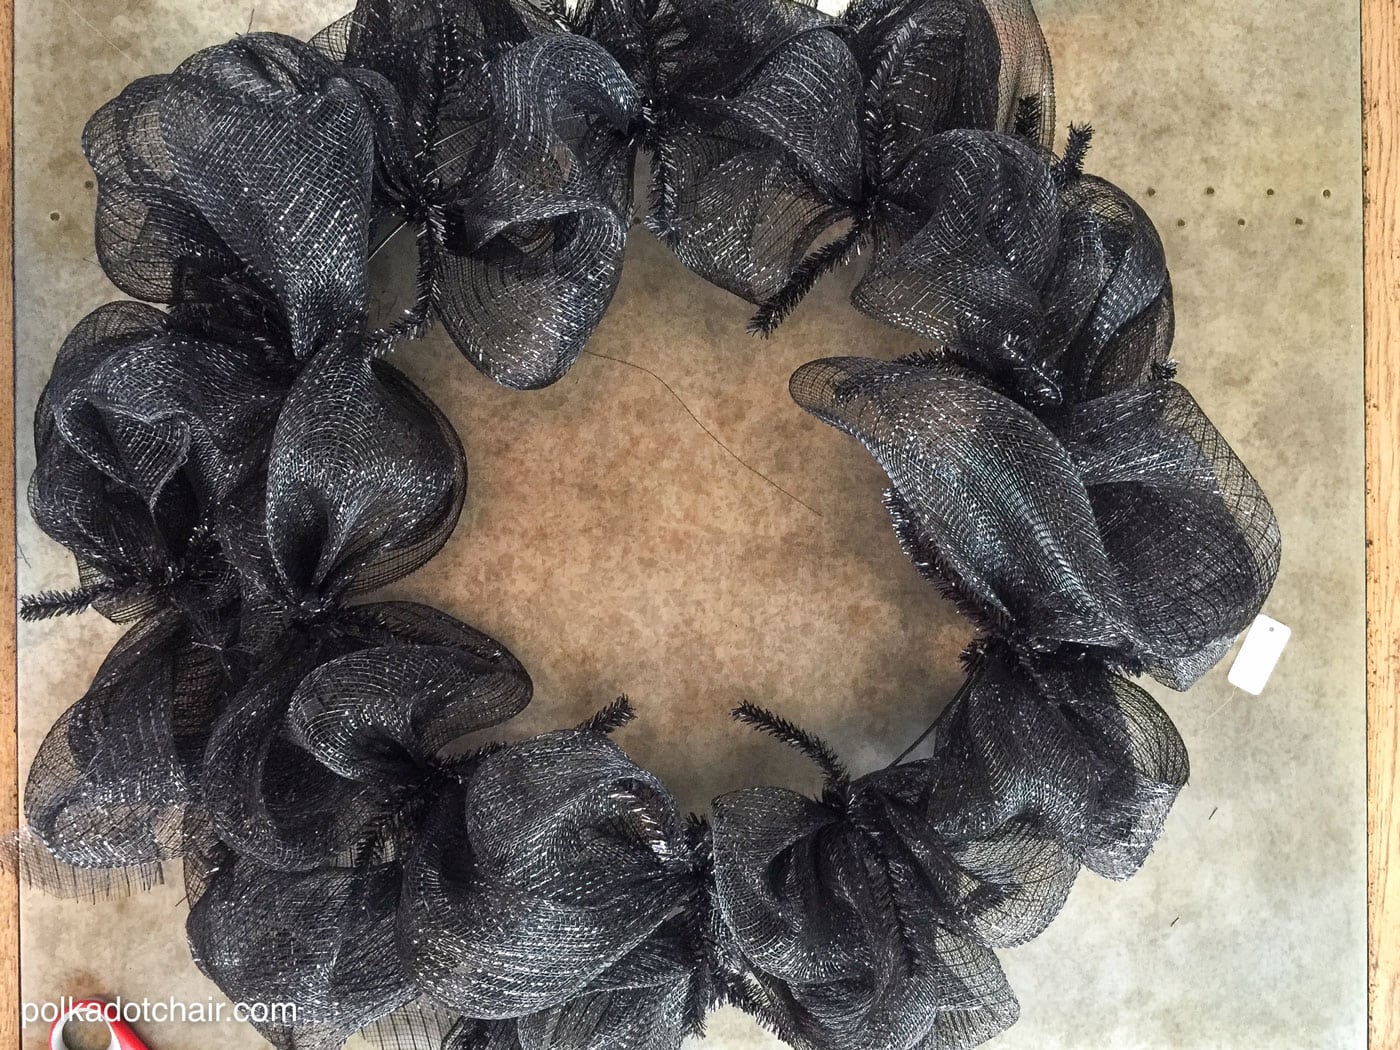
Now you’ve got your wreath form, you can embellish it as you like.
Step Two: Embellish

How to Add Ribbon to the Wreath
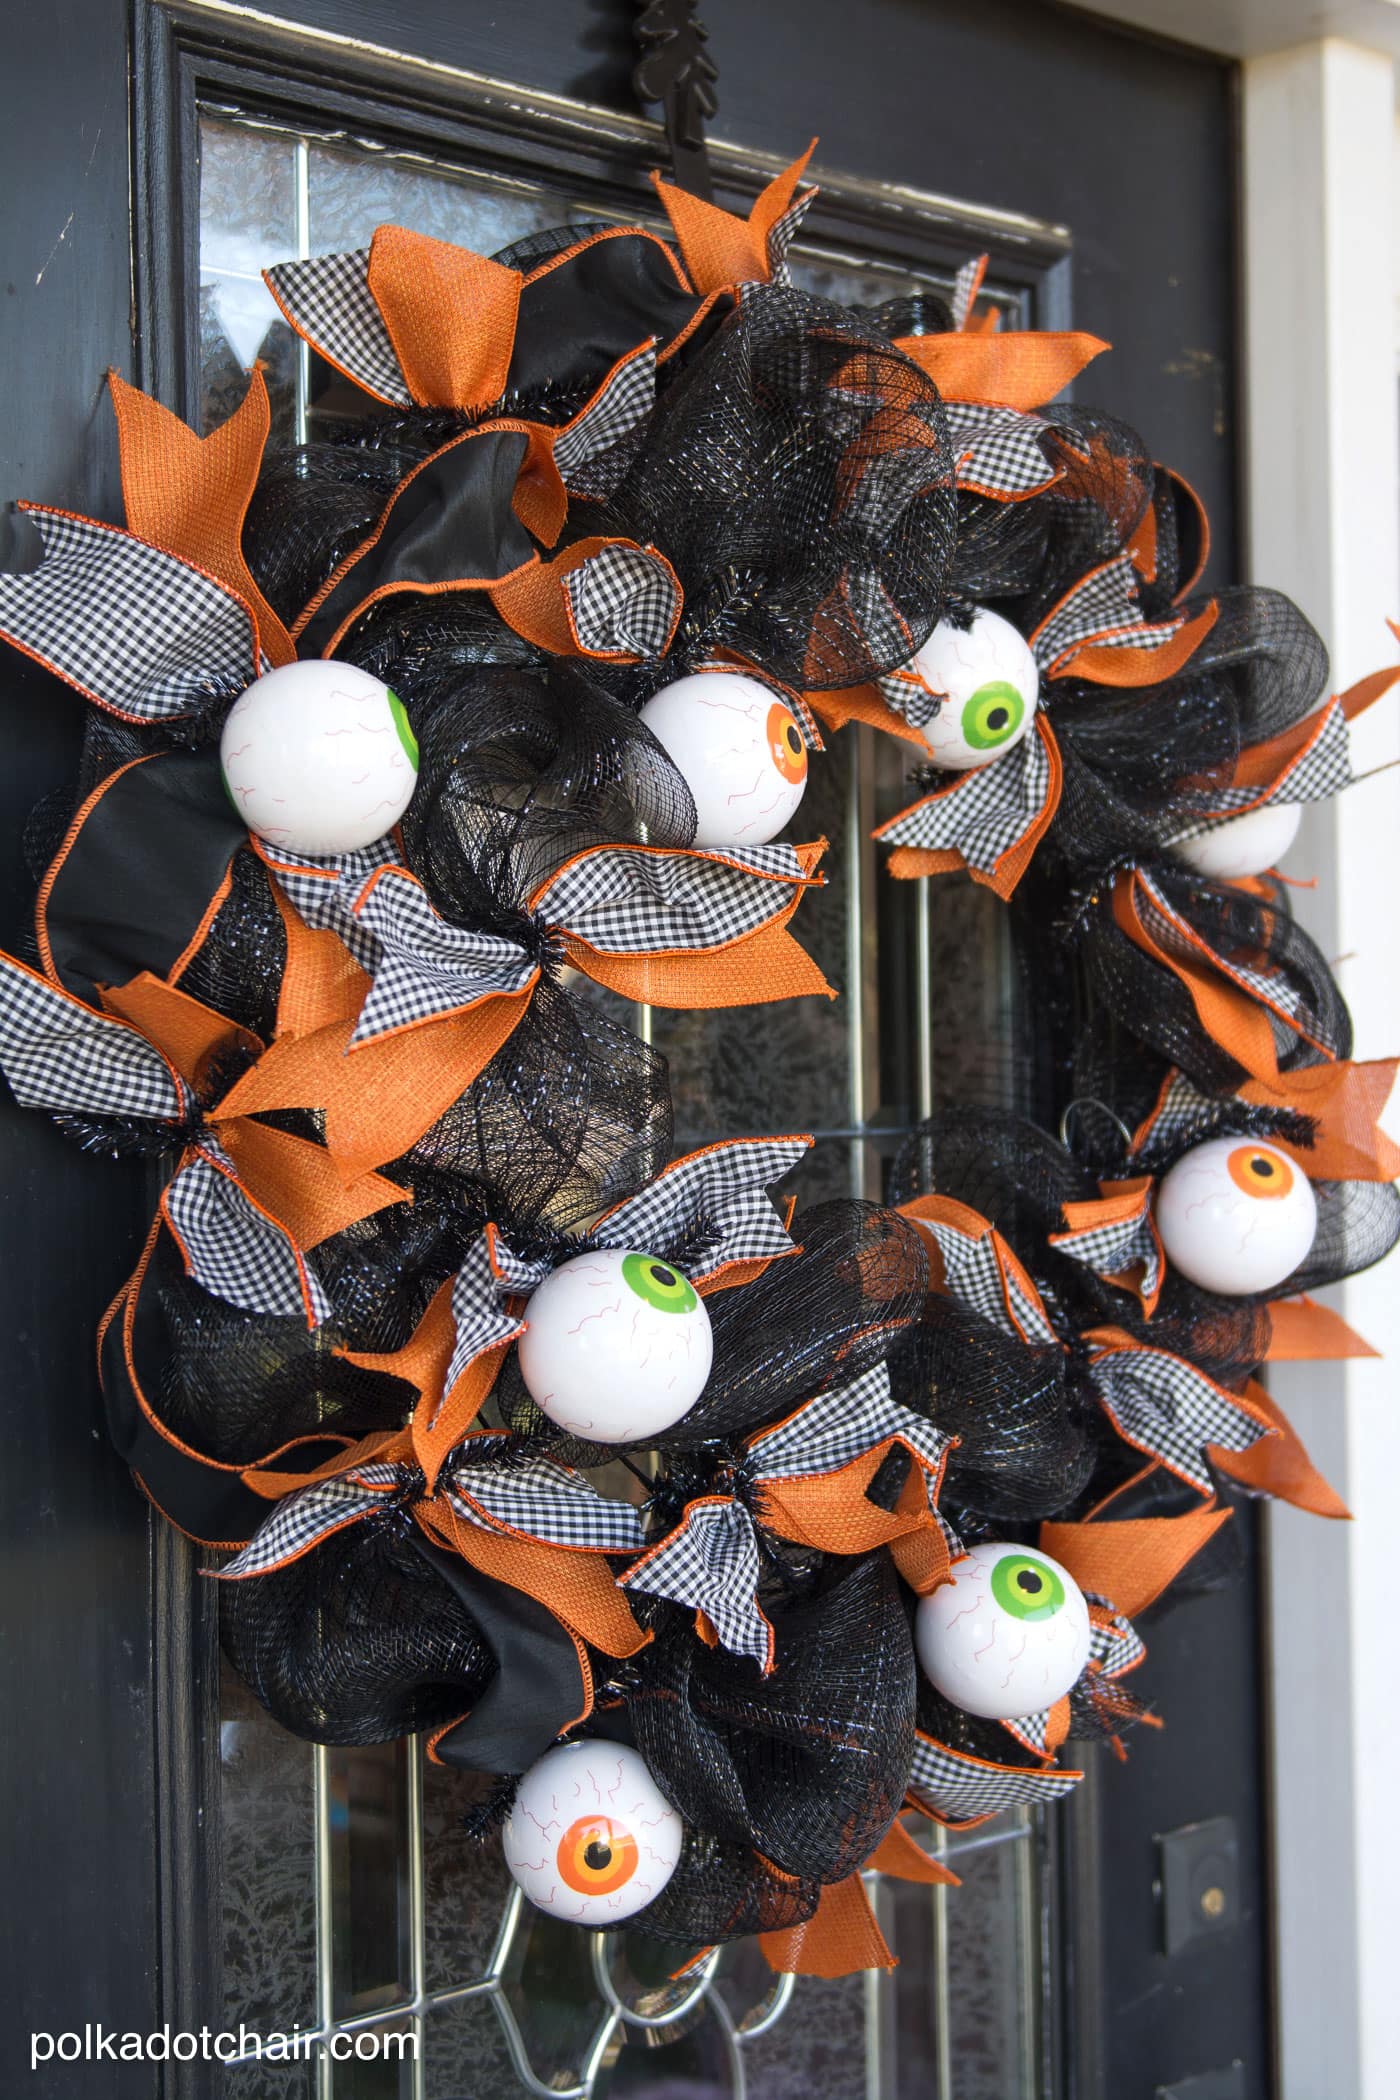
I added a black and orange ribbon to the outer circle of the wreath (using the same method that I used to attach the geo mesh).
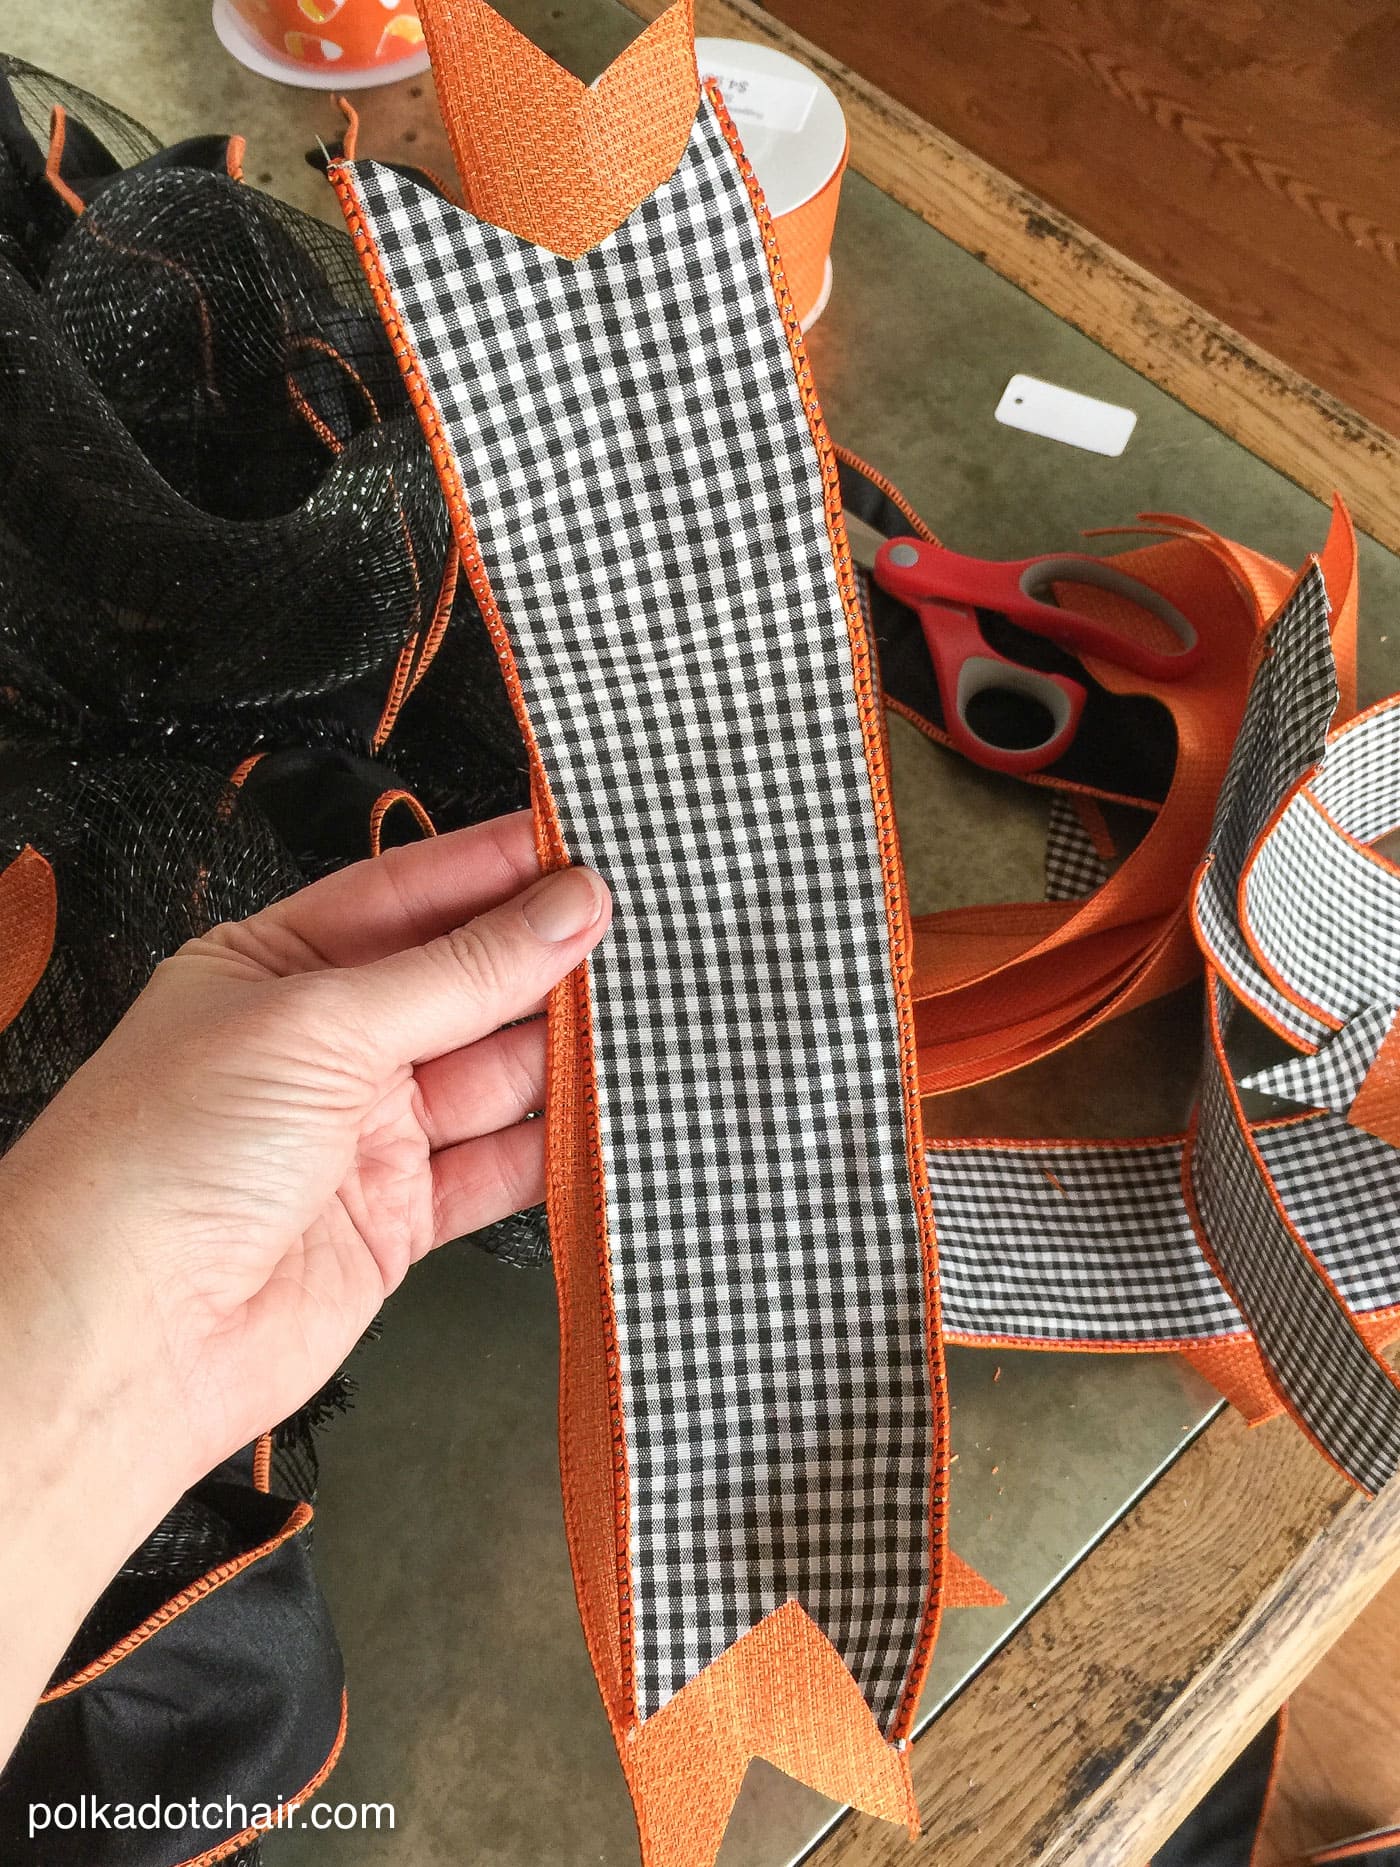
Cut two ribbons into 6″ strips, clip the ends, and tie them into the wreath using the twist ties.
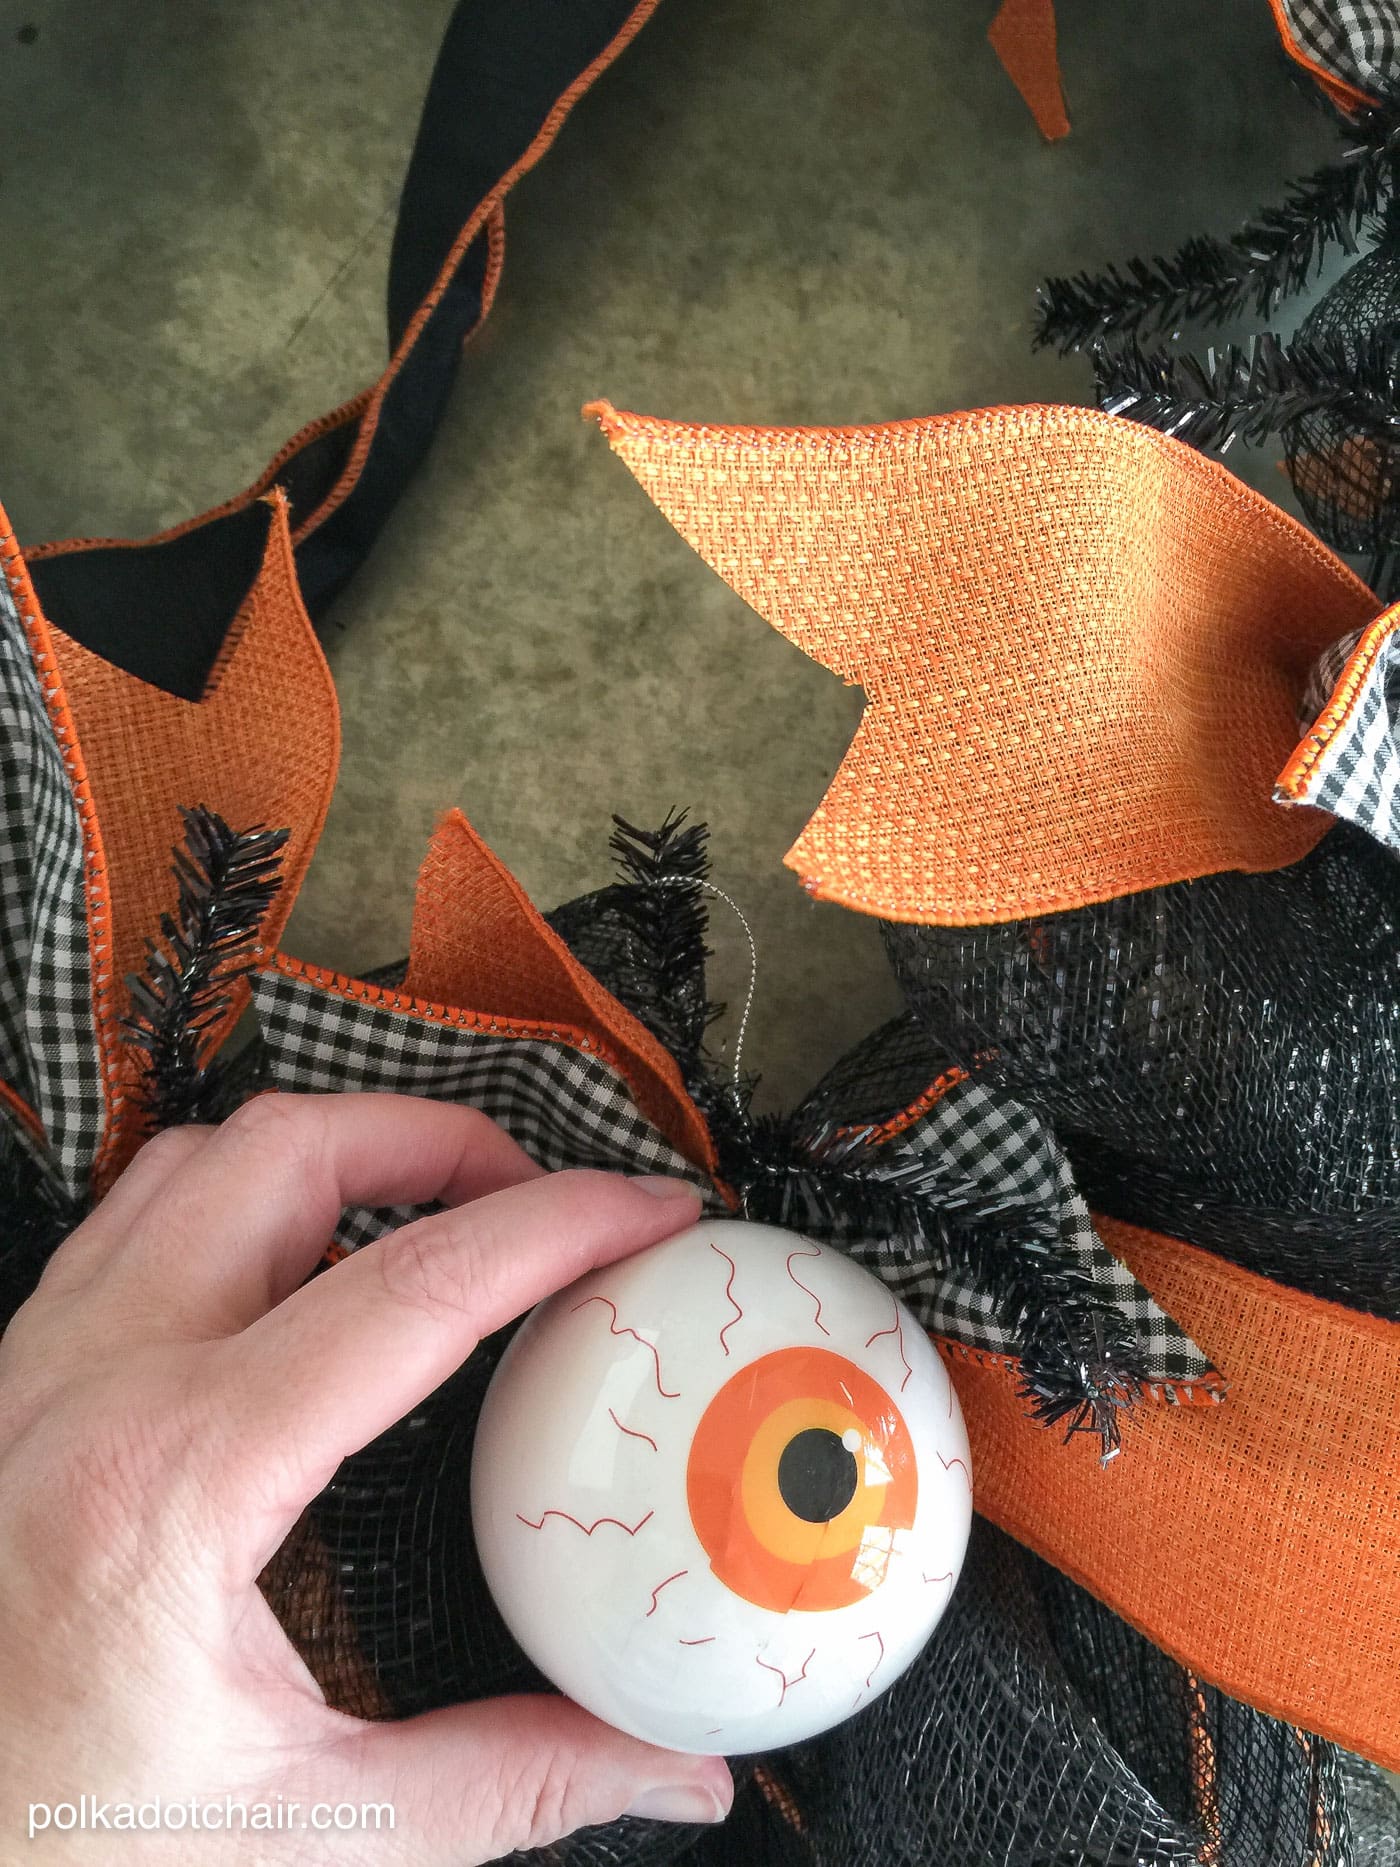
How to Add Eyeballs
The eyeball ornaments are attached in the same way. Use the ornament hanger attached to the ornament to attach the eyeball to the twist tie.
See easy, right!?!?! You don’t even need a hot glue gun.
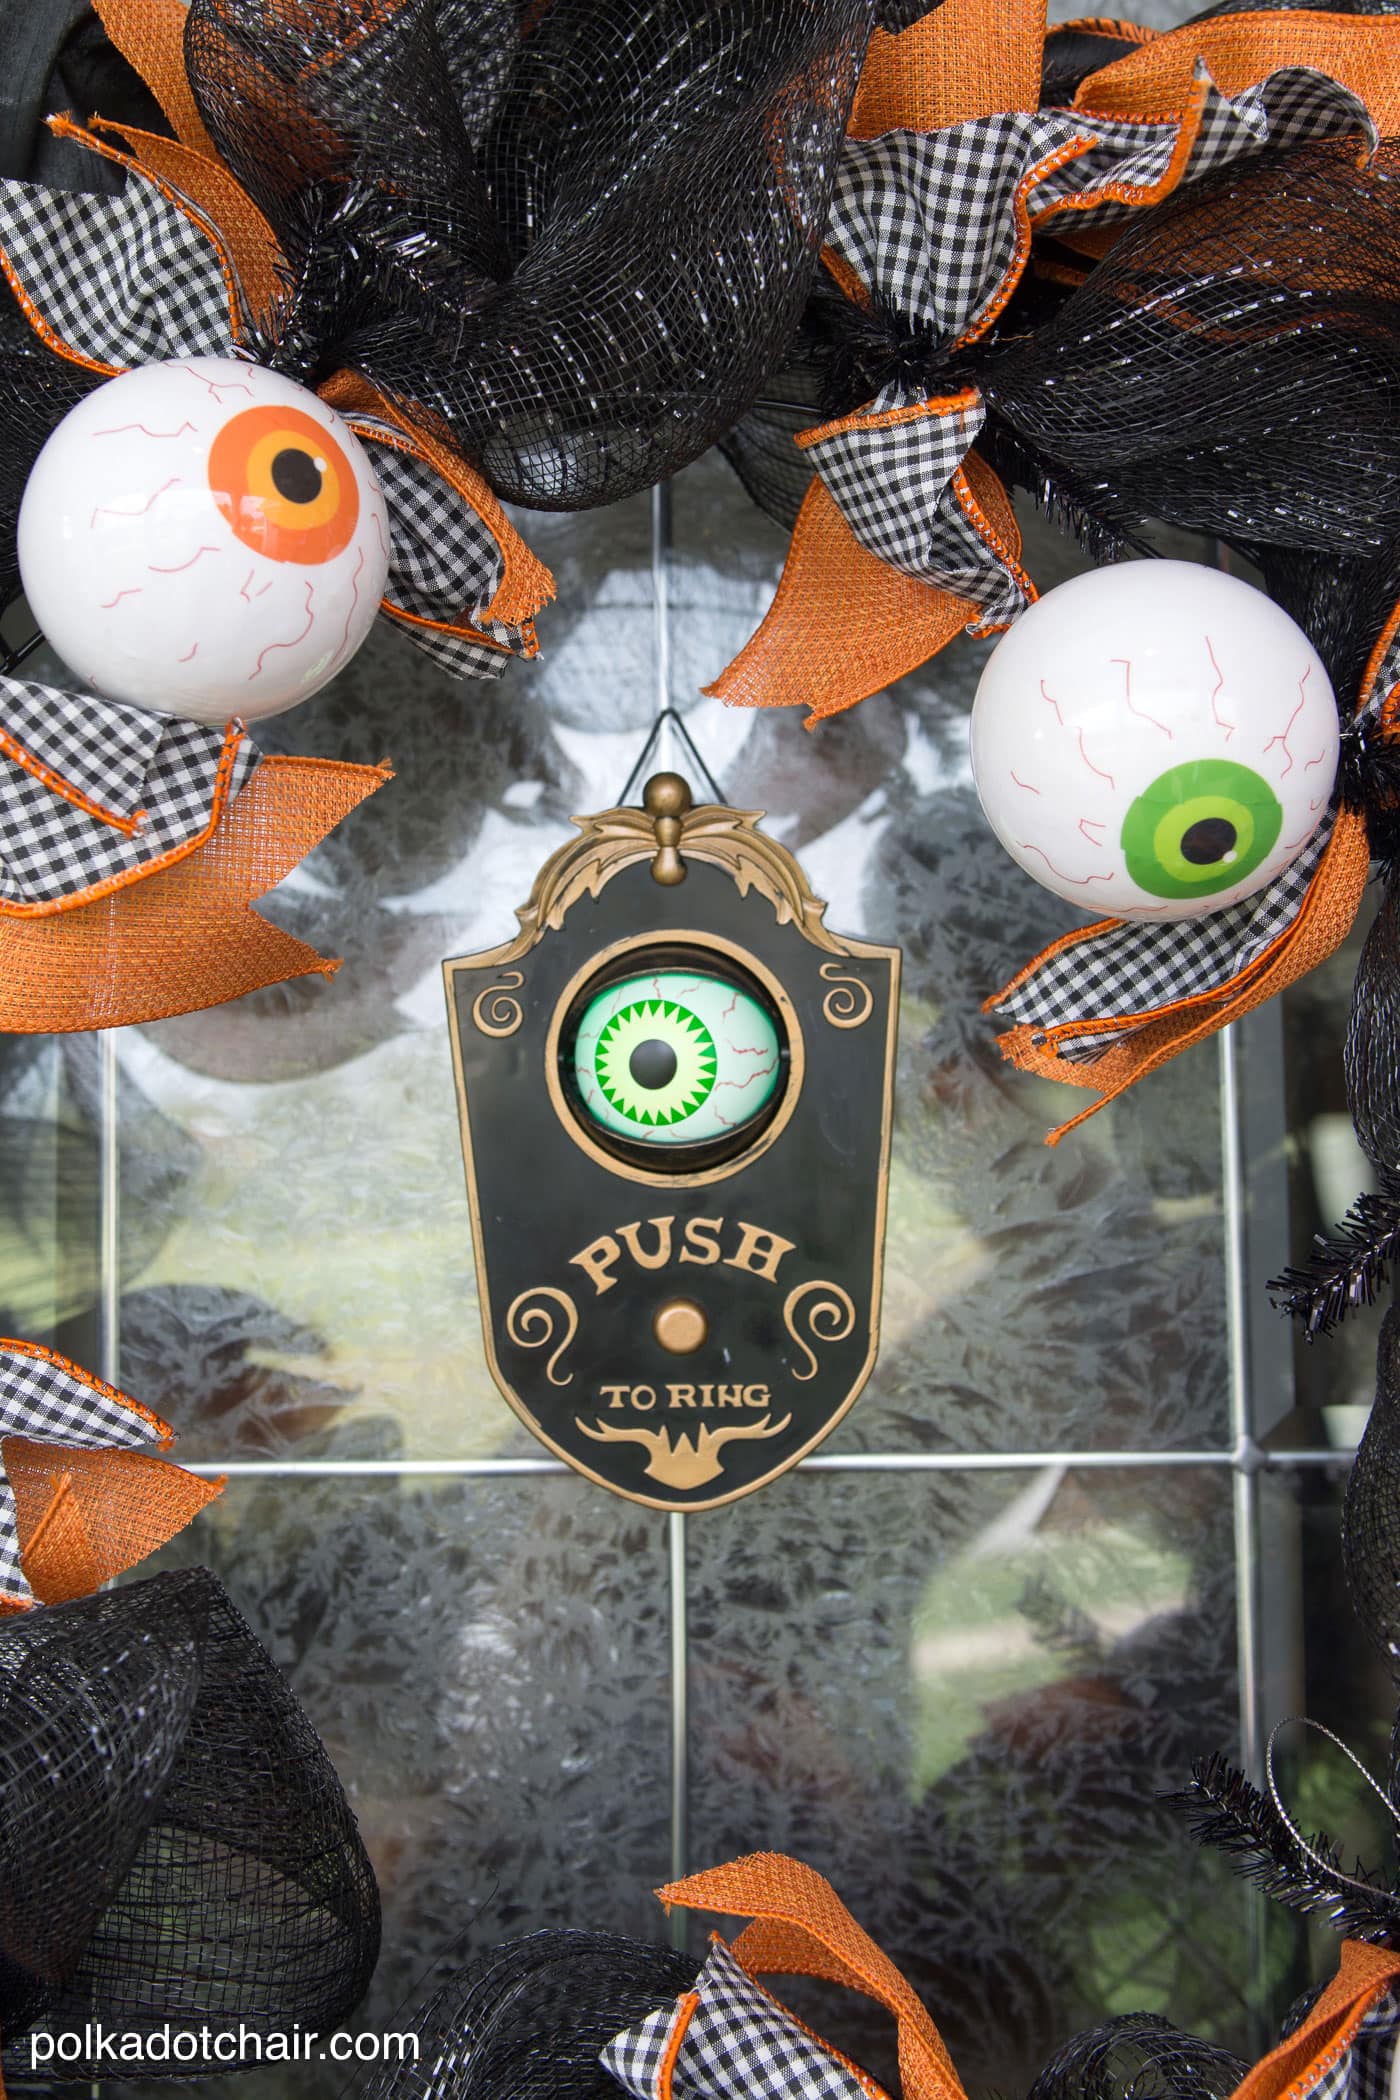
I hung mine on my front door with my new favorite Halloween decoration this eyeball doorbell. I picked it up at Target, last I checked they had them online too.


Super cute wreath and looks easy to make. Where did you find the eyeballs?
I got them at a local craft store. I’ll check to see if I can find similar ones online.
That is so cute and looks super easy…Thanks so much for sharing 🙂
Thank you so much for the tutorial. This is a great project for anyone who loves decorating for Halloween! I didn’t know it was called geo mesh and I sure didn’t know the proper way to use the wreathe: I have used one for the framework to tie lengths of Christmas ribbon to; it is awesome in shades of red, white, green, and gold.