DIY Stenciled Halloween Table Runner
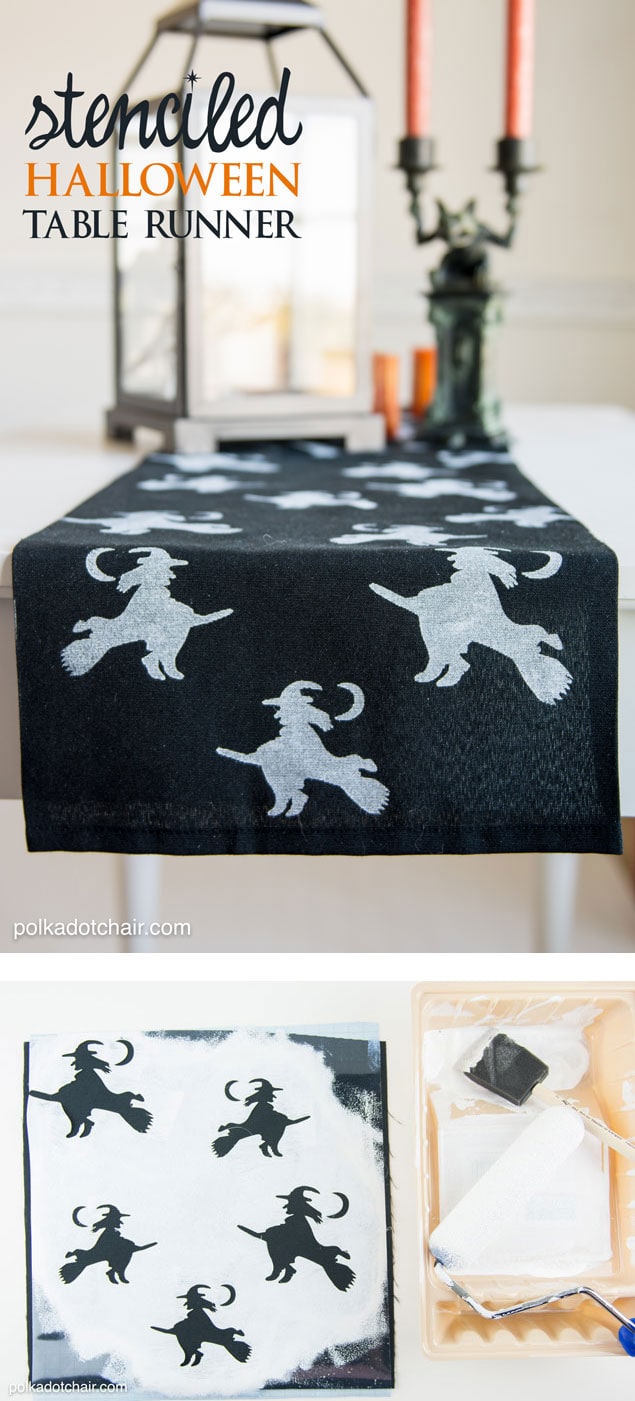
Create a simple Halloween table runner using your Cricut machine, fabric paint & stencil film.
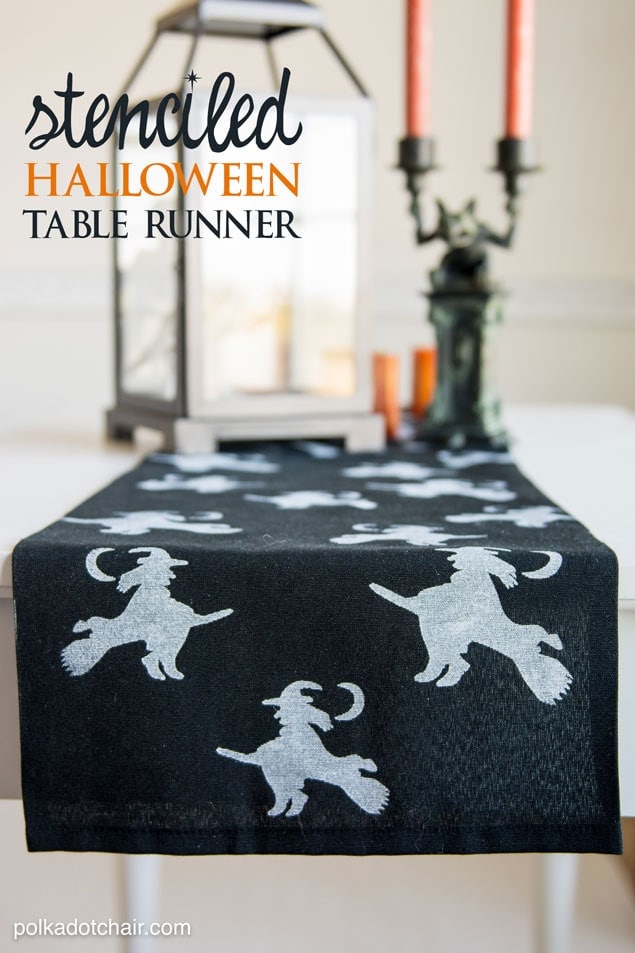
This DIY Stenciled Halloween Table Runner first appeared on eighteen25 as a part of their Spooktacular September series.
Recently I spied a Witch Halloween table runner in a catalog that I just HAD to have, instead of buying it I thought I’d try making one myself.
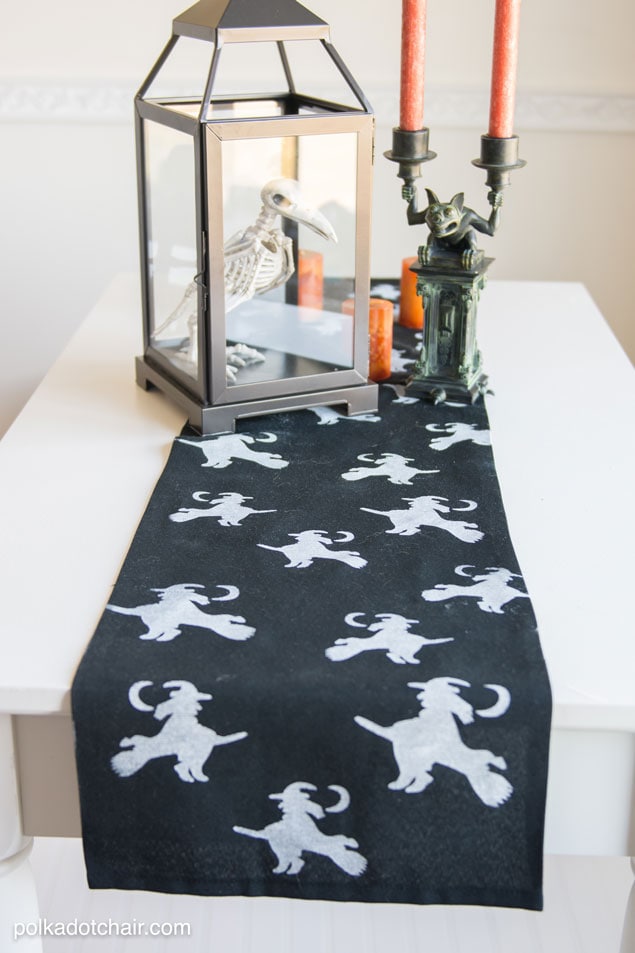
For this project, I used my Cricut. But if you don’t have one don’t worry, you can also do this project with a stencil that you purchase at the craft store. You can also cut your own stencil with an Exacto knife.
DIY Stenciled Halloween Table Runner Tutorial
Supplies
Ready to make one?
Table Runner: I could not find a solid black table runner. So I purchased a tablecloth that was the length I wanted and cut it to the width I needed (12″). I then just pressed the raw edges under and sealed them with seam tape. NO sewing required!
Shape and Stencil Film for Cricut
White Acrylic paint
Small foam roller and paint tray
Directions
Step one:
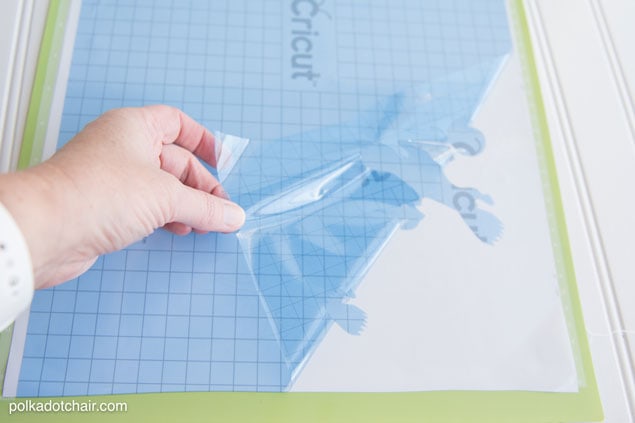
Cut out your stencil. Since I was cutting out my own I went ahead and put several witches on the cut out so that I would not have to move my stencil around as much.
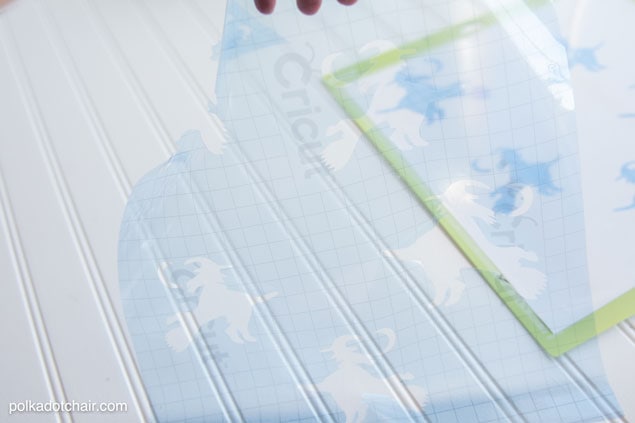
The rest of the steps I’m going to show you on a scrap of fabric since it’s hard to photograph an entire table runner at one time!
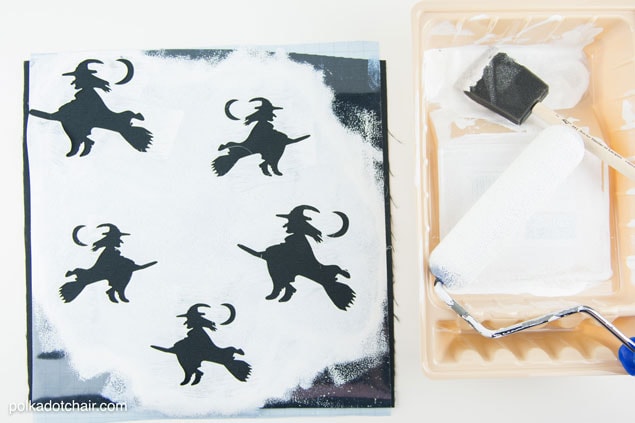
Step Two:
Lay your stencil out on your fabric. Make sure it’s positioned correctly.
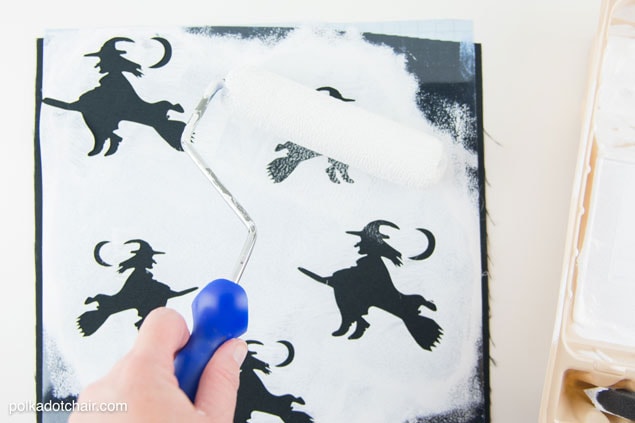
Load up your foam roller brush and blot off any excess paint.
Important Tip!
You want the paint to be even not gloppy, too much paint on your roller will cause problems with your stencil. Also, buy a smaller paint roller than the one I used, it will be easier.
Step Three:
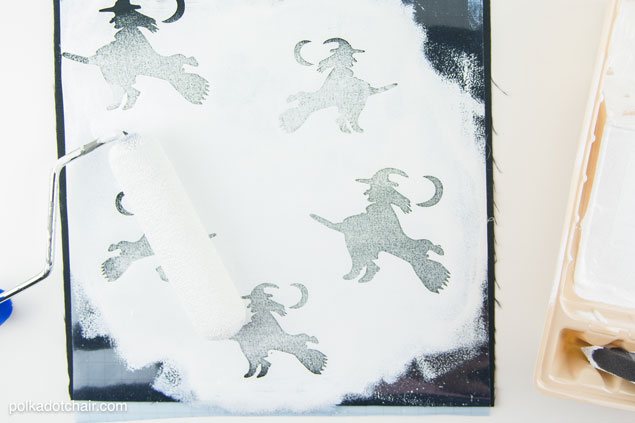
Roll the paint over your runner in even strokes moving mostly in the same direction.
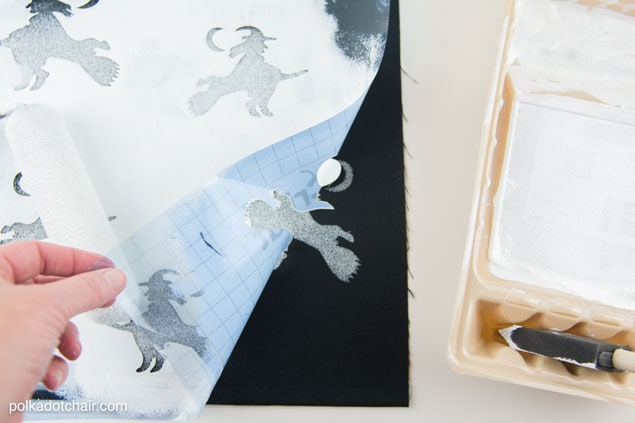
Peel away and voila! You’ve got your own custom printed Halloween Table Runner.
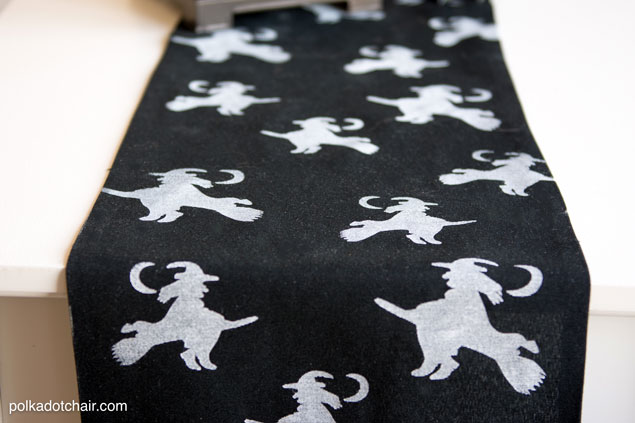
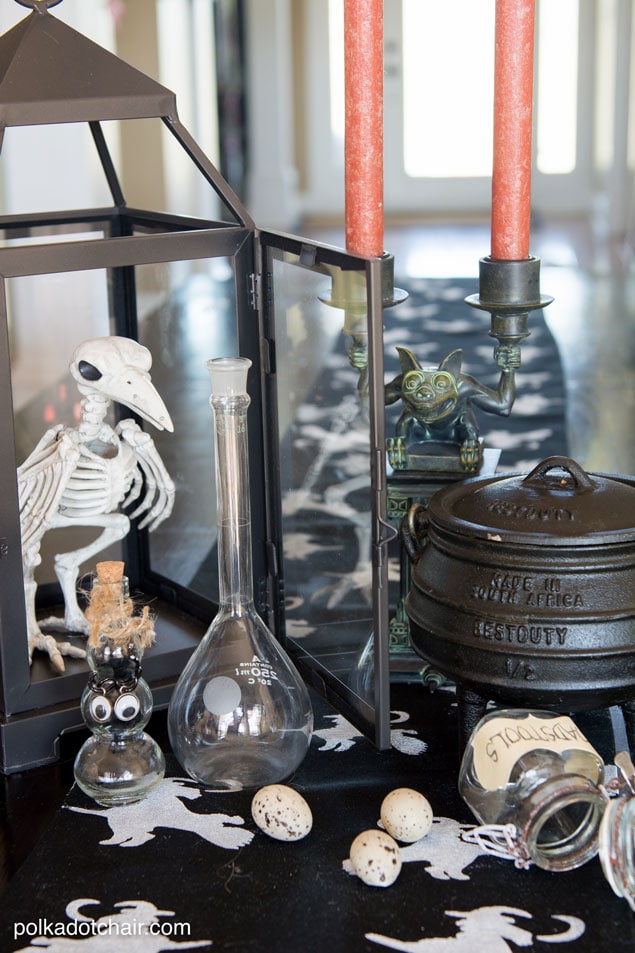
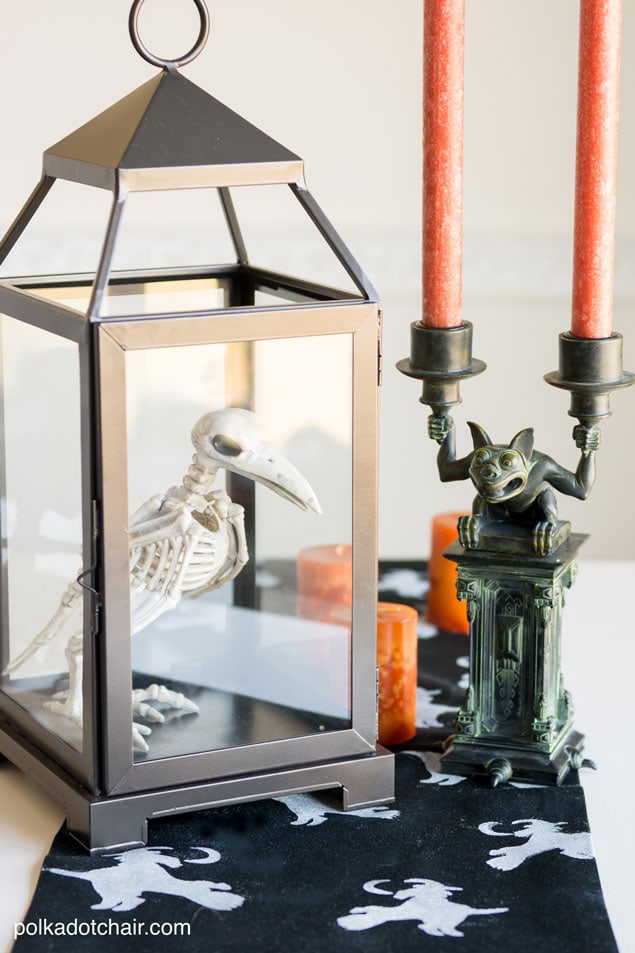
Now just add it to your table and decorate as you like.
More Simple Halloween Crafts!
Scrappy Halloween Table Runner Tutorial

