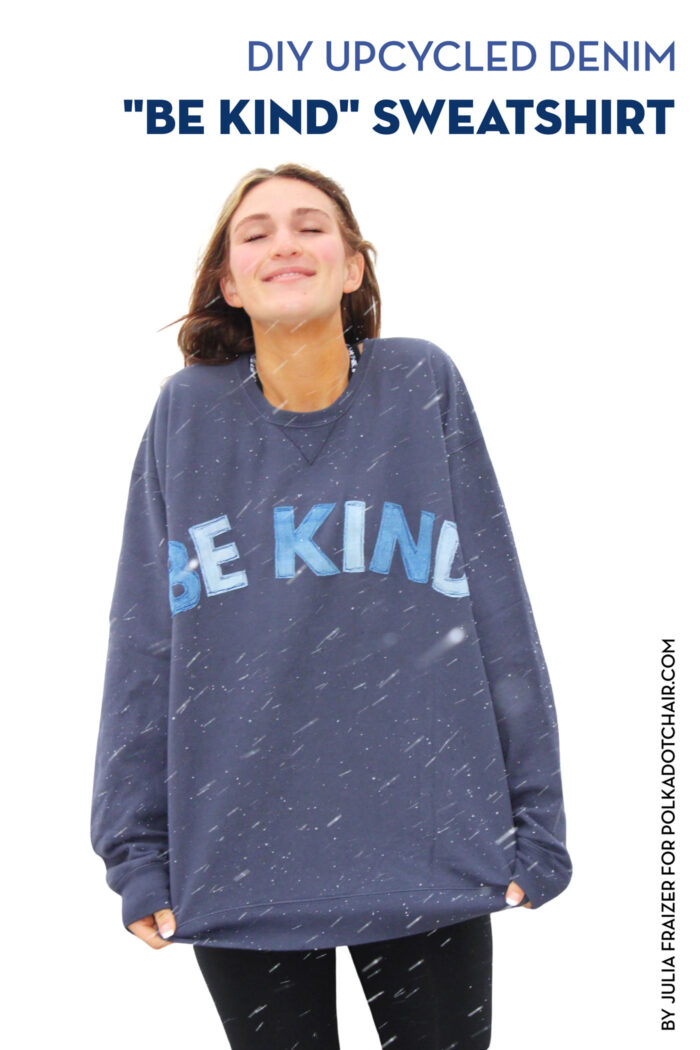
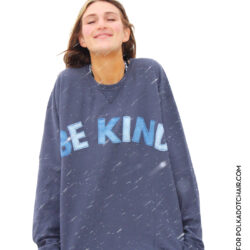
How to Repurpose Jeans into a Scrappy “Be Kind” Sweatshirt!
If you’ve ever wondered what you can create with old jeans, then you are going to love this tutorial! Learn how to repurpose old jeans into a scrappy “Be Kind” sweatshirt!
I’m so excited to introduce you to our newest blog contributor today, Juila from Bayhill Studio! I’ve known Julia for years and am happy to be sharing her ideas and talent with all of you! Be sure to stop by her blog and say “hi”!
Like me, Julia has teens and adult kids. I love that this project was born as a way to find something for them “to do.” I can not tell you how many blog projects started with trying to think of something creative for my teens. It’s how we ended up hydro dipping Vans & creating all those Disney shirts!
Hello! My name is Julia of Bayhill Studio. I have teenage and young adult kids, so I am always taking note of handmade gift ideas for this age group — gifts they will like!
About the Tutorial
My seventeen-year-old daughter dreamed up the idea for the “Be Kind” Appliqué sweatshirt on a rainy day when she had nothing but time on her hands.
She has a closet full of sweatshirts, and on this day, she decided to repurpose one of the sweatshirts, pairing it with scraps of cut-up denim to create this fun piece. She came to me with a few questions and for help with the stitching, but the idea is all hers.
I love that this project can be made entirely out of repurposed items, breathing new life into old worn-out clothing.
As you wash and dry the sweatshirt, the edges of the denim will fray slightly. This is perfectly normal and will give it a nice weathered appearance and add a lived-in, loved look to your sweatshirt.
I also love the simplicity of the project. Cutting and pressing is something an absolute beginner can do. The machine stitching uses a simple scribble stitch. If you can sew a crooked line, you can make this!
We opted to make our sweatshirts in washed-out blue and gray colors that closely match the denim; however, this would be just as fun appliquéd onto a bright pink or sunny yellow sweatshirt. Anything goes! Now let’s get started!
Upcycled Sweatshirt Supplies
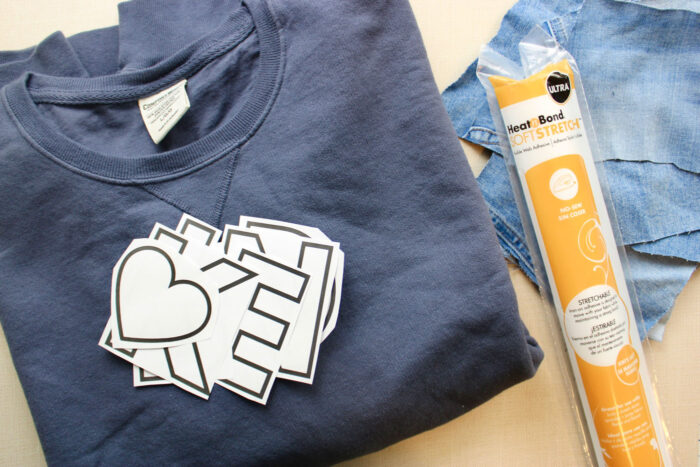
- 1 Blank Sweatshirt
- 6 Large Scraps of Denim taken from old jeans (try using scraps from a few pair of jeans so you have different denim washes to pick from).
- Heat N Bond Lite
Video Instructions
You can find a video of this project on the Bayhill Studio YouTube channel & in the instructions section of this tutorial.
How to Get the BE KIND Printable
Just fill out the form, and we will email you a copy of the BE KIND applique letter pattern.
Scrappy Denim BE KIND Sweatshirt Sewing Pattern
supplies
- 1 Blank Sweatshirt
- 3-6 Denim Scraps
- 1 package Heat n Bond Fusible Adhesive
- 1 “BE KIND” Printout fill out the form on the blog post to have the print out emailed to you.
Instructions
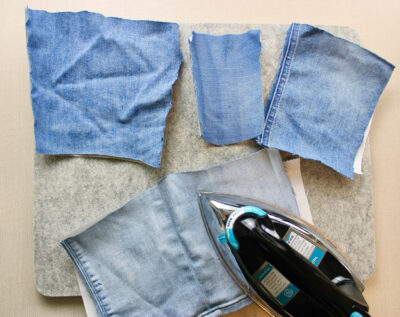
Step 1
- Press denim scraps to the glue side of the Heat n Bond. For this project, I am using Heat n Bond Soft Stretch, but Heat n Bond Lite would also work.

- The back of the denim should be covered by the Heat N Bond Sheet.


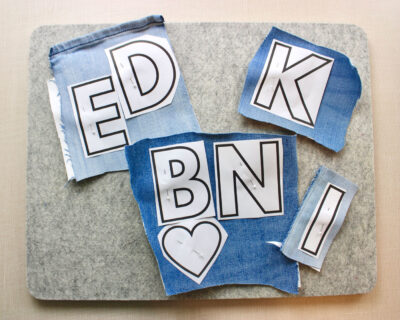
Step 2
- Print and cut out the individual letters. (If you want the letters to be smaller, you can reduce the size when printing, or create your own custom letters by hand drawing or using any outline font of your choice.)

- Pin the letters to the denim scraps, alternating between dark and light denim.
- These letters were created for a men’s size LG/XL sweatshirt. If you want the letters to be smaller, you can reduce the scale when printing, or create your own custom letters by hand drawing or using any outline font of your choice.
- Cut out the individual letters

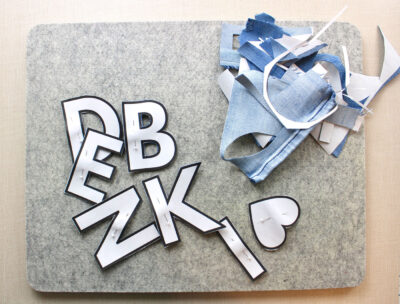
Step 3
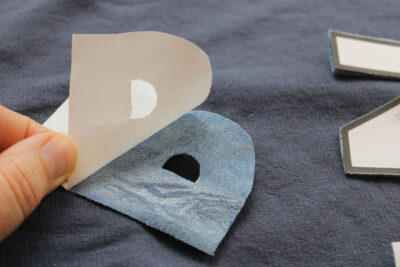
- On each letter, peel off the paper backing from the Heat n Bond. Set the heart aside. We will be using this later on.

Step 4
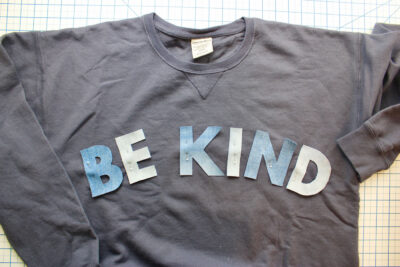
- Arrange the letters in a slight arch formation and pin in place.
Step 5
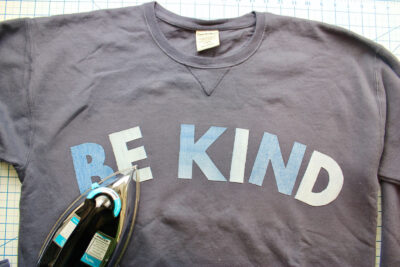
- Press the letters to the sweatshirt.
Step 6
- If you are comfortable with free motion quilting, change your presser foot to a free motion foot and drop the feed dogs in preparation to do some free motion stitching. If your machine doesn’t have this capability, no problem! Just use your regular presser foot.
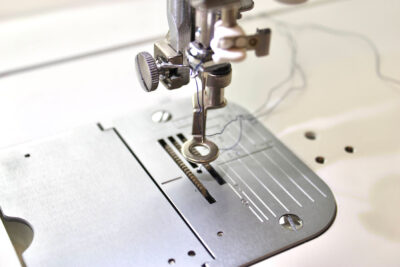
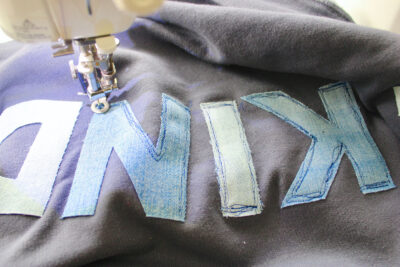
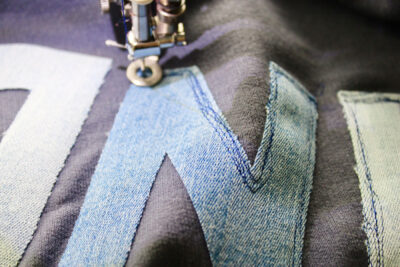
Step 7
- Begin “scribble stitching” around the letters. To do this, stitch lines that are a bit wavy, back and forth, and irregular looking.
- Here is a closer look. Make sure to go back and forth on each each several times. This not only gives the letters a fun, scribble look to them, but also prevents the letters from fraying past the stitching lines.
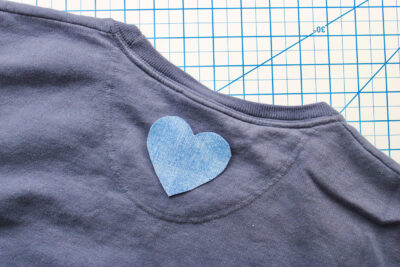
Step 8
- Place the heart on the back of the sweatshirt just below the neckline. Press in place.
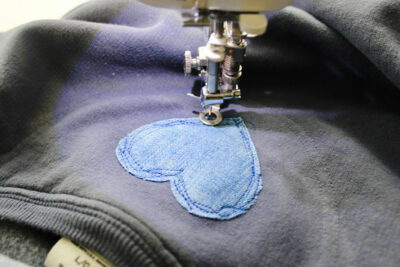
Step 9
- Stitch in place the same way you stitched the letters.
Video
About the Designer
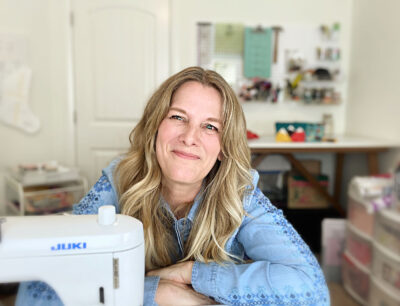
Julia Frazier is the founder of Bayhill Studio. Julia designs quilts and projects geared toward beginner quilters and crafters. You’ll usually find her at her sewing machine or hiking in the nearby mountains. Follow Julia on Instagram @bayhillstudio, and subscribe to her YouTube channel for new and exciting projects and tutorials. Be sure to check out her Bayhill Studio website for a growing list of tutorials and patterns.
More Great Projects by Julia
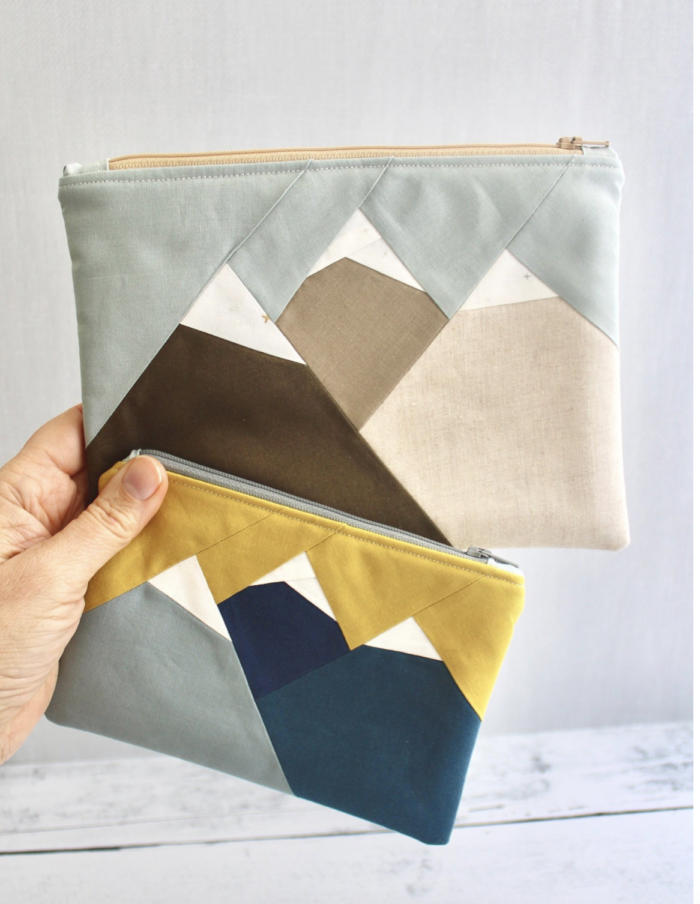
Modern Mountains Zip Pouch Pattern
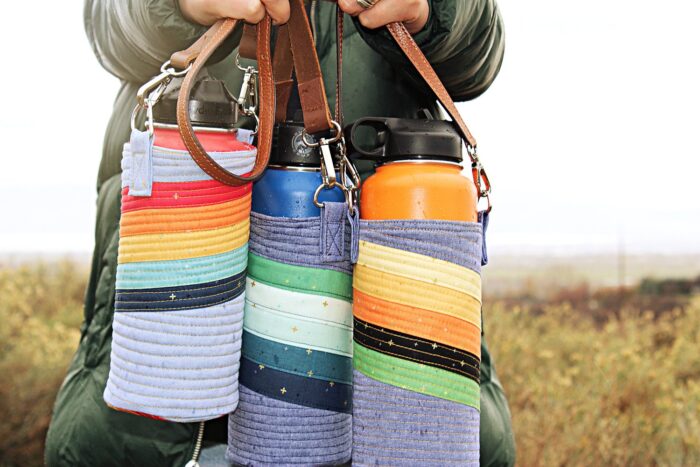
Quilted Hydroflask Sewing Pattern

Thank you for such a fun idea! I am always looking for a way to re-purpose clothing!
I wanted to suggest the option of flipping the paper letter over and tracing on the paper on the back on the denim prior to peeling if off. It may be easier than pinning onto the denim as pinning sometimes changes the “shape/size” (for lack of a better term) of the item you’re working with in this case the printed letter.
What a great project! So much fun and much thriftier and more sustainable than purchasing from all the companies that advertise sweatshirts like this on Facebook and Instagram! I am currently giving sewing lessons to my neighbour’s 15 yr old and my 13 yr old on a Saturday morning and I have just added this into our lesson plan…absolutely perfect as each session is an hour and a half. Thank you so much for sharing!
I just ordered the ModernMountains PPTemplates pdf. Can’t wait to get started. So glad I found your site.
Thank you for making such a positive up-cycle available. It looks like a great fun project.