How to Make Polymer Clay Beads and Charms
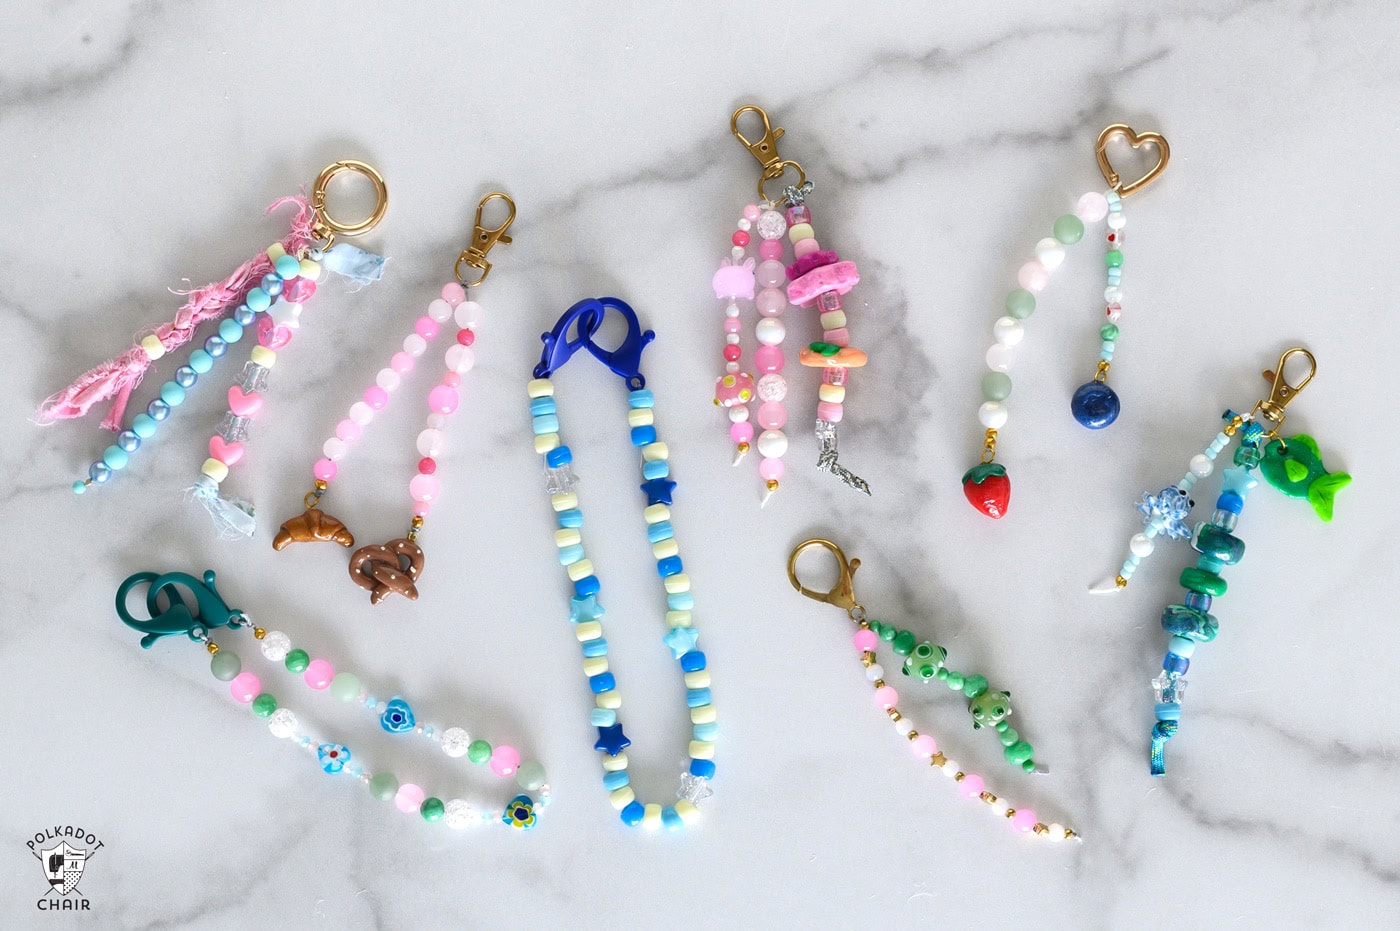
Learn how to make stylish polymer clay beads and charms that pair perfectly with today’s bag charm trend. This easy craft tutorial covers everything from shaping round beads to creating fruit, pretzel, and croissant charms. We’ve even included tips for finishing them with UV resin. These handmade pieces are fully customizable and make fantastic personalized gifts!
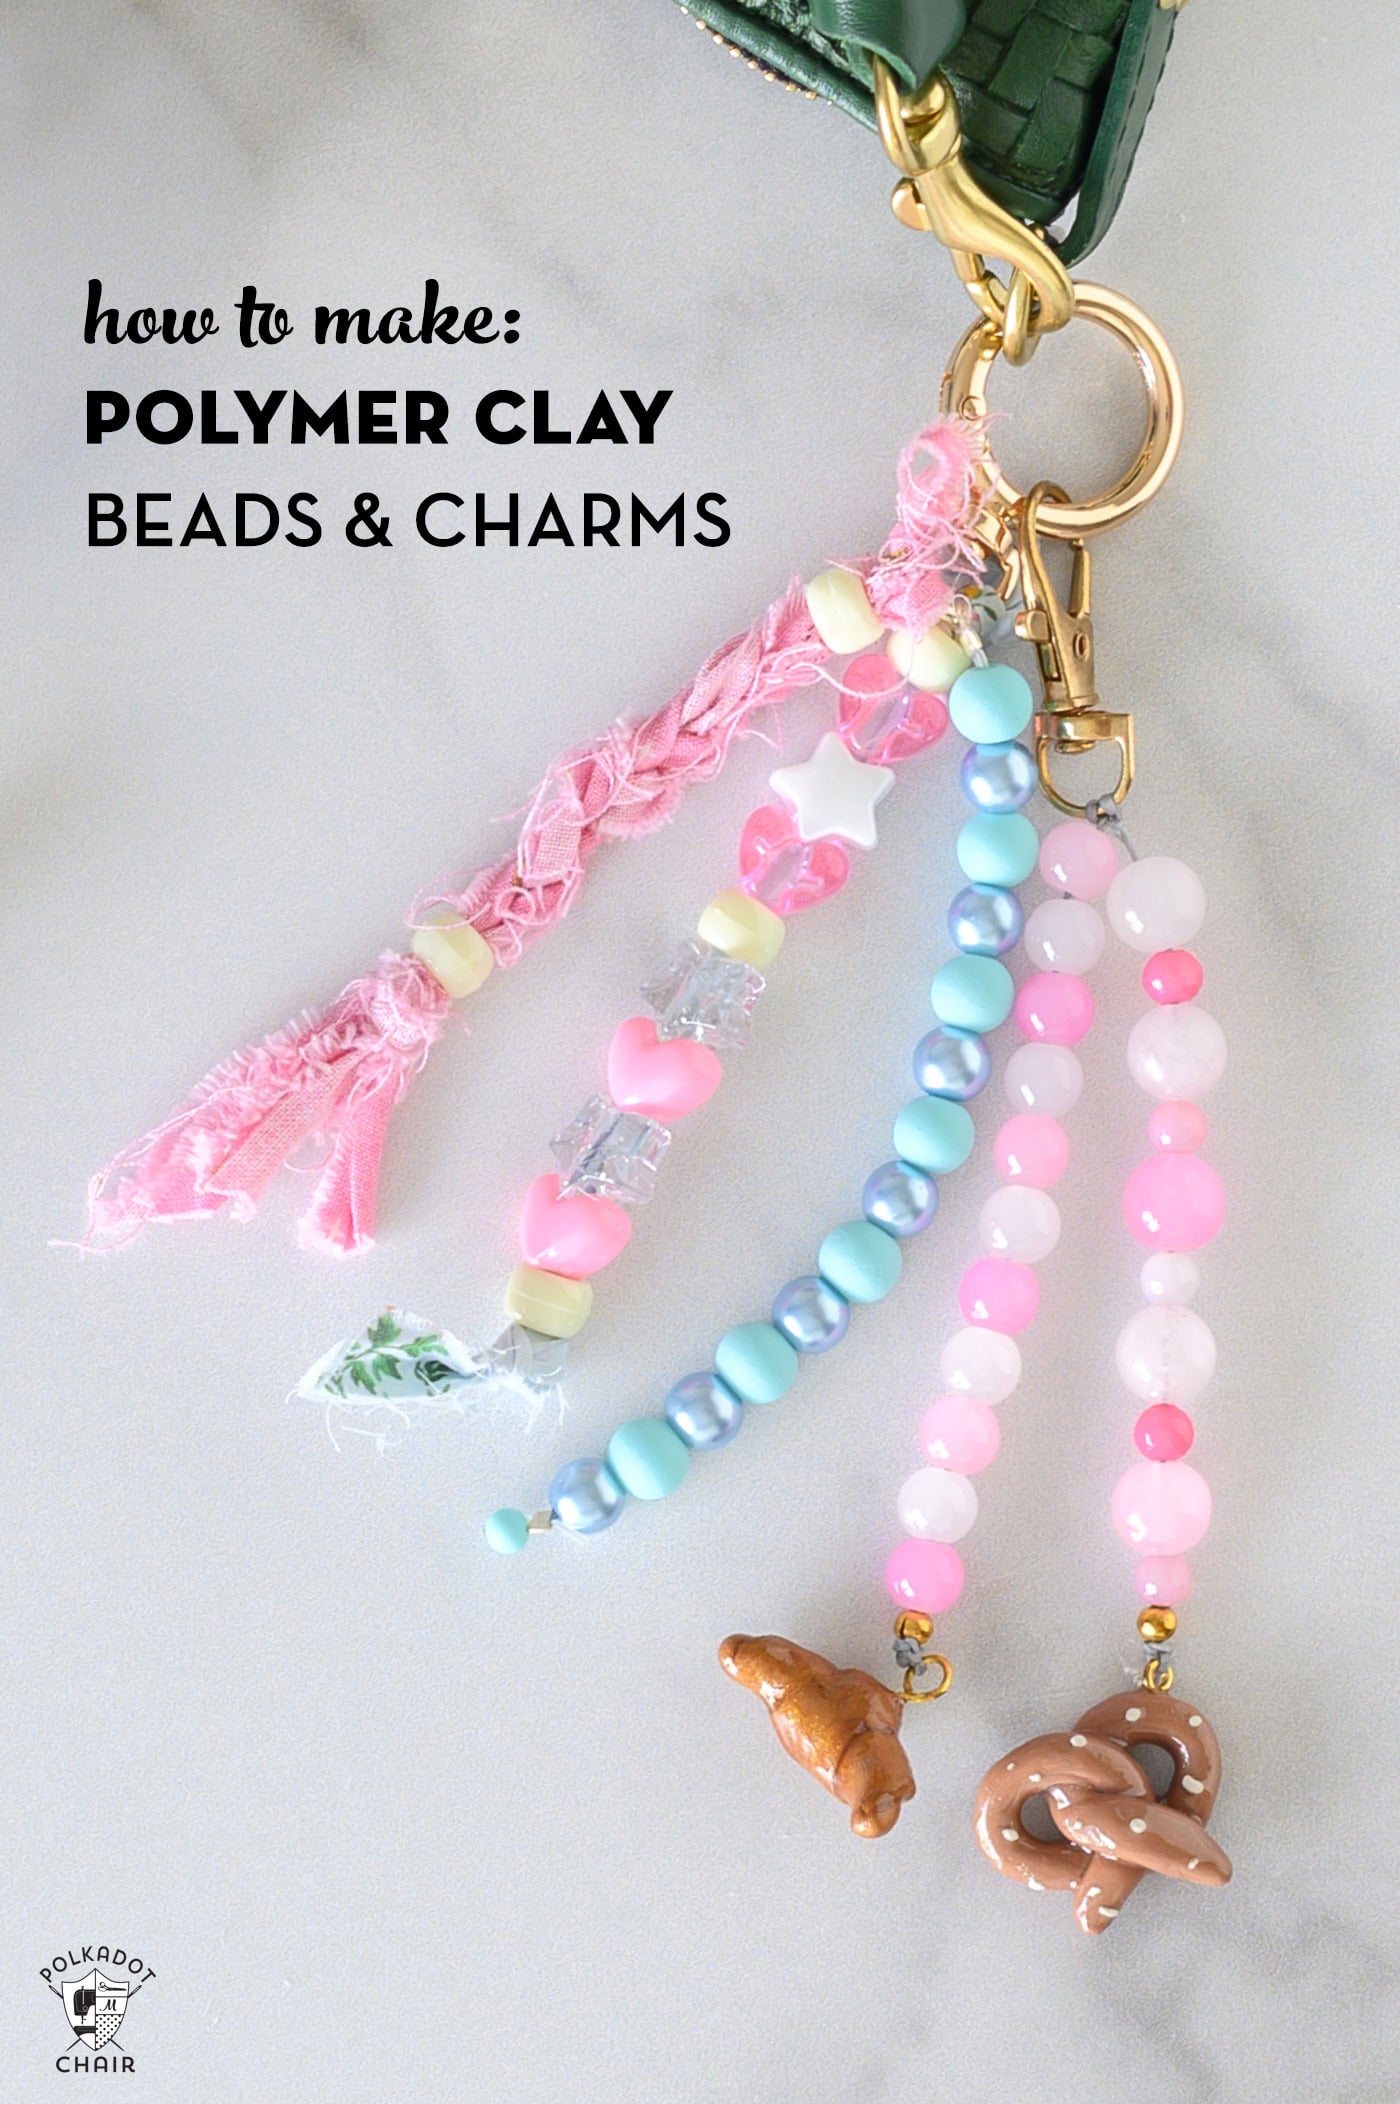
Bag charms are the latest must-have accessory and a fun way to personalize any bag. I began thinking about creative ways to make this trend my own and decided to try making beads and charms in various shapes and colors from polymer clay.
After a lot of trial and error, I’m happy to share how I made the croissant, fruit, and round beads for my beaded bag charms.
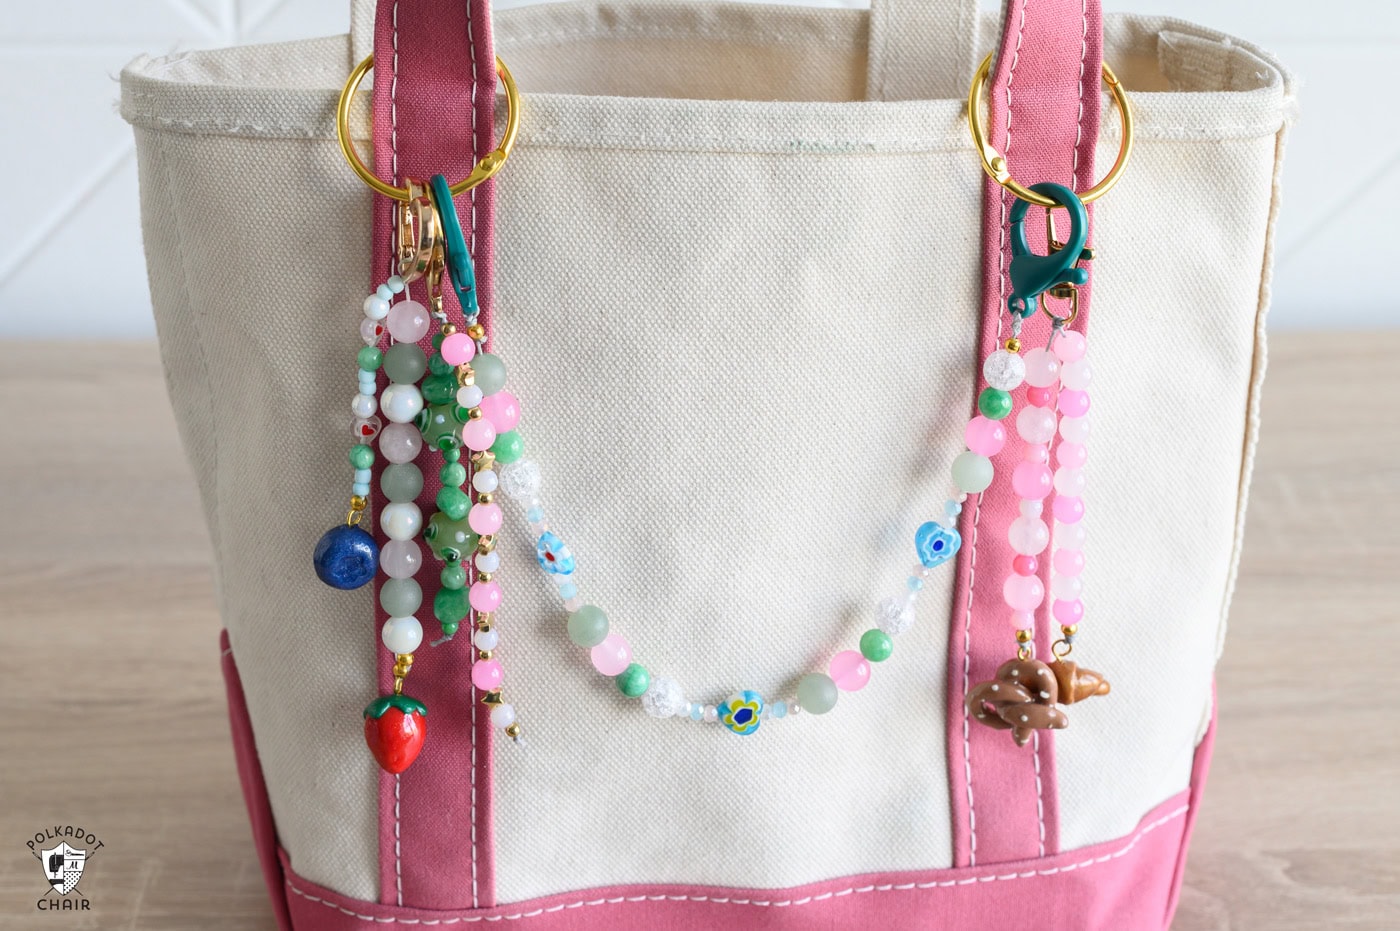
The process is simple, customizable, and perfect for matching a specific theme or color scheme.
Make a Bag Charm or Keychain!
If you’d like to turn your custom bead into a fun bag charm, use our step-by-step tutorial!

How to Make Polymer Clay Beads and Charms
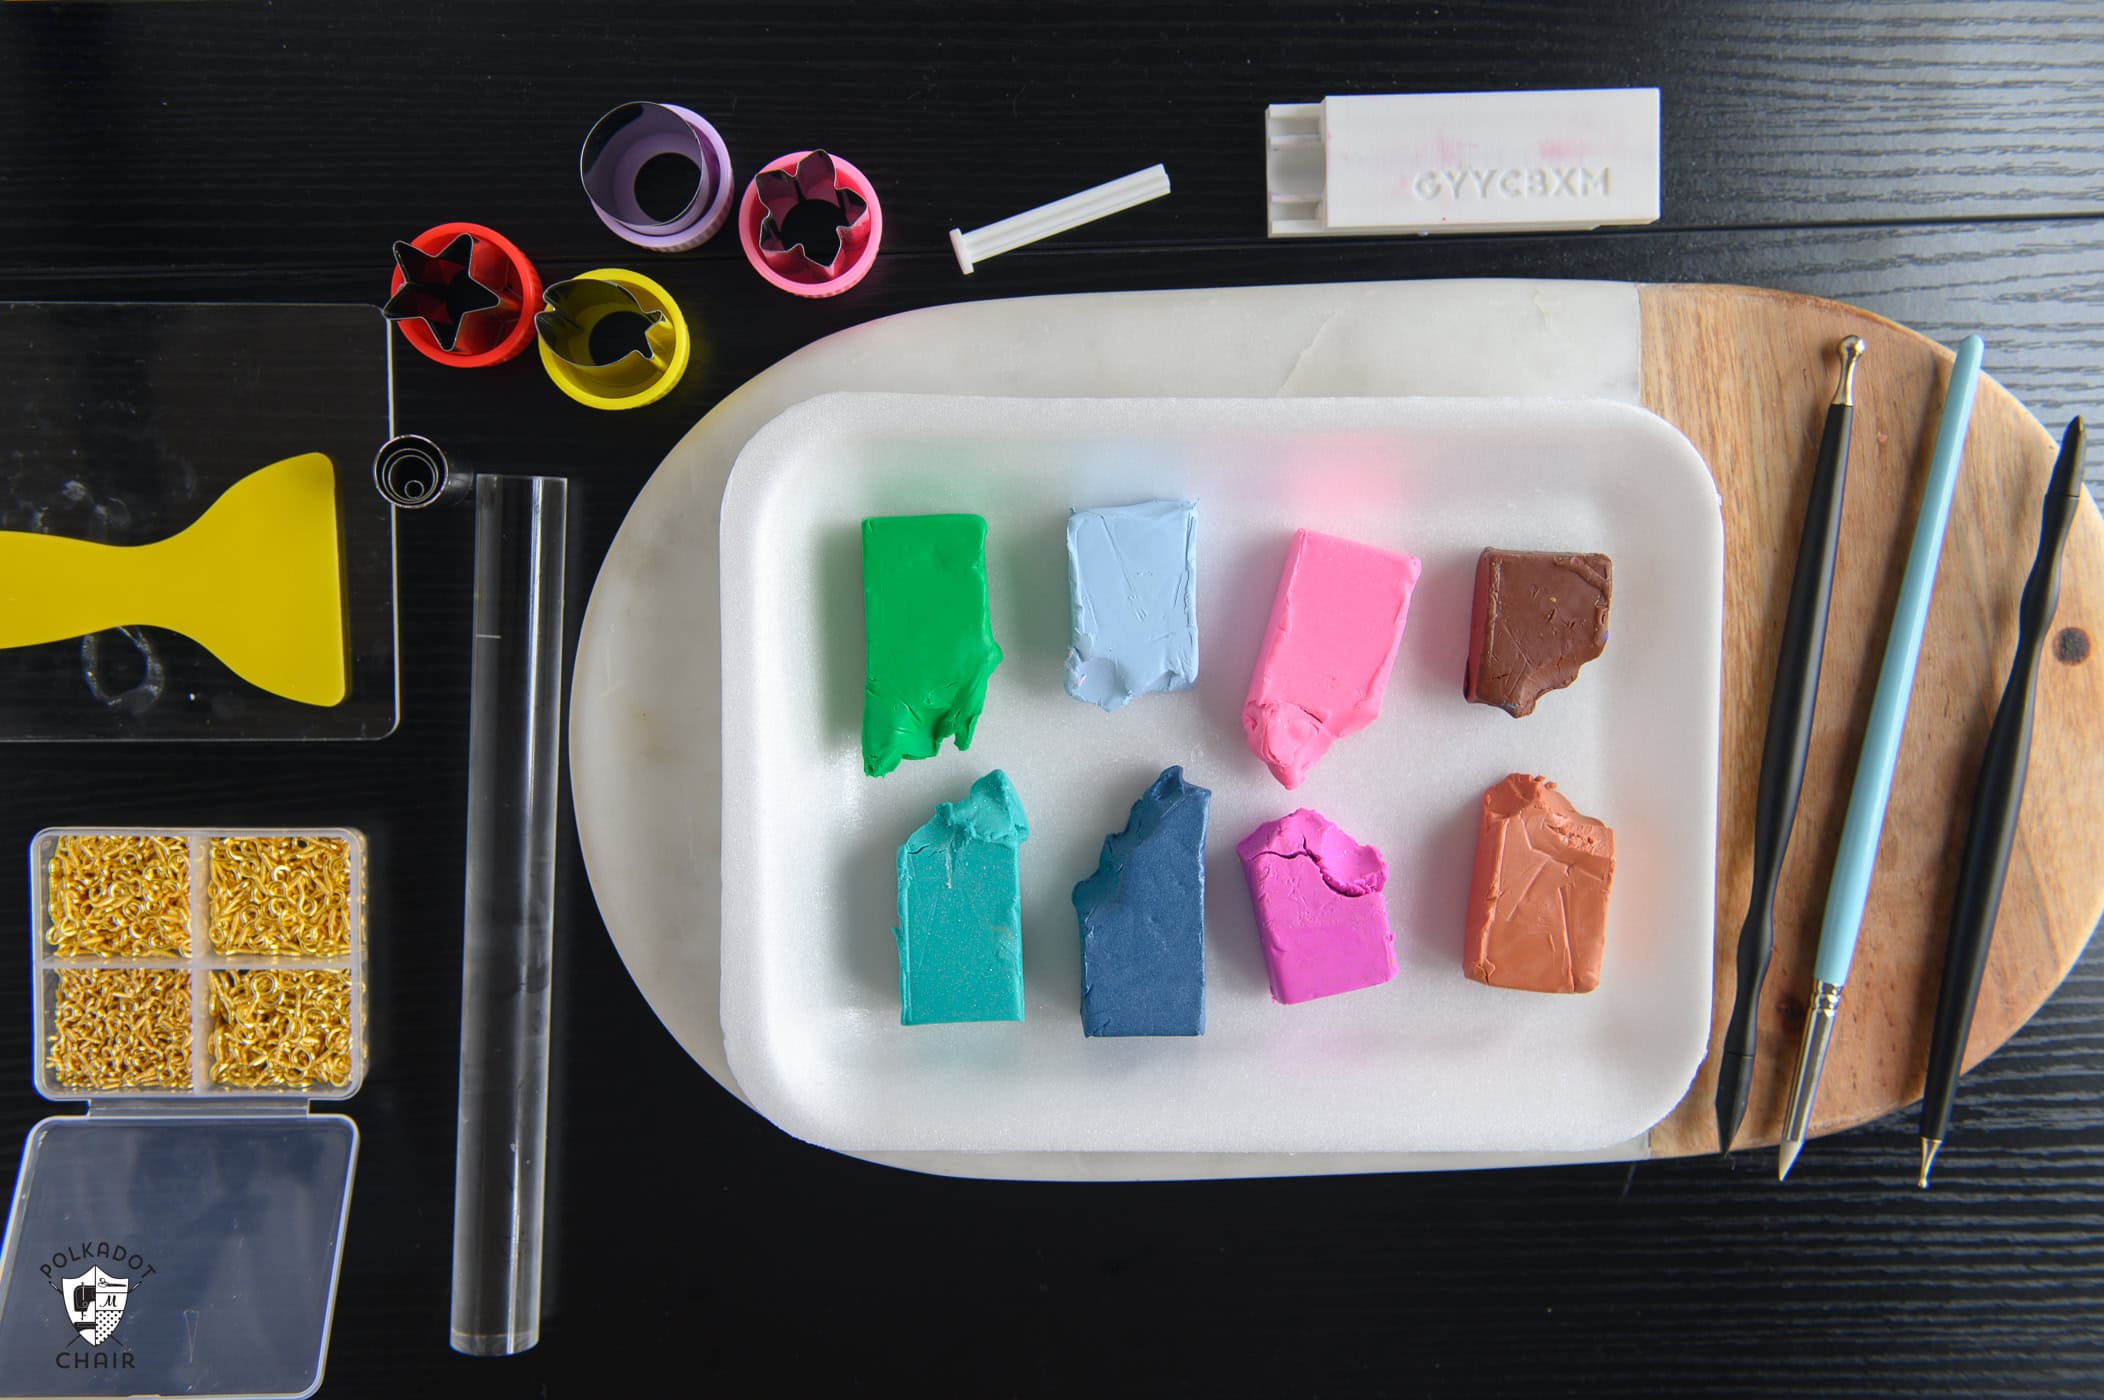
Equipment
Instructions
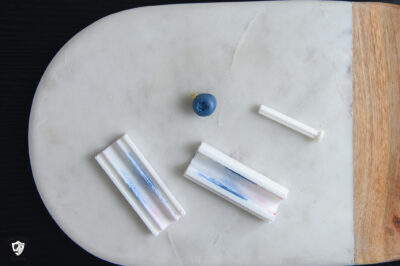
How to Make Round Polymer Clay Beads:
- For simple, round, chunky beads, these are very easy to make. First, choose the color or colors you want to use for the bead. I liked a combination of solid and marbled-colored beads. Additionally, marbled beads are a great way to use small scraps of polymer clay.

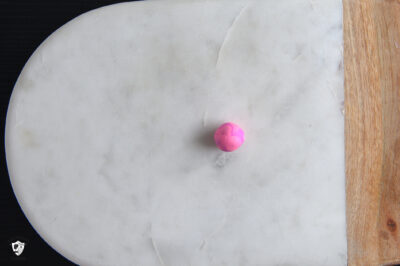
- Once you have your color(s) ready and mixed, roll a clump of clay between your palms in a circular motion; it should come out in a spherical shape or something similar.
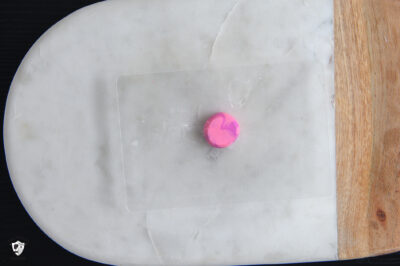
- If it is a little misshapen, that is okay; mine were often far from perfectly round. Then use a smooth, flat surface to press down on the top of the bead, flattening the ends and leaving it in a flat, cylindrical shape rather than a sphere.
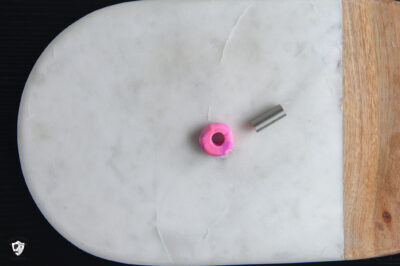
- Finally, turn the circle into a bead by poking a hole in the middle. You can use one of two methods.
- First, poke a hole in the middle with whatever you have at hand, ensuring it is slightly larger than the cord I planned to thread through.
- The second, and easier, method is to find a small round cookie cutter just barely thicker than the cord you are using to make the bag charms, and to punch a hole through the center of the clay circle. From there, bake the clay following the instructions on the clay package.
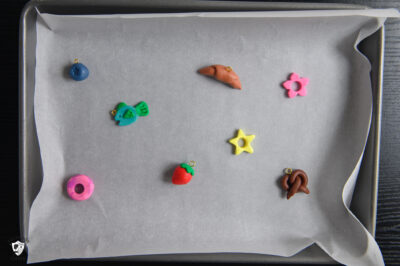
How to Make Fruit-Shaped Beads
- Blueberry:
- I found these fun little clay shaping tools that made making fruit charms so easy. The specific pack I saw included a blueberry and a lemon shaper. Take a chunk of clay that fits inside the two halves of the tool, and then slide the tool’s sides back and forth until the desired shape is formed.
- The nice thing about the blueberry is that it creates a nice sphere shape with a stamp to add the blueberry detail, so you can use just the sphere to create other spherical fruits like oranges. Once shaped, add any details you might want. For example, a little leaf on the lemon or orange, or stamping the blueberry.
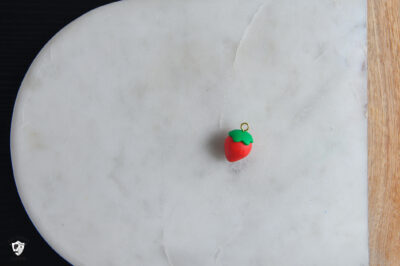
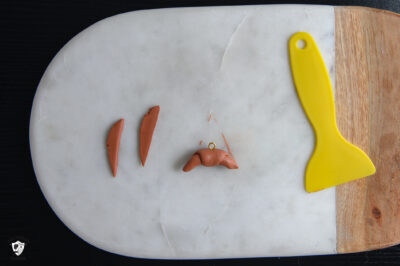
- Strawberry:
- I made a strawberry by hand. I took some of the clay and formed it into a rounded cone shape with my fingers. Then, I used a small flower-shaped cookie cutter, slightly smaller than the top of the strawberry, to cut out a thin piece of a contrasting color. Place the small flower clay cutout on top of the flat end of the strawberry.
- The fruit Pieces made adorable charms, so instead of cutting out the middle to turn them into a bead. I stuck a small screw eye pin in the top or side of the fruit, and then you can use a jump ring to attach it to keychains or bag charms after baking.
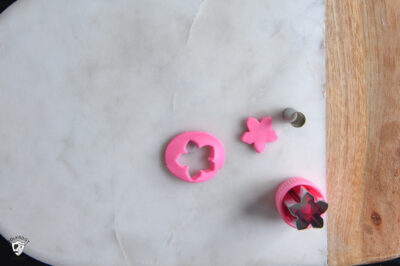
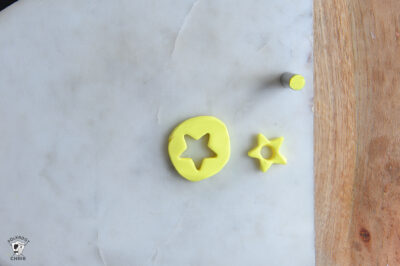
- TIP: Use Cookie Cutters to Make Beads
- The easiest way to create beads and charms from polymer clay is to use small cookie cutters to cut the desired shapes.
- To make them into beads or charms, I recommend rolling the clay to the desired thickness. Most of the beads I made were about one-quarter to one-half an inch thick. TIP: A thicker size will help it stand out and hold up better to wear and tear.
- Once you’ve cut out the desired shape, you can either use a smaller round cookie cutter that’s just larger than your chord to cut out the center and turn it into a bead, or poke a hole at the top to fit a jump ring and turn it into a charm.
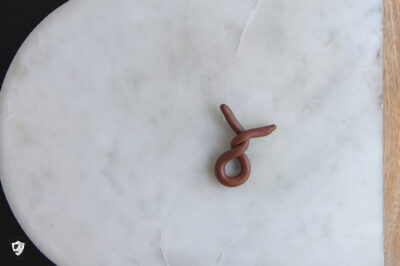
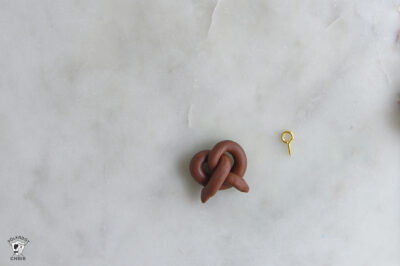
How to Make a Pretzel Charm
- Making a pretzel bag charm is very similar to making a real pretzel. Roll out a coil of polymer clay, and then twist the coil around the same way you would twist a pretzel out of dough.
- Add tiny flecks of white polymer clay to create the appearance of salt crystals; this step is optional, as you will still have a convincing pretzel charm with or without the salt.
- Take a screw eye pin and stick it into the top of the pretzel before baking.
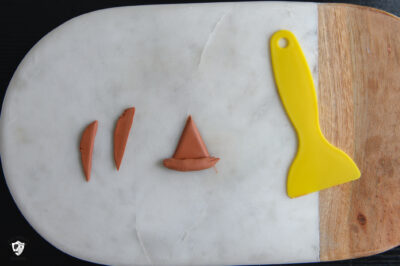
How to Make a Croissant Charm
- Similar to the pretzel, the croissant is formed in the same way as a traditional croissant. Roll out a slab of polymer clay in your desired color. For this one, you will want to keep the clay pretty thin.
- Once you have the slab rolled out, cut a long triangle and roll the triangle up, starting with the larger end. Then, smooth out the edges and curve the ends of the croissant to refine the shape. Finally, place the screw eye hook on the croissant and bake.
How to Finish Your Charms
- I found this next step, while optional, really helps the clay pop.
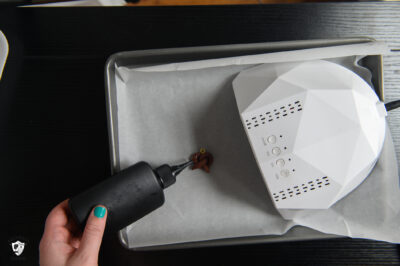
- Once all the beads and charms have been baked, lightly coat them with a UV resin to add extra protection and shine. Be careful not to accidentally resin the inside of the eye hook, as this will make it unusable.
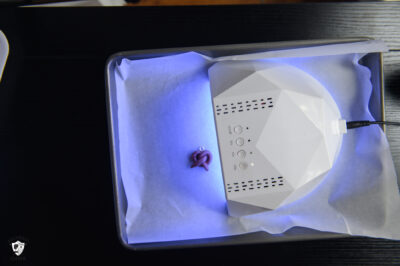
- To apply the UV resin, you will need a paintbrush that you’re comfortable with ruining and a UV lamp, such as the one used to cure gel nails.
- Apply some UV resin to the bead and use the paintbrush to spread it evenly over the surface. Be careful not to get it on your skin, and use gloves.
- Follow the directions on the resin packaging for curing times. Because the beads are visible on all sides, I usually do one half of the bead, cure it, then flip it and apply resin to the other side, like cooking a pancake.
- If you choose not to do this step but are using screw eye hooks, I recommend using super glue to secure the screws in the bead.
- Now your custom beads and charms are ready to be made into bag charms and other accessories.