Handmade Felt Stocking, Tree & Star Christmas Ornaments Pattern & Tutorial
To help you out a bit with your last-minute gift, Sarah Ashford is here sharing a tutorial for these adorable Kawaii-Inspired Felt Christmas Ornaments! If you like this project, you may also like these Cat Embroidery Hoop Christmas Ornaments.
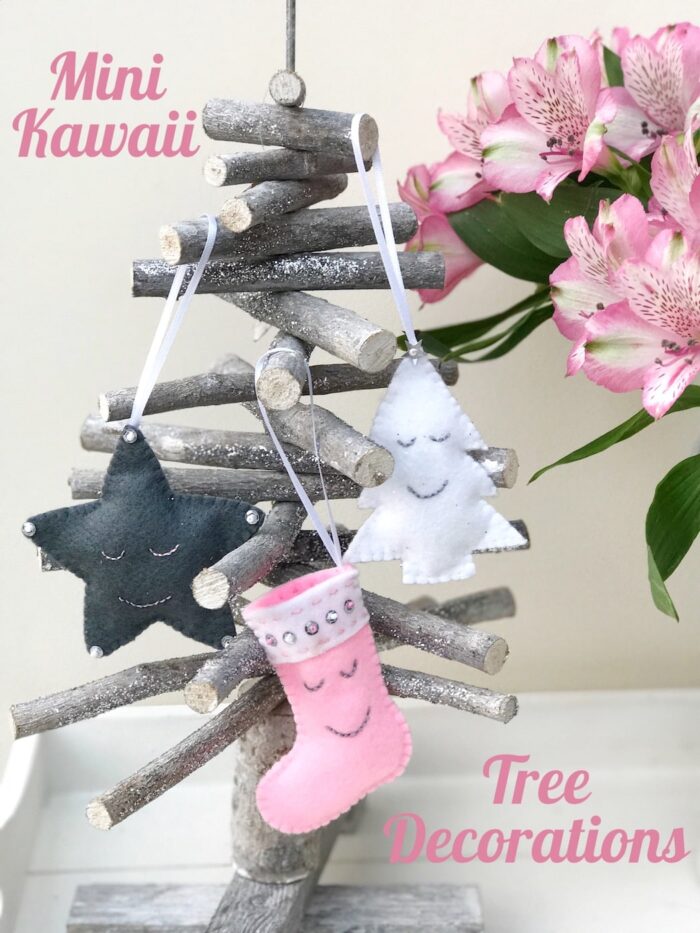
Nothing says handmade more than decorations for the tree. And why not add some Kawaii cuteness to this year’s branches with these gorgeous mini sleepy decorations?
Felt Ornament Tutorial
Supplies for Ornaments
- Templates (fill out the form on this page to have the template emailed to you)
- Felt, in a selection of colors
- Selection of beads and sequins
- Pen
- Pearl cotton thread
- Cotton thread
- Ribbon (approx. 20cm per decoration)
- Toy stuffing
- General sewing supplies
How to Make Felt Christmas Ornaments:
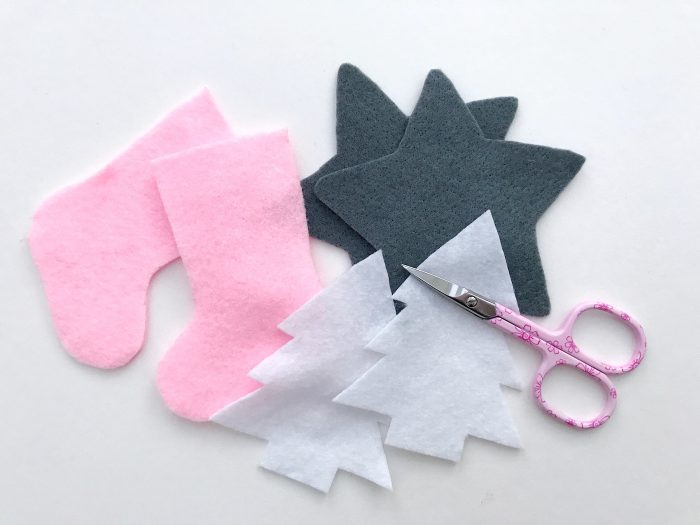
Print off the pattern and cut out the designs. Using a fine liner pen, draw around the templates. You will need 2 for each decoration. For the stocking, draw one, flip it over, and draw one facing the other way.
Cut out the designs on the inside of your pen line so that the line is cut off.
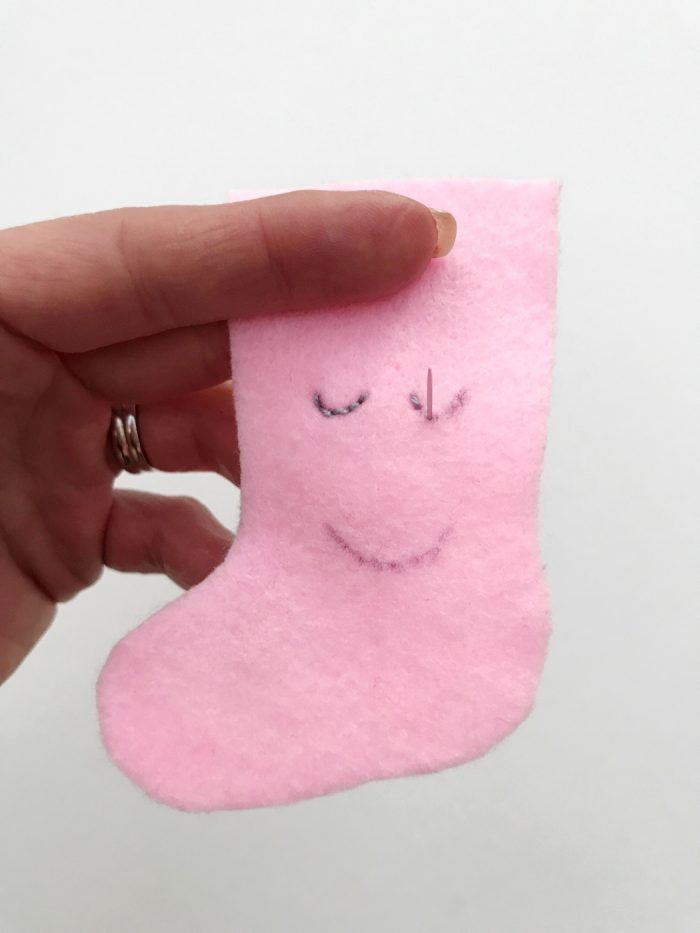
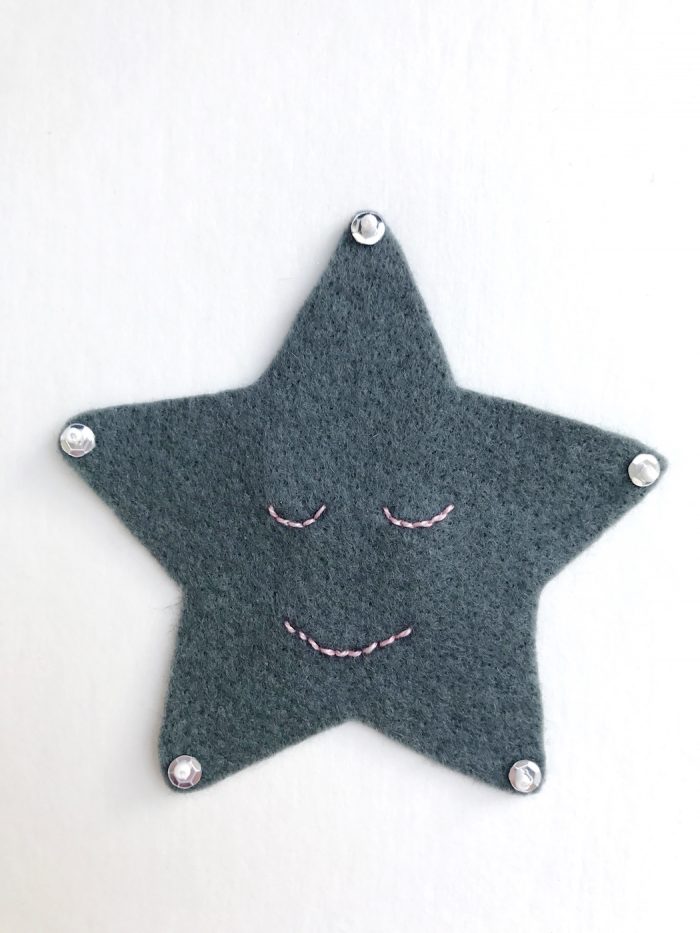
Using a pen, draw on two sleepy eyes and a smile on the front of each design.

Next, take your pearl cotton thread and stitch a backstitch for the eyes and mouth for each design.
Now, you can decide how much you want to decorate your designs with stitches, beads, and sequins. Are you a minimalist, or do you love a bit of bling? This is where you get to do your own thing!!
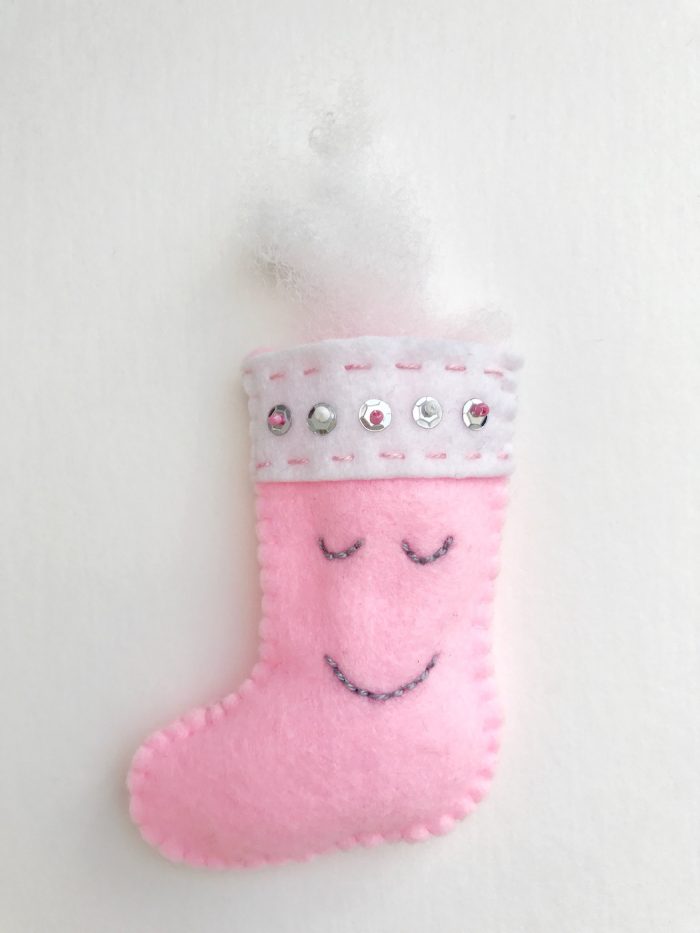
To Make the Stocking Ornament
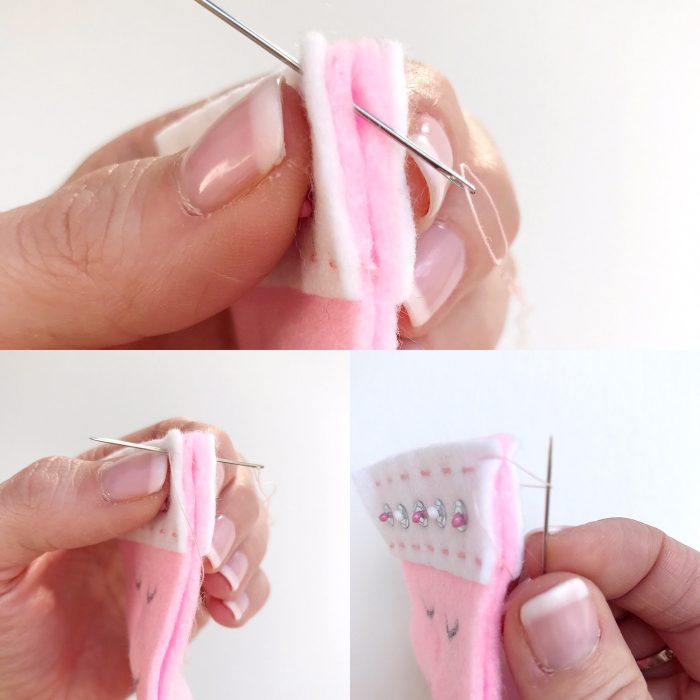
For the stocking, you may want to add a furry ‘cuff’ at the top, like I have on mine. Take a strip of white that’s wider and taller than you need. Pin it to the top of the front of the stocking and pin it in place. Carefully trim to the size of the stocking.

Repeat for the back of the stocking, ensuring that the bottoms of the cuff are the same length. (Make sure you attach the cuff to the correct side of the back stocking piece – it will be facing the other way.)
Using a pearl cotton thread, stitch a running stitch at the top and bottom of each cuff to secure it in place.

Next, stitch on some beads or sequins to add a bit of sparkle!

Stitch the two stocking pieces together using a blanket stitch.
How to Sew a Blanket Stitch
Use a blanket stitch to stitch the front and back of each design together. Work the backstitch as follows:
Knot the thread and insert it into the back of the front piece of felt about 0.5cm from the edge and pull through. Take the needle down at the edge of the felt and come back up where you’ve just sewn. Pull all the way through, leave a little thread, and put the needle back through the loop you’ve just created.
Pull tight. Go down through the back fabric about 0.5 along and come up about 0.5cm in. Again, pull nearly all the way through, leaving a loop, then pull the needle through the loop.
Insert a small amount of toy stuffing into the bottom of the stocking to fill it out. Make sure you leave space to add a little treat later!
Attach a 20cm length ribbon to the top right inside of the stocking, where the two pieces meet. Hang on your tree and admire!

To Make the Felt Christmas Tree Ornament
Start at the top and stitch a blanket stitch all the way around, but leave a gap on one side. Take a small amount of toy stuffing and gently stuff the Christmas tree.
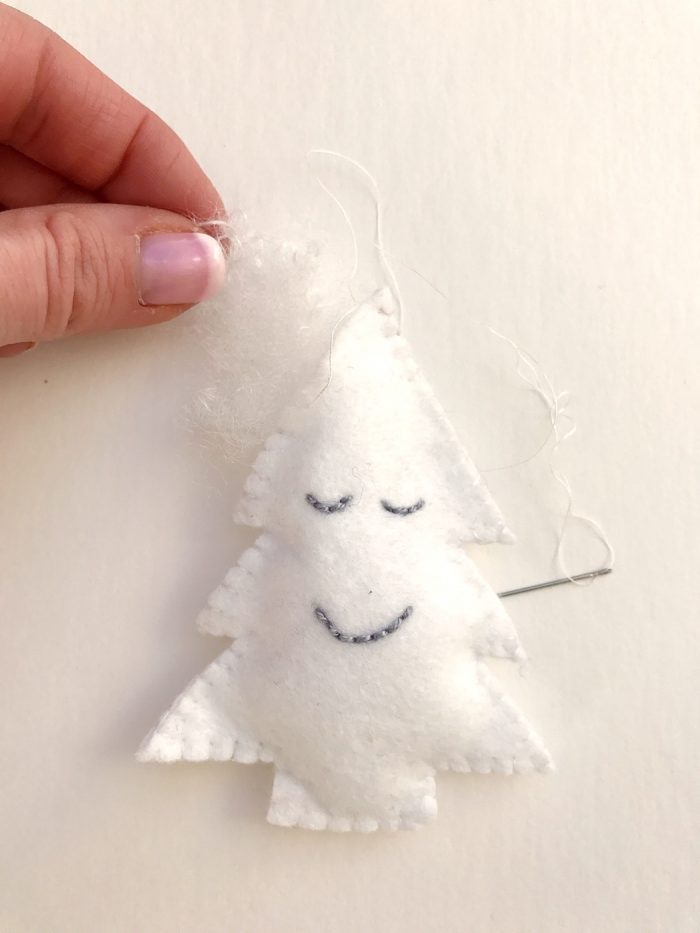
Continue to stitch to the top of the tree to close the gap.
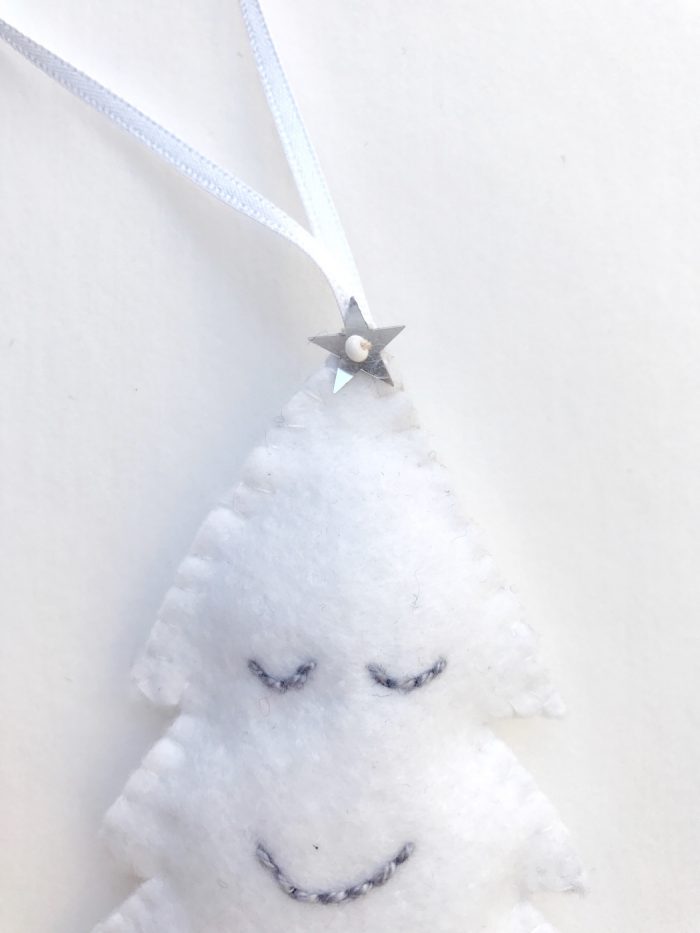
Take a 20cm length of ribbon, fold it in half, and secure it to the top front of the Christmas tree with a cotton thread. Don’t worry about the knot; this will soon be covered over by a star.
Take a star sequin and stitch it to the top of the tree, concealing the knot underneath. My star only has one hole, so I used a small bead so that I could thread it through either side.
To Make the Felt Star Ornament
Add some decorative sequins to the star. As many or as few as you like!
Take the back piece of the star and attach the ribbon to the top point of the star, with the knot on the top, which will then be on the inside when the two pieces are stitched together.
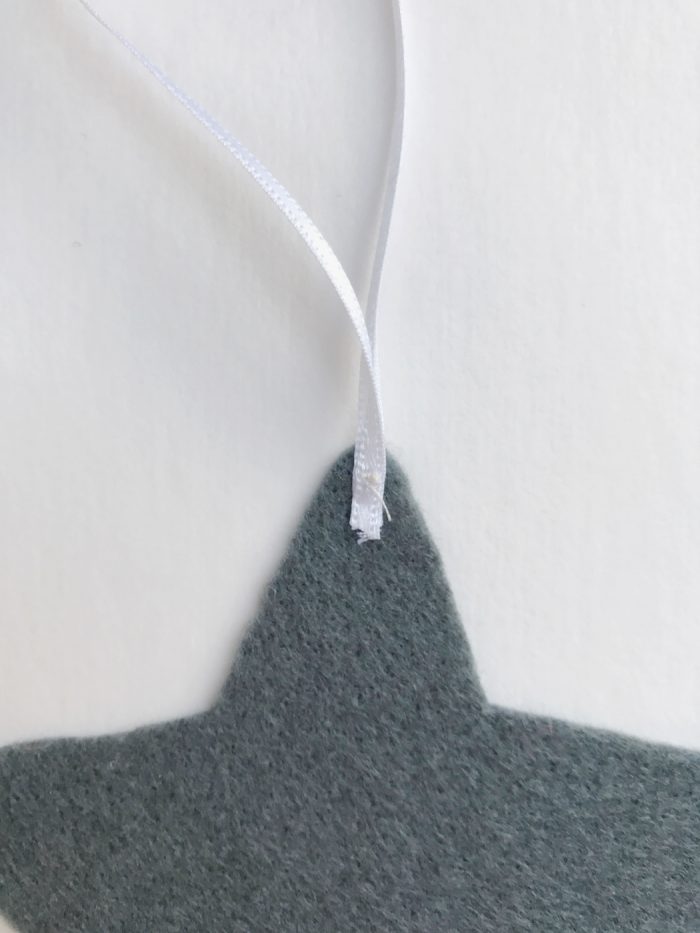
Pin the two star pieces together, and starting at the top, use a blanket stitch to stitch all the way around the edge. Stitch until the last ‘v’ of the star.
Take a small piece of toy stuffing and insert it into the star to fill it out slightly. Then, continue stitching to the top of the star until it’s closed.
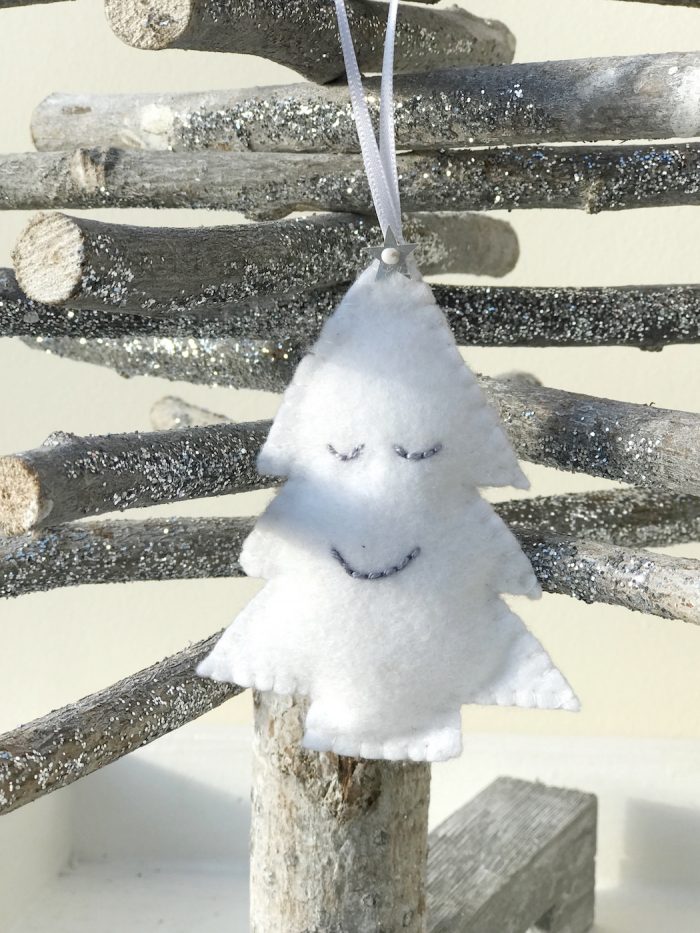
And that’s your three cute Kawaii decorations complete.
Next to purchasing and wrapping the Christmas presents, but I’m afraid I can’t help you with that!
Wishing you a very Merry Christmas and a wonderful New Year.
Sarah
About the Maker:

Sarah Ashford is a British Quilter and embroiderer and founder of the #GreatBritishQuilter challenge on Instagram. Sarah regularly contributes projects to magazines and loves to spread the joy of quilting everywhere she goes. Follow her on Instagram at @sarahashfordstudio and be sure to check out her beautiful sewing room decals in her etsy shop www.etsy.com/shop/
Would really like to make these with my grandaughters but there is no link to the templates.
These are adorable but no link for the templates.
These are just darling. x
there is no link to the pattern templetts, could u please post one
thank you so much