Make an upholstered headboard
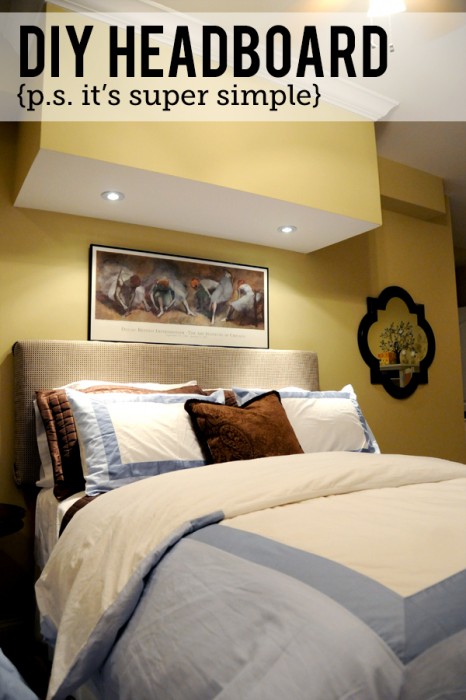
We have a guest room in our basement. I’m so excited because this is the first time we’ve had one. When we finished the basement last summer, we just bought a mattress and threw it in there and that was about it… no decorating just utilitarian. Now it’s time to get the room pulled together- most of what I have used in there is just taken from other rooms or saved. (I save way too much- it drives my husband crazy!)
I wanted an upholstered headboard for that room, but could not find one that I liked for the price I was willing to pay. With my parents coming to stay for awhile, I decided it was time to get a headboard in there.
Here is how we built ours— just a note: this might not be the “right” way to do this but it’s the way I figured out to do it…
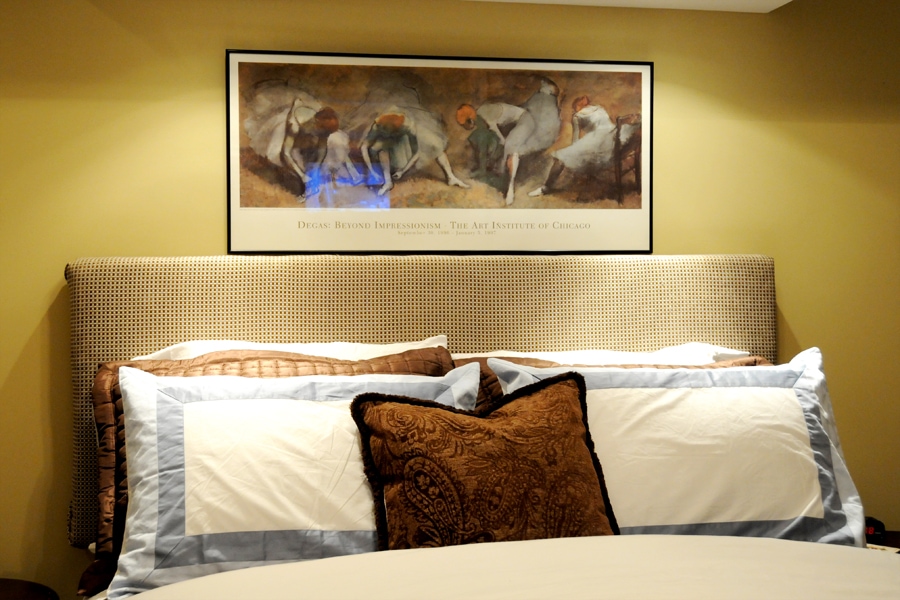
Also- in the photo below do you see build out above the bed? Well it was not intentional.. the heater is on the other side of that wall and there are pipes behind it… When the builders framed it out I kind of went “ugh… what am I going to do about that bump out?”…. After staring at it for a while, I decided it would make a great focal point for the bed…so our builder framed it out to make it larger (the width of a queen size bed)and run an electrical wire in there to add lights.
I LOVE the way it turned out and thought it was a clever way to make use of an unwanted ceiling drop.
(the bedding is from Target and Restoration Hardware)
Okay here is what you need to build your headboard:
1 piece of foam- I used 4″ foam… You can get it at Joann’s… just wait because it goes 50% off alot… The foam was the most expensive part. For a queen size bed you will want a piece 62×24. They cut it to size for you. If you cut your own use an electric knife.
2 yards of fabric. (or 70″)Go with an upholstery weight. It’s easier to work with and a heavier fabric will help hide flaws. You need to railroad the fabric … so make sure it is a print that does not matter if it is used horizontally or vertically. I found mine in the remnant bin at my local fabric store.
4 mending bars- get them at lowes- with screws
1 piece of MDF (1/2″)cut to the same size as the foam…. Now don’t worry if you don’t have a table saw- Lowes will cut it for you for FREE! You have to buy a bigger piece of MDF than you need- I am going to use the extra to build shelves in the garage.
1 8ft Oak 2×4.. I went with oak because it is a strong wood- and I don’t want it to break with the weight of the MDF.
Quilt Batting.
Staple Gun & Staples
Screws-
Okay to start… lay down the quilt batting, put foam on top.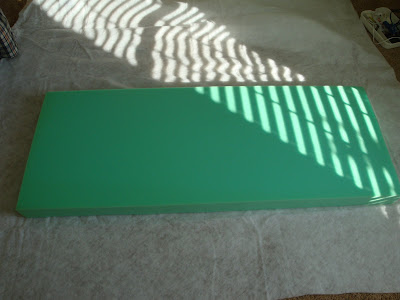 Put the MDF piece on top of the foam.
 Begin stapling… pull the batting taught (don’t over tighten) Put one staple in each side…Then working out from the centers, staple a few staples at a time and move to another side. (do NOT staple one side at a time).
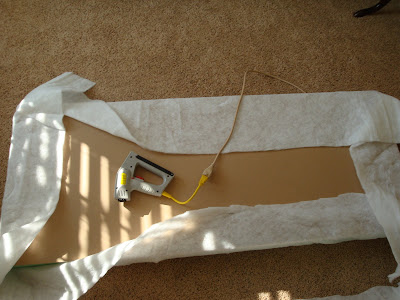 When you get to the corners, pull the extra up into a triangle… staple the batting as close to the corners as possible.
 Fold corner over- like you would do when you make a bed. Staple in place. Trim excess batting.

 Lay main fabric out on the floor… Pull fabric over the foam and staple in place like you did with the batting. You will want 2 rows of staples to keep it secure. Trim excess.
At this point if you want to you can cover the back with a piece of canvas to make it look nicer- I didn’t care so I just left it- no one will see it because it’s against the wall.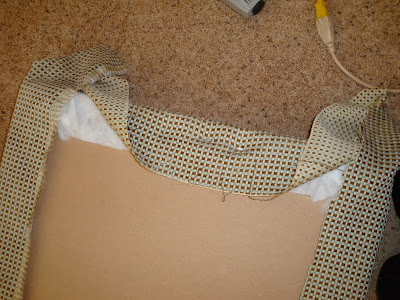 Measure the distance from the floor to the top of the bed. Cut the 2×4 to make the legs (you will have 2).
Screw 2 of the mending plates in to each leg. Measure in 2″ from the side and screw the plates into the headboard. (you will need longer screws to go through the fabric/batting)
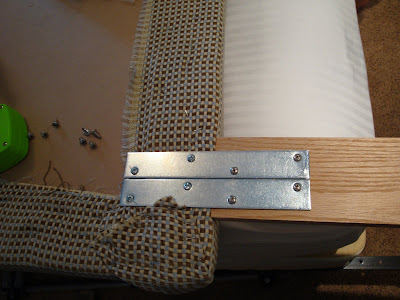
 Enjoy! (oh I need to move that picture higher by an inch!”


I love the way you did that, it was simply and easy.
Hi – I follow your blog and love it! My sister and I have recently started a new blog featuring tutorials, recipes, and ideas from some of our favorite sites. You were one of the blogs we picked for our first features! If you follow this link http://ificould-ificould.blogspot.com/p/featured-sites.html it will take you to a page where you can grab a button saying you were featured on if i could…
We want to congratulate you on being one of our first features and look forward to featuring more of your cute posts! Thanks for helping us kick off the start of our blog!
Kimi
http://ificould-ificould.blogspot.com/
What a great project! Thanks for taking the time to show us how to do it!!!
Love the headboard! I am going to get my mom to do this in her master bedroom!! I just started a crafting blog myself, I would love for you to check it out! http://lafftycrafty.blogspot.com/
Love it all. The headboard, the paint, the lights, the bedding, the mirror. Great job!
Oh, I want to make one of these for Mallory’s room. You are aweome. Your downstairs room is looking so great.
Neat lights above the bed. Perfect for reading 🙂 Looks great!
What a great idea! I need to make one for my bed.
What a great guest room. I bet you’ll be receiving more overnight guests once word gets out about this beauty of a bed.
That’s fabulous!!!!!!!!
I LOVE the build-out! What a great way to make the pop-outs from ductwork look great! It’s fabulous!
Love. Any idea how to make one over an existing headboard without having to staple into it? Like a headboard sock…
If you sew you might can do a sleeve over the existing one and just put it over it.
Looks great, can I make a reservation?!! LOL!!
This looks so classy! I will definitely be featuring this afternoon!
Love the headboard. I’m planning on doing it – but tufting it as well.
I like your new blog banner, very nice! This tutorial is awesome. Very Simplistic. Thanks for sharing.