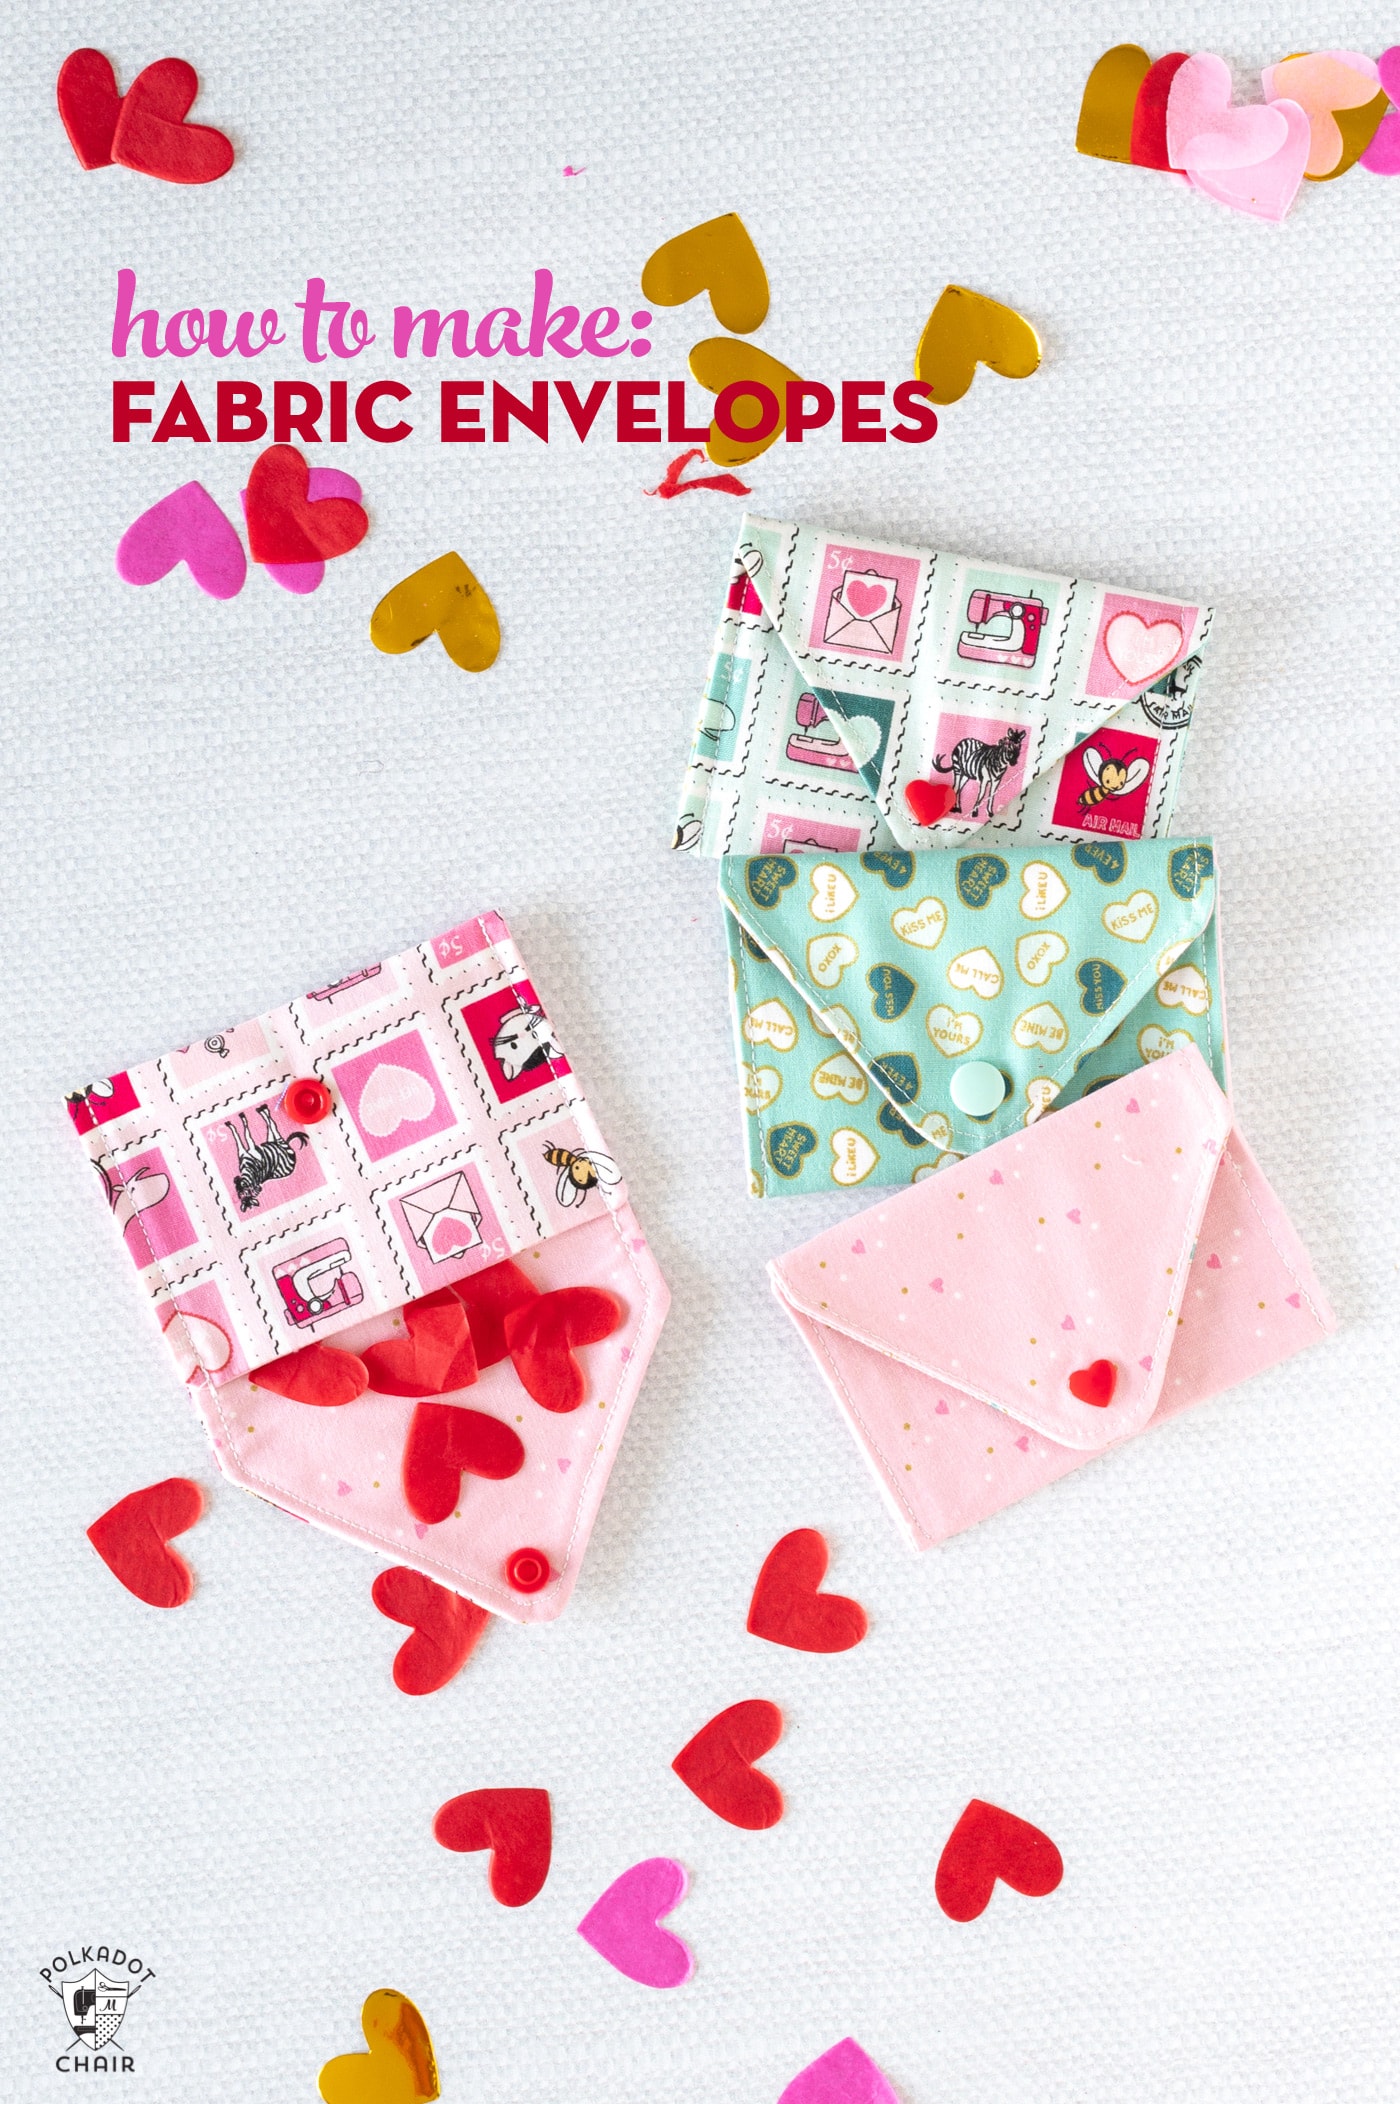
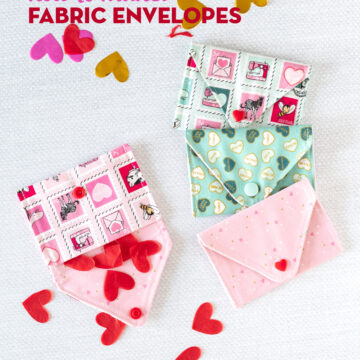
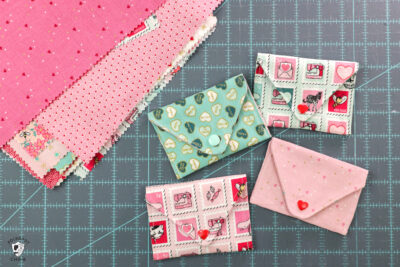
Mini Fabric Envelope Sewing Pattern
These mini-fabric envelopes are so cute and fast to make that you’ll want to make them by the dozen! They are created using pieces from a ten-inch pre-cut fabric pack, but you can also use any fabric scraps you have! Turn them into adorable Valentine’s Day decorations, or gift them with a sweet treat inside!
Recently I’ve challenged myself to create more patterns and tutorials using pre-cut fabrics. I had a few pieces left over from another project and thought they would be cute as mini envelopes for Valentine’s Day!
If you’re looking for a larger envelope sewing pattern, check out this one by Amy Ball, shared recently.
What is a Pre-Cut?
If you’re unfamiliar with it, pre-cut fabrics are packages of fabric from the manufacturer already cut into specific sizes. The most common pre-cut sizes are:
- Fat Quarter – 18″ x 22″
- 10″ Pieces
- 5″ Pieces
- 2 1/2″ x WOF pieces
They are great time savers! Usually are made with all the prints from a specific fabric line. So if you purchase a 5″ pre-cut pack of fabric, you’ll get 30-40 5″ squares of all different prints that coordinate.
I’ve been playing around with pieces from a 10″ pre-cut stack (sometimes called a Layer cake) of my Mint for You fabric collection.
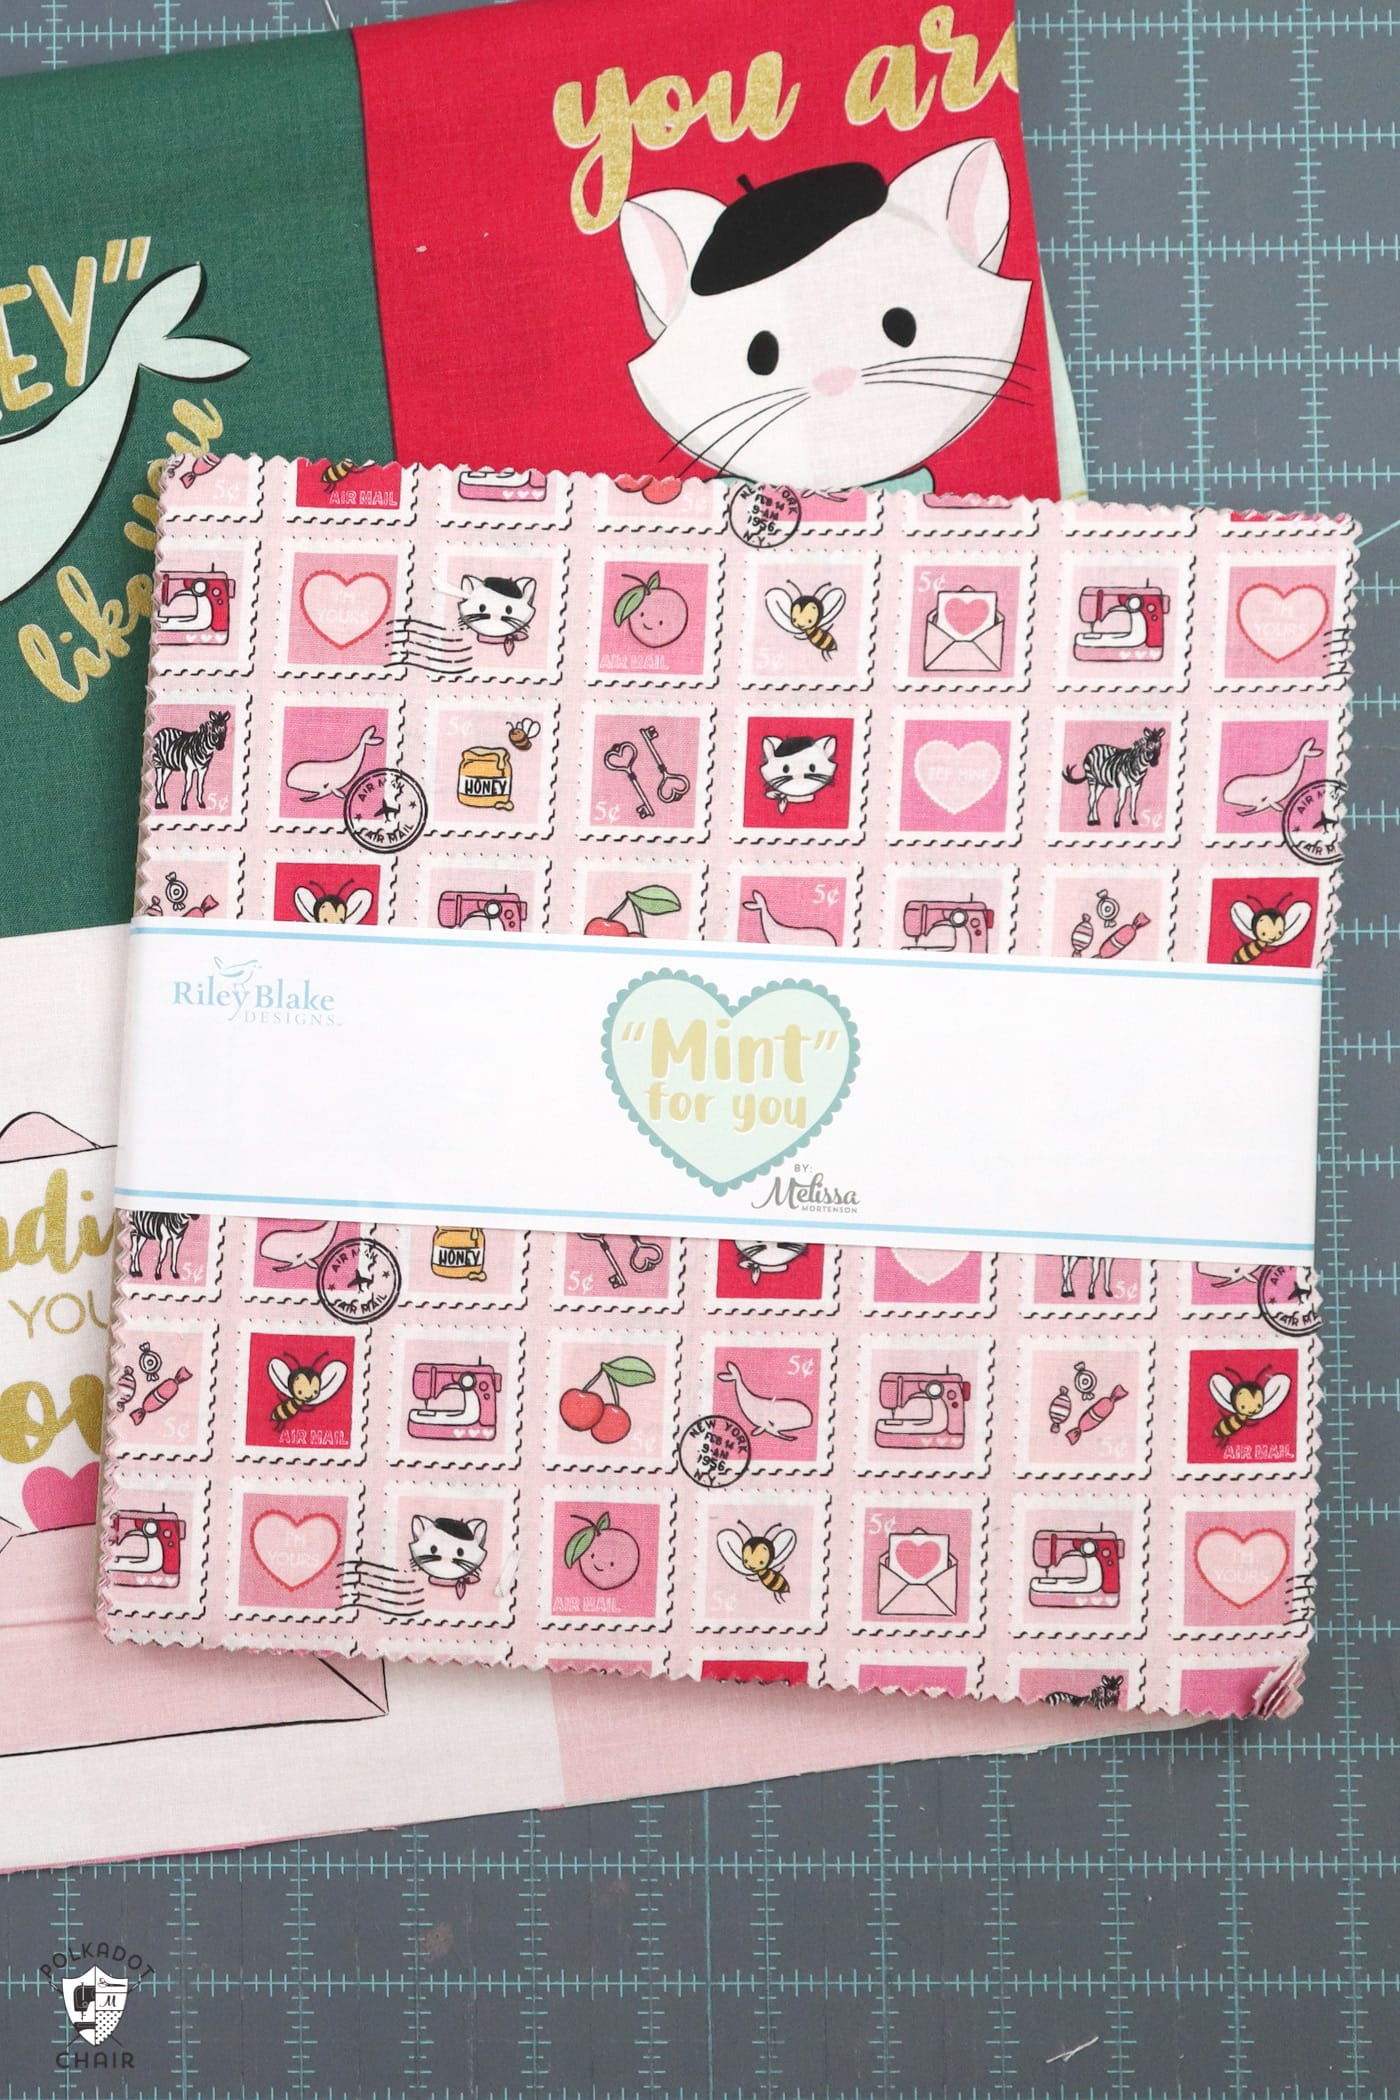
I had a few pieces left over from my project and thought I could find something to create with them.
If you don’t have pre-cut fabric pieces, no problem! You can cut the pieces from any fabric that you already have.
Fabric Envelope Pattern
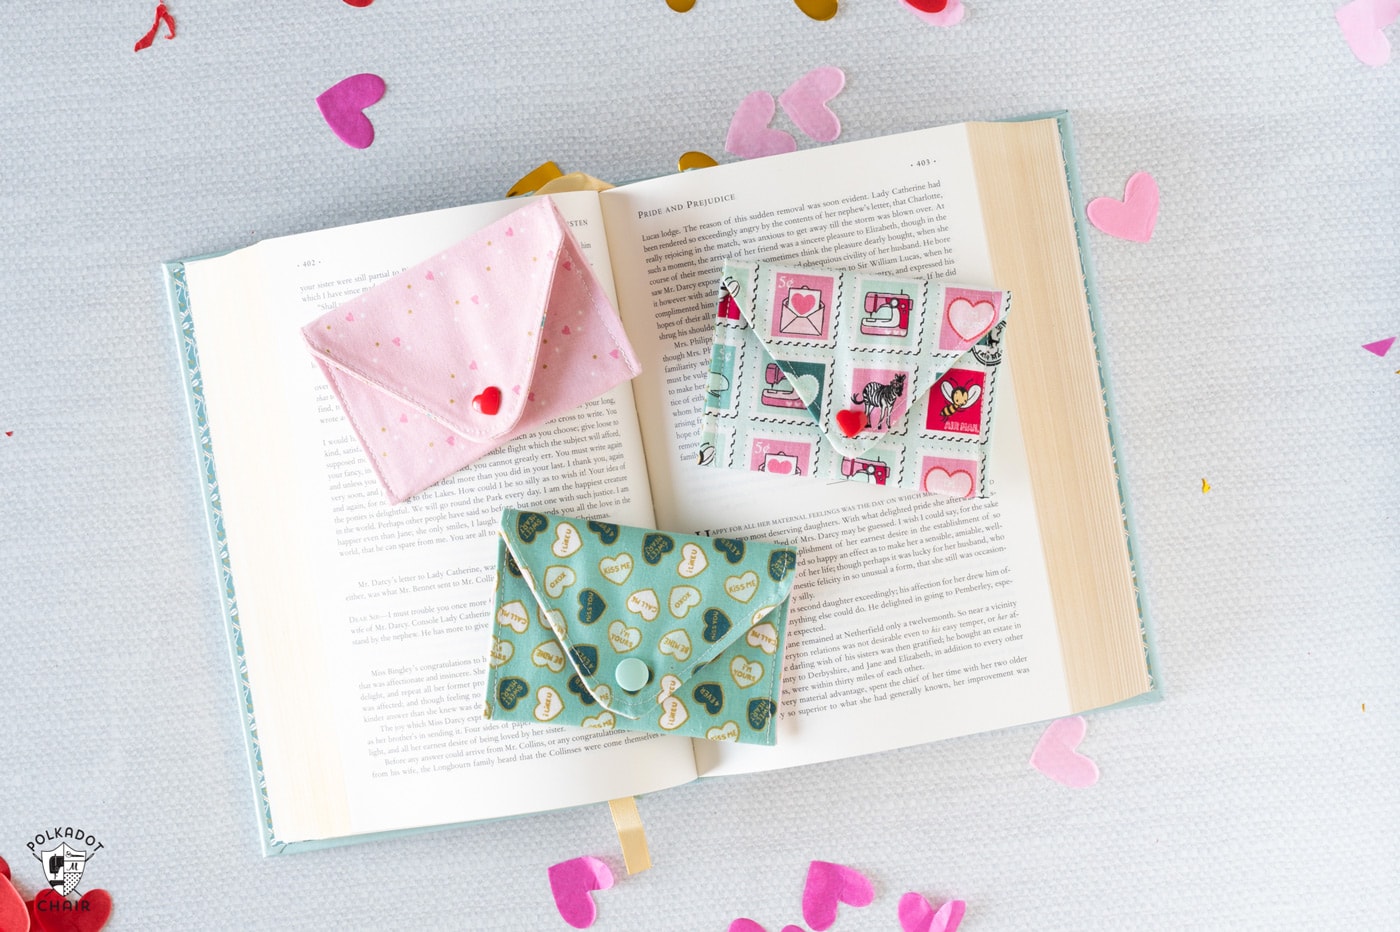
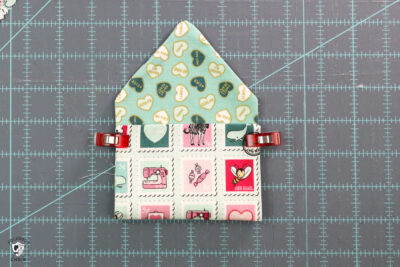
These little envelopes are perfect for Valentine’s Day! They would be so cute clipped to a string to create a Valentine’s Day bunting!
Each of the envelopes uses two 5″ x 10″ pieces of fabric. You can create one envelope from one 10″ piece of fabric if you want the same fabric on the inside and the outside.
If you want two different fabrics on each envelope (like the ones I made), you’ll want to use two different 10″ squares.
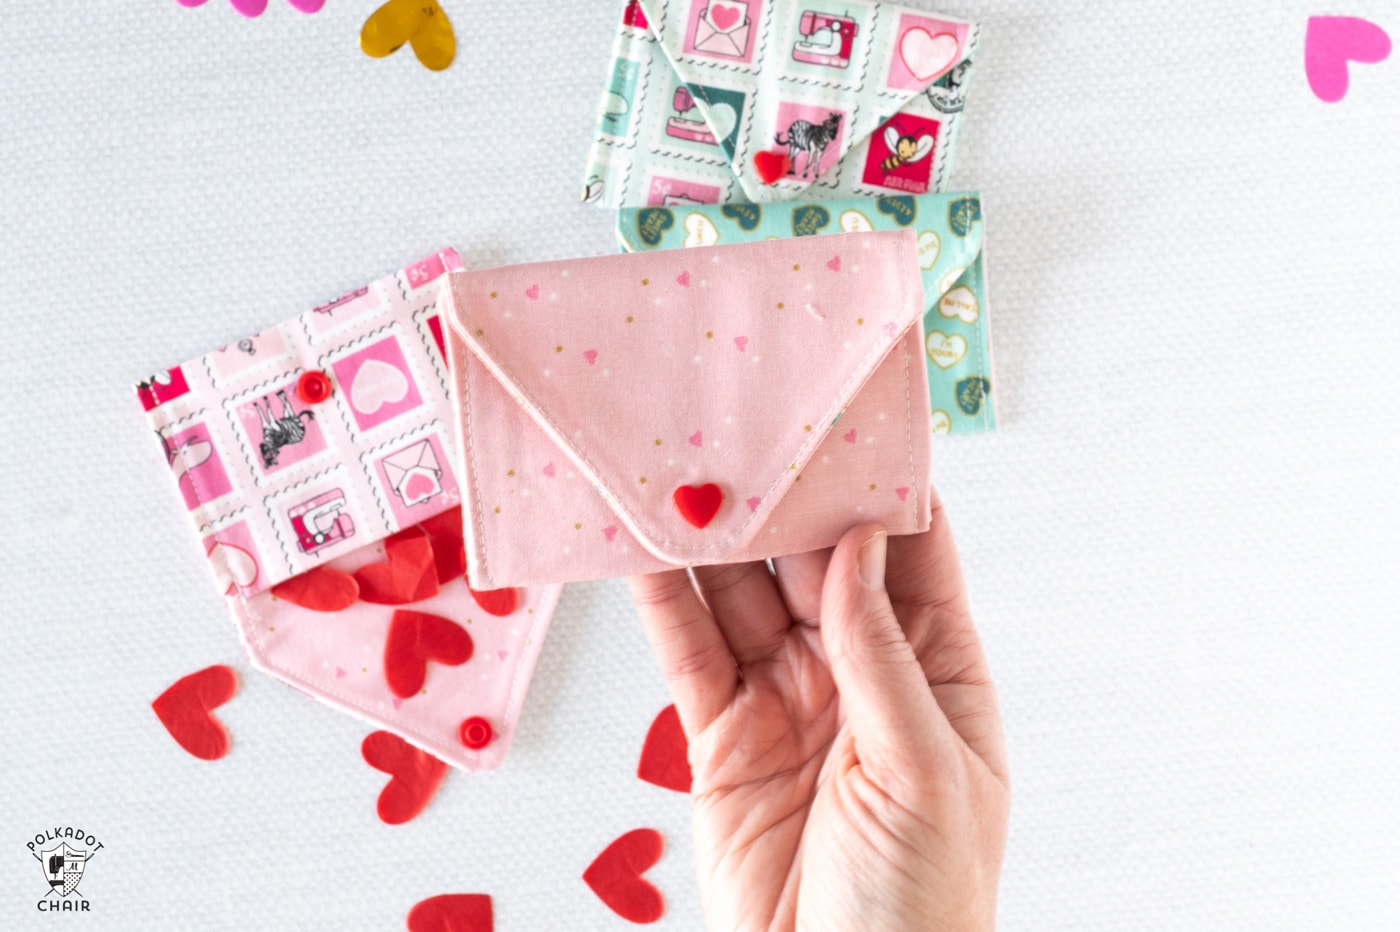
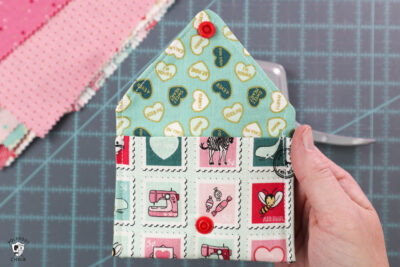
Add a simple KAM snap to complete the envelopes and make them easy to open and close. There are a lot of colors and snaps to pick from, so you should be able to find something to complement the fabric you chose.
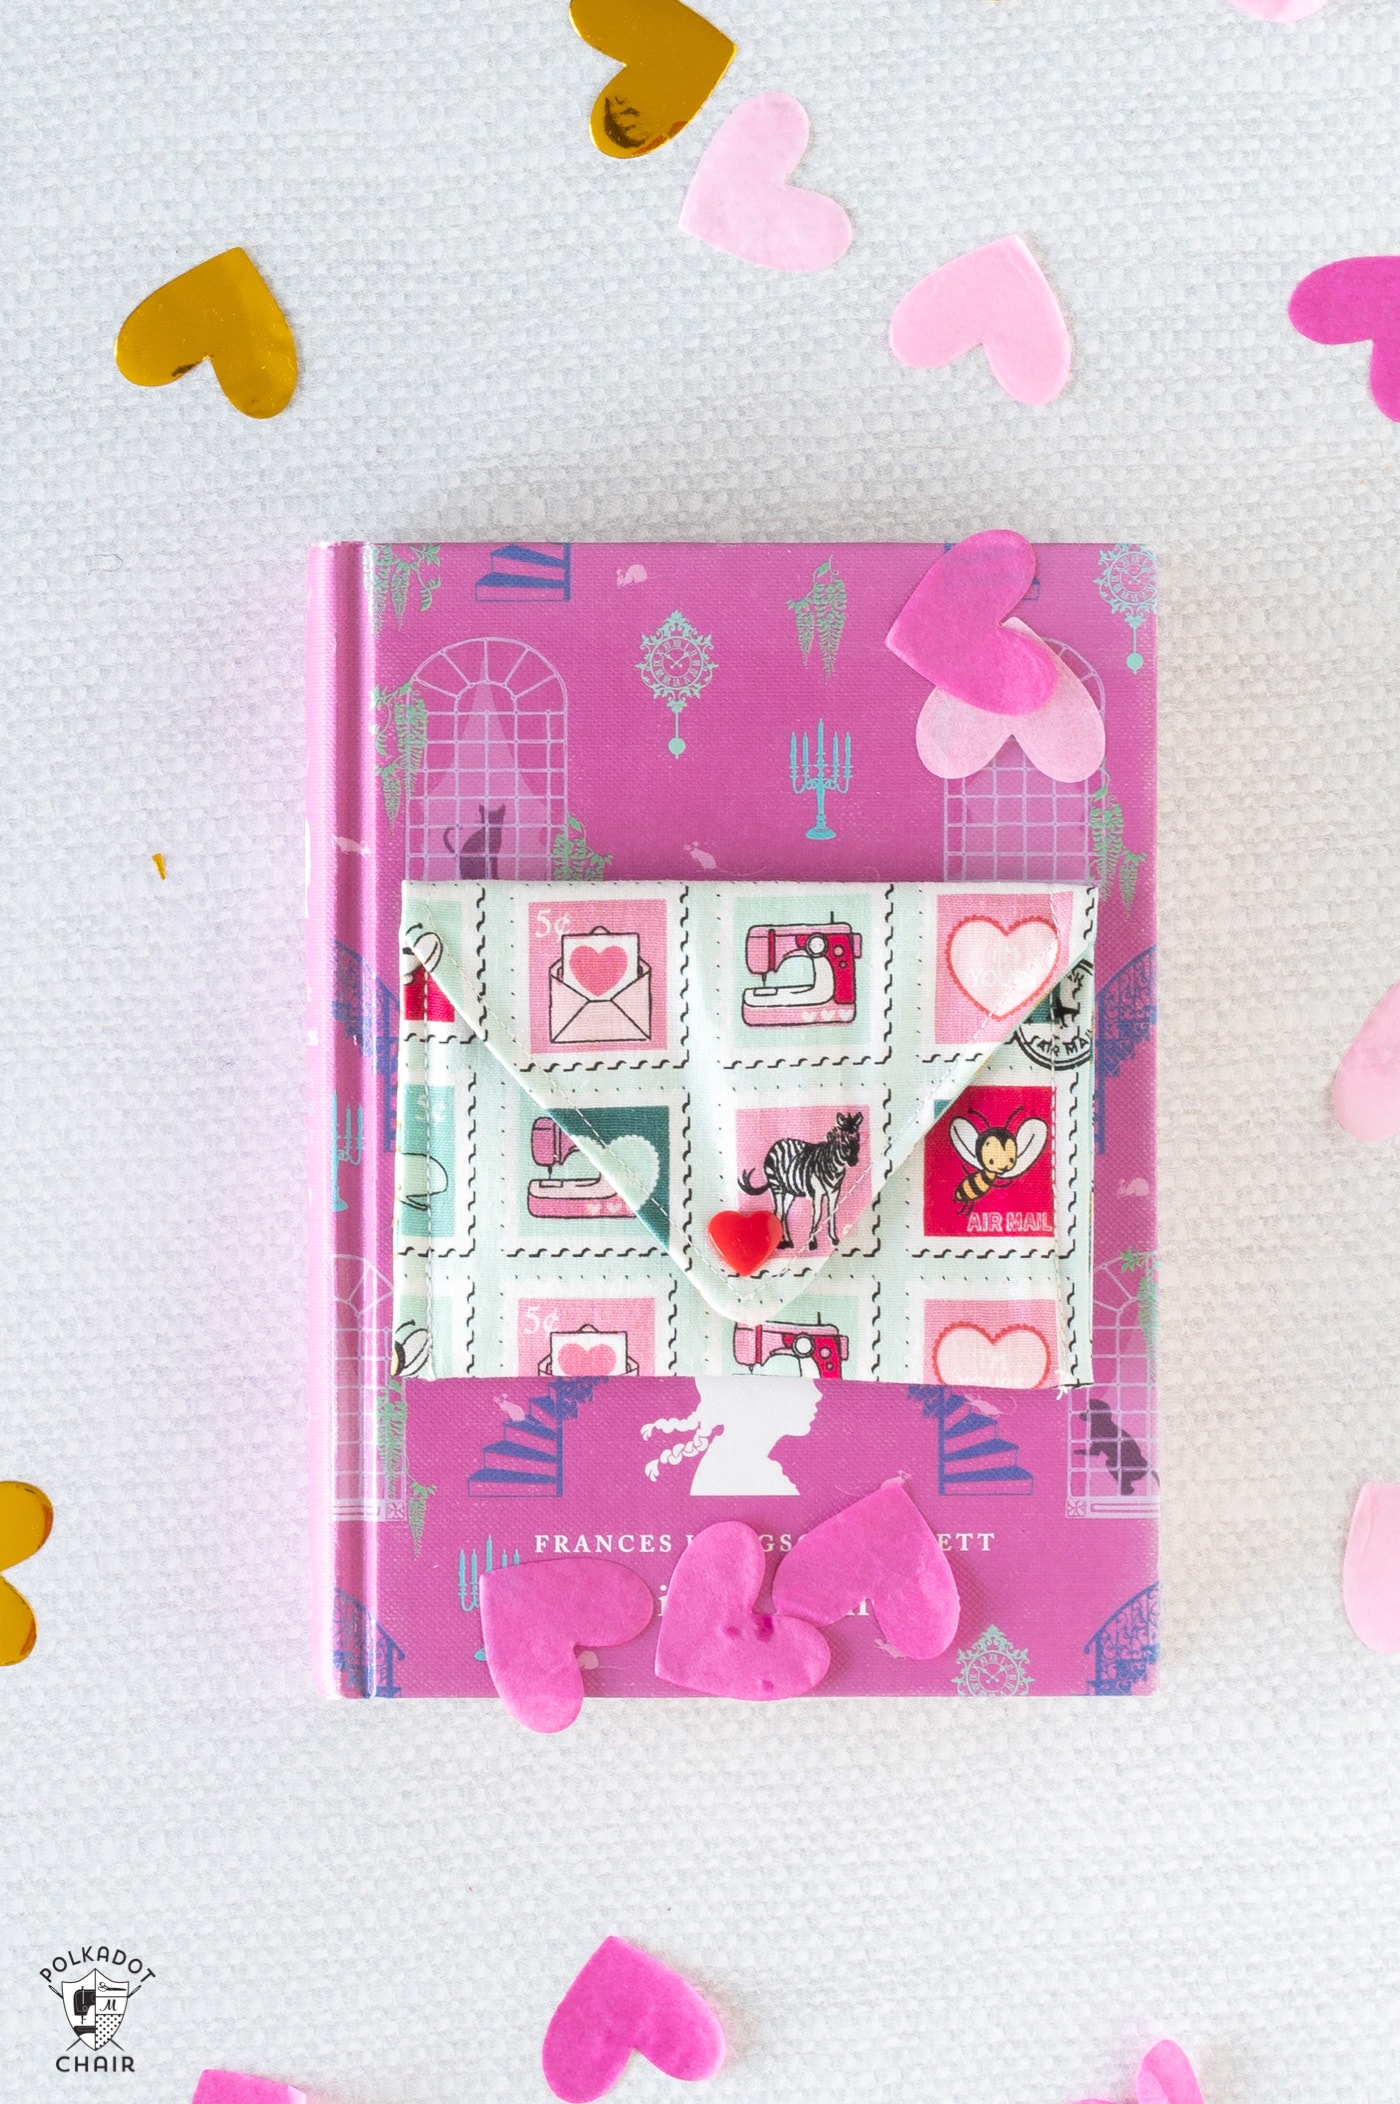
How to Get the Pattern Piece
Fill out this form, and we will email you a copy of the envelope pattern piece. You’ll still need the instructions on this page to complete your project.
Make sure you fill out the form embedded above. Not the general subscribe for our site (otherwise, we don’t know which template to send you!)
Instructions
Mini Fabric Envelope Sewing Pattern
Equipment
- KAM Heart Snaps if you don't want the round ones that come with the kit
supplies
- 1 piece Fabric – I used Mint for You by Riley Blake Designs 10" x 10" – if you want a different print on your lining, you'll need two 10" x 10" pieces. You can then make two envelopes.
- 1 piece Lightweight Interfacing 5" x 10"
- 1 Pattern Piece fill out the form on this page and we will email you the template.
Instructions
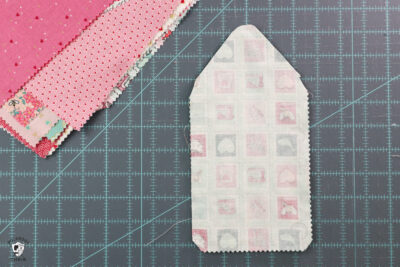
Cutting
- Using the envelope template pieces cut out two pieces from fabric and one piece from lightweight interfacing. One of the fabric pieces will be your envelope outside and the other will be the envelope lining.
Construction
- Iron the lightweight interfacing onto the wrong side of the envelope lining piece.
- Place the envelope outisde and lining pieces right sides facing. Stitch around the perimiter with a 1/4" seam allowance.

- Leave a 2" opening on the side of the envelope so you can turn it right side out.
- Using your small sharp scissors, clip the corners and the top curve of the envelope.
- Turn the piece right side out. I find it helpful to use a Hera tool for this step.
- Press the envelope well.
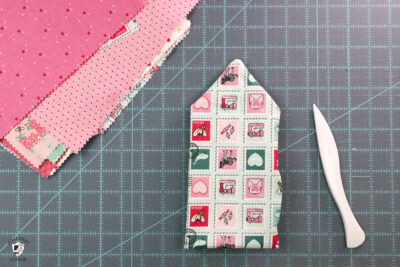
- Lay the envelope on the table with the lining side up. Measure up 3" from the bottom of the envelope on both sides and make a mark.
- Fold the bottom of the envelope up 3". Secure in place with binding clips.
- Top stitch around the envelope, beginning at the bottom corner around the top of the envelope and ending at the other bottom corner. You don't need to top stitch the bottom of the envelope. Also, ensure you catch the opening in the side as you sew.
Add the Snaps
- Your KAM snaps should have four pieces. Two outside pieces and two of the snaps pieces. These two snaps should fit into one another. Most of the time these are referred to as a male and female snap portions.
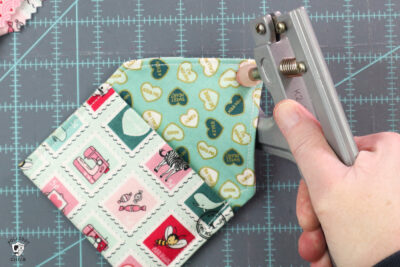
- Using a seam ripper or small sharp scissors, poke a hole in the top flap of the envelope in the location you want your snap.
- Push one of the snap outside pieces through this hole, and insert one of the snap portions on the other side of the fabric.
- Using the KAM setter, set the snap. You just squeeze it. You should see the "sharp" point of the snap outside piece smashed down after this step.
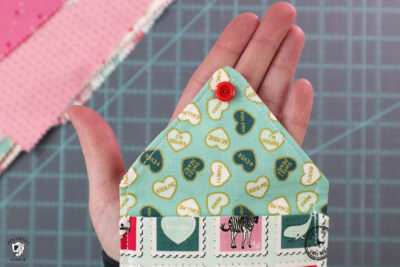
- Fold the top flap over and mark where the flap meets the bottom of the envelope.
- Set the other snap in that location. Make sure you use the other snap part, not the same one again.
- Test your snap, and you're done! Enjoy!


Cute envelope! I made something similiar, but larger and I sewed it to the back of an antique quilt I had appraised. I put a copy of the appraisal in the envelope.
This small size would be good for gift cards too
I ran through the post several times but could not find the form to fill out for the pattern. Is there something I’m doing wrong?
It’s just above the photo of the envelopes on a book – look for the blue subscribe button.