Fabric Envelope Sewing Pattern
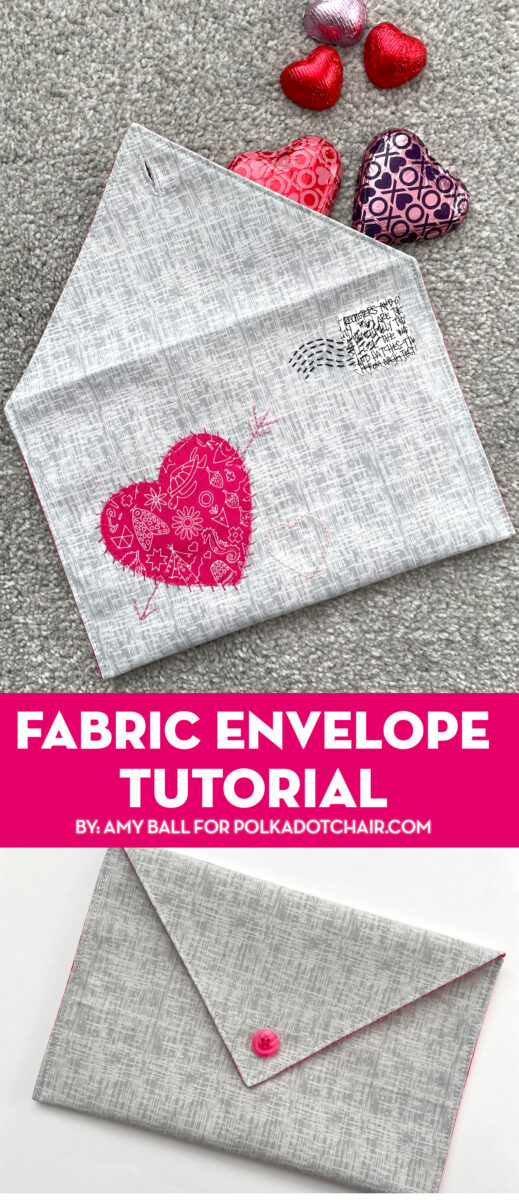
Today Amy is sharing a free Fabric Envelope Sewing pattern with all of you! This project is a perfect DIY gift for Valentine’s Day. You can change the fabric colors and embellishments and use the pattern to create gifts for other holidays as well!
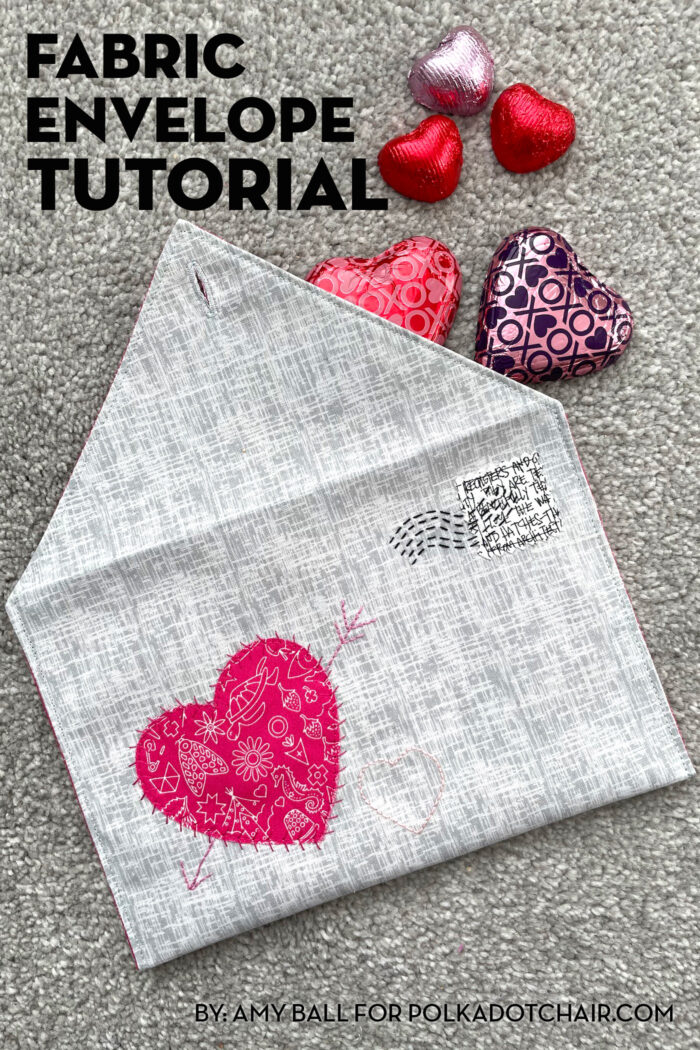
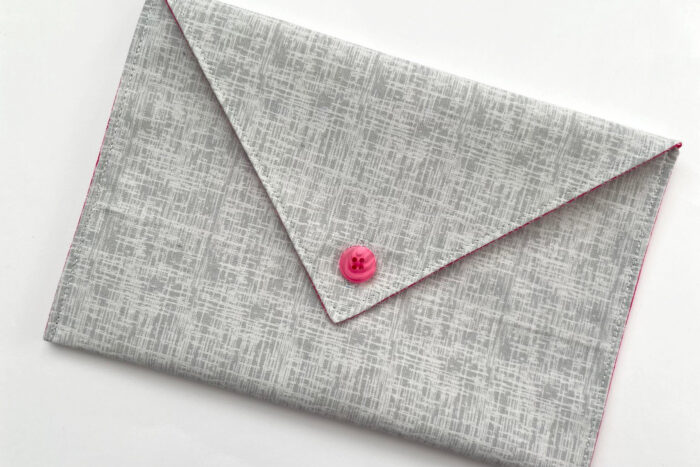
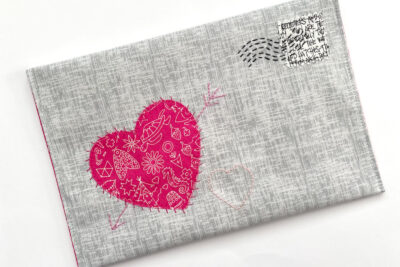
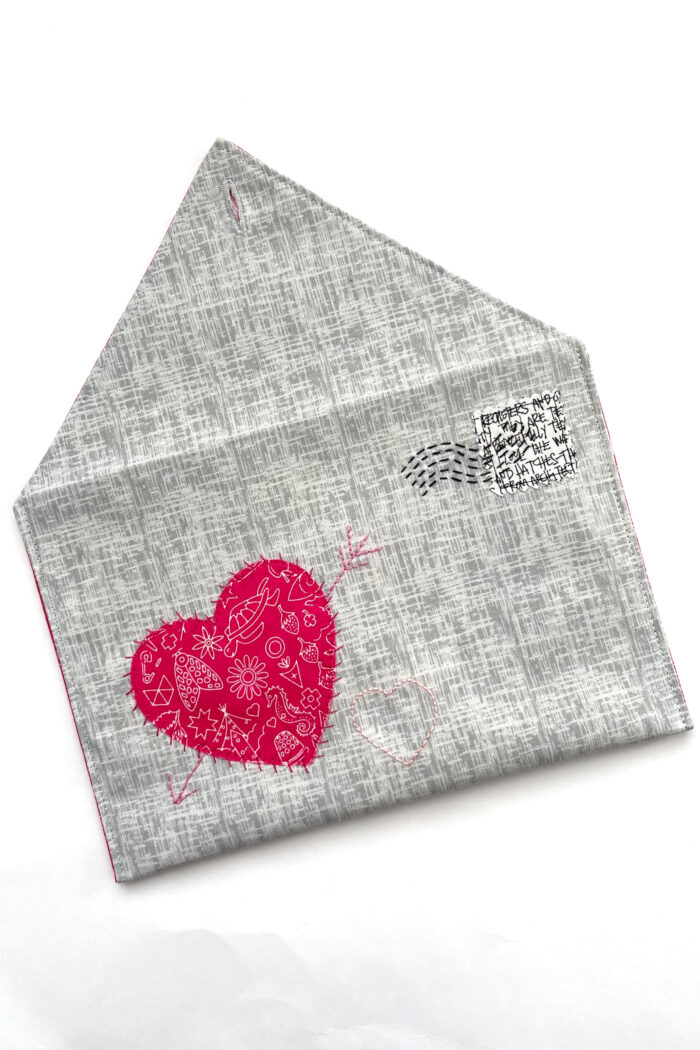
Why wrap a gift in paper when you could wrap it in a handmade fabric envelope? Perfect for Valentine’s Day present or any other special occasion.
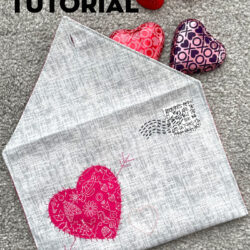
You can decorate the front with lots of different designs, using a variety of hand or machine sewing techniques. Let your imagination run wild!
How to Get the Heart Pattern Piece
The envelope pattern piece for this project is self-drafted, you can find the directions below. If you’d like the template for the heart on the project, just fill out the form and we will send it to you.
Project Instructions
Fabric Envelope Sewing Pattern
Equipment
supplies
- 1 Fat Eighth Main fabric if you are using directional fabric, you will need a Fat Quarter instead of a Fat Eighth
- 1 Fat Eighth Lining Fabric if you are using directional fabric, you will need a Fat Quarter instead of a Fat Eighth
- 1 piece Lightweight Interfacing; 9" x 17 1/2" I used Pellon Shape-Flex
- 2-3 Fabric Scraps For Applique
- 1 Button
- 1 Heart Template Download in our Templates Library
Instructions
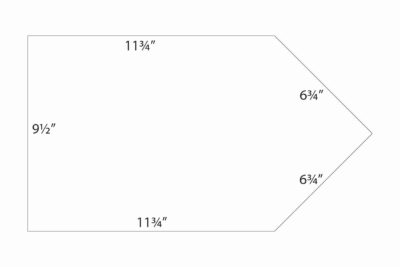
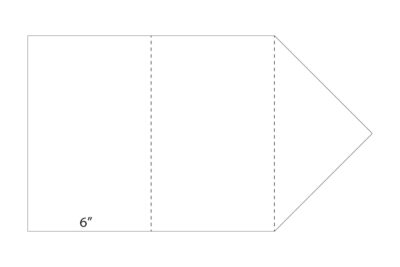
Step 1: Cut out Fabric
- Using the diagram as a guide, cut out one piece from the main fabric and one piece from the lining fabric. Remember if you are using directional fabric you’ll need to cut out the shape so the point is at the top.

Step 2: Cut Interfacing
- Use one of the fabric pieces as a template and cut out the interfacing. Then trim ¼” off all the edges to make it slightly smaller. Secure the interfacing to the wrong side of the main fabric piece (following the instructions for the interfacing you are using). There should be a ¼” border all around the main fabric piece without interfacing.
Step 3: Create Applique
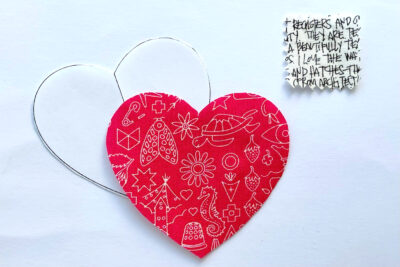
- Cut out the appliqué pieces; one heart (using the template) and a 1½” square “stamp”.
Step 4: Mark Fold Lines
- Using the diagram as a guide, mark fold lines onto the right side of the main fabric piece (I’d recommend using a Hera marker, or press the lines).
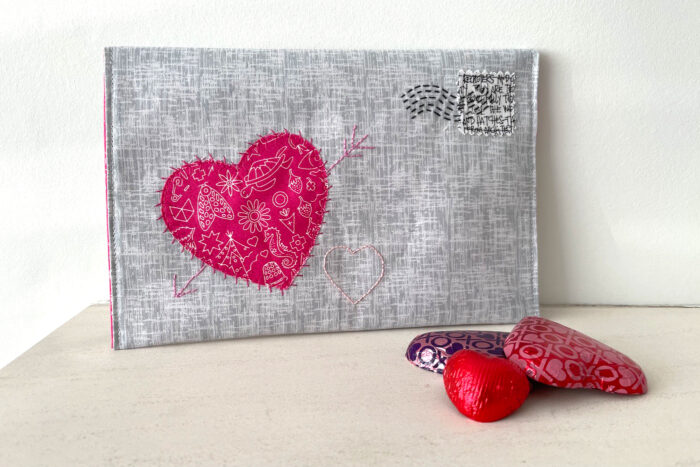
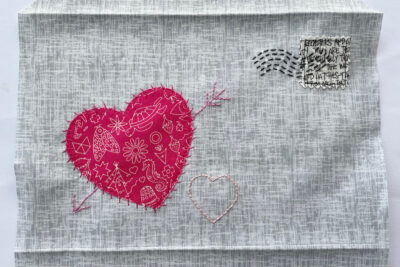
Step 5: Add the Appliques
- Now it’s time to add the appliqué designs. You can machine and/or hand sew any embellishments you would like. Make sure to add them onto the middle third of the main fabric piece, within the fold lines from step four. I have added:
- – machine appliqué heart; raw edge with a decorative stitch from my sewing machine
- - machine appliqué stamp: trim with pinking shears then straight stitch
- - hand quilting and back stitch details Appliqué tip: use fabric glue to hold your appliqué fabric in place, this saves having to remove pins as you sew!

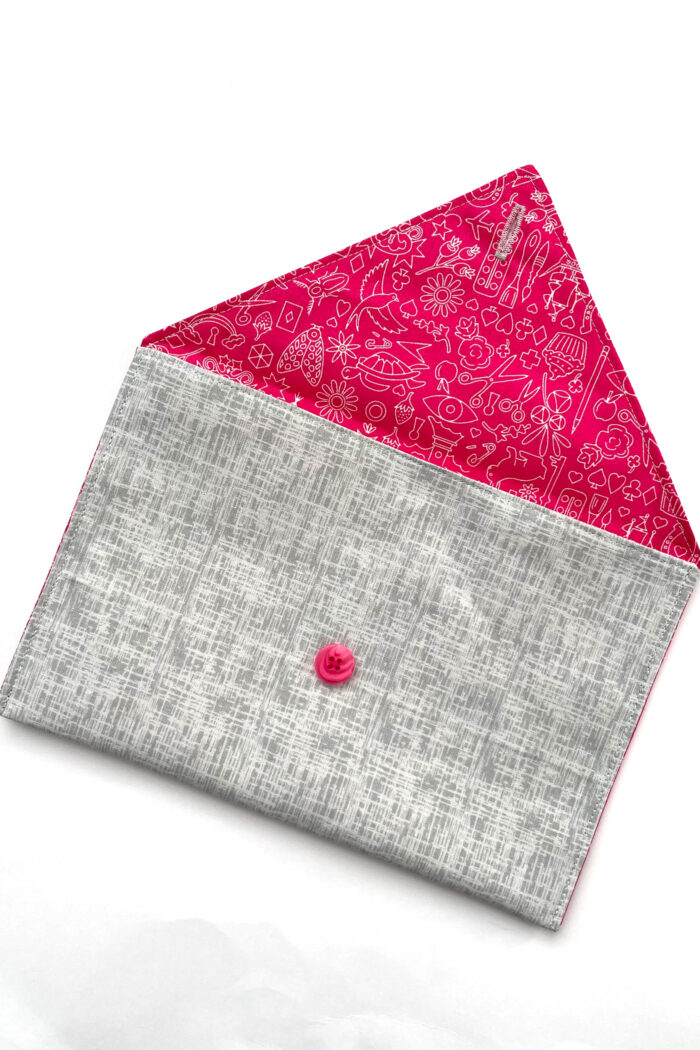
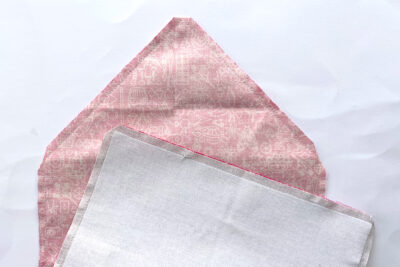
Step 6: Assemble
- Pin the main fabric and lining fabric pieces, right sides together. Then sew around the edges with a ¼” seam allowance, leaving a turning gap of about 4” along the bottom edge.
- Clip all the corners before turning the envelope the right way out. Gently poke out the corners and press.
- Topstitch round all the sides, ⅛” from the edge. Be sure to catch all the layers from the turning hole to seal it closed.
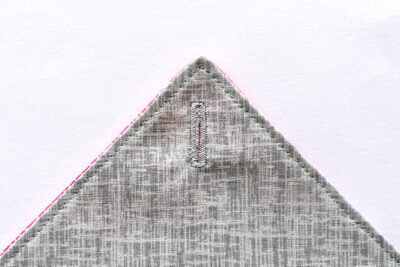
- Add a buttonhole near the point on the angled edge. Make sure it is not too close to the topstitching.
- Re-press the fold lines that were marked in step four.
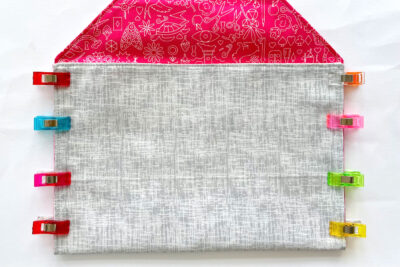
- Clip or pin the two shorter sides of the rectangle together and sew. These two lines of stitching will go over the top of the original topstitching.
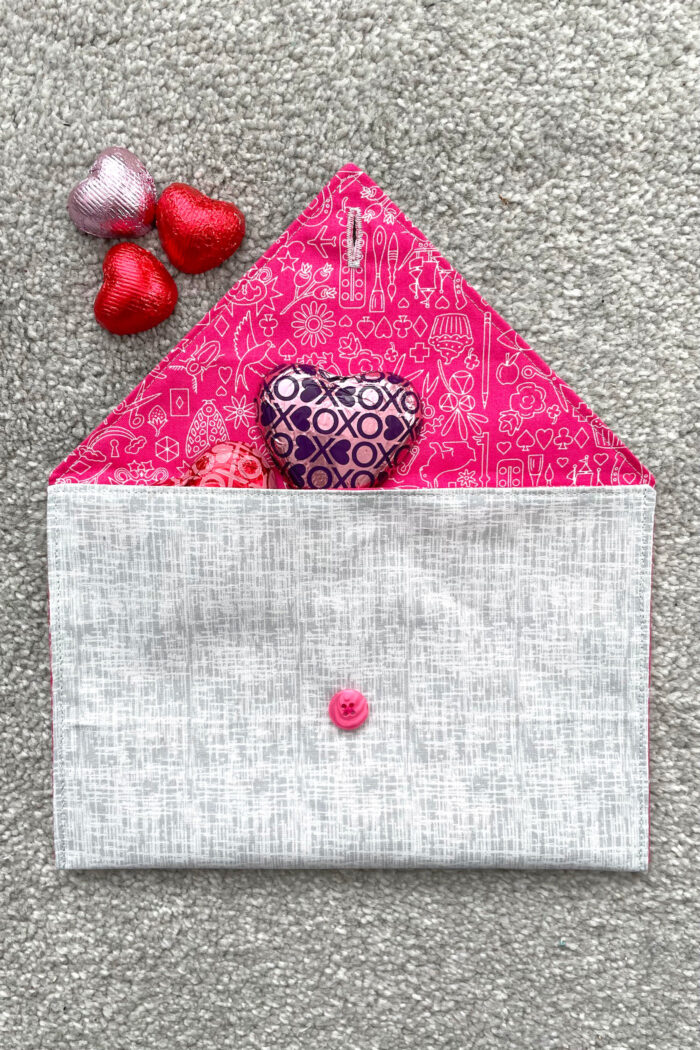
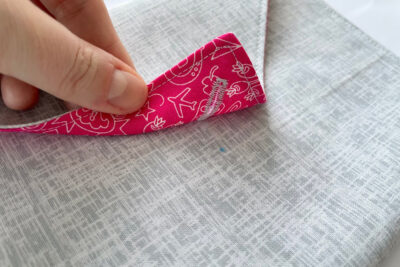
- Press the final side down into placed mark the position of the button. Hand sew the button in place.
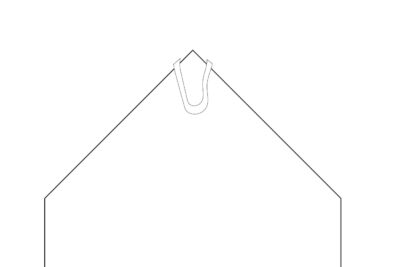
- [Note: if you don’t want to add a buttonhole (I know they aren’t everybody’s favourite thing!), at step six, before you sew, put a loop of ribbon between the fabric layers, either side of the point on the angled edge with the raw edges of the ribbon lined up to the fabric raw edges.] Now it’s time to fill your envelope with gifts and love!

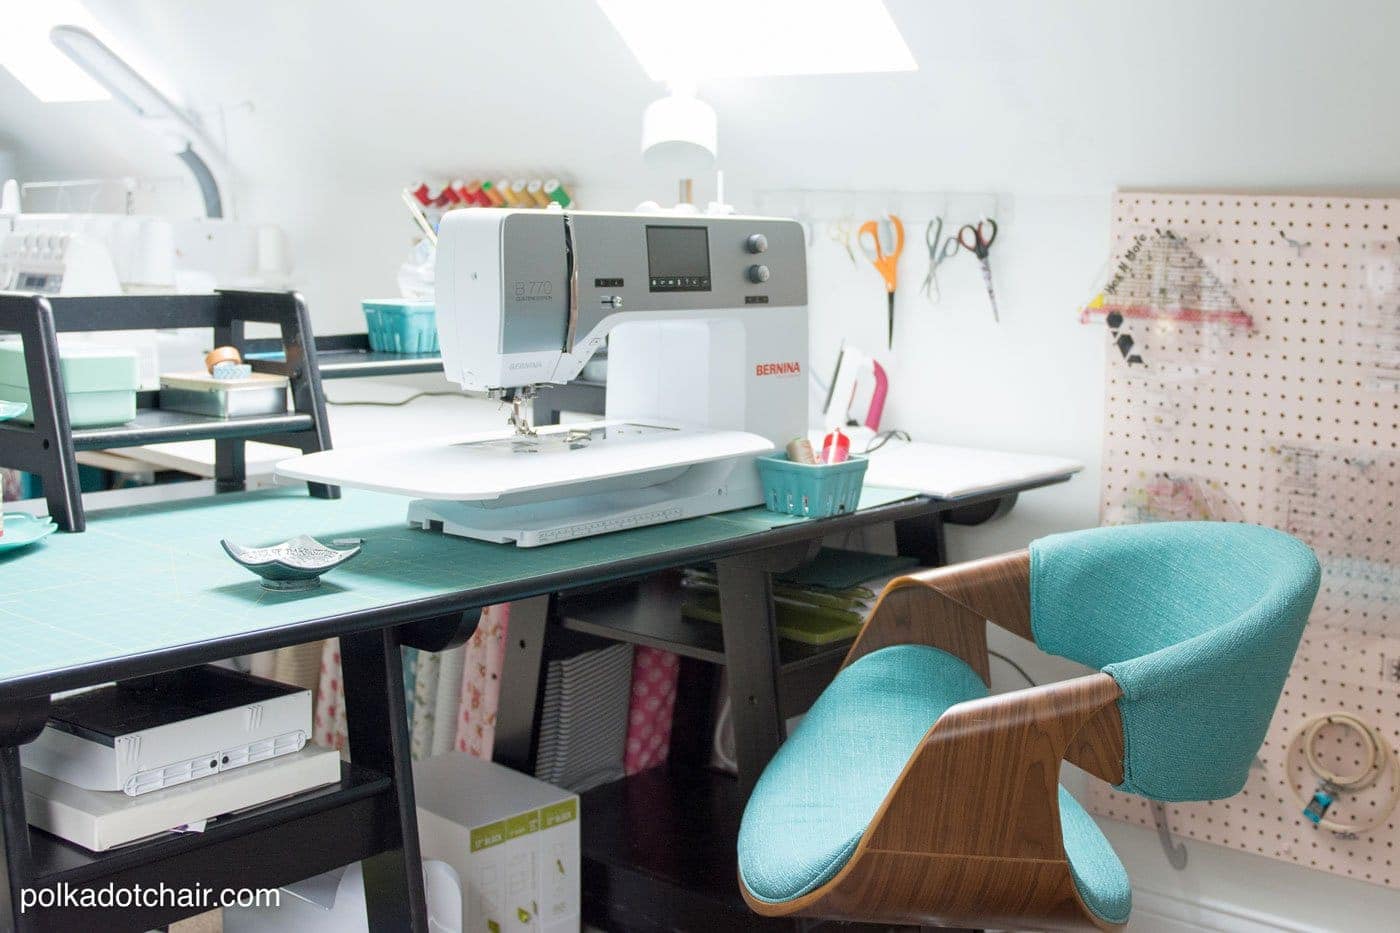
About the Designer

Amy lives in the north of England with her husband and son. When she’s not sewing and quilting, Amy can usually be found baking or reading. You can find her on Instagram @amyatthegate

Seams Perfect (a new digital course!)
Press Perfection – Top pressing tools
Guide to (near) Perfect Patchwork
You May Also Like:
Valentine Felt Envelope Pattern

Thank you so much for this pattern. My parents both passed away in 2021. I finally made two envelopes for all the cards we got and I can go through them whenever I feel the need. I made them from plain naturel linnen with a felt heart for Mum and an elephant for Dad, his favourite animal. Maybe I will make some more for the handwritten birthday cards I received from them over the years. And for my sister who is pregnant with the first grandchild in the family! As you said a very versatile pattern. I did use snap buttons instead of a regular one but that’s because I’m too scared of messing up the button hole.
What a sweet idea for the project! Thank you so much for sharing!
How do you get a 9 1/2” wide piece from a fat eighth that is 9”?
Good question. I believe that is an error. I recommend a fat quarter instead.
Do you think if a stiffener was added, it could be mailed?
I honestly don’t know. When we were in college we mailed all kinds of crazy stuff. Maybe?
Why oh why did you wait until Valentine’s night to post this? So many project designers wait so late to post seasonal projects that there’s no time to make.
It actually posted earlier in the week but the newsletter goes out on Sunday night. That’s probably why you’re just seeing it.
Also, the project can easily be used for other occasions since the envelope pattern itself is so versatile.