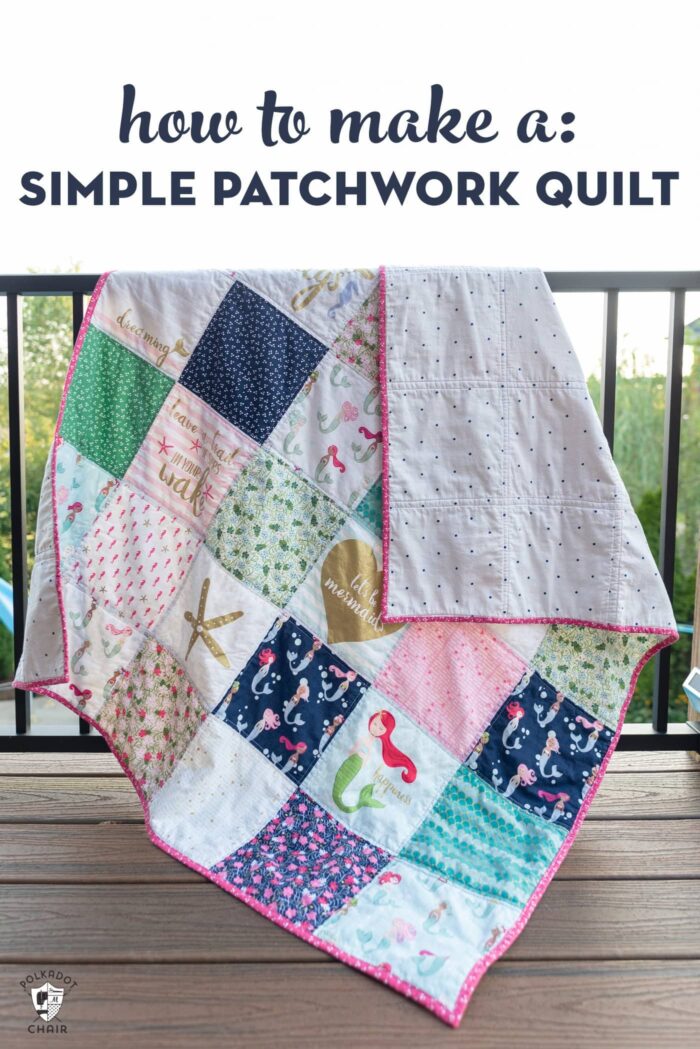
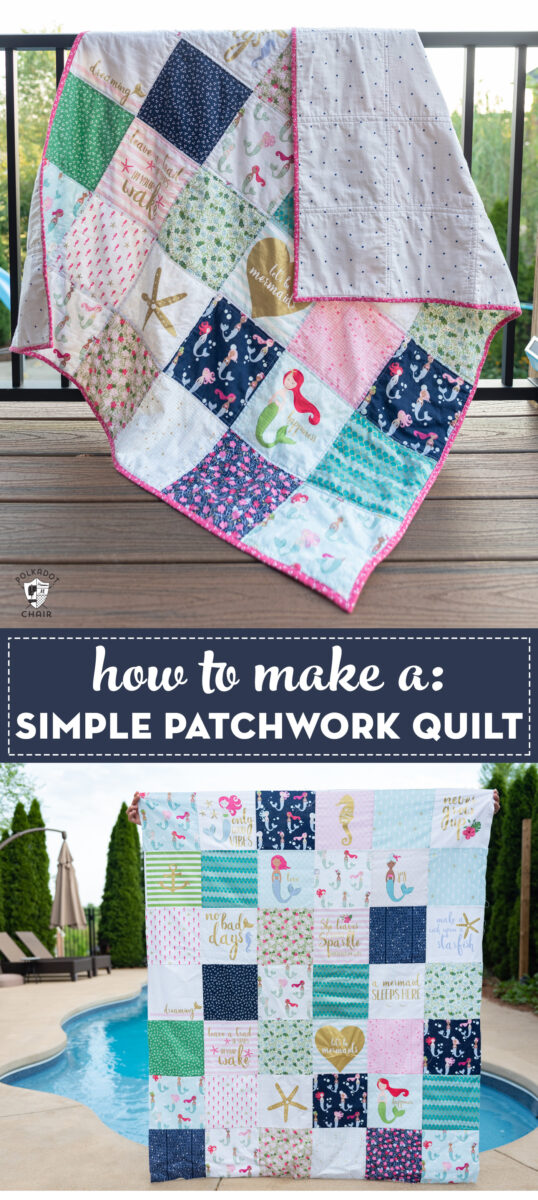
How to Make a Simple Patchwork Quilt
Patchwork quilts make great projects for beginning quilters. They are also wonderful for more experienced quilters looking for a quick project. Today I’ll show you how to make a simple patchwork quilt using a pre-cut stack of fabric.
What is a Good Project for a Beginner?
I am frequently asked, “what is a good quilt project for a beginner”? As a “self-taught” quilter I remember that feeling of WANTING to make a quilt but not knowing really where to start. When someone asks me about a good beginner quilt project I always tell them to start with one of two things.
One: A simple strips quilt.
(you can see a strip quilt here). These types of quilts are made from strips of fabric sewn together. There are no corners to match and they are great for beginners.
Two: A simple patchwork quilt.
As much as I love detailed and more involved quilt patterns there is something so charming to me about a simple patchwork quilt.
Making a simple patchwork quilt is a great way for beginners to get the hang of stitching blocks of fabric together then stitching those blocks into rows.
Why Simple Patchwork?
If you consider yourself to be a more experienced quilter, patchwork quilts make great “quick-stitch” gifts since they can be easily customized with the recipient’s favorite fabrics and colors.
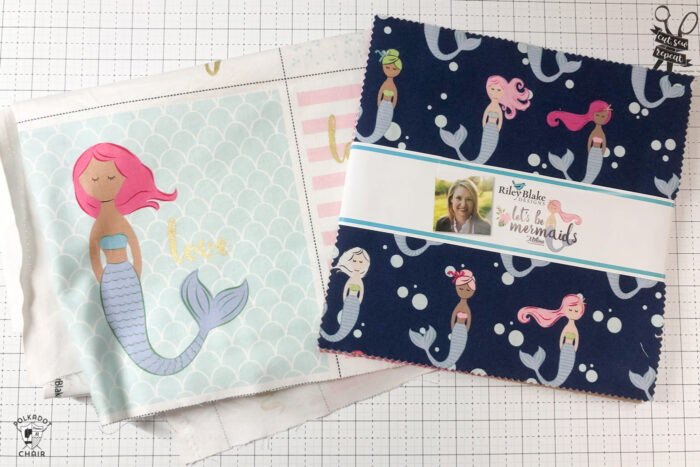
The patchwork quilt in today’s post is made using a “cheater” panel of fabric. A cheater panel is a yard of fabric that has some of the piecing or appliqué work already done for you.
If you do not want to use the cheater panel you don’t have to! I did it to add a bit more interest and scale to my project, but you can also just make this quilt with basic squares.
How to Use Pre-Cuts in Your Quilt
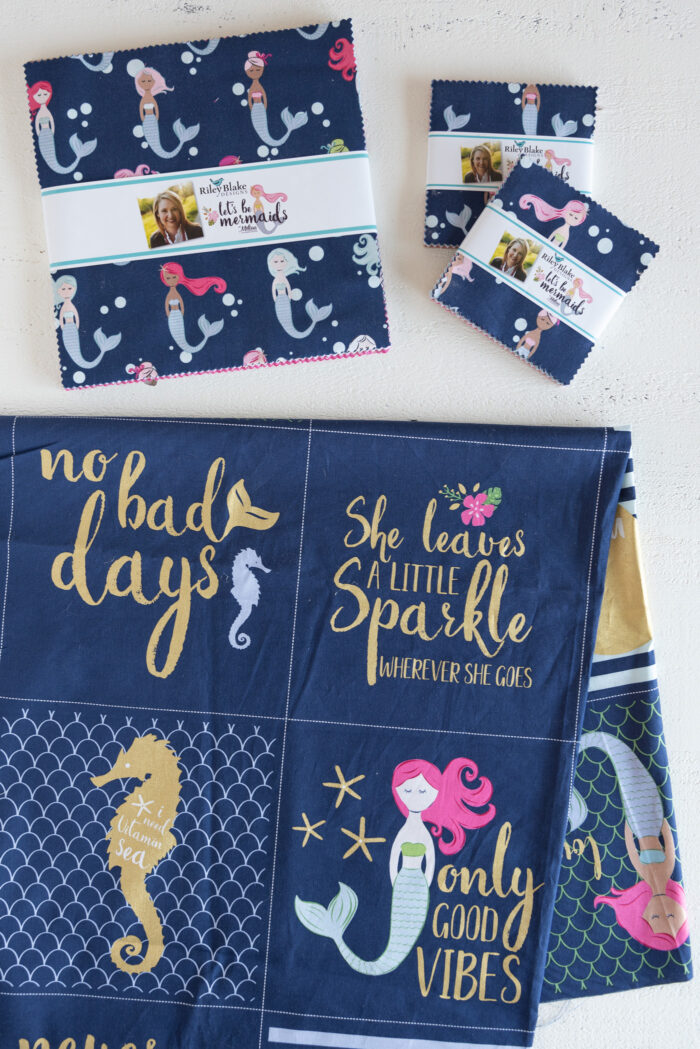
In addition to this panel, you’ll need a 10″ Stacker of fabric. This is a pre-cut fabric stack, sometimes called a Layer cake, that contains approx. 40 10″ x 10″ pre-cut squares. The squares are usually cut using all different prints from the same fabric line so you know that they will all coordinate together beautifully in the finished project.
How to Make a Simple Patchwork Quilt
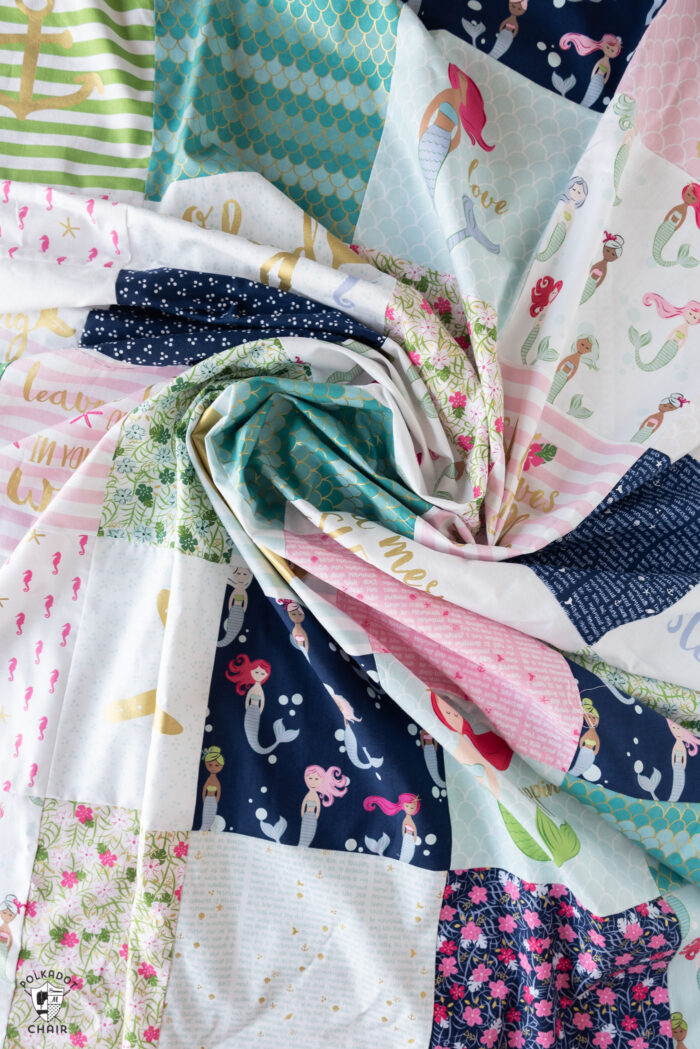
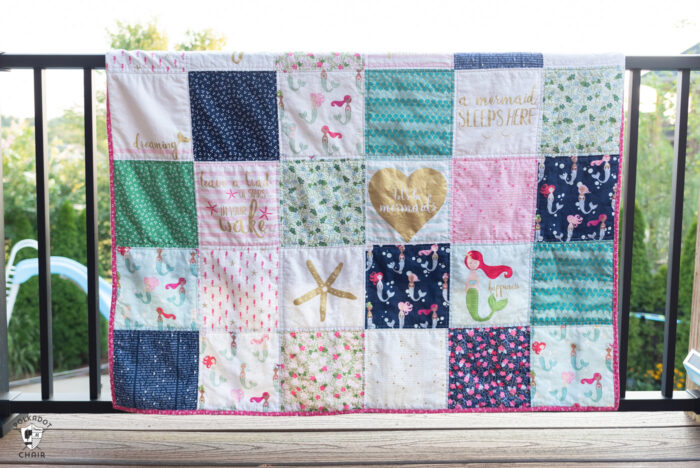
I’m using fabrics from my Let’s Be Mermaids line from Riley Blake Designs. You can find it in local quilt shops and online. I’ll add a few links below for sources.
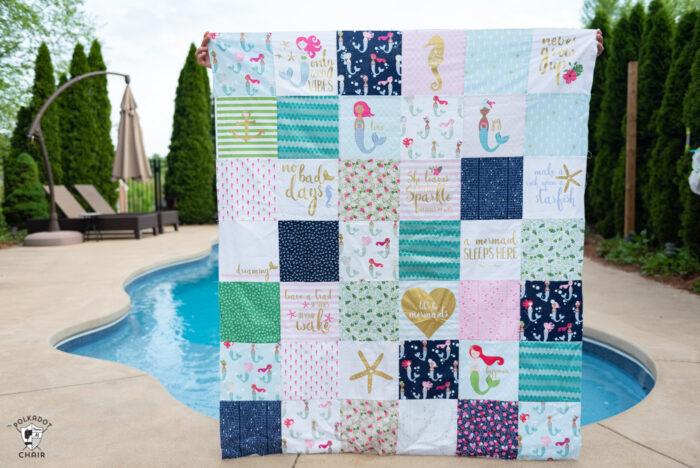
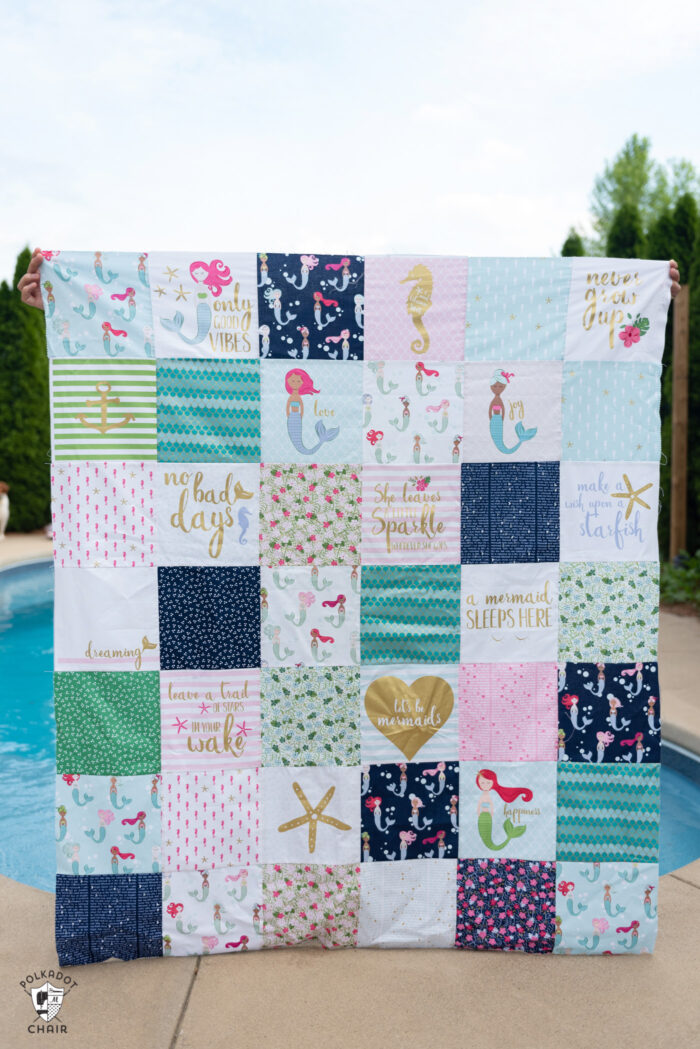
The quilt is 51″ x 60″, which is a good lap-size quilt. You can make it larger or smaller by adding or subtracting rows or columns.
Patchwork Lap Quilt Supplies:
- 10″ x 10″ Pre Cut Stack of Fabric
- 1 Let’s Be Mermaids Panel (optional) I used the light panel, the dark is linked.
- 100% Cotton Batting at least 60″ x 70″ (if you buy it in a package buy twin size, the crib is too small).
- 1/2 Yard of Fabric for Binding
For the Backing:
- Either 2 yards of 60″ wide fabric (like a Minke)
- or 3 1/2 yards of 44″ wide fabric.
- You can also use a twin size sheet (which is what I did).
To make the patchwork quilt with the panel.
Cut out the individual squares from the panel along the dotted lines.
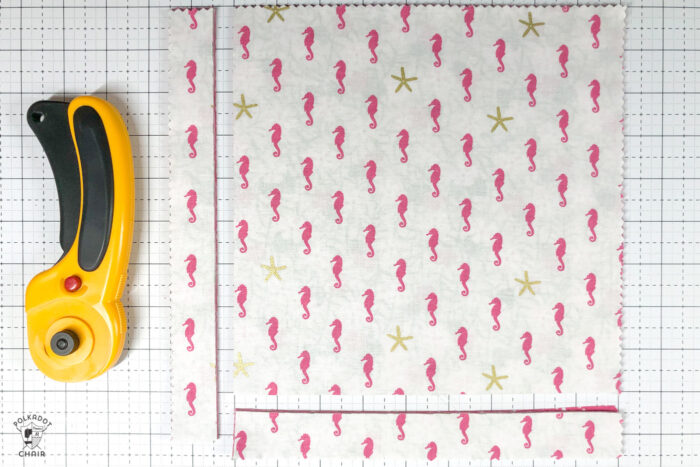
The squares in the Let’s Be Mermaids panel are 9″ x 9″, to make the panel pieces work with the precut stack of fabric, trim them down to 9″ x 9″. Since the precut is so nicely stacked you can easily cut multiple pieces at one time.
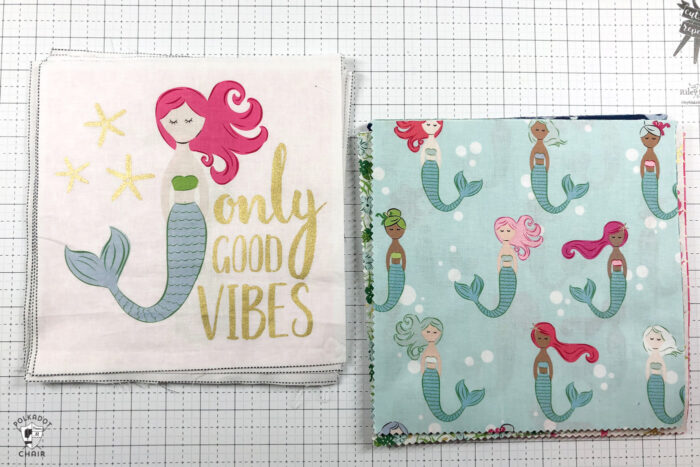
Between the panel and the precut stack of fabric, you need 42 total squares.
To make the quilt without the panel:
Cut 42 pieces from your stack of fabrics to 9″ x 9″. If you don’t wish to cut your stack you don’t have to, your quilt will be slightly larger (approx. 57″ x 66″).
Step One: Decide on a Layout
I like to use a design wall to lay out my quilt blocks before I sew them together. I have THIS one.
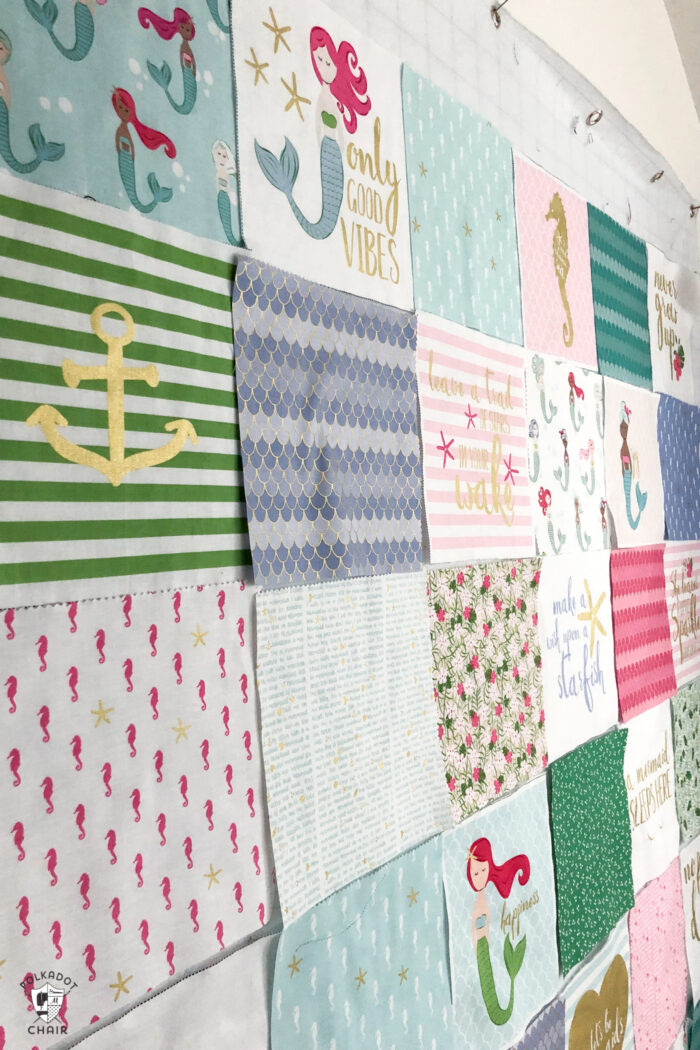
It has two grommets in the corners so you can hang it up and use it then remove it when you’re not using it. I love it an don’t know how I quilted before I had it.
Lay out your squares so that you have 7 rows with 6 squares in each row. As you lay it out try to space out the colors of fabric evenly.

Step Two: Pin
Once you have a layout that you like, pin the squares together by rows.
TIP: Take a photo with your phone before you start incase you forget how you laid it out originally.
Step Three: Sew the Squares Together
Note: If you’re new to quilting, I HIGHLY recommend you check out this post on Quilting Basics. It covers accurate seam allowances and best pressing practices.
Using a 1/4 Seam allowance, stitch the squares in each row together. Be sure to keep your rows labeled (1-7) as you sew.
Press the seams of the odd rows to the left and the even rows to the right.
After your rows are sewn together, begin stitching them together. Keep stitching until you have a completed quilt top.
Step Four: Quilt Finishing
To finish your quilt, you have a million options! I’ve compiled a list of ways to finish a quilt on THIS post. Just visit there for suggestions.
For my quilt, I quilted it on my home machine with a walking foot. I just stitched 1/4″ out from each side of my seams.
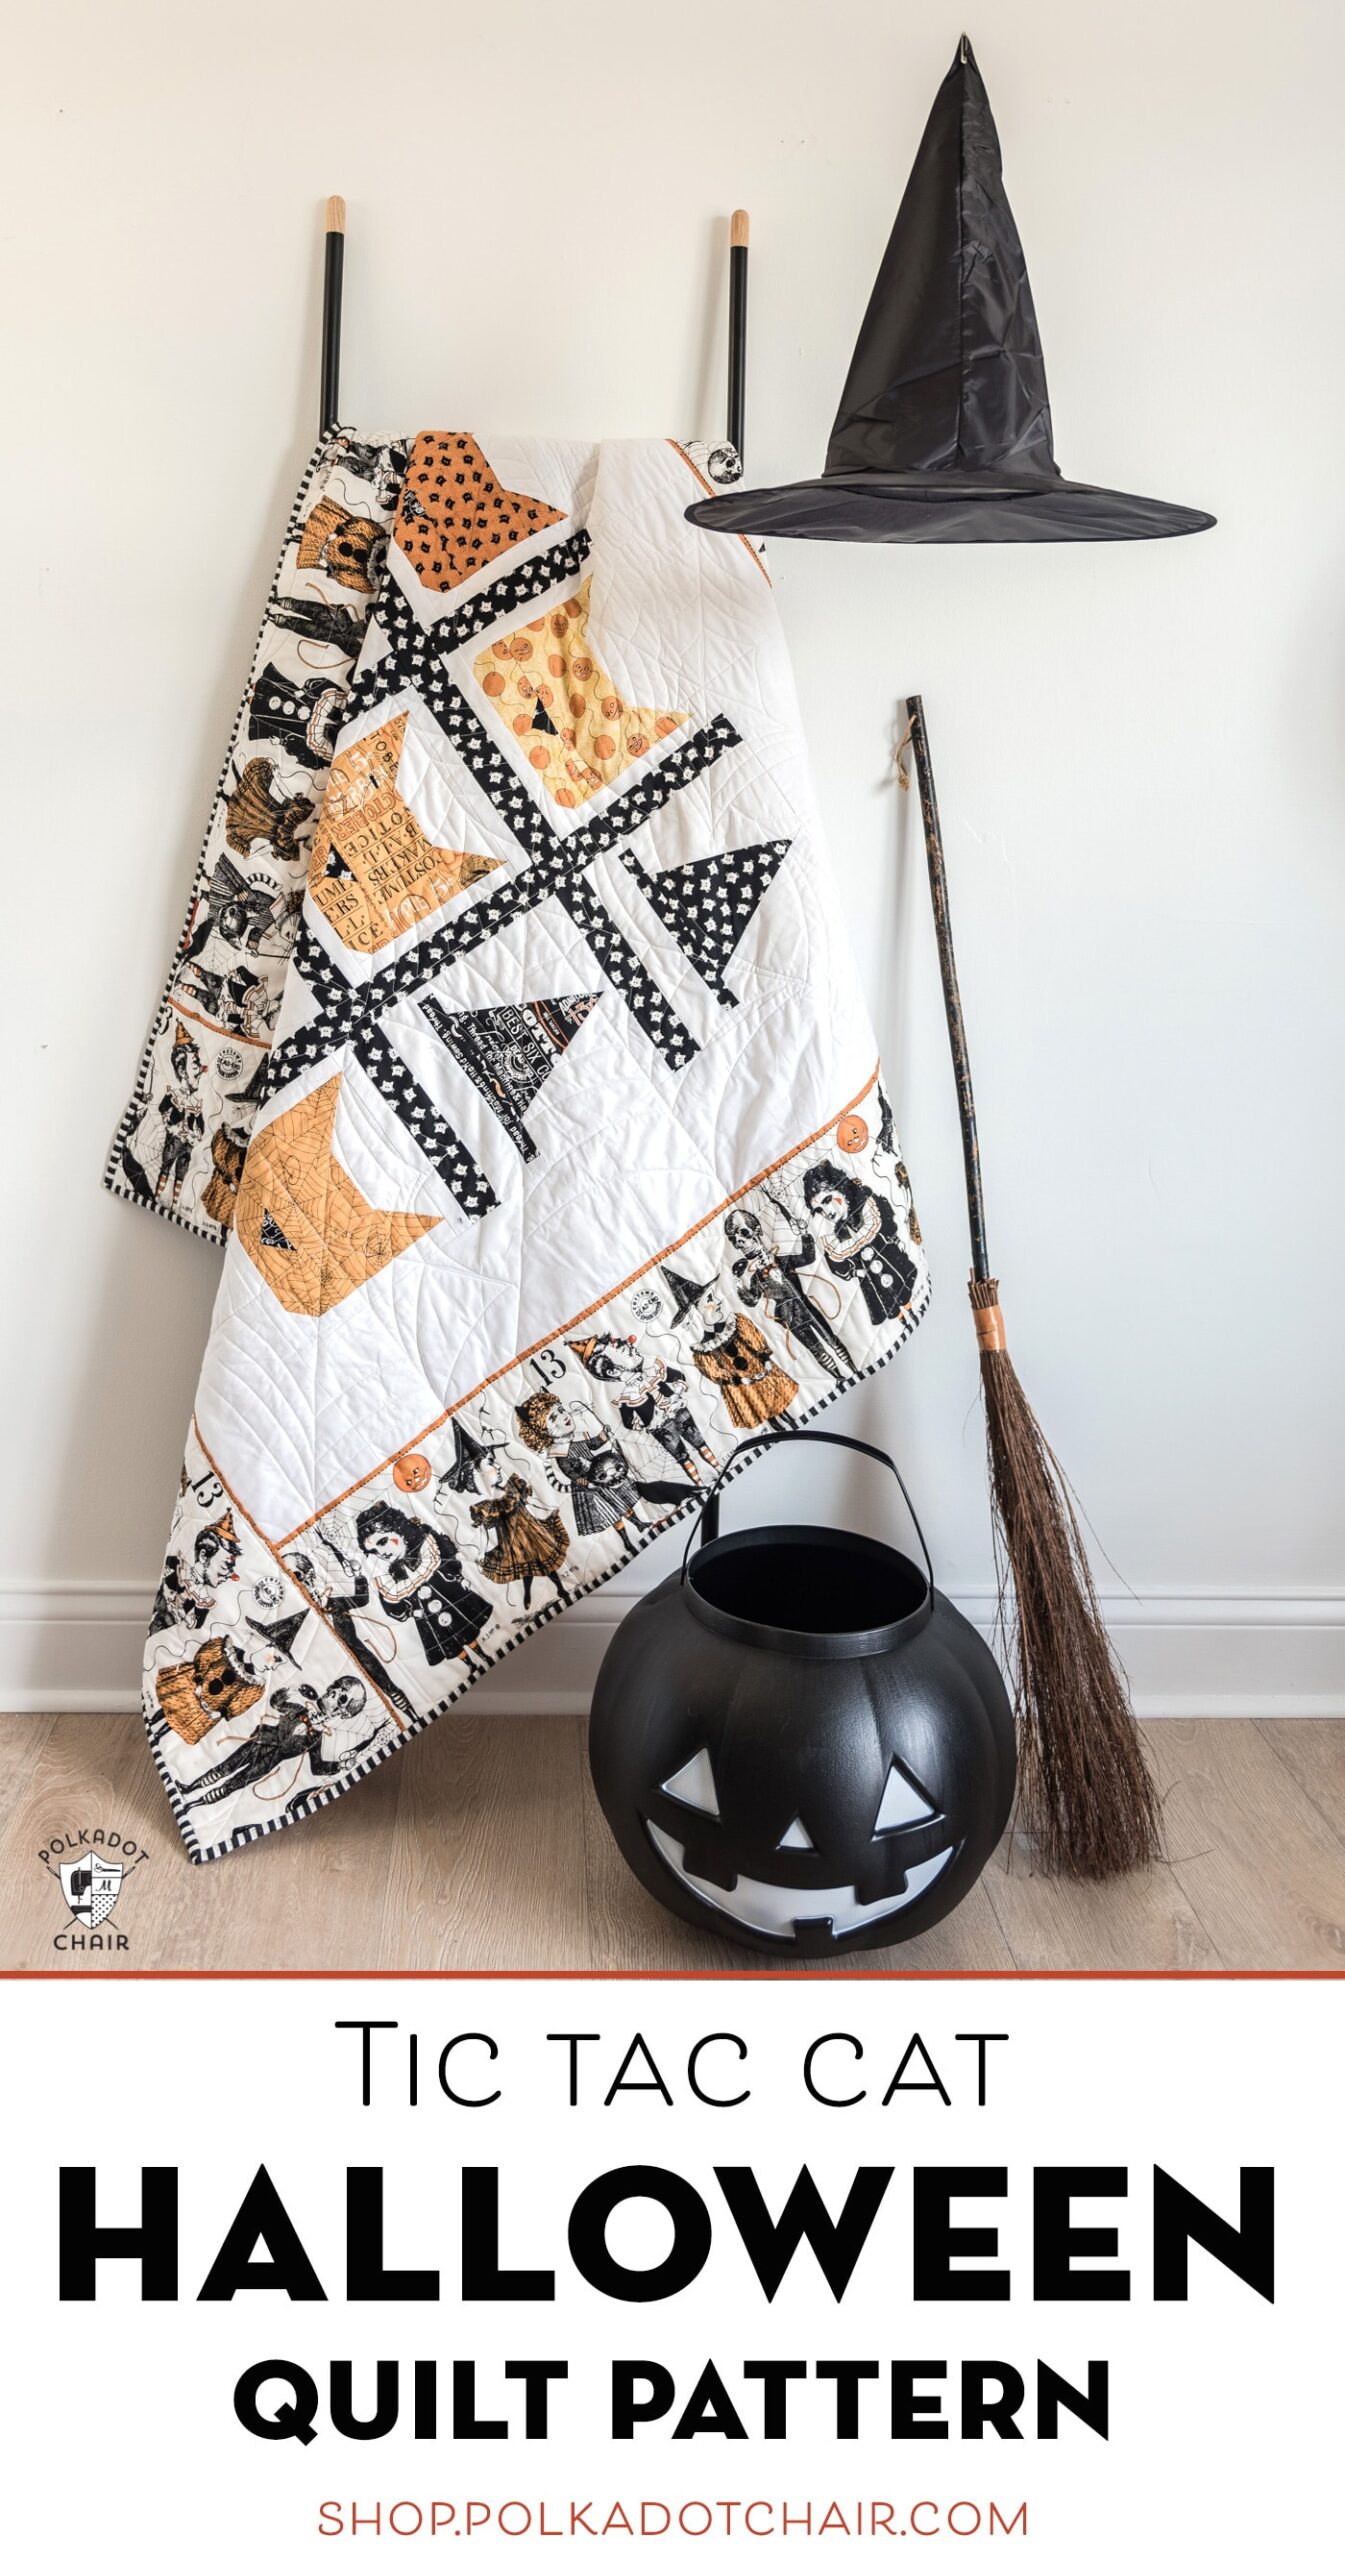
More Simple Quilt Projects to Try:
I’m needing/ wanting to make a baby quilt for a new grandson due in May. I like working with precuts. I’ve only made one and it was so wonky! Please help.
I found a free pattern on your site for materials needed but lost it.
This is the best description I have found for making a beginner quilt. I just want to thank you for taking your time to present it to us. I am disabled and want to do something for my grandkids that they will remember me by and have for a long time. This pattern will help me to fulfill my goal.
Did you cut the twin sheet? What were the measurements?
The design wall Idea is INGENIOUS! I’m about to begin making my first quilt and the idea wall will make laying out my squares so much easier!
My what a sweet quilt, very pretty, love the polkadot on the back.
A wonderful starter quilt for beginners.