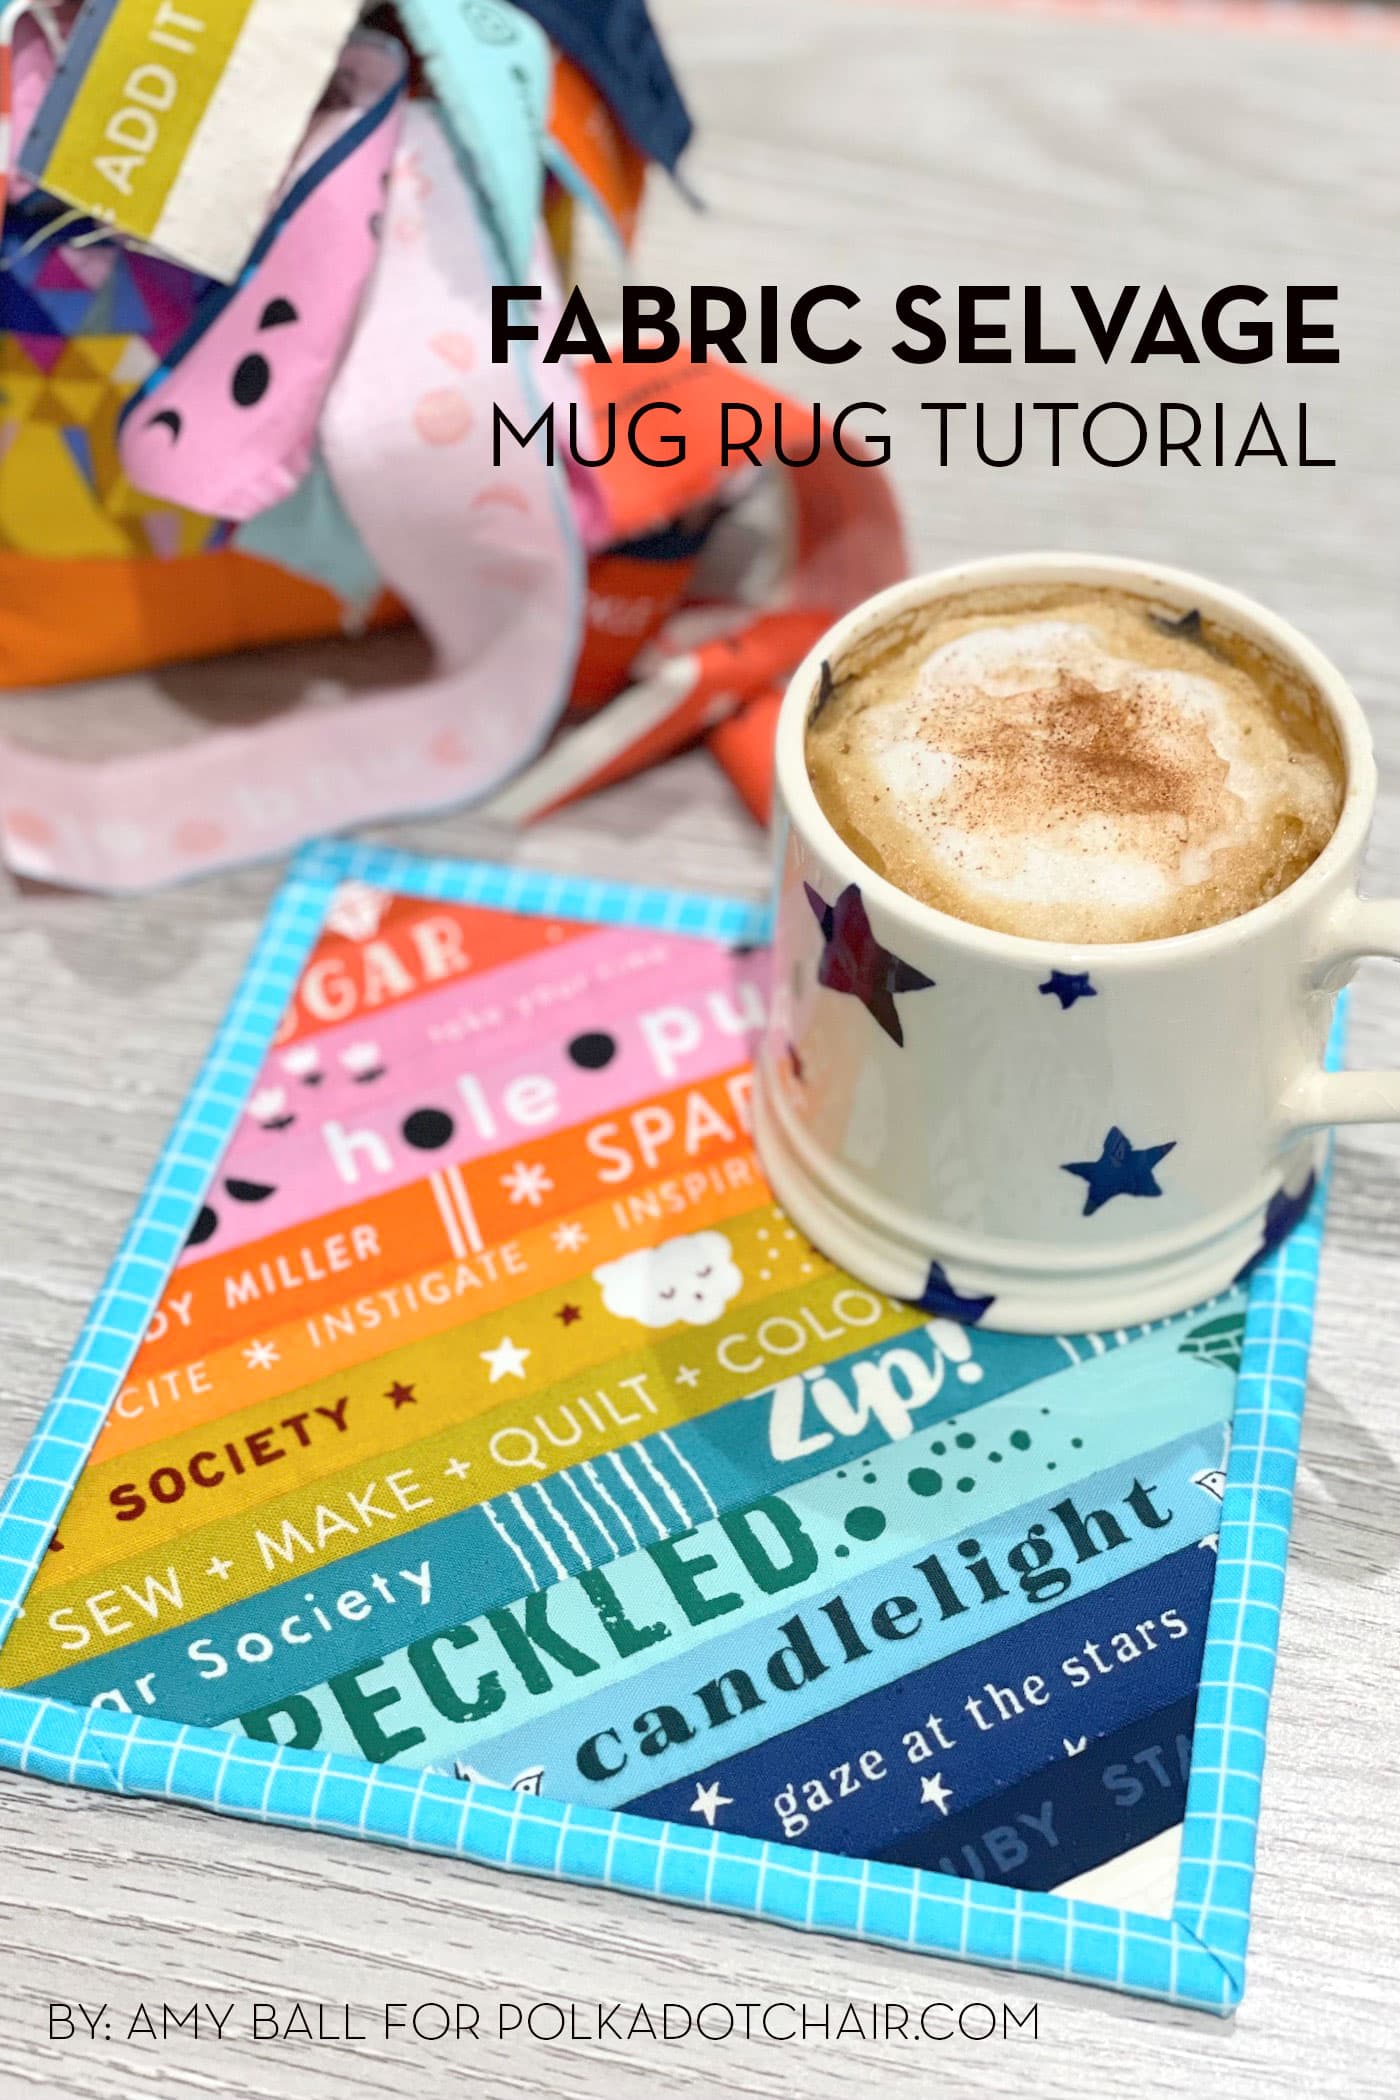
Fabric Flash Mug Rug Pattern
This fabric flash mug rug pattern is made using fabric selvages. They are bright, graphic, and colorful, and it’s a wonderful way to use every scrap of your fabric!
Amy Ball of Coffee Rings Studio is back with us again this year! I know you love her tutorials, and I’m thrilled that she will be continuing to share her talents with all of us.
Last year she created a “pillow of the month” pattern series. This year she will be sharing a Mug Rug pattern every month. Each Mug Rug will feature a different technique, so as the year progresses, you’ll build on your quilting skills and hopefully learn a thing or two!
Why Mug Rugs?
A mug rug is essentially a fabric coaster. They are mostly used on tabletops to hold mugs (hence the name) and other items. Since they are fabric, you can use them like a napkin or a placemat. So you can have a cookie with your coffee, tea, or hot chocolate.

I love mug rugs because they are a “quick fix” for quilting. You can make them in one afternoon—a simple little “quilting win” to add to your project list.
Mug Rug Free Patterns & Skill Highlights
- January: Fabric Flash Mug Rug – Using Selvages
- February: First Edition Mug Rug – Fussy Cutting
- March: English Bloom Mug Rug – English Paper Piecing (EPP)
- April: Coffee Cabin Mug Rug – Binding with Quilt Backing
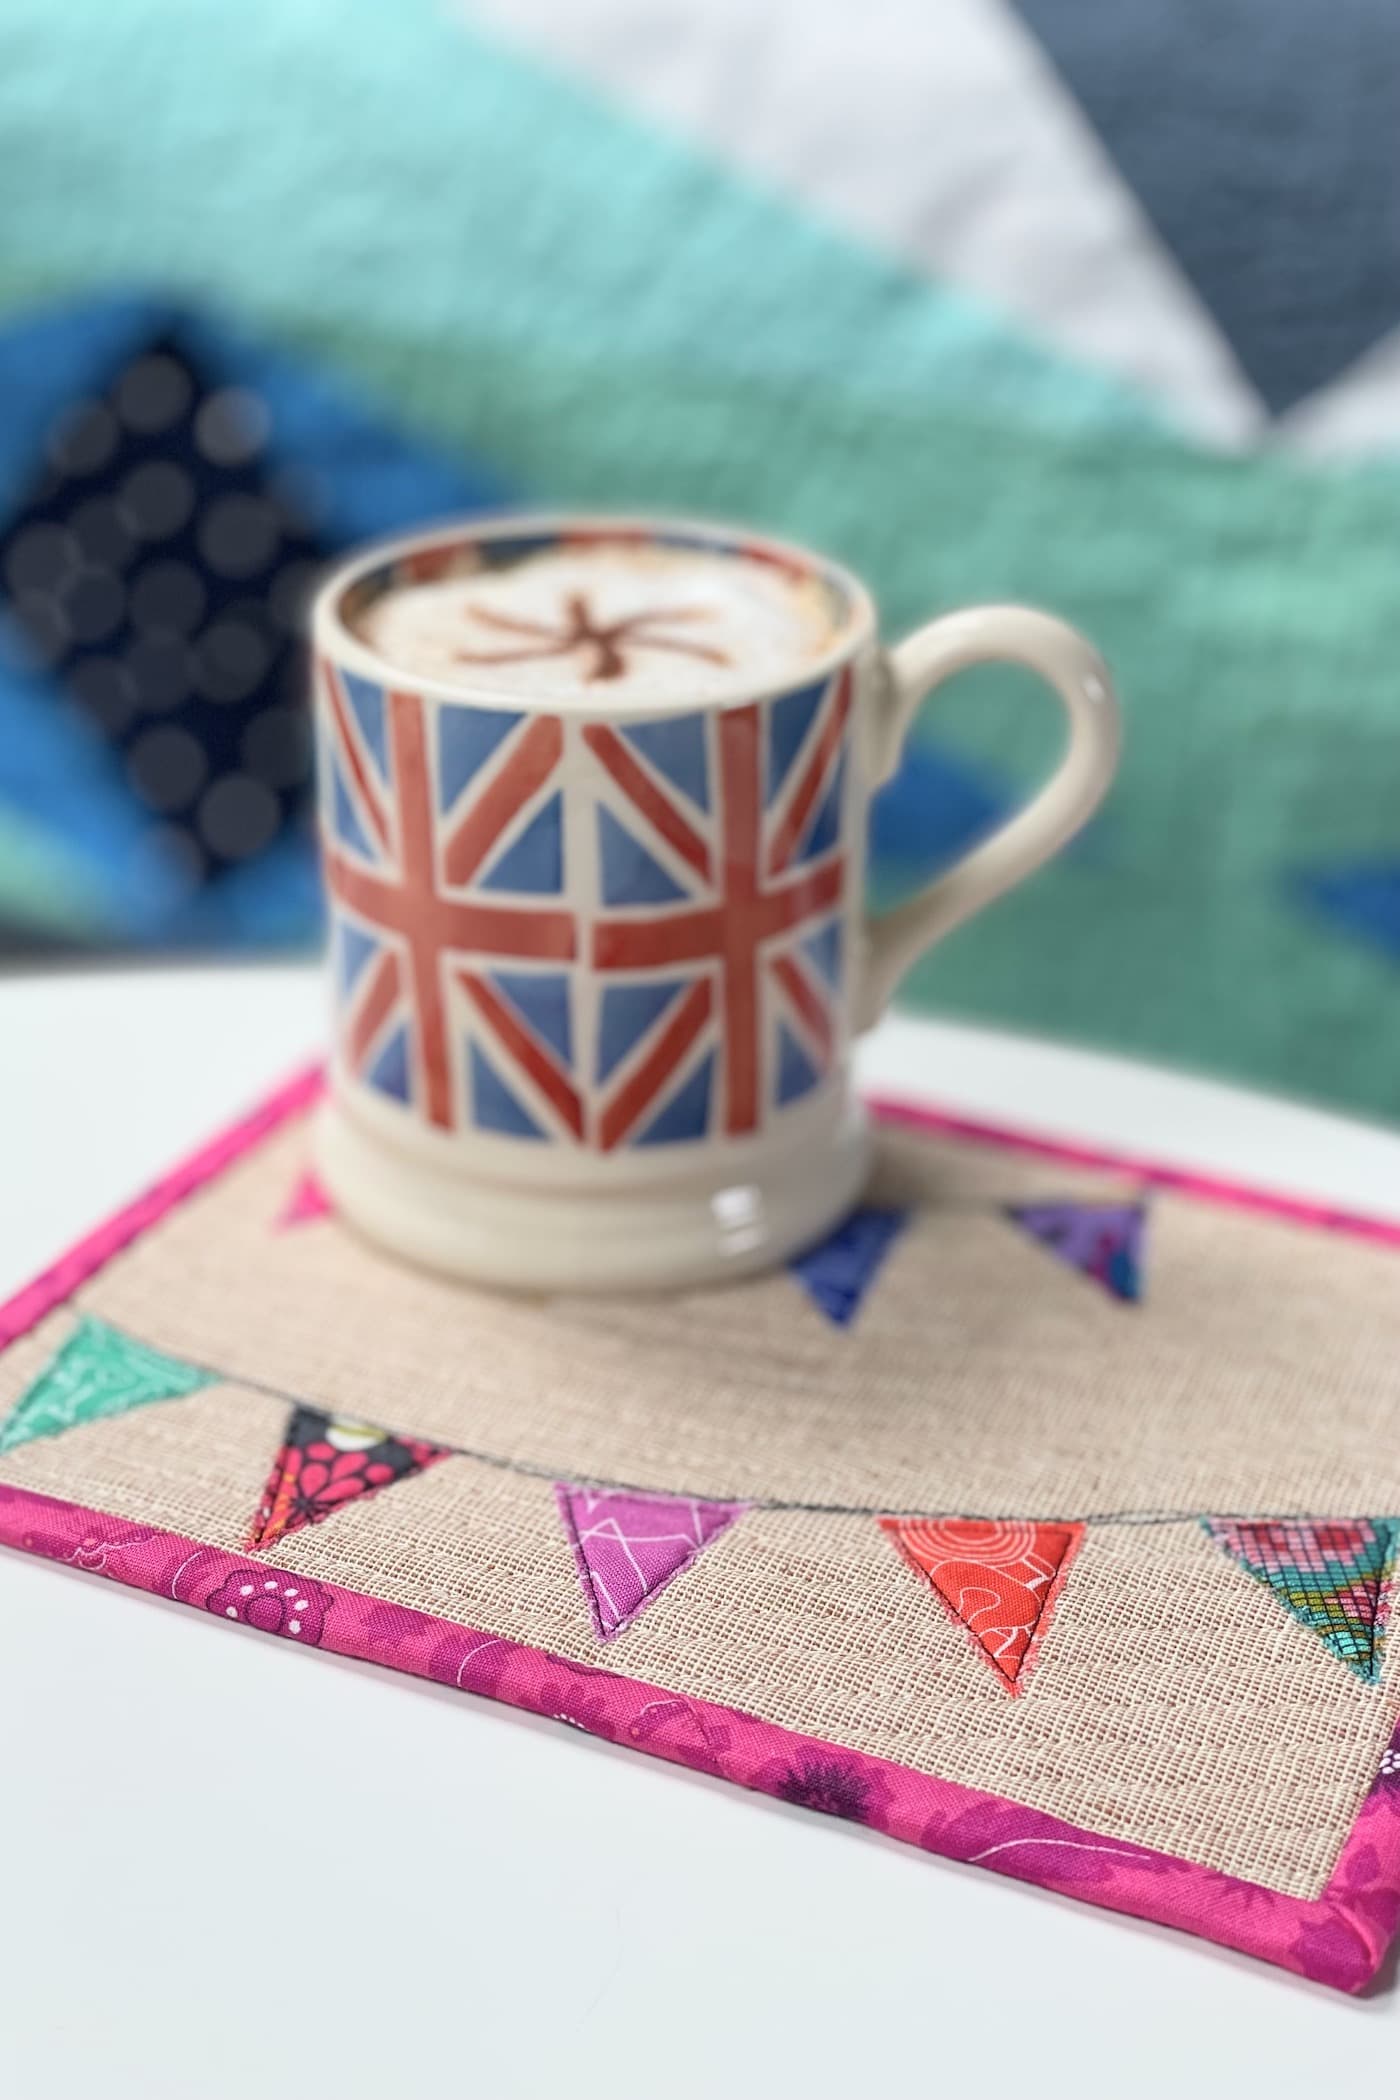
- May: Street Party Bunting – Raw Edge Applique
- June: Big Stitch Mug Rug – Hand Quilting
- July: Summer Sun Mug Rug – Improv Piecing
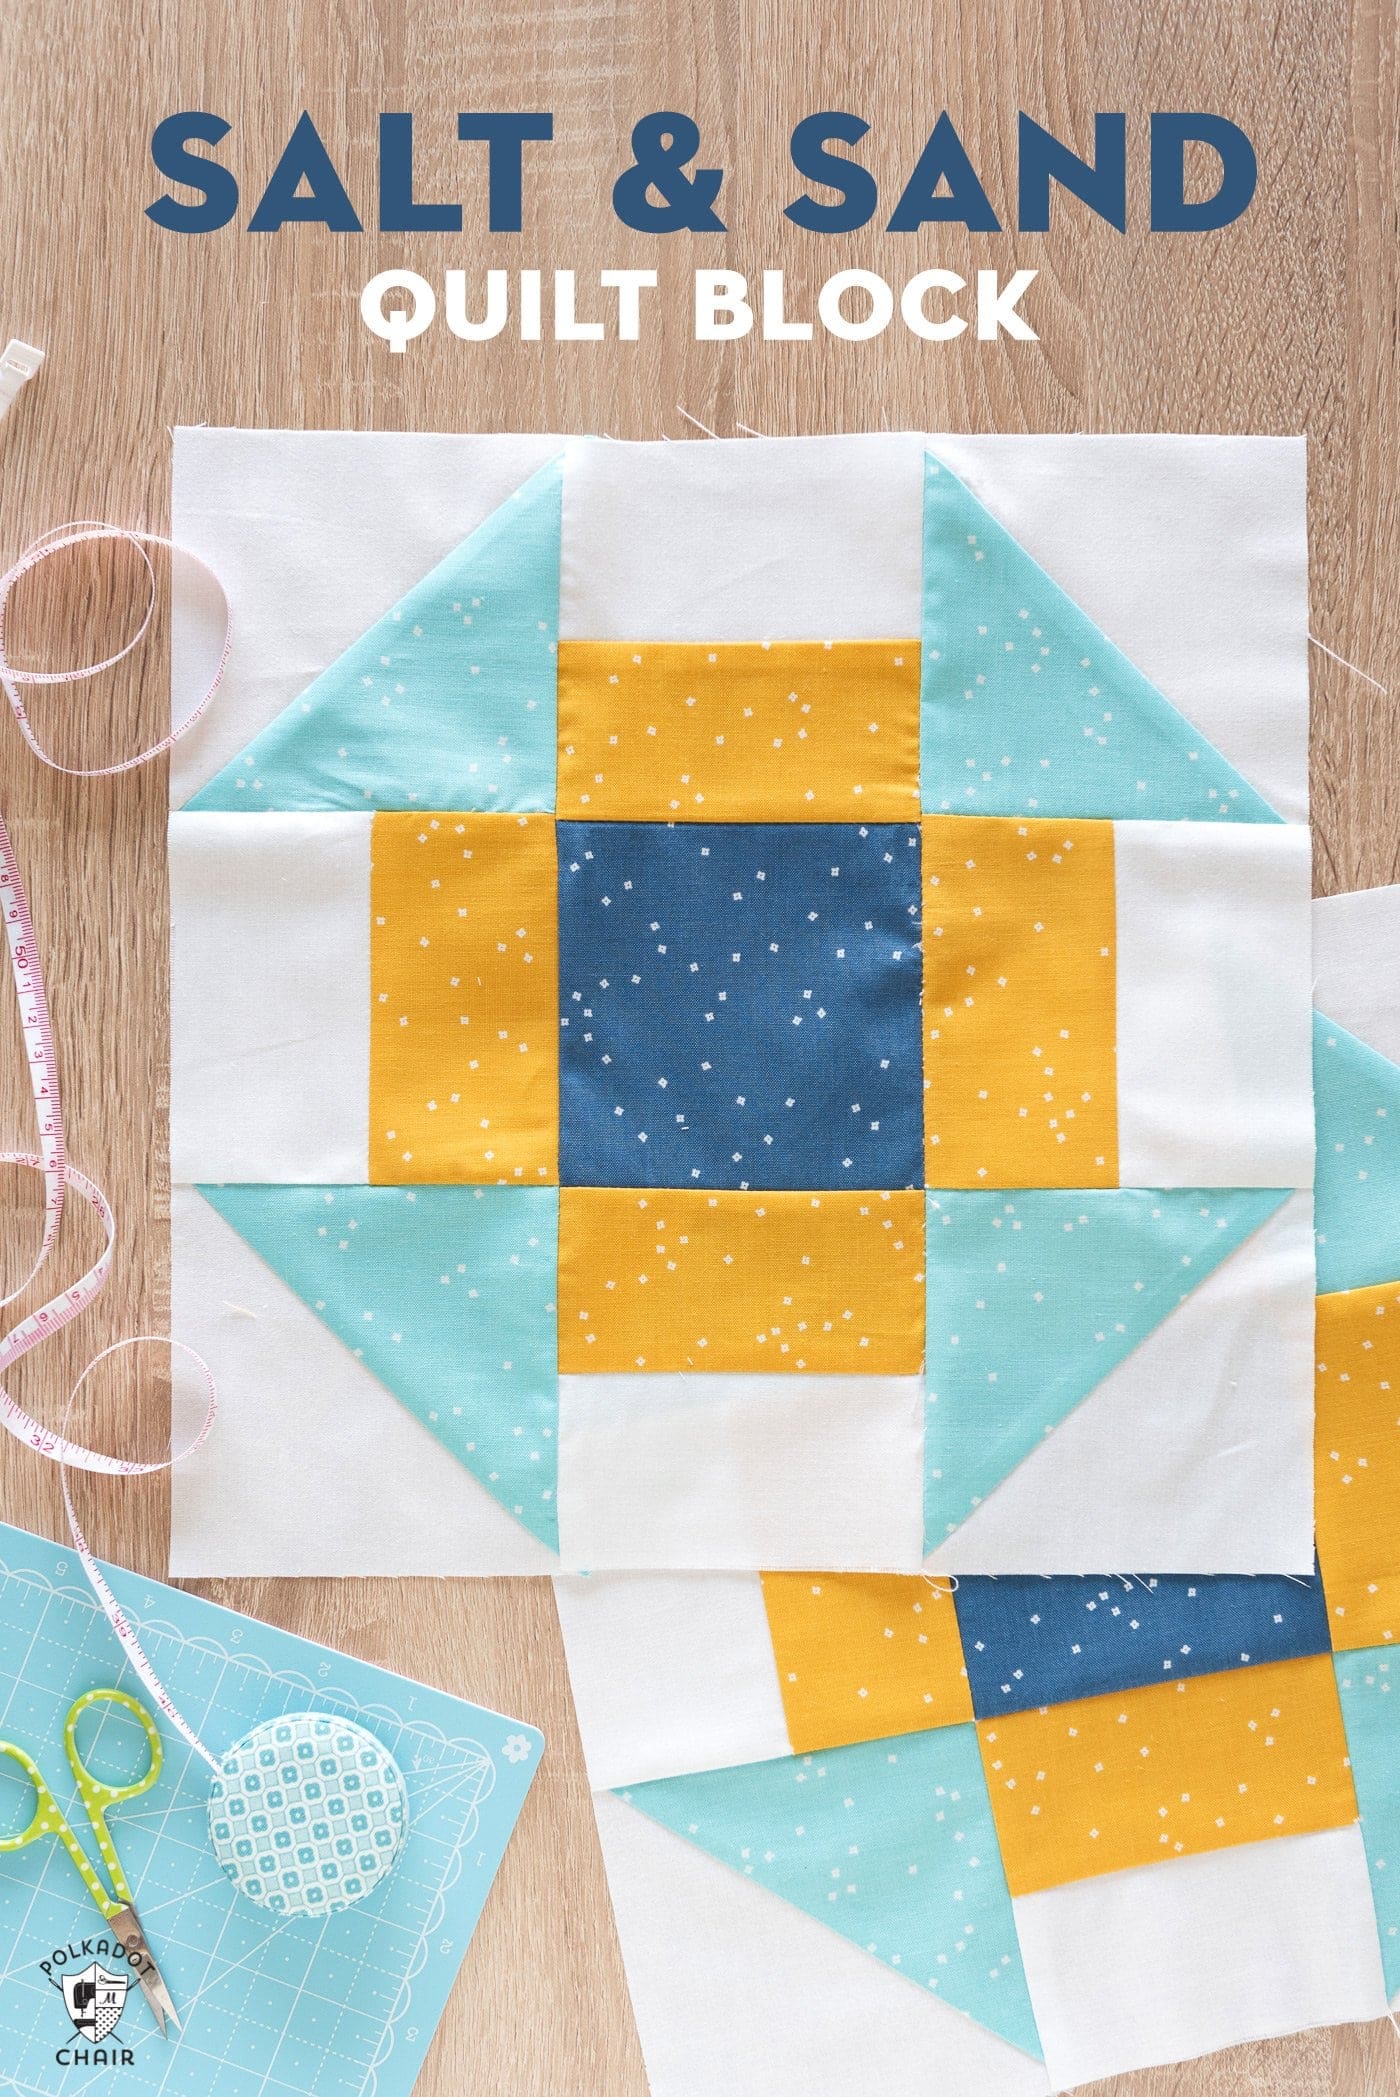
- August: Heart Mug Rug – Patchwork Piecing
- September: Pumpkin Face Mug Rug – Reverse Applique
- October: Cozy Cup Mug Rug – Big Stitch Binding
- November: Christmas Tree Mug Rug – Free Motion Quilting
Selvage Mug Rug Tutorial
January is the classic time of year to declutter but I thought for my first “Mug Rug of the Month,” it would be fun to make use of some “extra” scrap fabrics rather than removing them from our sewing space.
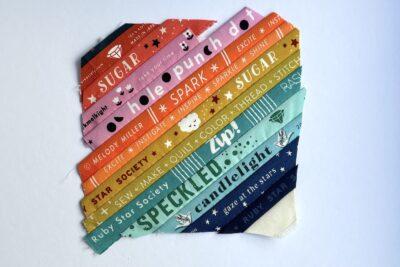
It seems to have become a trend for designers to make the fabric selvedge (selvage) as beautiful as the fabric print. This means that they can give you lovely thin strips that are perfect for a small, scrappy project like a mug rug.
What is Fabric Selvage?
But what is fabric selvedge (selvage)? The term comes from the original phrase “self-edge” which has been used in woven fabric production since the 16th Century. Essentially it is the vertical edges of fabric that are woven in a way that means they don’t fray.
On fabric prints, they might also include information like the manufacturer’s name, the fabric designer’s name, the fabric collection and print name, and the colors used within the print.
Some designers make more of a thing of their fabric selvage (selvage) than others but they are always fun for a small project, even if they only have simple text and color guides on them.
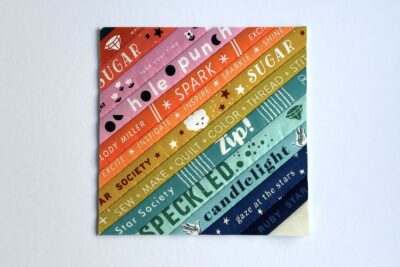
Fabric Flash Mug Rug Pattern
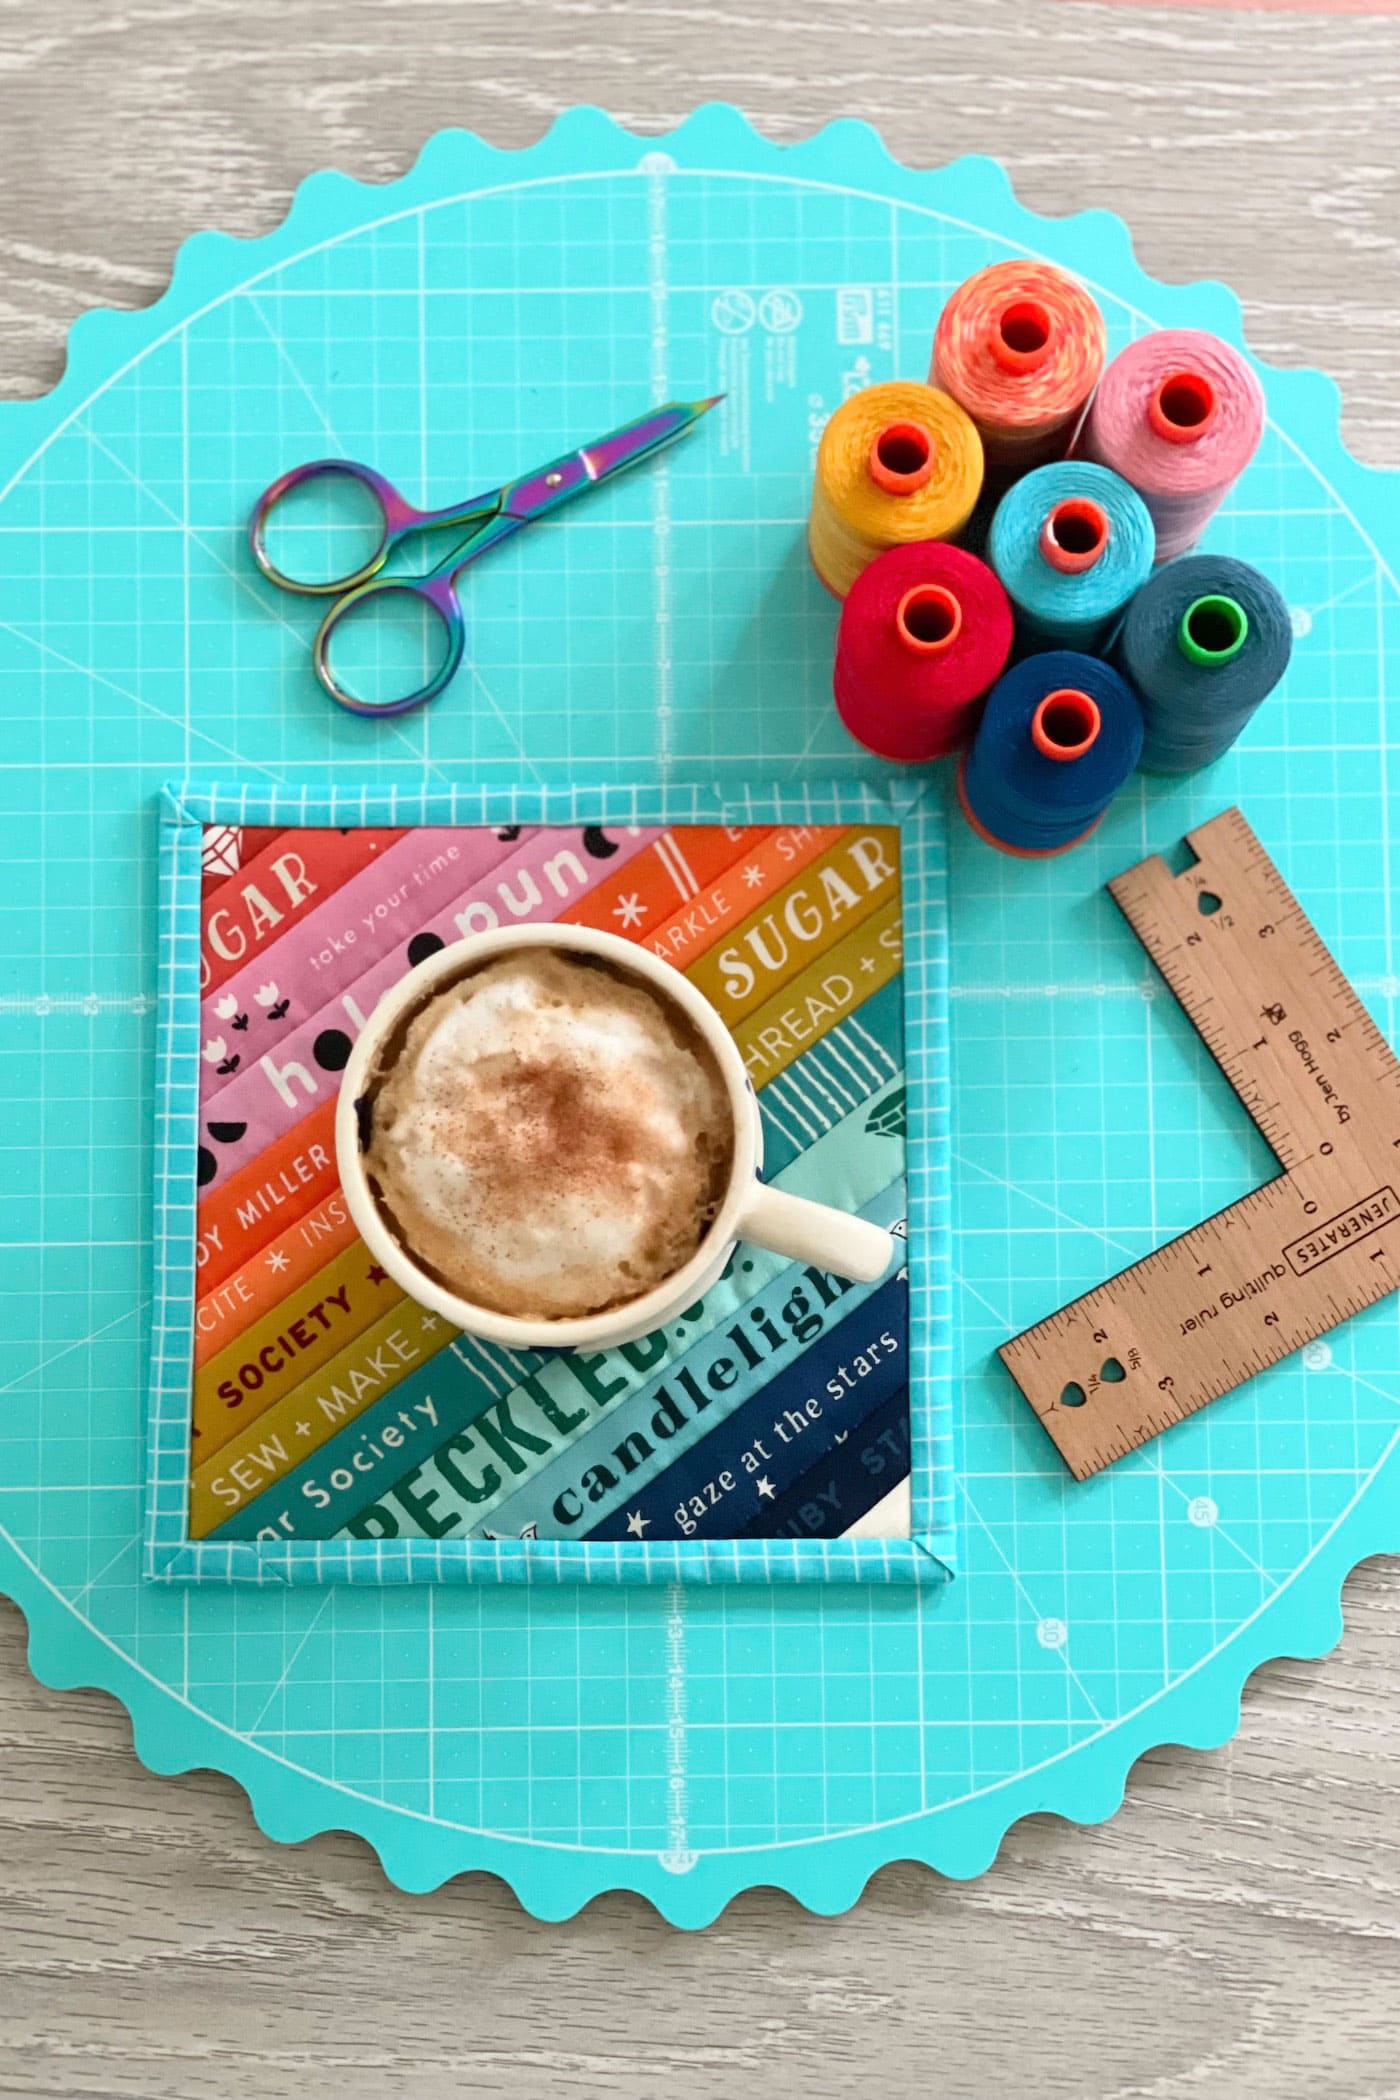
Equipment
supplies
- 13-15 pieces Selection of fabric selvedge edges
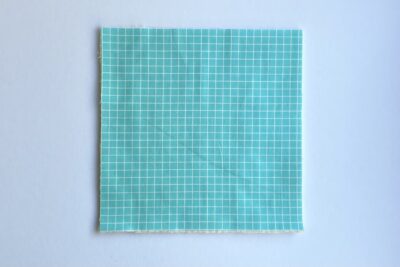
- 1 fat quarter Fabric for backing and binding
- 1 piece Batting 6½” x 6½”
Instructions
Cutting:
- From backing/binding fabric cut 6½” square (1), and WOF x 2¼” (2).
- If you need to cut some selvedge off fabric pieces to have enough for this project cut them in the same way you would a fabric strip and try to leave ¼” of the main fabric on the edge of the decorative selvedge.This gives the selvedge a seam allowance; don’t worry if you already have selvedges that have been cut closer than this, the project will still look grea).
Construction: Use a ¼” seam allowance unless otherwise stated.
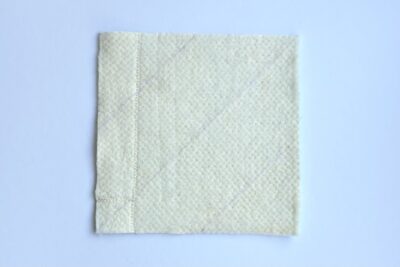
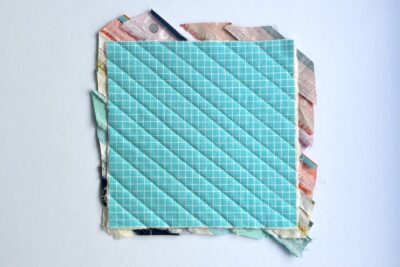
- Take the batting square and baste it to the wrong side of the backing 6½” square.

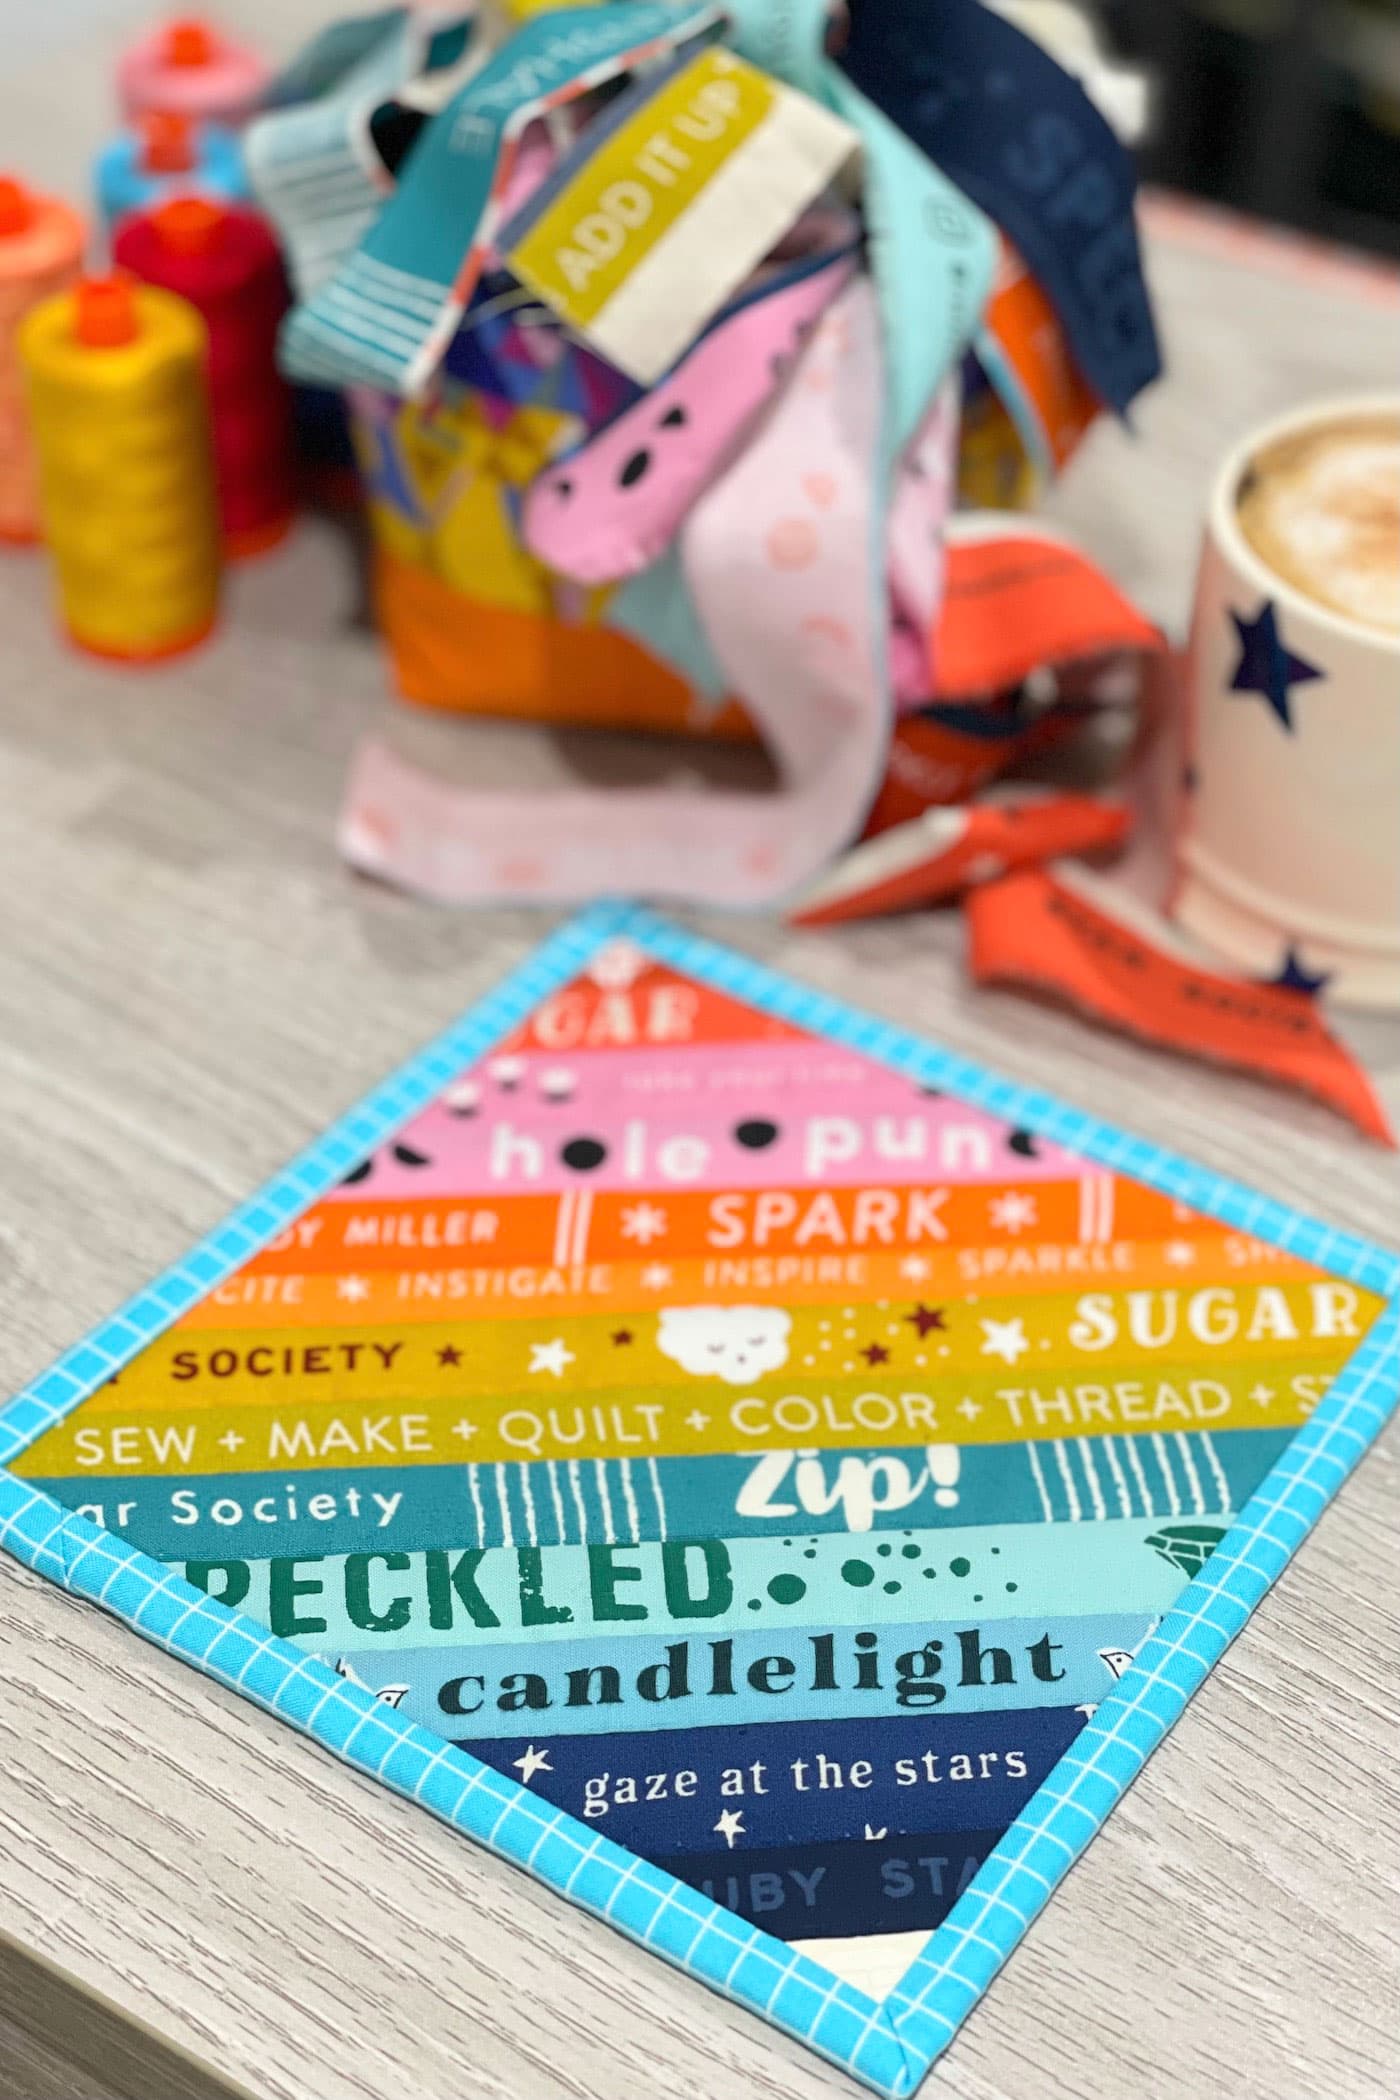
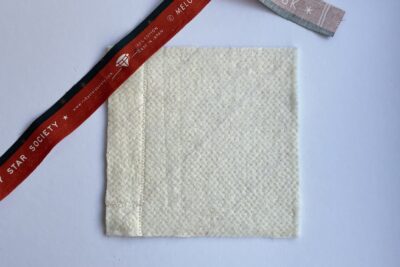
- Lay out your selvedge strips to work out the order you want to place them. I’m putting mine in rainbow colour order. Take this chance to look at the details on each selvedge too; you’ll only be using a short length so you might want to position some strips to highlight certain decorative features.
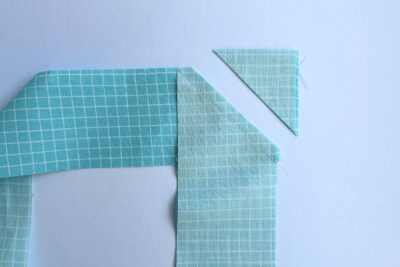
- Draw three 45° lines on the batting. These will be a guide for the angle to sew the selvedge strips. The lines will be completely covered in the end so they don’t need to be perfectly spaced.
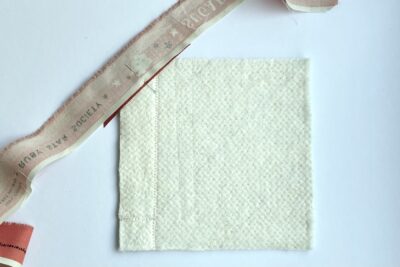
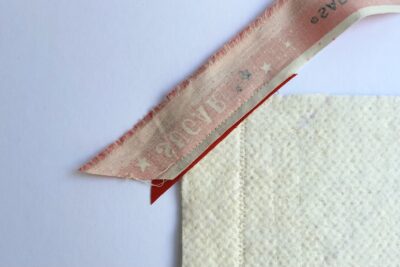
- Pin the first selvedge strip to the top left corner of the batting, making sure it extends a little beyond the edges of the batting and using the drawn lines as a guide for the angle.
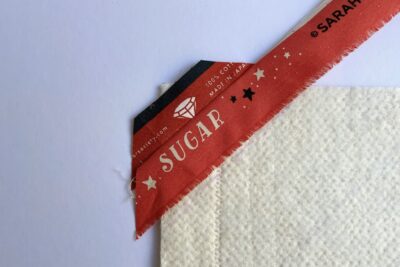
- Pin the next selvedge strip right sides together with the first one. The bottom edges don’t need to match up. It’s more important to think about the parts of the selvedge you want to hide inside the seam allowance (e.g. any element of the main fabric or production marks/holes).
- Sew in place. t
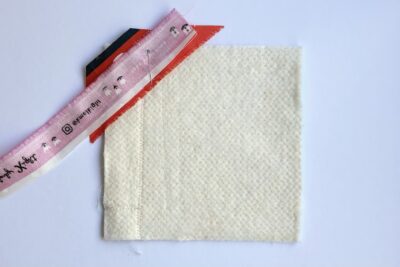
- hen press open so you can see the right side of both of the selvedge strips.
- Now pin the next selvedge strip right sides together to the one from the previous step.
- then sew in place and press open as before.
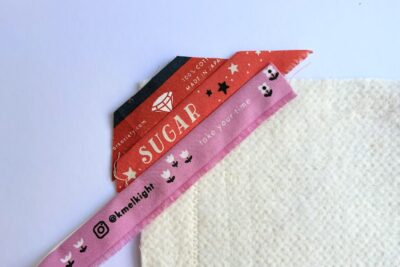
- Continue like this until all of the batting square has been covered. Remember that the selvedge strips don’t need to be the same widths (in fact it can look better if they aren’t!) so it’s OK to overlap the edges by different amounts and use a seam allowance that’s more or less than the regular ¼”.
- The more important thing is to make sure the parts that you don’t want to see are hidden within the seam allowance and the parts you want on view are beyond the seam allowance.
- Press well then trim off all the excess fabric and square up your mug rug if required.
Finishing:
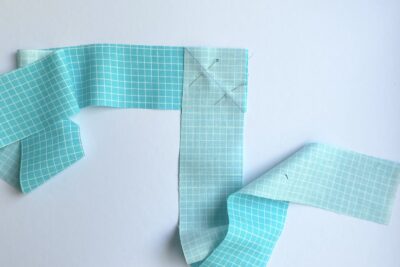
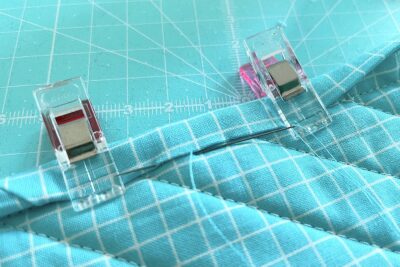
- Take two binding fabric WOF (width of fabric) x 2¼” strips. Draw a 45° line on the wrong side of one strip, at the top corner from top left to bottom right (as shown in the guide photo). Then pin this to the second strip, right sides together, so the strips are at a right angle to each other.
- Sew along the drawn line then trim off the excess corner fabric with a ¼” seam allowance and press to create one long strip.
- Fold the strip in half along the full length (wrong sides together) and press.
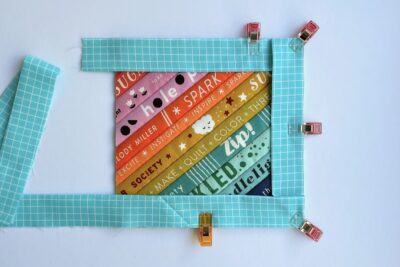
- Pin/clip the binding in place on the front, round the mug rug edges, with the raw edges of the binding and raw edge of the mug rug matching up. [TIP: Clip the binding around all four edges before you start sewing to make sure the seam line from when you joined the two strips isn’t going to be close to any of the corners as this would create too much bulk; ideally you want the binding seams to be close to the middle of two edges.]
- Sew the binding to the front of the mug rug using a ¼” seam allowance, in the same way you would add binding to a quilt top. Take your time to give the four corners neat mitres.
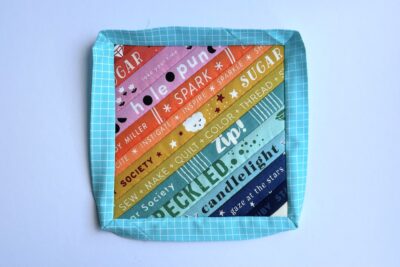
- Fold and press the binding round to the back.
- Pin/clip in place making sure your mitred corners are nice and neat and hand sew the binding in place.
- Make a hot drink and enjoy your new Fabric Flash mug rug!

About the Designer

Amy lives in the north of England with her husband and son. When she’s not sewing and quilting, Amy can usually be found baking or reading. You can find her on Instagram @amyatthegate
Also By Amy:

Seams Perfect | Create spot on patchwork seams with precision and confidence.
Become a Block Boss | Your Ultimate Patchwork Block Handbook
I love this idea, but have never seen these kind of selvages! Where can I get those fabrics? Thx, Andrea
Thank You Melissa and Amy for this cute mug rug tutorial, can’t wait to try it!