Improv Quilt Block Needlecase Pattern
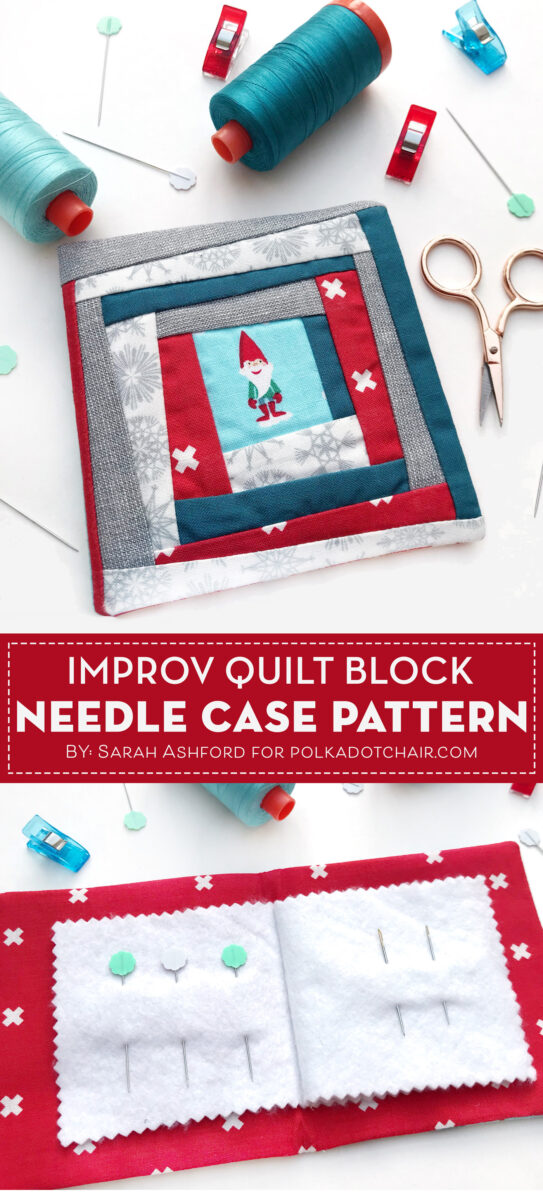
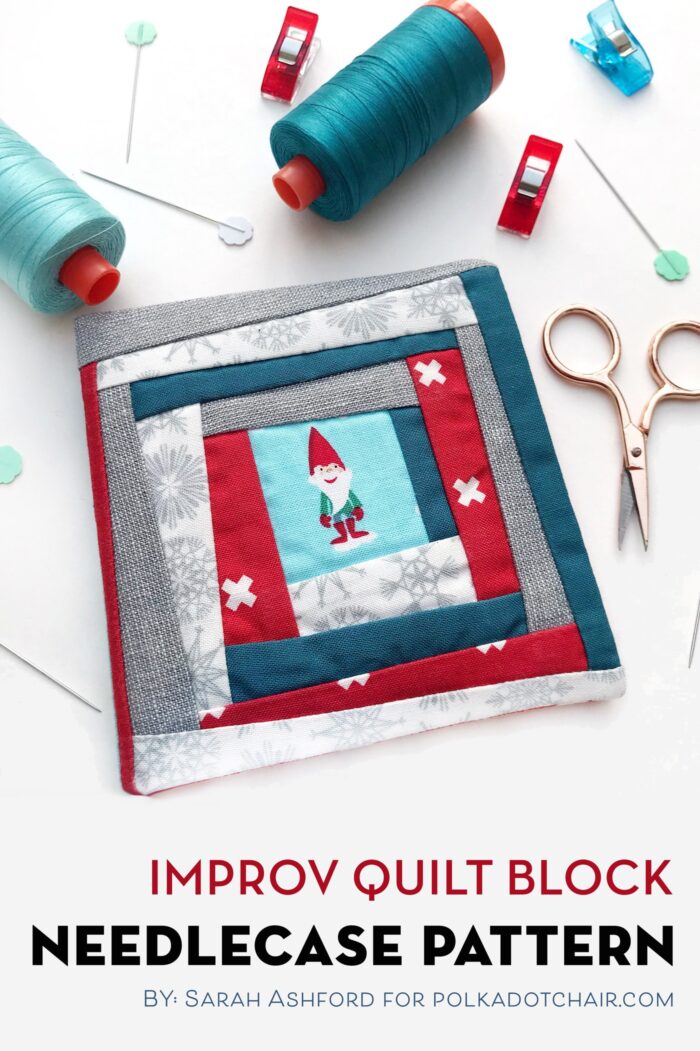
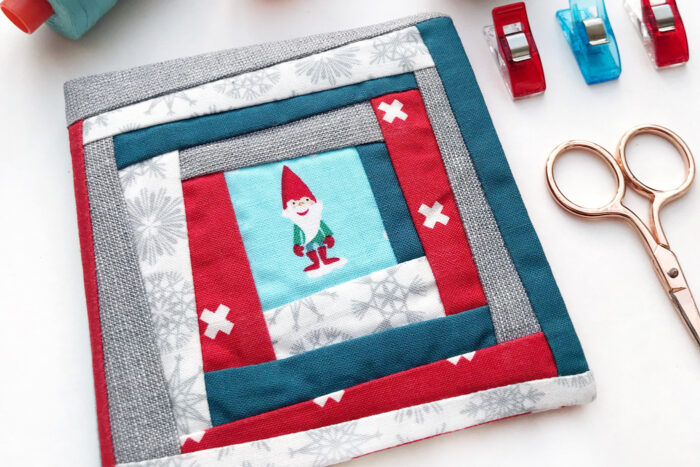
A needlecase stitched up from this sweet Improv Block Needle Case Pattern by Sarah Ashford would make an adorable gift for a friend or family member that loves to sew! It’s a small fabric book with felt “pages” perfect for holding needles! No more lost needles (at least in theory *wink*).
We’ve all done it. We have extravagant plans for homemade Christmas gifts, but our good intentions to start making in July often go awry and more often than not it’s a last-minute scramble at the sewing machine to whip up something quickly. Well, that’s me anyway!
So I thought it would be fun to design a small project that you can stitch and complete in an evening, that will be the perfect stocking filler or last-minute gift for a friend who loves to sew.
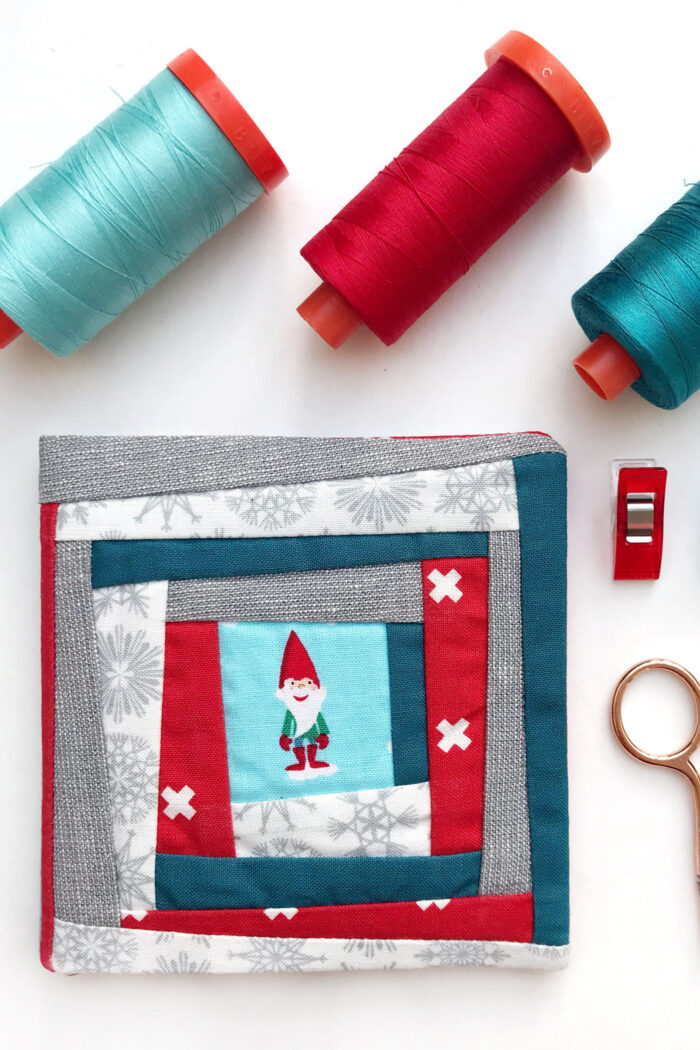
I love Christmas fabric and with all those cute motifs, it’s the perfect excuse for fussy cutting. I just adore these little Christmas Elves, so I just had to make one of the star of the show in this festive needle case pattern.
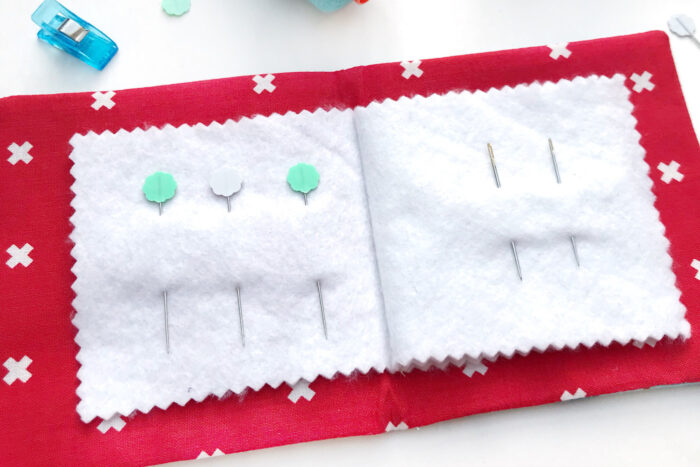
The other great thing about this project is there’s not much measuring, which takes the stress out of trying to match points and corners when you’re on a deadline! It’s one of the great things about Improv Quilt Blocks.
I hope you have as much fun stitching up one of these as I did making this one.
Improv Quilt Block Needle Case Pattern:
[printfriendly]
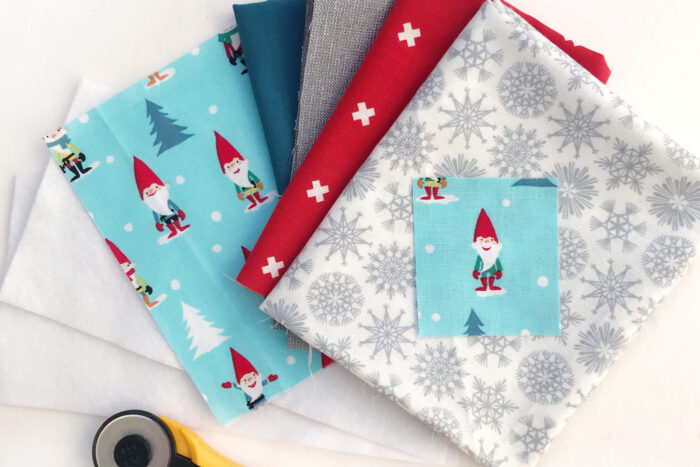
Needle Case Pattern Supplies:
- Fat eighths/scraps of approximately 5 different fabrics, including one fabric you can fussy cut 5” square back panel fabric (I’ve used my fussy cut fabric)
- 9 1/2” x 5” inside fabric
- 9” x 4 1/2” lightweight interfacing
- 2 pieces 7” x 3 1/2” felt in a coordinating color
- Pinking sheers
- Usual sewing supplies (Rotary cutter, mat, ruler, sewing machine, thread etc.)
TOP TIP:
A smaller rotary cutter is really useful for this project as you’re working on quite a small scale. Don’t worry if you don’t have one, but it does make cutting easier.
Step One: Create the Center of the Block
First, cut out the central motif. This needs to be approximately 2” square, but don’t cut it square, cut it so that some edges are at an angle, a bit like this.
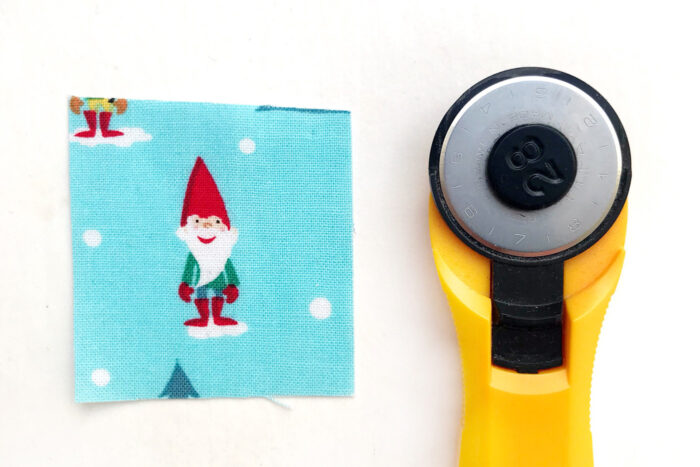
Remember this is improv, so we aren’t looking for perfect right angles, we want it to be a little bit wonky!
Next cut a strip from one of your fabrics, about 3” long and about 1” wide. Stitch to the side of the central motif using a 1/4” seam and open out and press.
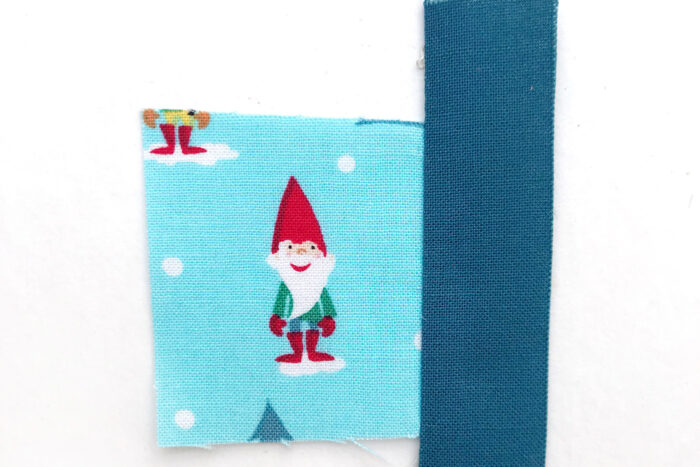
Trim off the excess at the top and bottom and trim the strip very slightly so that it’s on an angle. Don’t trim too much off though as you need to leave a seam allowance.
Add the next strip to the bottom of the motif in the same way. Open out, press and trim.
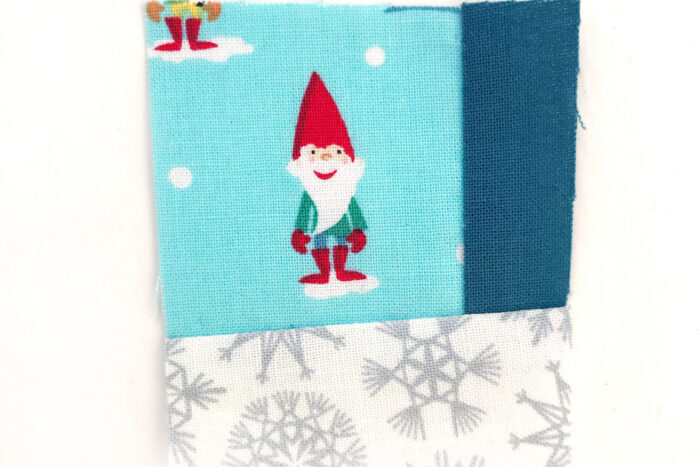
Keep adding strips in this way, going around and around until you have a piece that is approximately 6” square.
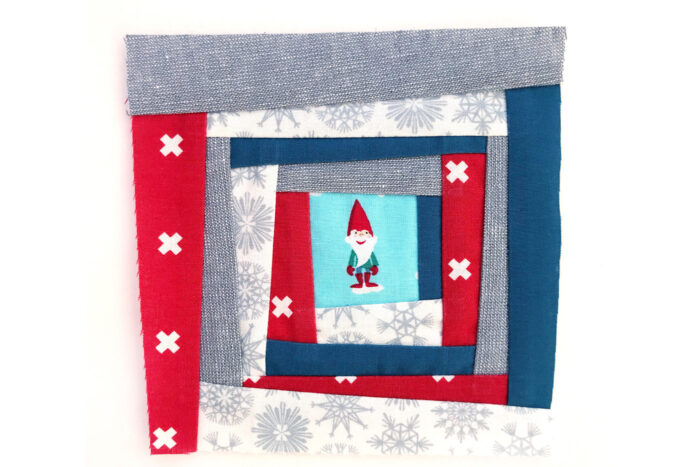
Step Two: Trim
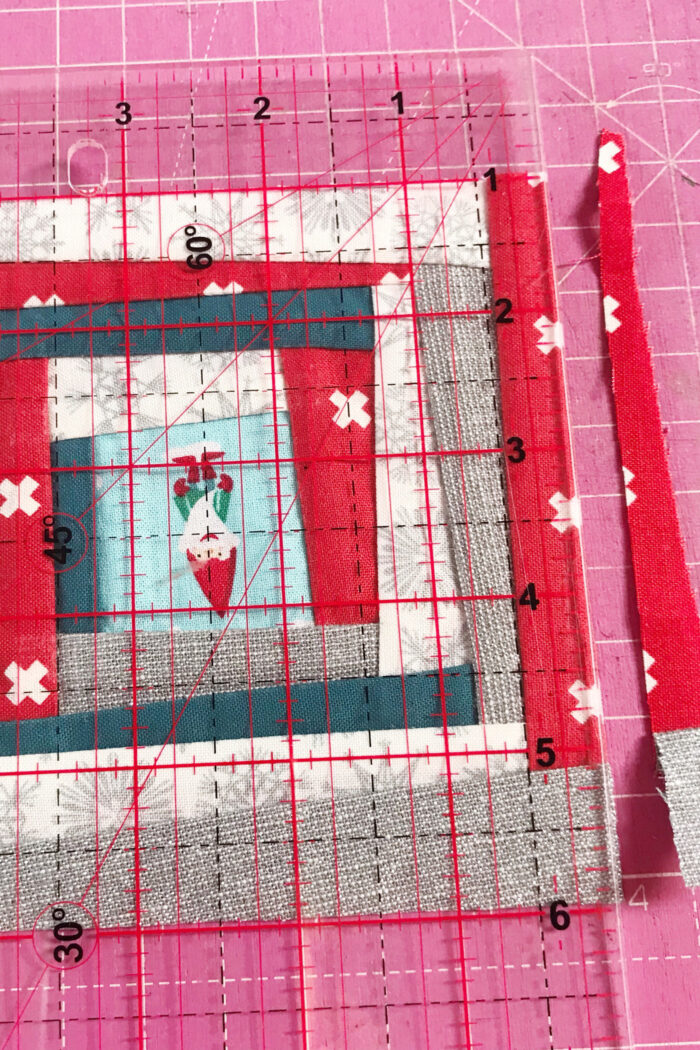
Now we need to trim it to 5” square finished. We do need to measure this time! Place your ruler on the block with the 2 1/2” position in the center of the motif. Trim on the right side of the block.
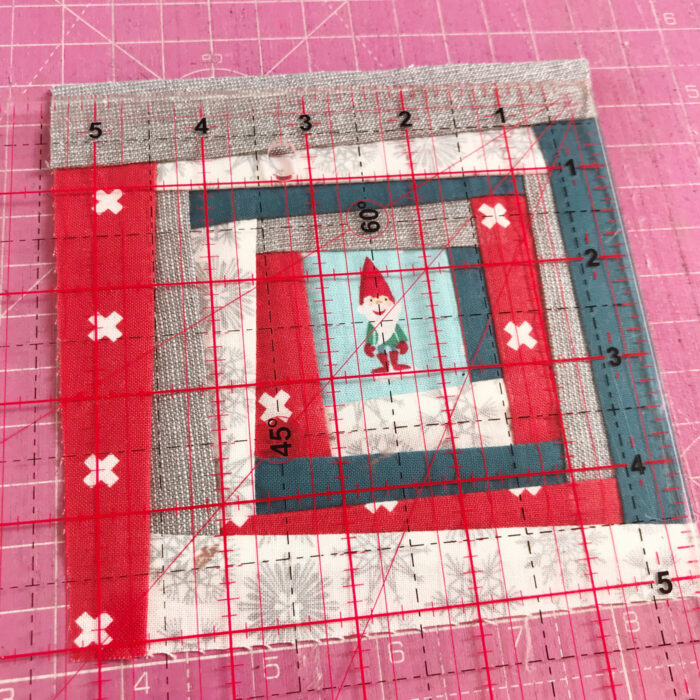
Then rotate 180 degrees and line it up again so that the 5” mark is lined up with the left-hand side and trim the right-hand side. Repeat on the other two sides to complete the 5” square.
Take the finished block and stitch the back panel to the left of the block.
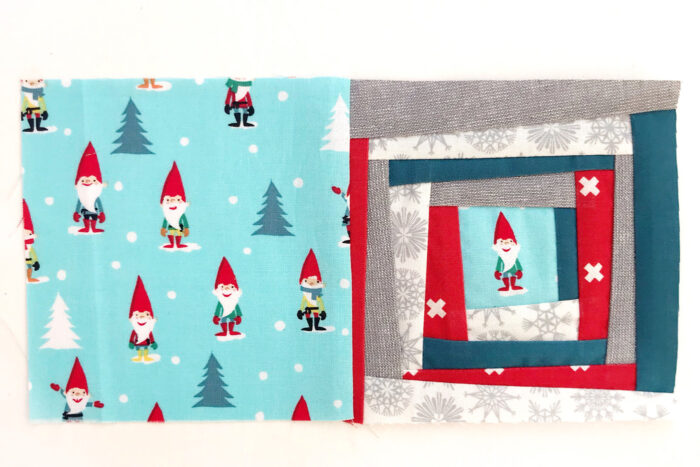
Step Three: Interfacing
Now take the interfacing and fuse it to these two blocks according to the manufacturer’s instructions. This will just add a little stability to the needle case pattern.
Step Four: Sew Needle Case
Take the front and back panels that you’ve just interfaced with and place face up. Take the lining fabric and place face down on top, using binding clips to secure it in place. Leave a 3” gap at the bottom for turning. Stitch all the way around using a 1/4” seam and clip the corners.
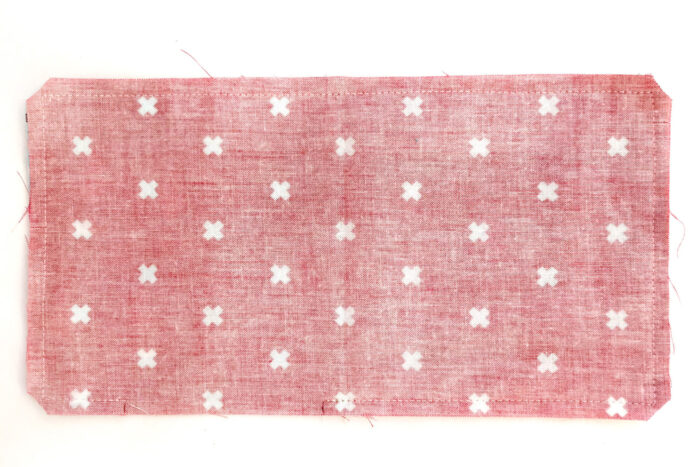
Turn the needle case right side out and push out the corners using something long and pointy, like a knitting needle. Stitch the gap closed and iron flat.
Step Five: Add the Felt “Pages” to Needle Case
Now fold the needle cover in half and press to create the fold.
Take the two pieces of white felt and using pinking sheers, zig-zag the edges for a pretty finish.
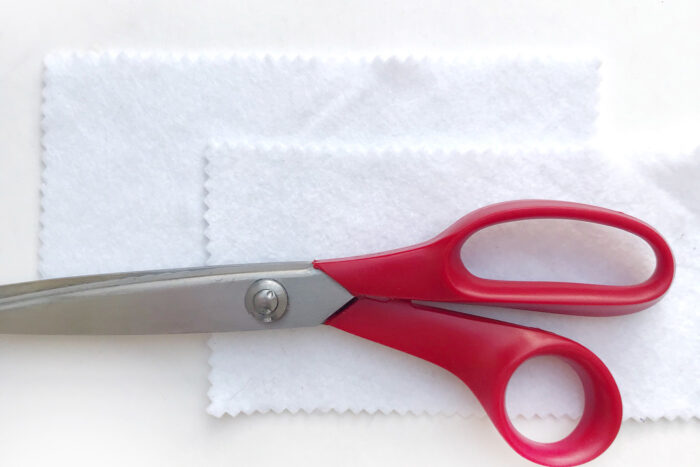
Place the two felt pieces on top of the inside of the case, and pin in place centrally. Use a hera marker to score a line down the middle.
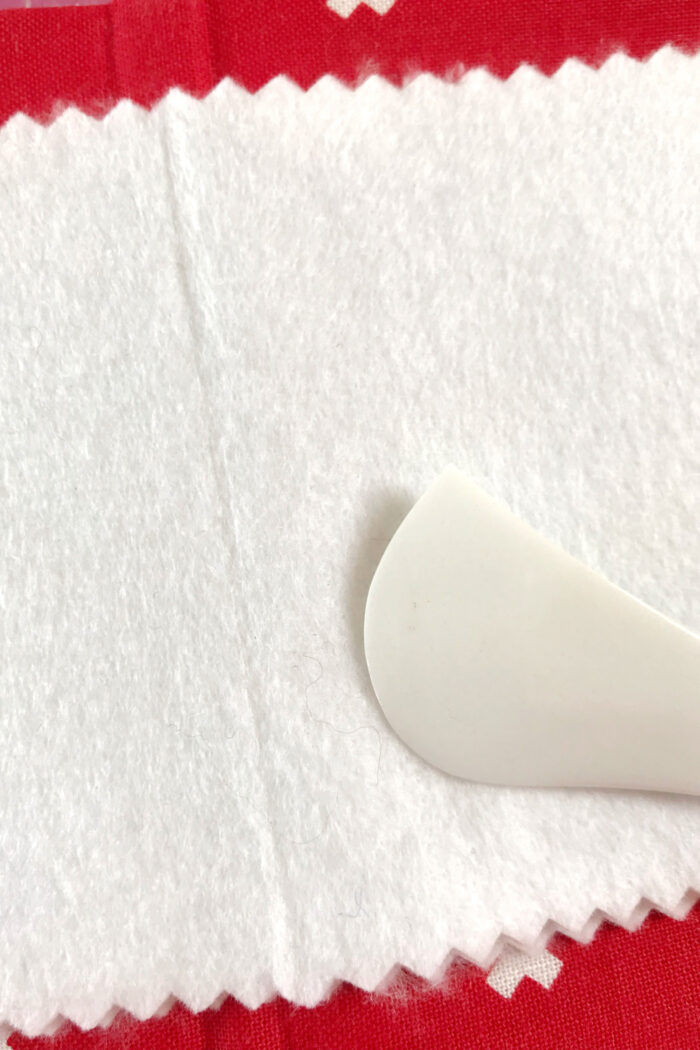
Stitch down this line and tie off at the top and bottom to complete your needle case.
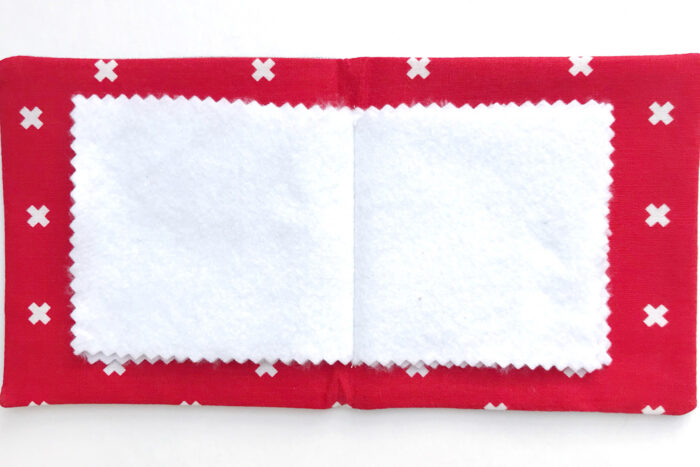
All you need to do now is pop in some pins and needles and wrap it up as the perfect quick gift for your friends and family who love stitching!
Wishing you a very Merry Christmas!
More Small Quilt Projects That You might Like:
Fabric Selvage Zip Pouch Tutorial
Santa’s Snack Mat – Quilted Placemat Tutorial
How to Make a Pincushion with a Pocket
About Sarah Ashford:

Sarah Ashford is a British Quilter and embroiderer and founder of the GreatBritishQuilter challenge on Instagram. Sarah regularly contributes projects to magazines and loves to spread the joy of quilting everywhere she goes. Follow her on Instagram at @sarahashfordstudio and be sure to check out her beautiful sewing room decals in her Etsy shop www.etsy.com/shop/sarahashfordstudio
