• Skip to primary navigation
  • Skip to main content
  • Skip to primary sidebar

The Polka Dot Chair logo

  • SEWING
    • Free Sewing Patterns
    • Bag Sewing Patterns
    • Costumes Sewing Tutorials
    • Apparel Sewing Patterns
    • Learn to Sew
    • Beginner Friendly Sewing Projects
    • Hand Embroidery Patterns
    • Tips & Techniques
    • All Sewing
  • QUILTING
    • Quilt Block Patterns
    • Learn to Quilt
    • Free Quilt Patterns
    • Quilt Patterns
    • All Quilting
  • CRAFTS
    • Disney
    • Cricut
    • Printables
    • All Crafts
  • HOLIDAYS
    • Seasonal Projects
    • Valentine’s Day
    • Easter
    • 4th of July
    • Halloween
    • Thanksgiving
    • Christmas
    • All Holidays
  • TUTORIALS
  • ABOUT
    • About Me
    • My Fabric Collections
    • Published Books
    • Press
    • FAQ’s
    • Contact
  • SUBSCRIBE
  • SHOP
menu icon
go to homepage
  • SHOP
  • TUTORIALS
  • SEWING
  • QUILTING
  • SUBSCRIBE
  • CRAFTS
  • HOLIDAY PROJECTS
  • ABOUT
    • Published Books
    • My Fabric Collections
  • CONTACT
    • Facebook
    • Instagram
    • YouTube
  • subscribe
    search icon
    Homepage link
    • SHOP
    • TUTORIALS
    • SEWING
    • QUILTING
    • SUBSCRIBE
    • CRAFTS
    • HOLIDAY PROJECTS
    • ABOUT
      • Published Books
      • My Fabric Collections
    • CONTACT
    • Facebook
    • Instagram
    • YouTube
  • ×

    Home » Quilts » Free Quilt Patterns

    Patchwork Beehive Pillow Pattern

    Updated: Apr 13, 2022 by Melissa Mortenson · This post may contain affiliate links · This blog generates income via ads · 3 Comments

    I hope you’re excited to see our free April pillow pattern! Each month this year, Amy Ball is sharing a free pattern for a patchwork quilted pillow! This month she has a free Patchwork Beehive Quilt Block Pillow Pattern.

    beehive pillow on wicker bench outdoors

    I hope you’re enjoying our “Pillow of the Month” series as much as I am. Amy Ball has outdone herself with the pillow patterns each month.

    Table of Contents
    • Pillow Pattern Details
    • How to Make a Beehive Pillow
    • About the Designer
    • More Projects by Amy

    In case you missed it, here are the free pillow patterns we’ve shared so far this year.

    beehive pillow on wicker bench outdoors with other colorful pillows
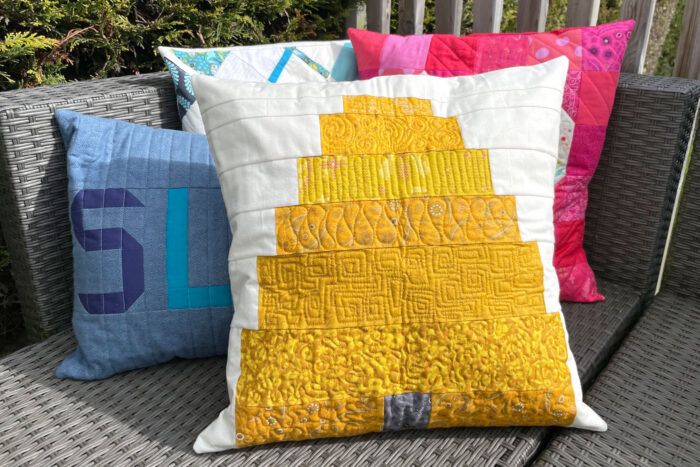
    • January: Patchwork Plaid Pillow
    • February: Patchwork Heart Pillow
    • March: “Sleep” Bed Pillow Pattern

    woman holding colorful quilted pillows

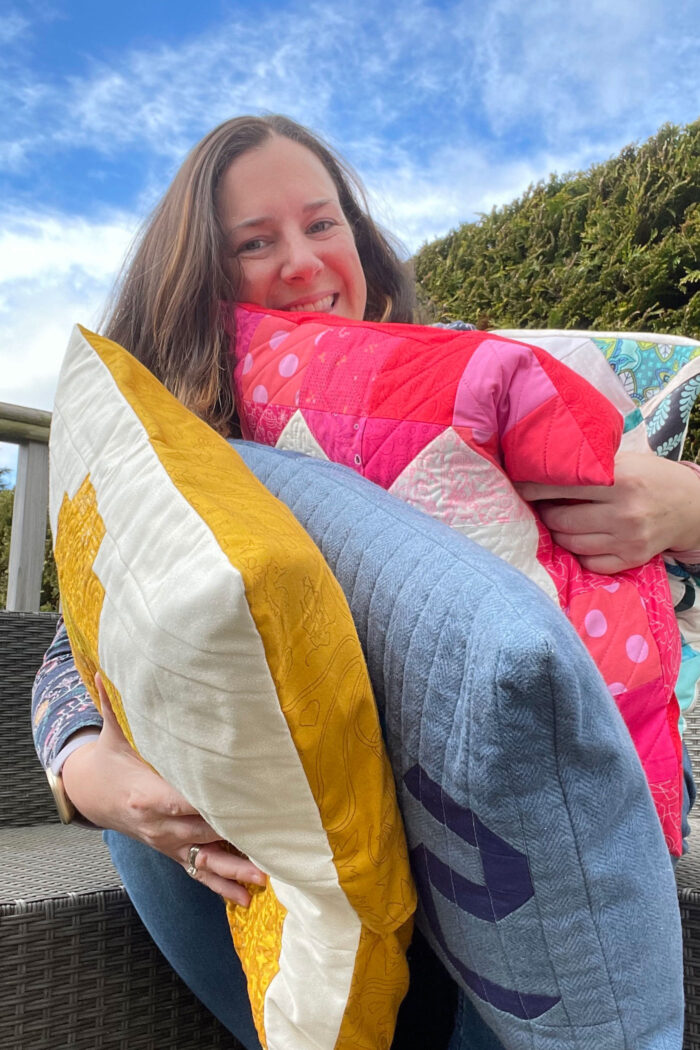
    As the year goes on, I’m curious how many of these pillows she’s going to be able to hold at one time!

    Pillow Pattern Details

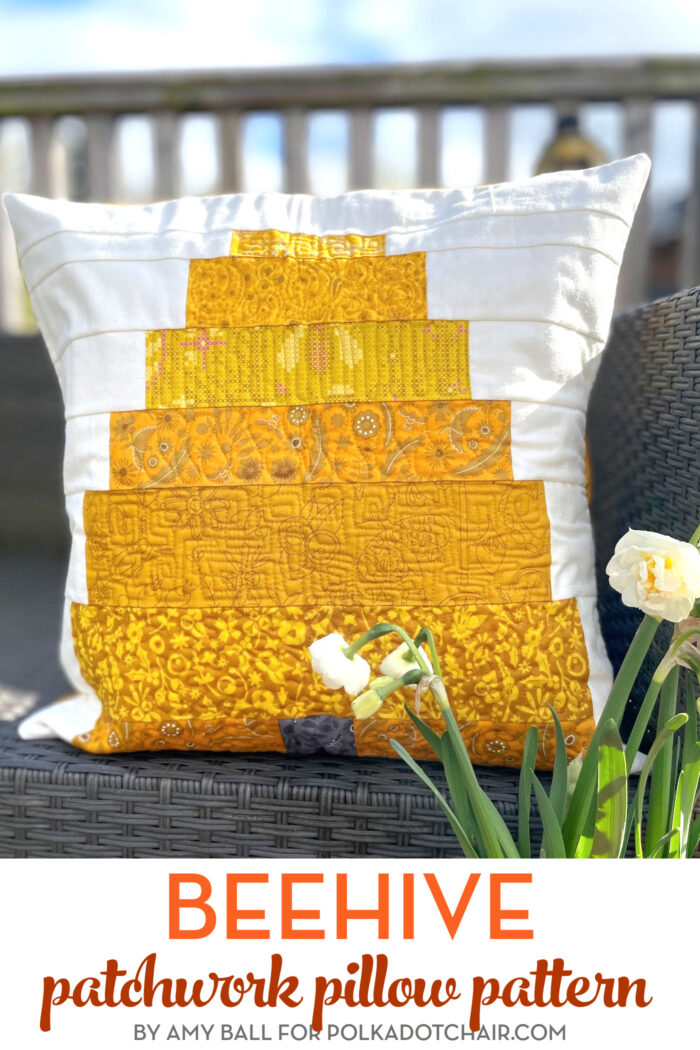
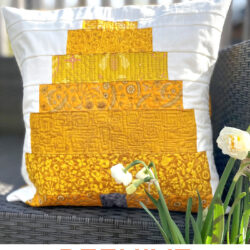
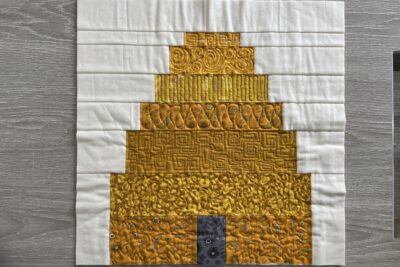
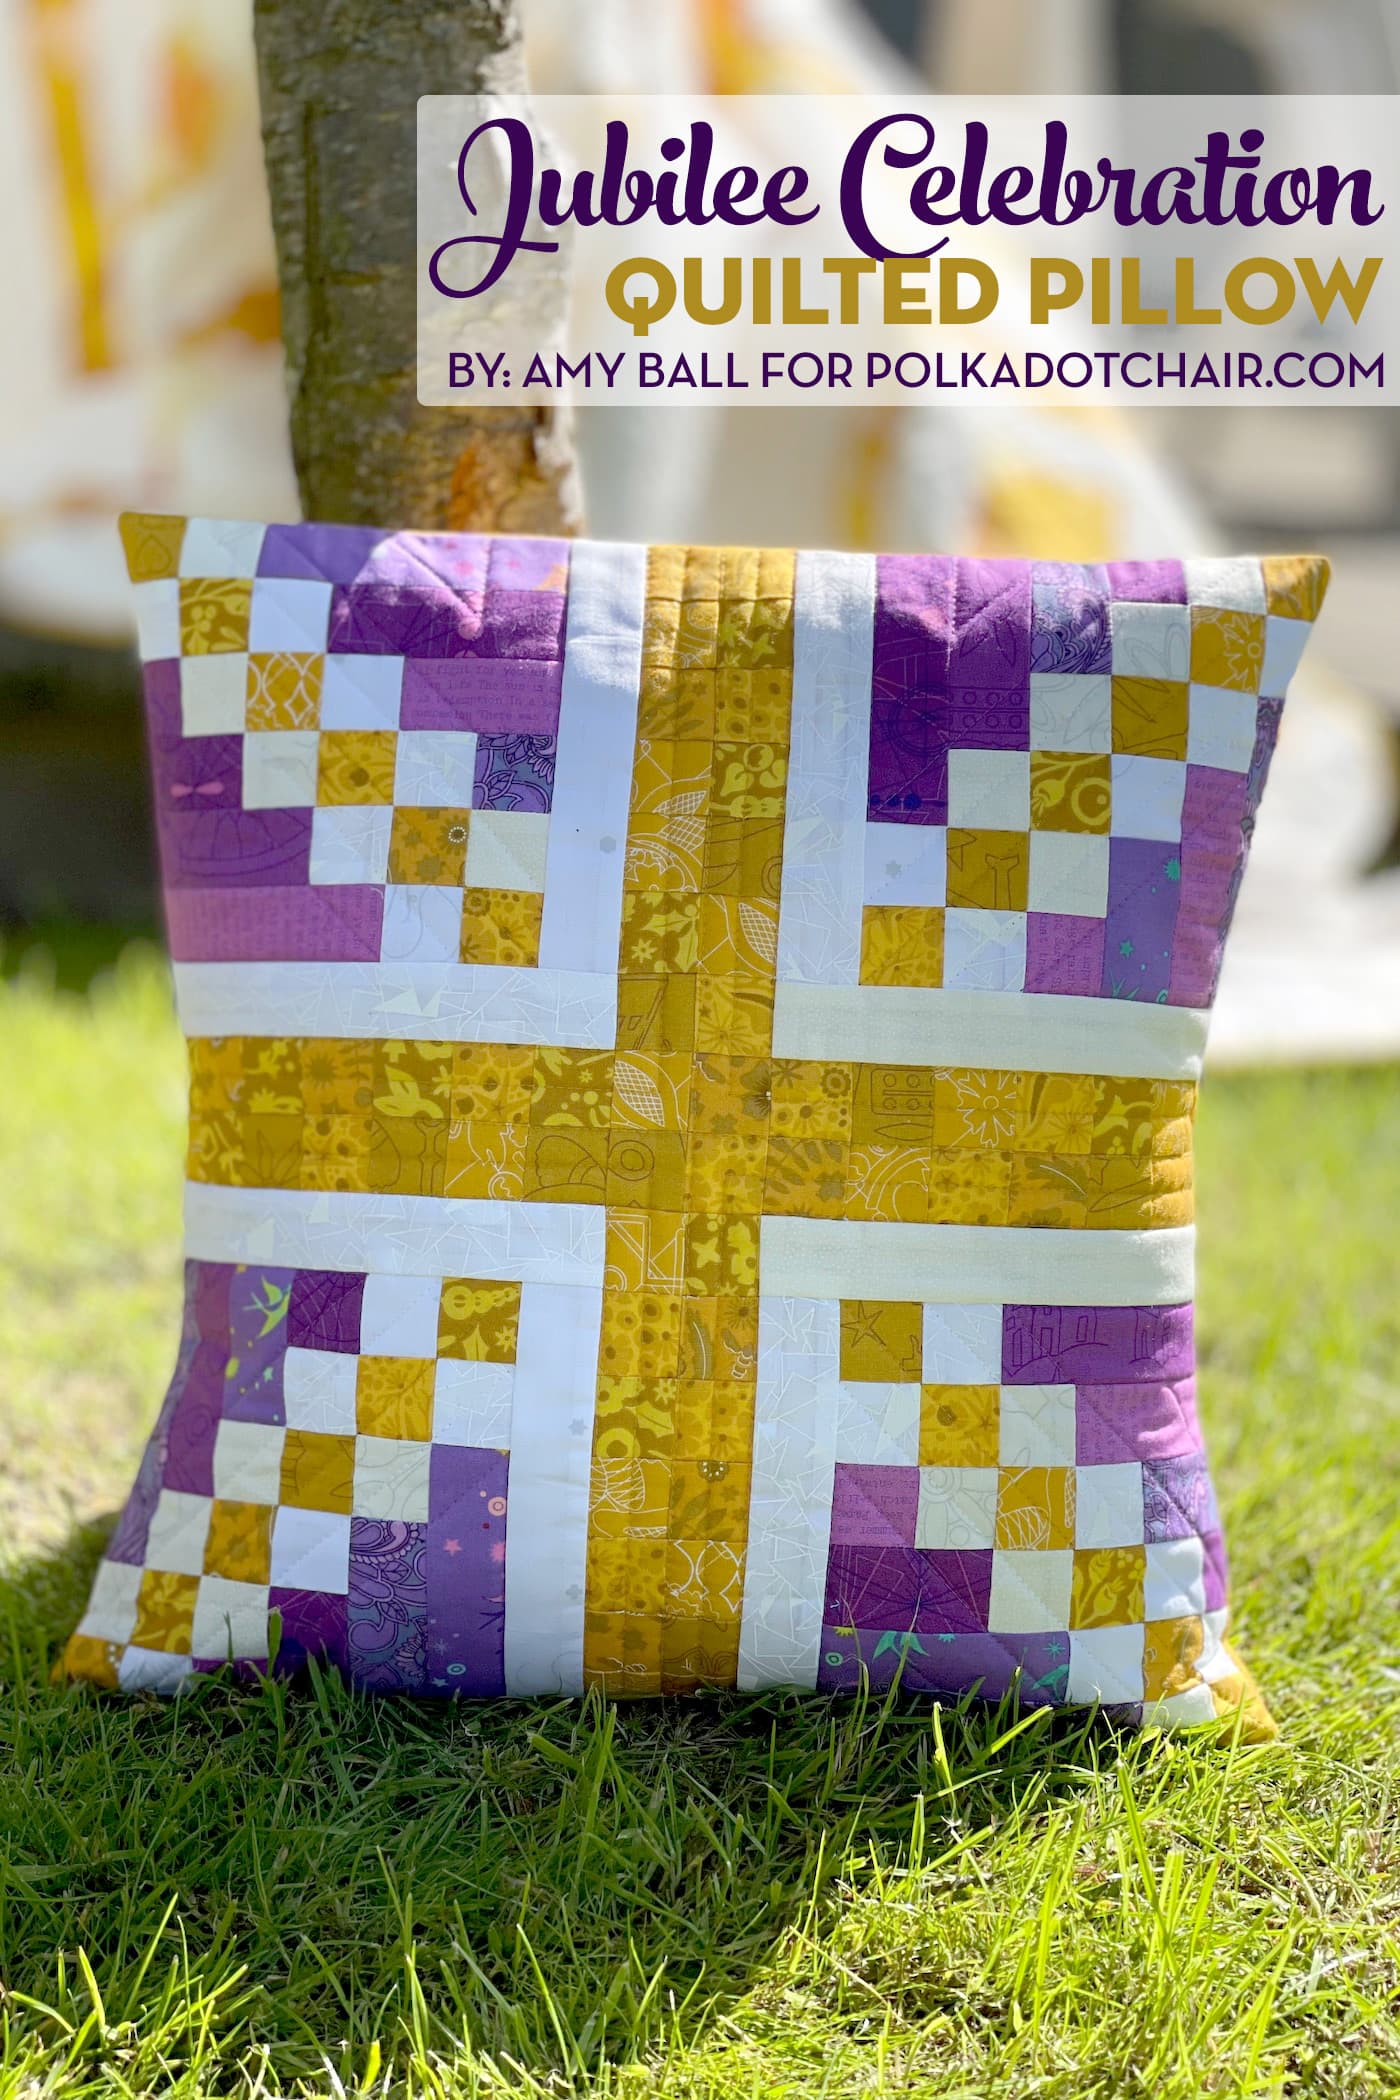
    The pillow pattern this month is perfect for Spring and Summer! It’s a bright and cheery Beehive quilt block turned into an 18″ pillow (or cushion as they call it in the U.K.)!

    You can make this pillow out of various yellow scraps of fabric like Amy did or from one fat quarter of yellow fabric.

    close up of free motion quilting on pillow

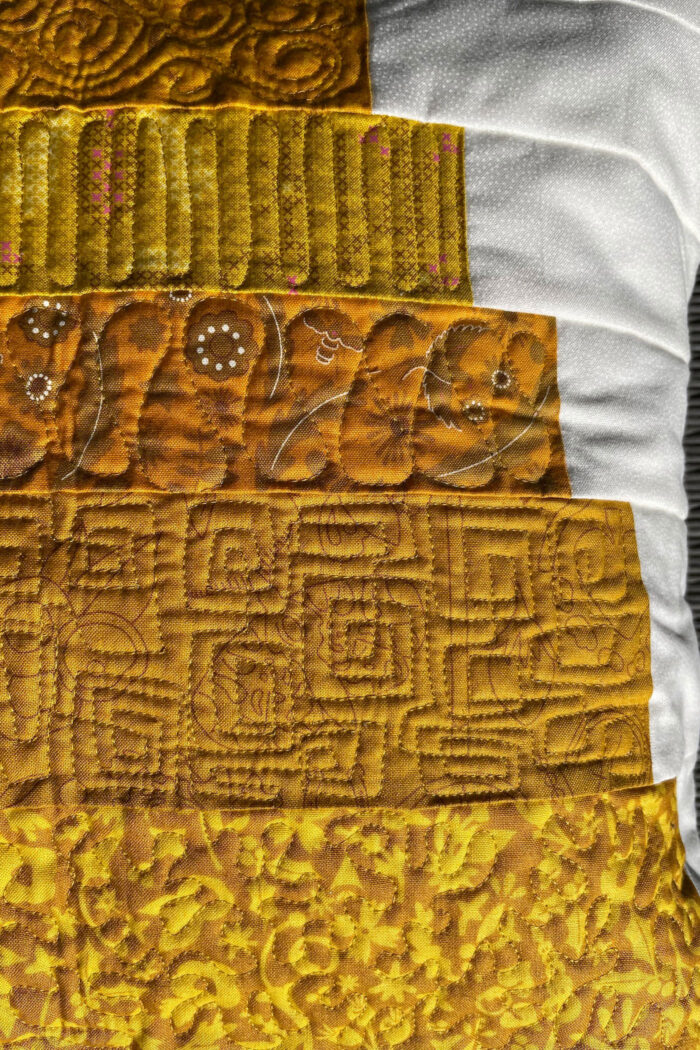
    Amy free motion quilted her pillow, but if you’d like to quilt it with straight line quilting instead, be sure to check out our beginning machine quilting tutorial.

    How to Make a Beehive Pillow

    As Spring has sprung and our friends, the bees are buzzing around again, making a quilted hive pillow seemed perfect.

    The simple patchwork piecing of this design makes this a quick to make, so I added some extra pizzazz by using lots of different free motion quilting motifs. If you choose a more basic quilting design, you can turn this into a super quick make!

    beehive pillow on wicker bench outdoors

    Patchwork Beehive Pillow Pattern

    Amy Ball
    Turn a beehive quilt block into a sunny quilted pillow perfect for Spring or Summer!
    4.50 from 6 votes
    Pin It! Share by Email Share on Facebook
    Prep Time 20 minutes mins
    Active Time 2 hours hrs
    Total Time 2 hours hrs 20 minutes mins

    Equipment

    • Basic Sewing Tools
    • Sewing Machine
    • Cutting Mat
    • Rotary Cutter
    • Quilt Ruler
    • Binding Clips
    • Pins

    supplies

    • 7 pieces Yellow Fabrics Large scraps or 1 fat quarter
    • 1 piece Black Fabric
    • 1 Fat Quarter Background fabric
    • 1 Fat Quarter Light backing fabric
    • 1 piece

      Batting 19” x 19” 


    • ½ yard Pillow Back Fabric
    • 1 Pillow Form or Cushion Pad 18" x 18"

    Instructions
     

    Cutting:

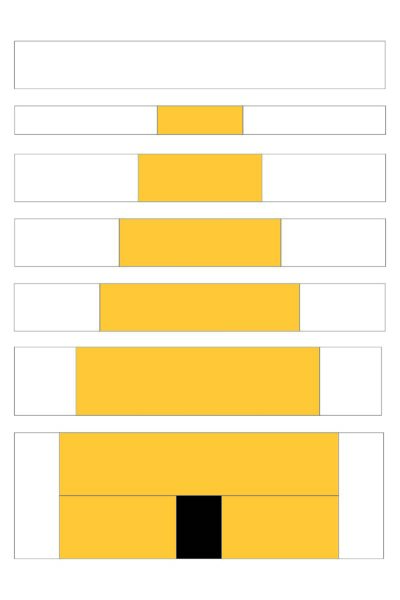
    • From yellow fabric cut:
      14½” x 3½” (1),
      12½” x 3½” (1),
      6½” x 3½” (2 of the same print),
      10½” x 2½” (1), 8½” x 2½” (1),
      6½” x 2½” (1), and 4½” x 1½” (1).

      From black fabric cut:
      2½” x 3½” (1)
      
From background fabric cut:
      18½” x 2½” (1),
      7½” x 1½” (2),
      6½” x 2½” (2),
      5½” x 2½” (2),
      4½” x 2½” (2),
      3½” square (2),
      and 2½” x 6½” (2).
      From Pillow back fabric cut:
      18½” x 12” (2).

    Block Construction:
 Use a ¼” seam allowance unless otherwise stated.

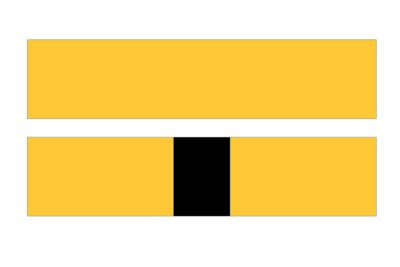
    • Take two yellow 6½” x 3½” rectangles and one black 2½” x 3½” rectangle. Sew one yellow rectangle to one long edge of the black rectangle. Then sew the second yellow rectangle to the other side of the black rectangle. Press.
      diagram of beehive quilt block construction steps; showing yellow and black fabric rectangles
    • Sew one yellow 14½” x 3½” rectangle to the top edge of the unit from step one then press.
      diagram of beehive quilt block construction steps; showing yellow and black fabric rectangles
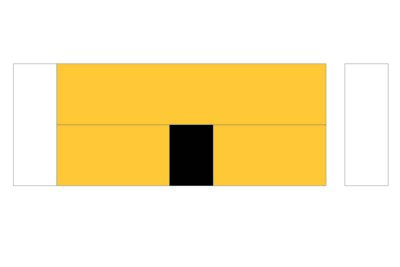
    • Now take two background 2½” x 6½” rectangles and sew them to either side of the unit from step two. Press and set aside.
      diagram of beehive quilt block construction steps; showing yellow and black fabric rectangles
    • Take one yellow 12½” x 3½” and two background 3½” squares. Sew the background squares to either side of the yellow rectangle. Press and set aside.
      diagram of beehive quilt block construction steps; showing yellow and black fabric rectangles
    • Take one yellow 10½” x 2½” and two background 4½” x 2½” rectangles. Sew the background rectangles to either side of the yellow rectangle. Press and set aside.
      diagram of beehive quilt block construction steps; showing yellow and black fabric rectangles
    • Take one yellow 8½” x 2½” and two background 5½” x 2½” rectangles. Sew the background rectangles to either side of the yellow rectangle. Press and set aside.
      diagram of beehive quilt block construction steps; showing yellow and black fabric rectangles
    • Take one yellow 6½” x 2½” and two background 6½” x 2½” rectangles. Sew the background rectangles to either side of the yellow rectangle. Press and set aside.
      diagram of beehive quilt block construction steps; showing yellow and black fabric rectangles
    • Take one yellow 4½” x 1½” and two background 7½” x 1½” rectangles. Sew the background rectangles to either side of the yellow rectangle. Press and set aside.
      diagram of beehive quilt block construction steps; showing yellow and black fabric rectangles
    • Arrange the units from steps three to eight and one 18½” x 2½” rectangle using the diagram as a guide. Sew together and press well.
      diagram of beehive quilt block construction steps; showing yellow and black fabric rectangles

    Quilting:

    • Now it’s time to make a quilt sandwich. Place your light backing fabric square (right side facing down) with your batting on top, then add the patchwork pillow front with the right side facing towards you.
      Make sure all the layers are smooth and flat then baste the layers together using your preferred method.
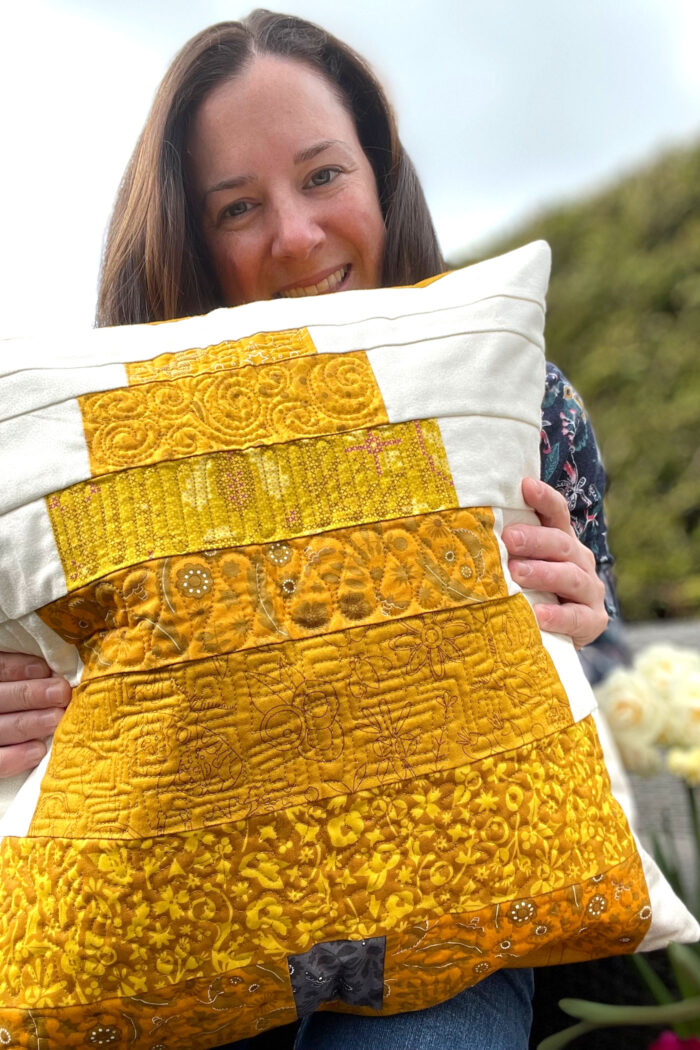
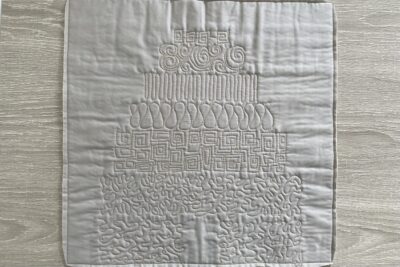
    • Quilt as desired.
I have used a different free motion quilting motif on each section of the hive; loopy meander, meander, square spirals, ribbon candy, switchbacks, swirls, and square spiral chains.
      
Other quilting ideas: diagonal straight lines across the whole pillow front, vertical straight lines across the whole pillow front, or hand quilting.
    • Once you have finished quilting, trim off excess backing fabric and batting and square up your pillow block if required.

    Finishing:

    • Take one pillow back 18½” x 12” rectangle and hem one short edge by pressing the raw edge to the wrong side by ¼” then again by another ¼”.
      Press well and sew. Then repeat for the second pillow back 18½” x 12” rectangle.
    • Pin or clip the pillow back pieces to the quilted block, right sides together, all around the four side.
    • Sew around all four edges using a ¼” seam allowance, securing the start and finish with some back-stitching.
    • Trim the corners, turn the pillow cover the right way out, carefully poke out the four corners and then press.
    • Stuff with an 18” square pad and enjoy your new Beehive pillow!
    Keyword Patchwork, Pillow
    PRINT
    Tried this tutorial?Let us know how it was!

    About the Designer

    Amy lives in the north of England with her husband and son. When she’s not sewing and quilting, Amy can usually be found baking or reading. You can find her on Instagram @amyatthegate

    More Projects by Amy

    All About Sewing Machine Feet | Quilting

    All About Sewing Machine Feet | Patchwork Piecing

    The Ruler Rules: Online course – get the measure of your quilting rulers and learn how to use them with confidence and accuracy.

    More Projects You May Enjoy

    • Street Party Bunting Mug Rug Pattern
    • navy and ivory log cabin mug rug on wood tray with coffee and cookie
      Coffee Cabin Self-Binding Mug Rug Tutorial
    • star shaped mug rug with flowers and cup on wood table
      English Bloom Mug Rug; an EPP Project
    • yellow, and green floral table runner on white table with flowers
      15+ Quilted Table Runner Patterns Perfect for Spring

    • Share
    • Email

    About Author

    Melissa Mortenson

    Melissa Mortenson is a blogger, designer, and content creator. She is the Polka Dot Chair blog founder and has been sharing fresh and creative ideas with readers since 2008. She is the author of “Project Teen, Handmade Gifts your Teen will Actually Love.” Her work and designs have been featured on HuffPost, TODAY, Pioneer Woman, HGTV, BuzzFeed, Better Homes & Gardens, and many other established publications. Her first fabric line, “Derby Style,” debuted in January 2015 through Riley Blake Designs.  Additional fabric collections have followed it in subsequent years. A mom of 3, she considers herself lucky to be living in Kentucky.

    Reader Interactions

    Comments

    1. Tonya Steele says

      April 15, 2022 at 11:32 pm

      Such a lovely site and I am learning. Will be a repeat.

      Reply
    2. Pamela Haun says

      February 20, 2023 at 11:40 am

      02/20/2023 Hello, I was interested in the Bee Hive Quilt, but when I clicked on it the page opened to the Bee Hive Pillow instructions. I tried to pick up the thread again, but no luck. Is there a Bee Hive Quilt instructions available? Thank you.

      Reply
      • Melissa Mortenson says

        February 22, 2023 at 5:40 pm

        This is instructions for a Patchwork Beehive Pillow, we don’t have a pattern for a full quilt.

        Reply

    Leave a Reply Cancel reply

    Your email address will not be published. Required fields are marked *

    This site uses Akismet to reduce spam. Learn how your comment data is processed.

    Primary Sidebar

    Hello! It’s nice to meet you.

    I’m Melissa. I like to design things, like fabric, printables, and projects.

    I’m also a Mom and a Maker. I am like most of you, just trying to do my best every day. Some days I succeed, many days I fail.  I find joy in creating, if you do too, then I hope that you find something here bring a little “happy” to your life.  Find out more about me here.

    COPYRIGHT POLICY

    All my images and text are copyrighted. You may NOT use any images from this site in any kind of Video (this includes YouTube). If you would like to feature my work, you may use ONE (1) NON-COLLAGED image and must “follow” link back to my original blog post. You may NOT edit, crop, or change my images in any way without written permission. You MAY NOT print out or copy and distribute any text, images or patterns from this site. All patterns, content, instructions, and templates are for personal use ONLY! Thank you! Violators will be reported.

    Footer

    ↑ back to top

    About

    • Privacy Policy
    • Disclaimers
    • About Melissa
    • Instagram
    • Facebook
    • YouTube
    • Pinterest

    Newsletter

    • Sign Up! for emails and updates

    Contact

    • Contact
    • FAQ
    • Press
    • Published Books
    • Fabric Collections

    Welcome to the Polka Dot Chair! Here you’ll find easy, step-by-step, sewing, quilting, and crafting projects. We design projects for Makers of all skill levels. Beginners are welcome!

    DISCLAIMER:

    While every effort has been made to ensure the accuracy of the content on this website, the information is made available without warranty of any kind. The Polka Dot Chair accepts no responsibility or liability, whether direct or indirect, as to the currency or accuracy of the information, nor any consequence of its uses. This website is not intended to substitute the advice of a professional.

    Copyright © 2022 Polka Dot Chair

    [ Placeholder content for popup link ] WordPress Download Manager - Best Download Management Plugin