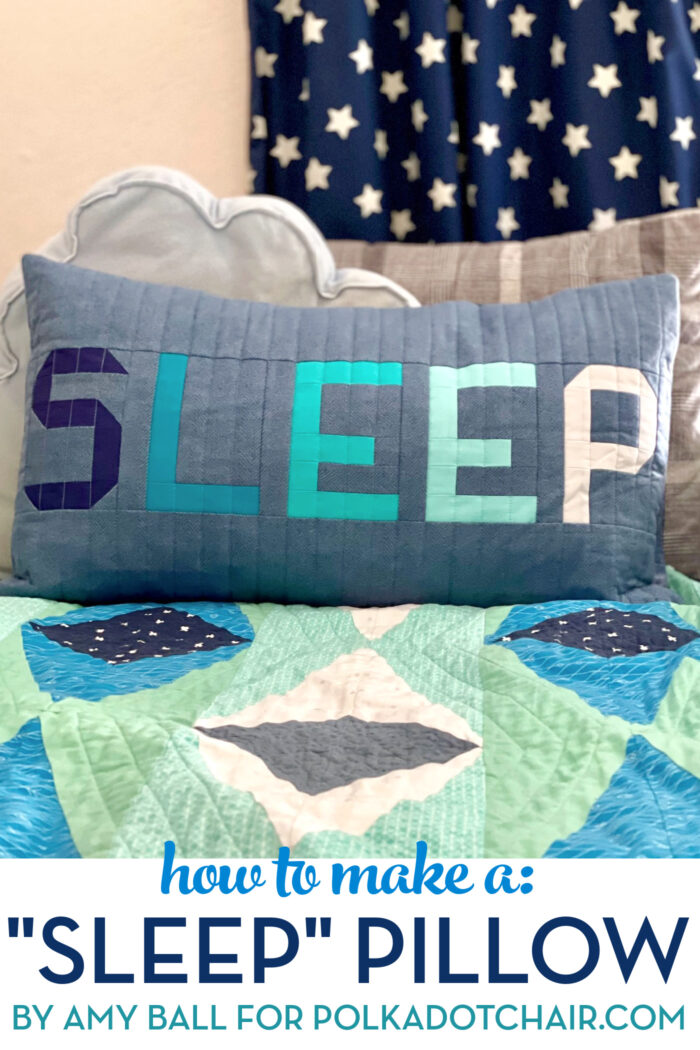
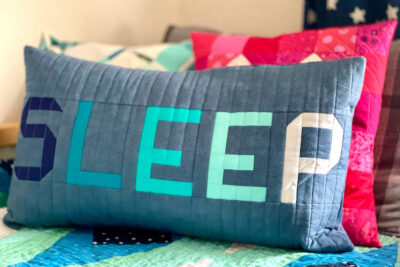
Patchwork “Sleep” Quilted Pillow Pattern
Our pillow pattern of the month continues with our March pillow pattern. A free pattern for a pieced patchwork SLEEP letter pillow!
I hope that you are enjoying our monthly pillow pattern series! Amy from Coffee Rings Studio has designed another gorgeous patchwork pillow project!
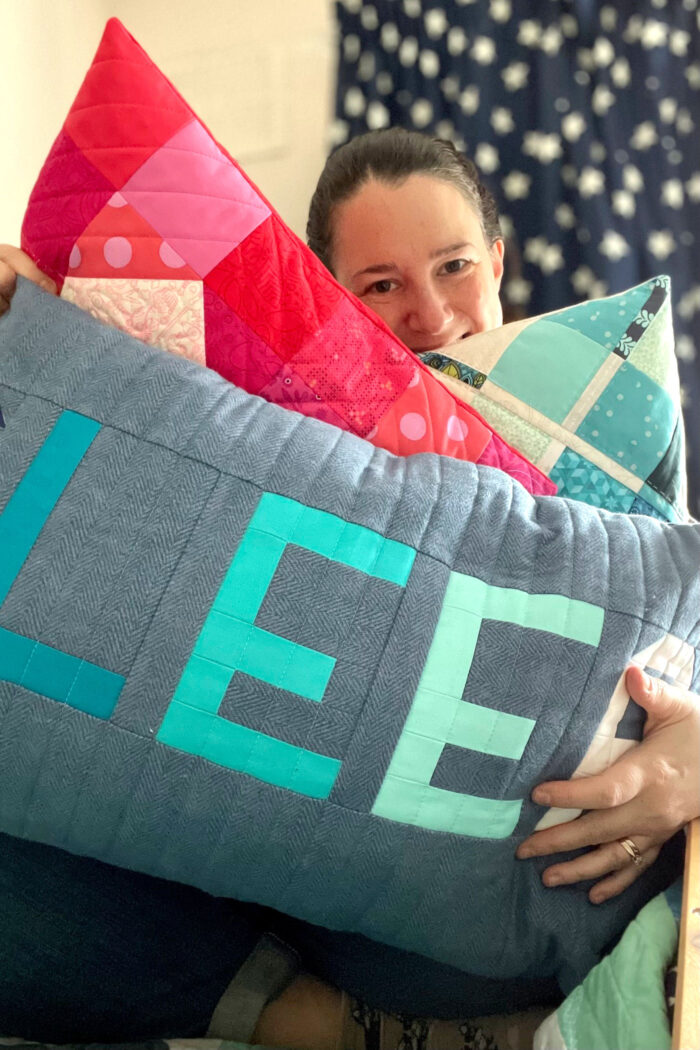
This SLEEP pillow features pieced patchwork letters and is quilted using a straight line quilting that can easily be done on your home machine.

Amy finished her pillow with an envelope back, if you’d like to add a zipper back instead, you can find directions for how to make a zippered back for any size pillow on our site!
Free Pieced Patchwork SLEEP Pillow Pattern
I love having throw pillows on the bed but how about a bedroom-themed pillow? This design features patchwork letters that spell out sleep. I’ve used brushed cotton for the background fabric to give it an extra snuggly, sleepy feel.
Patchwork SLEEP Pillow Pattern
Tools
Materials
- 4 Shades Blue Fabrics; large scraps or fat eights navy, teal, turquoise, pale turquoise
- 1 Fat Eighth White Fabric or large scrap
- 1/2 Yard Background fabric
- 1 piece Light backing fabric 28" x 17"
- 1 piece
Batting
28" x 17" - 1/2 Yard Pillow Back Fabric
- 1 Pillow form 26" x 15"
Instructions
Cutting:
- From navy fabric cut: 4½” x 1½” (3), 1½” x 2½” (1) and 1½” square (1).
- From teal fabric cut: 4½” x 1½” (1) and 1½” x 5½” (1).
- From turquoise fabric cut:4½” x 1½” (2), 3½” x 1½” (1), 1½” x 2½” (1) and 1½” square (1).
- From pale turquoise fabric cut:4½” x 1½” (2), 3½” x 1½” (1), 1½” x 2½” (1) and 1½” square (1).
- From white fabric cut: 4½” x 1½” (2) and 1½” x 2½” (3).
- From background fabric cut: 26½” x 5” (2), 3½” x 5½” (1), 3½” x 2½” (3), 3½” x 1½” (3), 2½” x 3½” (1), 2½” square (1), 1½” x 6½” (6) and 1½” square (11)
- From Pillow back fabric cut: 14½” x 15½” (1) and 16½” x 15½” (1).
Block Construction: Use a ¼” seam allowance unless otherwise stated.
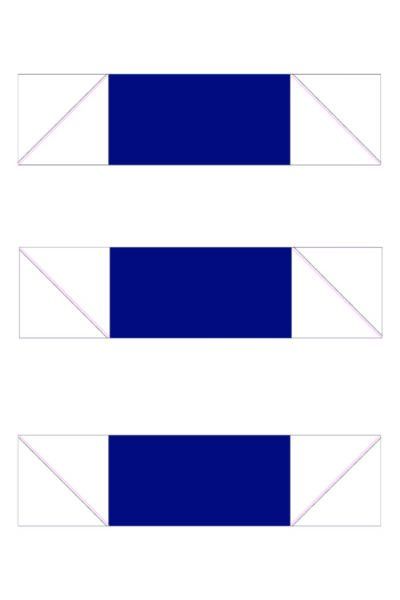
Make the letter S block as follows:
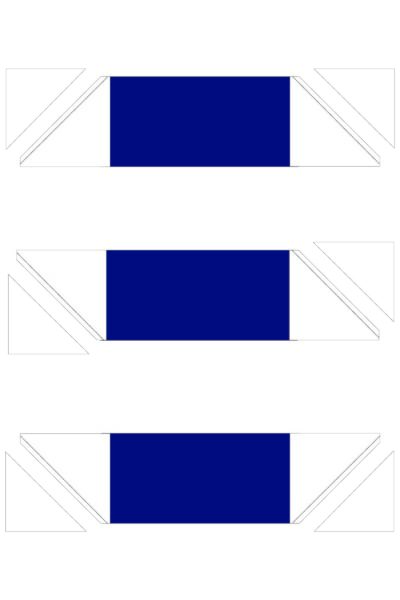
- Take six background fabric 1½” squares and three navy 4½” x 1½” rectangles. Draw a diagonal line on the wrong side of all the background fabric squares. Match the squares, right sides together, to the far corners of each of the navy rectangles, using the image as a guide for the direction of each diagonal line. Then sew a tiny amount to the outside of the drawn lines.

- Cut ¼” away from the sewn lines then press the corner squares open.
- Sew one navy 1½” square to the short left edge of one background 3½” x 1½” rectangle then press open.
- Sew one navy 1½” x 2½” rectangle to the shorter right edge of one background 2½” x 3½” rectangle then press open.
- Arrange the units from steps one to four into order using the images as a guide.
- Sew together to complete the S block.


Make the letter L block as follows:
- Sew one teal 1½” x 5½” rectangle to the long left edge of one background 3½” x 5½” rectangle then press open.
- Then sew one teal 4½” x 1½” rectangle to the bottom of the unit from step seven, using the images as a guide, to complete the L block.


Make the first letter E block as follows:
- Sew one turquoise 1½” x 2½” rectangle to the short left edge of one background 3½” x 2½” rectangle then press open.
- Sew one turquoise 3½” x 1½” rectangle to one background 1½” square then press open.
- Sew one turquoise 1½” square to one background 3½” x 1½” then press open.
- Arrange the units from steps nine to eleven into order using the images as a guide.
- Sew together to complete the first E block.


Make the second letter E block as follows:
- Repeat steps nine to thirteen using the pale turquoise and background fabric to complete the second E block.
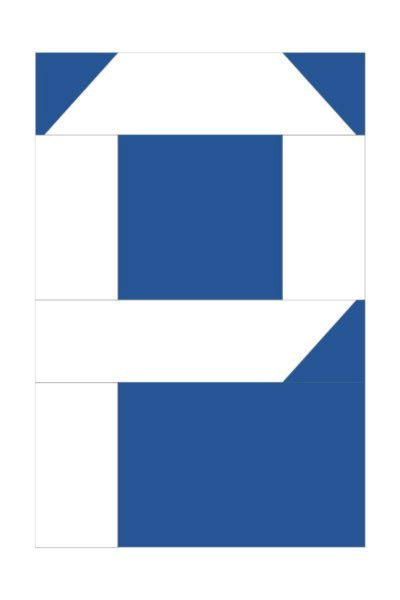
Make the letter P block as follows:
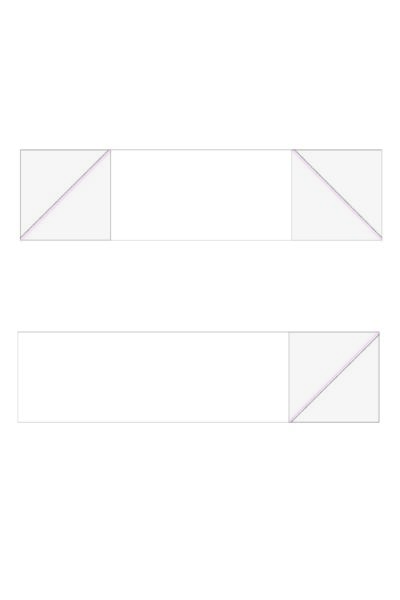
- Take three background fabric 1½” squares and two white 4½” x 1½” rectangles. Draw a diagonal line on the wrong side of all the background fabric squares. Match the squares, right sides together, to the far corners of each of the white rectangles, using the image as a guide for the direction of each diagonal line. Then sew a tiny amount to the outside of the drawn lines.
- Cut ¼” away from the sewn lines then press the corner squares open.
- Sew two white 1½” x 2½” rectangles to two opposite sides of one background 2½” square then press open.
- Sew one white 1½” x 2½” rectangle to the shorter left edge of one background 3½” x 2½” rectangle then press open.
- Arrange the units from steps fifteen to seventeen into order using the images as a guide.
- Sew together to complete the P block.


Final Construction:
- Sew the five letter blocks together with six background 1½” x 6½” rectangles between the blocks and at both ends. Press well.

- Sew two background 26½” x 5” rectangles, one to the top long edge and one to the bottom long edge of the long letters block from step twenty. Press well.


Quilting:
- Now it’s time to make a quilt sandwich. Place your light backing fabric rectangle (right side facing down) with your batting on top, then add the patchwork pillow front with the right side facing towards you. Make sure all the layers are smooth and flat then baste the layers together using your preferred method.
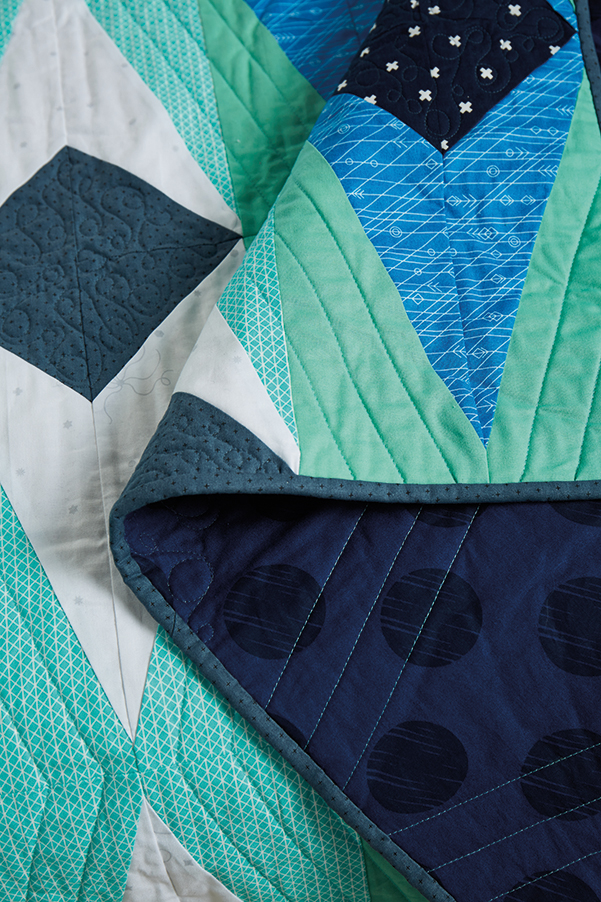
- Quilt as desired. I have used vertical straight line quilting at 1” spacing across the full pillow front. Other quilting ideas: diagonal straight lines across the whole pillow front, free motion quilting over the background but not the letters, or hand quilting around the letters.
- Once you have finished quilting, trim off excess backing fabric and batting and square up your pillow block if required.
Finishing:
- Take one pillow back 14½” x 15½” rectangle and hem one short edge by pressing the raw edge to the wrong side by ¼” then again by another ¼”. Press well and sew. Then repeat for the second pillow back 16½” x 15½” rectangle.
- Pin or clip the pillow back pieces to the quilted block, right sides together, all around the four side.
- Sew around all four edges using a ¼” seam allowance, securing the start and finish with some back-stitching.
- Trim the corners, turn the pillow cover the right way out, carefully poke out the four corners and then press.
- Stuff with a 26” x 15” pad and enjoy your new Patchwork Sleep pillow!
Copyright Notice
©www.polkadotchair.com – This is Copyrighted Content. You may NOT copy it, distribute it, sell it or package it with a kit. You may NOT teach a for-fee class using it. All items are for personal use only. No commercial use is allowed.
PrintOther Patterns in our Pillow of the Month Series
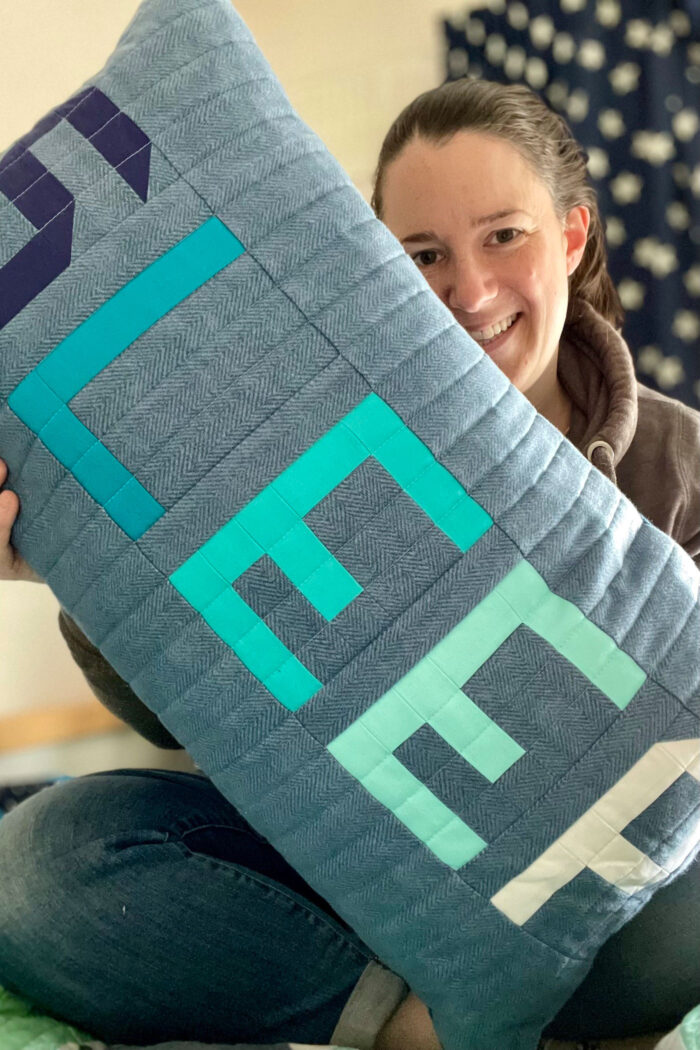
About the Designer

Amy lives in the north of England with her husband and son. When she’s not sewing and quilting, Amy can usually be found baking or reading. You can find her on Instagram @amyatthegate
Also by Amy:
Straight Line Quilting | Not so straightforward…in a good way!
Cushions Got Back | how to add love to the “wrong” side of handmade cushions

Seams Perfect: Online course – create spot-on patchwork seams with precision and confidence.

Beautiiful project the pillow SLEEP!! Thank you!!
Super cute pillows — I’ll definitely add these to my “to do” list.
Thanks for sharing!