Improv Pieced Patchwork Heart Ornaments
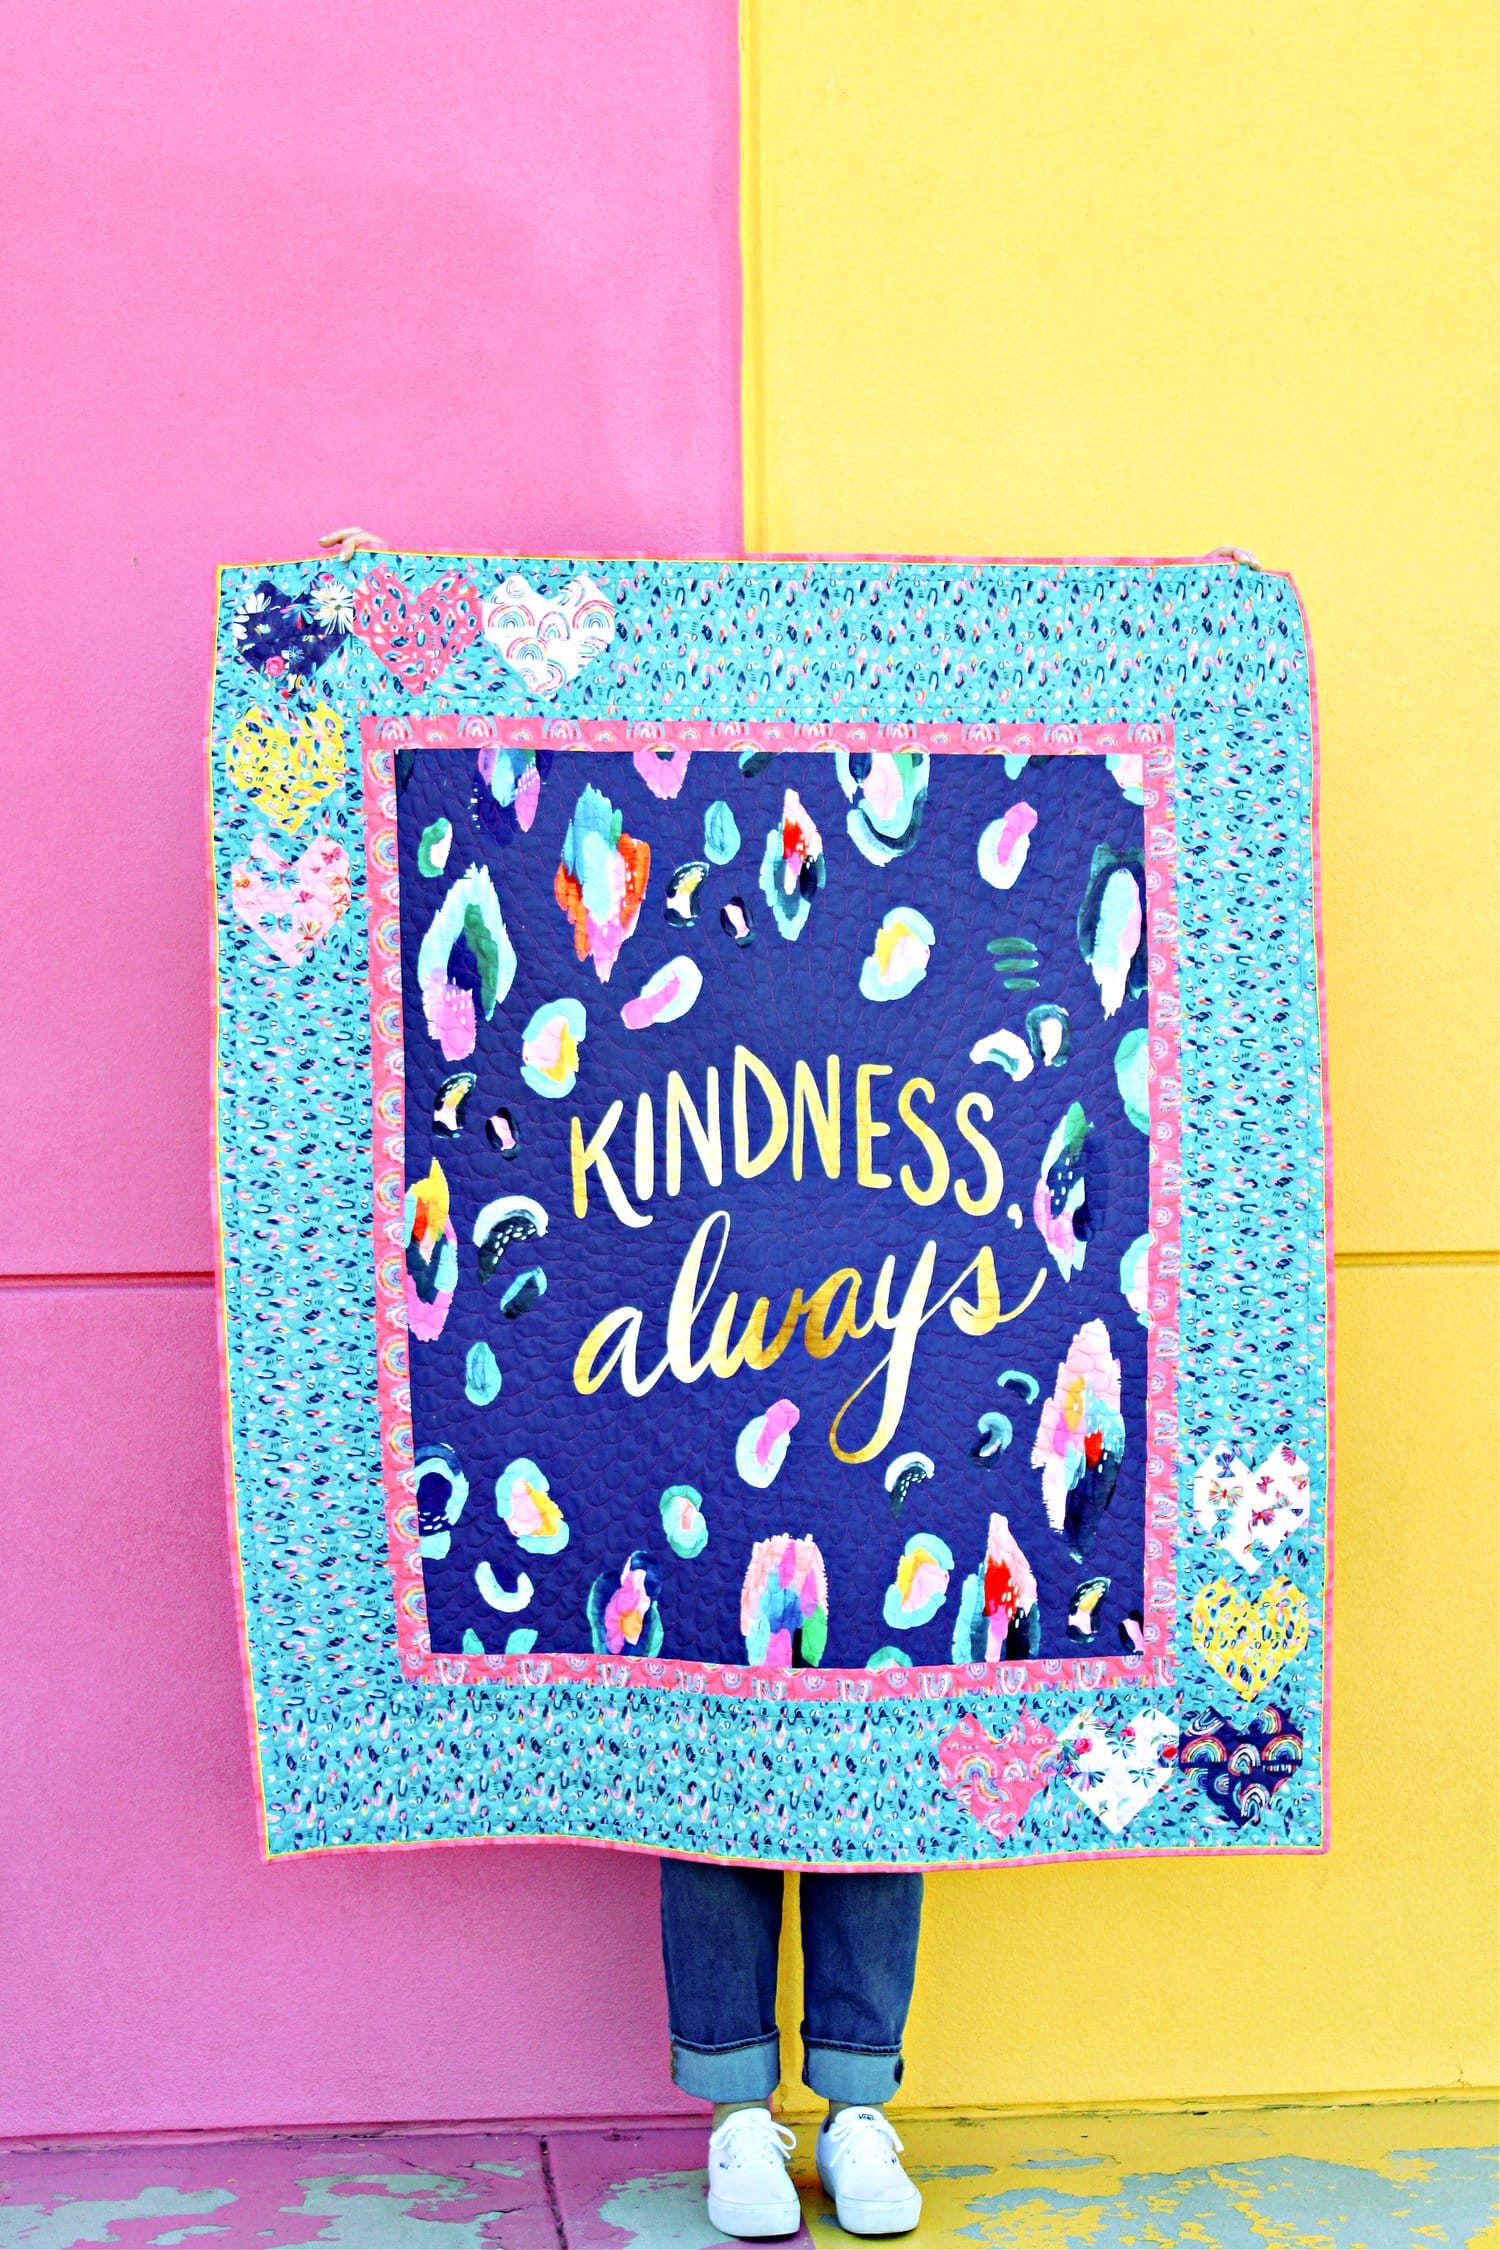
Today we are going to show you how to turn some of your favorite fabric scraps into a beautiful patchwork heart ornament. This ornament is created with improv quilt piecing techniques and is a great way to stretch your creative muscles!
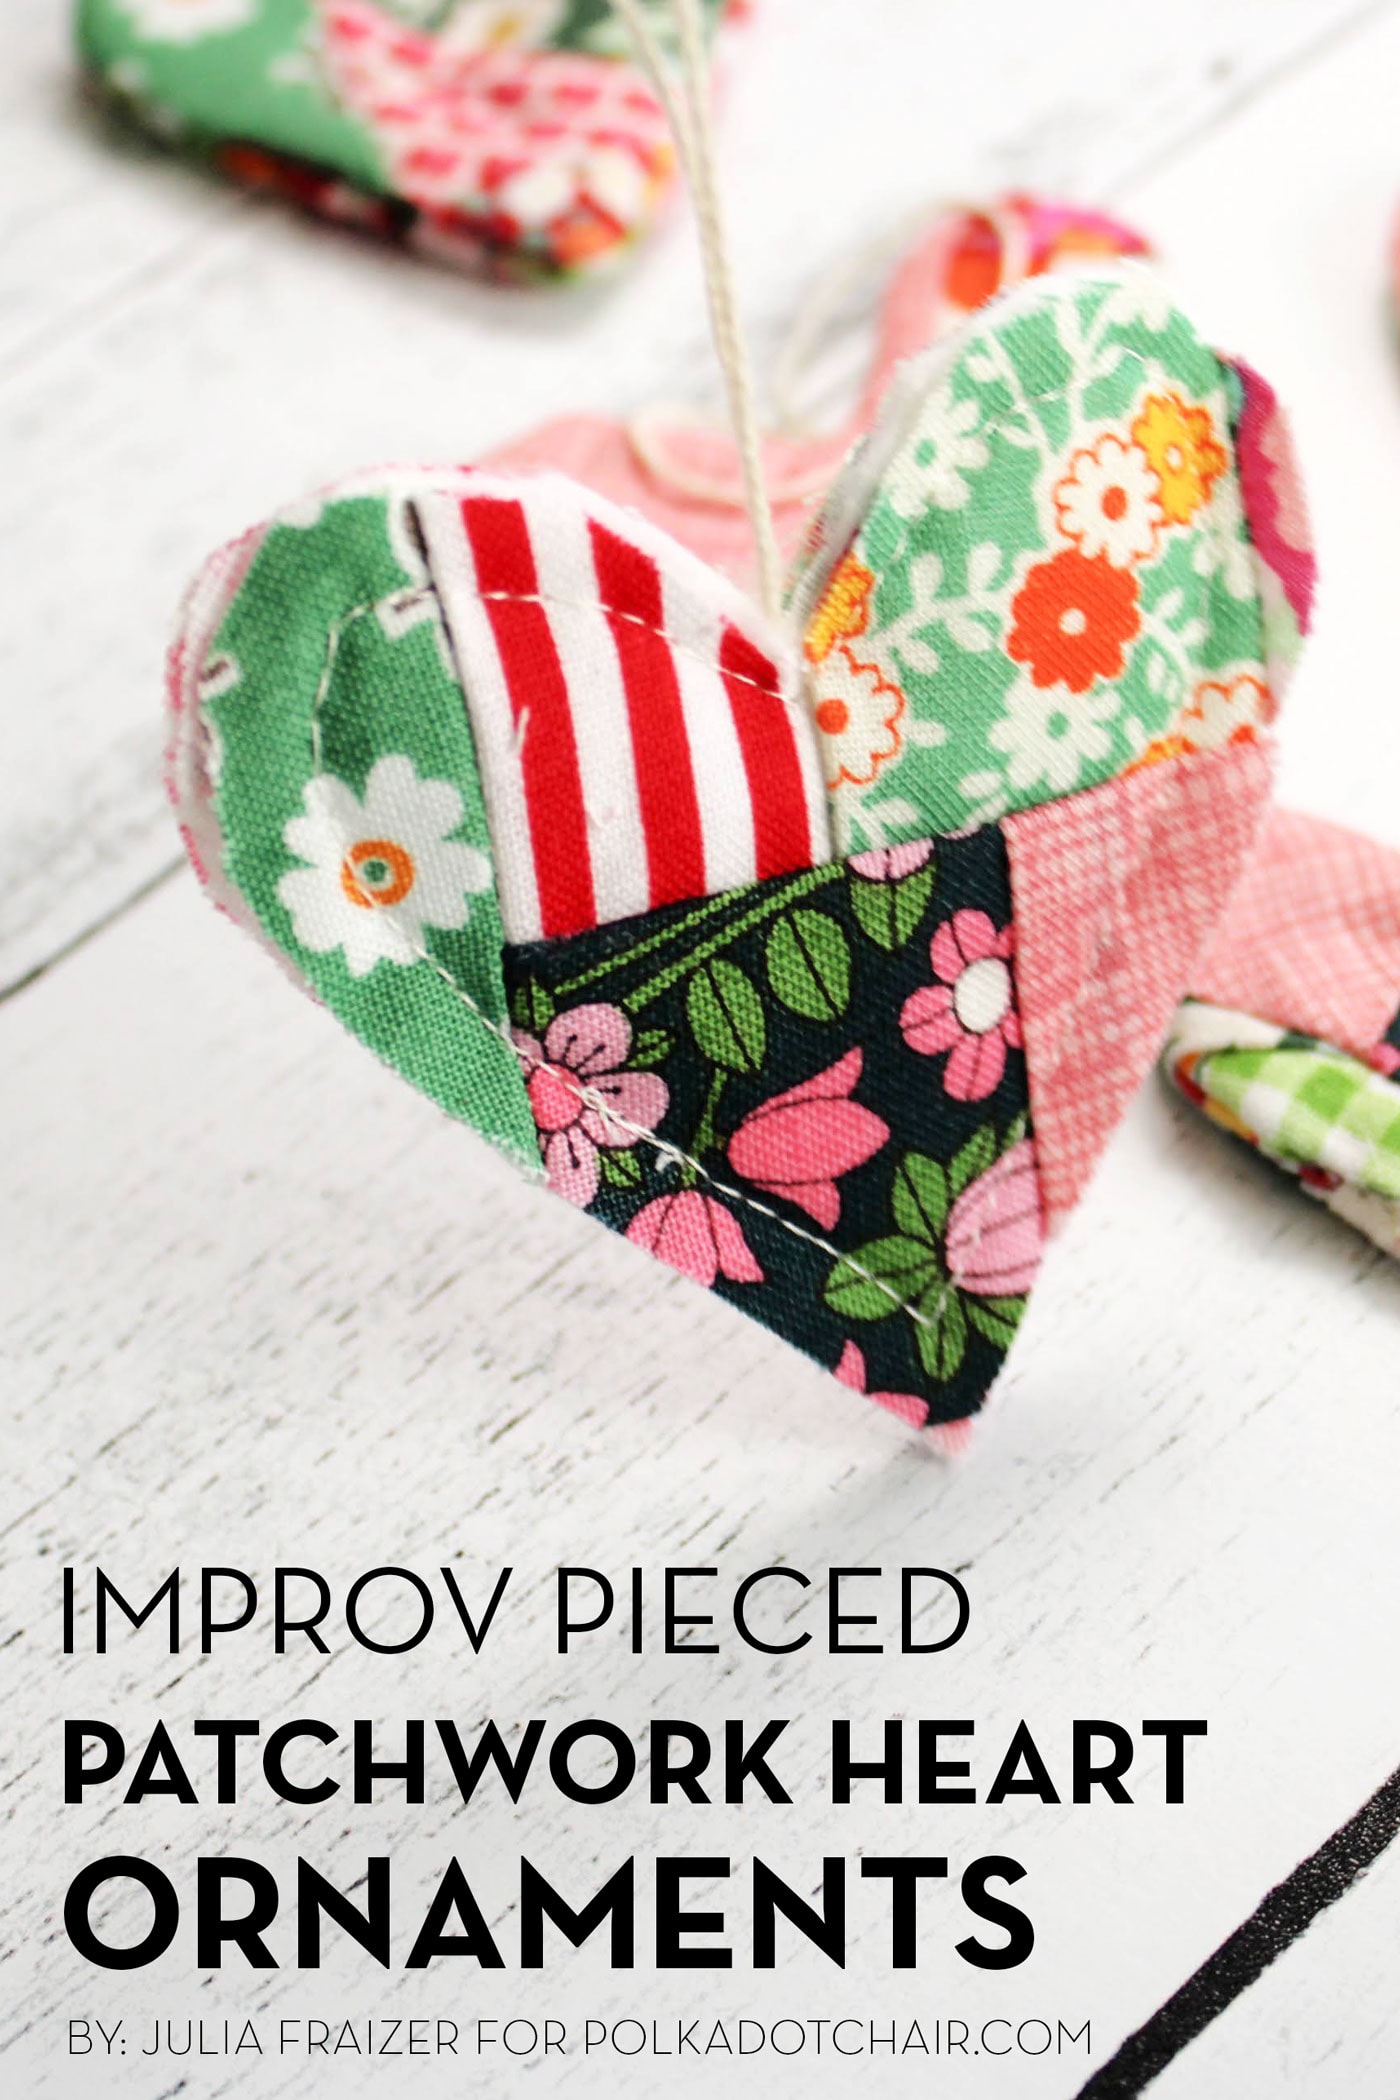
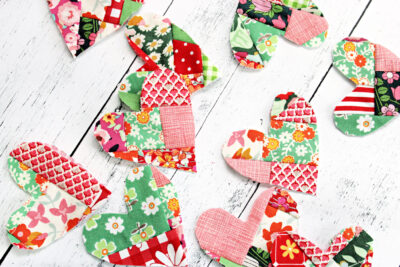
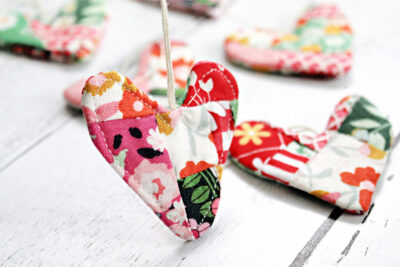
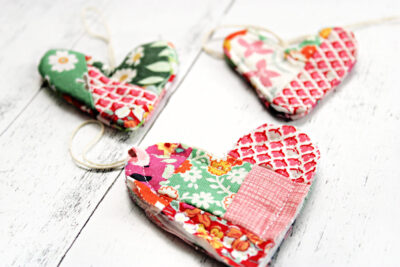
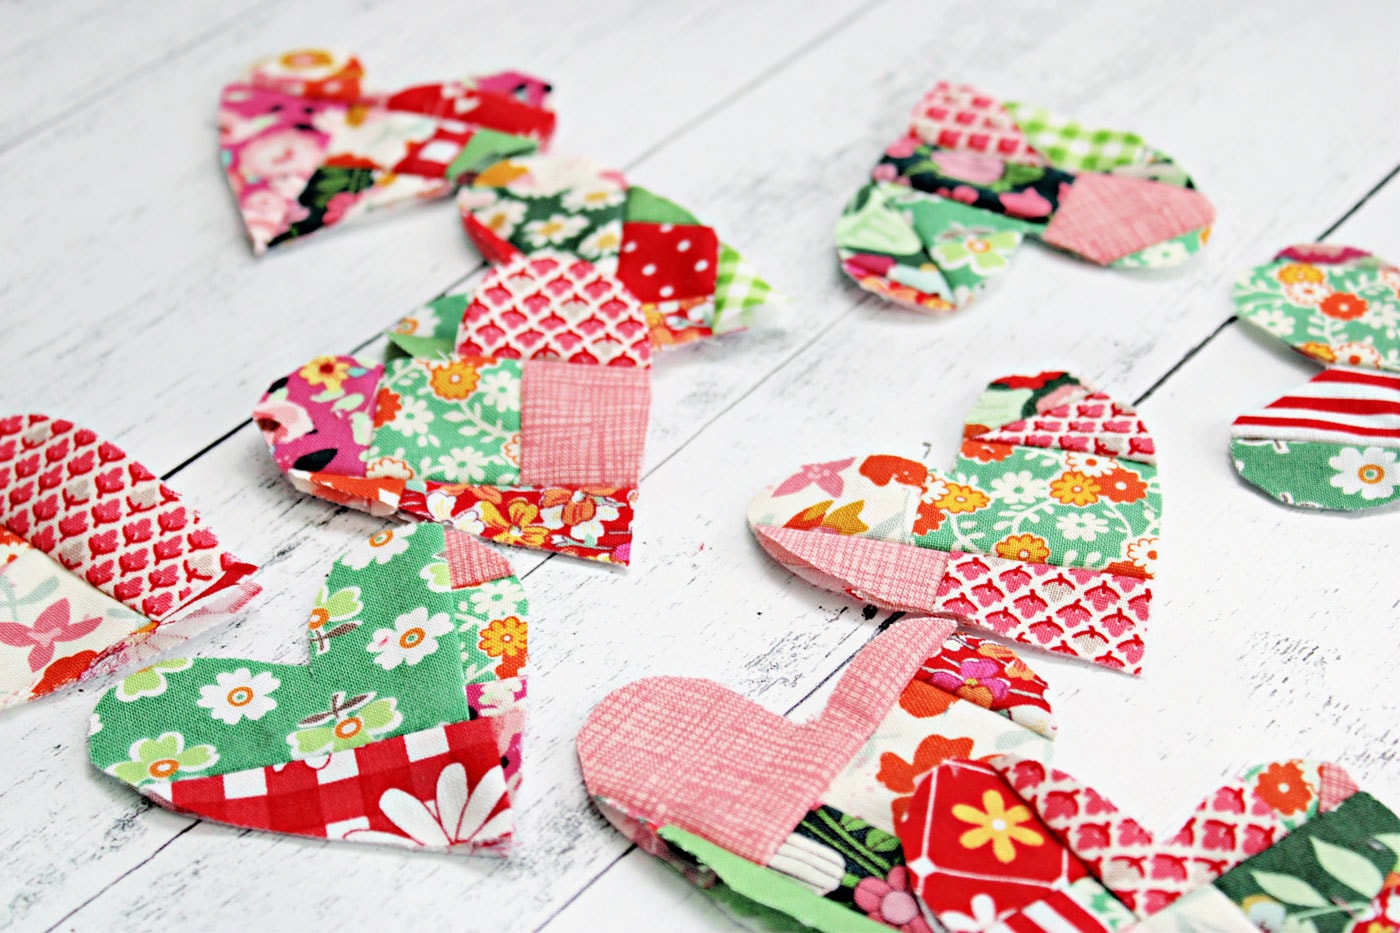
Hello, friends! It’s Julia from Bayhill Studio. I’m excited to be sharing a fun little project that makes use of your teeny tiny fabric scraps you can’t bring yourself to throw away. Meet the Tiny Patchwork Heart Ornaments! Aren’t they sweet?
These ornaments make fun little gifts and have the option to be used as a car mirror accessory. In this tutorial, I’ll be sharing several ways to make this ornament so you can personalize it to your own aesthetic.
Free Ornament Patterns
Each month we feature a new handmade ornament pattern. Here’s what we’ve shared so far this year.
- July: Paper Poinsettia Ornaments
- August: Paper Memory Christmas Ornaments
- September: Kimekomi Fabric Ornaments
- November: Granny Rocker Christmas Ornaments
- December: String Christmas Ornaments
- January: Retro Diorama Ornaments
- February: DIY Splatter Paint Glass Ornaments
- March: Blown Egg Ornament
- April: Retro Photo Ornament Tutorial
- May: Vintage Folded Fabric Ornament
- June: Patchwork Heart Ornament
- July: Improv Pieced Heart Ornaments
- October: Plastic Canvas Gift Card Holder
- November: Yarn Stitched Jingle Bell Ornament
Ornament Supplies
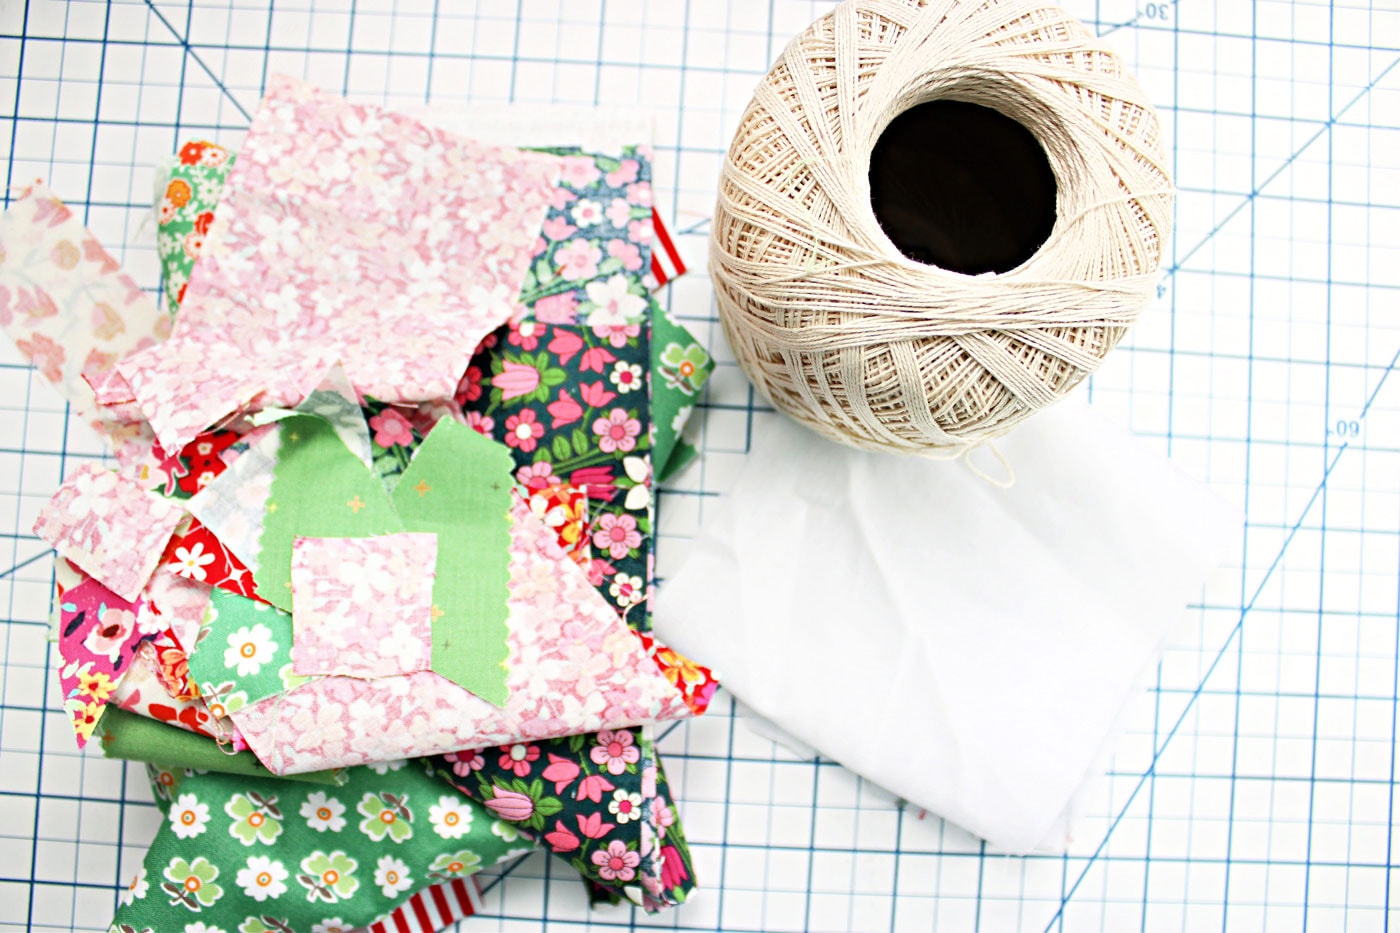
To make a Tiny Patchwork Heart ornament, you will need:
- A bunch of fabric scraps in various colors, preferably with small-scale prints
- Downloadable Tiny Patchwork Heart Template
- A piece of fusible interfacing 8” or larger if you are making multiple hearts
- A string of your choice for hanging the ornament. I am using crochet string.
- Needle and thread
How to Get the Heart Template
Fill out this form, and we will email you a copy of the heart template.
Instructions
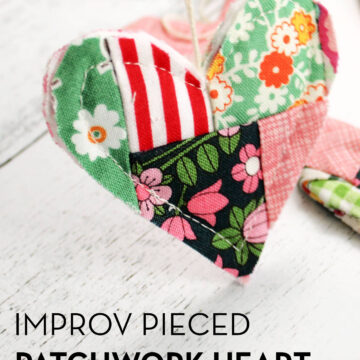
Improv Pieced Patchwork Heart Ornaments
supplies
- A bunch of fabric scraps in various colors preferable with small scale prints
- Downloadable Tiny Patchwork Heart Template fill out the form on this page to have it emailed to you.
- A piece of fusible interfacing 8” or larger if you are making multiple hearts
- String of your choice for hanging the ornament. I am using crochet string
- Needle and thread
Instructions
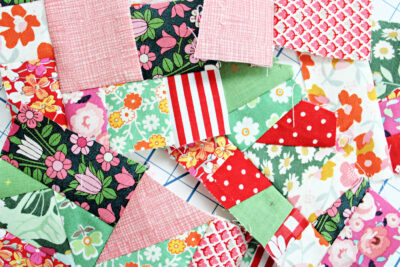
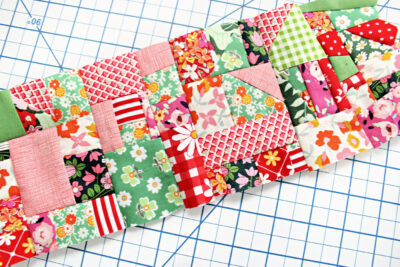
- To begin, sew together several pieces of scraps in any random fashion. Here is a picture of my scrappy sections. They measure about 6” wide, but they just need to be wider than your template. I wanted to make multiple hearts, so I have several sections.
- If you are only making one heart, your scrappy block will need to be large enough to fit two heart template shapes on it.
- *NOTE: Be intentional about keeping your scraps very small. The heart template itself is only 3 ¼” at its widest point. Once you add seams, It is under 3”. Smaller prints and scraps will show better than larger pieces.
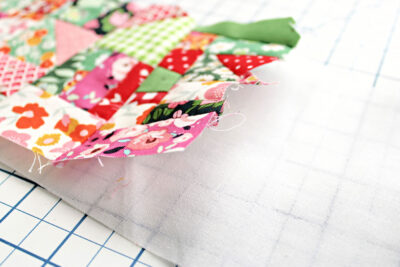
- After you have made your scrappy blocks, sew them together into one long unit and press the seams open to reduce bulk.
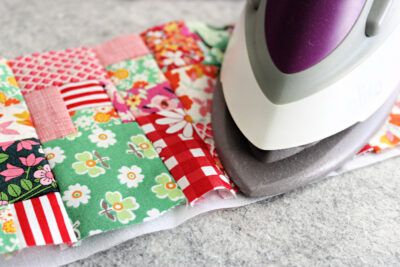
- Lay the scrappy block onto fusible interfacing with the glue side of the interfacing facing the back of the scrappy block.
- Press.
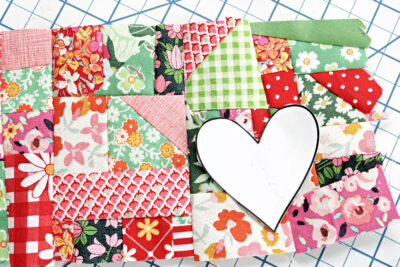
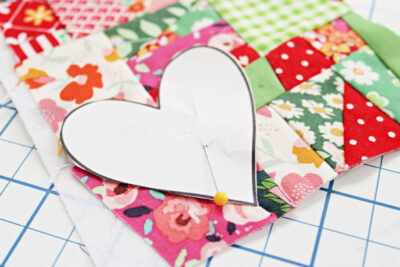
- Pin heart shape to scrappy block and cut out two hearts if you are making one heart ornament.
- I wanted to use every last bit of my scrappy block, and I was able to cut out 12 hearts, yielding 6 ornaments.
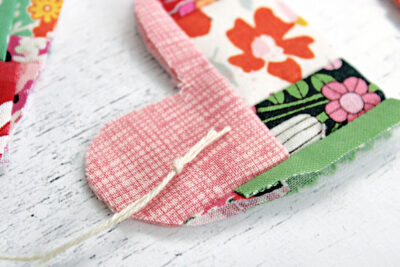
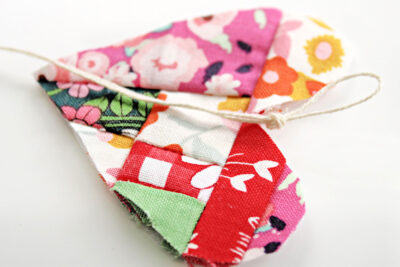
- Next, cut a 6” section of string and tie a knot close to the two ends. Lay the string over one of the hearts, as shown above.
- You will be encasing the loop end of the string inside the heart as you sew. The knot will remain on the outside of the heart.
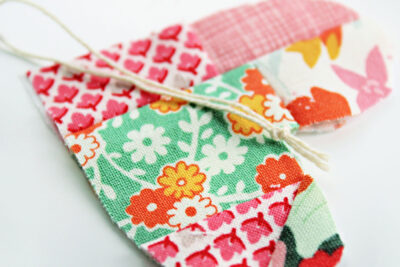
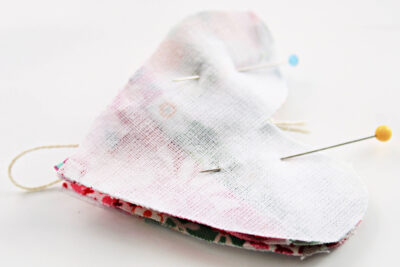
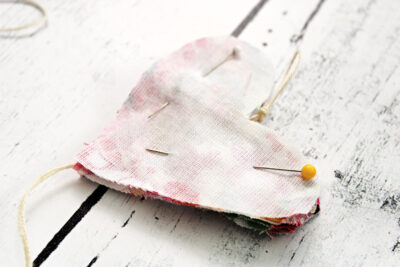
- Pin two hearts together with the right sides facing so the string is encased in the center, as shown above.
- Push the loop end of the string inside the heart so you don’t accidentally stitch through it.
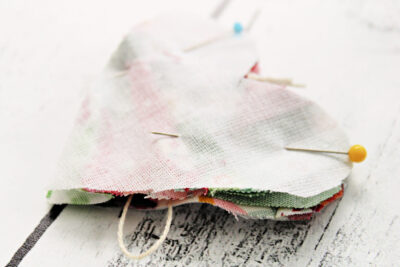
- Another option is to let the loop hang over the outside of the heart on one side. This is where you will be leaving an opening to later turn the heart right side out. If you choose this option, just be sure to start and stop your opening on either side of the string, being very careful not to stitch through it.
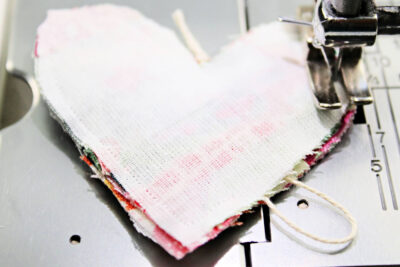
- Stitch around the heart, leaving an opening about 1.5” wide. I used a ⅛” seam allowance here. Clip curves. Clip heart point close to, but not through, stitching.
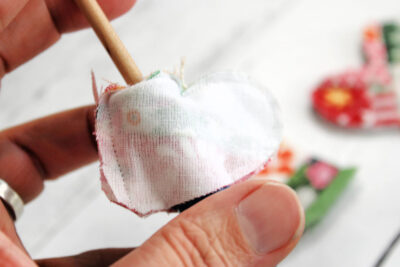
- Carefully turn the heart right side out. Because the heart is so small, it is helpful to use a turning tool to get it started.
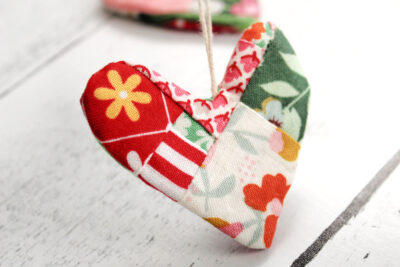
- After turning the heart right side out, stitch the little opening closed with a needle and thread. You could stuff a tiny amount of fiberfill before stitching for a puffy heart. I opted to keep my hearts flat. Here is the first version of our scrappy tiny heart!
- The second version is just like the first, except you could hand stitch or machine stitch around the edges. This adds a bit more structure to the heart.
- The third option is to turn the heart into a car mirror accessory. To do this, cut a 20” length of string. Fold the string in half. Tie the knot the same way we did for the first ornament, except this time, we are tying the folded end.
- The folded end and knot will remain outside of the ornament when you sew. Here you can see the long tail sticking out. You’ll do exactly like we did with the first ornament – either tuck it inside the heart or let it hang out of the side opening when you sew the two hearts together.
- Turn the heart right side out and stitch the opening closed. To hang the heart on your rear view mirror, take the two sections of string, wrap them around the mirror holder, and tie a bow or knot.
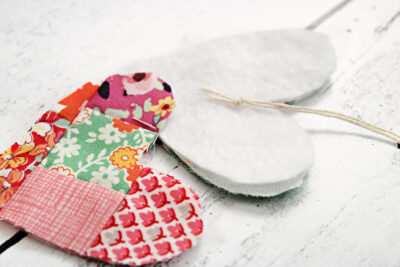
- A final variation on the Tiny Patchwork Heart ornament is to leave the raw edges exposed. Cut out a piece of quilt batting using the heart template.
- Place it on the back side of a patchwork heart piece. Lay a 6” piece of string (folded in half with ends tied in a knot) so the knot portion is on the INSIDE of the heart. Place another patchwork heart piece over the batting, making a tiny quilt sandwich.
- Stitch around the edges using a ¼” seam allowance, making sure the knot portion of the string loop is inside the ornament as you sew.
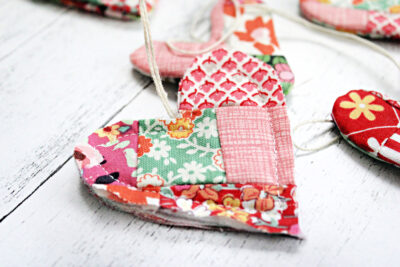
- You can see here using the raw edge method makes the heart significantly larger than the other hearts. All are totally adorable, and how you make it is completely up to you.
Here they are! I love having a slew of tiny projects in my idea file so I can use up those wonderful pretty bits of fabric I can’t bring myself to toss in the garbage.
About the Designer

Julia Frazier is the founder of Bayhill Studio. Julia designs quilts and projects geared toward beginner quilters and crafters. You’ll usually find her at her sewing machine or hiking in the nearby mountains. Follow Julia on Instagram @bayhillstudio, and subscribe to her YouTube channel for new and exciting projects and tutorials. Be sure to check out her Bayhill Studio website for a growing list of tutorials and patterns.
Also by Julia
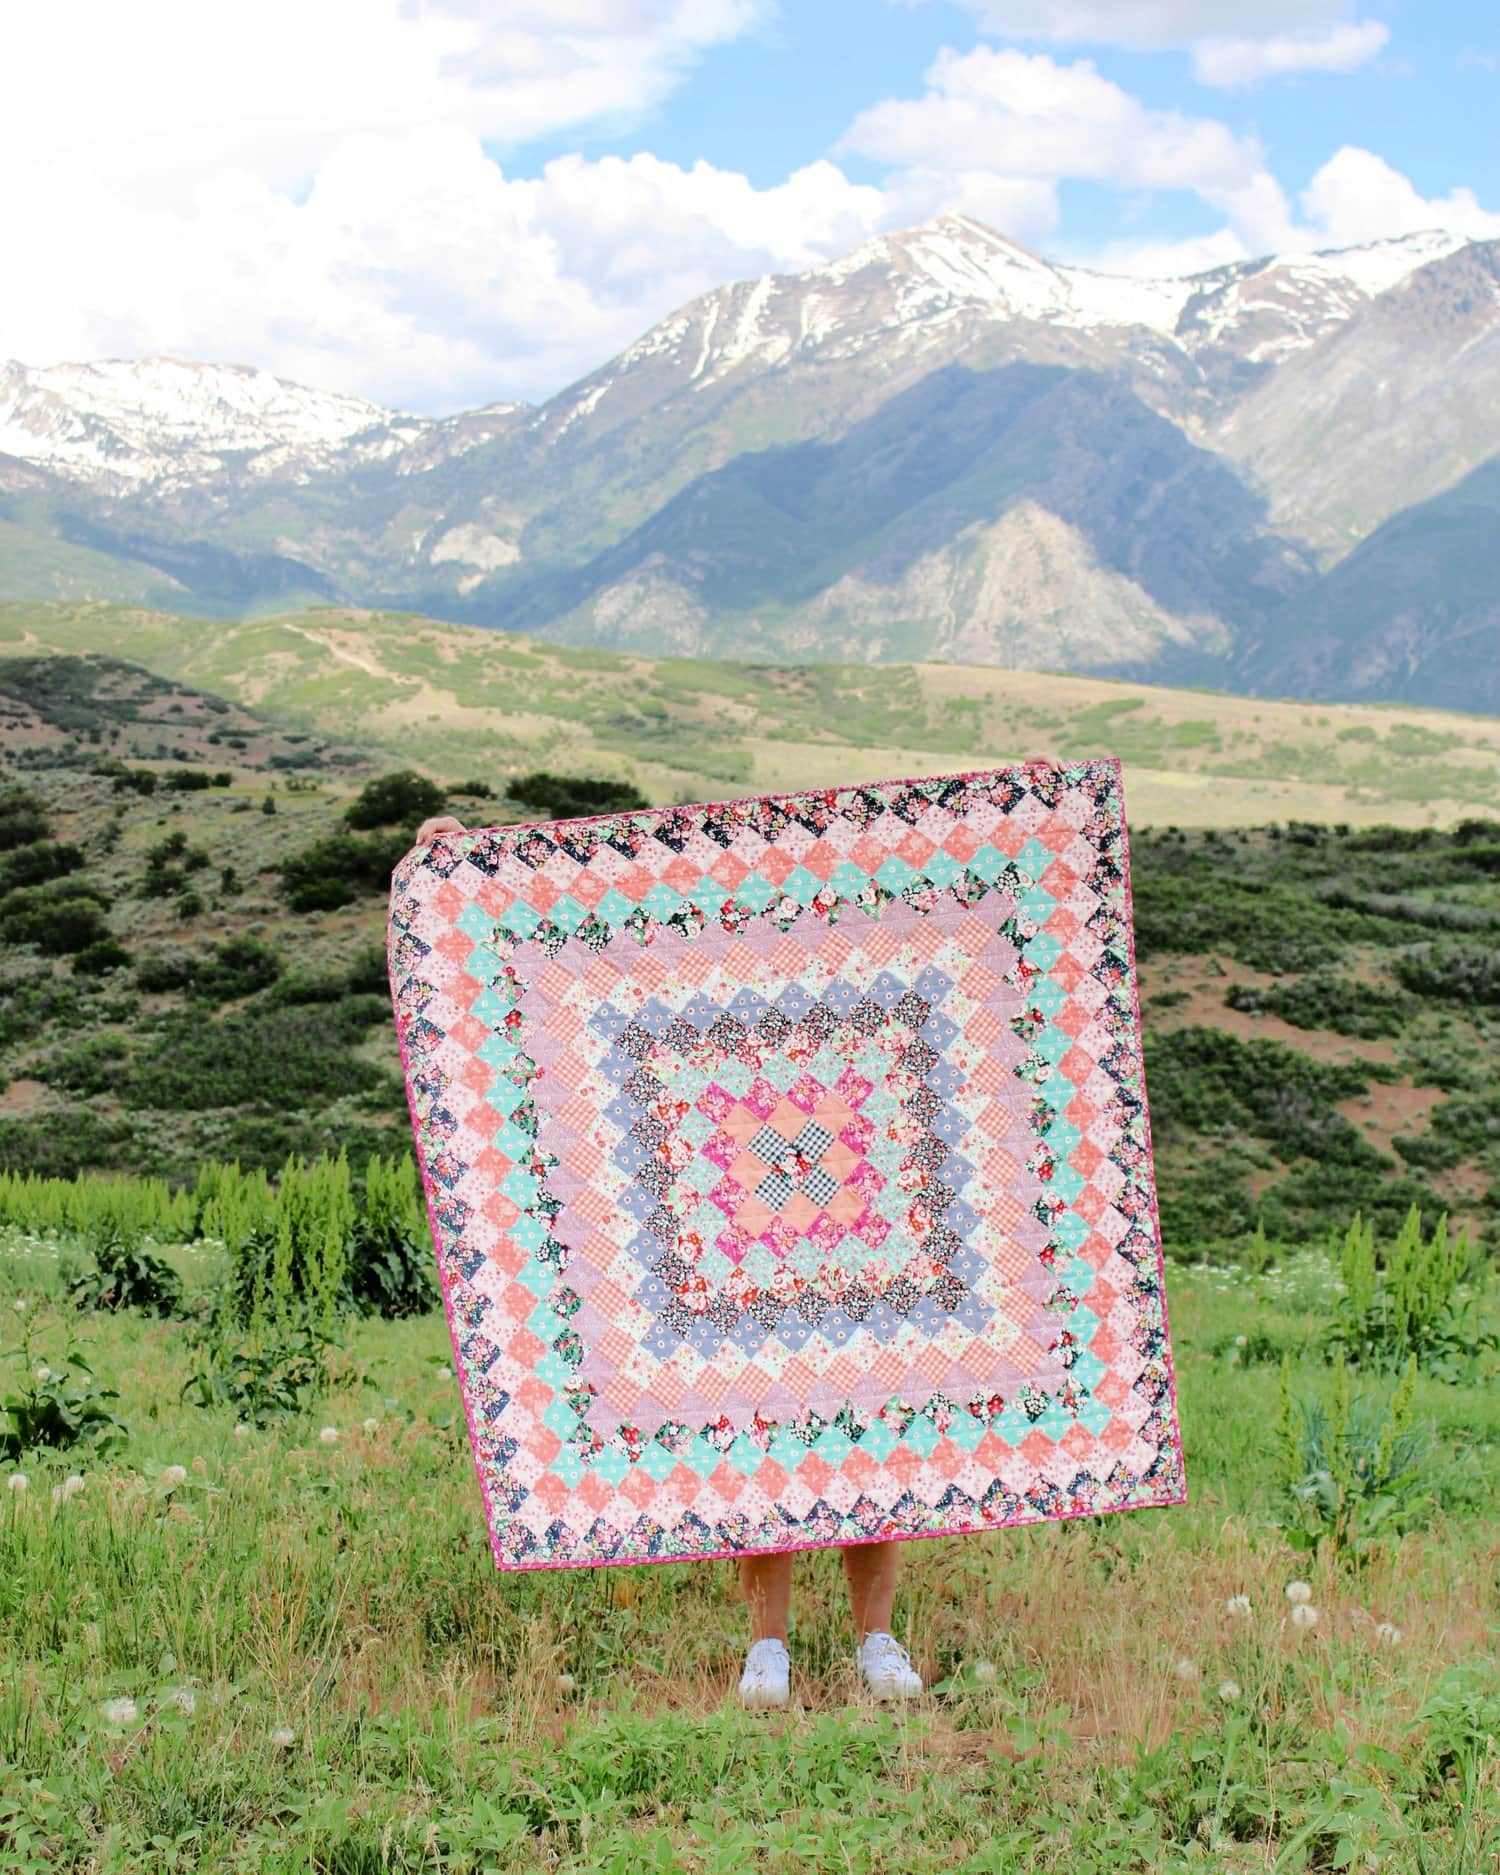
Great Granny Square Quilt Pattern
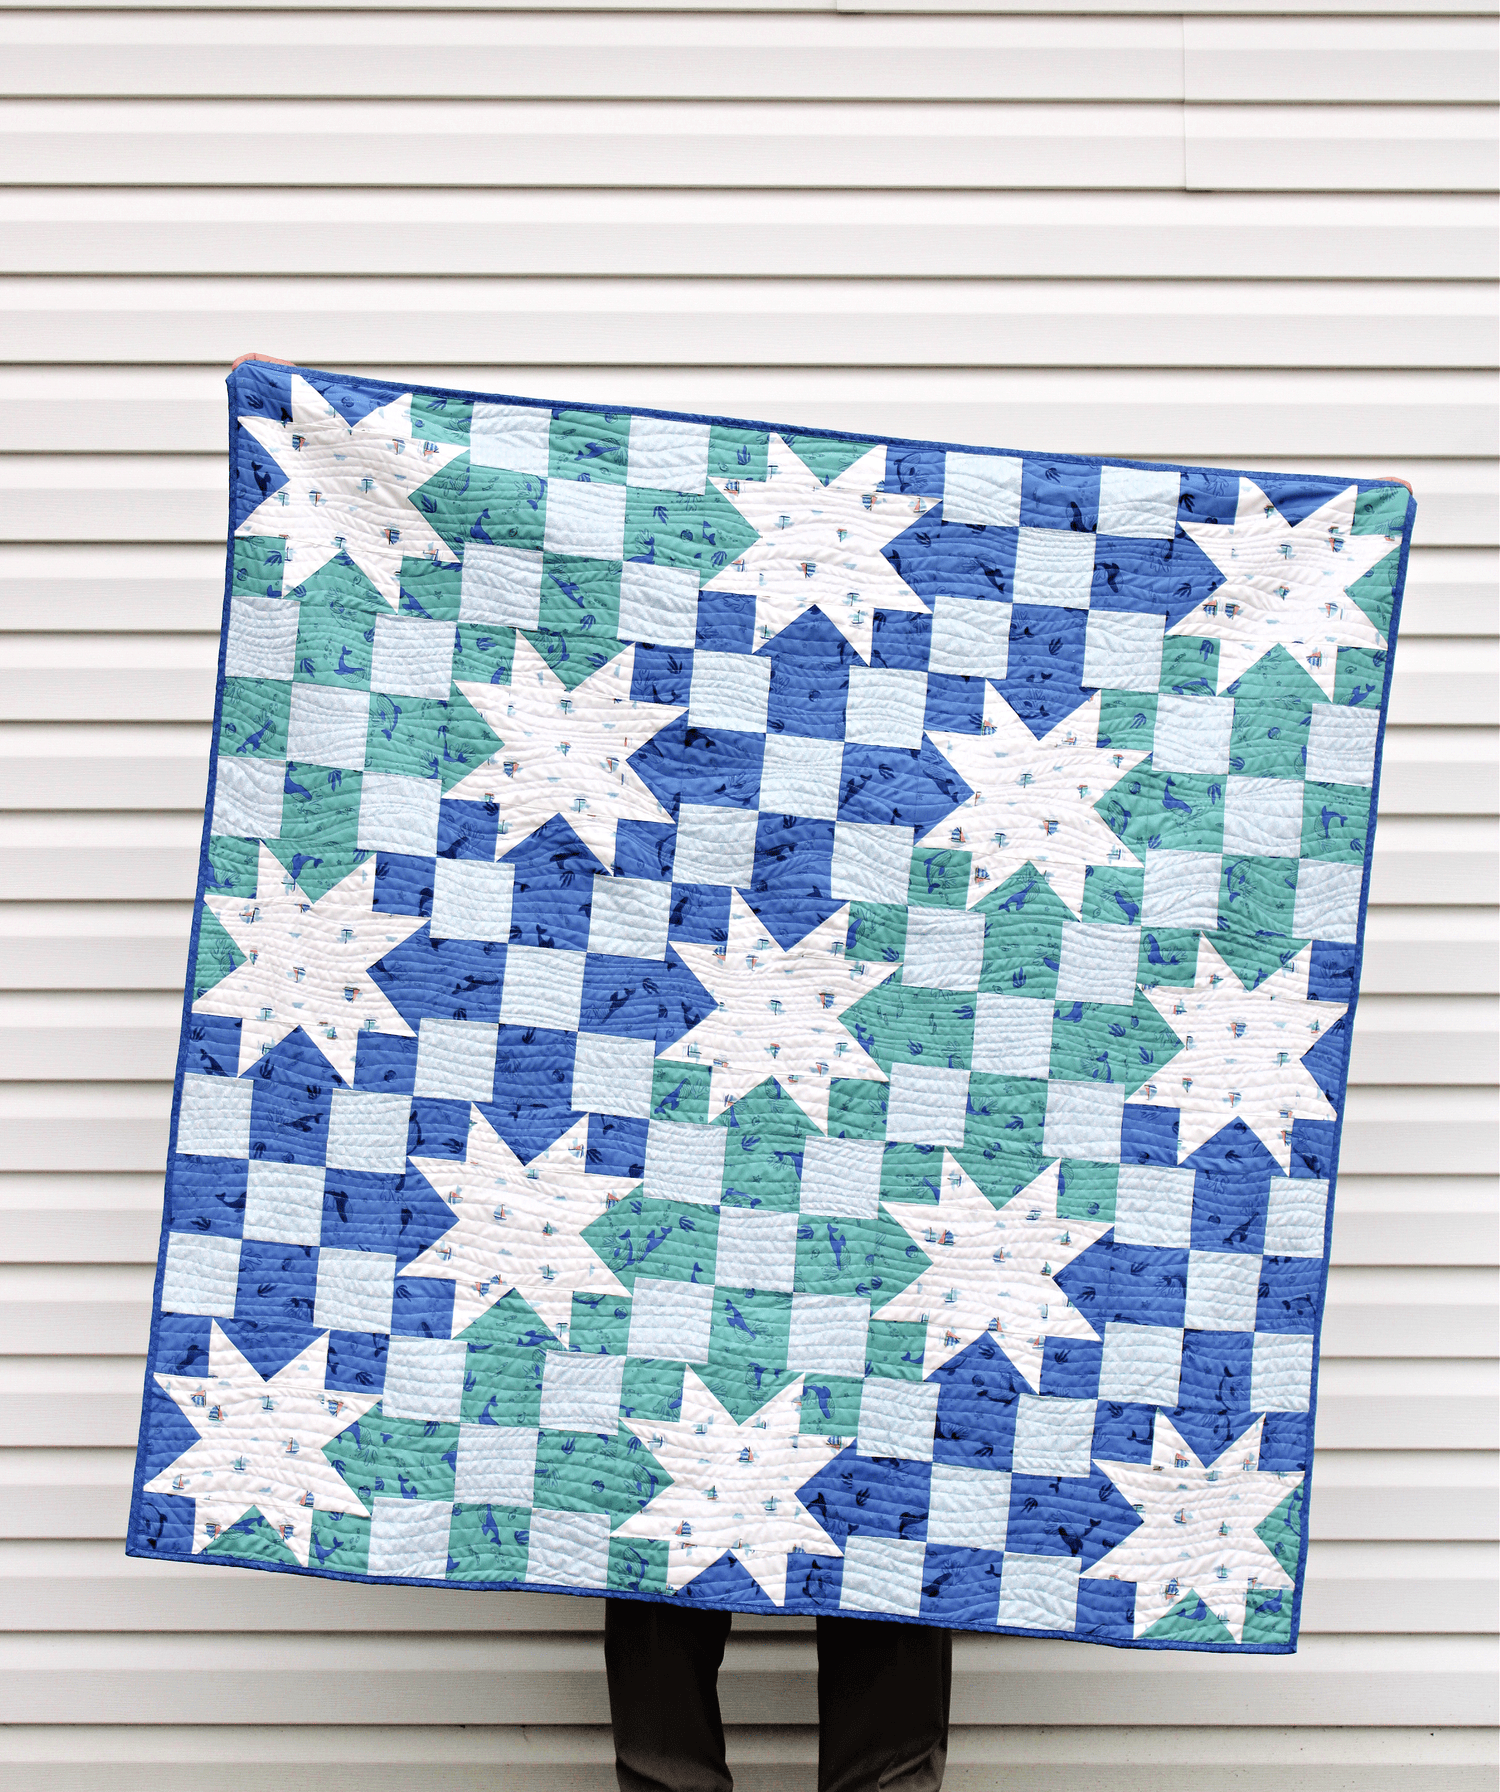
Star Attraction Coastal Quilt Pattern
