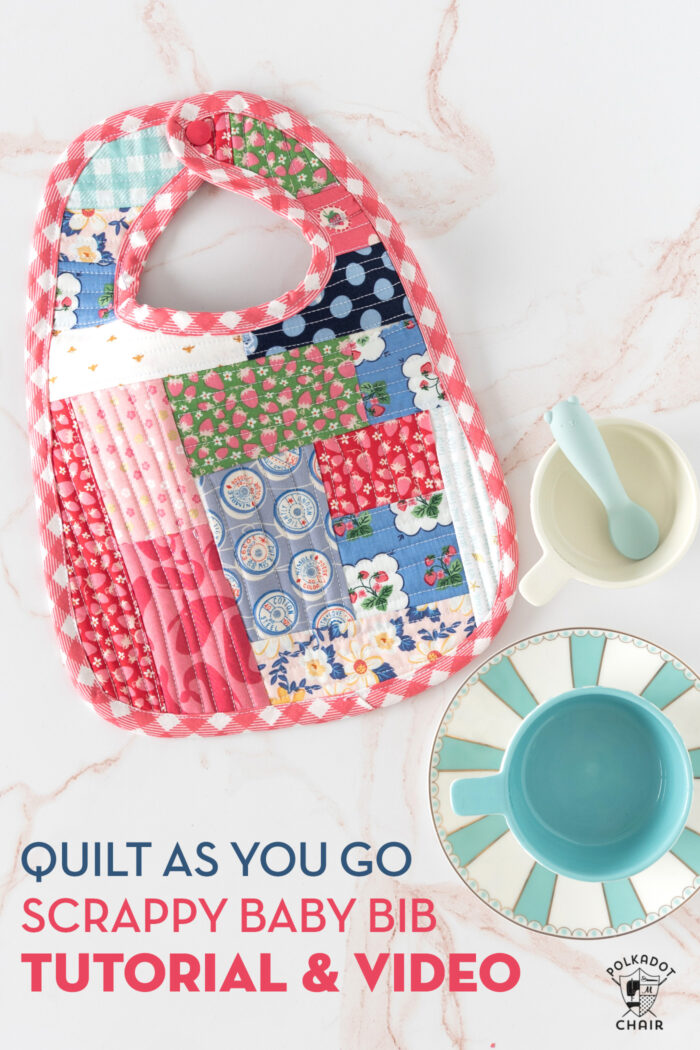
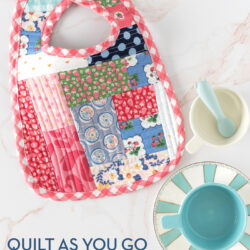
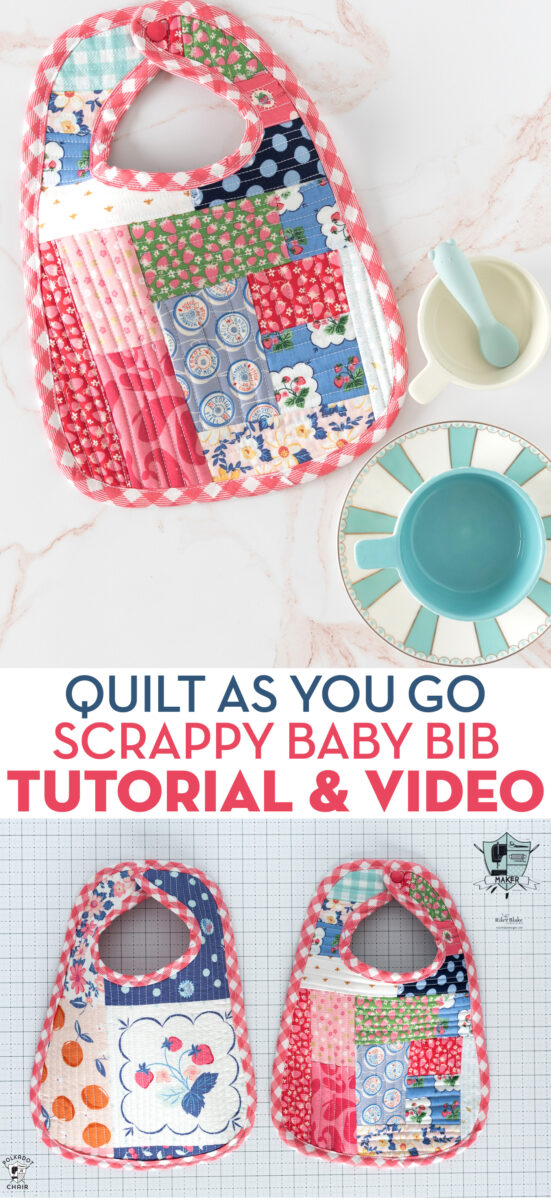
Quilt as You Go Baby Bib Pattern
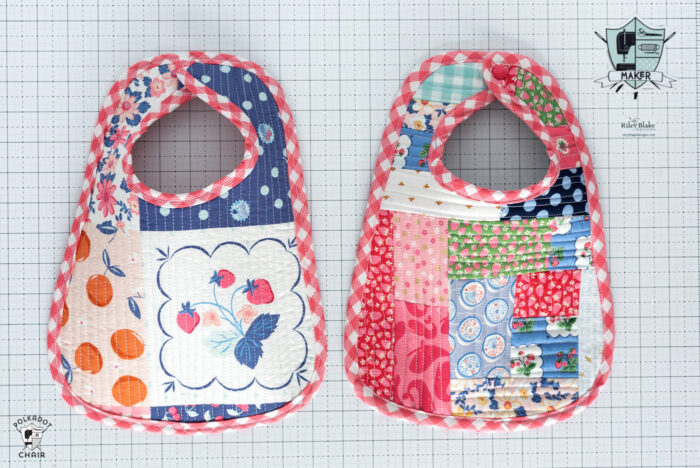
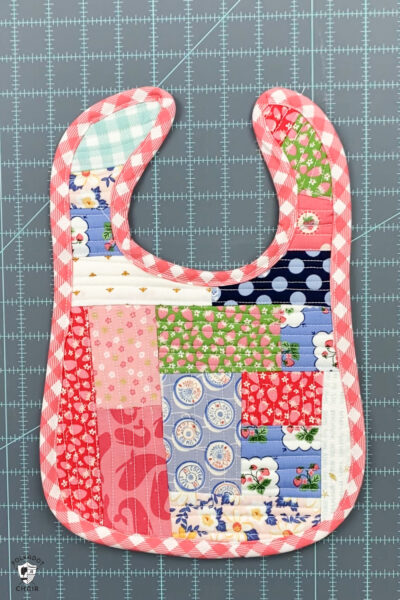
Is your fabric scrap basket overflowing? Empty it out and create an adorable, scrappy baby bib using an improvisational quilt as you go method. Our free quilted baby bib tutorial includes video instructions and a printable PDF pattern piece.
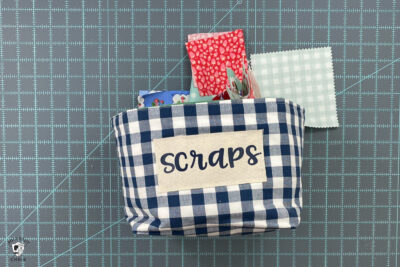
Recently I noticed that my fabric scrap bin was overflowing. I have been wanting to create a quilt as you go project ever since I saw the cute pillow tutorial that Sarah wrote for the blog.
Since I have a lot of quilted pillows, I thought I’d try to make something new and create a quilted baby bib.
This bib would make a great gift for a new baby, especially if paired with a matching set of burp cloths or a baby quilt.
Since I have been working on a new quilt with my Summer Picnic fabric collection, my fabric basket was full of Summer Picnic scraps! I threw in a few other prints as well, to give the bib a bit of variety.
Since this bib is quilted using a quilt-as-you-go method, it would be great to use as a drool bib for a baby. It’s extra-absorbent and can be washed and dried repeatedly.
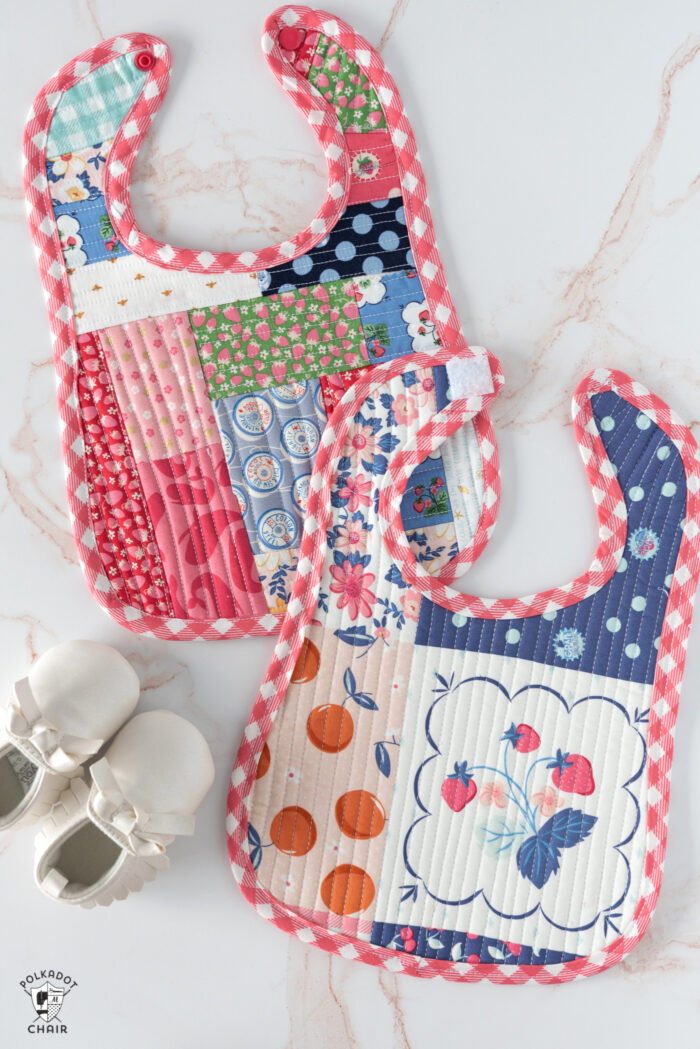
Non-Scrappy Version
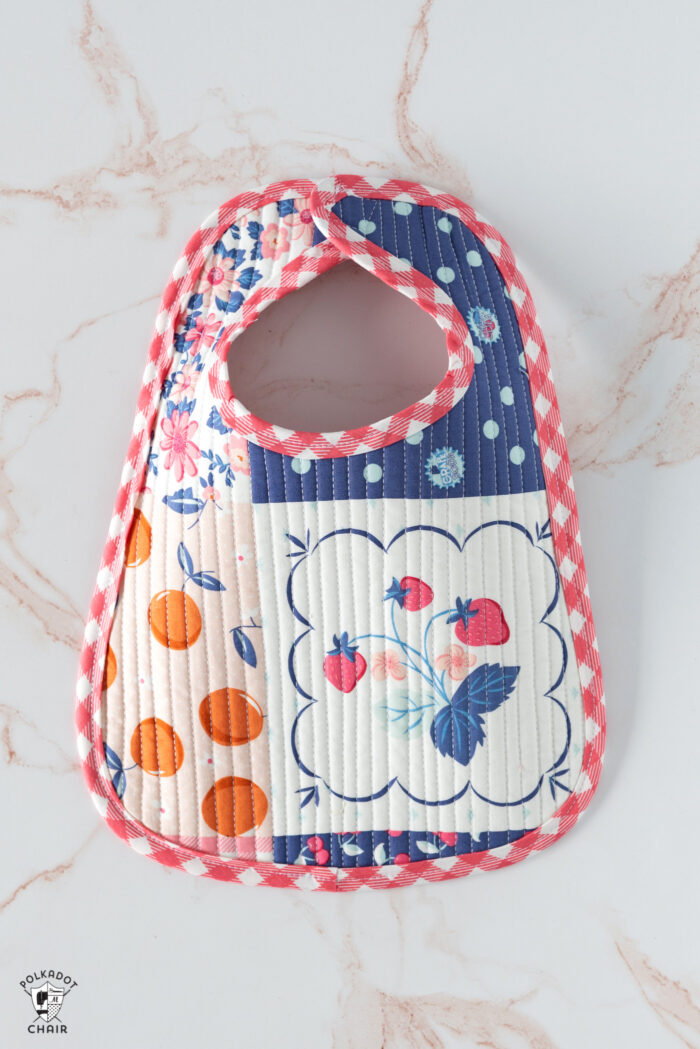
If you prefer, you can also make this bib using two pieces of fabric. Just create a quilt sandwich with the bib front and back fabrics and a piece of batting sandwiched in between. The rest of the directions are exactly the same. The bib above is made with a scrap from a quilt panel, that why it looks pieced!
What is Quilt as You Go?
“Quilt as you go”, refers to a method of quilting in which you both piece and quilt your project simultaneously. This technique has several variations; some feature quilting entire quilt blocks then assembling them into a quilt. The pieces are already quilted and, therefore, the project does not need to be machine quilted again.
For today’s tutorial, I’m referring to quilt as you go as an improv piecing method where you both create your patchwork pattern and quilt your project at the same time.
This project is meant to be scrappy, wonky, and fun! It’s intentionally wonky! As you work, let go of the idea of creating a “perfect” pattern and just go with your instincts. You’ll be so happy with how it turns out, I promise!
This method is also great for beginning quilters since it does not require precise piecing.
Video
I’ve created a video of the process. You can see a bit of it here. It’s too long to upload to the blog so I’ve added it to my YouTube channel.
How to Get the Pattern Piece
Fill out the form below to get the pattern piece, and subscribe to our FREE weekly newsletter. If you’re already a subscriber, thank you! Just fill out the form to have the PDF emailed to you. You will not be added to the newsletter twice.
Instructions
Quilt as You go Baby Bib
Equipment
supplies
- 10-15 Scraps Fabric In various prints and sizes
- 1 piece Fabric 11" x 16" (for bib back)
- 1 piece Cotton Batting 11" x 16"
- 1 Fat Quarter Fabric for binding
- 2 pieces Velcro 1" x 1"
- 1 Bib Pattern Piece Follow instructions above to obtain the PDF
For Non-Scrappy Bib Add:
- 1 piece Fabric 11" x 16" for Bib Front
Instructions
Prep
- Sort through your scraps until you find 10-15 pieces in colors and print that coordinate with each other.

- Print out and assemble the Bib Pattern Piece. Cut it out.
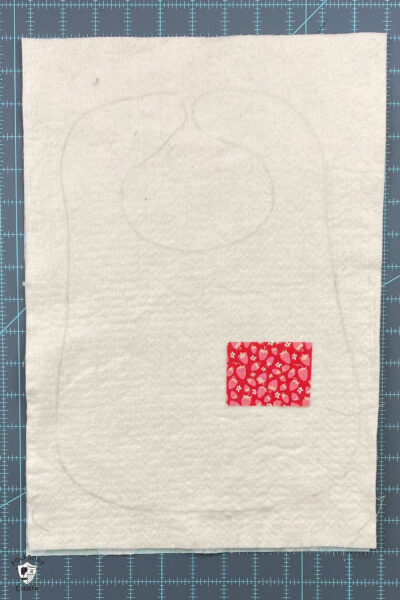
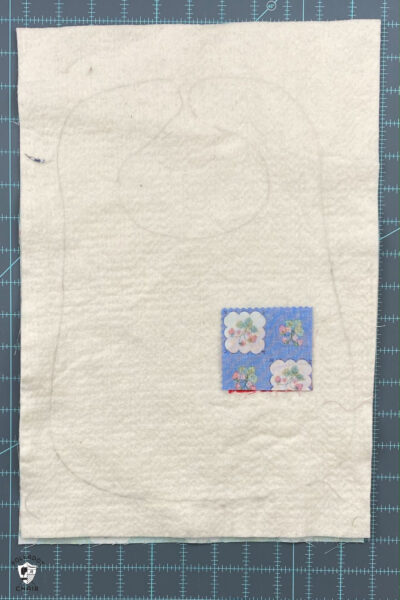
- Layer the 11" x 16" piece of batting and the bib back pieces together; the batting should be on the wrong side of the fabric.
- Trace the bib shape onto the batting. It does not need to be exact; you just need to know how much of the batting you need to cover with fabric.

- Cut one scrap approx. 2" x 3" to start.

Quilting
- Begin by placing your first fabric scrap onto your bib piece. You can place it anywhere on the bib that you'd like.
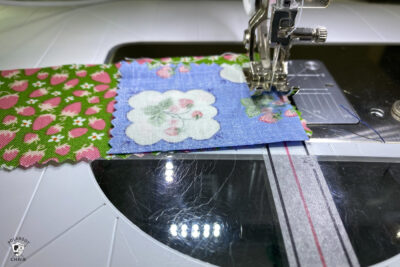
- Sew the piece to the batting/fabric by sewing lines 1/4" apart. Do not cut the thread in between lines. Instead, pivot the fabric, sew a 1/4", then continue sewing another line. You want to minimize how many thread cuts you have on the project since the quilting will show on the back of the bib.
- Cut a second scrap of fabric the same width as the first scrap.
- Place it on top of the batting/fabric, on top of your 1st scrap, right sides facing. Stitch it in place with a 1/4" seam allowance. Flip the piece right side up, press in place, and add stitching lines using the same method you used for the 1st scrap.
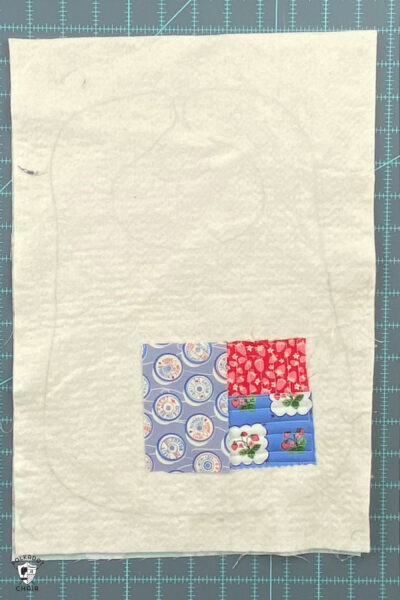
- Keep adding scraps using this method.
- If you find that you need longer scraps (the strips will get longer as you add more scraps to the bib), you can sew two scraps together before adding them to the bib.
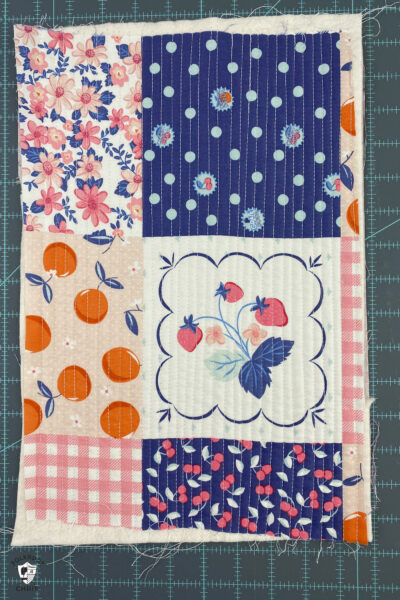
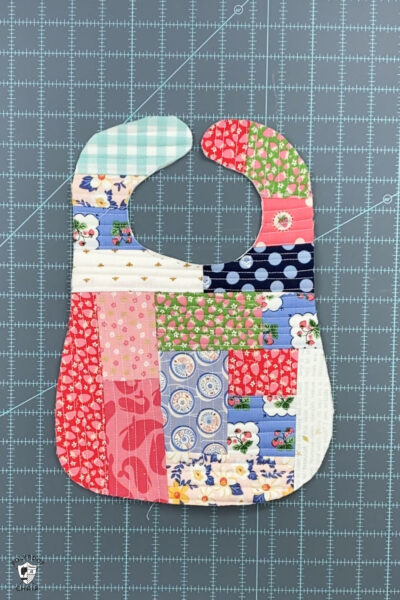
- Keep working until you have covered the entire bib area with quilted fabric.

If making the Non-Scrappy Version
- Make a quilt sandwich with your bib front and back pieces right sides out and the quilt batting sandwiched in between the two.
- Quilt on your machine with quilting lines 1/4" apart.
Binding (for all versions)
- Place the pattern piece back onto your quilted fabric.
- Trace the shape onto the quilted piece and cut it out precisely with large scissors.
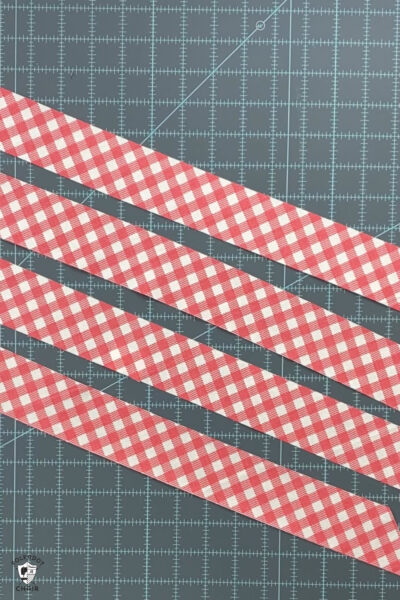
- From your binding fat quarter cut 2" wide strips along the bias. Sew the bias strips together and trim seam allowance down to 1/8". You need approx. 60" of bias strip.
- Using your iron, run the bias strip through the 1" wide bias tape maker.
- Fold the bias in half lengthwise, so that the raw edges of the fabric are facing in.
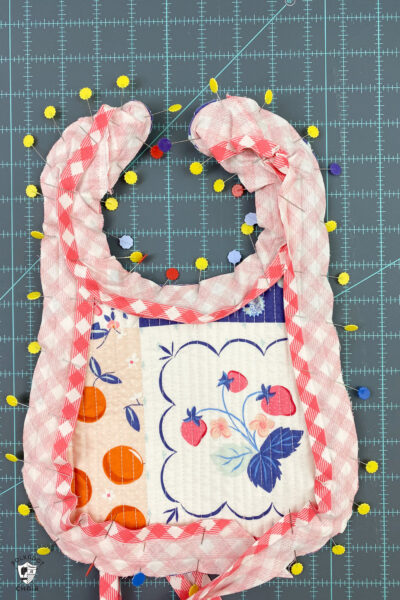
- Open the pressed/folded bias strip open. Pin it to the bib at the bottom with the raw edge of the bias flush with the raw edge of the bib. Stitch it in place close to the 1st fold in the bias tape.
- When you get back to where you started, join the bias tape ends.
- As you sew your bias to the bib make sure that the bias is taught. You might have to pull on it a bit as you sew to make sure you don't have any gaps.
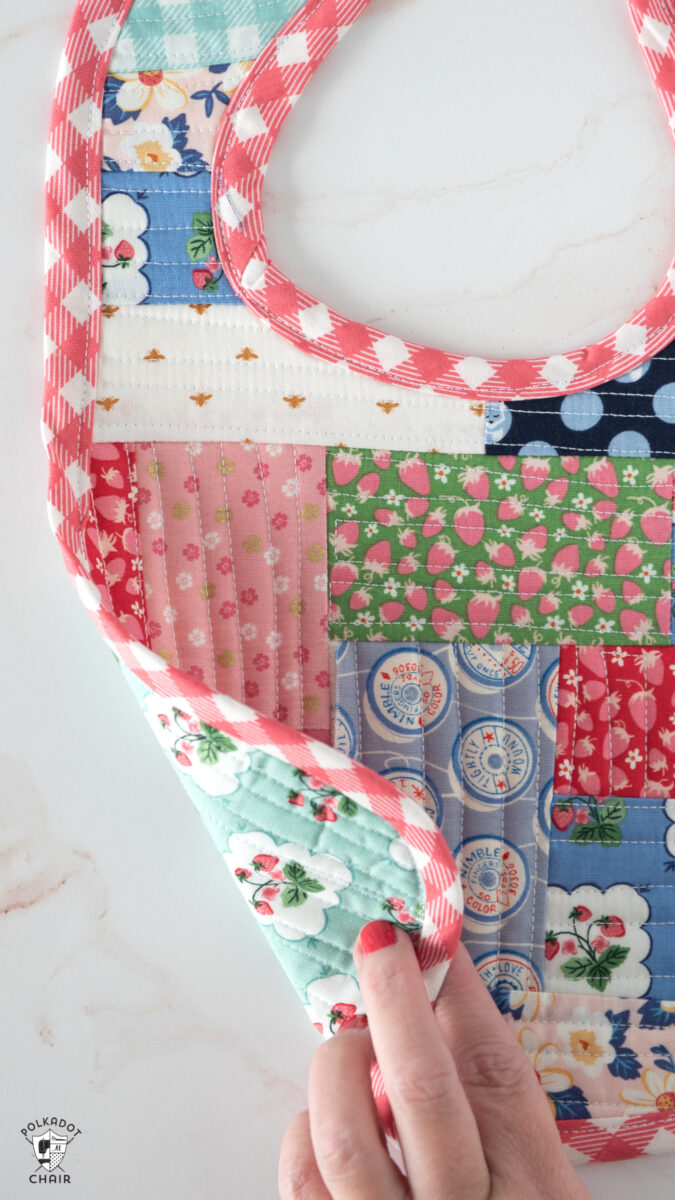
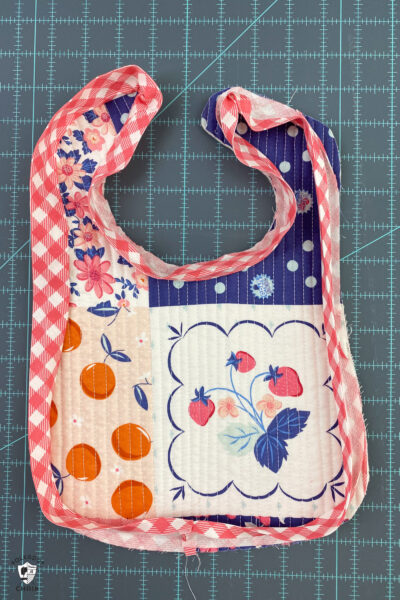
- Refold the bias, so that the bias wraps around the raw edge of the bib. Press well.
- Stitch the bias tape in place on the front of the bib. Make sure you catch the bias tape on the back of the bib as you sew. If you miss any spots, you can use a bit of steam a seam to secure the bias tape.

Finishing
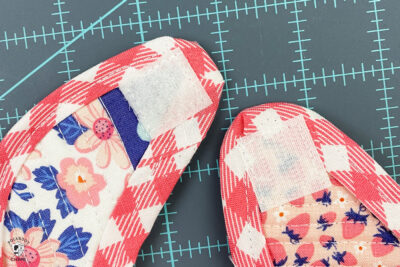
- Sew one piece of Velcro to each side of the top of the bib. Make sure you sew it around all 4 sides and lock your stitches. You can also use KAM snaps if you'd prefer.
- Clip the excess strings.
Video
really lovely pattern, just made and it is so cute!
I’ve been looking for a good bib pattern so I can make some for my grandchildren. This one is perfect. I love the size. Thanks in advance!
Would love to make this for my first expected great granchild but have filled out the form twice and not received the pattern. Can you help please.
Hi, On my end it shows you got it- is that right? Sometimes it can take up to 15 mins for the email to send
How to get the pattern piece for baby bib template to print.
Just fill out the form under the “how to get the printable” section of this article
Hi, I would like to have the pattern for the quilt as you go baby bib
Thanks,
Sheryl
Just fill out the form under the “how to get the pattern piece” section of this page. It will then be emailed to you.
Thank you for the Bib pattern. I made it yesterday and love it.
Looks like a lot of fun and easy to do, can’t wait to try.