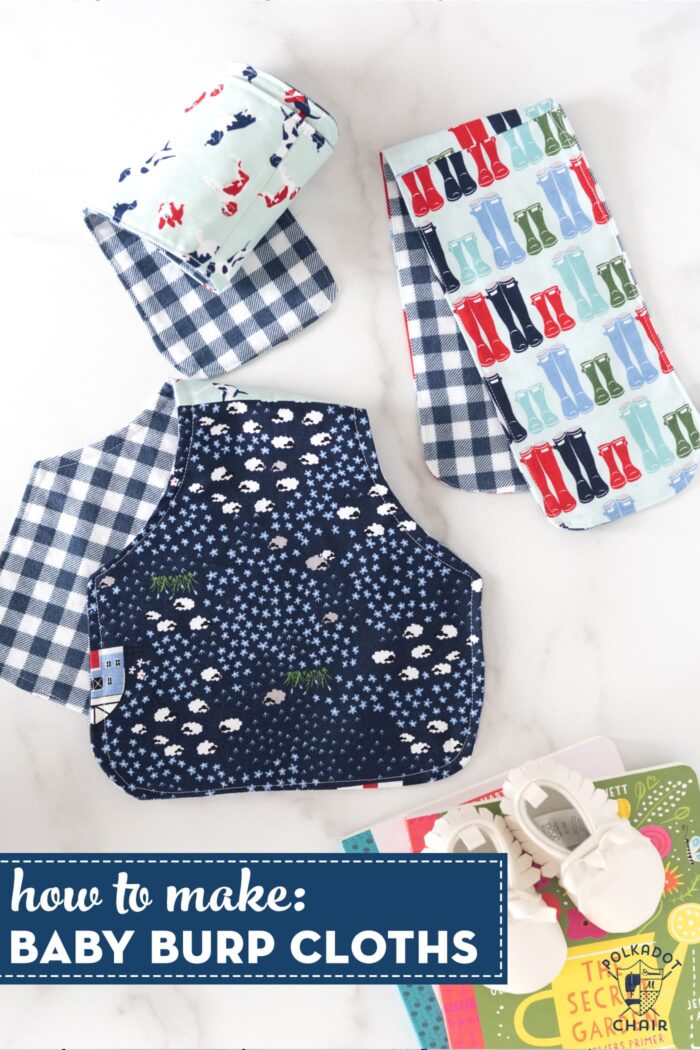
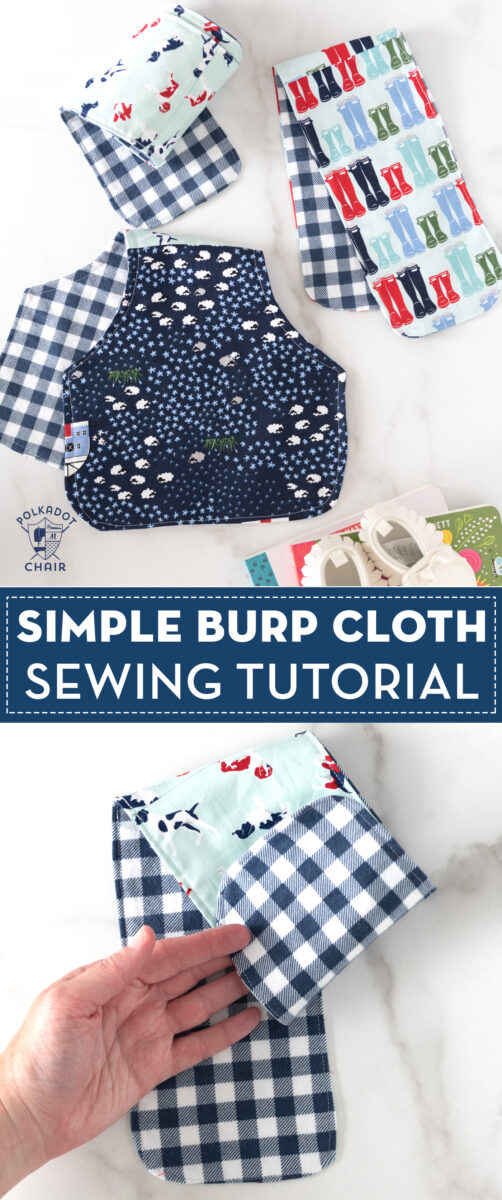
Easy Peasy Baby Burp Cloth Sewing Pattern
Learn how to make baby burp cloths with this simple and easy sewing pattern. It’s beginner and precut friendly and a great way to use up some of your fabric scraps!
Recently one of my daughter’s friends had a baby. We put together a care package to send to her and included a set of baby burp cloths among a few other things.
I had a stack of leftover 10″ squares from another quilt project that I needed to use, so I decided to figure out a way to turn the squares into simple burp cloths.
Simple Baby Burp Cloth Sewing Pattern
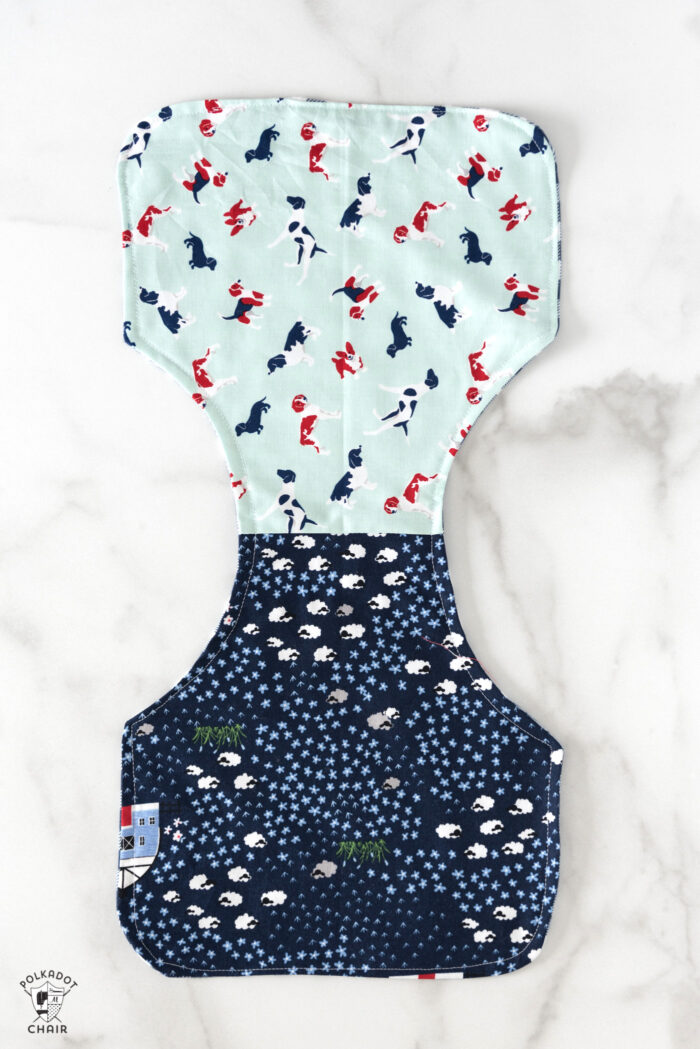
This pattern includes directions to create two different styles of burp cloths, a skinny cloth, and a wider burp cloth with a cut-out so that it sits comfortably on your shoulder.
We used flannel for the back of the burp cloths and quilting cotton for the front. You could also use terry cloth, or chenille (like I used for these burp cloths) as well for the back. For the front, you could also use double gauze fabric. I do not recommend Minke fabric for this project as it is not absorbent.
Since these burp cloths are made from leftover fabric squares, they would be great to give as a gift with a baby quilt made from the same fabrics!
I have created a simple pattern piece to help you cut the curve in the wider burp cloths.
How to Get the Pattern Piece
Complete the form below and we will send you a copy of the large burp cloth pattern piece.
Easy Peasy Baby Burp Cloths
supplies
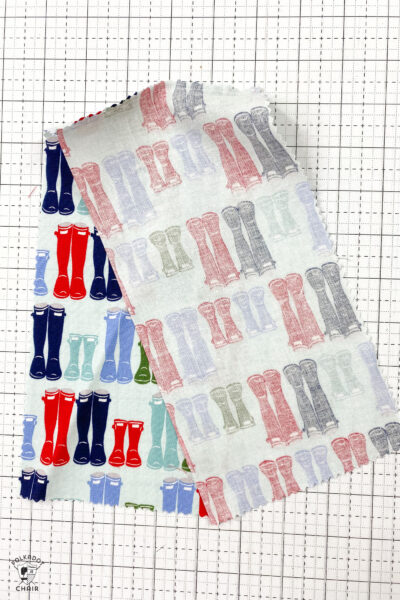
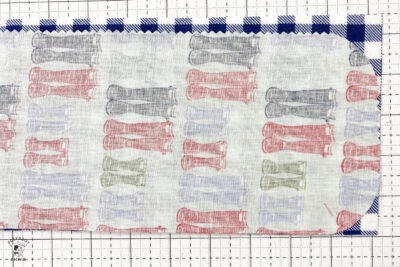
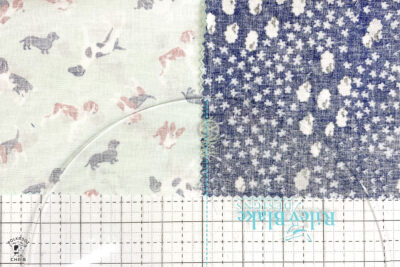
- 3 10" x 10" pieces quilting cotton Use leftover pieces from a 10" pre-cut stack or cut your fabrics to 10" x 10. Fabrics are from the Fox Farm Line by Riley Blake Designs.
- 1/2 yard Flannel Pre-Wash and dry before construction
- 1 template Shoulder Curve Template Download in our Template Library
- 1 Curved Corner Cutter Ruler
Instructions
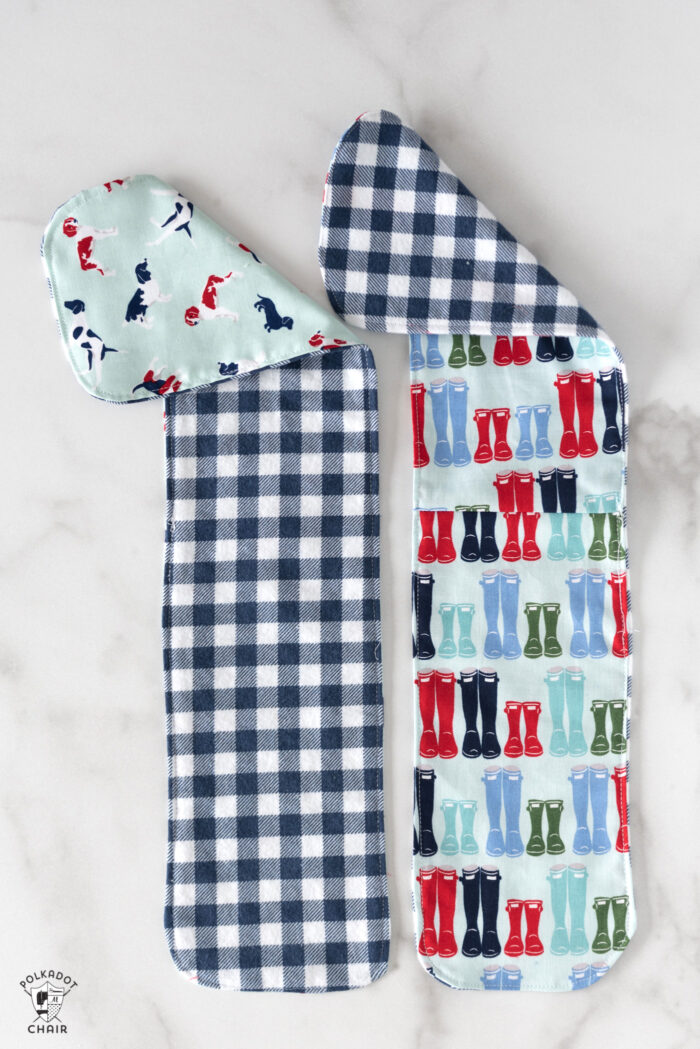
To Create the Skinny Burp Cloths
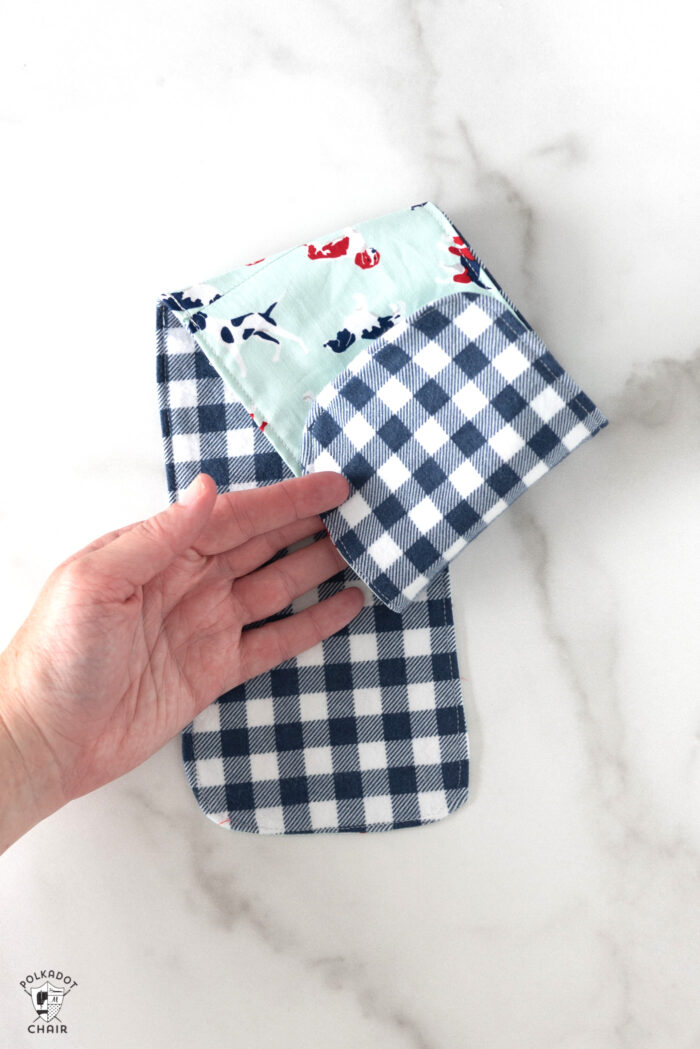
- Cut one of your 10" x 10" pieces in half so that you have 2 pieces each 5" x 10". Note the direction of the fabric before you cut.
- Sew the two pieces together along the short sides using a 1/4" seam allowance. Press.

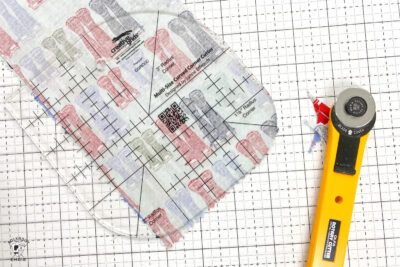
- Using the rounded corner ruler, or another curved object (you can use a small plate, a roll of tape or embroidery hoop instead) round the 4 corners of the fabric.

- Using this piece as a guide, cut out a piece of flannel the same size.
- Place the two pieces on top of each other, right sides facing.
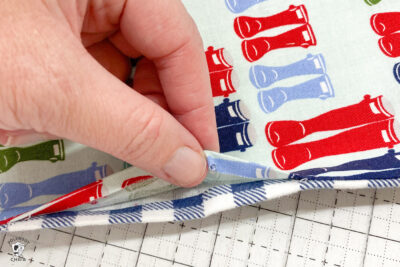
- Sew the fabric pieces together using a 1/4" seam allowance. Leave an opening on one side so that you can turn the piece right side out.
- Clip the curves around the corners, and turn the burp cloth right side out.
- Press well, turn the raw edges of the opening under so they are flush with the rest of the piece. Topstitch around the outside edge of the burp cloth making sure to close the opening as you sew.
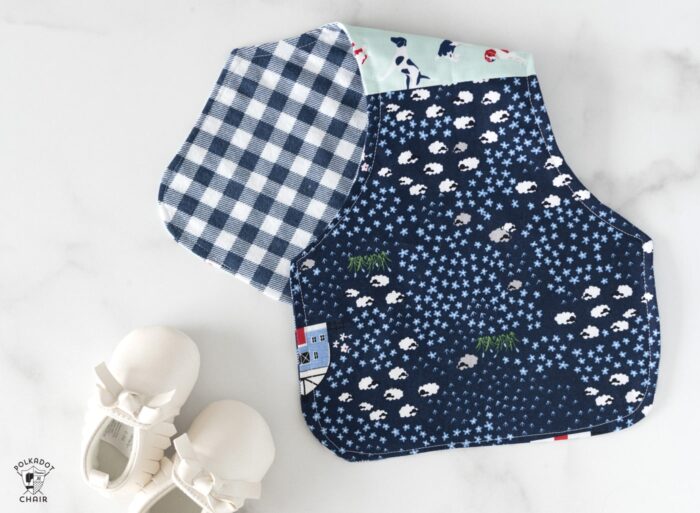
To Make the Larger Burp Cloth
- Sew two 10" x 10" squares to each other.
- Create a curve in the center of the pieces. You can use a plate, circle ruler, or use the template that you can download on our site to create the curve. You will want to cut out a curve from the center of the burp cloth on both sides.
- Using the corner rounder ruler or another object, curve the 4 outside corners of the burp cloth.
- Using this piece as a template, cut a piece of flannel the same size.
- Layer the two pieces together right sides facing. Sitch with a 1/4" seam allowance, leaving a 4" opening on one side. Turn right side out and press.
- Topstitch around the edge making sure to catch the opening in the burp cloth as you sew.

Notes
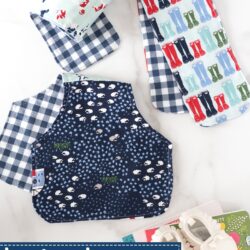
More Baby Gifts that you Can Sew
Patchwork Self-Binding Minke Baby Blanket
How to Make a Pillowcase Dress
How to Make a T-Shirt Quilt Baby Blanket
Easy Knit Baby Blanket Sewing Pattern
Sea Birds, Free Baby Quilt Pattern

Why do you cut the 10 x 10 pieces in half? and Do you also cut the flanel piece in half?
The pieces come 10×10 in the package. I cut them in half so that I can sew them together and have a piece that is 5″ x 20″, which is a better shape for a burp cloth than a square.
Love your tutorials. I often make baby blankets from double napped flannel – 45″ square approximately. Since it often requires 1 1/2 of purchased fabric, I split the leftovers to use for burp cloths, often backed with terrycloth.