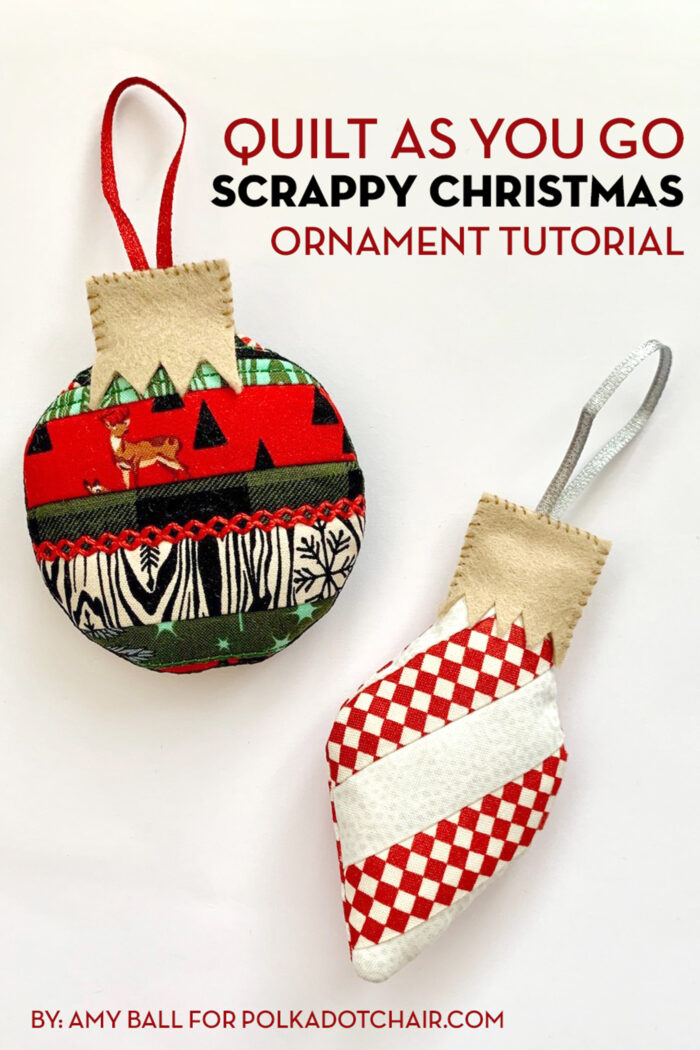
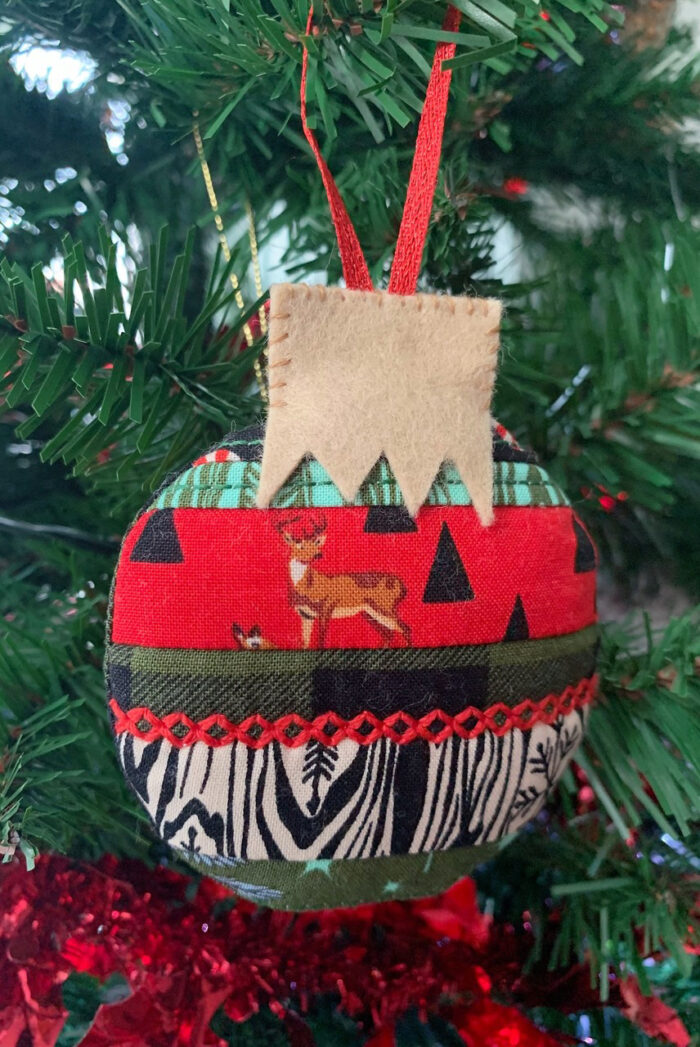
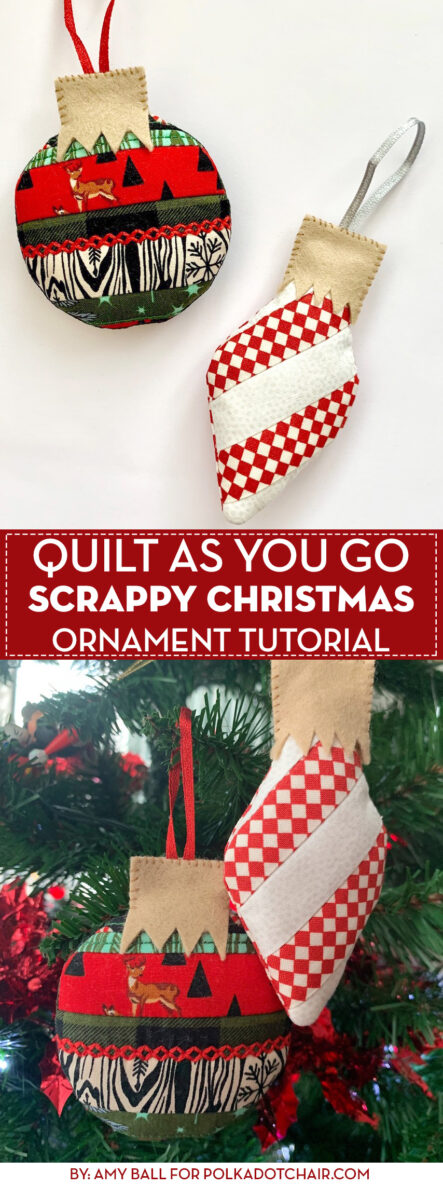
Quilt As You Go Scrappy Christmas Ornament Tutorial
Please welcome our newest blog contributor, Amy Ball of Coffee Rings Studio! She is here sharing a fun tutorial for Scrappy Fabric Christmas ornaments that come together quickly thanks to the quilt as you go method. These ornaments are a fantastic way to use up some Christmas fabrics that you might have leftover from another project!
It’s quite usual for quilters to have a stash of fabric and within that stash is pretty much always a pile of scraps that you don’t want to part with. General scraps can be quite easy to find a use for but I find Christmas fabric scraps much harder.
I buy a selection of Christmas fabric for a specific project then get stuck with the scraps because they can only be used for something else Christmassy…and then I don’t have enough time to use them up!
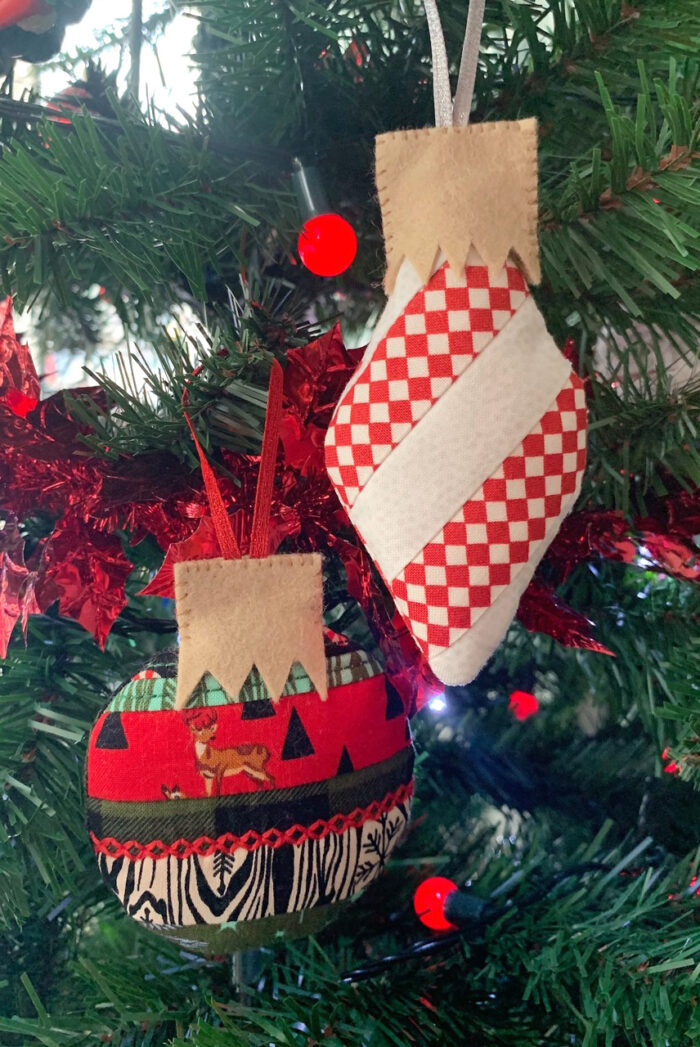
That’s why I designed this quick project to not only use some of those glorious Christmas scraps but also to make sure they are in pride of place on the tree for everyone to see.
How to Get the Printable Pattern Pieces. You can get a copy of the pattern pieces used in this project in our Template Library. Access to the library is for our Newsletter subscribers, and subscriptions are free. Please visit this page and follow the instructions to get the pattern pieces. PLEASE READ the instructions on that page. NOTE: The PDF only contains the pattern piece; you still need to read this tutorial to complete your project.
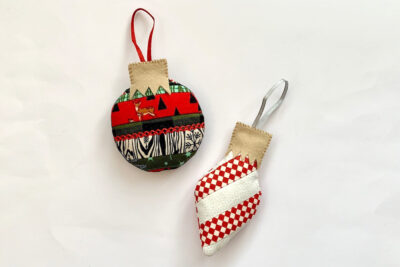
Quilt As You Go Scrappy Christmas Ornaments
Equipment
- embroidery thread/thicker machine thread
supplies
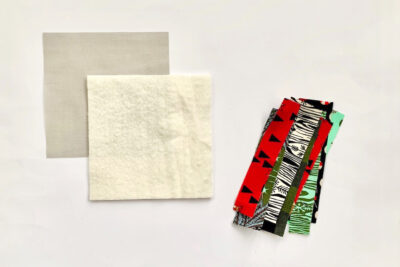
Fabrics
- 7-8 pieces Christmas fabric strips for round decoration – each 4½” x varying widths between ¾” and 1¼”
- 2 pieces Red fabric strips for diamond decoration – each 4” x 1¼”
- 3 pieces White fabric strips for diamond decoration – each 4” x 1¼”
- 2 pieces Decoration backing fabric 4” square and 1 piece 5” x 3”
- 2 pieces Lightweight backing fabric 4½” square and 1 piece 5½” x 3½”
Additial Materials
- 2 pieces Batting 4½” square and 1 piece 5½” x 3½”
- Stuffing – 2 handfuls
- 2 pieces Ribbon each 6" long
- 4 pieces Felt each 1¼” square
- 1 Paper Pattern Template Download in our Sewing Templates Library
Instructions
Instructions for round decoration
- Print off the circle template and cut out ready for later.
- Baste the squares of light weight backing fabric and batting (I find spray basting is easier with this project).

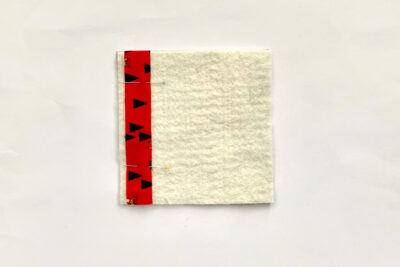
- Take your first Christmas scrap strip, right side up, and pin it close to the bottom edge of your basted square.
- Now take the second Christmas scrap strip, right side down, and pin it with the top edge aligned to the top edge of the first strip. Sew ¼” from the top edge and then press the fabric upwards.
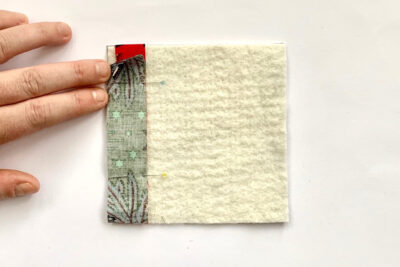
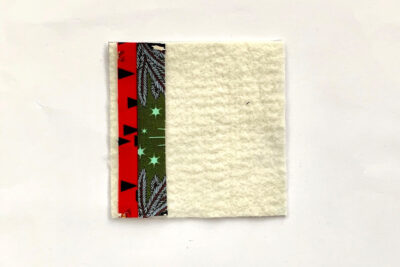
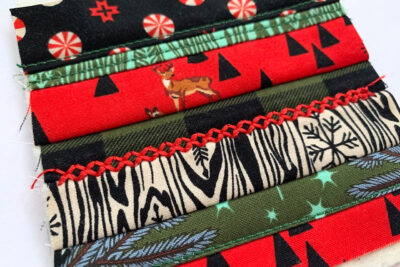
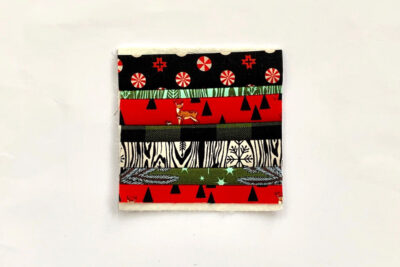
- Continue the same steps to fill the batting square. Make sure you mix up your fabric colours and strip widths for a really scrappy look.
- (optional) Add some decorative stitches.
- You can do this by hand sewing or on your sewing machine.
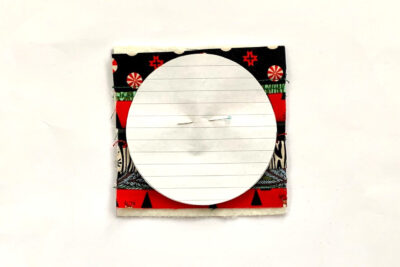
- Pin the circle template to the scrappy square.
- Cut it out.
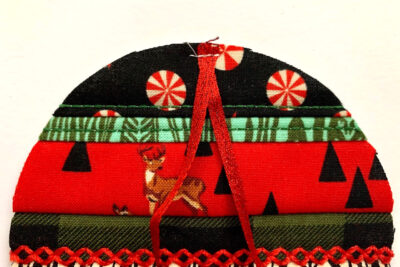
- Fold one of the ribbon pieces in half, match the raw edges to the top edge of the decoration (on the right side) and sew it in place close to the edge.
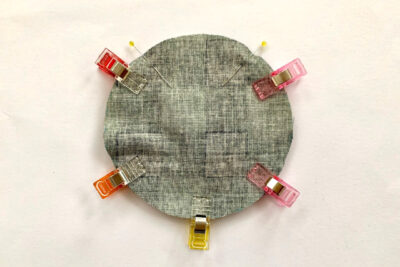
- Use the template to cut a circle out of the 4” square backing fabric and clip it, right sides together, to the decoration front. I used two pins to mark a 2” gap at the top.
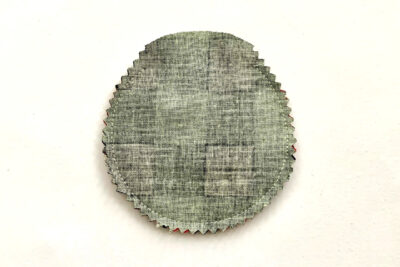
- Sew together with a ¼” seam allowance making sure you leave a 2” gap at the top. Then trim the seam allowance with pinking shears (or carefully snip into the seam allowance) to help get a nice curve shape. Don’t trim the section you have left un-sewn.
- Turn out the decoration and carefully poke the edges from the inside to get a round shape.
- Stuff the decoration. You can add as much or as little as you want depending on how padded you would like it to look but make sure you don’t over-stuff it as your stitches might start to show.
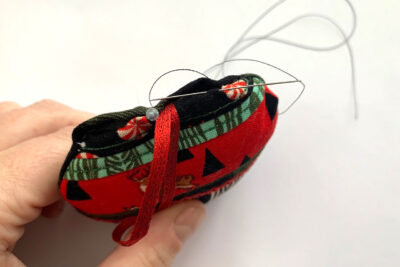
- Snip into the seam allowance of un-sewn section at the top but only a little bit. Fold the raw edges into the decoration, making sure the ribbon is out of the decoration. Hand sew the edges together using whichever invisible stitch you prefer (I used a ladder stitch).
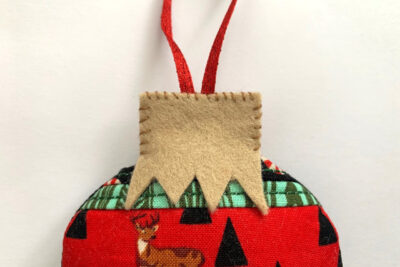
- Take two of the 1¼” felt squares and snip one edge to create a zigzag edge.
- Place one felt piece at the top of the decoration with the zig zag overlapping the decoration a little, then place the other felt piece on the back matching the three straight edges to the first felt piece, making sure the ribbon is caught in between.
- Hand sew around the three straight edges of the felt to finish your round decoration.

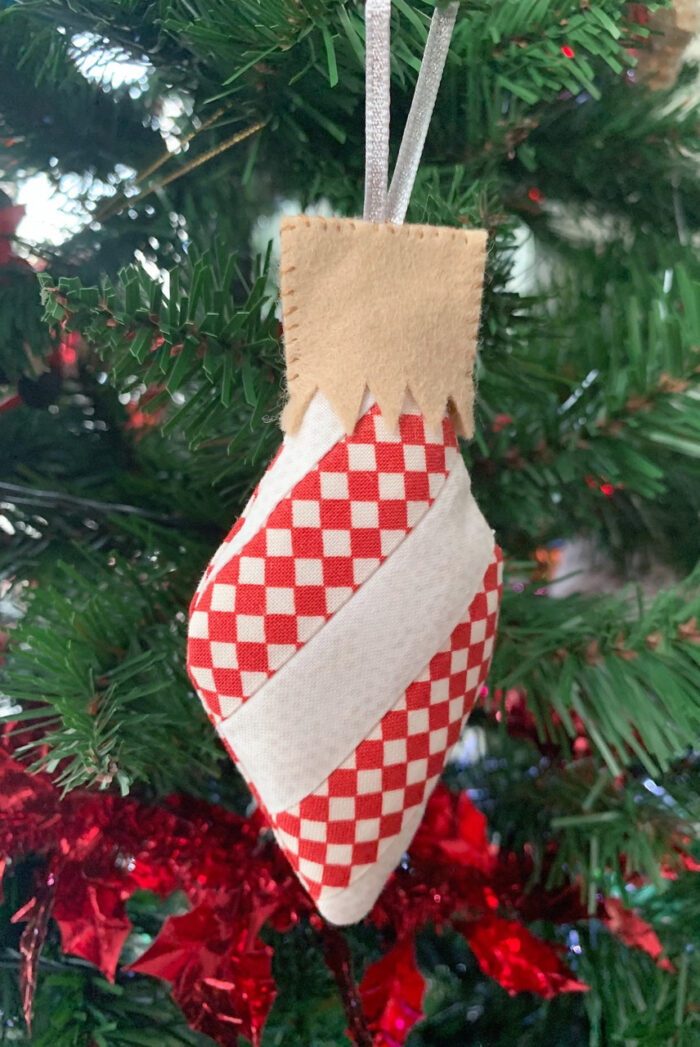
Instructions for diamond decoration
- Print off the diamond template and cut out ready for later.
- Baste the rectangles of light weight backing fabric and batting.
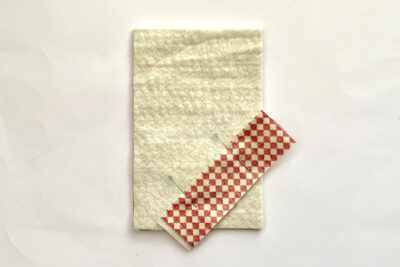
- Take a white scrap strip, right side up, and pin it at roughly a 45° angle so the ends of the strip hang over the edge of the basted rectangle and cover the middle point of the bottom edge too.
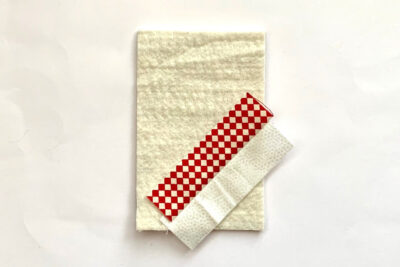
- Now take a red scrap strip, right side down, and pin it with the top edge aligned to the top edge of the first strip. Sew ¼” from the top edge and then press the fabric upwards.
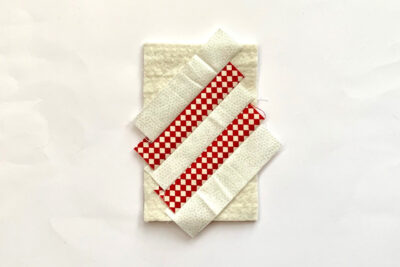
- Continue the same steps to fill most of the batting rectangle. Make sure you alternate your red and white fabric strips for a candy cane look. You can use random Christmas scraps if you prefer.
- Continue following the same steps as with the round decoration, using the diamond template for cutting out the decoration front and backing fabric.
- When you get to the step of hand sewing the top of the decoration together, don’t worry too much about how neat the point at the top is (that can be very fiddly to get neat!) because the felt will cover it.
About the Designer

Amy lives in the north of England with her husband and son. When she’s not sewing and quilting, Amy can usually be found baking or reading. You can find her on Instagram @amyatthegate
More Great Project By Amy
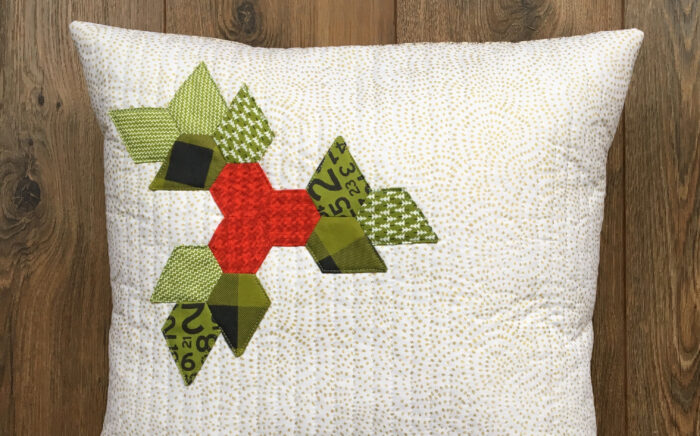
The Holly & the EPP Christmas Pillow
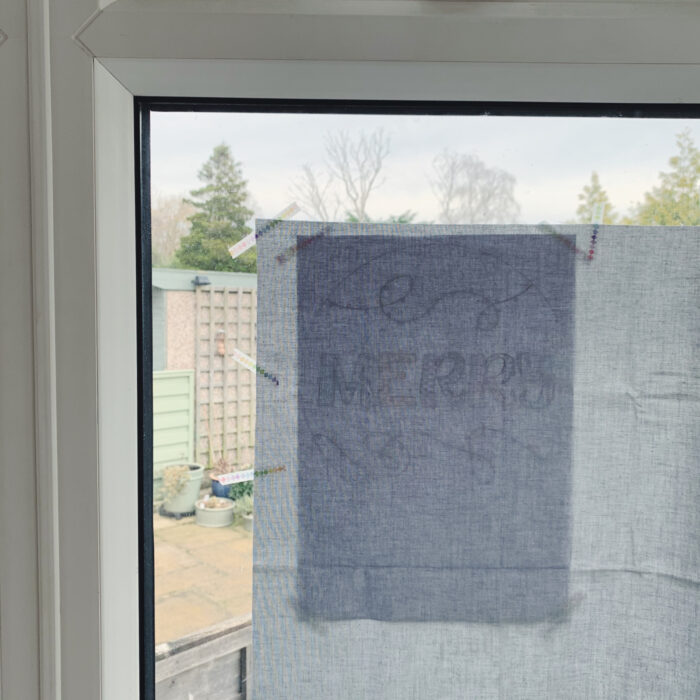
How to Create your Own Lightbox
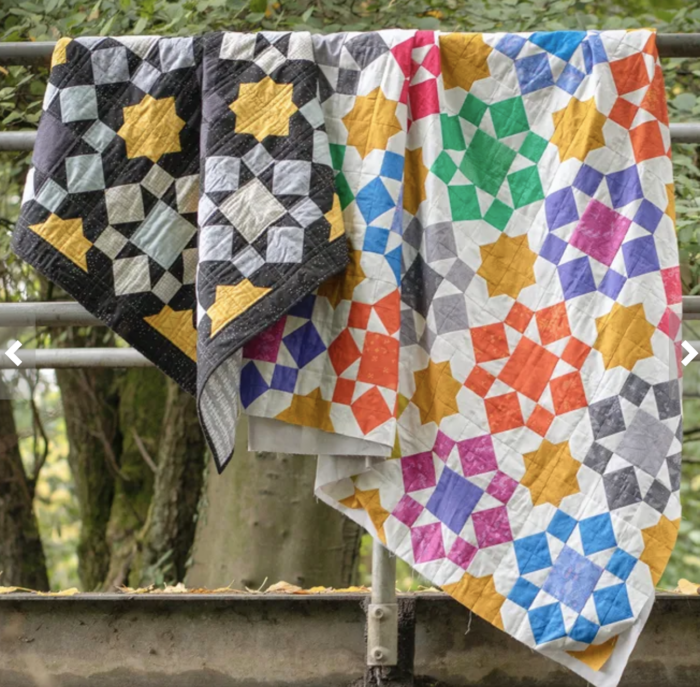
Everlasting Star Quilt Pattern
Handmade Christmas Ornament Patterns
Felt Gingerbread House Ornament Pattern
Merry Christmas Hand Embroidered Ornament Pattern
Do you glue the felt caps of your ornaments onto the fabric ornament?
Thanks!
They are very cute!