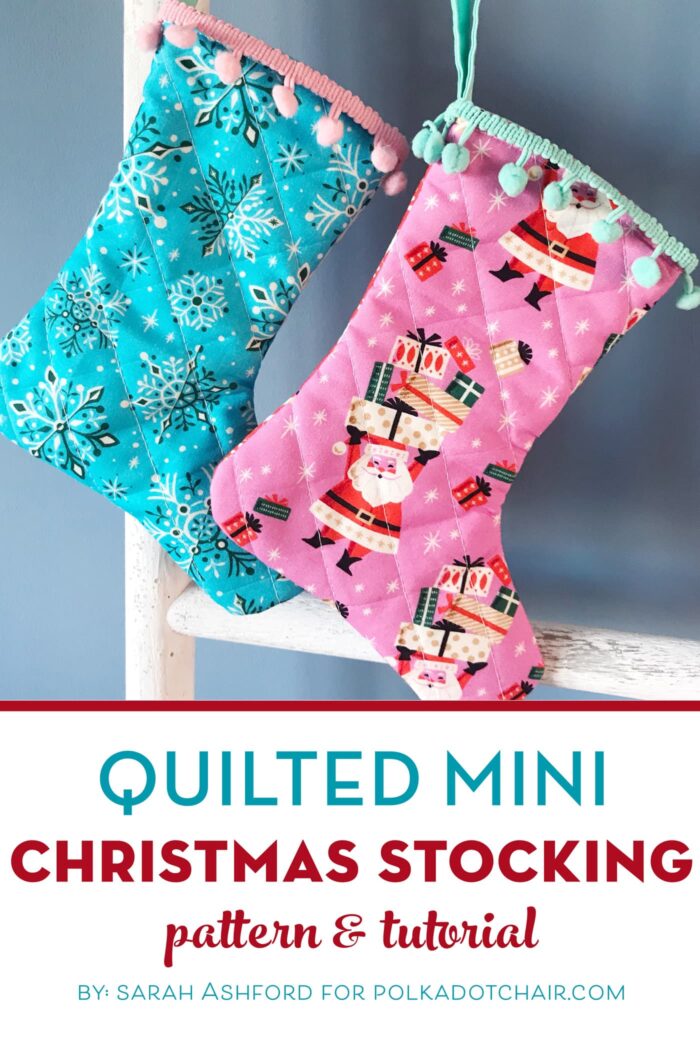
Quilted Christmas Stockings; A Free Pattern
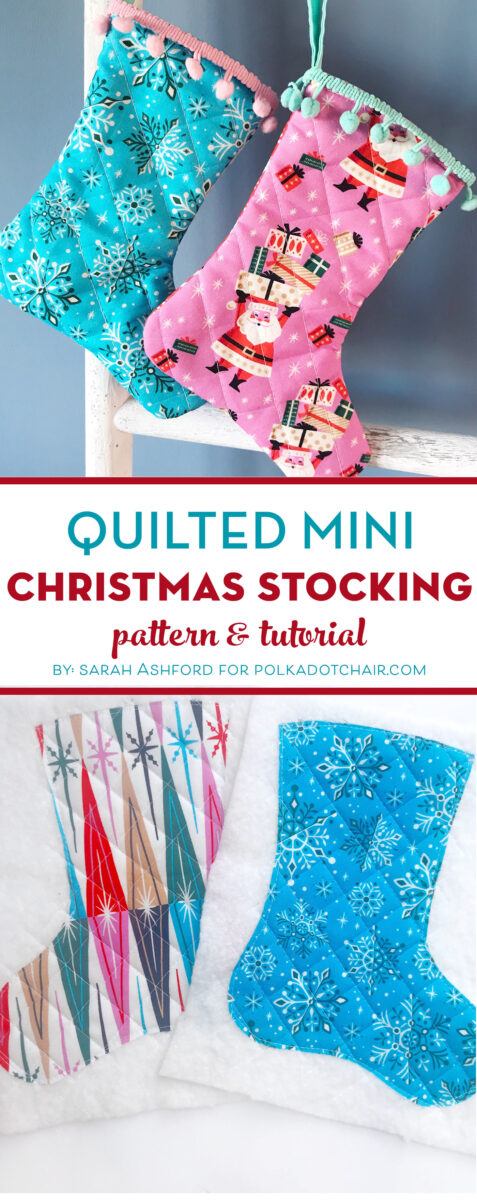
Learn how to make quilted Christmas stockings with this free pattern and tutorial from Sarah Ashford. They are smaller than regular Christmas stockings but not quite mini either. I think they are just the right size to fill with treats to give as gifts to friends and neighbors!
It can’t be ignored, the festive season is just around the corner, so it’s time to start thinking about Christmas makes!
I do love the tradition of hanging up stockings on the fireplace, or, in the absence of a fireplace, at the end of the bed, and it’s the squeals of delight as children open their presents that make Christmas truly special.
But as much as I enjoy all the traditions, I also love non-traditional colors at Christmas; blues, pinks, orange. I love them all!
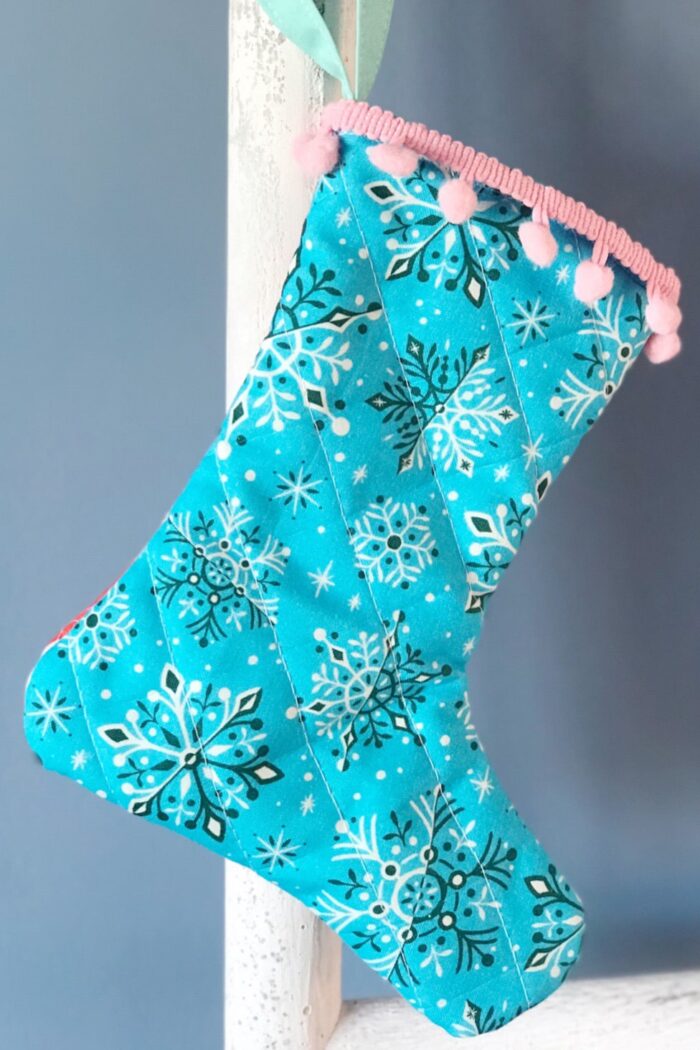
So I chose some bright fabric perfect for my easy quilted Christmas stockings, and I especially love the vintage retro vibe.
Quilted Christmas Stocking Pattern
I’ve kept the construction of these stockings relatively simple, so you should be able to make them in an hour or two, but preferably not on Christmas Eve! And why not add some pom-pom trim to make them even more fun and festive.
Supplies
Note: Sarah is from the UK, supply measurements are in meters and yards.
Stocking Measures Approx: 8″ x 10″
Supplies are for one Stocking.
- Stocking Front Fabric: 1 Fat Eighth of Fabric
- Backing Fabric: 1 Fat Eighth of Fabric
- Lining Fabric: 1 Fat Eighth of Fabric
- 1/2 metre / yard pom pom trim
- Batting: ¼ metre / yard
- Stocking template
- Sharp fabric scissors
- Usual sewing supplies (rotary cutter, ruler, scissors, sewing machine, pins etc.)
How to Get the Stocking Template
Fill out this form and we will email you directions to get the stocking template.
How to Make the Quilted Christmas Stockings
Quilted Christmas Stocking Pattern
Equipment
supplies
- 1 Fat Eighth Stocking Front Fabric
- 1 Fat Eighth Backing Fabric
- 1 Fat Eighth Lining Fabric
- ½ yard Pom pom trim
- 1 yard Batting
- Stocking template fill out the form on the page to get the template
Instructions
Print the Template
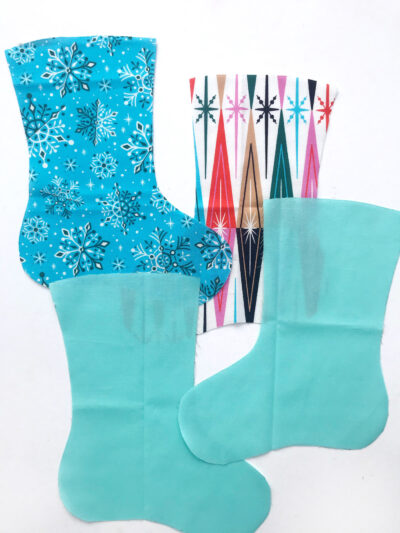
- Print off the paper template and cut out. Draw around it on the wrong side of the front and back panel, ensuring that the front and back are in opposite directions so that they will fit wrong sides together.
Cut Out Fabric
- Carefully cut out both stocking pieces on the drawn line. Repeat for the 2 lining pieces, ensuring that each piece is facing in the opposite direction. pieces of fabric cut for Christmas stocking pattern

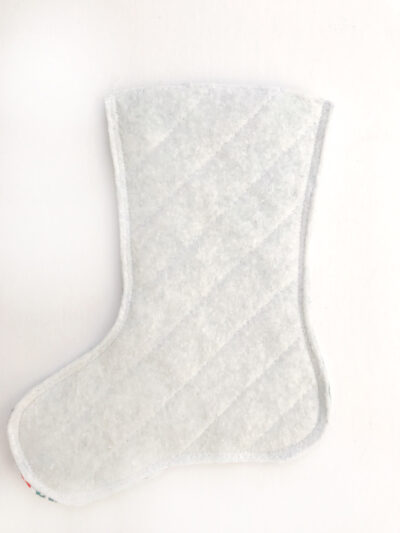
Construct the Lining
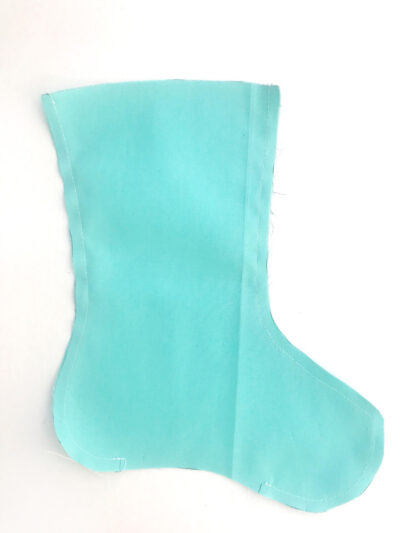
- Take the two lining pieces and place right sides together. Pin in place, leaving a 3” gap in the straight ‘foot’ section for turning later on. Stitch around the side of the lining, leaving the gap and keeping the top open too. Do NOT turn right sides out. Set aside for now. pieces of fabric cut for Christmas stocking pattern
Construct the Loop
- Next, we need to make the hanging loop. Cut a piece of fabric 10”x 2” in a coordinating color. Fold in half and press to create a crease. Open out and fold each edge to the crease and press.
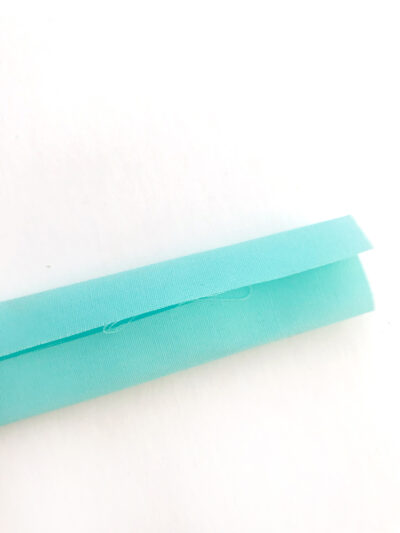
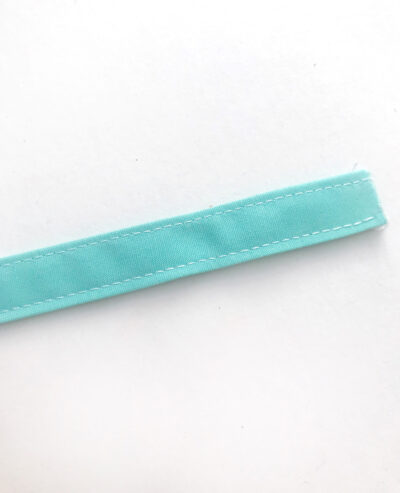
Top Stitch the Loop
- Fold in half again and press. Now stitch either side of the strip, close to the edge.

- Set it aside for later.
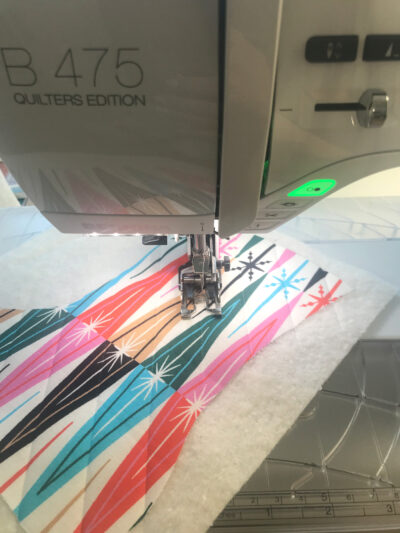
Quilt the Stocking
- Take the front exterior stocking panel and spray baste it to the batting to secure in place. Repeat for the back exterior stocking panel. Quilt as desired.
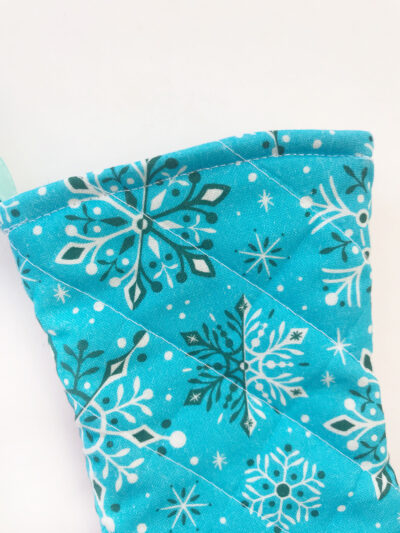
- I have gone for a cross-hatch effect. I did this by using a Hera marker to draw a diagonal line across the stocking and I then stitched over this line. I then used this as a guide for subsequent lines, stitching at 1 inch apart.
- I then repeated drawing a diagonal line in the opposite direction and then added in the subsequent lines to complete the crosshatch. Stitch all the way around the edge of the stocking shape but not across the top.
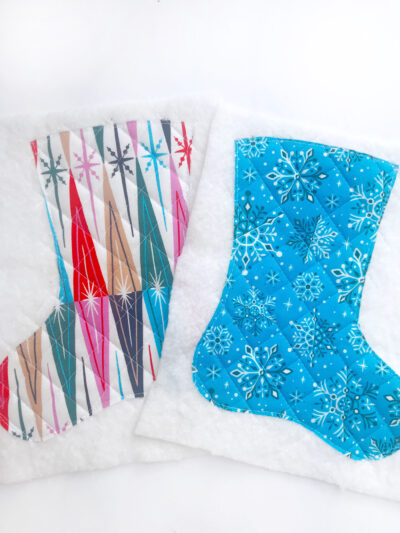
- Cut out the Stocking from the Quilting
- Using sharp fabric scissors, cut away the excess batting from both the front and back exterior pieces to create the 2 quilted stocking panels.
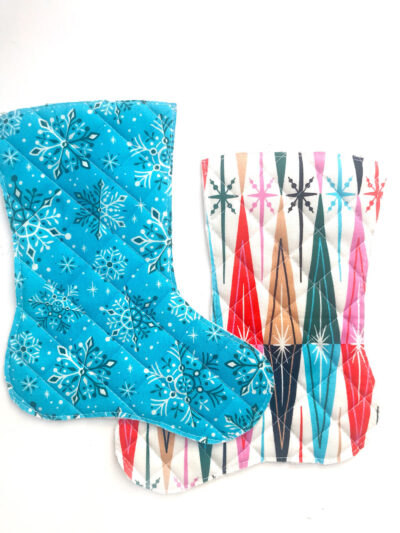
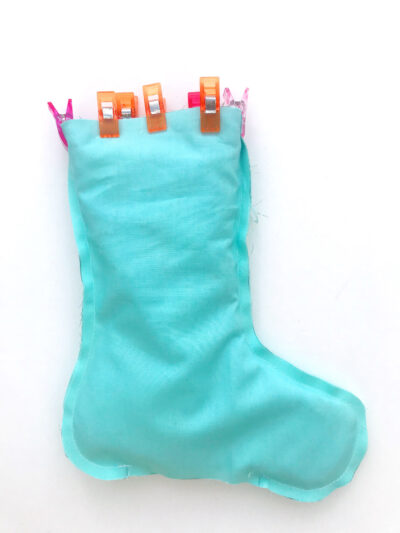
Assemble the Stocking Outside
- Place the stocking panels right sides together and use binding clips to hold in place. Stitch around the edge using a quarter inch seam. Do not stitch across the top as this is your opening to your stocking!
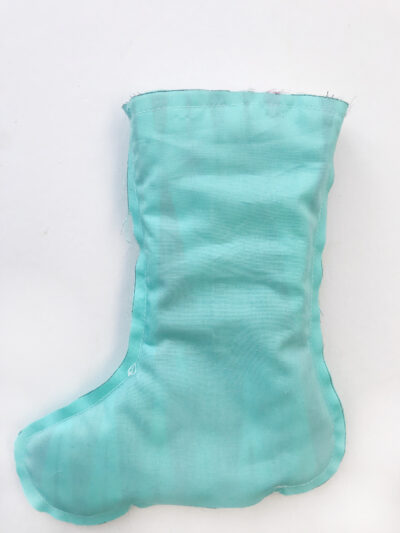
- Turn Right Side Out
- Turn the stocking right side out and use something pointy such as a knitting needle to push it all the way out, smoothing the curves as you go.
- Take the lining and place the stocking inside the lining piece, taking care to match the edges at the top.
Attach the Loop
- Add in the loop at the top edge of the stocking (on the same side as the heel) by folding it in half and tucking it down so that it’s trapped between the stocking and the lining. The raw edges of the loop should align with the raw edges of the stocking. Hold in place using binding clips.
Assemble the Stocking
- Stitch around the top of the stocking with a quarter inch seam. Turn the stocking right side out through the gap in the lining and close the gap in the lining using a whip stitch.
- Push the lining down into the stocking. You may find a knitting needle or similar helpful to push it through. Iron the inside top of the stocking, to create a crisp edge and ensure that the lining isn’t popping up. Topstitch around the top of the stocking a quarter of an inch away from the top edge to secure the lining in place.
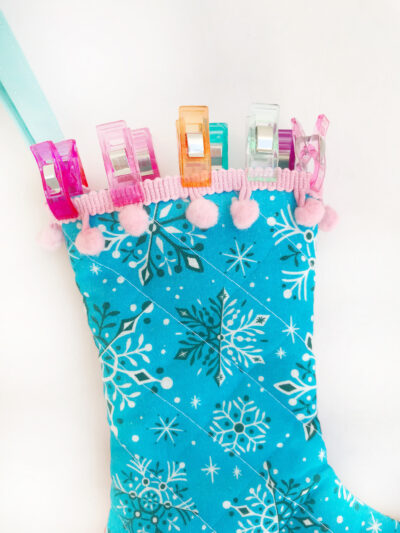
Attach the Pom Pom Trim
- Take the pom – pom trim and clip in place, aligning with the top of the stocking.
- Use a small whip stitch along the top edge of the stocking and pom pom trim to secure in place.
- Now your stocking is finished, find a prominent place to hang it during the Holiday season, ready to be filled with treats on Christmas day!
Now your stocking is finished, find a prominent place to hang it during the Holiday season, ready to be filled with treats on Christmas day!
About the Maker:

Sarah Ashford is a British Quilter and embroiderer and founder of the GreatBritishQuilter challenge on Instagram. Sarah regularly contributes projects to magazines and loves to spread the joy of quilting everywhere she goes. Follow her on Instagram at @sarahashfordstudio and be sure to check out her beautiful sewing room decals in her Etsy shop www.etsy.com/shop/sarahashfordstudio
More Free Christmas Sewing & Quilting Patterns:
20+ Christmas Stocking Tutorials