Witch Cricut SVG’s Perfect for Halloween Crafts!
Craft up some fun this Halloween with these cute DIY Witch Halloween Sayings for T-shirts and Mugs! The free Halloween Cricut SVG files I designed can easily be used to make all kinds of cute Halloween decorations! Like Halloween pillows, tote bags, t-shirts and more!
I love Halloween! So much so that my kids make fun of me for my love of it. Halloween decorations go up mid-September (isn’t it about that time??) and there is something “pumpkin” cooking in the kitchen almost every week all season.
Each year I love to make Halloween t-shirts for my kids. In the last few years I’ve had fun making and designing shirts for ME to wear (who says the kids get to have all the fun). Last year it was a “resting witch face” t-shirt. My kids were only slightly embarrassed when I wore it out in public *wink*.
Free Halloween Designs for Cricut Machines
This year for Halloween I’m sharing with you two free SVG files formatted for your e-cutting machine. I use a Cricut machine, but you can use them for whatever machine you have that will cut an SVG file.
Included Halloween Sayings
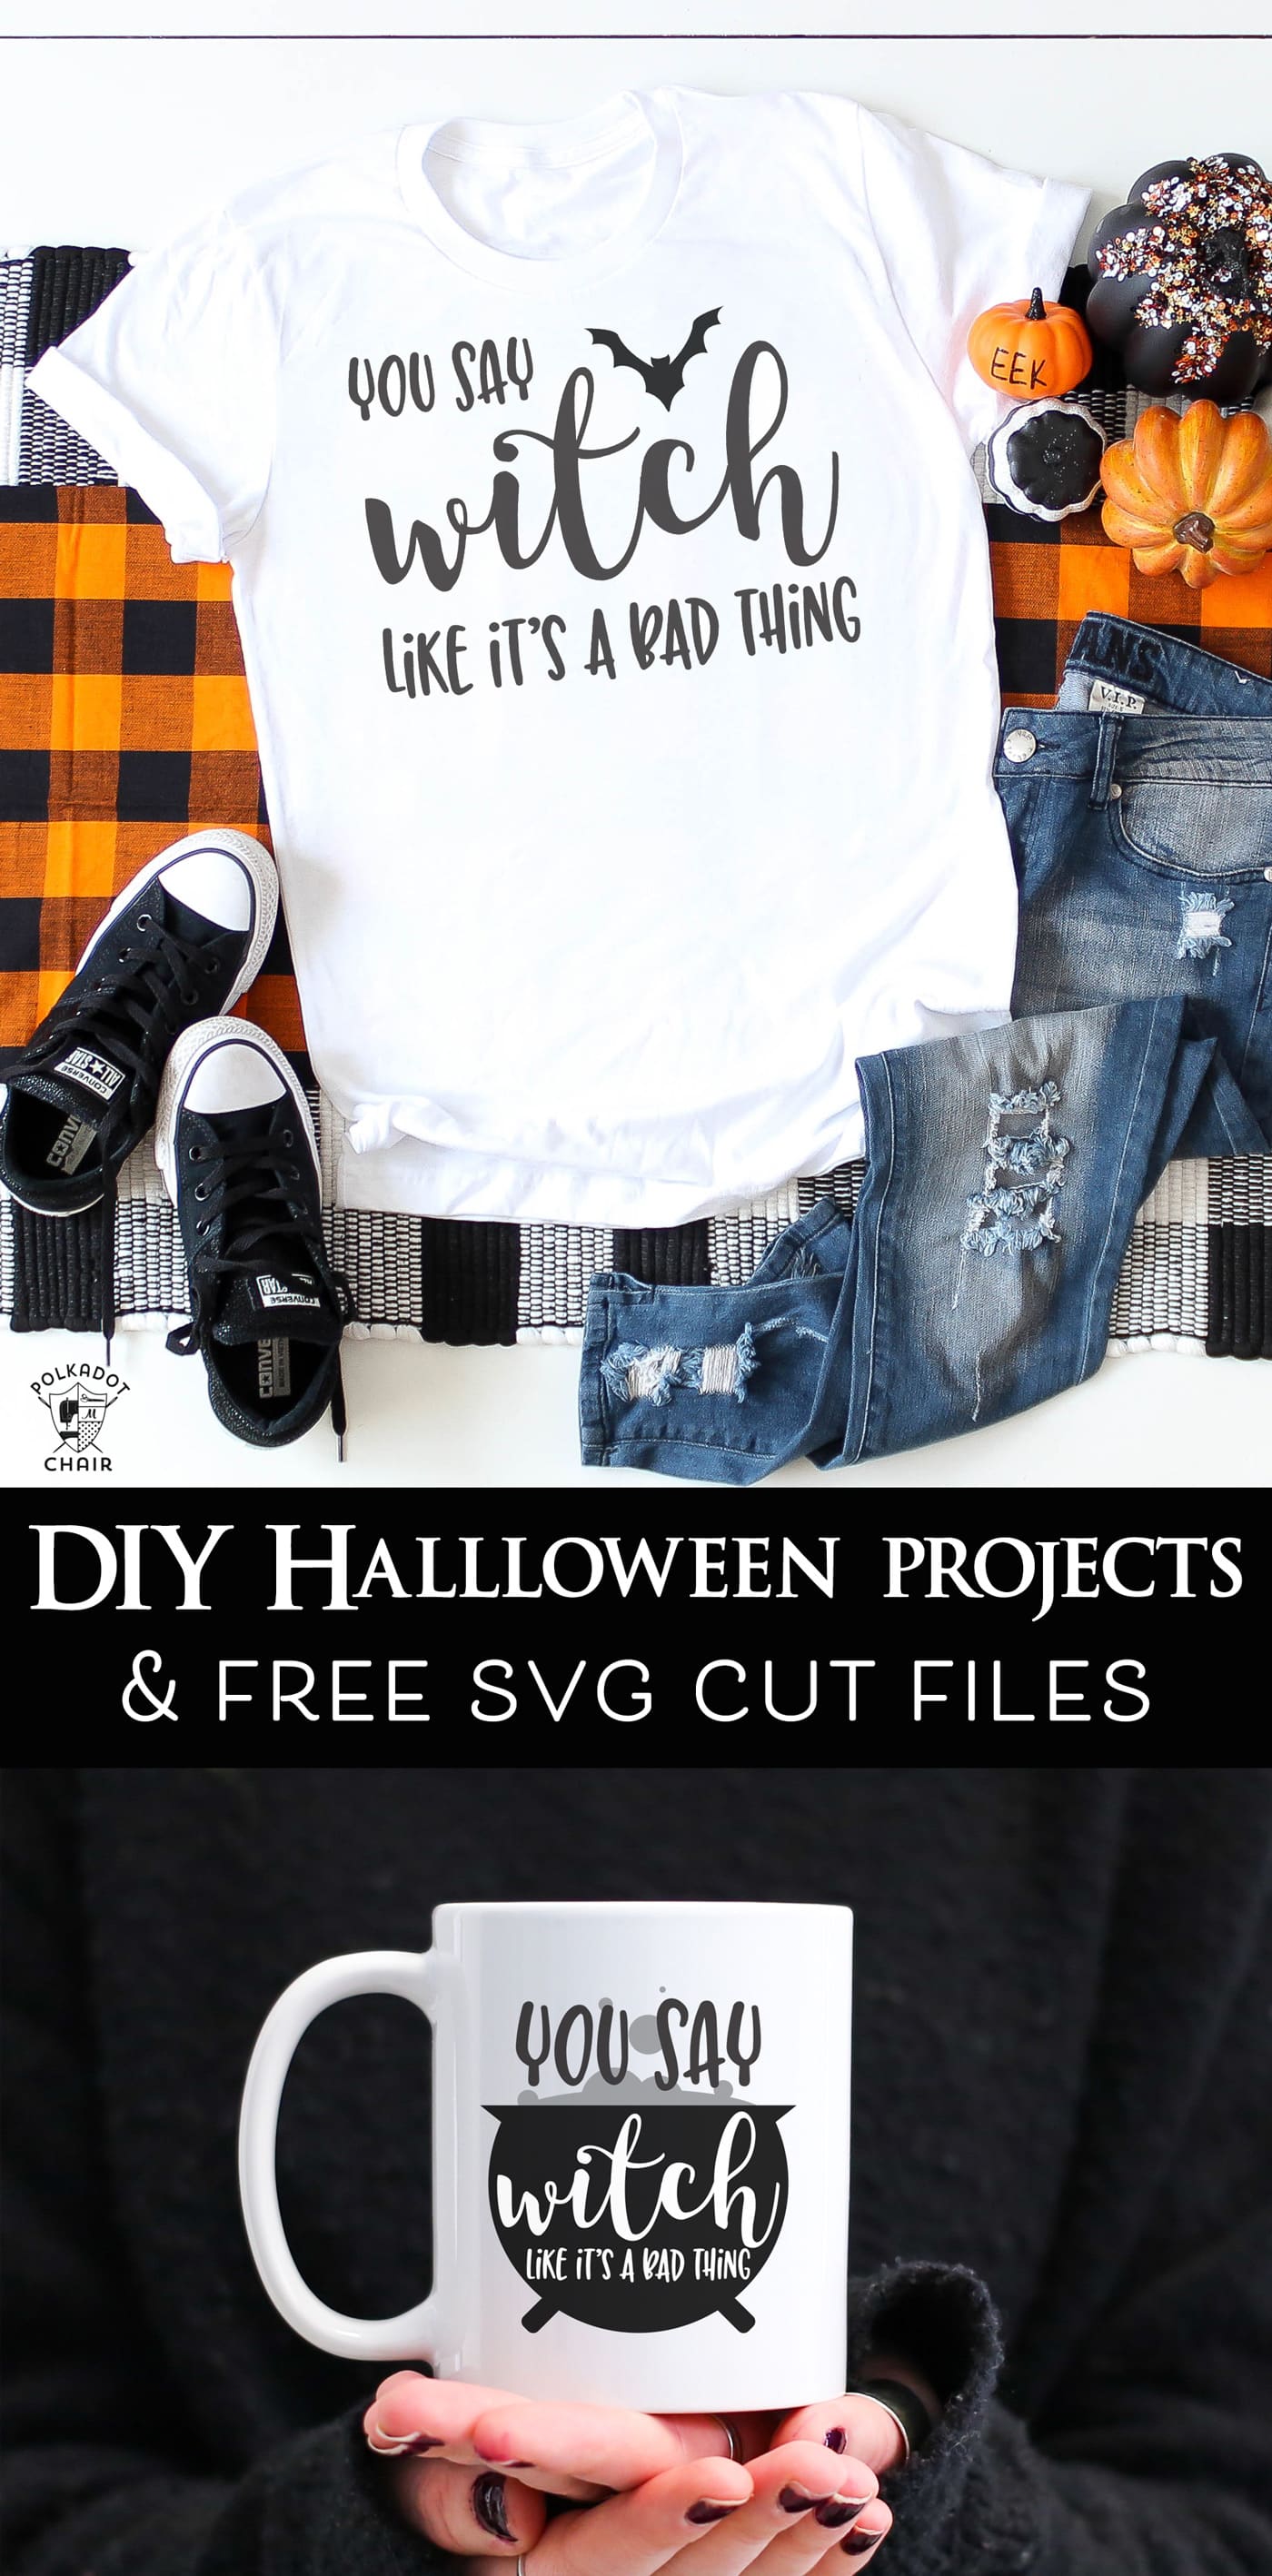
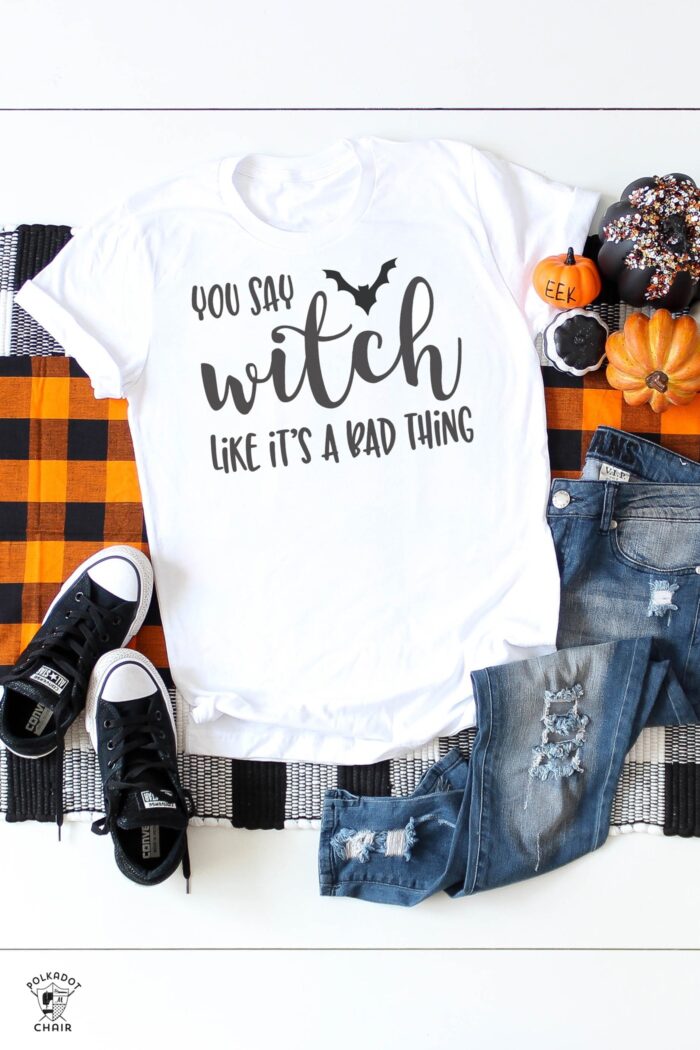
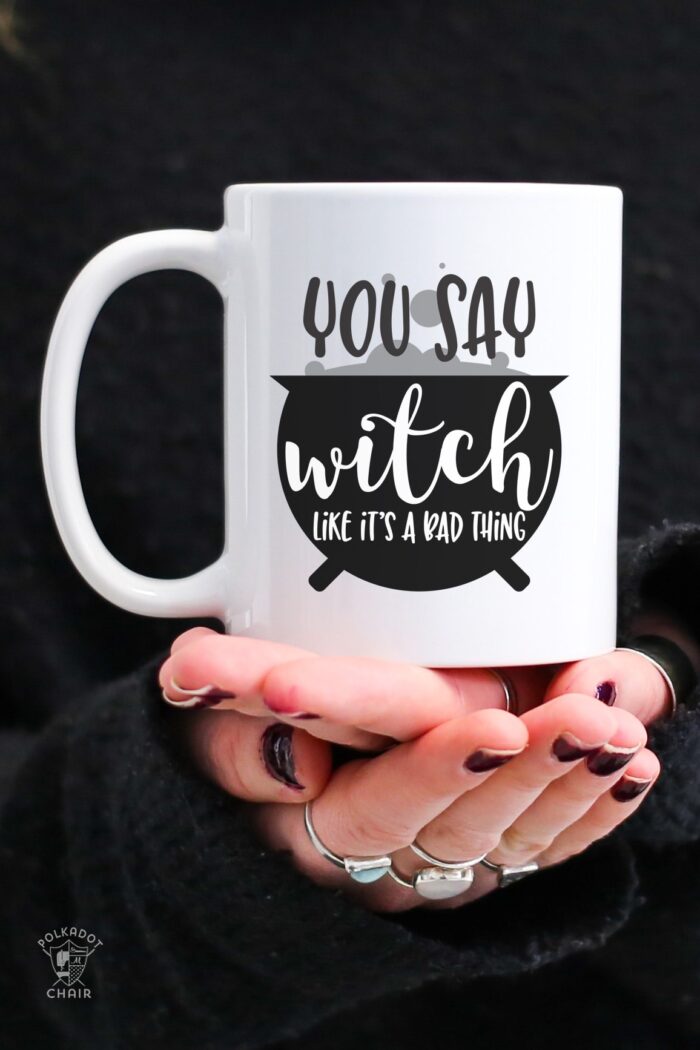
I designed two versions of “You Say Witch Like it’s a Bad Thing”.
One is a 2 part file complete with cauldron bubbles (wouldn’t they be so cute cut from metallic or pearlescent vinyl?), and the other is a simple text-only version.
You can use the files to make fun things, from mugs to t-shirts, pillows, and more.
Supplies for Halloween Crafts
- Cricut Maker 3 (you can get great deals on machine bundles on Cricut.com)
- Roll Holder for Maker 3
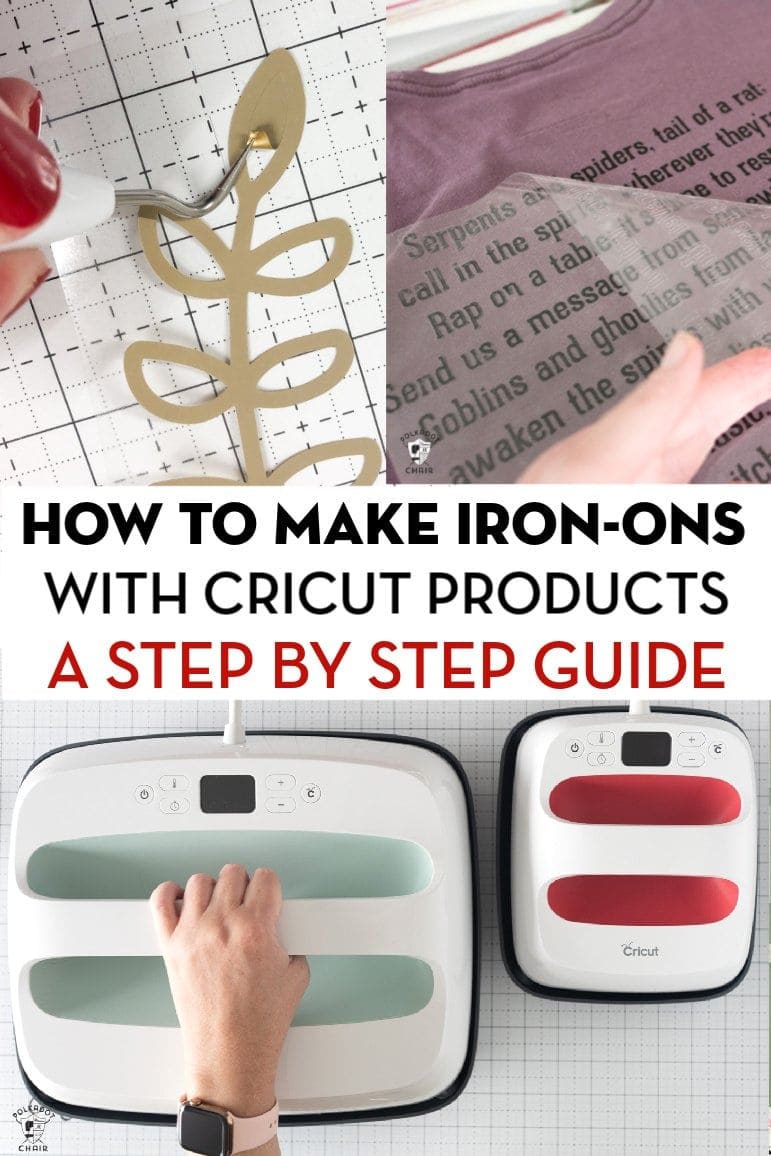
- Cricut EasyPress (I like the large size the best): Make sure you get the EasyPress mat as well.
- Cricut Weeding Tools: (I use the small hook tool ALL the time, making weeding vinyl so much easier).
- Cricut BrightPad: A cordless, flat, bright lightbox. I use it to weed Cricut vinyl and use it all the time to trace applique shapes for sewing & quilting.
- Cricut Iron On Vinyl
- Cricut Permanent Vinyl
How to Make a Halloween Mug
To make the mug, you’ll want to use a permanent vinyl that will hold up to multiple washings. You can also use Infusible Ink and the Cricut Mug Press.
Supplies:
- Cricut Machine
- White Mug
- Cricut Permanent Premium Vinyl in Black
- Cricut Permanent Premium Vinyl in Silver
Download the SVG file and upload it into Cricut Design Space. Size it as you want, then click “attach” for the items that should be cut black.
After that, click “attach” for the items that should cut silver. Sent to the machine, cut, and apply! You’ll need to apply the silver first since the black lays on top of it.
How to Get the SVG Files
Cricut SVG File: Note: all files in the Library are for personal use only. You may not sell items you make with the files. To get these files into the Cricut Design space, you need to visit OUR CRICUT LIBRARY and follow the directions. When prompted, select the button and save the file as an SVG to your computer. Please do not open it in a new window. It will load as an image, not an SVG. Next, go to the Cricut Design Space page with your browser. Select NEW when the screen pops up; select IMAGE. Then select – upload. Upload the image you obtained. It’s ready to use in Design Space!
DIY Halloween T-Shirt Instructions
Supplies:
- White T-Shirt
- Cricut Machine
- Black Iron-On Vinyl
- Cricut EasyPress
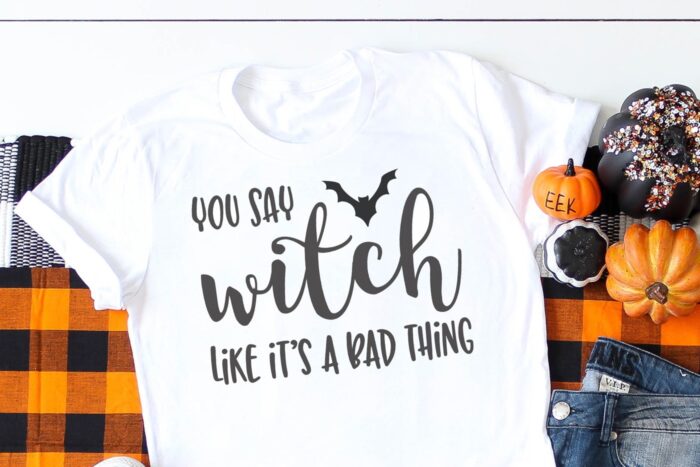
Above, you can see the second design on a t-shirt! For the t-shirt, you’ll need to use iron-on vinyl. You can also find those online easily. You’ll also need an iron, heat press, or easy press to adhere the iron-on onto the t-shirt.
After you upload the SVG file into Desing Space, click “attach” to ensure that all of the letters are cut simultaneously in the same place. Remember to mirror your image before you cut.
I’ve written an entire blog post with instructions to create a t-shirt using your Cricut machine. To briefly sum up. Upload the file to Cricut Design Space. Select “attach” to ensure that all of the layers are cut simultaneously in the same spot as the design. Resize the image if necessary. Select “send to the machine.” Select “mirror image for iron-on.” Then on the next screen, select the type of iron-on you are using. Load the iron-on onto the mat (shiny side down). Load the mat into the machine and then select cut. Cut out the design and remove the excess vinyl (referred to as weeding). Place the cutout iron-on onto the shirt (or another item). Adhere using a Cricut EasyPress. You’ll need to check the specific settings for your EasyPress, depending on what type of material you are using.
More Halloween Crafts Ideas:
DIY Skeleton Costume Made using a Cricut with free SVG File Download
Double Double Toil & Trouble DIY Halloween Bowl
Non-Candy Halloween Treat Idea & Printable
