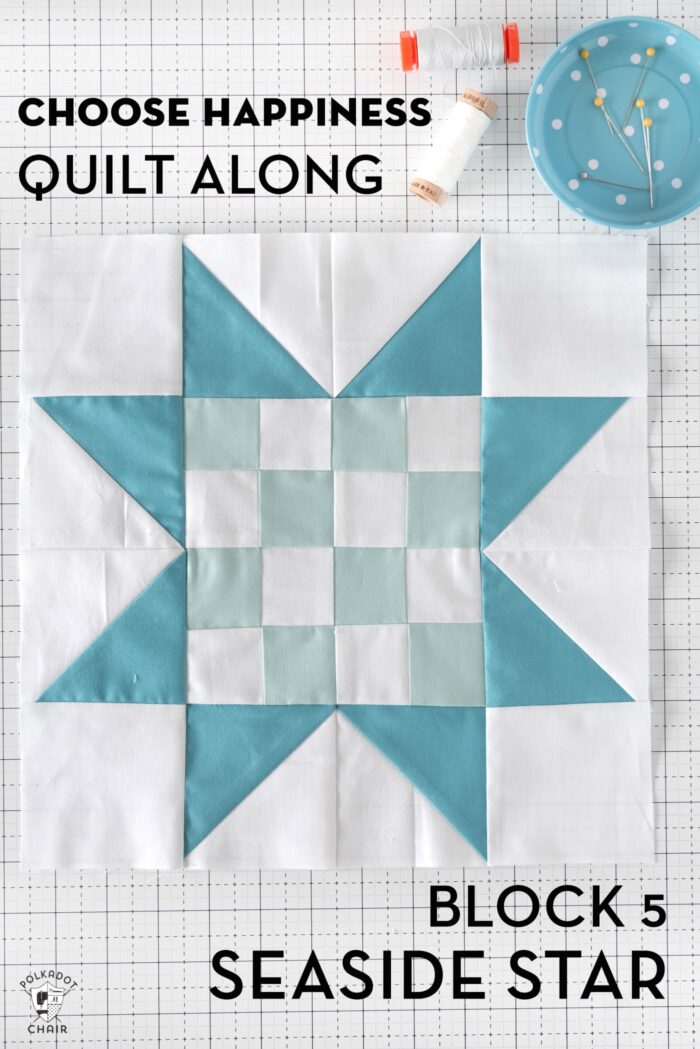
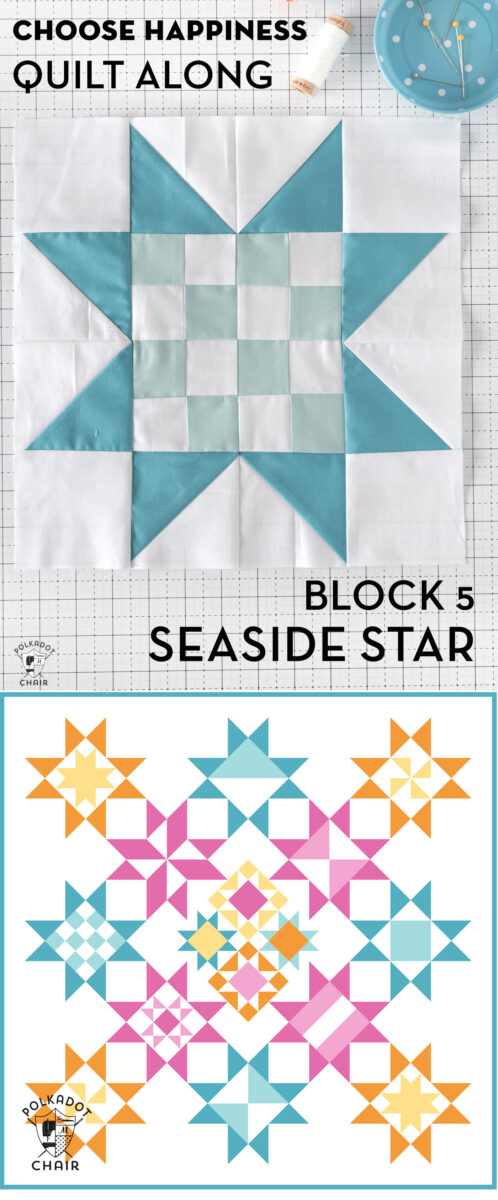
Seaside Star Block for Choose Happiness Quilt Along
Inspired by warm ocean breezes, the next block in our Choose Happiness quilt along is named “Seaside Star”. Stitch up this fun quilt block which features a bit of strip piecing to save you time!
Yesterday we sent out the next block in our Choose Happiness Quilt Along to all of those who have purchased the pattern. If you didn’t get the email, check your spam folder. You can also click the link in any of the emails we’ve sent you for the pattern to get the next block. If you can’t find it drop us an email (contact info in about section).
About the Seaside Star Block
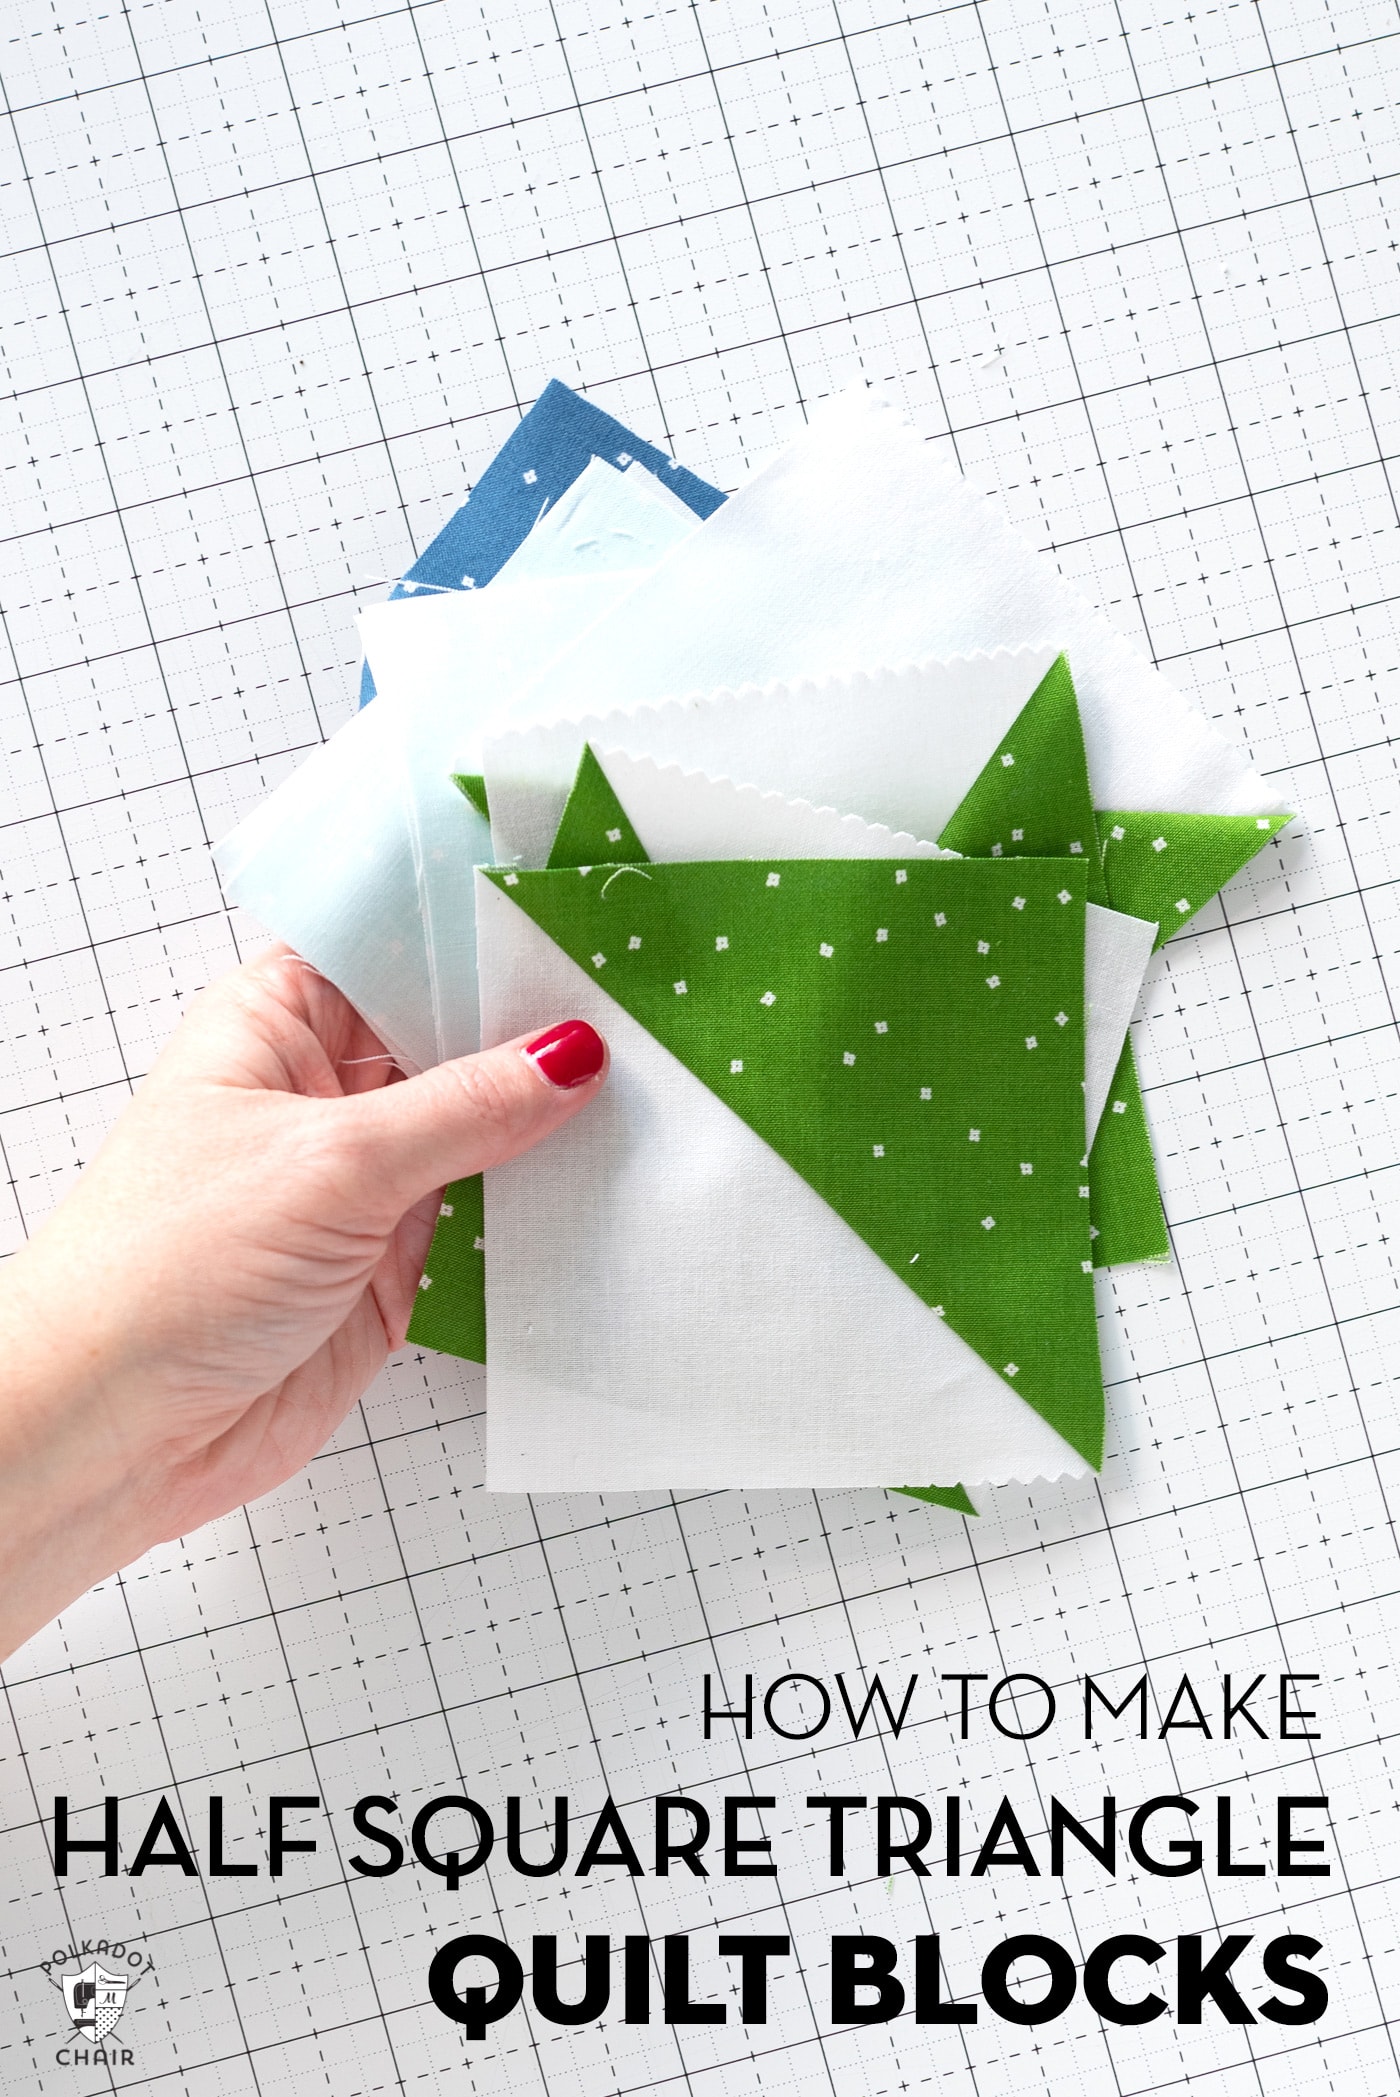
This month’s block features a grid as the center of the block. The grid is strip pieced. This technique will save you from sewing a bunch of tiny squares to each other. It saves time and sanity!
I wanted to share a few Quilt piecing tips with you that I have found helpful while making my blocks.
Where to Get the Pattern
You can get the pattern in our pattern shop. It’s a PDF format. You still can join in our quilt along. It’s not too late. You will be able to download all the blocks shared to date when you purchase it.
Block Pressing Tips
Normally when I press quilt blocks I like to press the seams to one side. If one fabric is darker than the other, I press toward the darker fabric.
However, with the seams for these quilt blocks, I have found it more helpful to press the seams in opposite directions.
Let me show you an example.
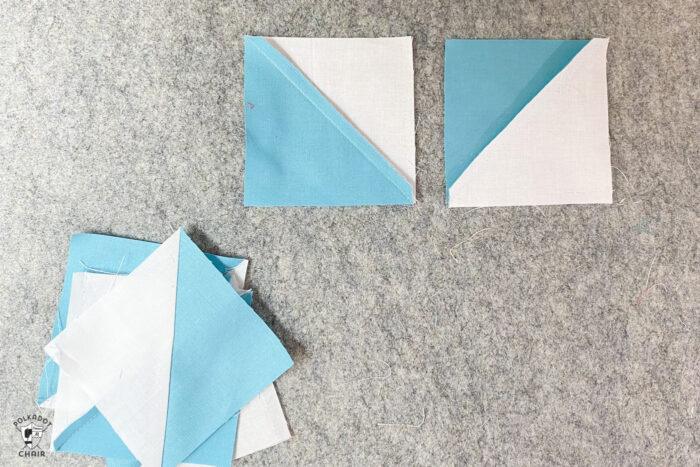
When sewing together the two half square triangles for the points of the star in the block it can be hard to get a precise seam alignment.
Instead of pressing your seams towards the darker fabric, press them in opposite directions. One toward the lighter fabric and one toward the darker.

This allows the seams to be nested when sewn. Pin the two pieces of fabric together and “wiggle” the seams until they are right on top of each other, then pin. (Information about the mini iron I use can be found here).
Stitch the seam, you’ll notice it’s much easier to get them lined up right this way.
Tips for achieving an accurate 1/4″ seam.
The second tip I wanted to share with you is regarding seam allowance. Based on the emails and messages I’ve received from a few of you, my guess is that many of us are sewing with larger than 1/4″ seam allowances.
The most common email I get is that the block is short of 12 1/2″ by 1/4″ to 1/2″ after it is sewn. First, if your block size is off by that much (less than 1/2″), don’t worry too much. You can “fudge” the seams when the blocks are sewn together to make up a small difference. If it’s 1/2″ or larger, you may want to resew your block seams.
Your seams should be 1/4″, not larger by even a 1/16″. Many quilters prefer to use a “scant” 1/4″ seam, which means that your seam is slightly less than a full 1/4″.
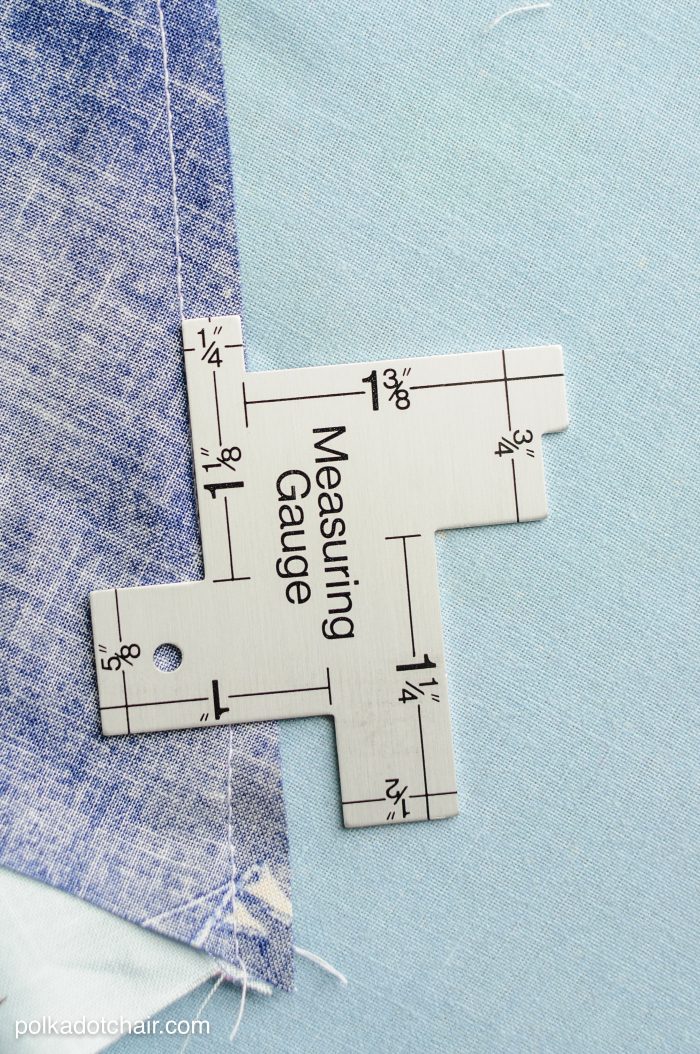
1- Use a seam guide. Sew what you think is a 1/4″ seam. After it is sewn, measure the seam with a seam guide. The stitching line should be within the 1/4″ mark. Not over it.
Here are some options if you’d like to purchase a seam guide:
–This seam guide (the ideal seam guide) is a plastic ruler that features a hole for your needle. You put your needle thru the hole then can mark the 1/4″ position with a bit of tape on your sewing machine.
–This seam guide by Clover features a plastic “guard” that attaches to your sewing machine. It will keep you from pushing your fabric too far over to the edge.
–This seam guide features a notch cut out large enough for a walking foot.
-You can purchase the seam guide in my photo at most big box fabric stores.
2- Once you know where your 1/4″ seam is, mark it on your machine with some removable tape. I use Washi tape.
3- You can also use a 1/4″ foot on your sewing machine. However, you will still need to measure that it is correct.
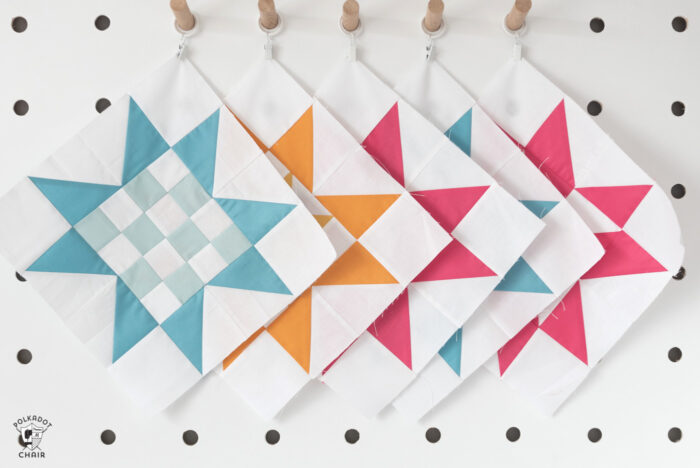
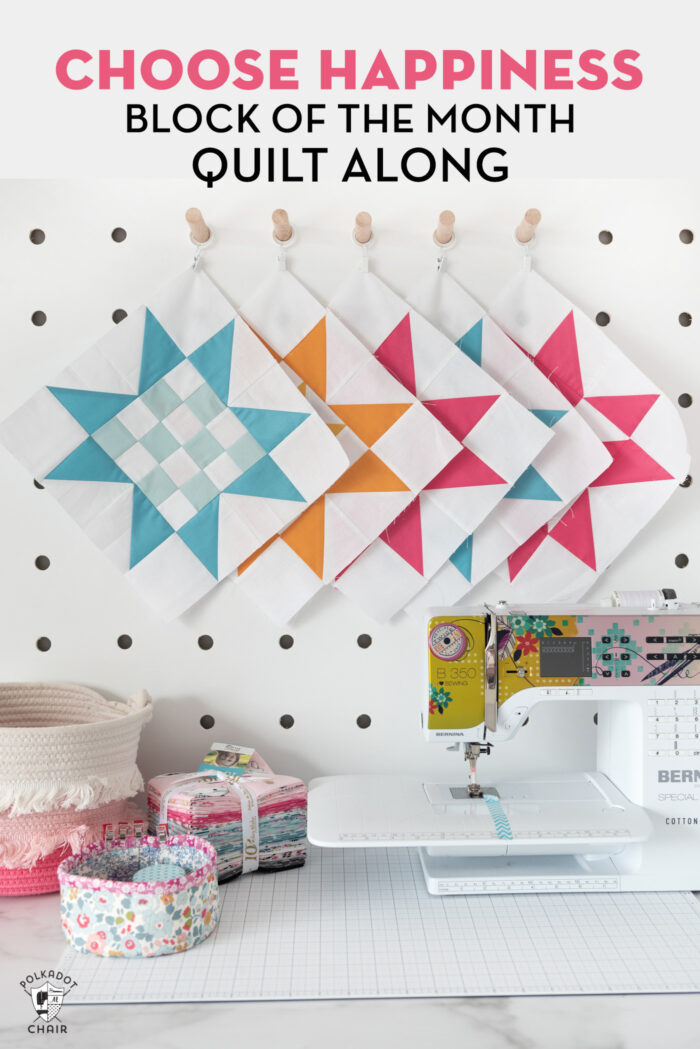
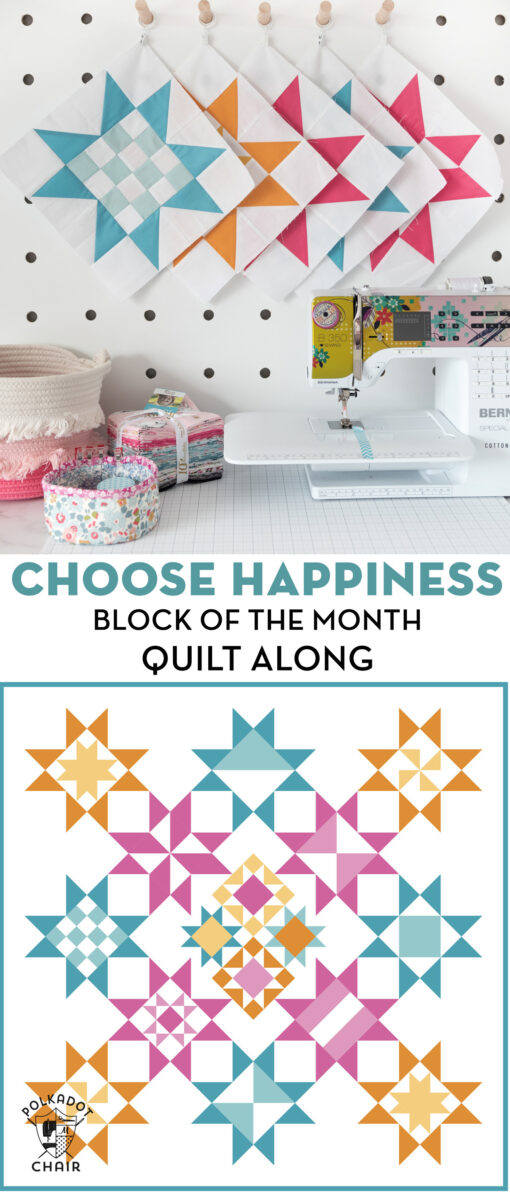
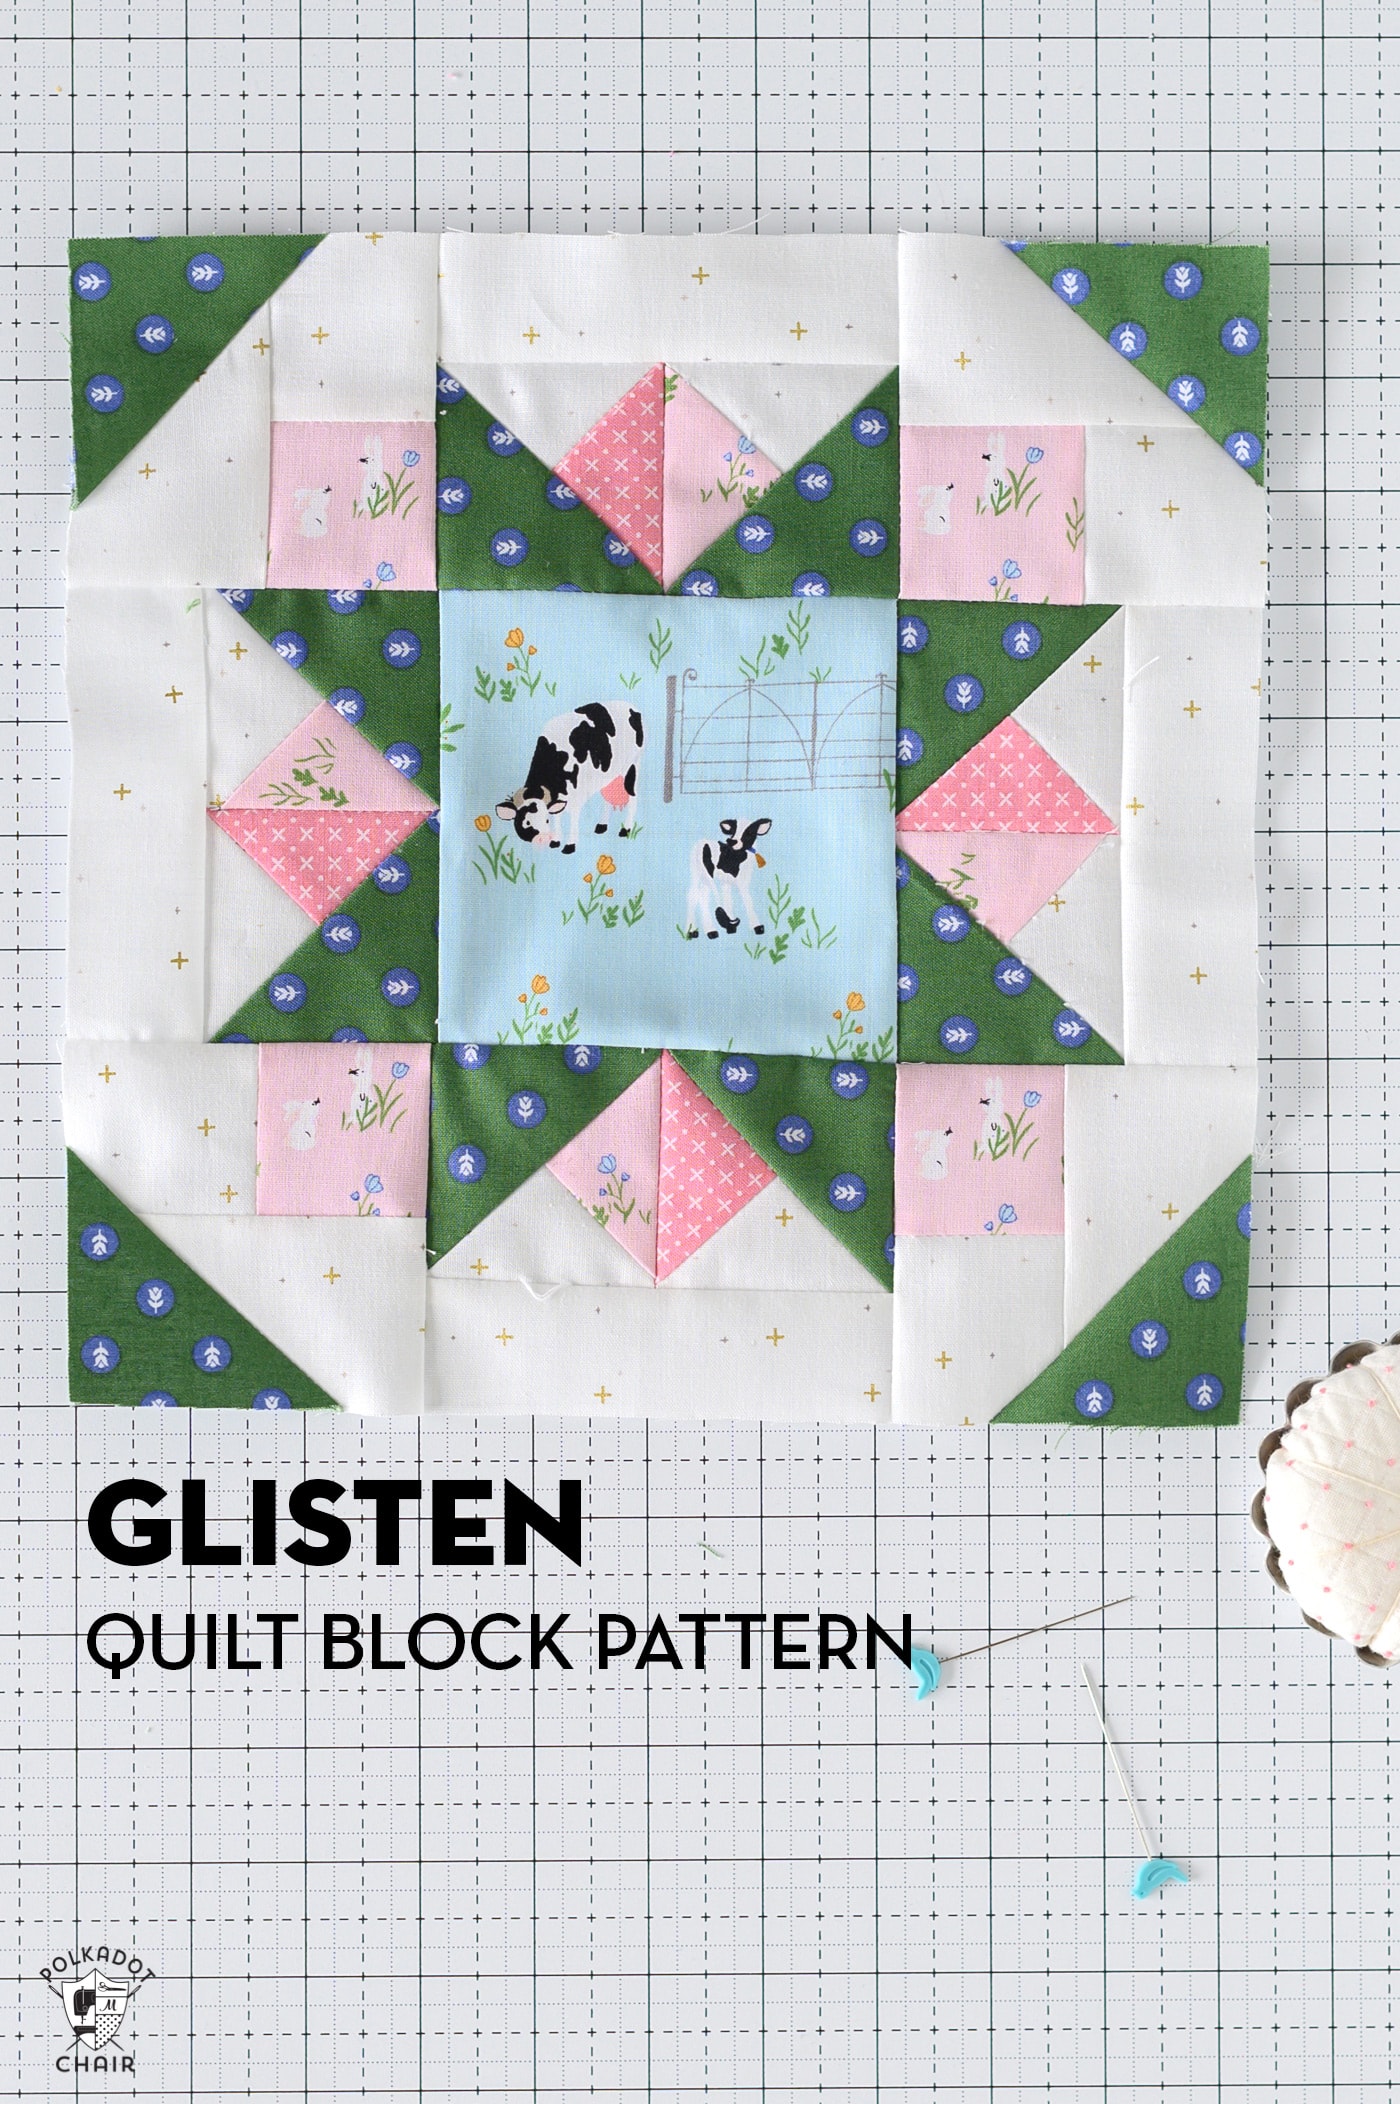
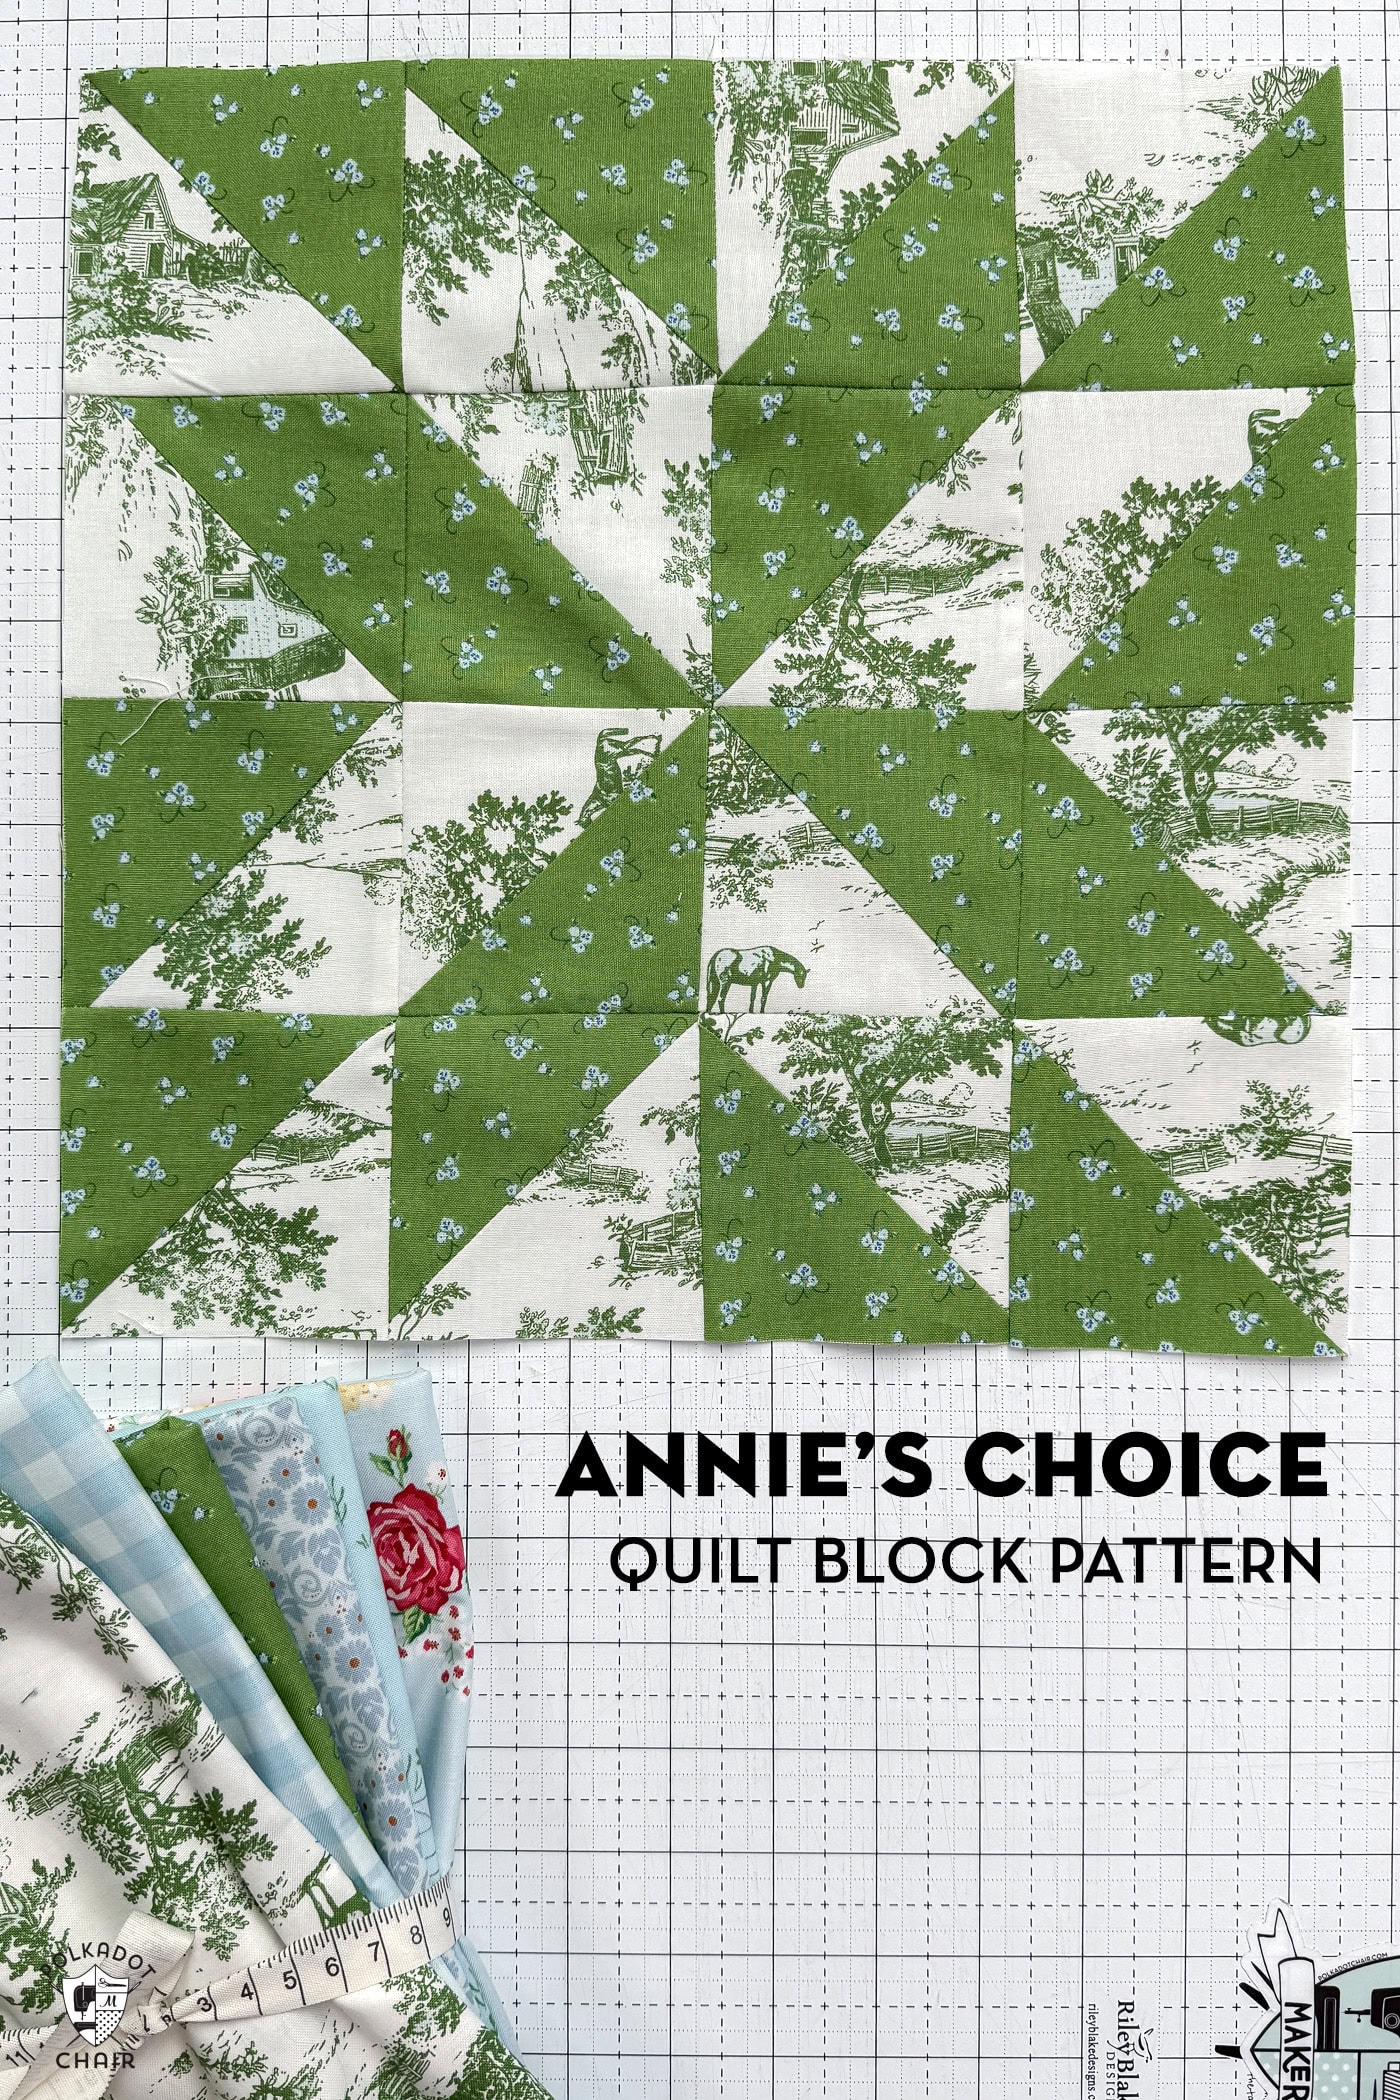
All of the blog posts about the Choose Happiness Quilt shared to date:
- Introducing the Choose Happiness Quilt Along
- Sunshine Quilt Block Pattern
- Bubblegum Quilt Block
- Calm Seas Quilt Block
- Spring Blossoms Quilt Block
- Seaside Stars Quilt Block
- Summer Sunsets Quilt Block
- Beautiful Day Quilt Block
- Cool Breeze Quilt Block
- Smiling Star Quilt Block
- Sweet Star Quilt Block
A few other Modern Traditional Quilt Patterns that you might like:
How can I buy the measuring tool?