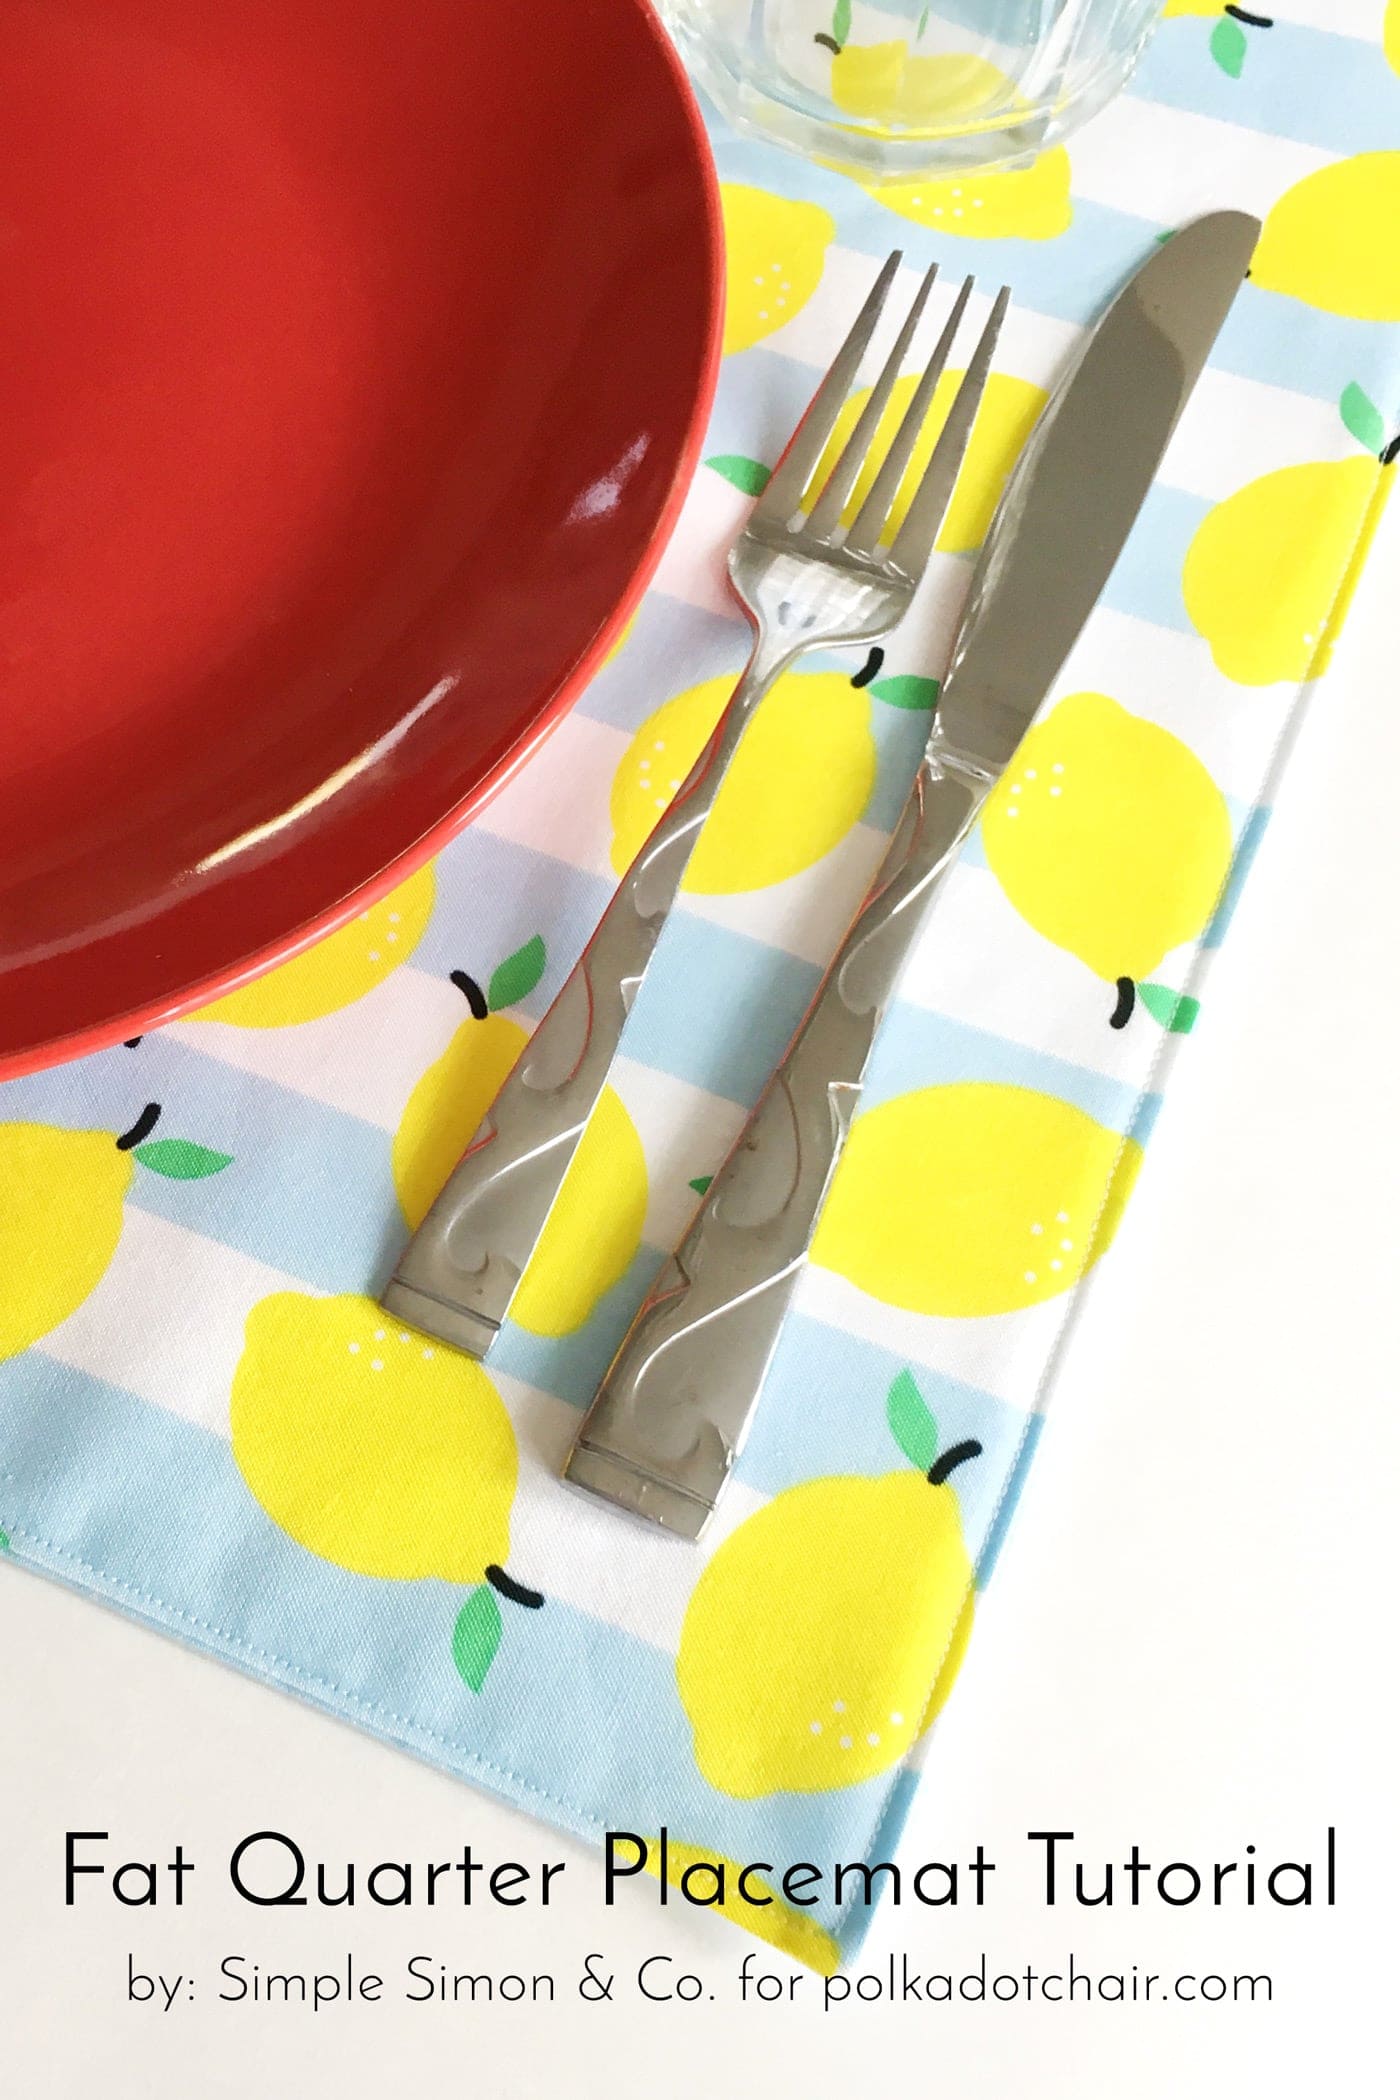
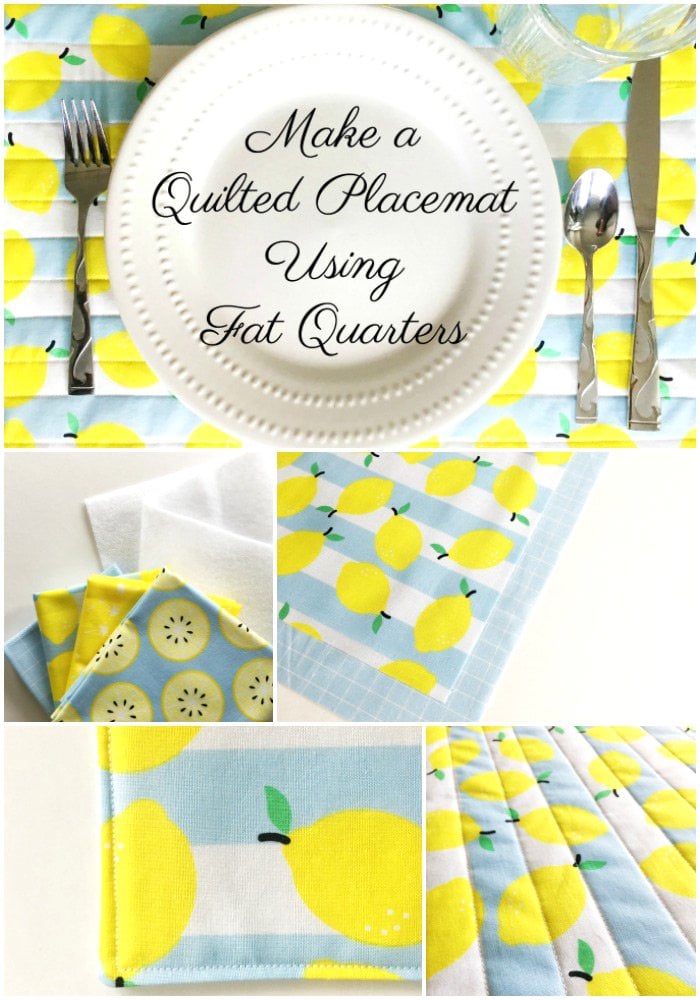
Quilted Placemat Patterns; a Fat Quarter Project
Learn how to sew a quilted placemat from fat quarters with our free, quilted Fat Quarter Placemat pattern. Break into that fat quarter pack you’ve been saving and stitch yourself up a set of beautiful quilted placemats!
I always love finding new fat quarter projects to make. I think it’s because I collect fat quarters; they are so easy to throw into your basket at the fabric store!
Lize from Simple Simon & Co. has a special guest tutorial for us today! She’s teaching you how to make quilted placemats using fat quarters of fabric.
Hello! I’m LiZ from Simple Simon and Company. I’m excited to be here at The Polka Dot Chair today, sharing a super easy way to make quilted placemats.
Quilted Placemat Sewing Tips
Choose the Right Fabrics
- Use 100% cotton fabric for durability and easy washing.
- Consider pre-washing your fabrics to prevent shrinkage and color bleeding.
- Pick fabrics that match your dining area or seasonal themes for a personalized touch.
Size Matters
- A standard placemat size is 12” x 18” or 14” x 20”, but you can customize it to fit your table.
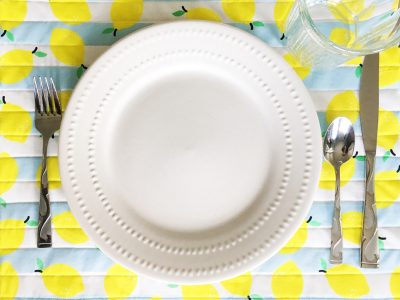
- If layering plates and cutlery, consider making them slightly larger. The placemats in this tutorial are 14″ x 17″, a good size for everyday dining.
Use the Right Batting
- Cotton or cotton/poly batting works well because it’s heat-resistant and lays flat.
- Insul-Bright can be used if you want extra heat protection.
- Keep it low-loft so the placemats aren’t too puffy.
Keep the Quilting Simple
- Straight-line quilting with a walking foot helps keep things even and smooth.
- Quilting about 1-2 inches apart keeps the layers stable.
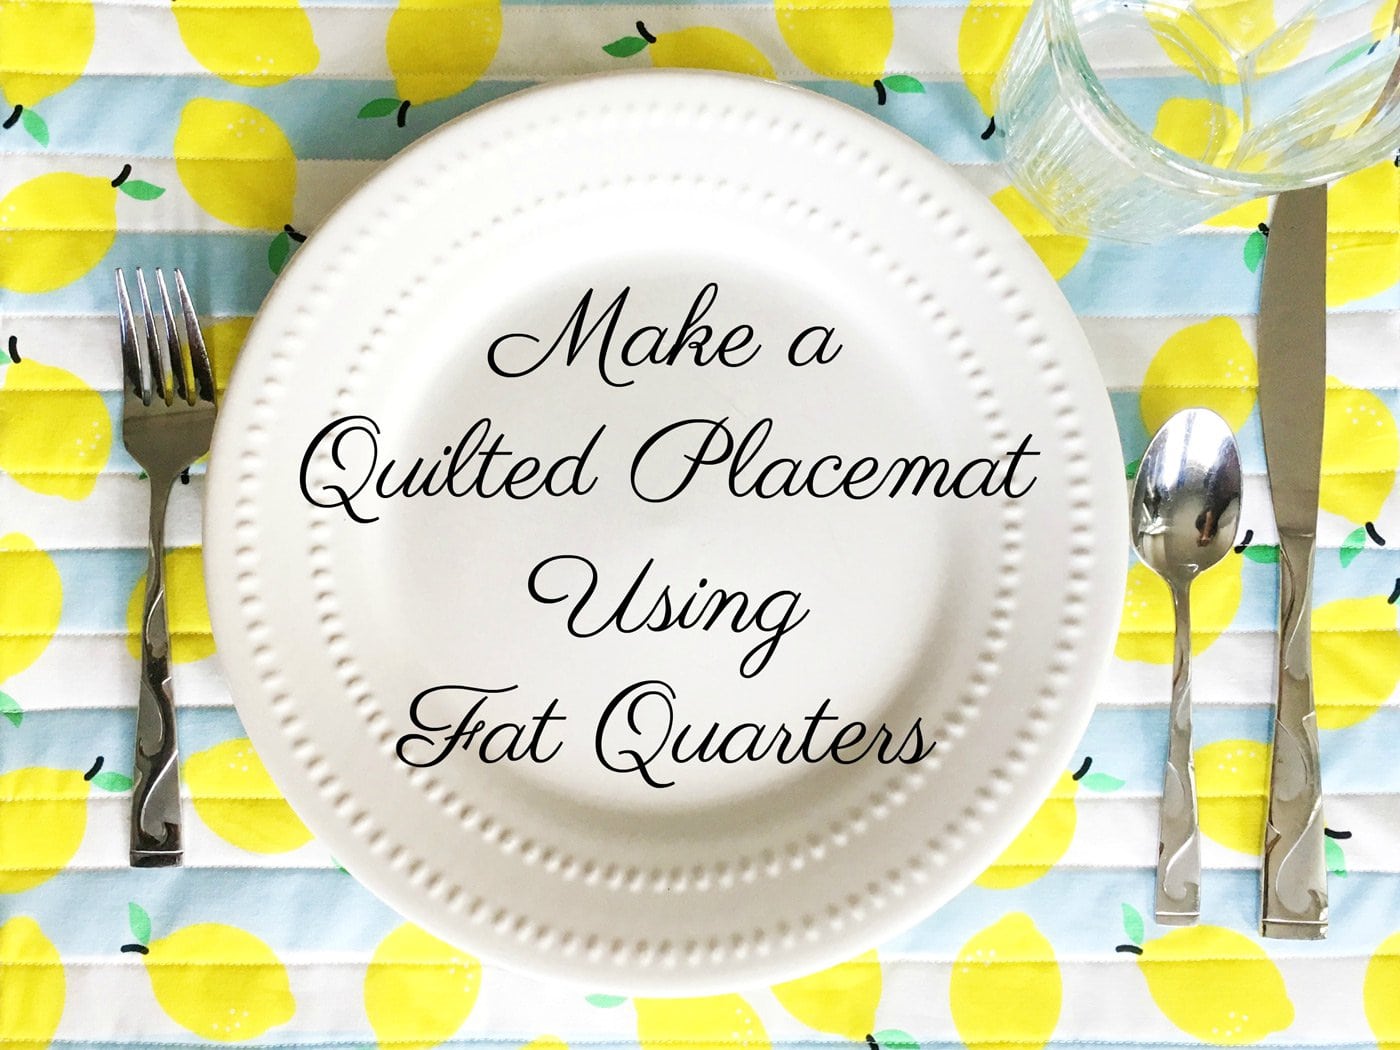

Quilted Placemat Patterns: A Fat Quarter Project
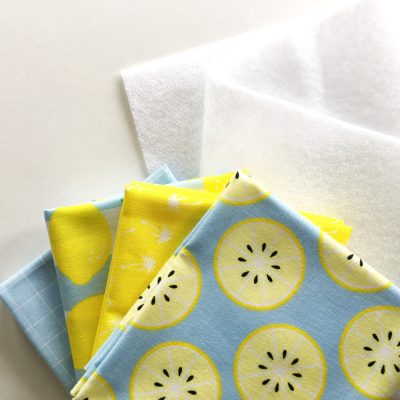
supplies
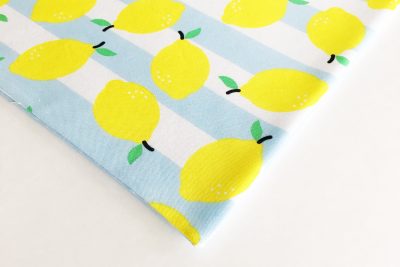
- 2 Fat Quarters Fabric I used coordinating prints so the placemats can be reversible!
- 1 piece Fusible fleece measuring 14″ x 17″
- Thread
Instructions
Placemat Size:
- These placemats measure approx. 14″ x 17″ when finished.

To sew the Quilted Placemats:
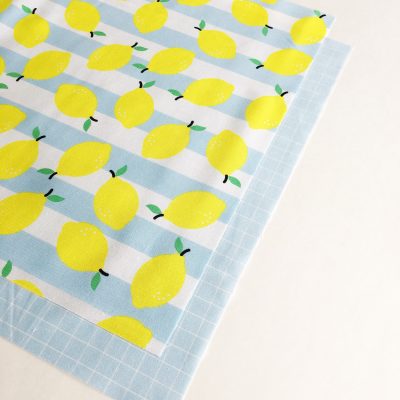
- Cut each of your fat quarters to measure 15″ x 18″.
- Cut your fusible fleece to measure 14″ x 17″. Iron the fusible fleece onto the back side of one of your 15″ x 18″ fabric pieces, making sure to center it in the middle of the fabric.

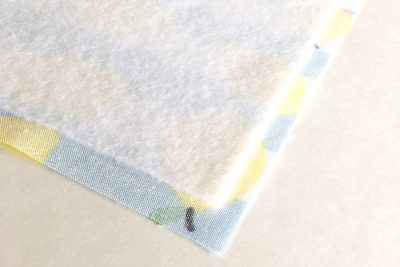
- Place your two 15″ x 18″ pieces of fabric on top of one another, rights sides together, aligning all four sides. Now, stitch around the perimeter of the fabric. Use a generous quarter-inch seam allowance and leave a 2″ opening to turn your placemat right sides out.

- Using the 2″ opening, turn your placemats’ right sides out. Iron flat. *Note: For crisper corners, clip corners before turning and use a point turner to push out corner tips.
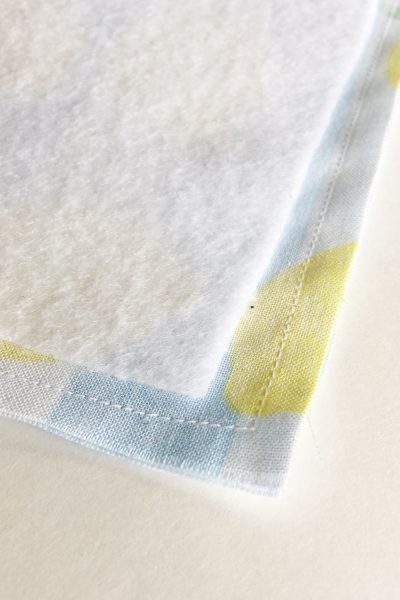
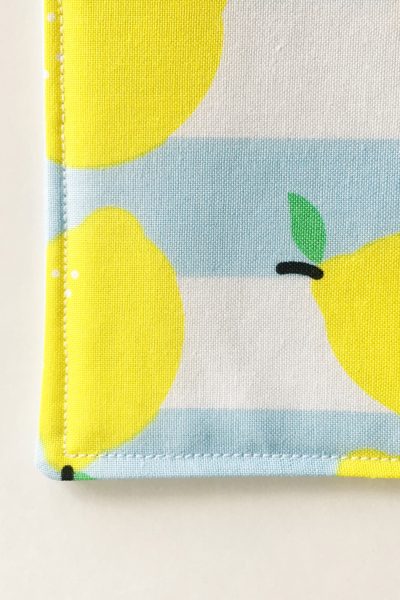
- Top stitch around the entire perimeter of the placemat using a quarter-inch seam allowance. Pay special attention when stitching across the 2-inch opening to ensure that both the top and bottom fabric of the placemat are stitched closed.
- You can finish your placemat at this point, and it will be darling. However, if you would like to quilt it simply….
How to Quilt the Placemat:
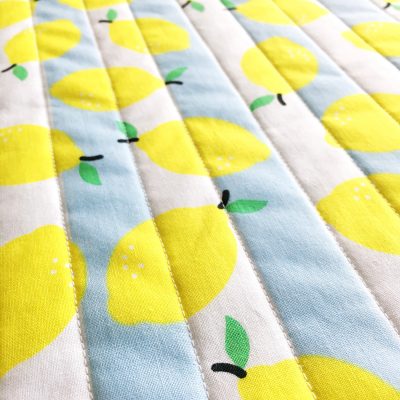
- Find a design element in your fabric to quilt and stitch along that element. On this placemat, I used the stripes as my guide, but if your fabric does not have a prominent design element, use a ruler and a chalk pencil to draw either stripes or a grid, and then follow those lines with your sewing machine. The fusible fleece will give your quilting stitches a cute texture without being too poofy.
- And that’s it! Easy right?

- Now you can make them for all of your fun culinary gatherings!

Thanks, Melissa, for having us here today!
About the Makers:

We are Elizabeth and Elizabeth, two girls who married brothers and ended up with the same name. We are also the same age, both former school teachers, have the same number of children, live in the same county, have dogs rescued from the pound, and share a love for sewing, quilting, and the art of homemaking.
Together, we blog at Simple Simon and Company, where we get the opportunity to share tips, tricks, tutorials, recipes, and thoughts with our readership.
Other Projects from Simple Simon & Co:
Tips for Quilting with Double Gauze Fabric
How to Make a Quilt from Start to Finish
Nautical Quilt Summer Quilt Along
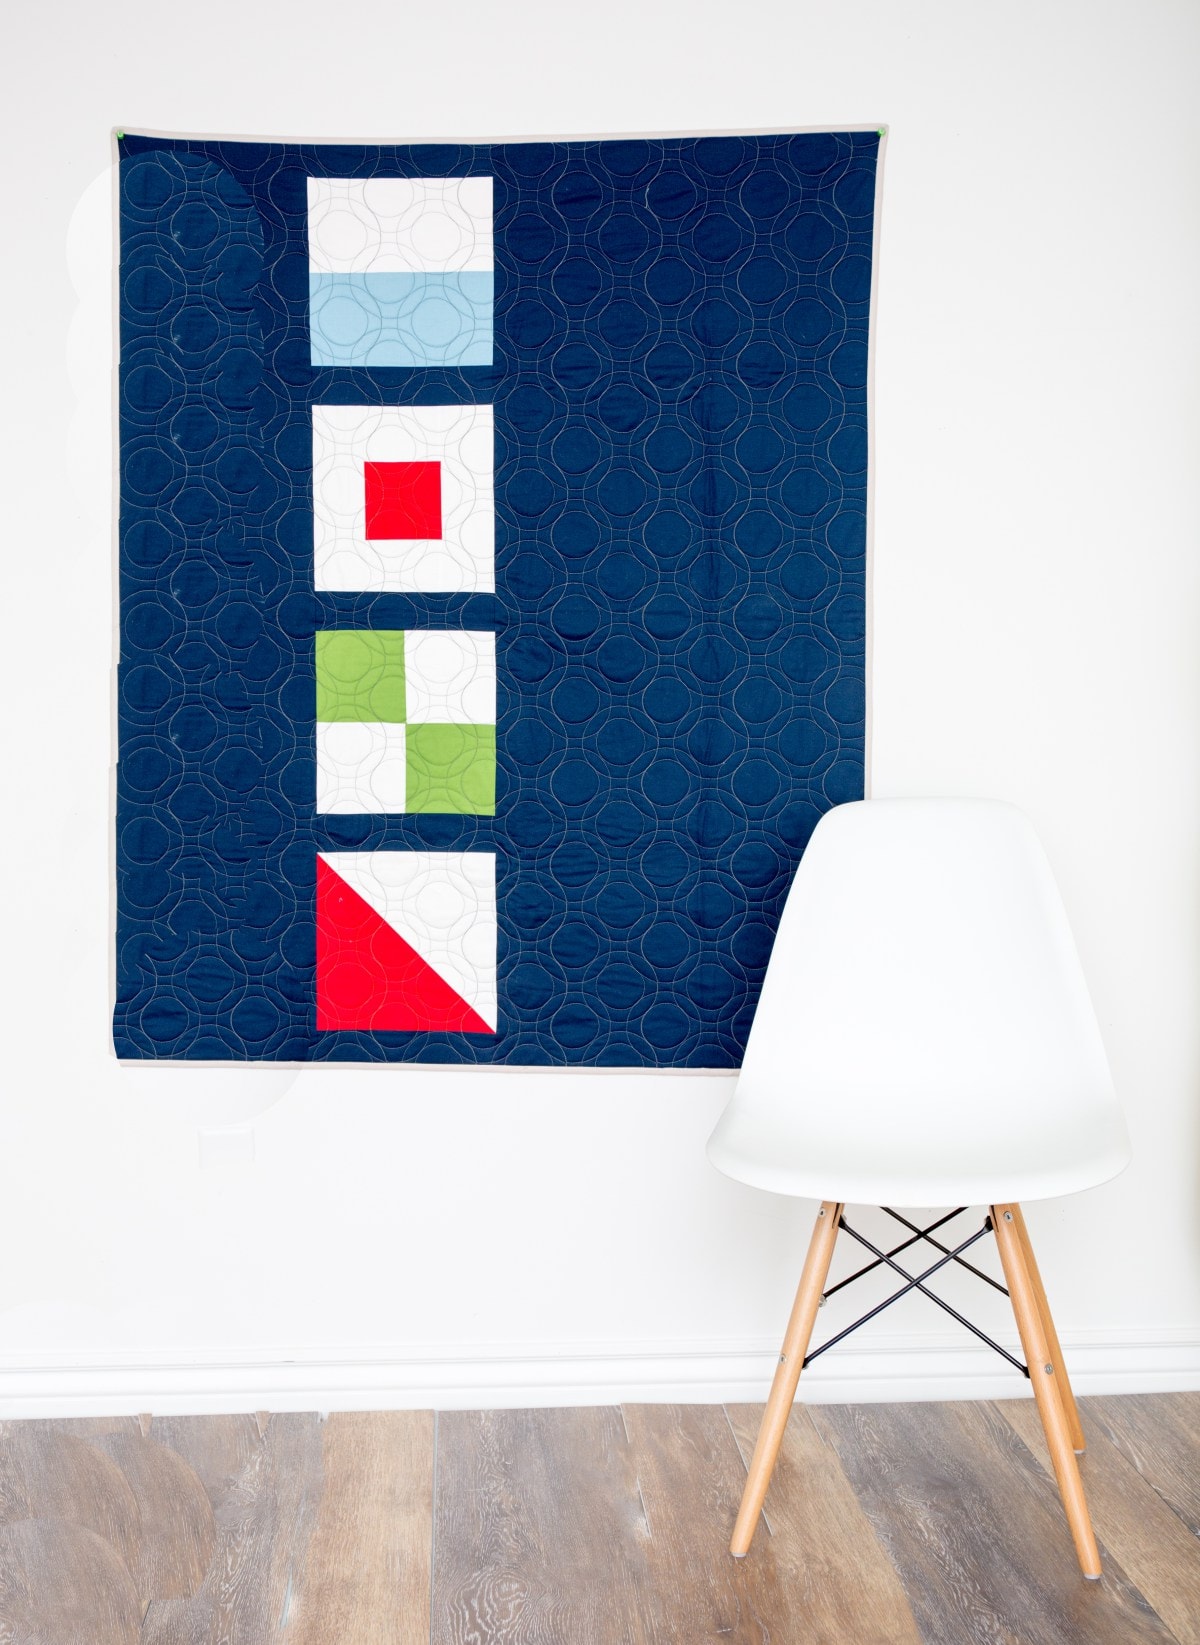
Other Projects you may like:
Polaroid Quilt Block Zip Pouch tutorial
How to add a zipper to a pillow
These are so cute and actually useable! Are they machine washable? Thanks!
Yes
Where can I find this fabric? I love the blue, yellow, lemons/check combo! So pretty!
Where did you find the delightful lemon with blue stripe fabric?
It’s from the “Just Add Sugar” range designed by Simple Simon & Co for Riley Blake.
I love it so much!
Thank you for this cute and easy placemat tutorial. Question… as you were quilting your rows of lines, did you ‘travel’ across the outer edge stitch from row to row or knot off each row of stitching?