Retro Travel Bag Sewing Pattern
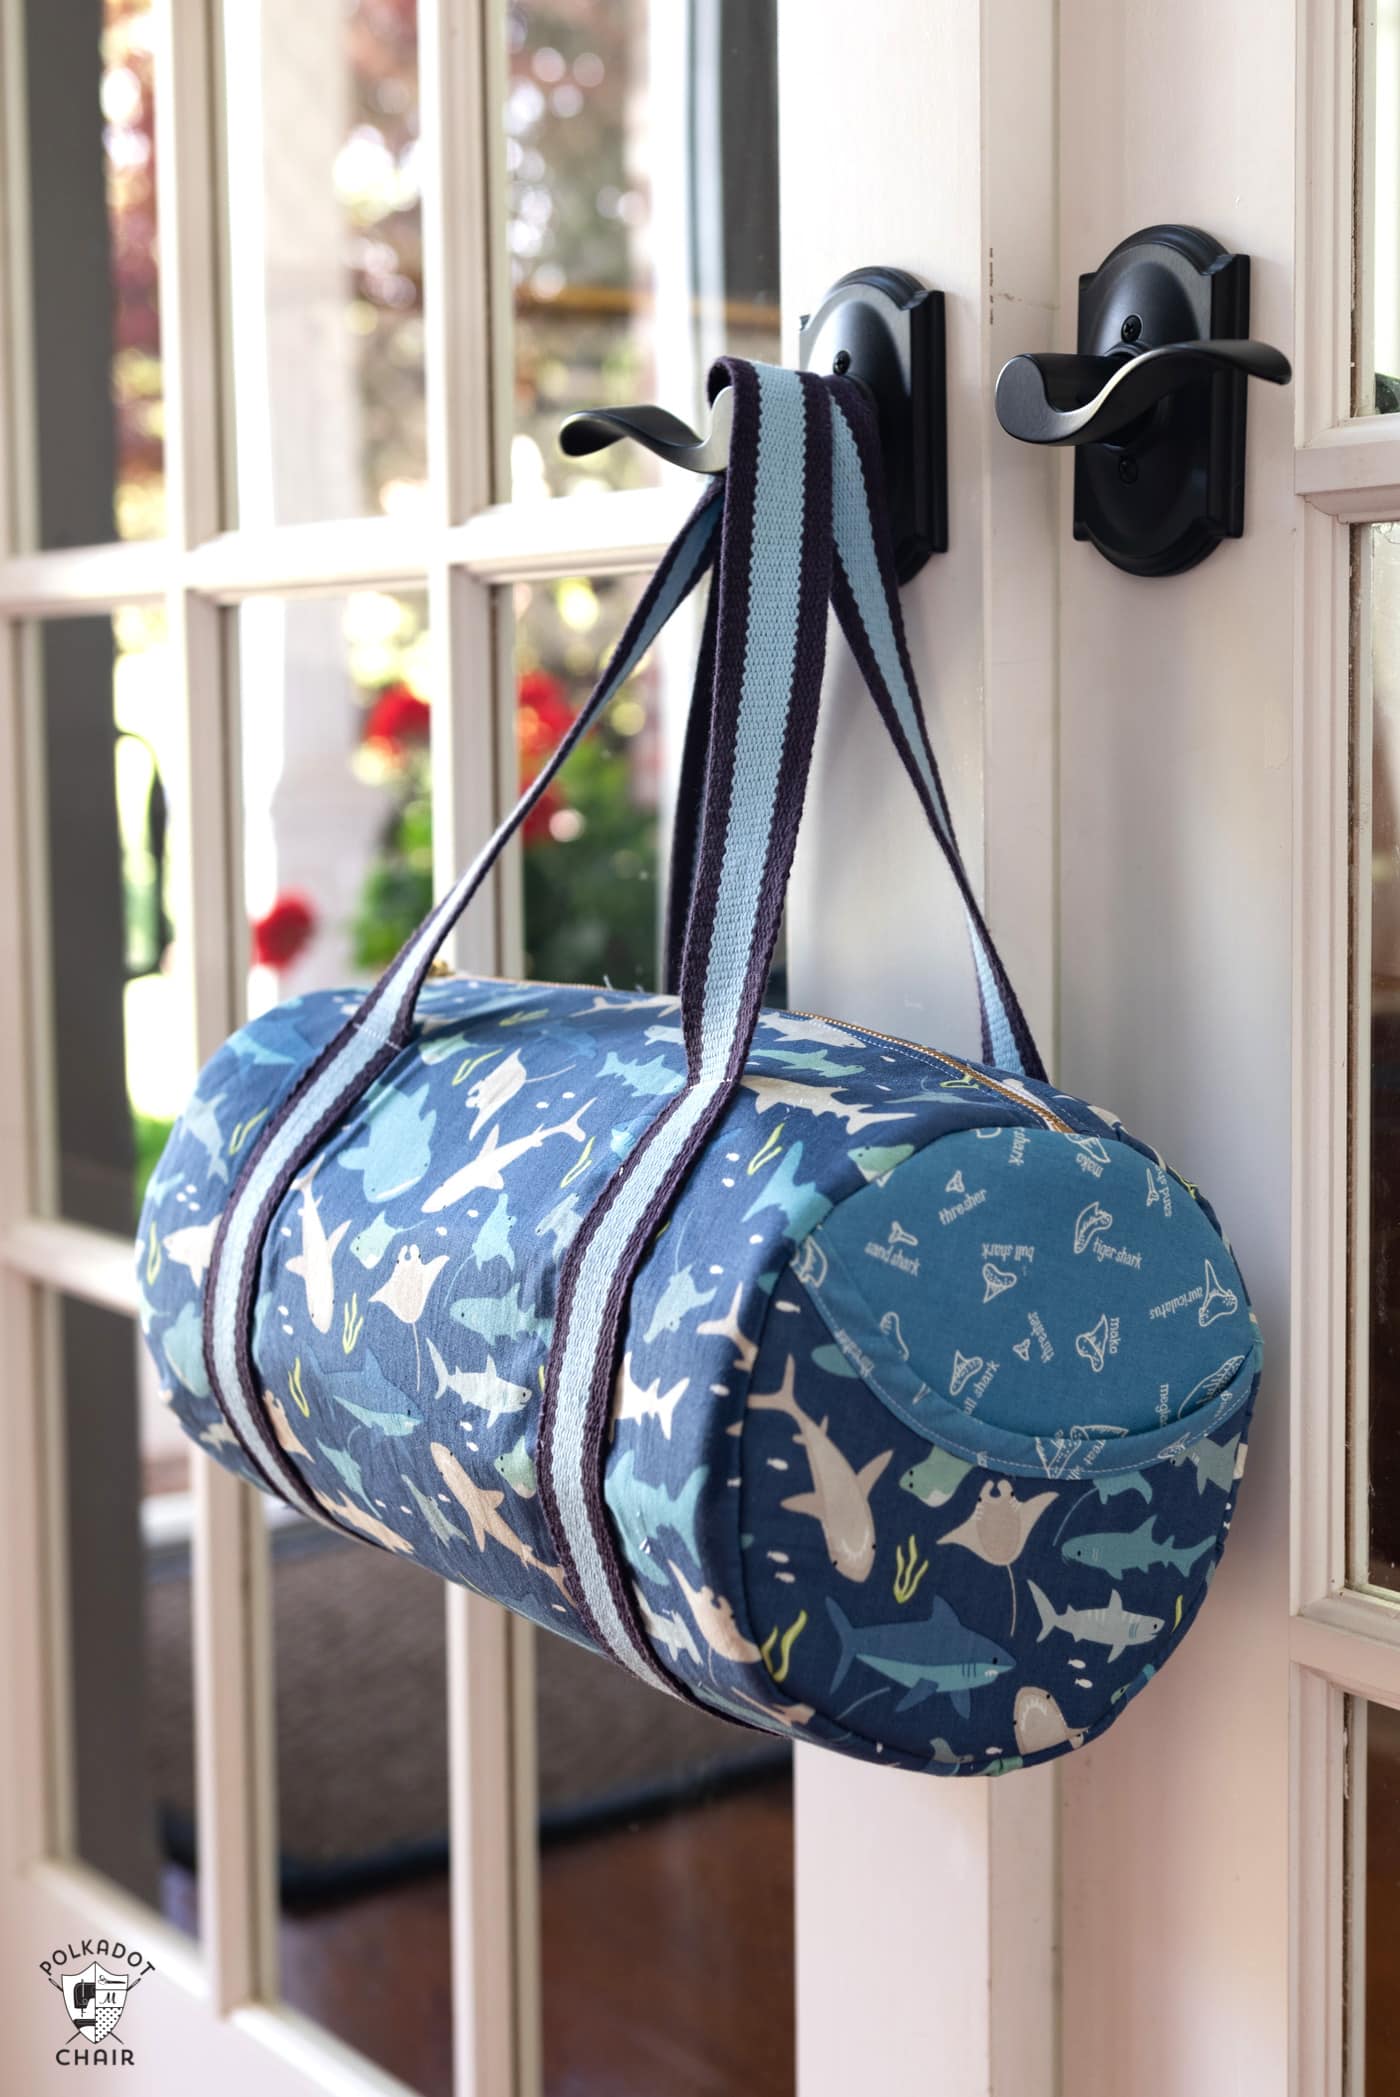
This Retro Travel Bag is just the right size for a weekend retreat, sleepover, or even a trip to the gym! Stitch up a custom weekender travel bag with our Retro Travel Bag Sewing Pattern.
A long time ago, I wrote a tutorial for a Retro Weekender Travel Bag. I had no idea it would take off the way it did and, to this day, is one of the top 5 most viewed sewing projects on this blog.
I’ve made a few small changes to the bag through the years to accommodate reader’s requests, but the pattern remained essentially the same. Today I’m happy to announce a completely re-thought and refreshed Retro Travel Bag Sewing Pattern.
I’m still steadily working through what I’m now calling the “great pattern writing binge of the summer.” Most all of my sewing patterns are being refreshed and re-photographed. I am also adding several new ones to the mix.
I’ve been planning a refresh of the Retro Travel Bag since last fall but didn’t want to rush it. I wanted it to be right, and I wanted to simplify the bag’s construction as much as possible (it’s still an advanced intermediate pattern).
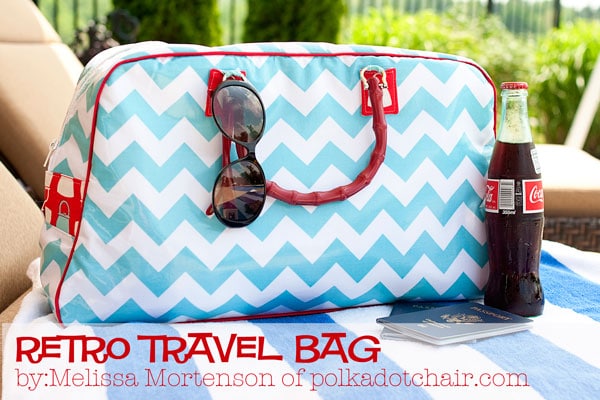
I think I’ve made more than 15 of these bags now, with about 6 of those during this year alone. After all of the testing and redesigning I’ve come up with a pattern that I am SO excited about.
About the Retro Weekender Travel Bag Sewing Pattern
As with all of my PDF sewing patterns, if you’ve purchased a pattern in the past and it is updated, you can download the update for free (email me).
A few of the key improvements to the pattern
- Eliminated the Contrast Strip on the side of the bag
- Completely Closed on the side
- Simplified the Zipper panel construction.
- Eliminated the need to use bias tape to cover the raw edge on the inside of the bag (YIPPE!!, that was not my favorite part either)
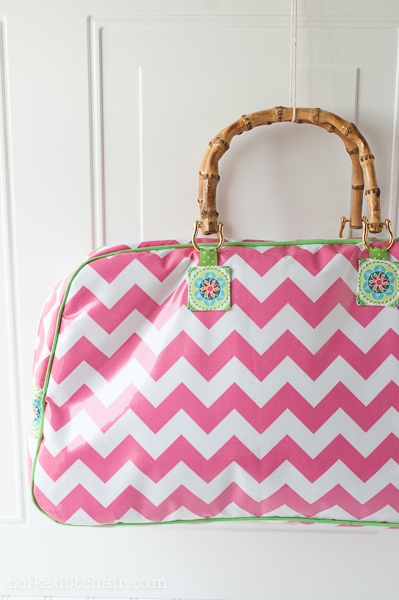
- Added options for 3 different handle styles
- Added external zippered pocket
- Included instructions for both laminate fabric (as shown on the original bag) and non-laminated (i.e., quilting cotton) fabrics.
- Improved interfacing recommendations.
- Printable Pattern Pieces (no drafting your own).
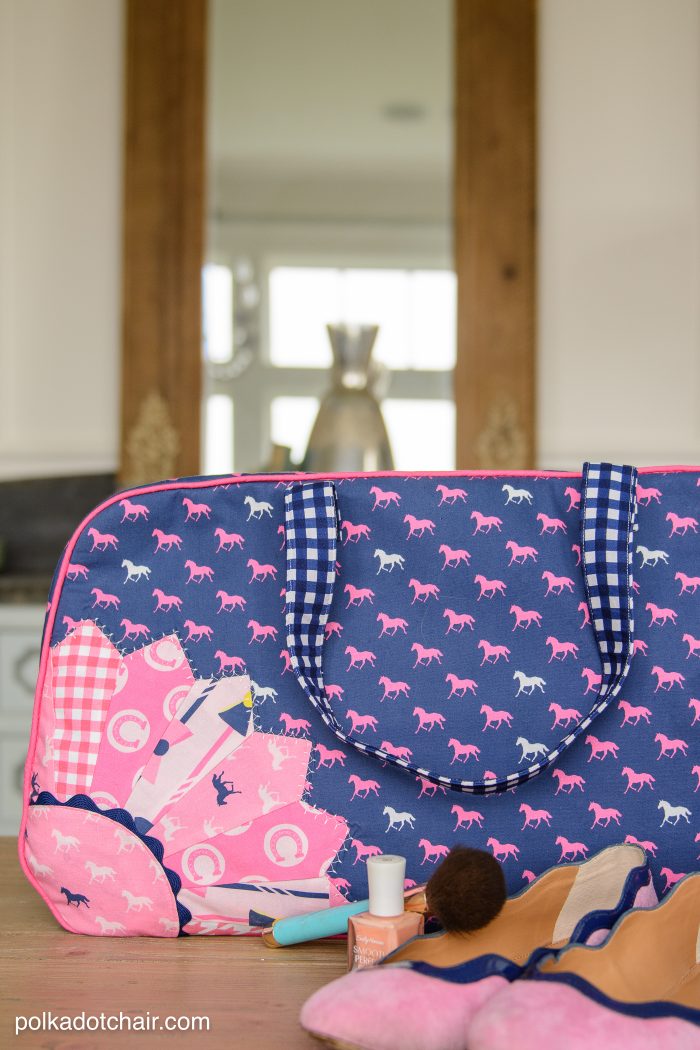
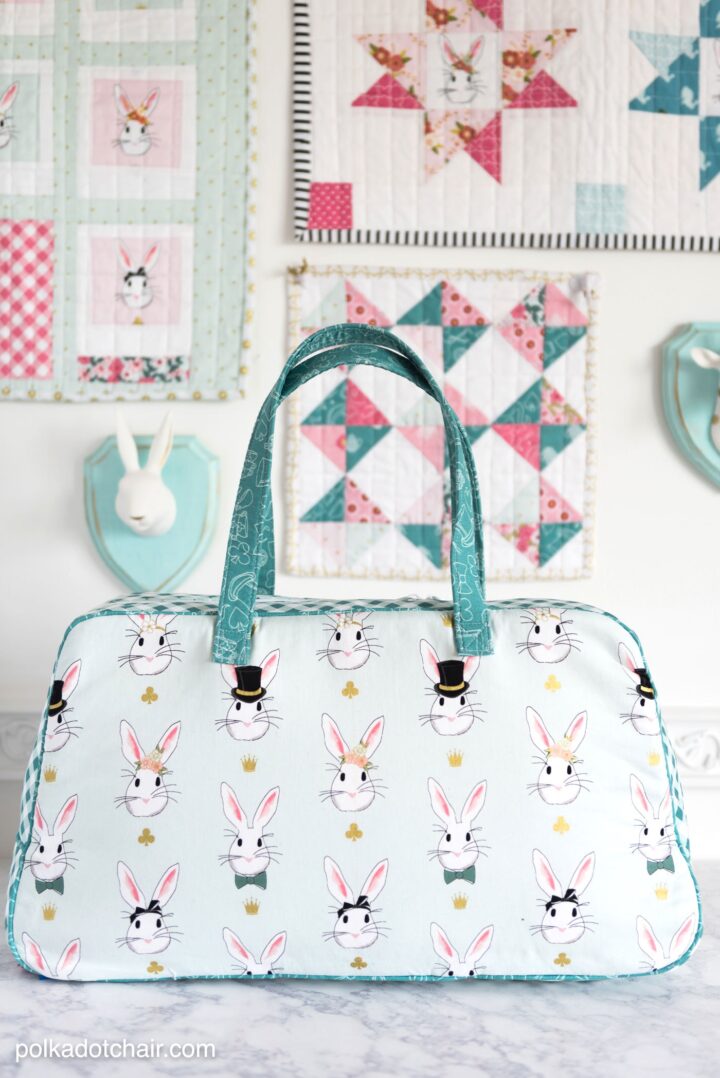
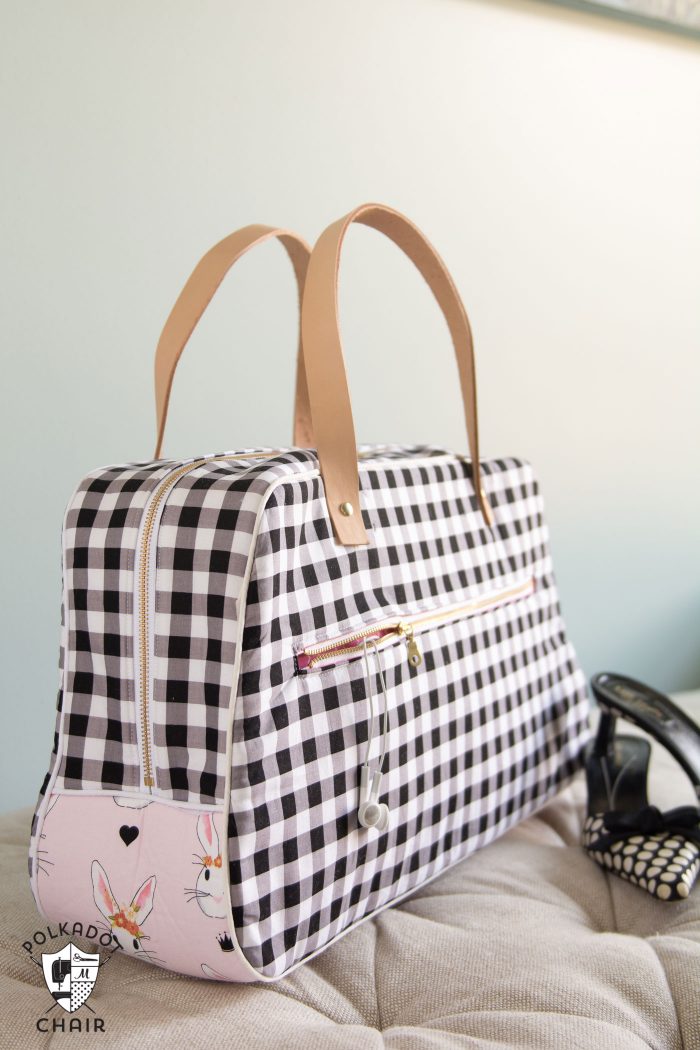
Personally, I loved the contrast stripe on the zipper side of the bag, but it did complicate the construction process. I realized after a while that you could get a similar look by cutting the bag bottom piece out of a different fabric than the zipper panel piece. Here you can see where I used some of the pink bunny fabric from Wonderland.
How to Buy the Bag Pattern
Bag Handle Options
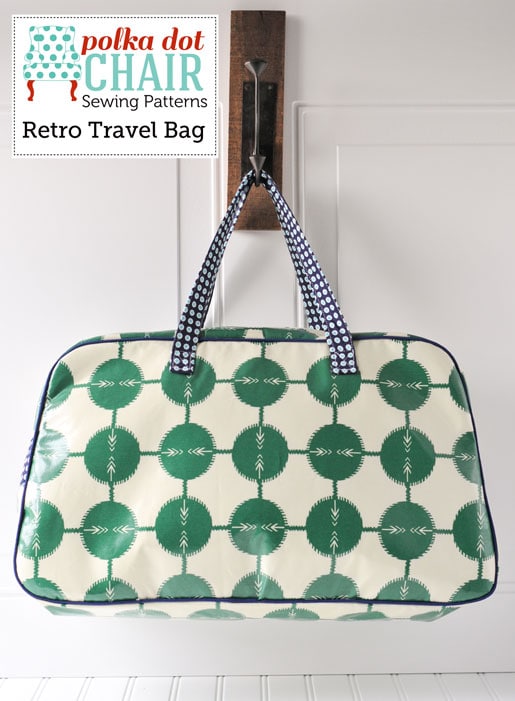
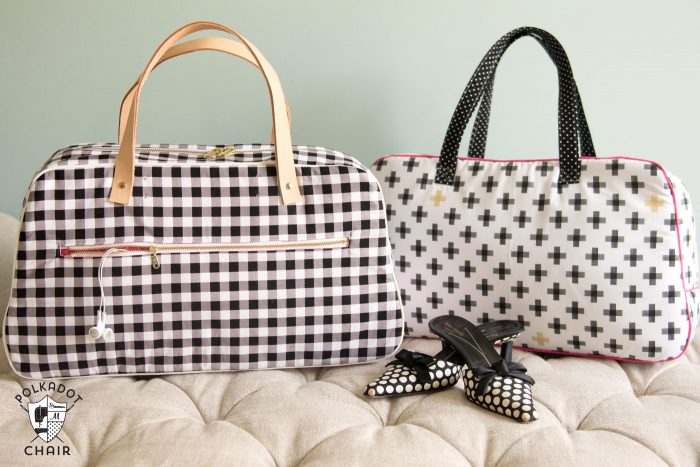
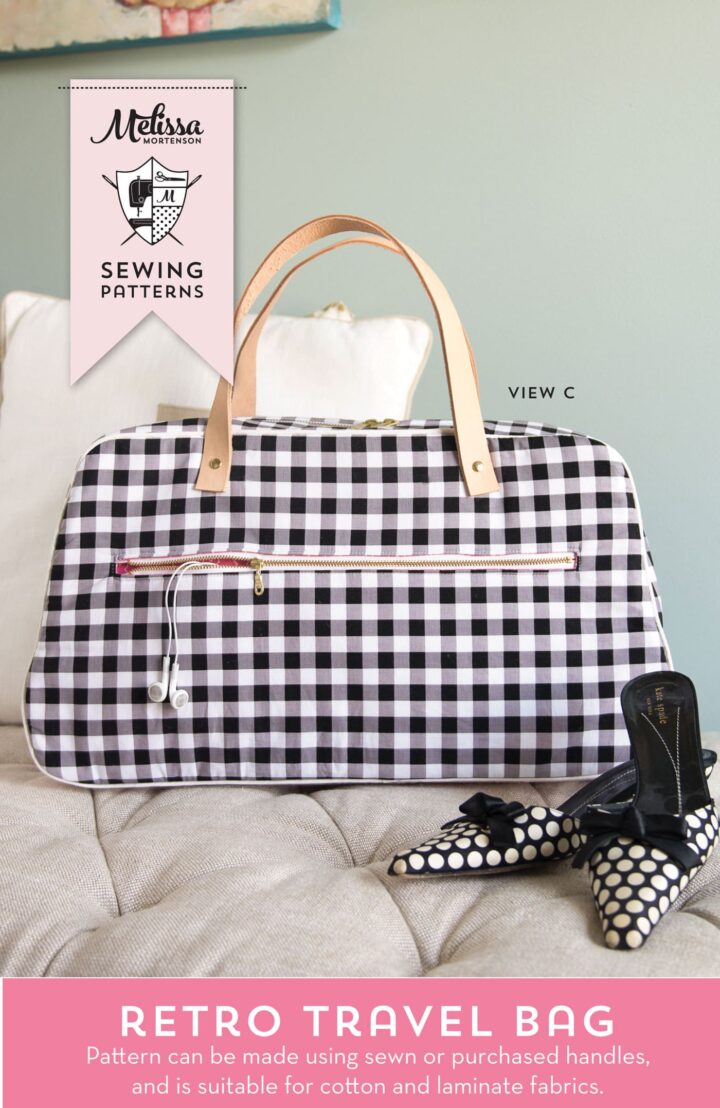
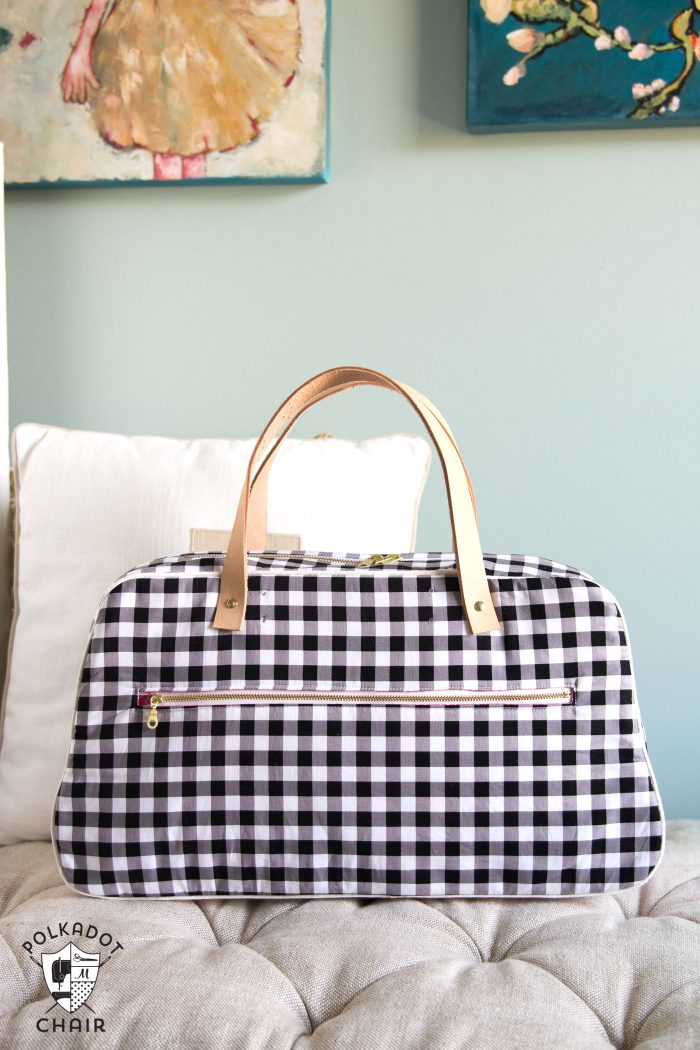
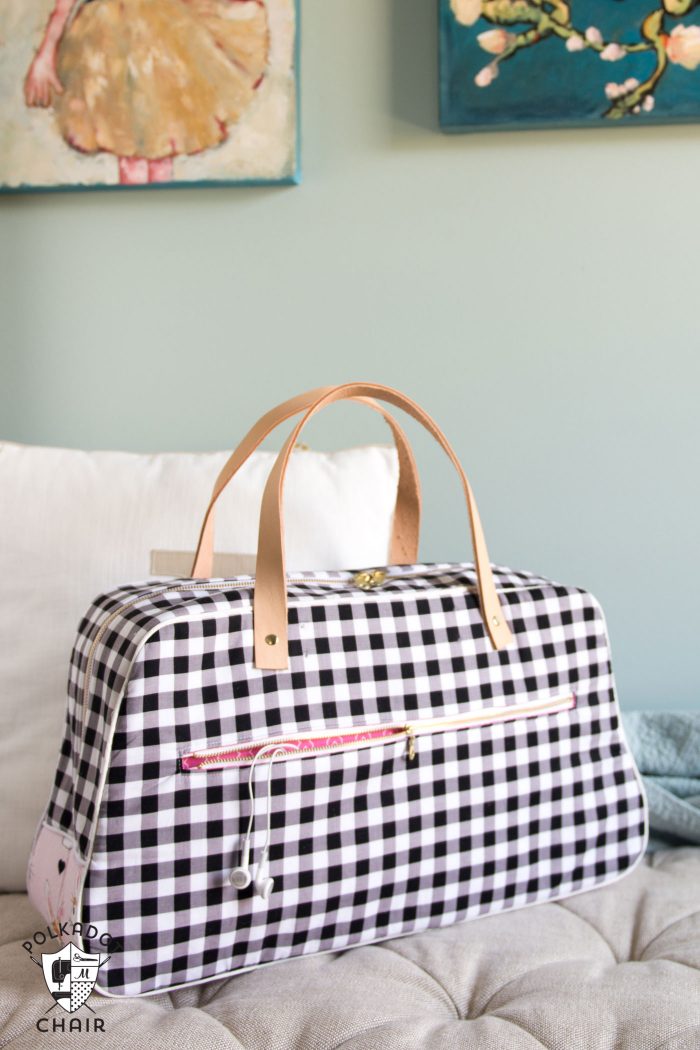
This version of the bag is sewn from Riley Blake Large Gingham in Black and features leather handles. The leather handles are just leather belt blanks; you can purchase them on Amazon or at your local leather store (like Tandy Leather).
The leather straps are straightforward to attach. As you can probably see from the photo above, I put them in the wrong spot the first time and have holes in my bag (UGH!!), anyone with a suggestion to cover the holes? I’d be much appreciated. (Luckily, I was able to fix the photo in photoshop for the pattern cover).
The bag features one external zippered pocket and one large divided pocket on the interior. You can pick up the metal zippers at ZipIt on Etsy.
Instructional Video for the Retro Travel Bag Pattern
I’m also happy to announce that there is now a video series to help you construct your bag! I’ll add a link to it below. You will still need the pattern, but I’ll walk you through making the bag step by step in the videos. You can find them on the Riley Blake Designs YouTube Channel.
Fabric Selection & Design Ideas
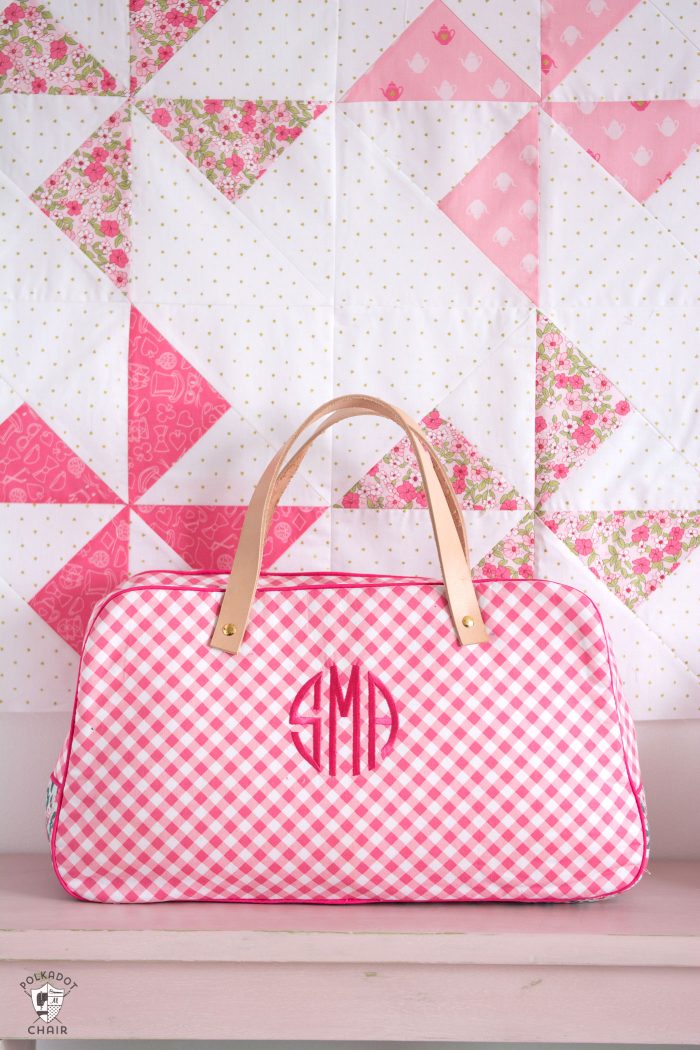
Pattern Delivery Options
You can pick up the pattern in my SHOP. It’s in PDF format now and will be emailed to you immediately after you purchase the pattern.
It is also now a printed pre-packaged pattern as well. If you have a store and want to carry the patterns let me know, and we can work out a wholesale order.



cut a cute, contrasting fabric to cover the holes, monogram it, blind stitch on. it’ll look intentional!
Thanks. That’s kinda what I was thinking but was going to match the gingham, contrasting fabric is a much better idea 🙂
I think – put two small eyelets in the holes, thread a key ring through them, and then you have a place to hang your keys. Just another thought for you to consider. 🙂 Love the bag!
These are just so fun!!
I would add on a piece of the same leather as the handles to cover the holes. Use small studs on either side and you could stamp it like a name plate or leave it blank. Since it’s held on instead of sewn down you could hang a purse charm from it if you so desire.
A really cool pattern! I would love to see what the inside looks like!
What a cute bag!
I made the travel bag in a class with you at Fabric Fest in Vegas. Would love the updated version.
I agree with some of the others regarding how to cover the holes in the bag. I’d add a piece of leather with rivets, where they were, and turn it into either a key clasp {make a leather loop that snaps onto itself so that it can hold your key-ring} OR as a decorative piece adding perhaps a vintage key, a charm, or something that suits the “theme” of your bag. I adore this pattern and will be ordering it {finally!}
I actually ended up glueing on a leather piece that i mongrammed. It was a bit of a “hack” but I love how it turned out. I’ll share with everyone what I did if they want to do it “on purpose” instead of on accident like I did 🙂
the other idea you could think about is to cover some buttons in the same fabric and stitch them on. i havent tried to cover buttons for a long time but they tell me that it is quite simple just make sure the shank fits through the centre of the button. look around because there are different designs and some work better than others. good luck !!!
Thanks for your suggestion. I didn’t even consider buttons, I managed to fix it by adding a monogram, but that would have been really cute too!
LOVE the bag! Thank you so much for sharing. I would take the bunny fabric and create two little rectangles to cover the holes, like little interesting charm points.
I already own the “Retro Travel Bag pattern. Is there anyway to receive a print out to follow of the updates that have been done to this pattern without buying the pattern again? Thanx for any assistance that you can give me in this matter. THANX AGAIN!
Sincerely, Mary Welman
Hi,
The digital version and print version are the same. So there aren’t any other updates that you’d need from the print one.
Hi, Melissa. I absolutely love your travel bag/pattern. Just wondering if you sell any of your bags; my skills are inadequate for this project. Thanks.
Thank you so much! I don’t sell them, I’m terrible at completing things on time for other people 🙂
I made the retro travel bag for my granddaughter. It turned out so cute!! It was definitely a labor of love, but your video and instructions were amazing to guide me through. I wish I could load a picture, but there doesn’t seem to be a way to add one. Thanks for your creativity.
i have a question do you have to do the piping?
It’s explained in great detail in the pattern.
I love this travel bag and was hoping you would please send me the digital PDF pattern? A very creative idea on a useful bag!
You can buy it in our shop. http://www.shop.polkadotchair.com
I purchased this pattern way back, 2016 (I think) and not sure if it would be the updated one or not. I tried to send a form through contact me, but it would never work and go through for some reason. How can I tell if my pattern is the updated one?
It hasn’t been updated since 2016 – the only update was when I created the paid pattern. So if you bought it, then its up to date.