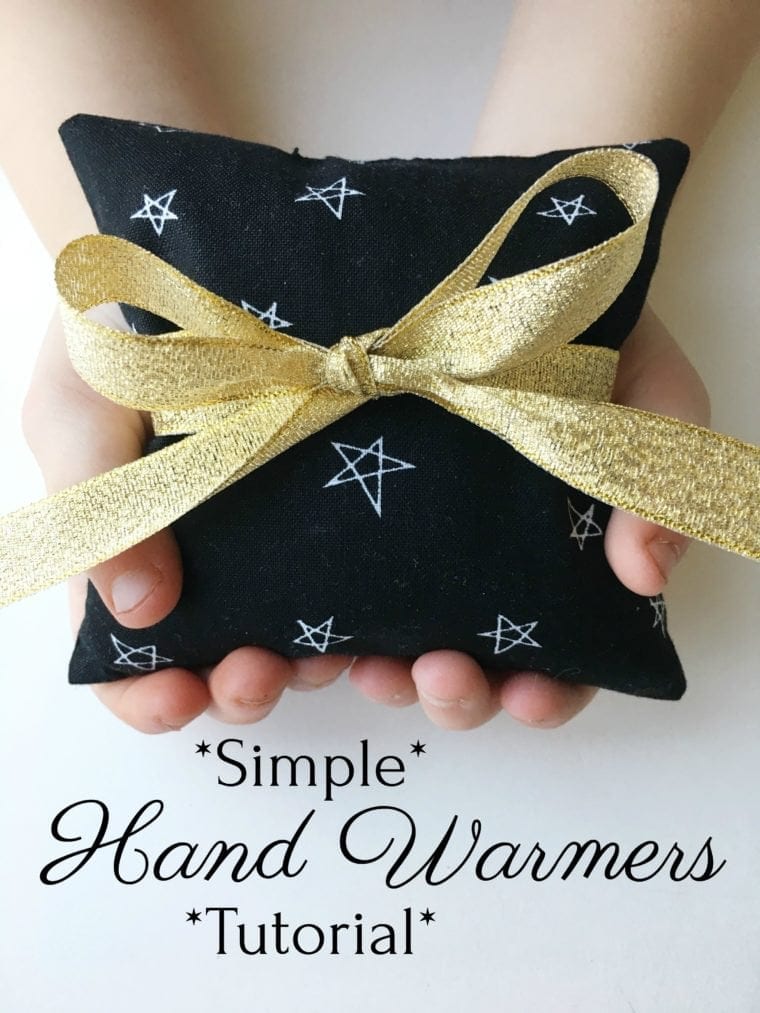
Simple Hand Warmer Tutorial
With our free hand warmer sewing tutorial, you can learn how to make a simple hand warmer using fabric, a few sewing supplies, and rice.
Let me introduce you to the next member of our fantastic team of blog contributors, Liz of Simple Simon and Company. She is here today to help you get a head start on your Christmas gift sewing with this Simple Hand Warmer Tutorial! If you like this project, you may also like this Mini Christmas Stockings tutorial.
Hello Polka Dot Chair readers! I’m Liz, one of the two Elizabeths from Simple Simon and Company. I am super excited to hang out here on Melissa’s fantastic site every once in a while!
Today, I am sharing a simple tutorial for a project that is perfect for the cold weather ahead….hand warmers!
We love hand warmers at our house. We take them with us on winter walks, caroling, and even sliding them into our packets when we are out playing in the snow.
They are great scrap-busting projects, good for first-time sewing projects (especially for younger sewists), and make cute neighbor gifts. So, with all that said, let’s get started!


Simple Hand Warmer Sewing Pattern
supplies
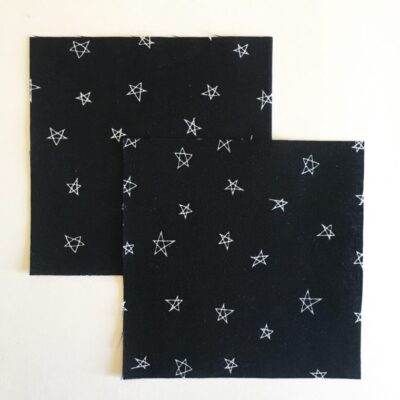
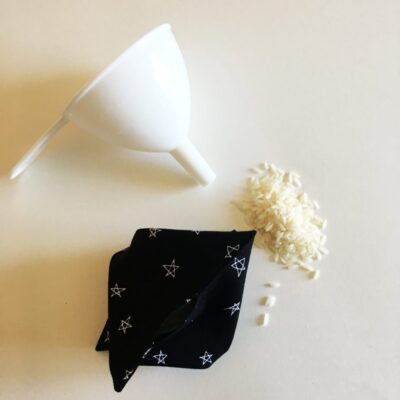
- 2 pieces Fabric Squares cut into 5″ squares.
- 1 1/2 cup Rice
Instructions
To make them, all you have to do is follow these easy steps:
- Cut two pieces of fabric into 5″ squares

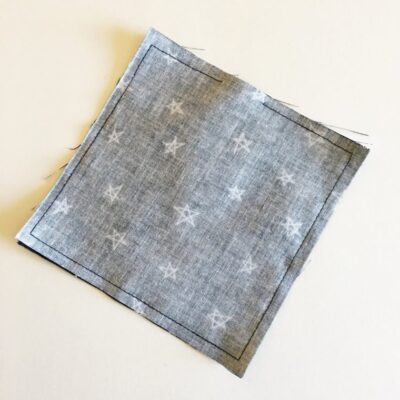
- Place squares on top of each other with right sides together and stitch around the perimeter of the square, leaving about a one-inch opening on one side. (The opening will be used for turning and filling.)
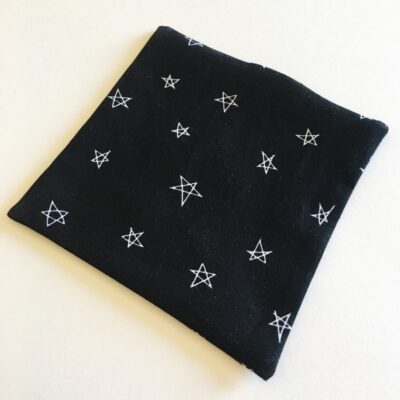
- Using your opening, pull your fabric so that the right side of the fabric is now on the outside. (You can press if desired.)
- *Note: You can insert a pencil or chopstick through the opening to help you turn your fabric and push the corners out nice and crisp. Just be careful not to poke through your fabric!
- Using the opening, fill your hand warmer with rice until it feels nice and full.
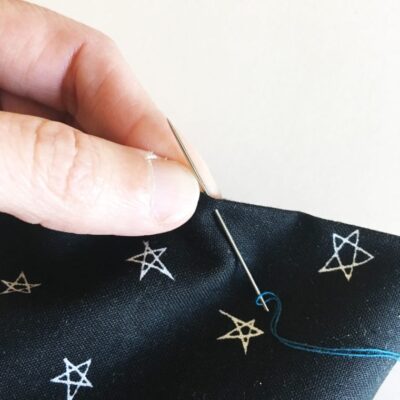
- Hand stitch the opening closed.
- *Note: You can stitch the opening closed on your machine….however, you run the risk of the rice falling out and into your machine….so this method is not recommended.
- And you are done!

Thanks, Melissa, for having us over today!
Other fun Projects by Simple Simon & Co.
For more simple projects that are great for beginners, you can check out these great projects:
(They are a few of our favorites.)
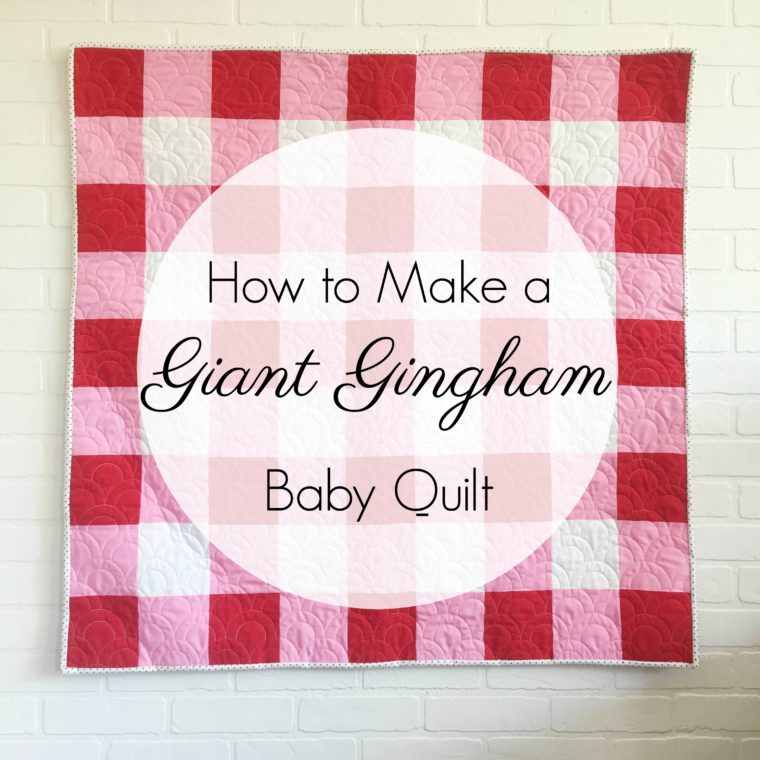
How to Make an Oversized Gingham Baby Quilt
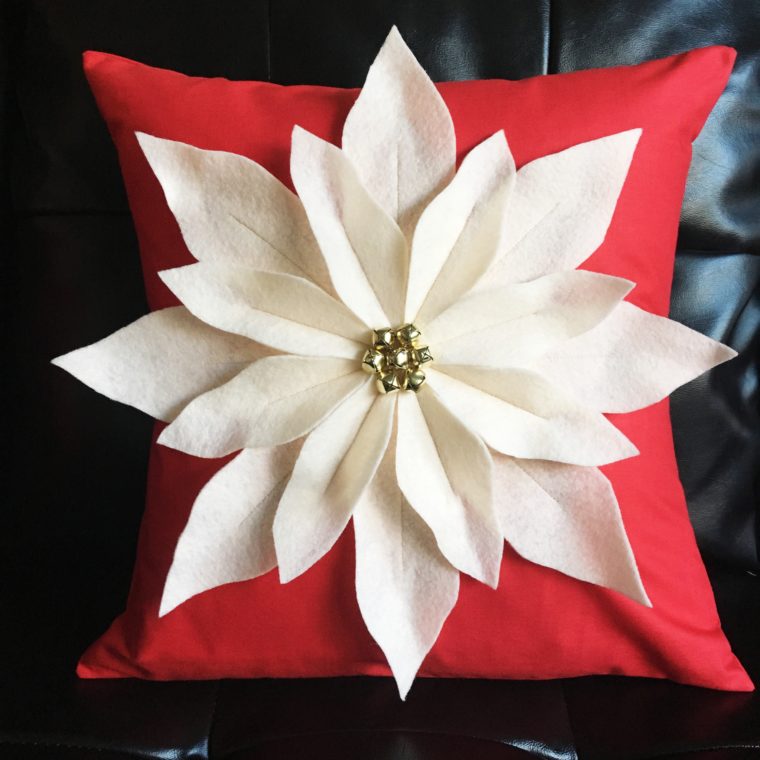
How to Poinsettia Throw Pillows
And this tutorial always comes in handy…How To Bind A Quilt

We are Elizabeth and Elizabeth, two girls who married brothers and ended up with the same name. We are also the same age, both former school teachers, have the same number of children, live in the same county, have dogs rescued from the pound, and share a love for sewing, quilting, and the art of homemaking.
Together, we blog at Simple Simon and Company, where we get the opportunity to share tips, tricks, tutorials, recipes, and thoughts with our readership.


How long do they hold heat? I’m getting ready to make them as gifts and figured I’ll make some for myself for the upcoming high school football games 🙂
From the heating and holding in your hands, they stay a little warm. You can slip them inside the palm of your gloves too
I’m getting ready to make a couple of sets for gifts. Can instant rice be used?
The fabric needs to be 100% cotton and the thread also correct?
15 to 20 seconds is what I heat them on. these are also really good to put in the freezer and use in the place of ice packs. I use them for sinus or migraine headaches.
Actually cotton doesn’t hold the heat as well as some other fabrocs like flannel or fleece with cotton interior lining
What a great stocking stuffer but where are the directions for heating these?
I know you heat in microwave but for how long??
I have the same question..how long do we heat them for? Great gift idea!
About 30-60 seconds depending on how warm you like them.