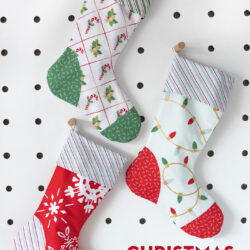
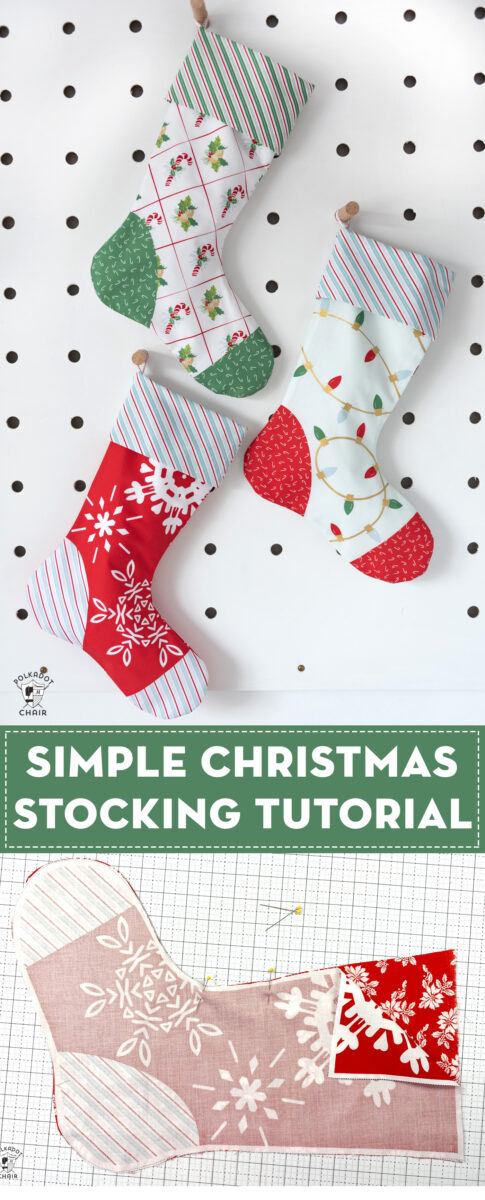
Simple Christmas Stocking Tutorial
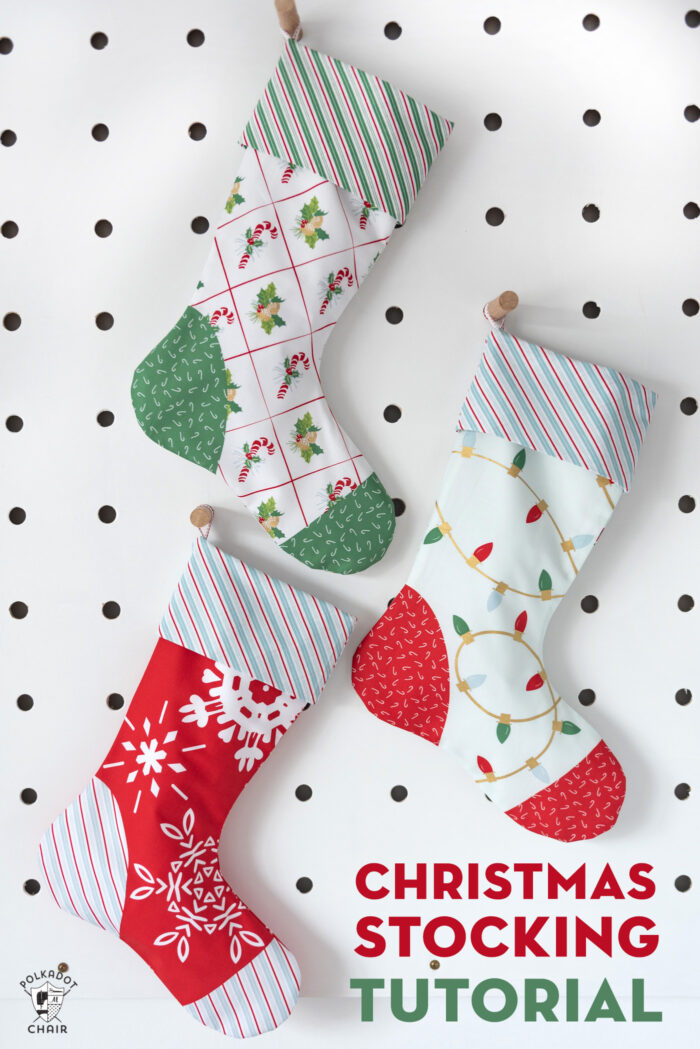
Today, I’m going to show you how to sew a simple lined Christmas stocking. This free Christmas Stocking Pattern uses a panel from my Santa Claus Lane fabric collection, but you can use any Christmas fabric that you like.
It’s June; who’s ready for a Christmas sewing project? Forget Christmas in July. We’re “overachieving” and going right for Christmas in June!

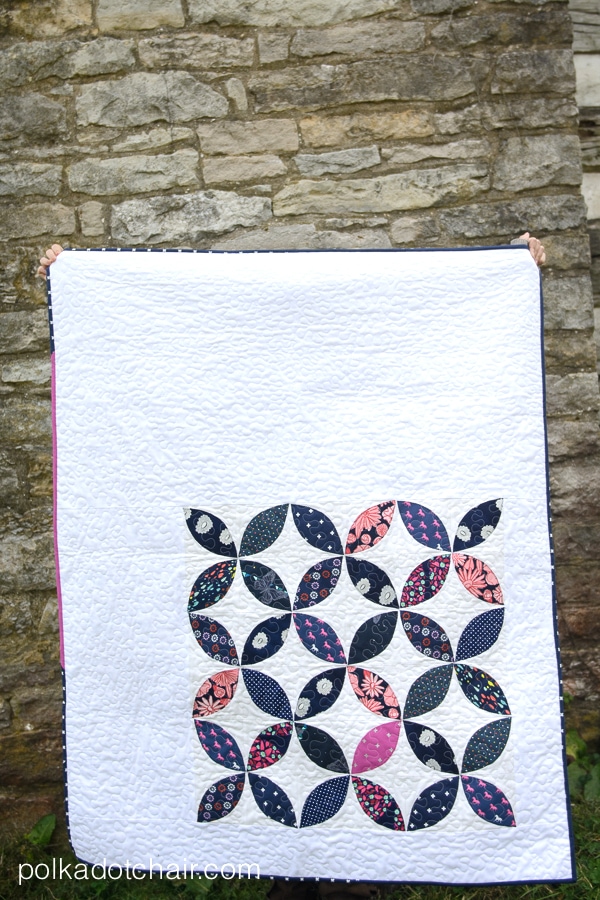
The quilt with the Santa hats is made from various Christmas fabrics, not just one line. It’s called Santa’s Hat Shop, and you can find the pattern in our shop. You can find the other quilt pattern in our shop; it’s called Picnic Crossing.
I’ve always loved making my own stockings, so I had a set of matching handmade Christmas stockings for my family. I have also made stockings to give as a gift. I actually have a few sets of Christmas stockings now; I keep making them!
We have the set our family always uses on Christmas Eve, and I have a few that I love to use as Christmas Decorations.
What Fabric Should I Use to Make a Christmas Stocking?
I recommend quilting quality 100% cotton as the stocking material. This stocking is lined, but it does not have any interfacing or batting.
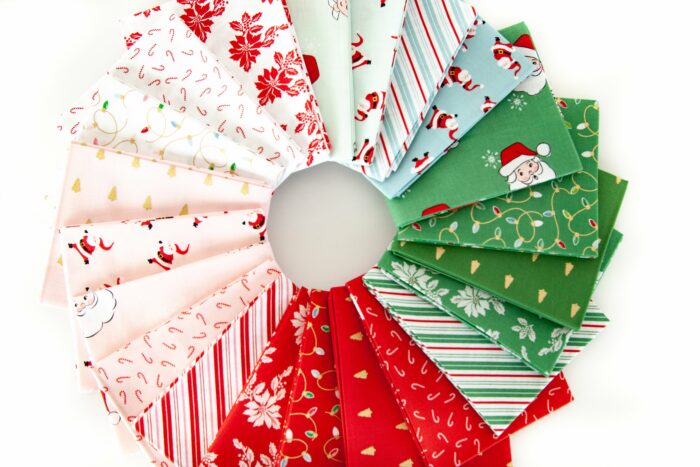
The prints shown here are from my fabric line from Riley Blake Designs called Santa Claus Lane, which is a vintage-inspired Christmas fabric collection.
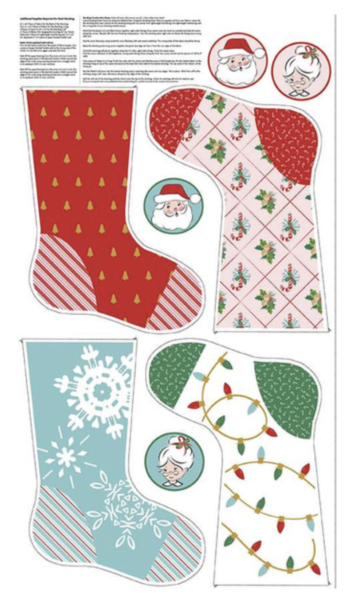
The collection includes 21 different prints in 3 colorways. It also features 4 panels. 2 panels can be used for quilting or pillows, and 2 different fabric panels can be made to create Christmas Stockings.
The fabric panels come with instructions printed on the panel. In addition to the instructions on the panel, here are a few photos of the construction process to assist you as you create your stockings.
These stockings are lined. For lining fabric, purchase a solid-color fabric or a print. It’s up to you. It will show on the inside of the stocking but not the outside of the stocking. Don’t choose anything too thick; the lining fabric should always be the same weight or lighter weight than the main fabric.
If you can’t find the stocking panel, just use the template we provide and cut your stockings from the fabric you choose.
Stocking Fabric Suggestions
- 100% Cotton Quilting Quality Cotton
- Burlap (make sure you line it properly)
- Wool
- Old Sweaters
- Velvet
- Felt
- Polar Fleece
How much fabric do I need to make a Christmas stocking?
- 1/2 Yard of Fabric for the Stocking Outside
- 1/2 Yard of Fabric for the Stocking Lining
- 3/8 Yard of Fabric for the Stocking Cuff & Toe
- 1″ wide ribbon for the stocking hanger
Sewing with a Fabric Stocking Panel
These stocking panels were designed to give you the most variety when you are creating your stockings. So there are 4 different stocking FRONTS on each panel. The two panels are similar but have a different color scheme.
If you were to buy 2 panels in the 2 colorways you could create 8 totally unique stockings.
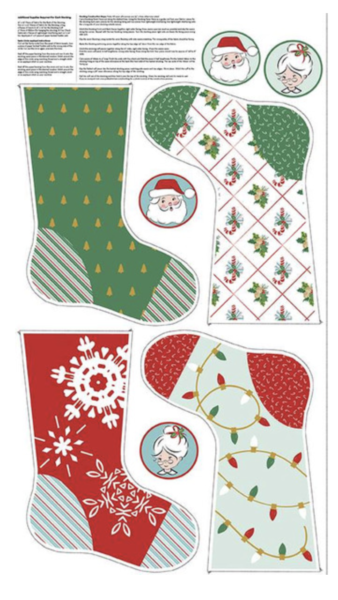
I have also included circle cut-outs of Mr. & Mrs. Claus to use on the stockings if you like. You can easily applique them to the front of the stocking during the construction process or save them for another project.
Note: you DO need to purchase fabric for the back of the stocking, the lining, and the cuff. We decided when designing the panels, that since the back of the stockings did not show when they were hung up, it would be better to allow you to make 4 UNIQUE stockings from the panel. I personally feel there is more value in the panel that way.
TIP: You can also quilt the stocking outside pieces. You can find a simple machine quilting tutorial on our site.
How big is the cuff on a stocking?
The cuff on this stocking is made from an 8″ x 10″ piece of fabric that is folded in half along the long side, yielding a cuff that is approximately 8″ x 5″ when finished. In other words, the stocking cuff is 5″ tall.
How to Get the Pattern Piece
If you are sewing these stockings with your own fabric (i.e. not a panel) fill out this form and we will email you the pattern piece.
How to Sew a Christmas Stocking with Lining and Cuff
Simple Christmas Stocking Tutorial
supplies
- 1 Panel from Santa Claus Lane Fabric Collection 1 panel will yield 4 different stockings, fabric yardage listed below is for one stocking.
- 1 OR 1 Pattern Piece downloaded using directions in the gray box above. You do NOT need both the panel and the pattern piece. It's either or.
- 1 15" x 20" piece of fabric for back of the stocking. 1/2 yard of fabric will give you enough fabric for 2 stockings.
- 2 pieces of fabric 8 1/2" x 10" for stocking cuff
- 1/2 yard Fabric for Stocking Lining
- 4" Piece of ribbon to hang the stocking.
- Optional: 1/2 yard of lightweight interfacing or cotton quilt batting
- If desired add lightweight interfacing to the wrong side of the stocking outside pieces.
Instructions
Stocking Construction Steps: Note: All seam allowances are 1/4” unless otherwise noted
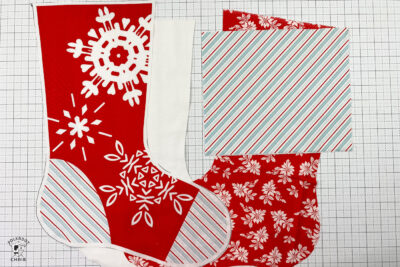
- Cut a Stocking Panel Piece out along the dashed lines.

- Using the Stocking Panel Piece as a guide, cut from your fabric: 1 piece for the stocking back and 2 pieces for the stocking lining and two pieces from lightweight interfacing. Iron lightweight interfacing onto the wrong side of your stocking outside pieces.
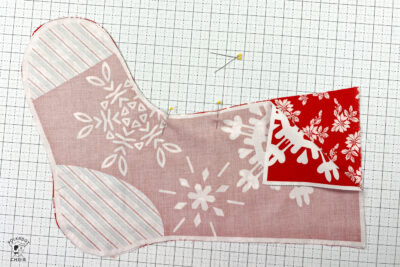
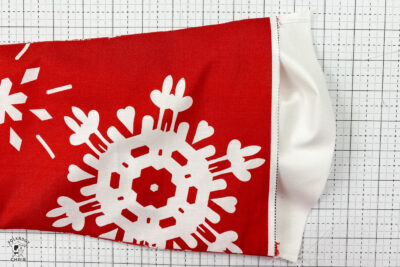
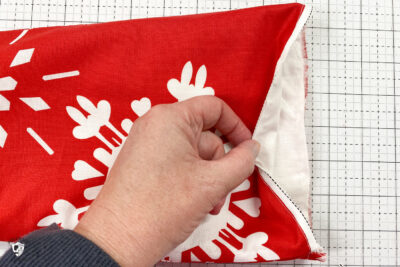
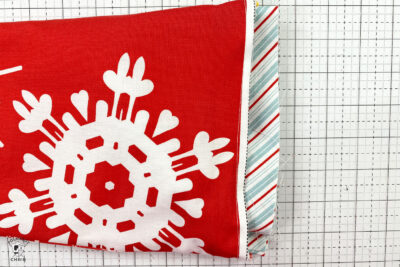
- Stitch the Stocking Front and Back Pieces together, right sides facing. Press seams open (as much as possible) and clip the seams along the curves.
- Repeat with the two Stocking Lining pieces. Turn the stocking piece right side out (leave the lining piece wrong side out).
- Slip the sewn Stocking Lining inside the sewn Stocking with side seams matching. The wrong sides of the fabric should be facing.
- Baste the Stocking and Lining pieces together along the top edge 1/4” down from the raw edge of the fabric.
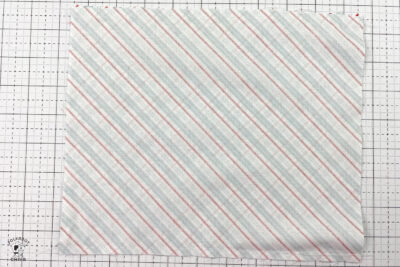
- Stitch the stocking cuff pieces together along the 10“ sides, right sides facing. Press the seams open.
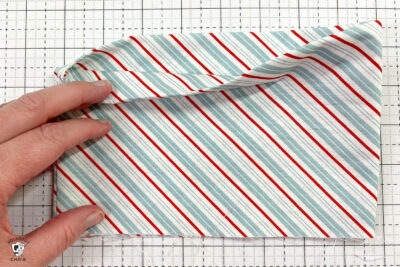
- Fold the sewn cuff piece in half lengthwise, wrong sides facing. Press along the fold. Your piece should now be approx. 5” tall by 8“ wide.
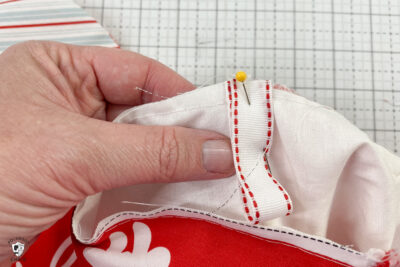
- Cut a piece of ribbon to 4” long. Finish the ends with fray check and fold the piece in half lengthwise. Pin the folded ribbon to the stocking lining on top of the seam allowance at the back (the heel side) of the basted stocking. The raw ends of the ribbon will be facing up.
- Slip the folded cuff piece into the basted stocking piece, matching side seams and raw edges. Pin in place.
- Stitch the cuff to the stocking using a 3/8” seam allowance, along the top edge of the stocking.
- Pull the cuff out of the stocking and then fold it over the top of the stocking. Press the stocking well and it’s ready to use!
A few other Christmas Sewing Projects
Mini Christmas Stocking Tutorial
Quilted Christmas Stocking Tutorial


I want to make our first grandson a Christmas stocking!
The cuff … I’m not understanding. I sewed the 10” sides together, pressed seam open. Now I have a tube. Now what?
Fold the raw ends together so you have a folded over tube, then slip it into the top of the stocking.
HI Looking forward to many these stockings!!!
I also sent this question by email. When using the PDF pattern do I add 1/4″ seam allowance to the pattern before cutting, or cut out on the solid line?
Thank you.