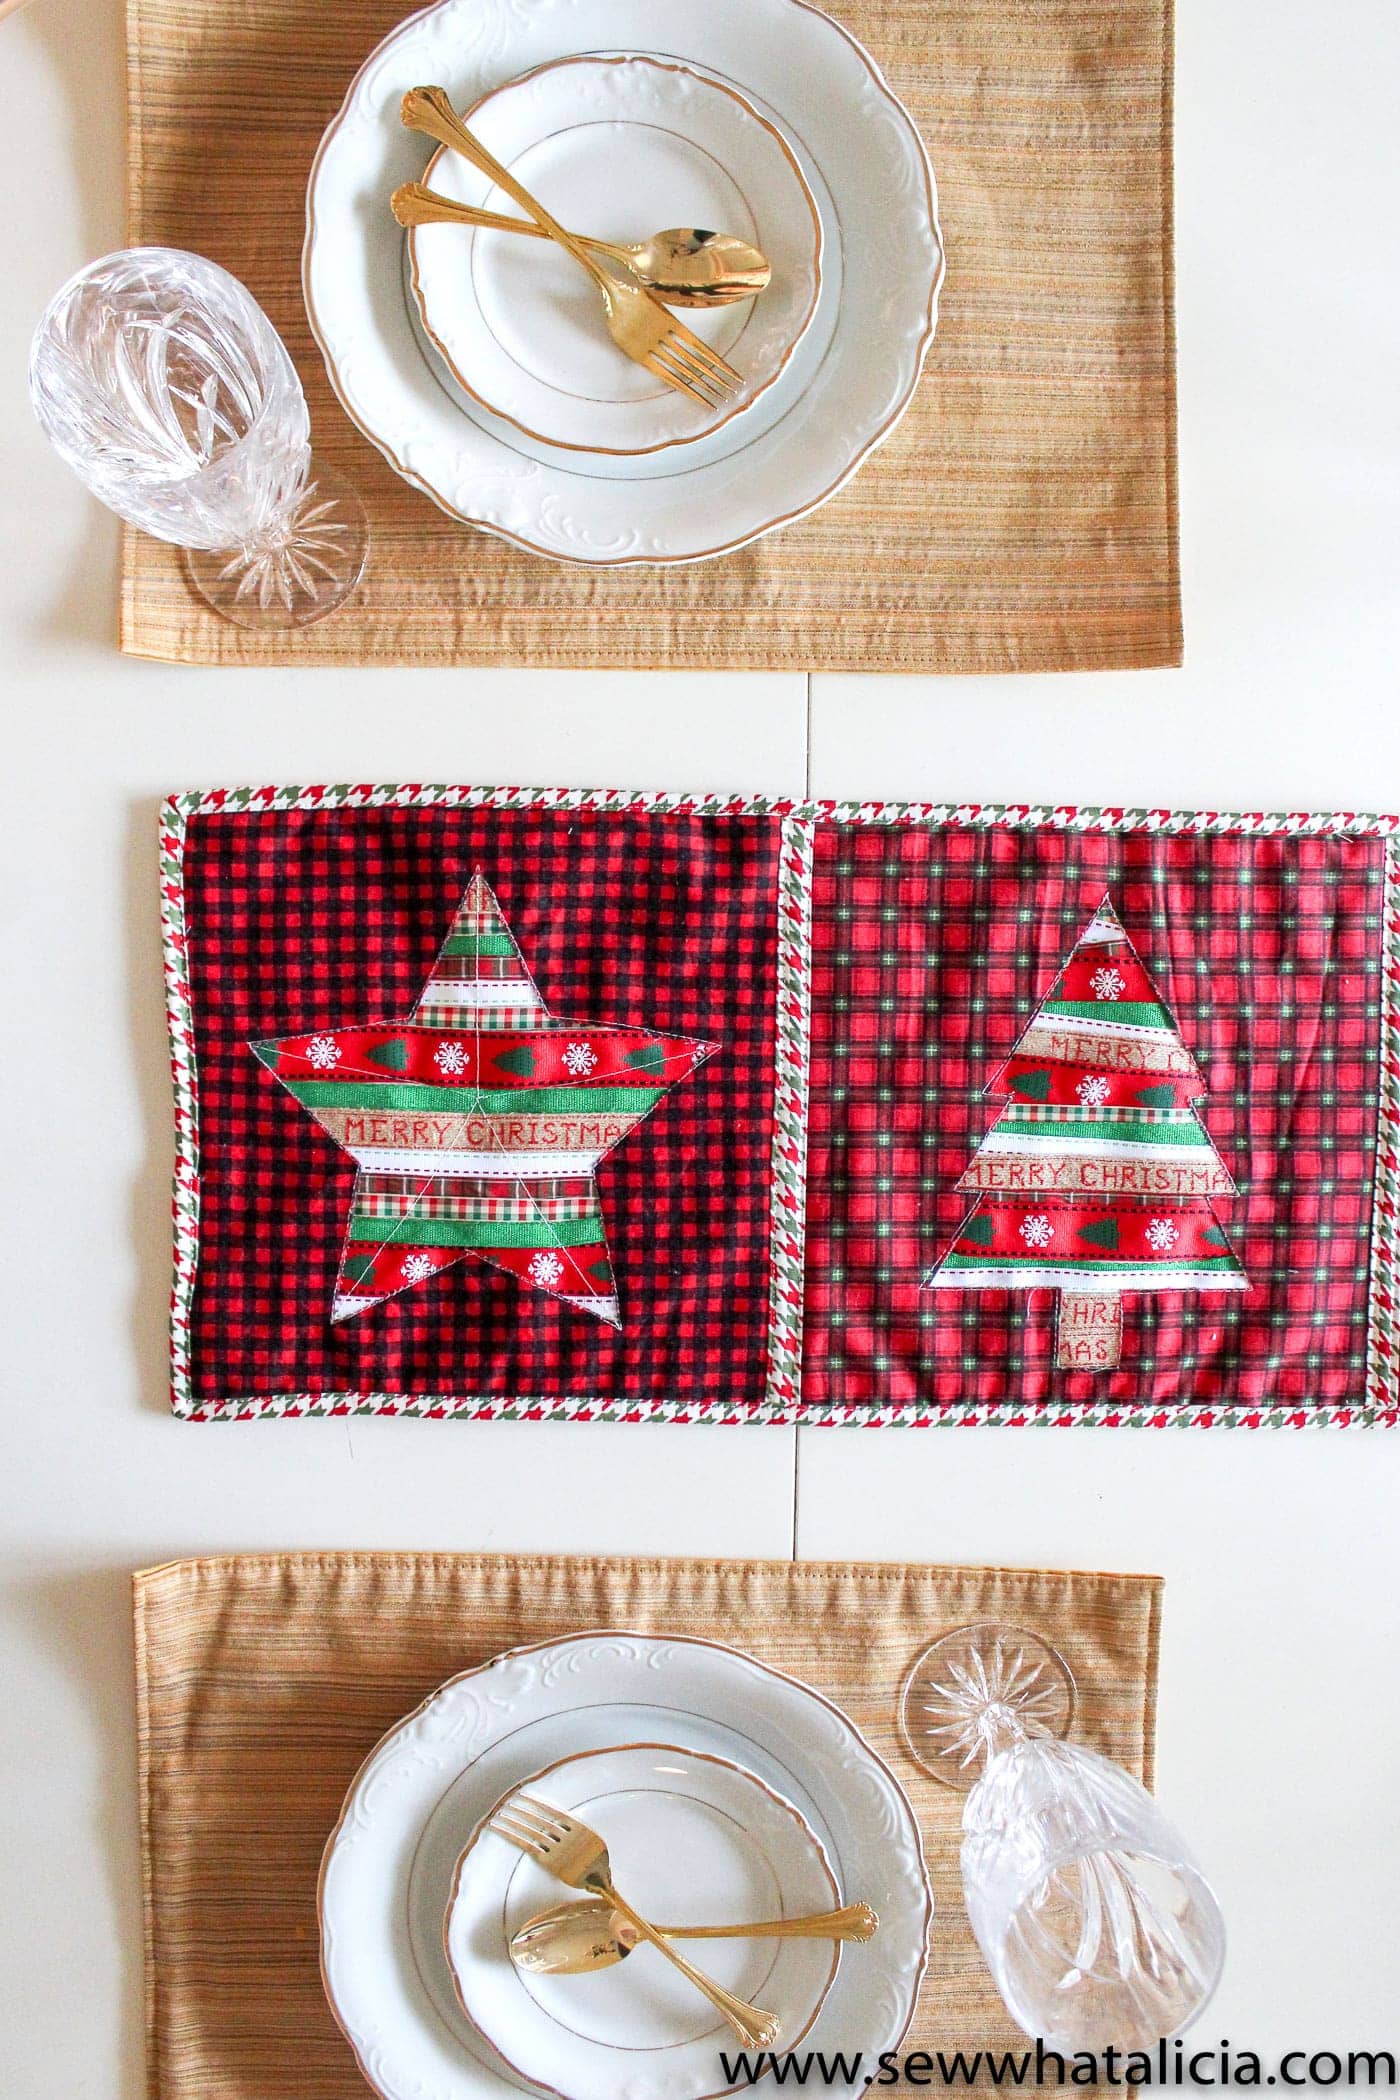
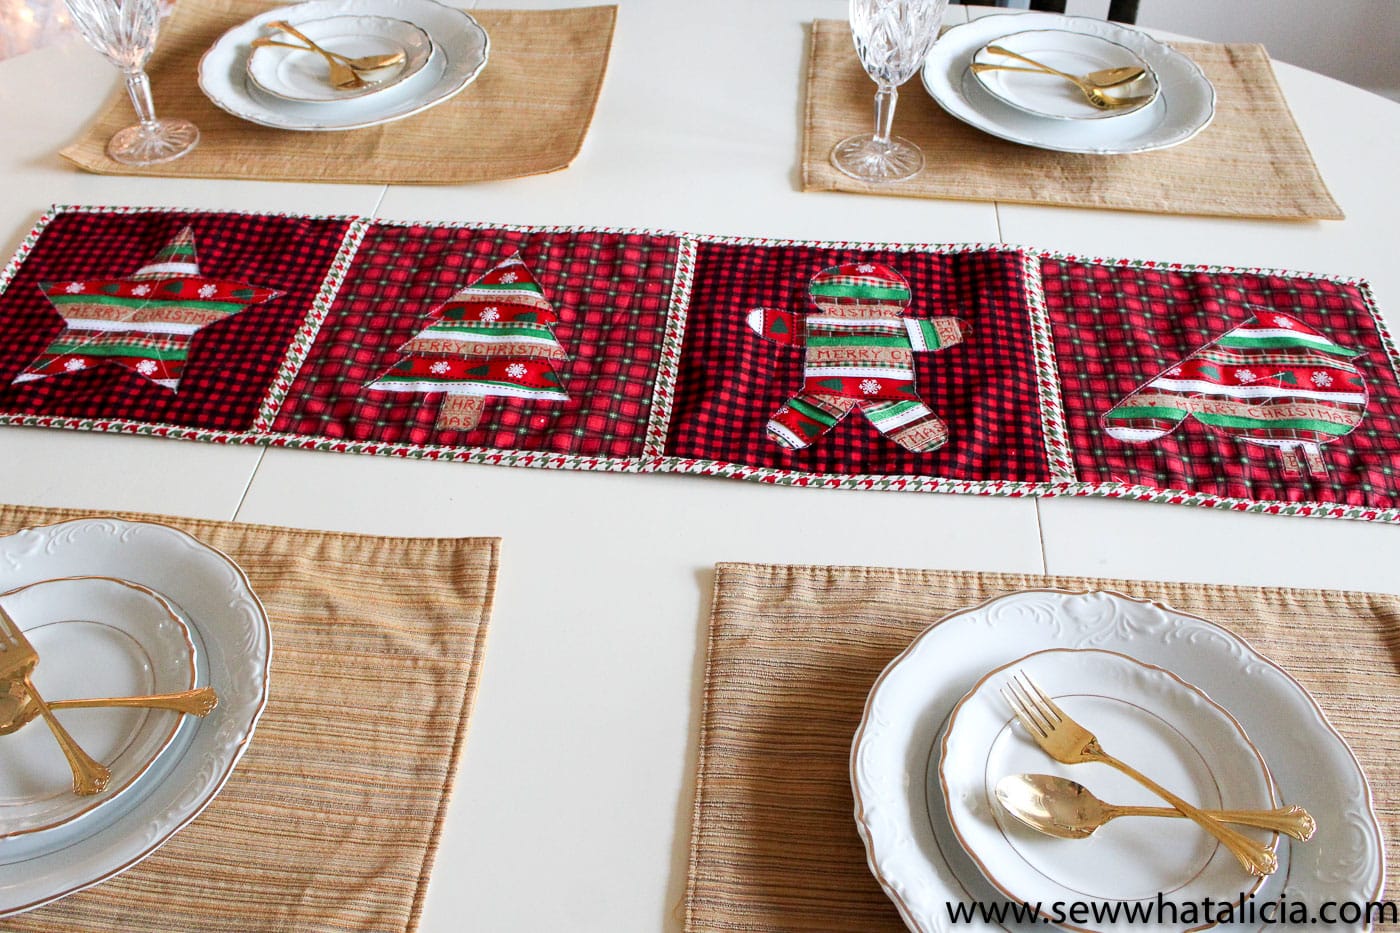
Reverse Applique Christmas Table Runner Tutorial
Alicia from Sew What Alicia is here with us today sharing a free tutorial for this Reverse Applique Christmas Table Runner. She’s another one of our new regular contributors and I’m sure you will all love seeing all of her fun projects. If you like this tutorial you may also like this Quilted Table Runner tutorial.
Hi! Alicia here from Sew What Alicia! I am so excited to be here to share a fun Christmas sewing tutorial with you! I just love decorating for Christmas and making my own decorations excites me. Let’s make this pretty table runner together!
Reverse Applique Christmas Table Runner
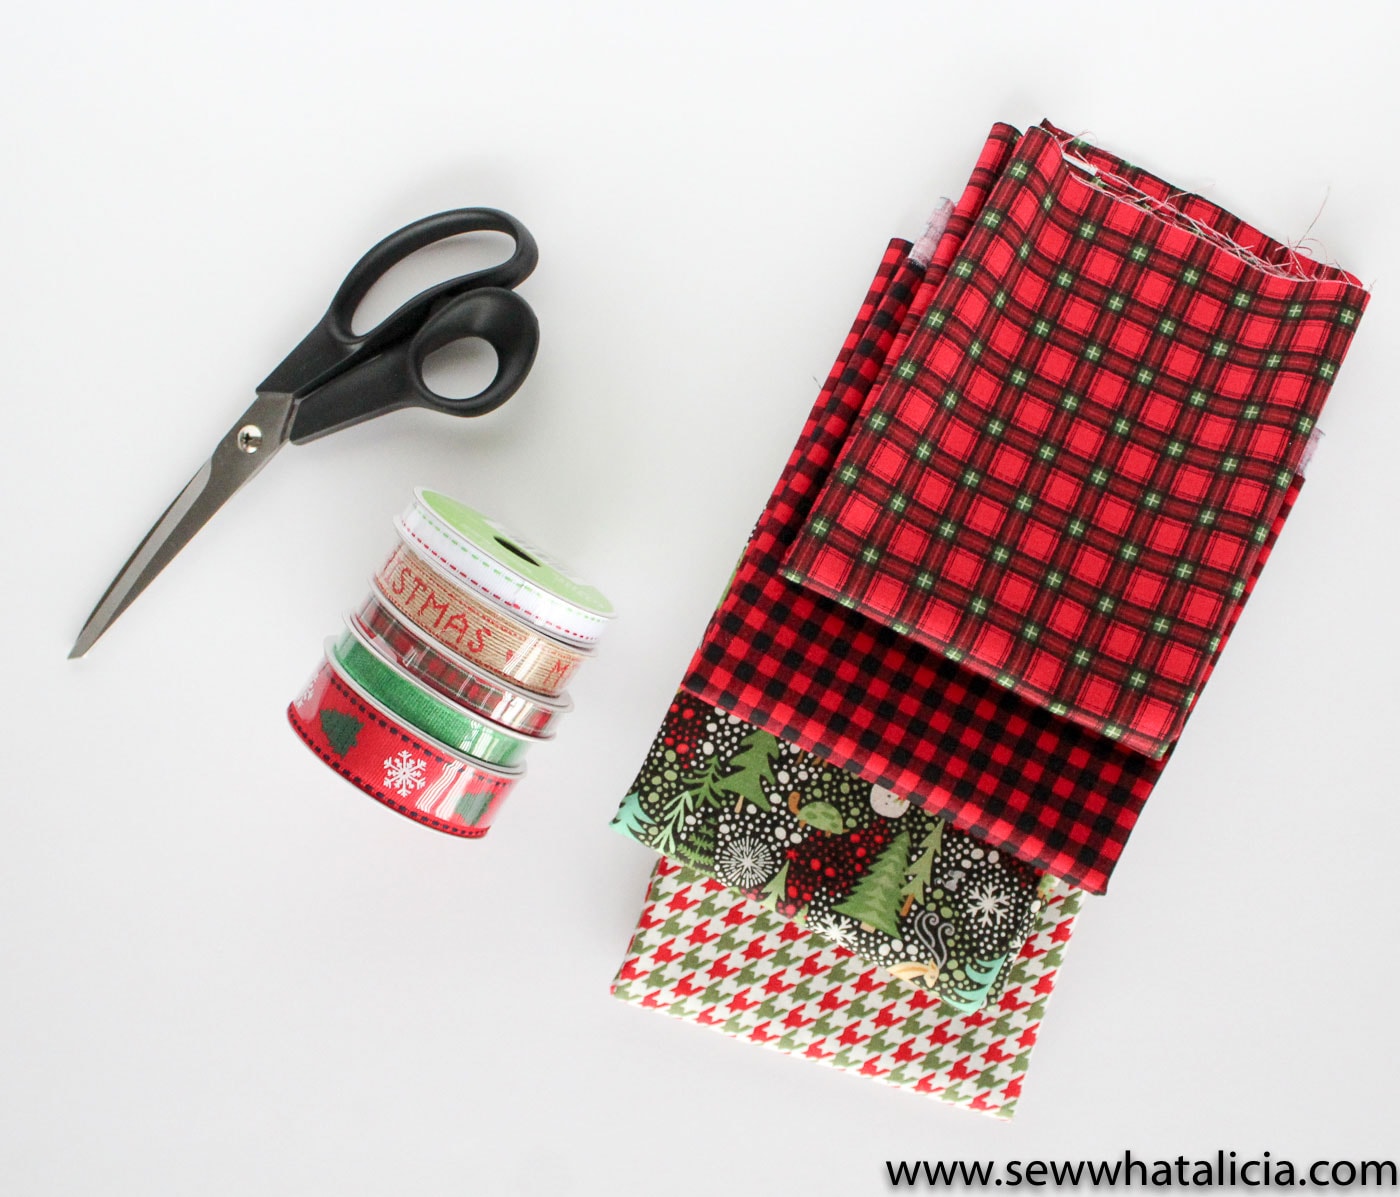
Supplies:
Christmas Fabric
Christmas Ribbons
Reverse Applique Quilt Block Template: SVG or PDF
Cotton Batting
Fabric Glue
Instructions:
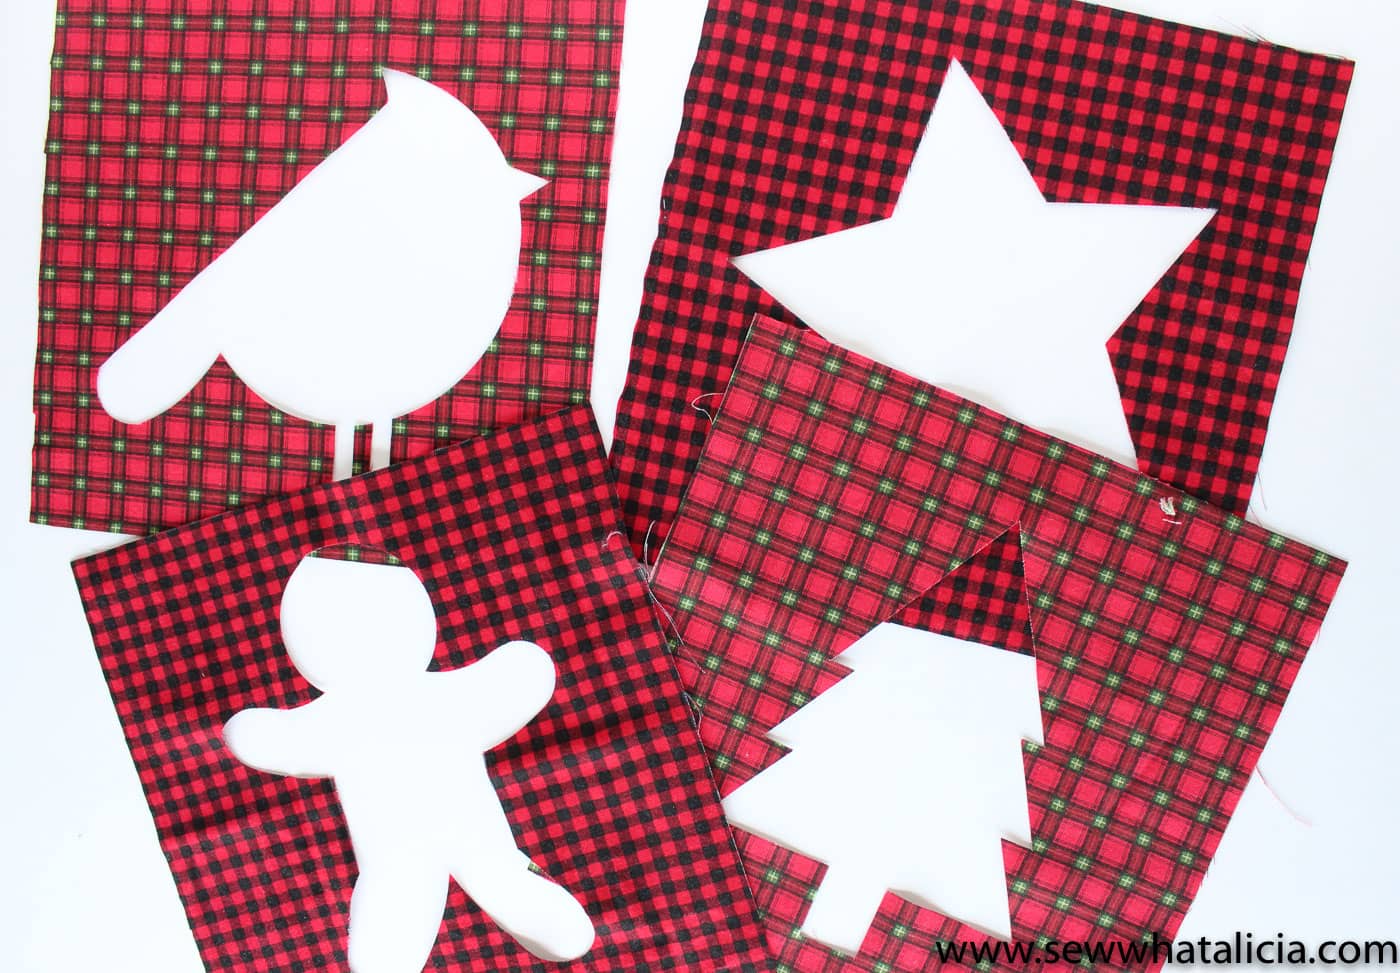
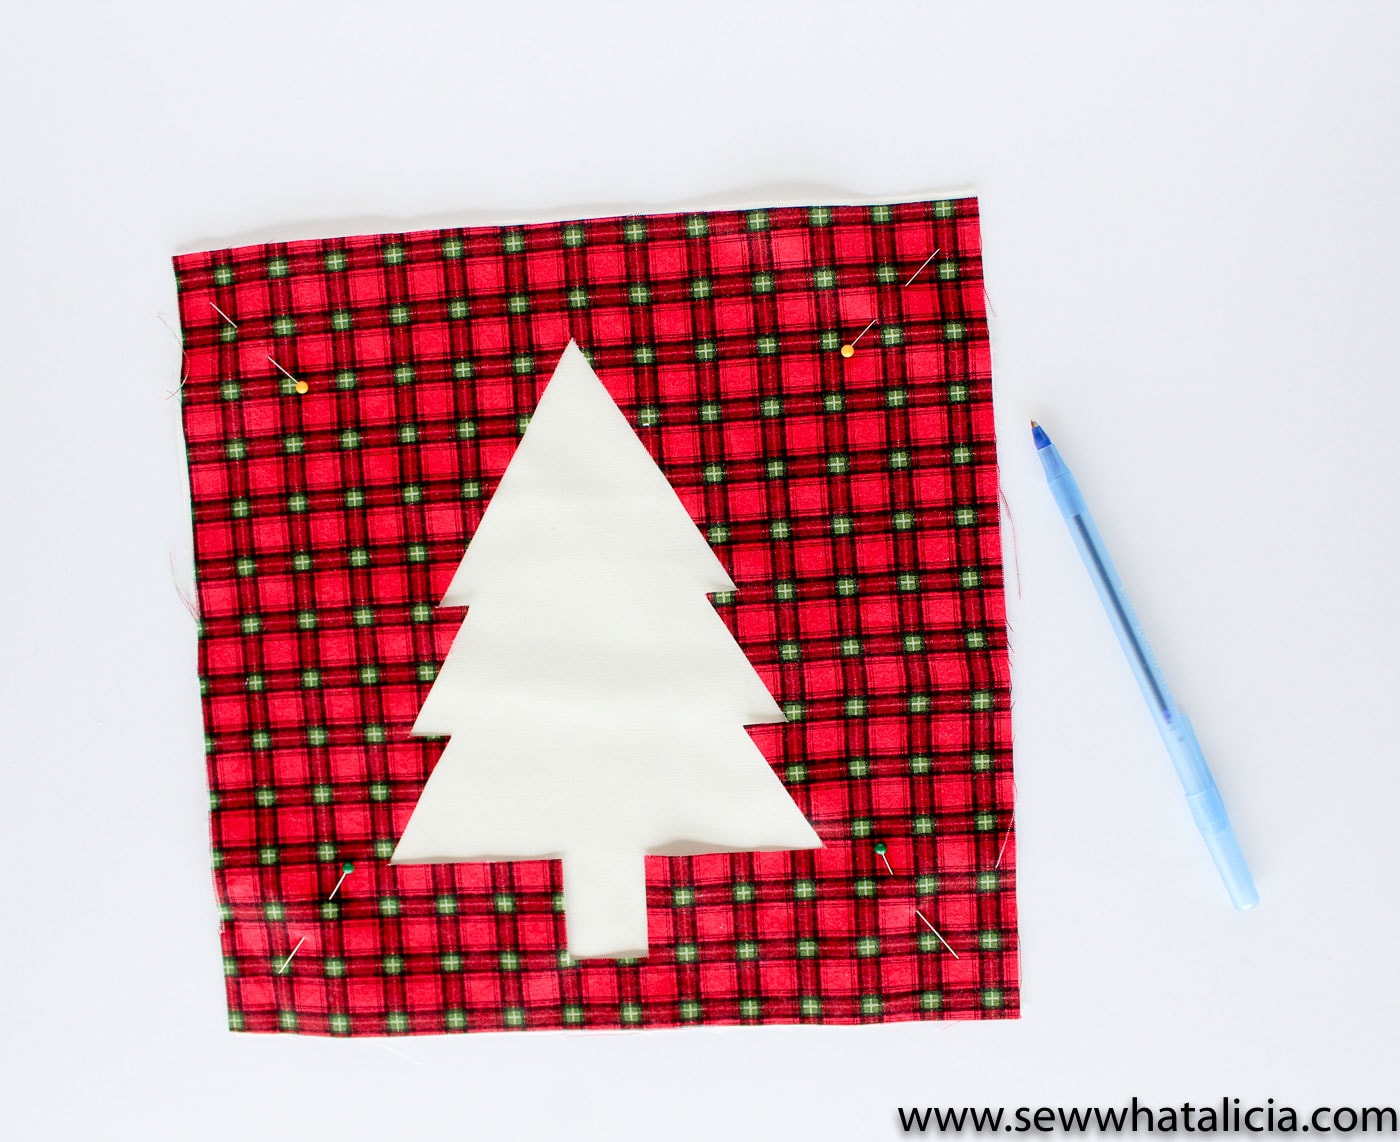
Cut the quilt block templates using your cutting machine or use the PDF and cut them out by hand. The blocks should measure 10.5″.
Cut four 10.5″ squares of muslin or neutral cotton. Place one square behind each template piece. Trace the image onto the muslin. You can use a pen or marker since it will be covered and you won’t see this part when the piece is finished.
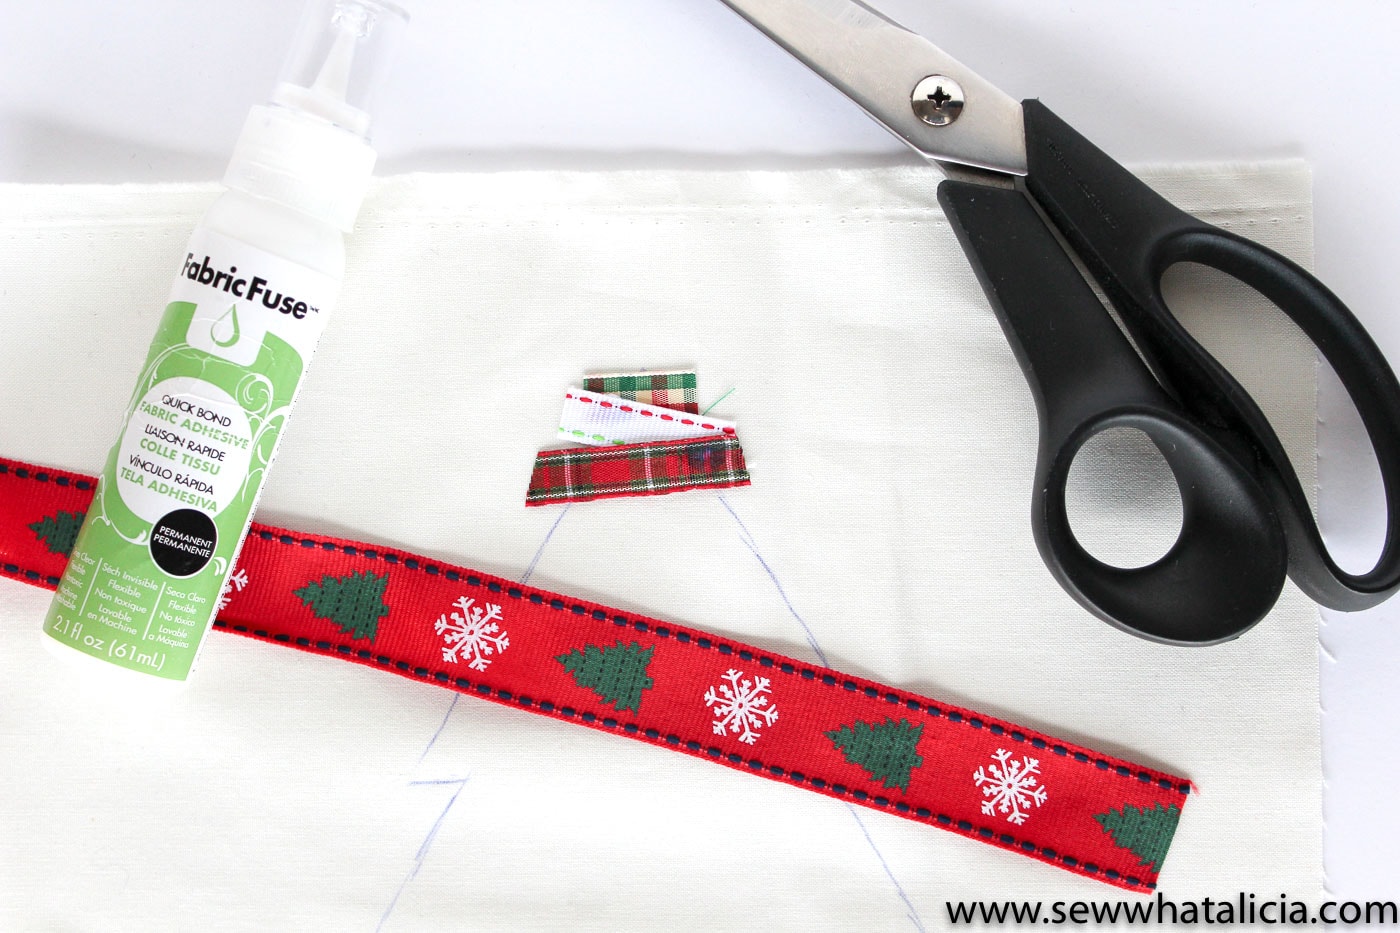
Cut strips of ribbon and tack them in place with the fabric marker to cover the image you drew on the muslin.
Cover all the images with ribbon.
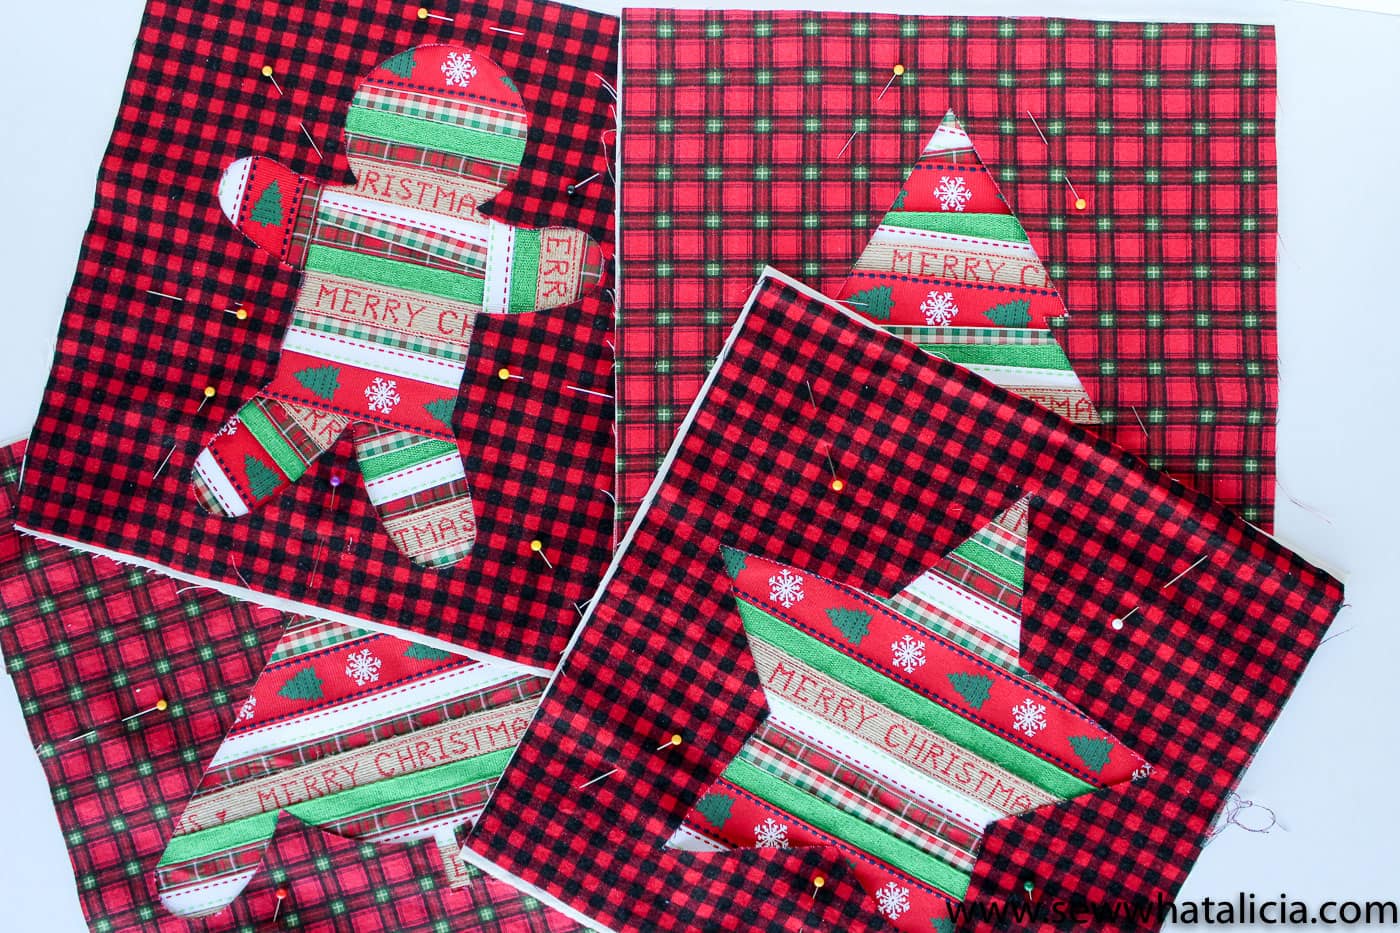
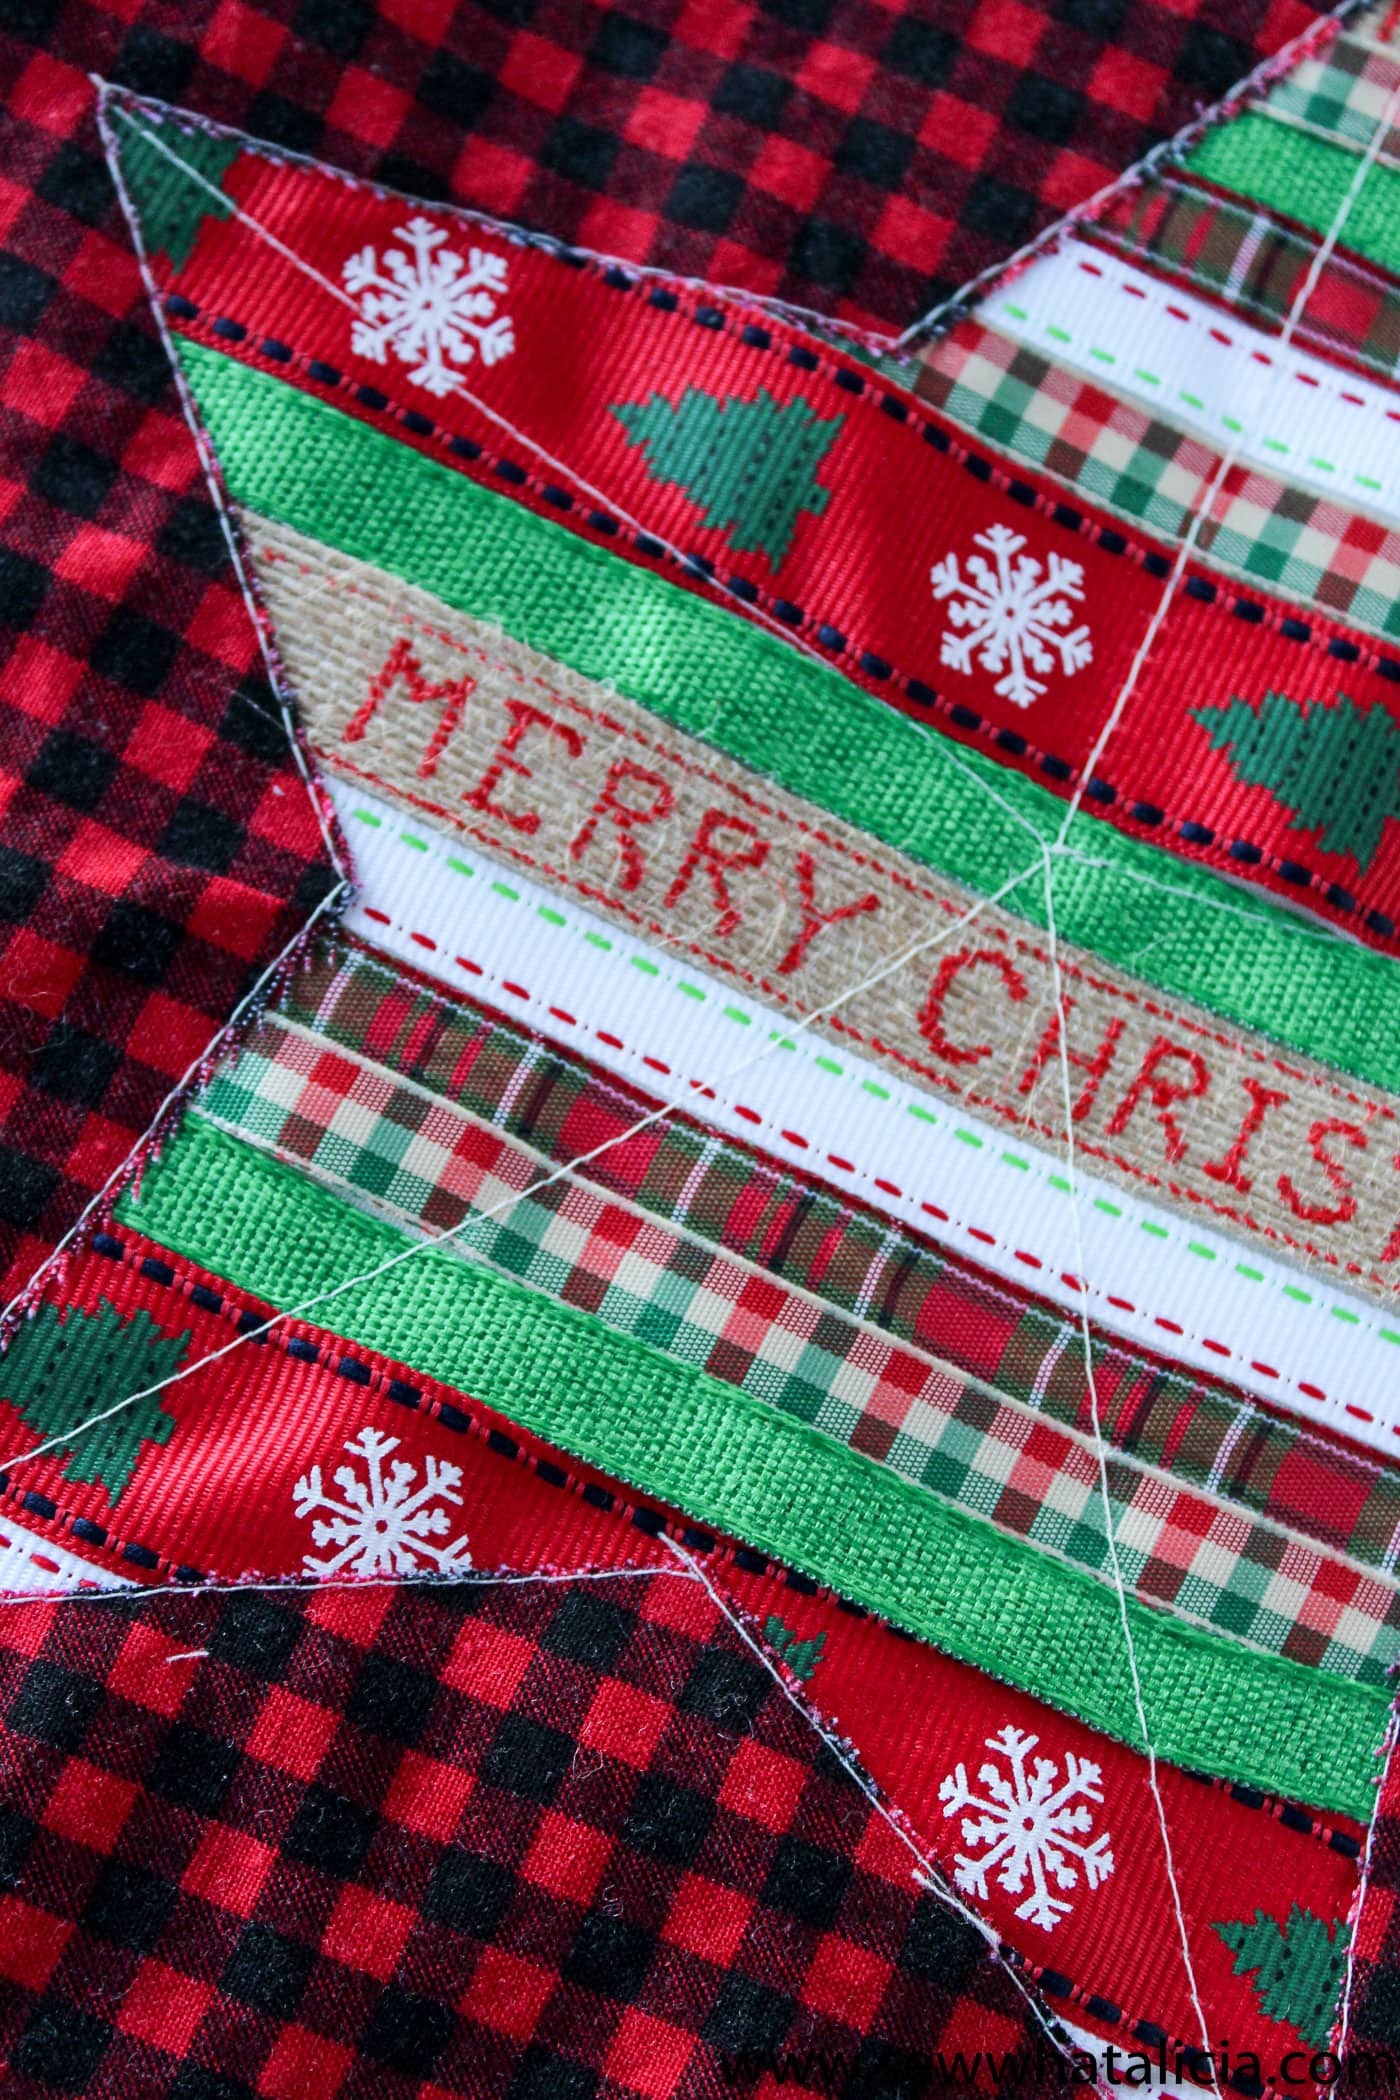
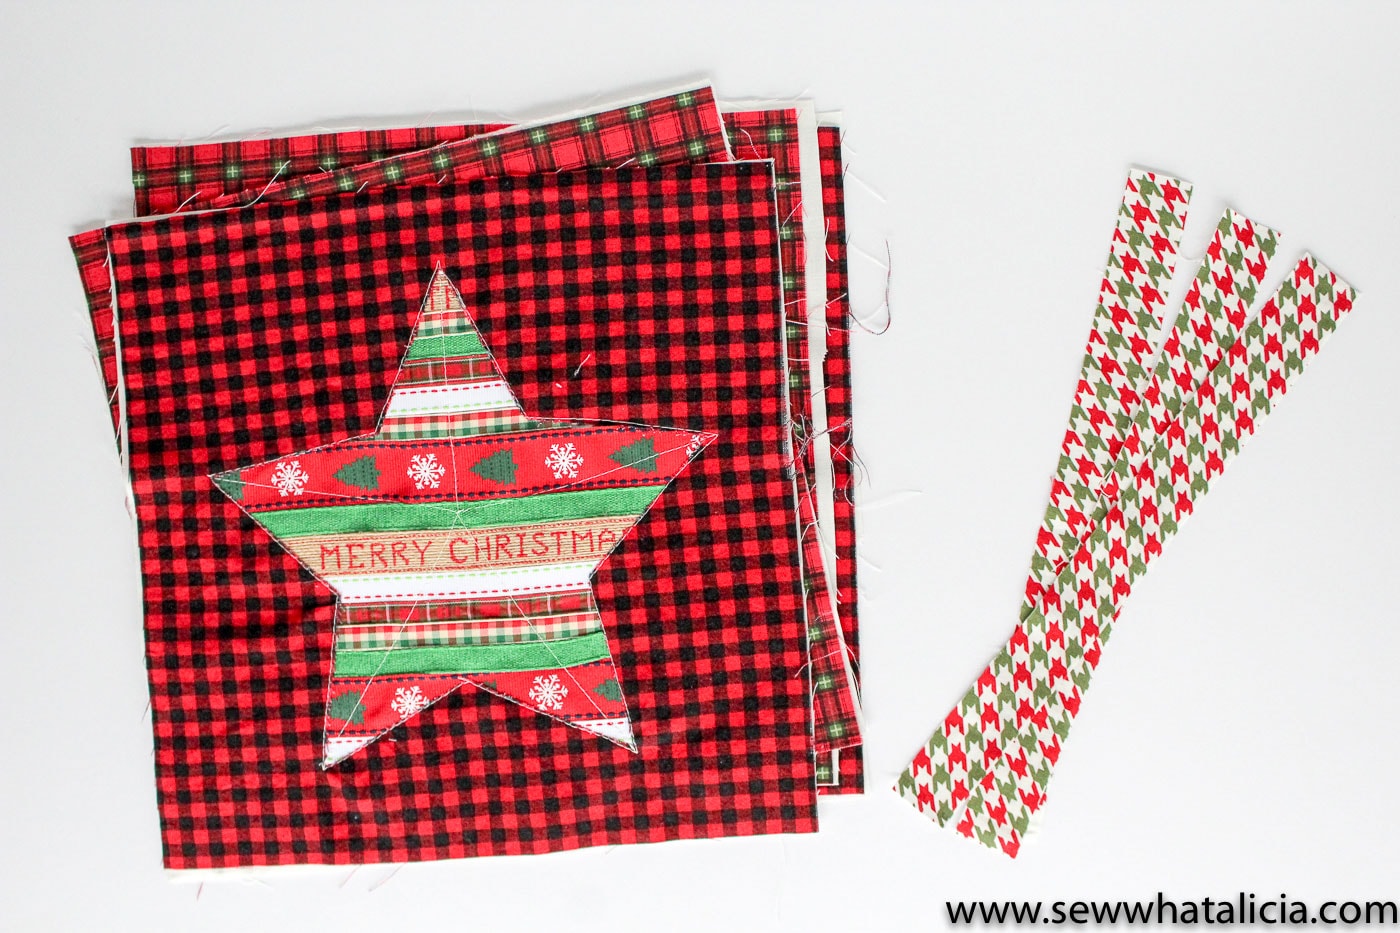
Place the template pieces over the muslin. Top-stitch on the outside piece as close to the inside edge as possible. You can also add some stitching within the blocks to tack down the ribbon but this is not necessary.
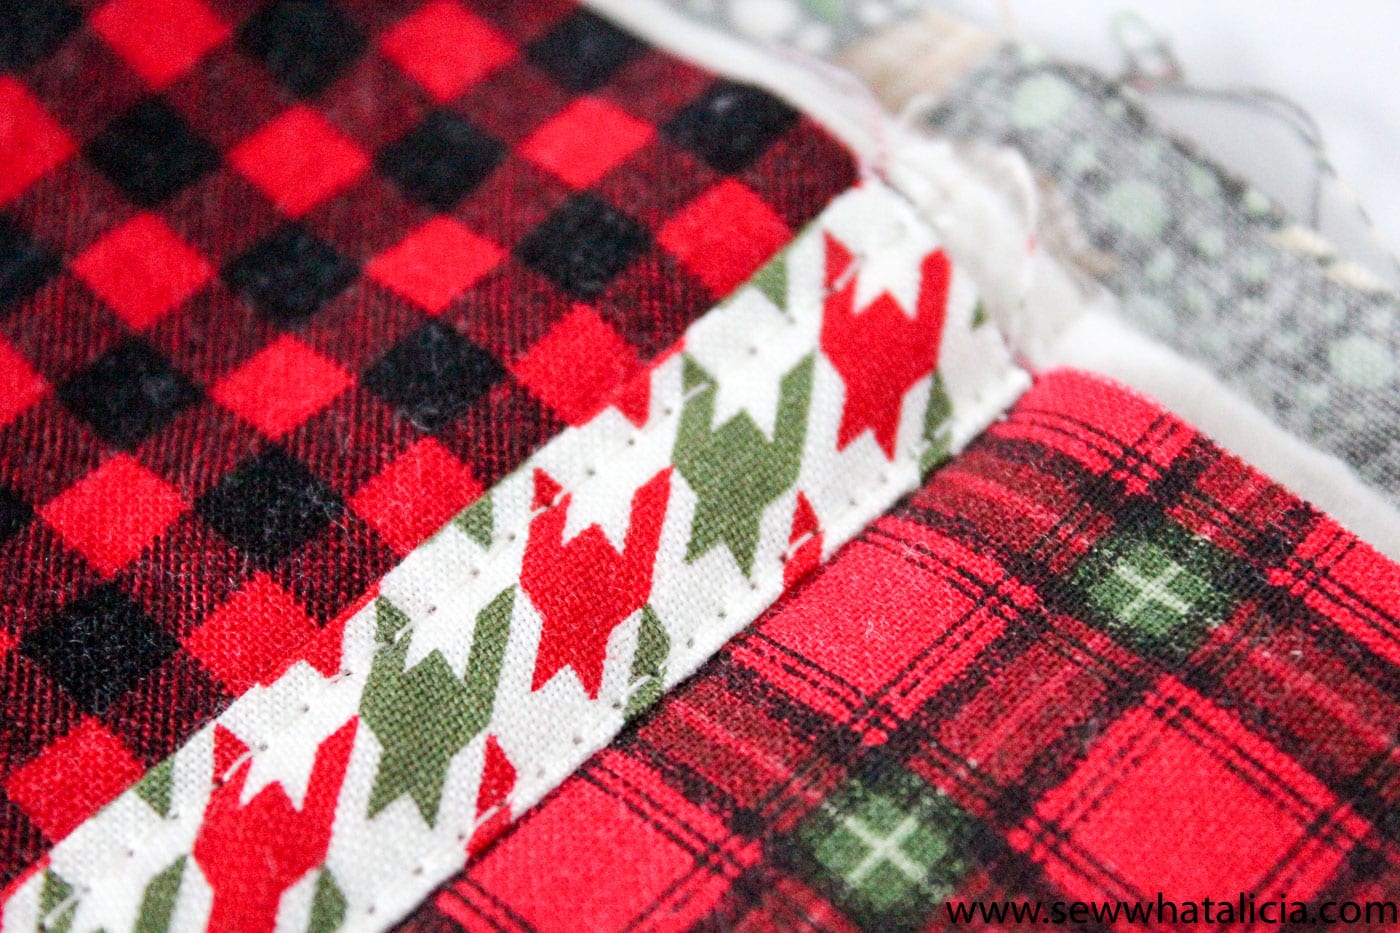
Square the blocks as the muslin may have shifted with top-stitching. Cut three 1″ x 10.5″ strips to serve as sashing between the blocks. Attach the sashing between the blocks. The blocks and sashing will create one long line measuring 42″.
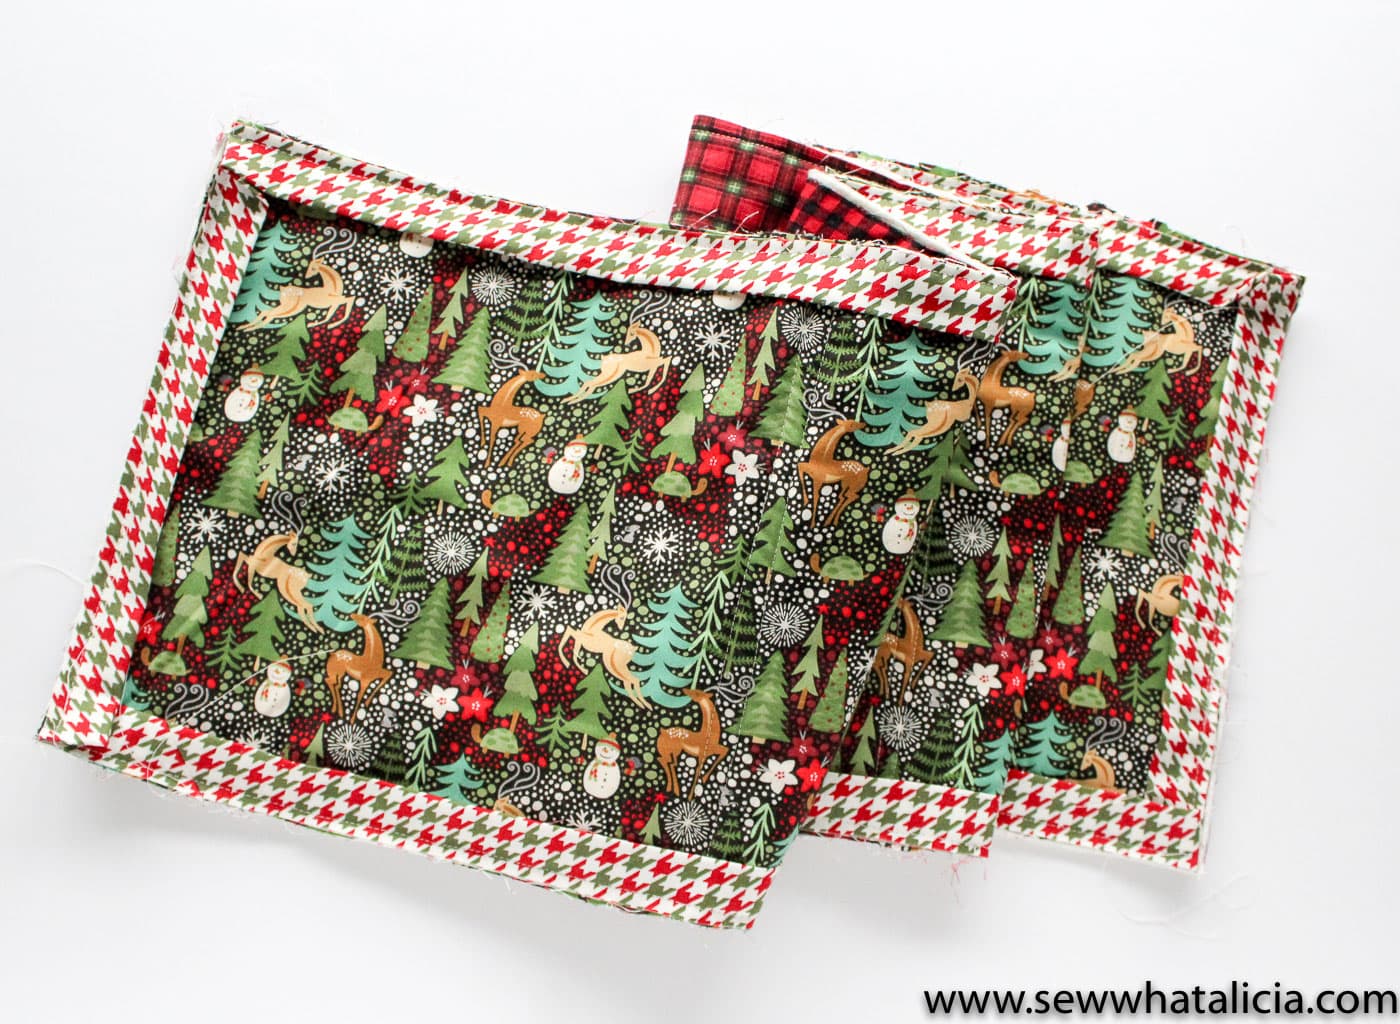
Cut a piece of batting and backing fabric that measure 1/2″ longer than the runner around all four sides. Quilt the three pieces together using your desired quilting method. I did a hybrid stitch in the ditch and sewed two seams along each sashing strip.
Cut three strips from the same fabric as the sashing that measure 2″ x WOF. Sew the strips together to create binding. Use a diagonal seam when attaching the strips. Fold the binding in half and press. Line the raw edge of the binding up with the raw edge of the runner on the back side. Sew in place. Then fold the binding over the raw edge and sew it in place on the front of the runner.
Other Christmas Projects:
If you love this Christmas project you will love these as well:
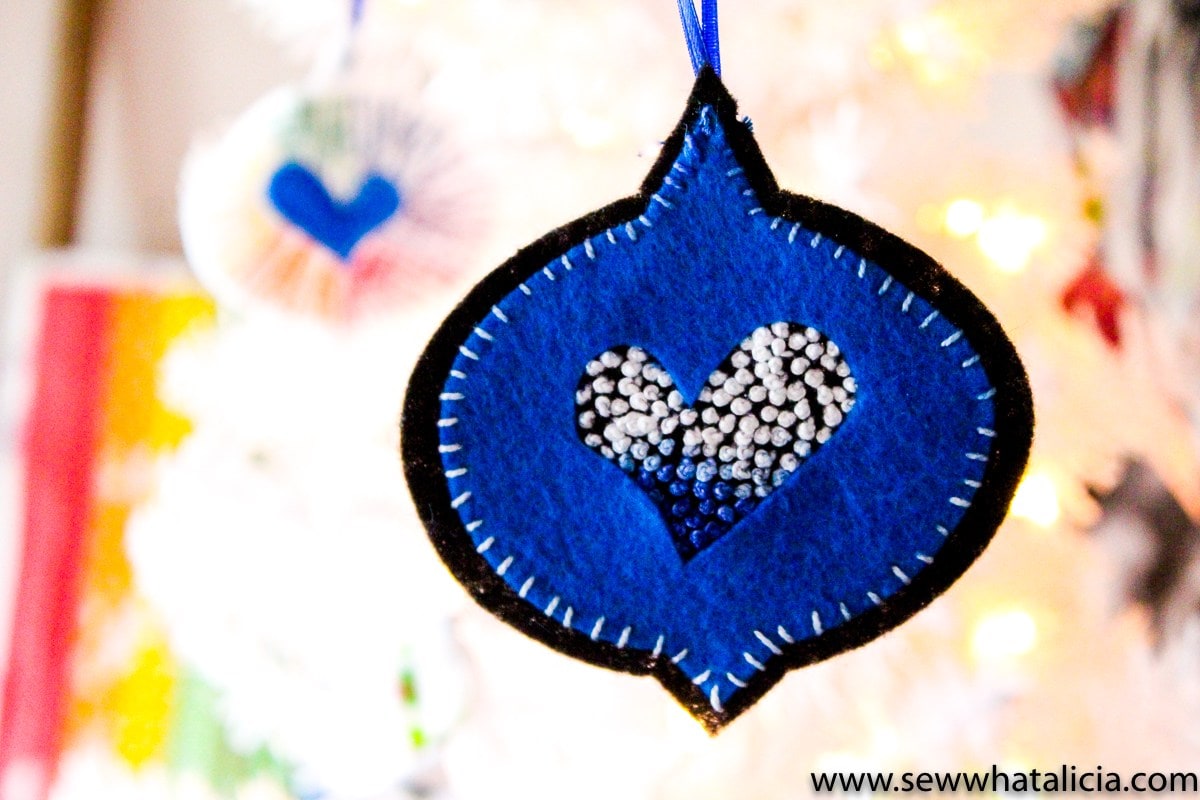
Felt Christmas Ornament Tutorial
Connect with Sew What Alicia

