How to Sew a Twelve Inch Turnstile Quilt Block
Learn how to make a 12″ Turnstile Quilt Block with our free quilt pattern.
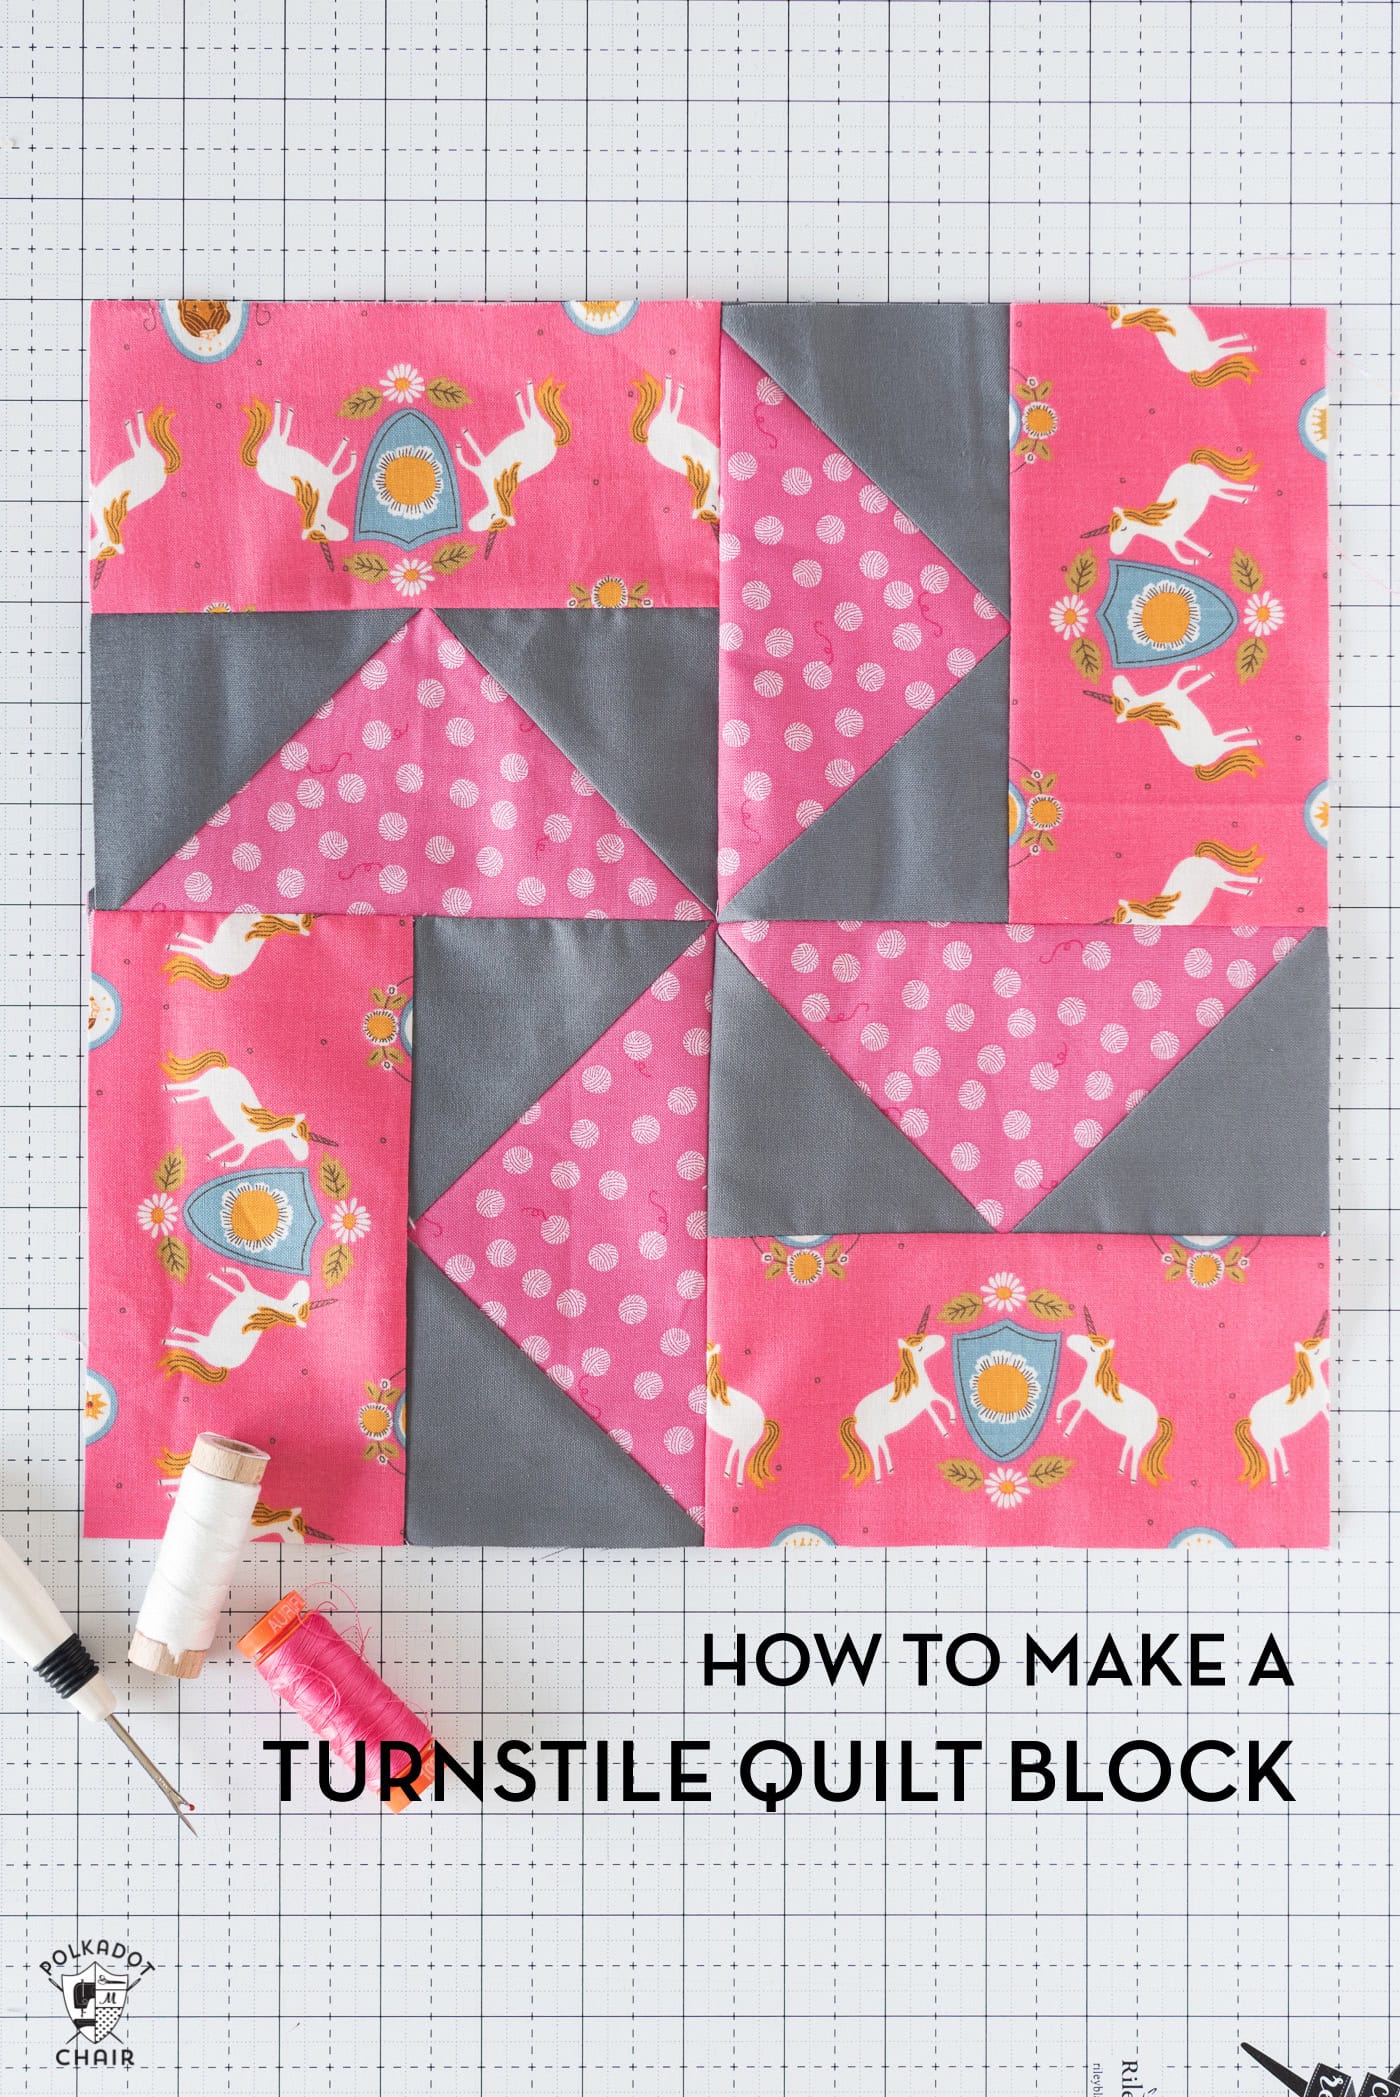
About Turnstile Quilt Blocks
At its core, the Turnstile block consists of four Flying Geese Quilt blocks (or Half Square Triangle blocks) arranged to create a sense of motion, resembling the arms of a turnstile.
You can change the look of the block significantly by changing either the fabric on the flying geese or some of the background fabric (as I’ve done with this block).
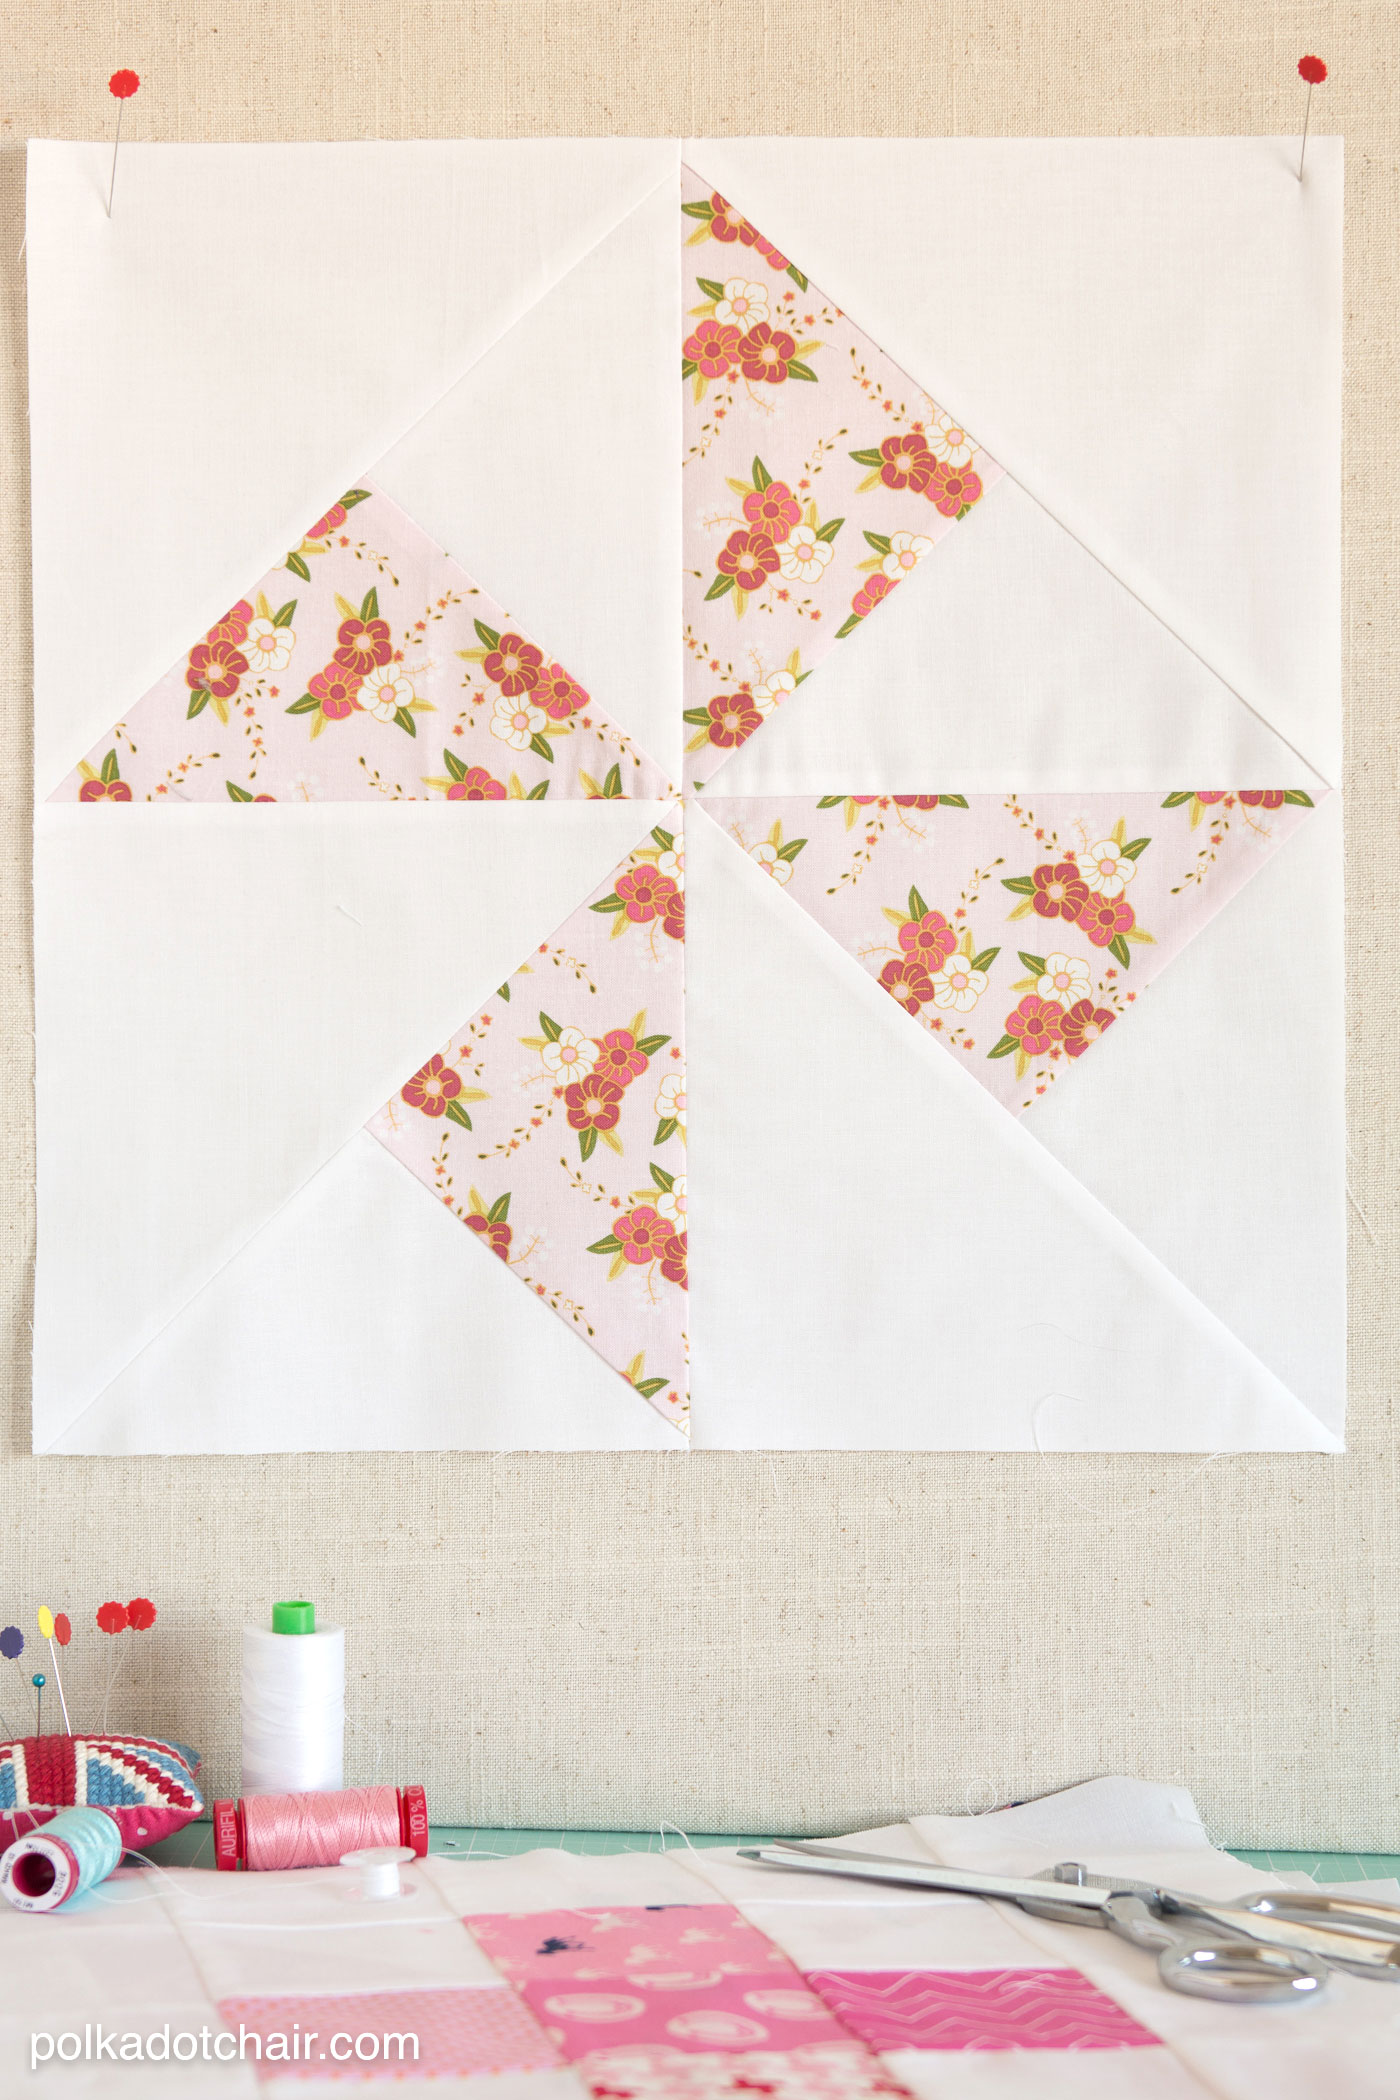
I’ve previously shared a tutorial for a Turnstile quilt block, but that block was constructed differently and featured only two fabrics (the background and the pinwheel).
The tutorial in this article features three fabrics: background, pinwheel, and contrast rectangles.
A Turnstile Quilt block is very similar to a traditional Pinwheel Quilt block. However, the triangles are rotated 45 degrees in a Turnstile block, referred to as setting something “on point.”
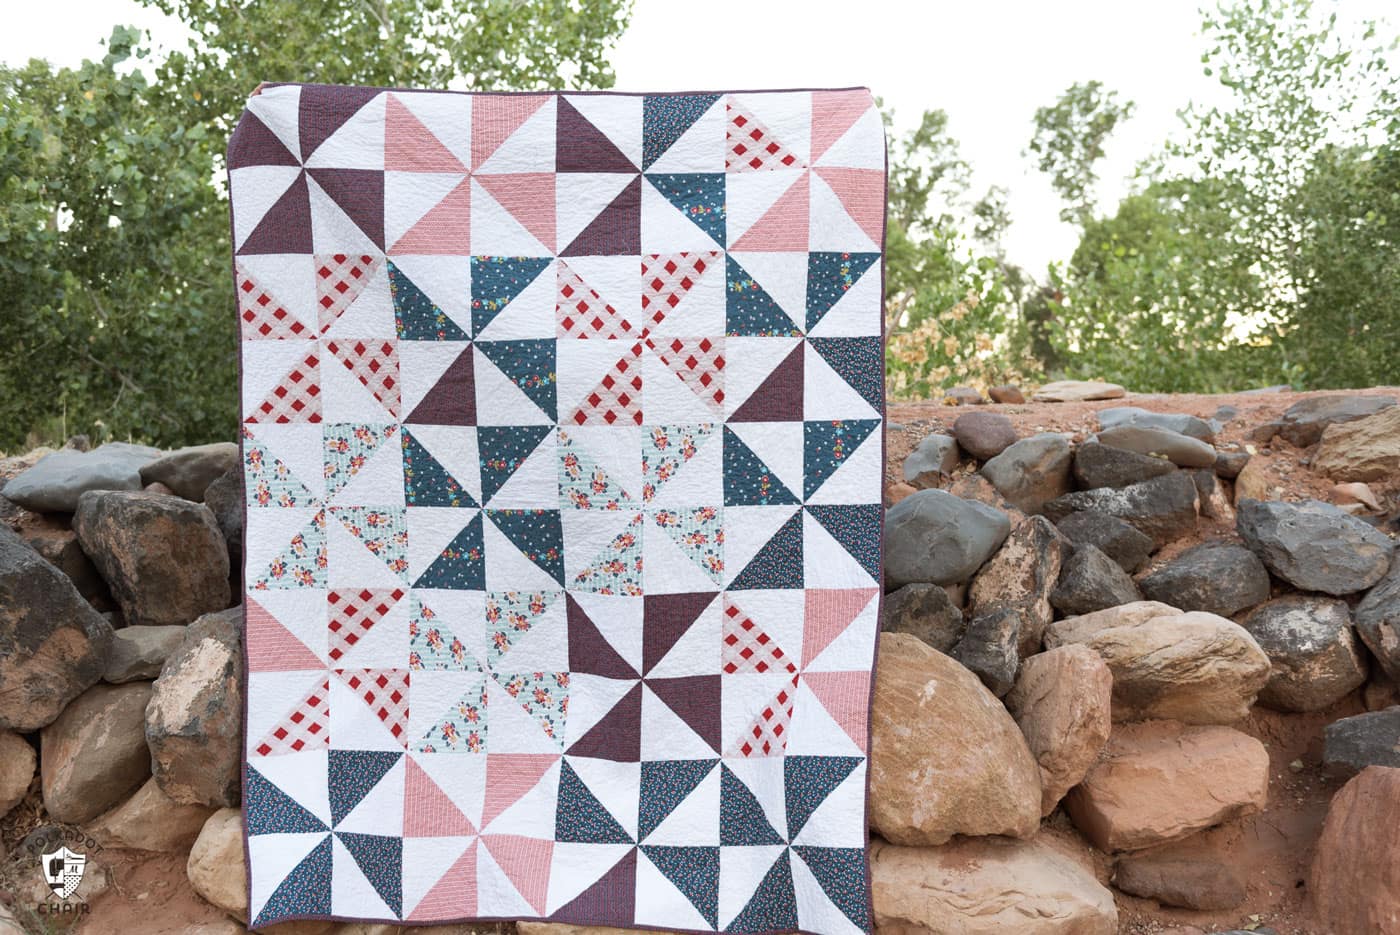
My summer pinwheel quilt from a few years ago featured more traditional pinwheels made from Half-Square Triangles. However, they were not set “on point,” as the blocks in today’s pattern are.
You can see how rotating the pinwheel portion of the block just 45 degrees changes the look of the entire quilt!
12″ Turnstile Quilt Block Pattern
supplies
- 1 Fat Quarter Background Fabric
- 1 Fat Quarter Fabric for Pinwheels
- 1 Fat Quarter Fabric for Contrast Rectangles
- Note: you will not need all of the fabric from the Fat Quarters for your block
Instructions
Fabric Key
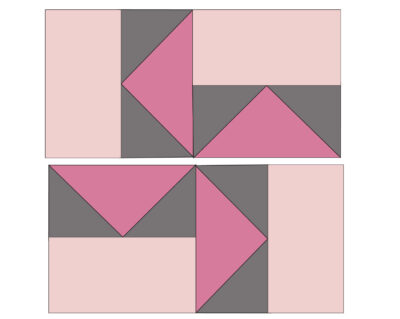
- Fabric A: Gray Fabric B: Darker Pink (Pinwheels) Fabric C: Light Pink
Cutting:
- From Fabric A: 8 pieces 3 1/2” x 3 1/2” From Fabric B: 4 pieces 3 1/2” x 6 1/2” From Fabric C: 4 pieces 3 1/2” x 6 1/2”
Step One: Make Flying Geese
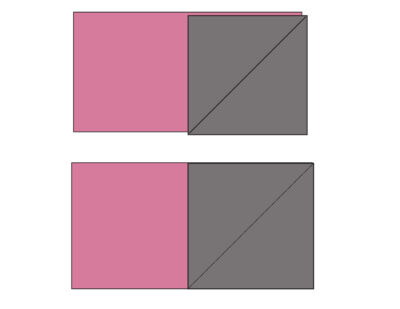
- Draw a diagonal line on the wrong side of eight 3 1/2” x 3 1/2” pieces of Fabric A.
- Place one marked piece of Fabric A on one 3 1/2” x 6 1/2” piece of Fabric B.
- Sew along the drawn line.
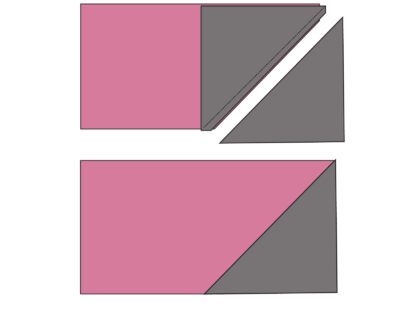
- Trim 1/4” on the outside of the sewn line.
- Flip the piece right side up and press.
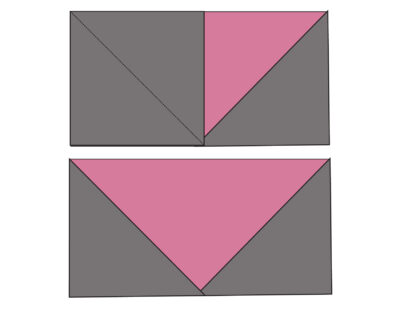
- Repeat on the other side of the rectangle.
- Repeat until you have four flying geese units, each measuring 3 1/2” x 6 1/2”
Step Two:
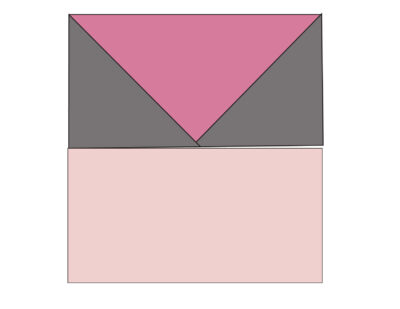
- Sew one 3 1/2” x 6 1/2” piece of Fabric C to the sewn Flying Geese unit.
- Repeat three more times so that you have four sewn units.
Step Three: Assemble
- Sew the units created in Step Two to each other, as shown in the diagram.
- Trim and sqaure up block to 12 1/2” x 12 1/2”.
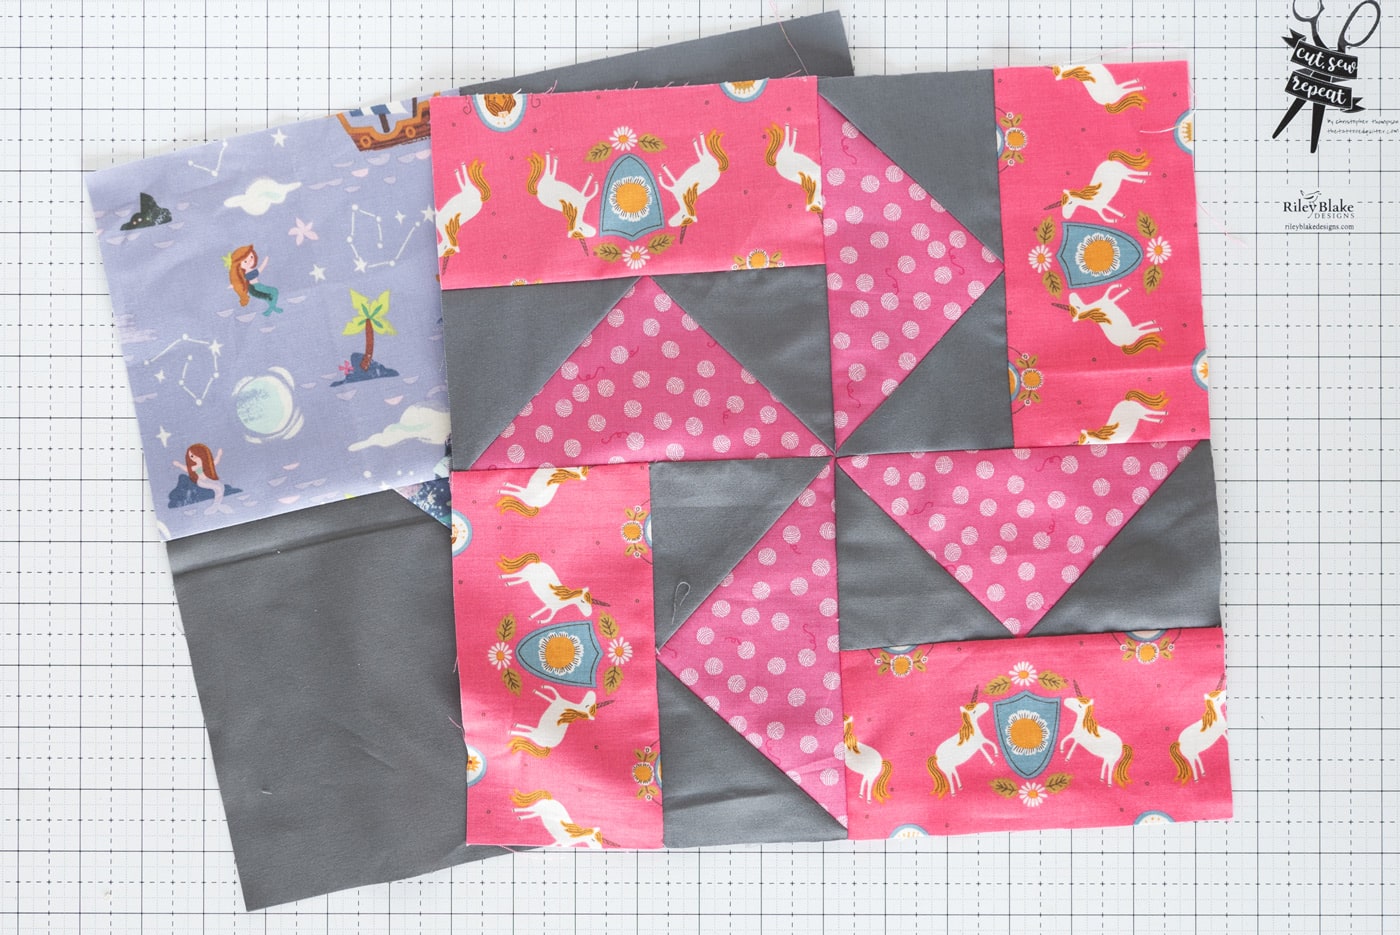
The example block in today’s tutorial is created from fabrics from my Chloe & Friends collection and Guinevere & Lancelot by Riley Blake designs.
I’m slowly creating a scrappy sampler quilt using mostly bright, monochromatic traditional quilt blocks.
More Turnstile Block Ideas
I created a Baby Quilt using nine simple Turnstile quilt blocks. Please note: these blocks are larger and constructed using a different method.
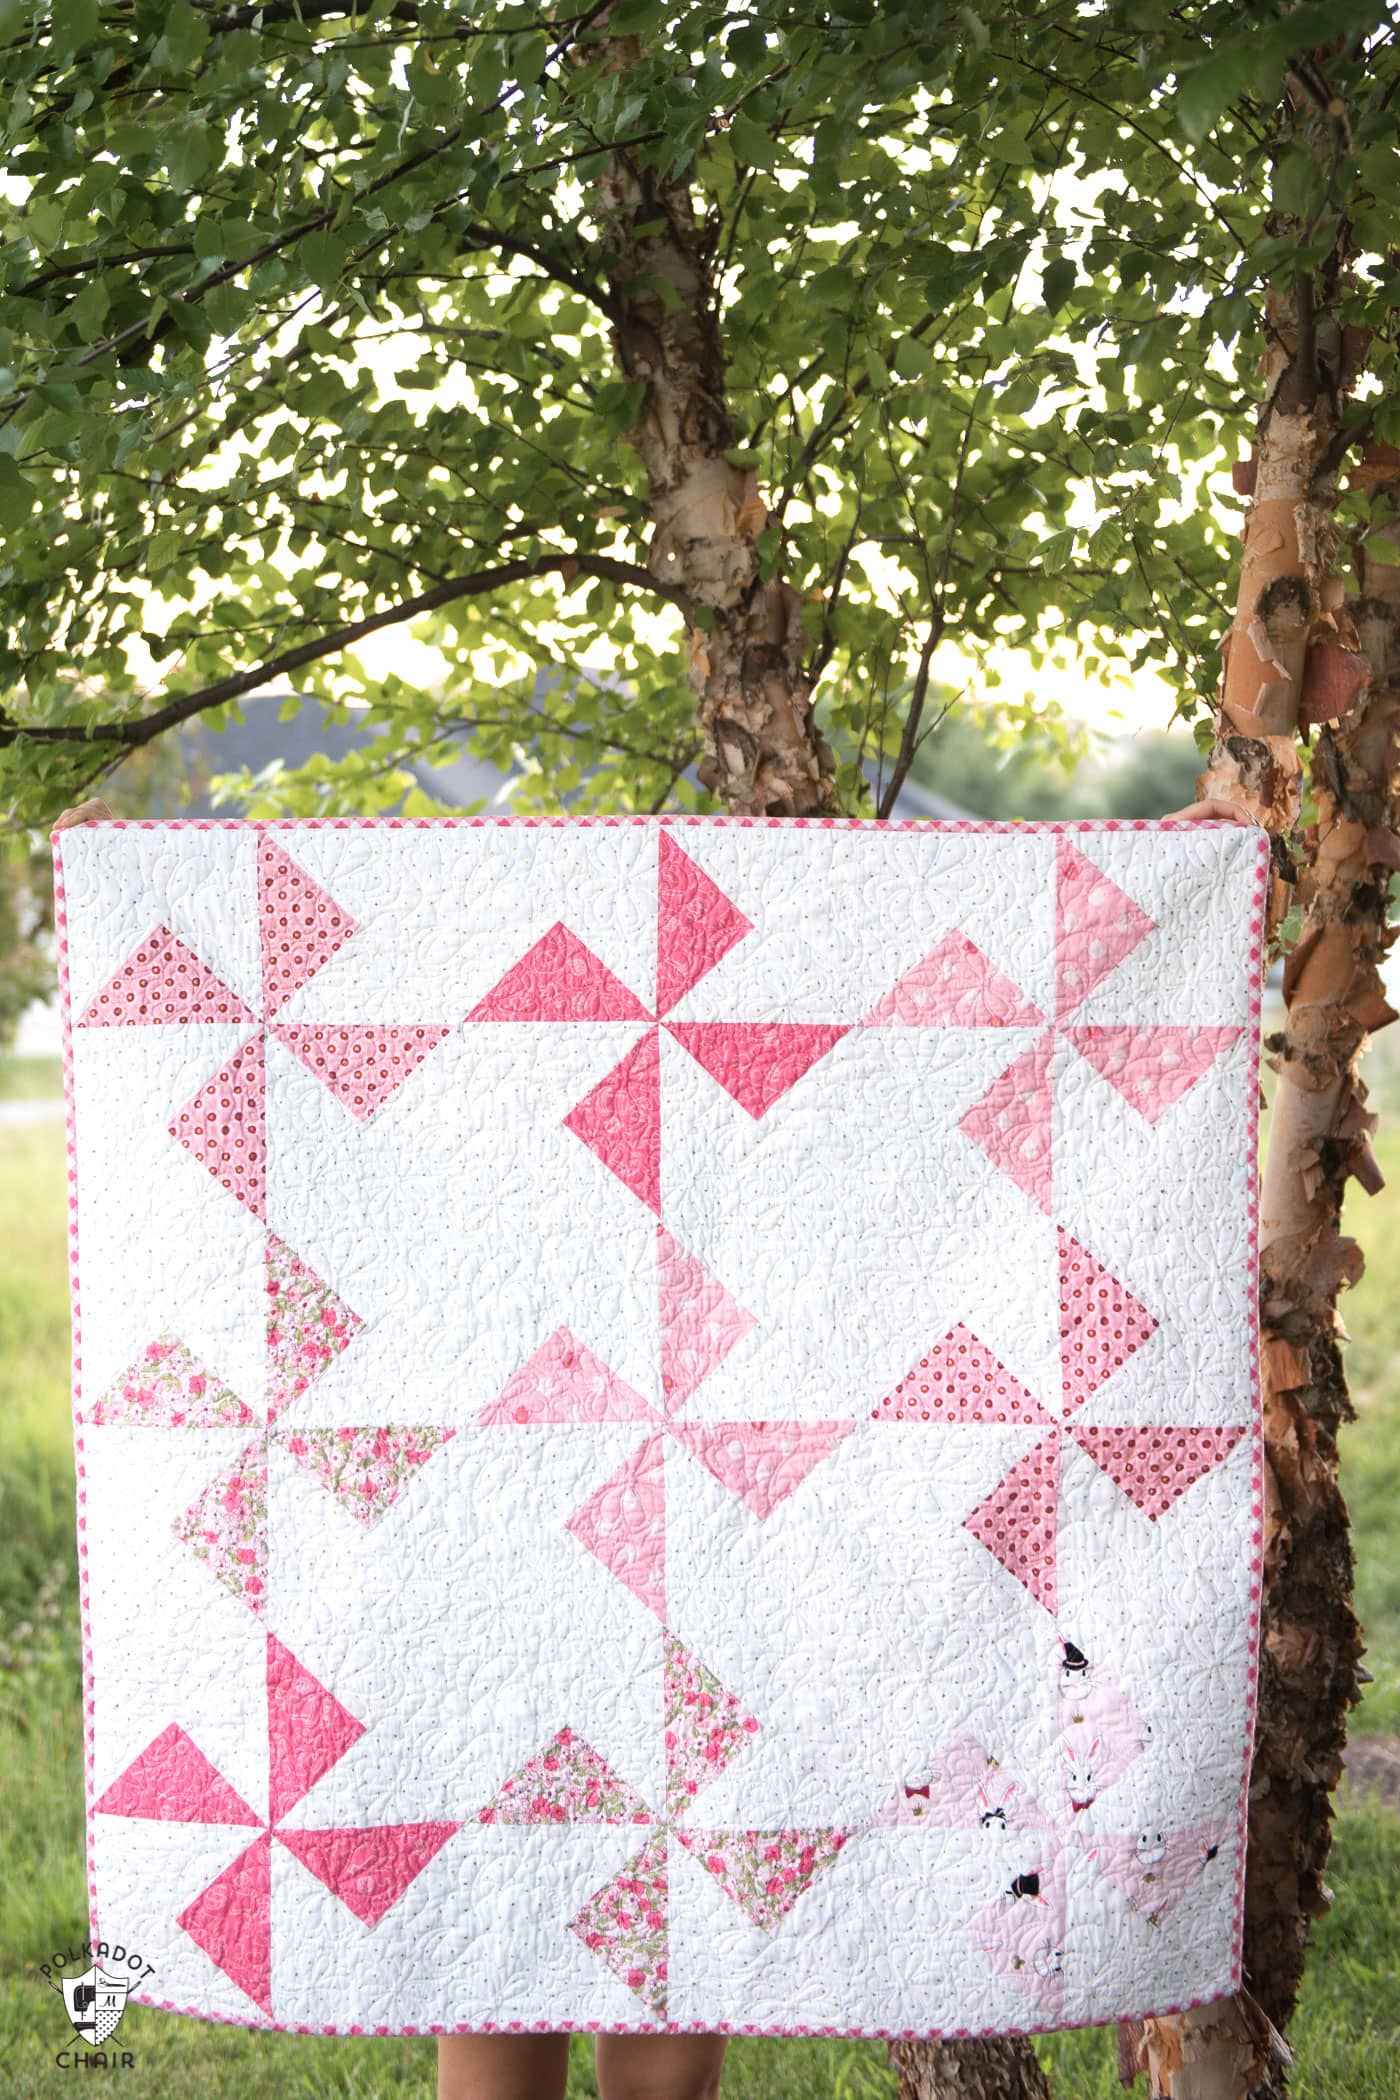
However, you could make them 12″ and use the method in today’s tutorial, which would give you a 36″ square baby quilt (or make it 4×4 and create a 48″ baby quilt).
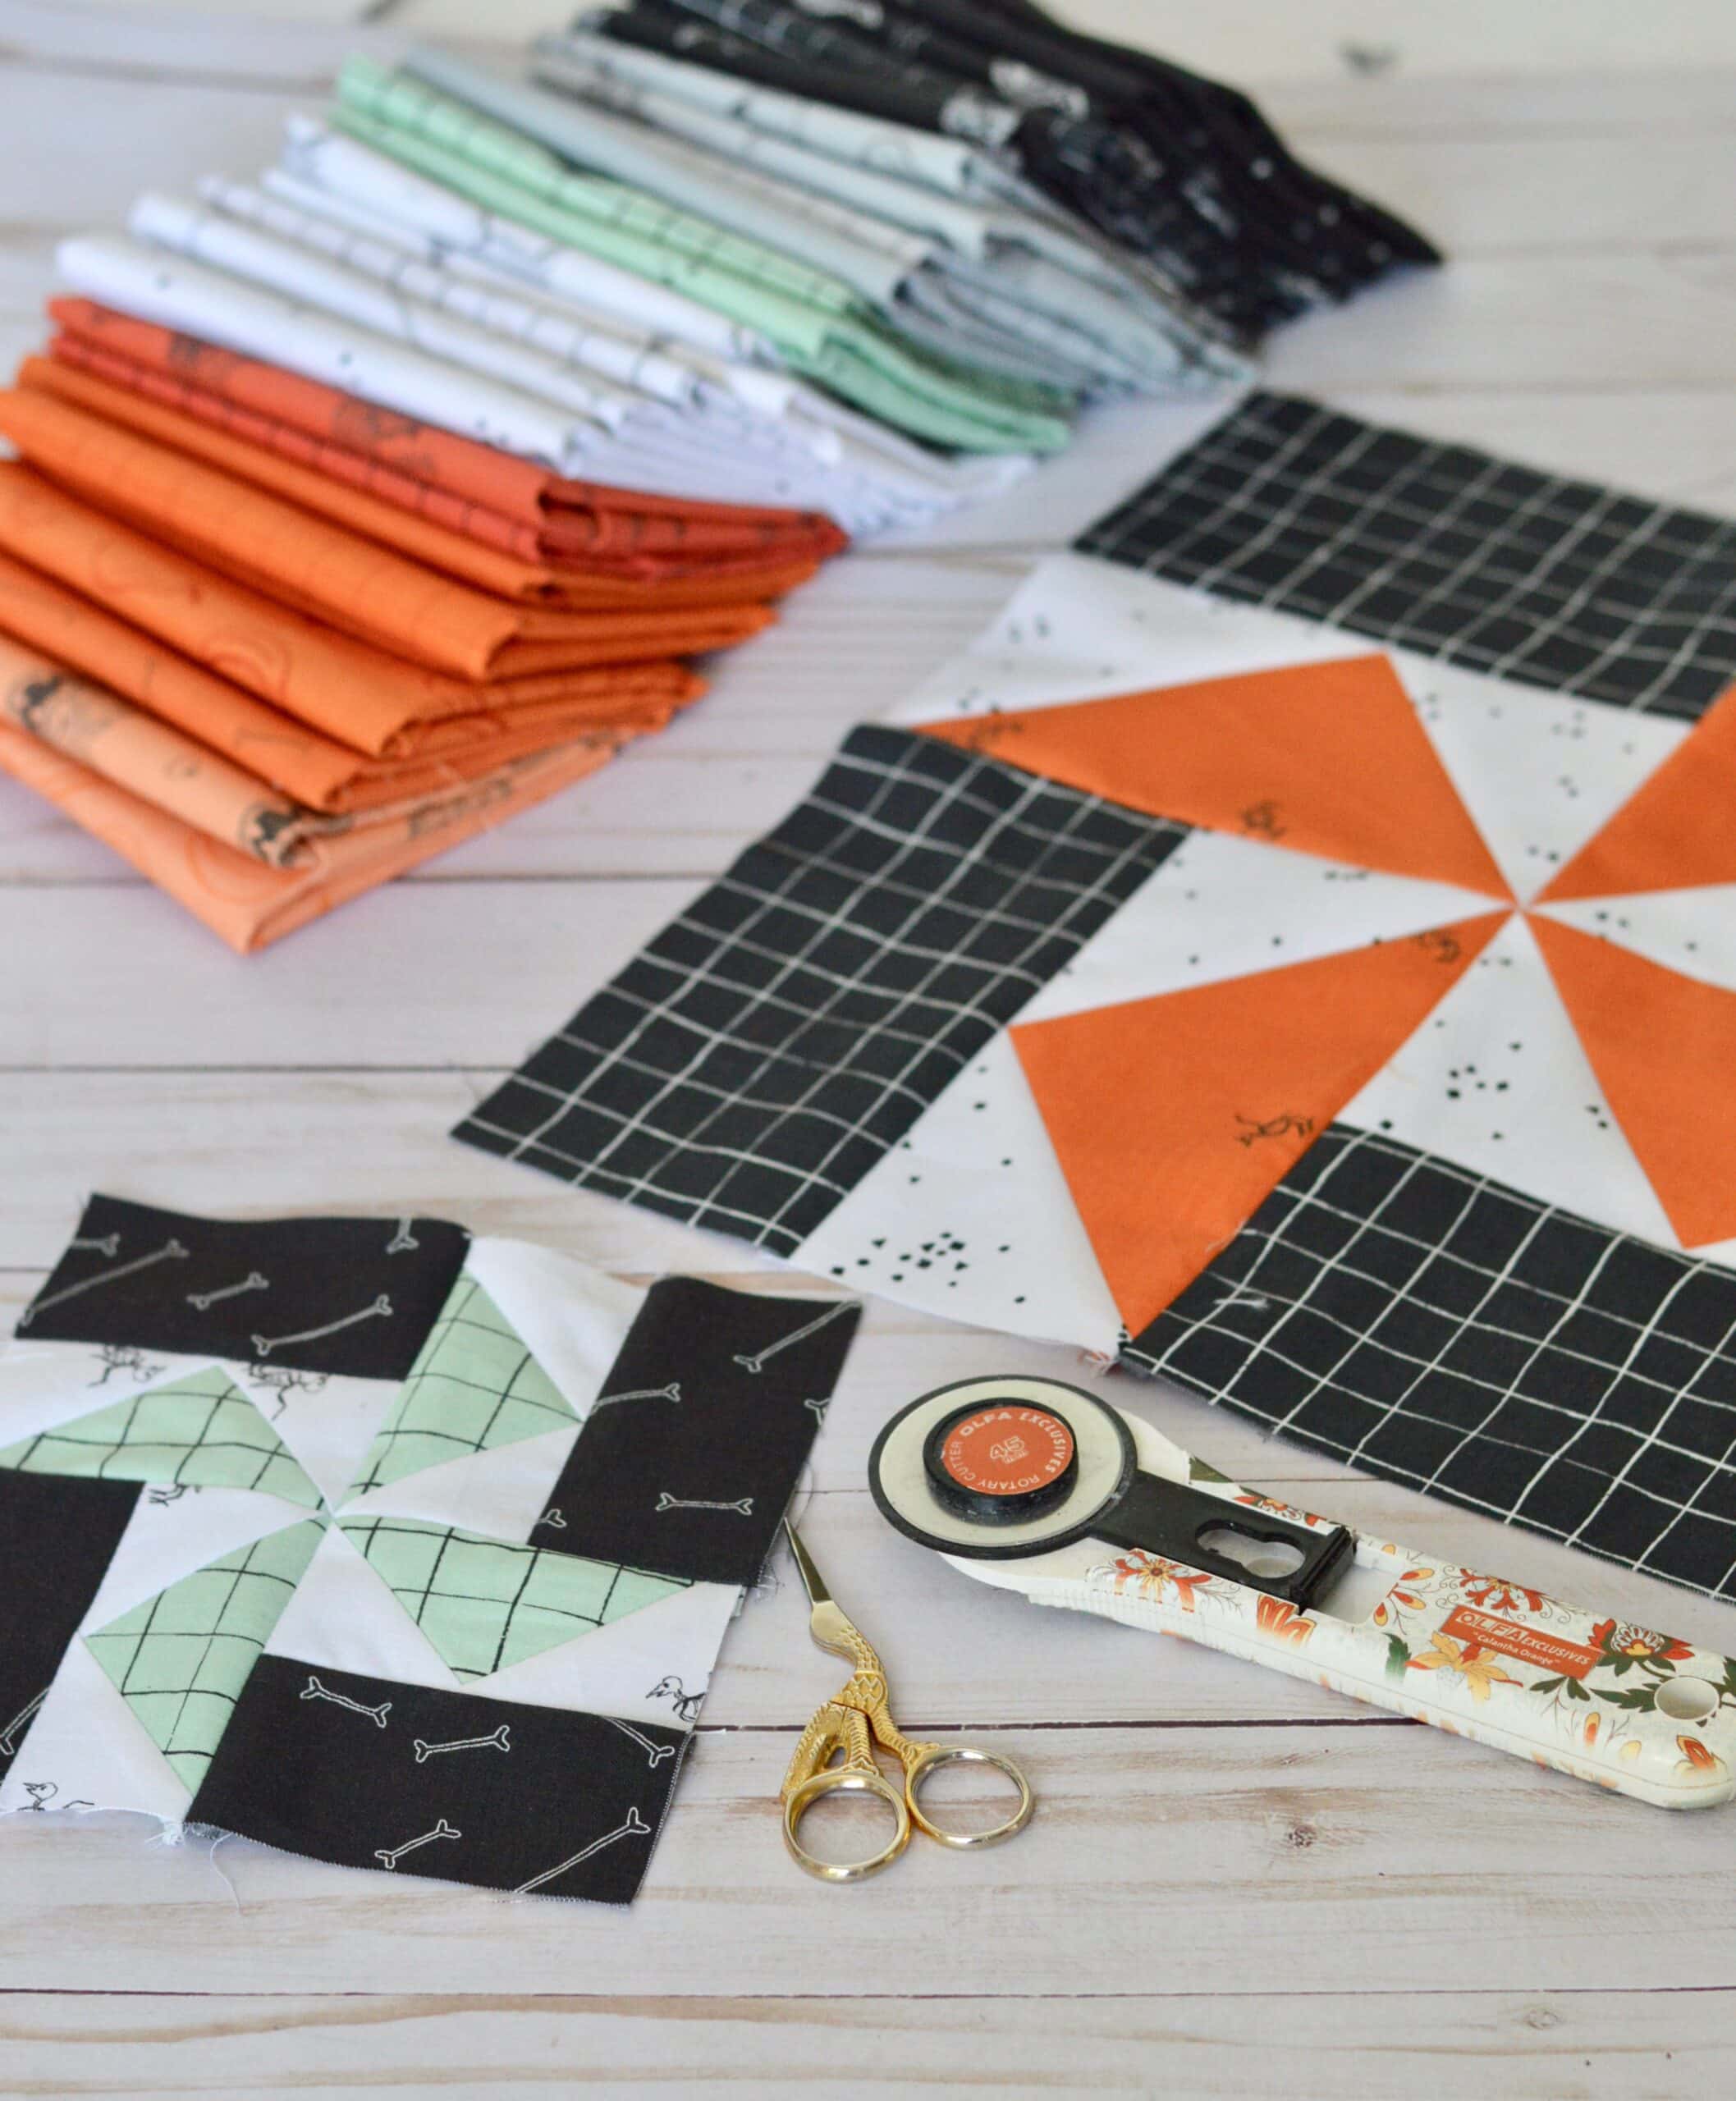
Amanda from Jedi Craft Girl stitched up a few blocks with her fabric line, Scardey Cat by Riley Blake.
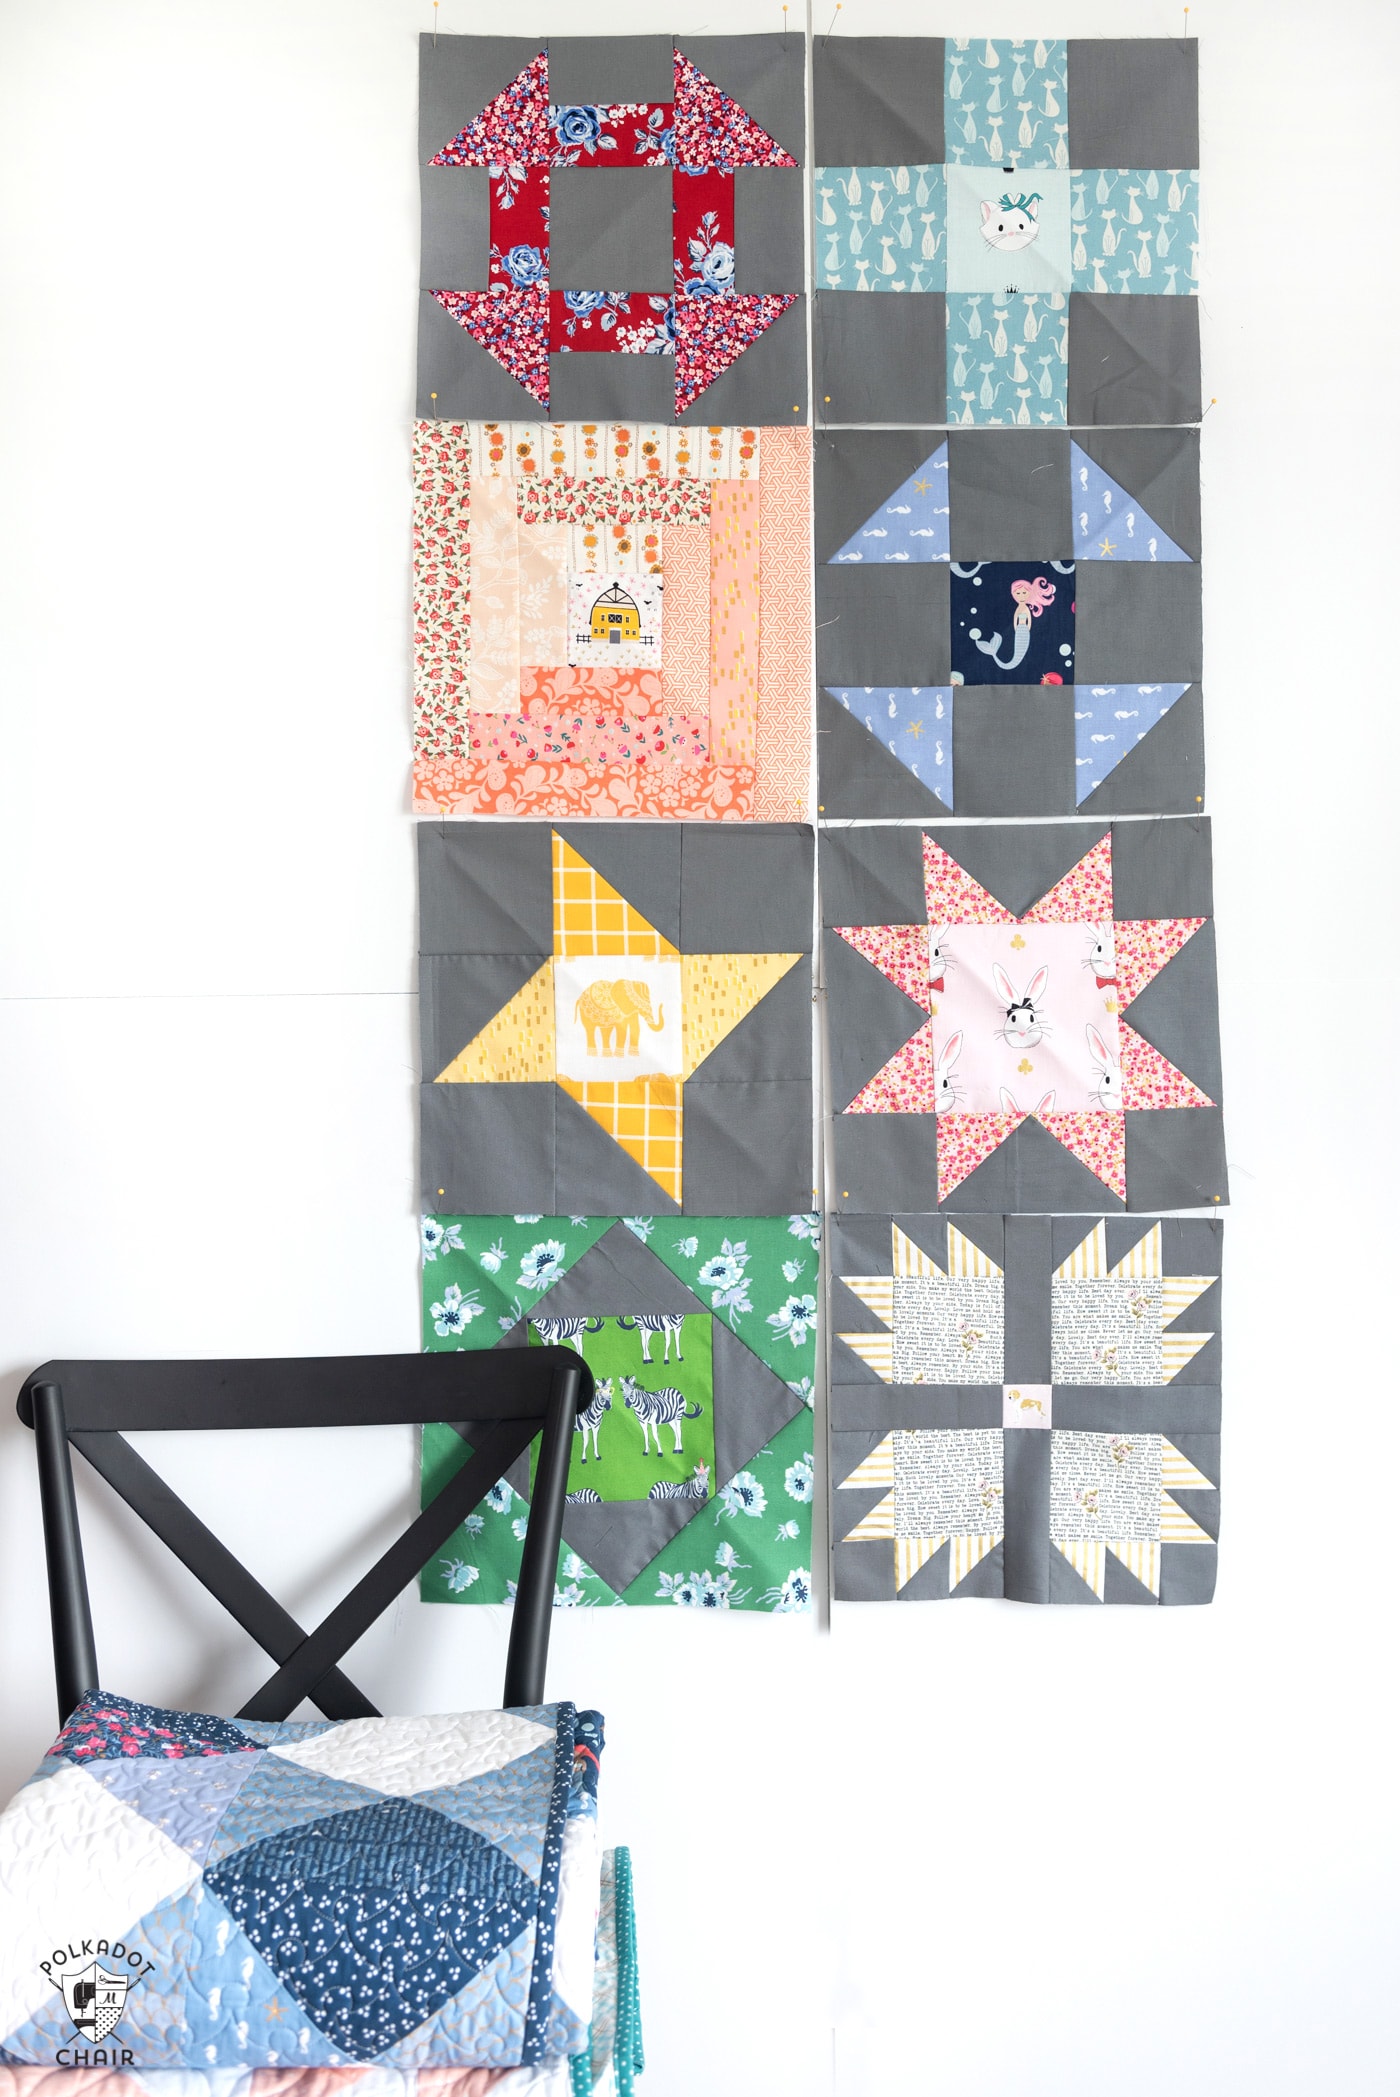
- Churn Dash Quilt Block
- Log Cabin Quilt Block
- Friendship Star Quilt Block
- Economy Block
- Shoo-Fly Quilt Block
- Bear Paw Quilt Block
- Maple Leaf Quilt Block
- Maple Star Quilt Block
- Nine Patch Quilt Block
- Turnstile Quilt Block
- Sawtooth Star Quilt Block
- Bow Tie Quilt Block

Love the pattern, and will definitely make the block. Thank you for sharing.
Thank you for posting this block for free and your clear instructions! Nice of you to teach others, like me! SR