How to sew: Simple Summer Skirts
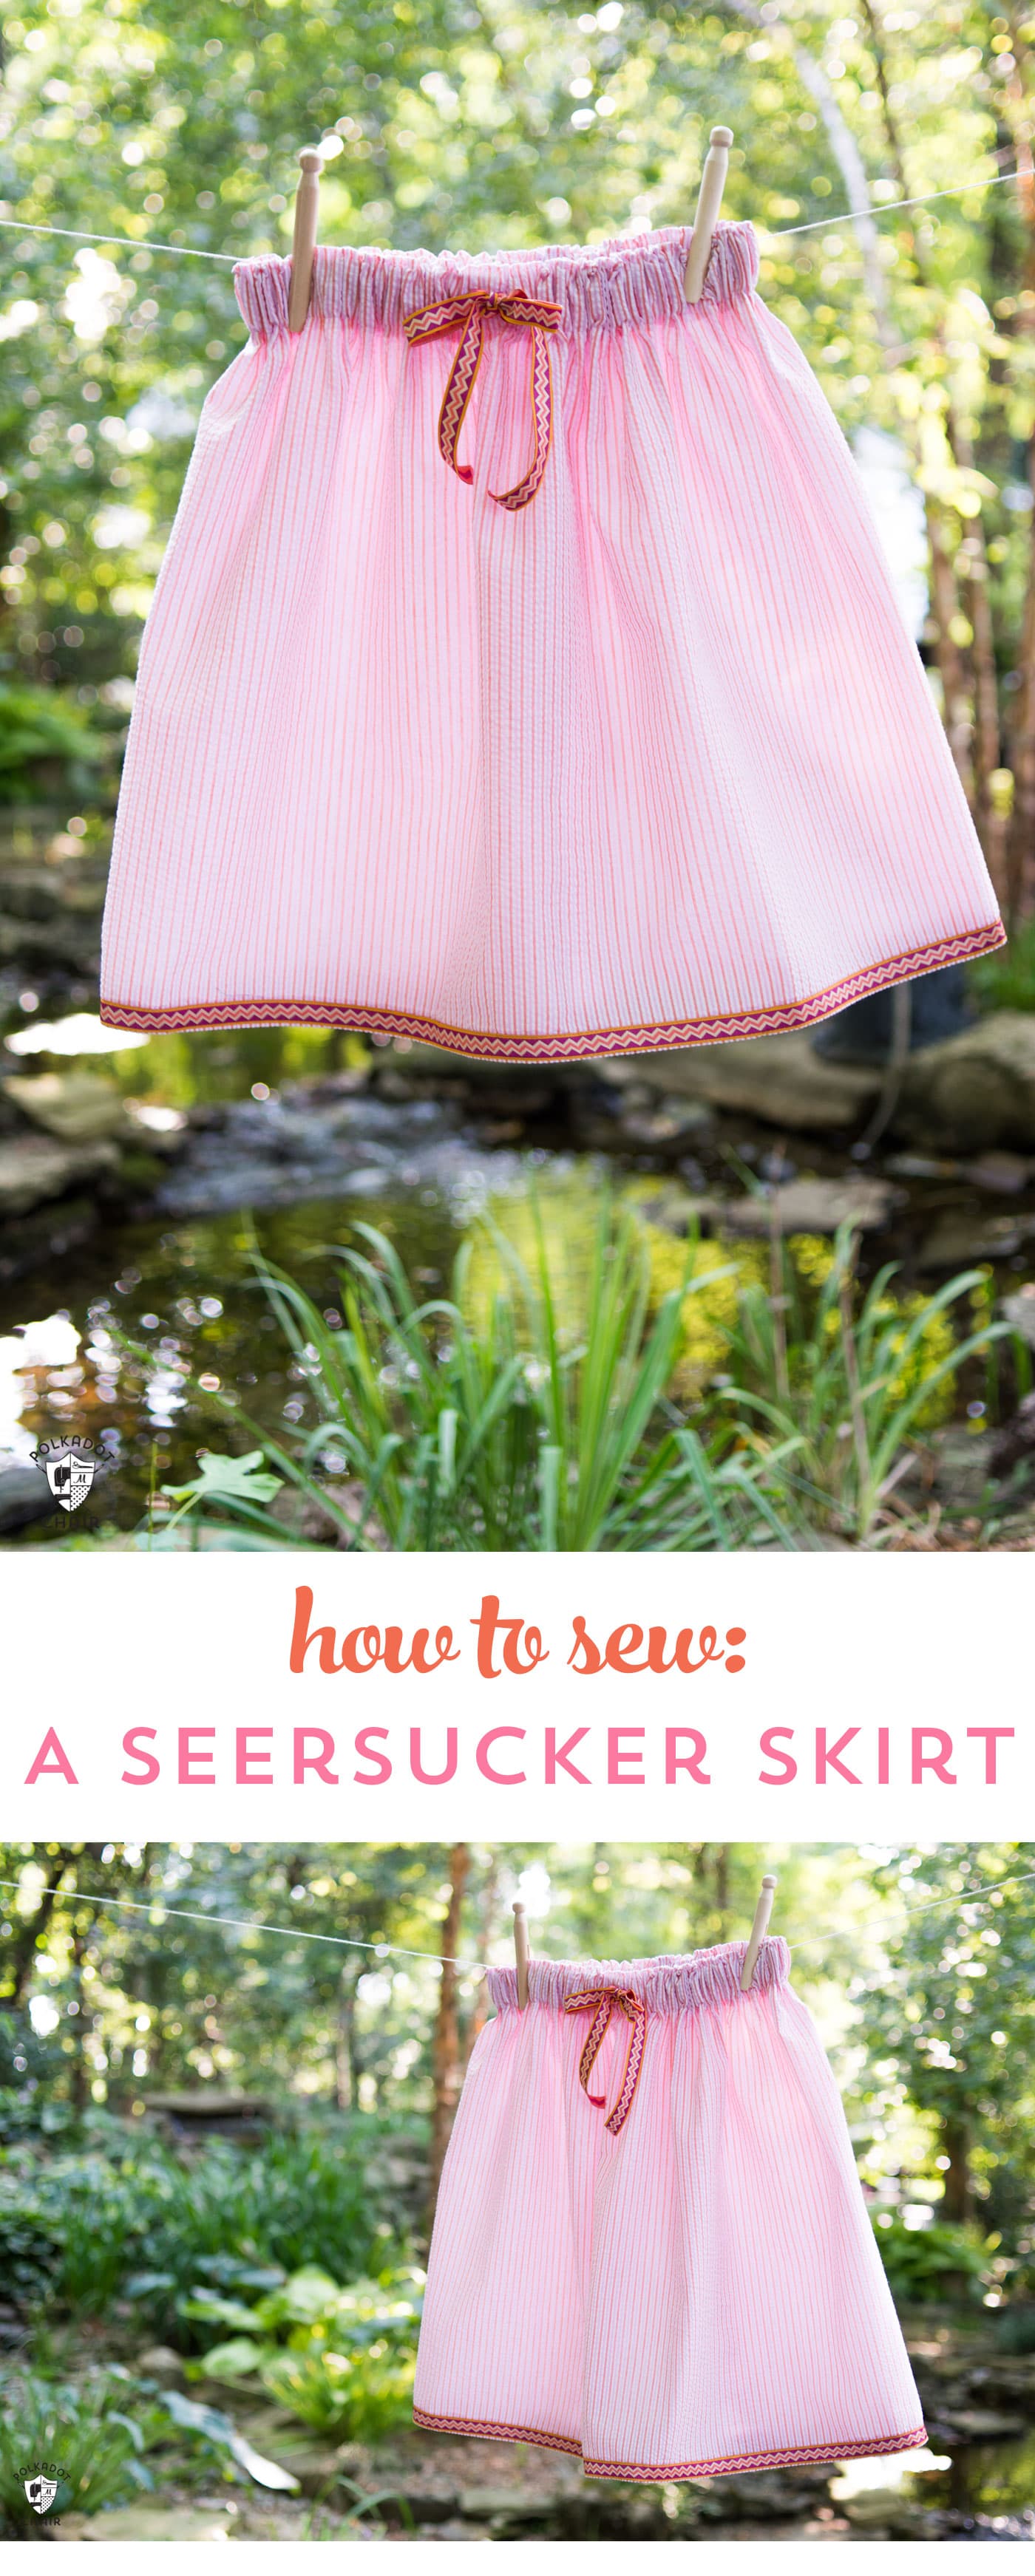
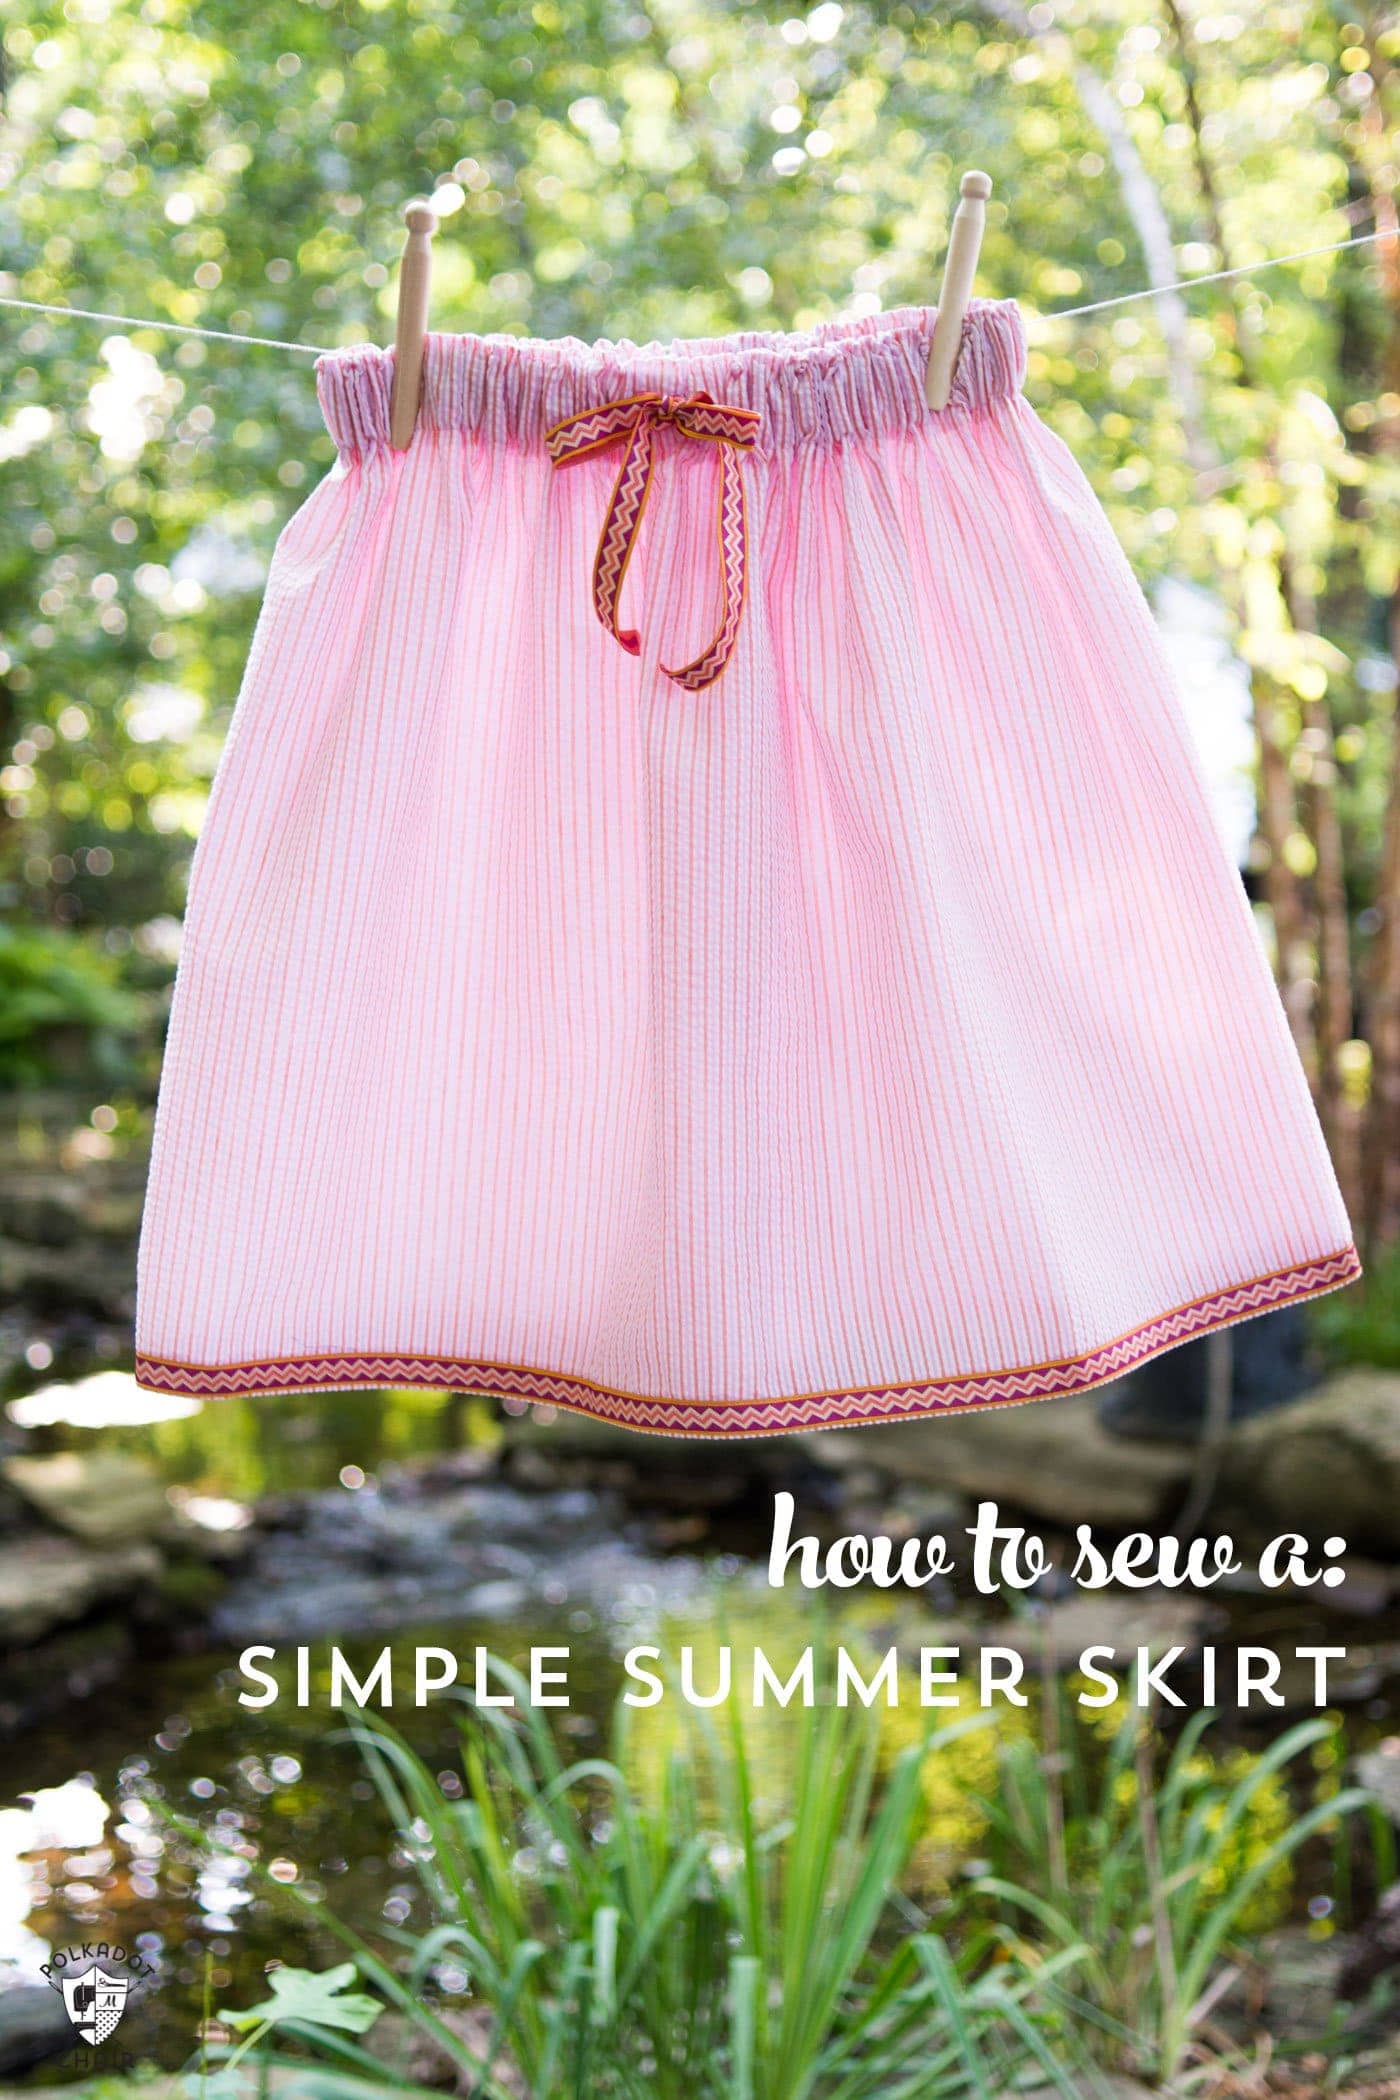
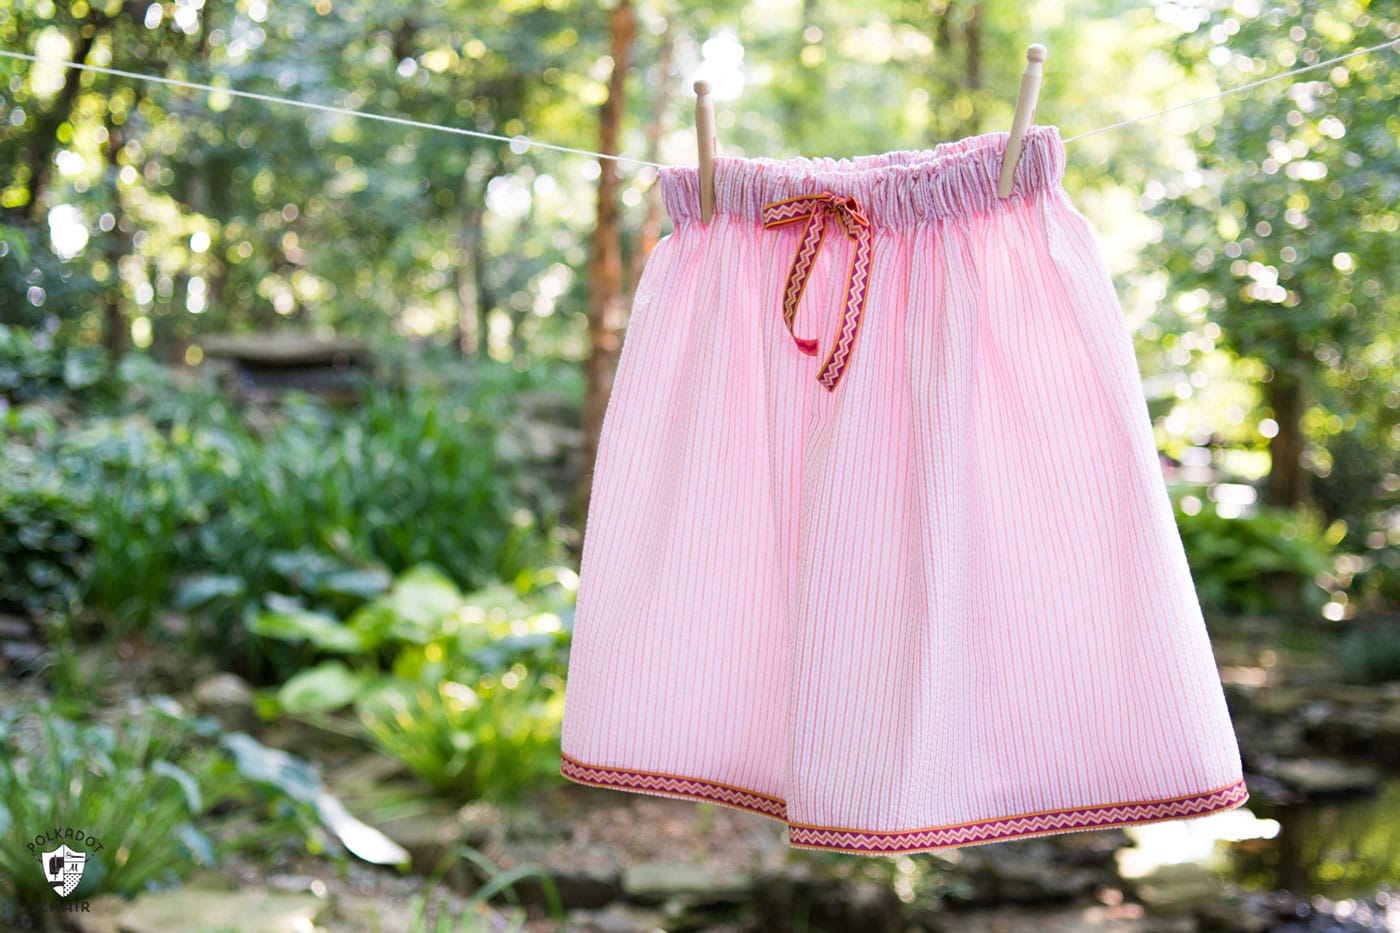
I love to sew simple summer skirts. They are so easy to sew that you don’t even need a sewing pattern! Just take a few measurements and you’re ready to go.
This skirt was sewn using some adorable seersucker fabric making it cool and easy to wear during the summer months. To get the full “how to” just keep reading! If you like this project then you may love this “Tween Skirt Sewing Tutorial”.
Today I’m very excited to participate in a very special blog series. The girls over at Simple Simon & Co have come up with a sewing charity project that is very close to their hearts. Liz and Elizabeth have had first-hand experience working with girls in the foster care system and know some of the challenges that face these girls.
Wanting to do something for them they devised the “Skirting the Issue” project. The idea behind the project is to make handmade skirts for girls in the foster care system. Since many of the girls are frequently in between homes they don’t have the opportunity to receive a handmade gift from a caregiver often. This project hopes to show love for them through donations of clothing.
About Skirting the Issue:
If you want to participate you can check out all of the guidelines over at Simple Simon, I challenge you to make a skirt (or two) of your own and donate it to girls in the foster care system. If you don’t know how to go about doing this, talk to Liz or Elizabeth they can help get the skirts to the girls that need them.
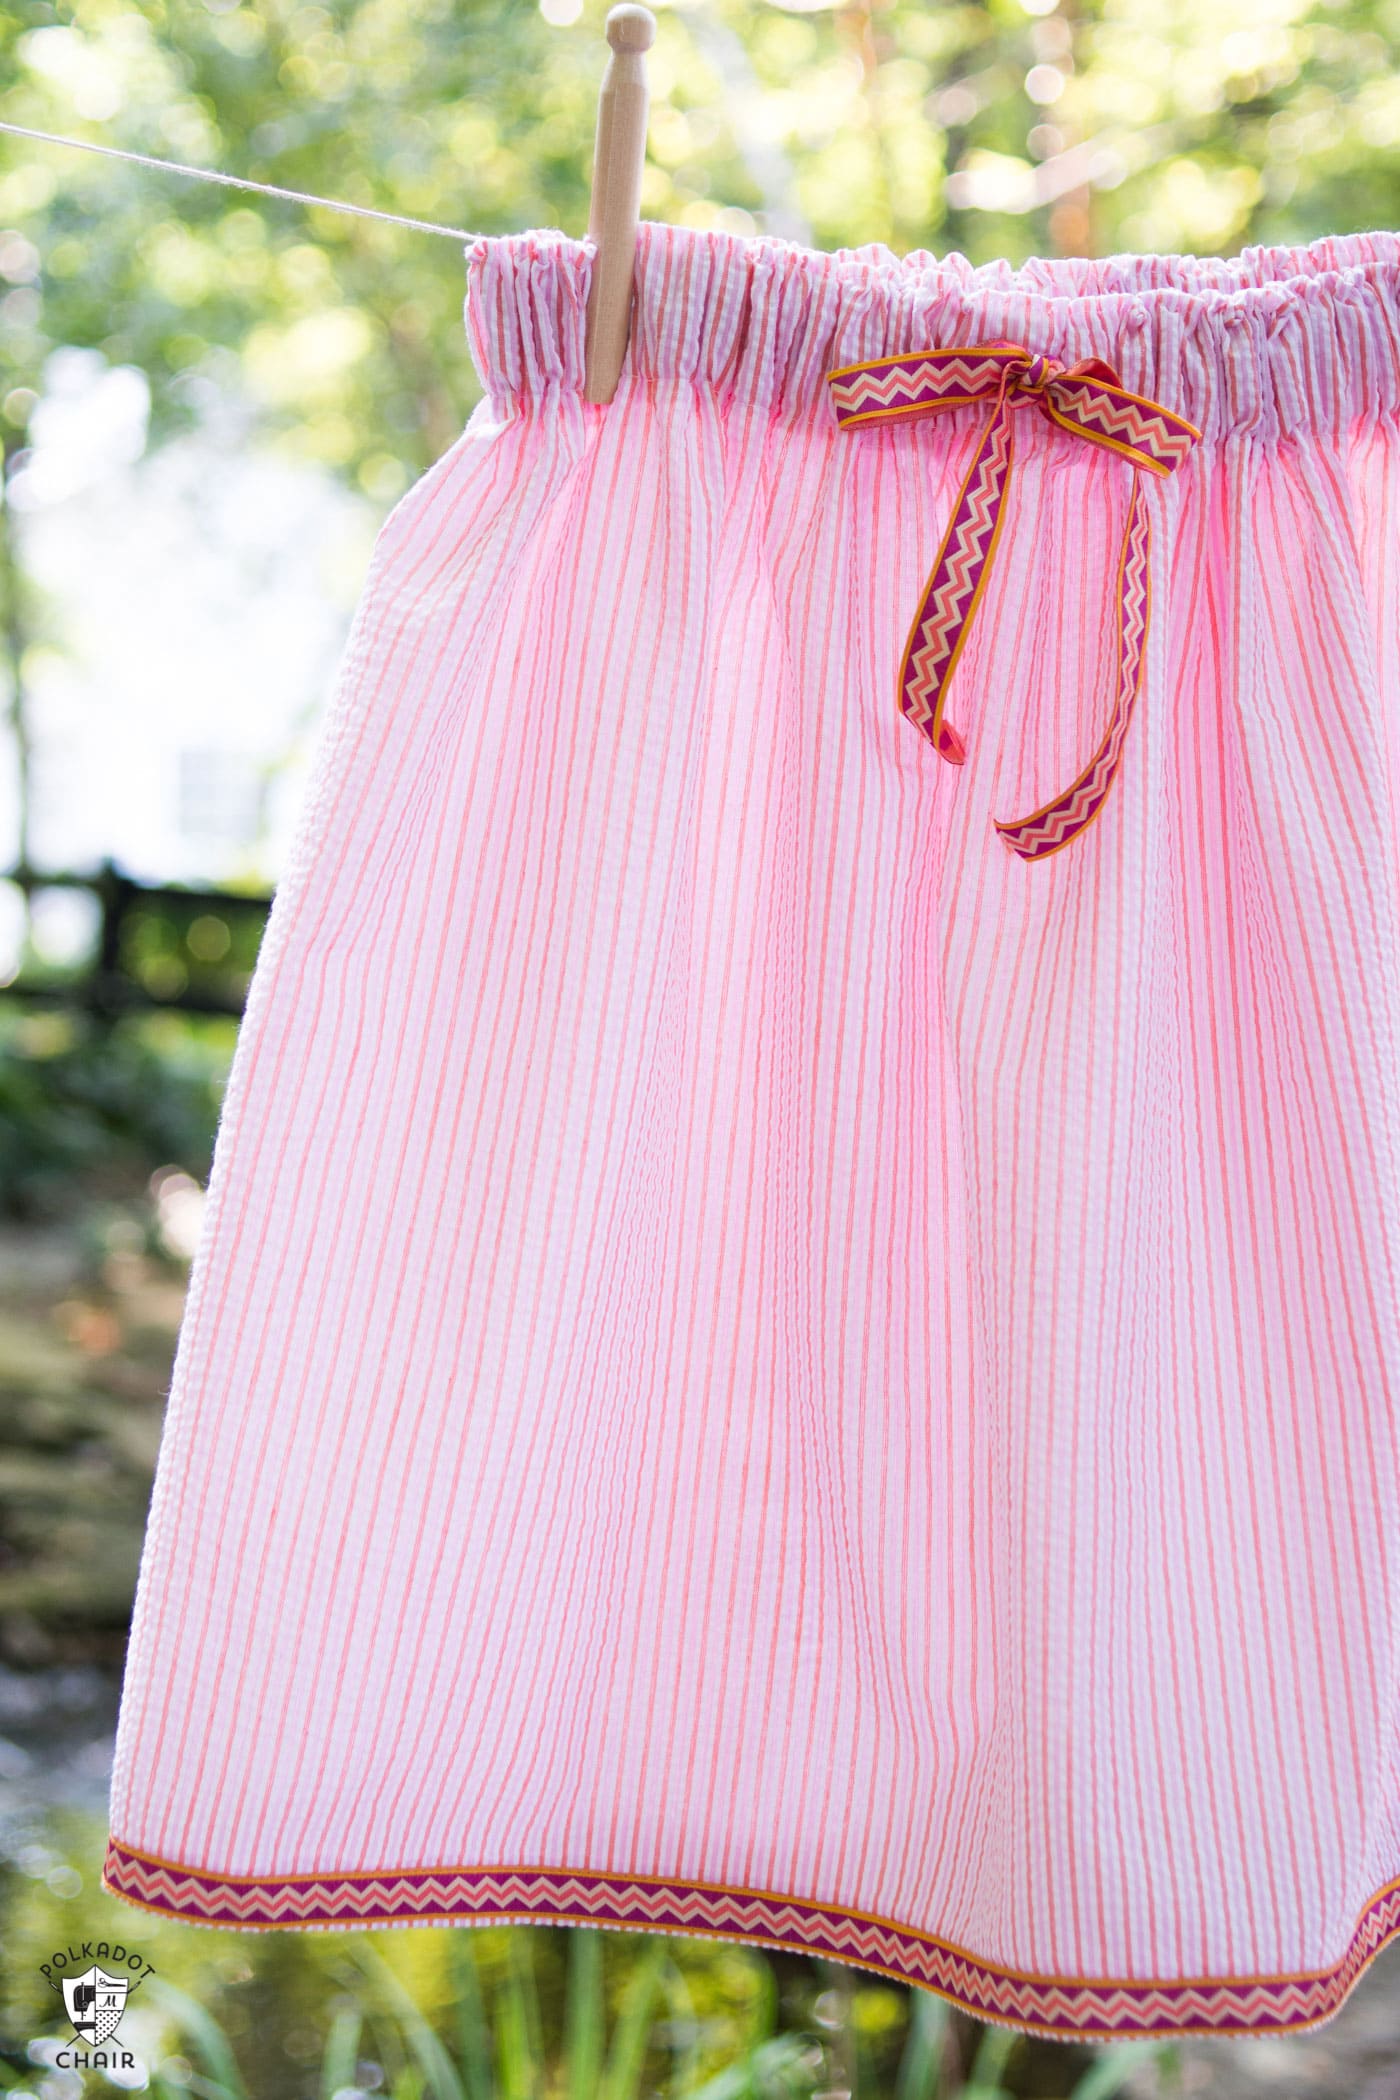
So with that in mind, I’d like to share a tutorial for a very simple summer skirt! The pattern is very simple with the addition of some decorative trim to make the skirt a bit more special. The combo elastic/drawstring waist will help this skirt adjust to fit a variety of sizes. You can whip up a few easily in an afternoon.

Simple Girls Skirt Sewing Pattern:
Since you’re making these skirts for girls that you can’t measure (i.e. they are donations) I’ll give you the measurements of my skirt which fists my daughter who wears a size 10-12. If you want to resize it, change the 25″ measurement to the waist size of the girl you’d like to fit and change the 24″ measurement to the waist-knee measurement plus 5″.
To begin you’ll need:
Two pieces of lightweight fabric to 25″ x 24″
1 package of 1 1/2″ wide knit elastic
3 yards decorative ribbon or trim
Sew the two 25″ x 24″ pieces of fabric together along the side seams (the 24″ sides). Press the seams open.
Fold down the top of the skirt 2″ and press to make a casing for the elastic.
In the center front of the skirt stitch 2 buttonholes 1/2″ apart just below the fold you just made. The buttonholes should be the same width as the ribbon/trim you chose.
Stitch the casing of the skirt along the raw edge of the fabric, leave a 2″ opening to feed the elastic through
Cut the elastic to 25″. Using a safety pin, feed the elastic through the skirt. Stitch the elastic ends to each other with a zig zag stitch.
Stitch the opening in the skirt casing closed.
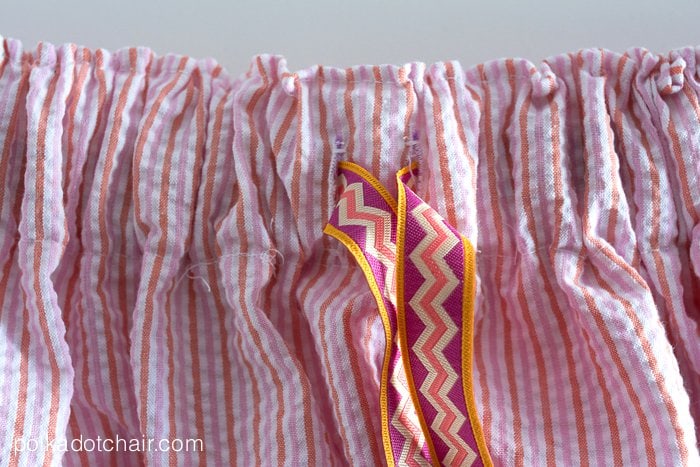
Cut one piece of ribbon to 40″ long. Feed it through the skirt on top of the elastic through the buttonholes you stitched.
Press a 2″ hem in the bottom of the skirt.
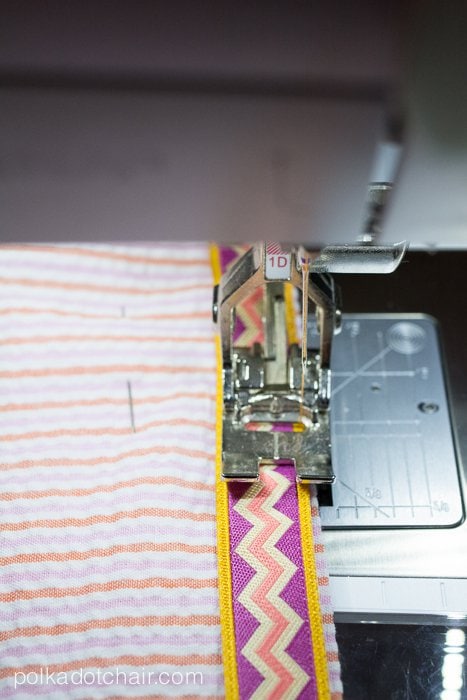
Pin the ribbon/trim to the bottom of the skirt along the fold. Using a thread matching the ribbon,(you may want to adjust your needle right-left to stitch the ribbon precisely) stitch the trim to the bottom of the skirt. Place a bit of fray check where the cut ribbon ends meet.
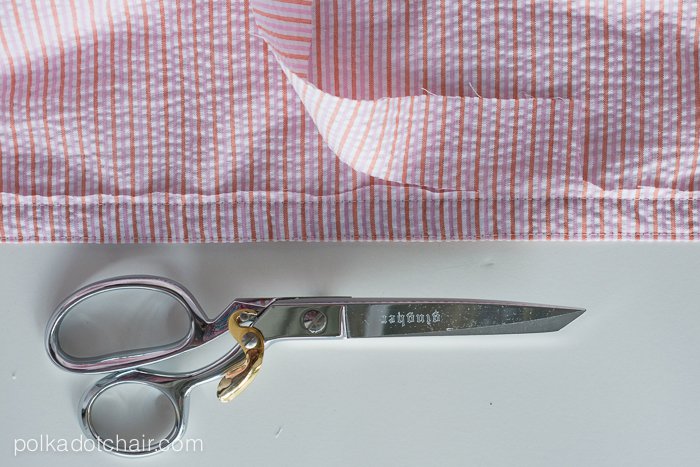
To finish the skirt, on the wrong side of the skirt, trim off the excess ribbon above where you sewed on the ribbon.
