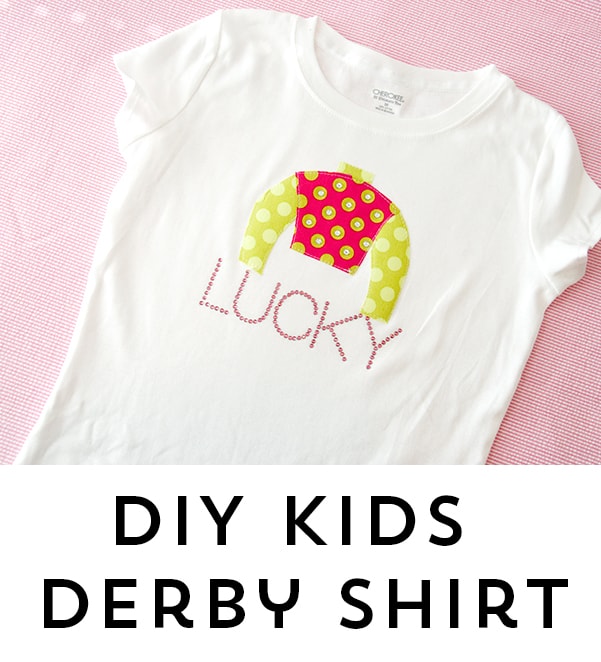
Sparkly Lucky T-shirt; a Kids DIY Kentucky Derby T-Shirt
It’s Spring here in Kentucky… which means one thing… Derby!! This also means it’s time to make my kids their own Kentucky Derby T-Shirt!
Anyone who has seen the movie Secretariat this year probably has heard a little bit about the “most exciting 2 minutes in sports.” Well, it’s a pretty big deal here! The Kentucky Derby is the first Saturday in May, and every year the city rolls out the welcome mat for all of our out-of-town visitors. Locals celebrate, too, with lots of fun events in the weeks leading up to Derby.
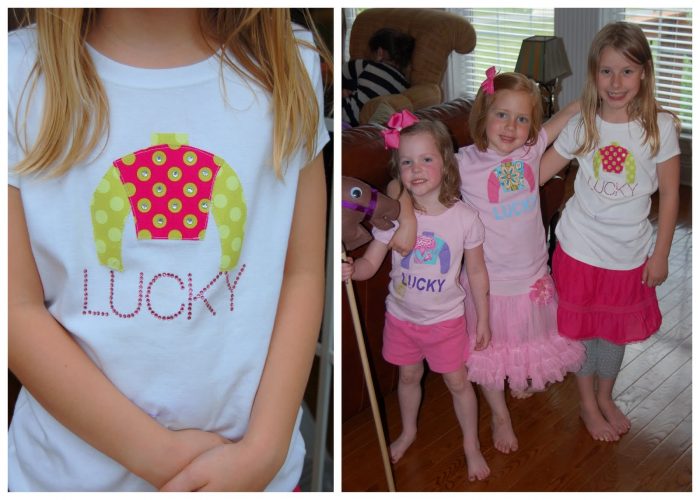
Last year I made a jockey silks table runner celebrate Derby (you can see it here)… This year I decided to take the same jockey silks applique that I drew for the runner and put it on a t-shirt for my daughter.
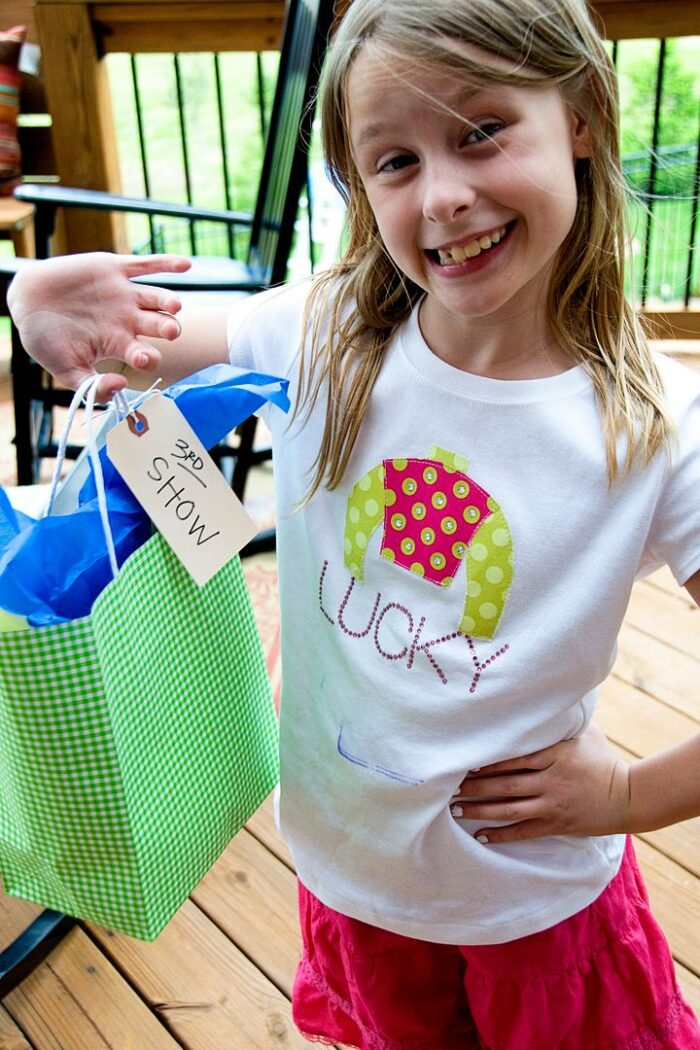
If you want to make a similar t-shirt, you can download the applique pattern here; print it out at 75% of full size.
But it still needed a little somethin’
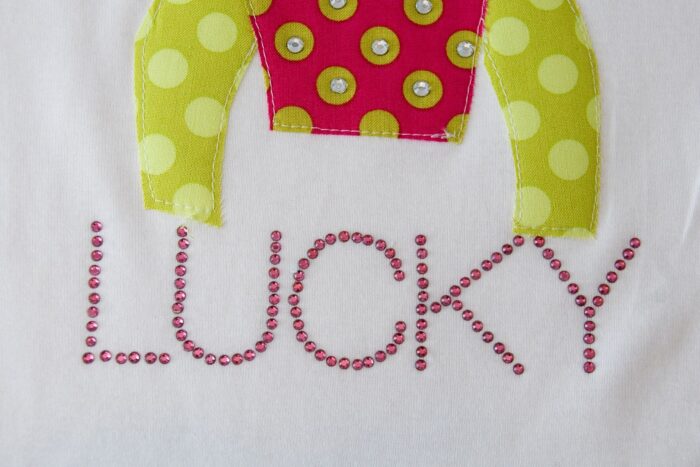
So I added some rhinestones to the jockey’s shirt and the word LUCKY- in pink rhinestones!
How to Make the T-Shirts
Supplies
- T-Shirt
- Jockey Applique Pattern (download here)
- Fabric for Applique
- Heat N Bond Lite
If you want to add rhinestones need:
- Rhinestone Kit
- Magic Flock Stencil Template
- Cricut EasyPress
- An E-Cutting machine – like a Cricut or Silhouette
Instructions
Note: The product I used to create my original t-shirt is no longer available. I’m revising the orginal tutorial to include directions to create the shirts using readily available products.
Step One: Create the Applique
Download the Jockey Silks template and trace it onto the paper side of Heat n bond lite.
Note: you may want to resize the template smaller or larger depending on the size t-shirt you are making. You can easily do this in Adobe Acrobat; change your “page scaling” up or down a percentage.
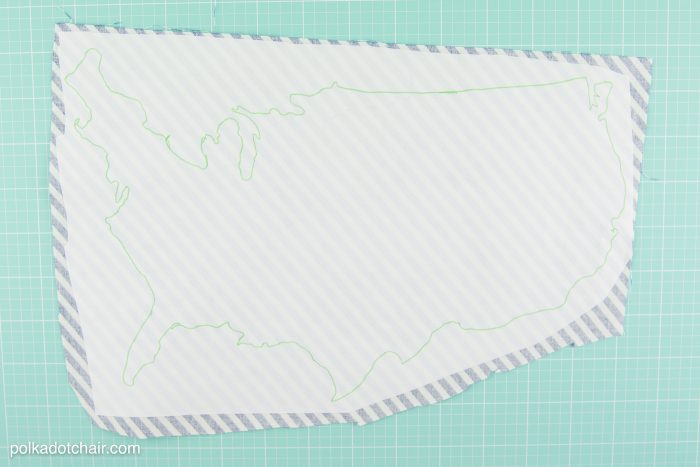
(photos are from another project, the steps are exactly the same)
Cut it out loosely. Iron it onto the wrong side of your fabric. Cut it out precisely.
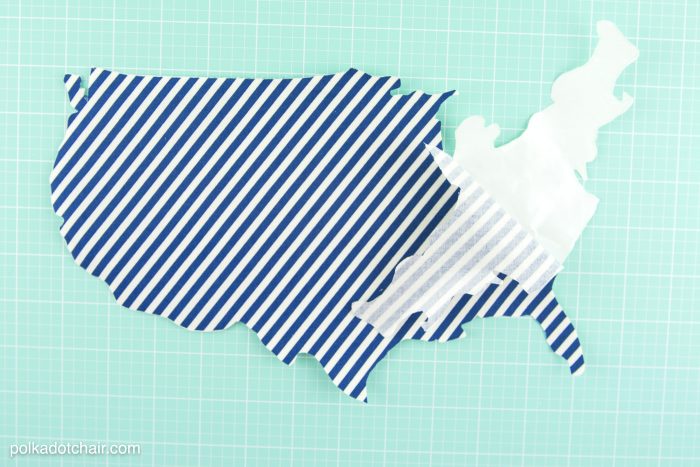
If you need help adding fabric appliques to a t-shirt, be sure to check out this post which has more precise directions.
Peel off the paper backing and iron onto your thsirt in the desired location. On you sewing machine stitch around the outisde of the applique with a striaght stitch.
Step Two: Add the Rhinestones
You do not need to add the rhinestones.
Using your Cricut machine, cut out the template for the rhinestones. There is a FULL tutorial on YouTube which outlines all the steps in this process. This video will walk you through the steps to create the word templates for the rhinestones.
This video will walk you through the steps to actually adhere the rhinestones.
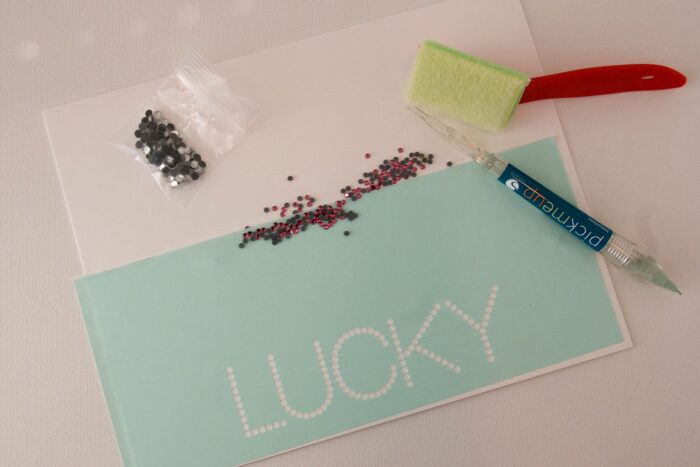
You just cut out your template and, using the tools provided, attach the rhinestones to your item. You then use an iron to adhere them down. I was even able to attach some extra rhinestones to the jockey silks.
That’s it!

