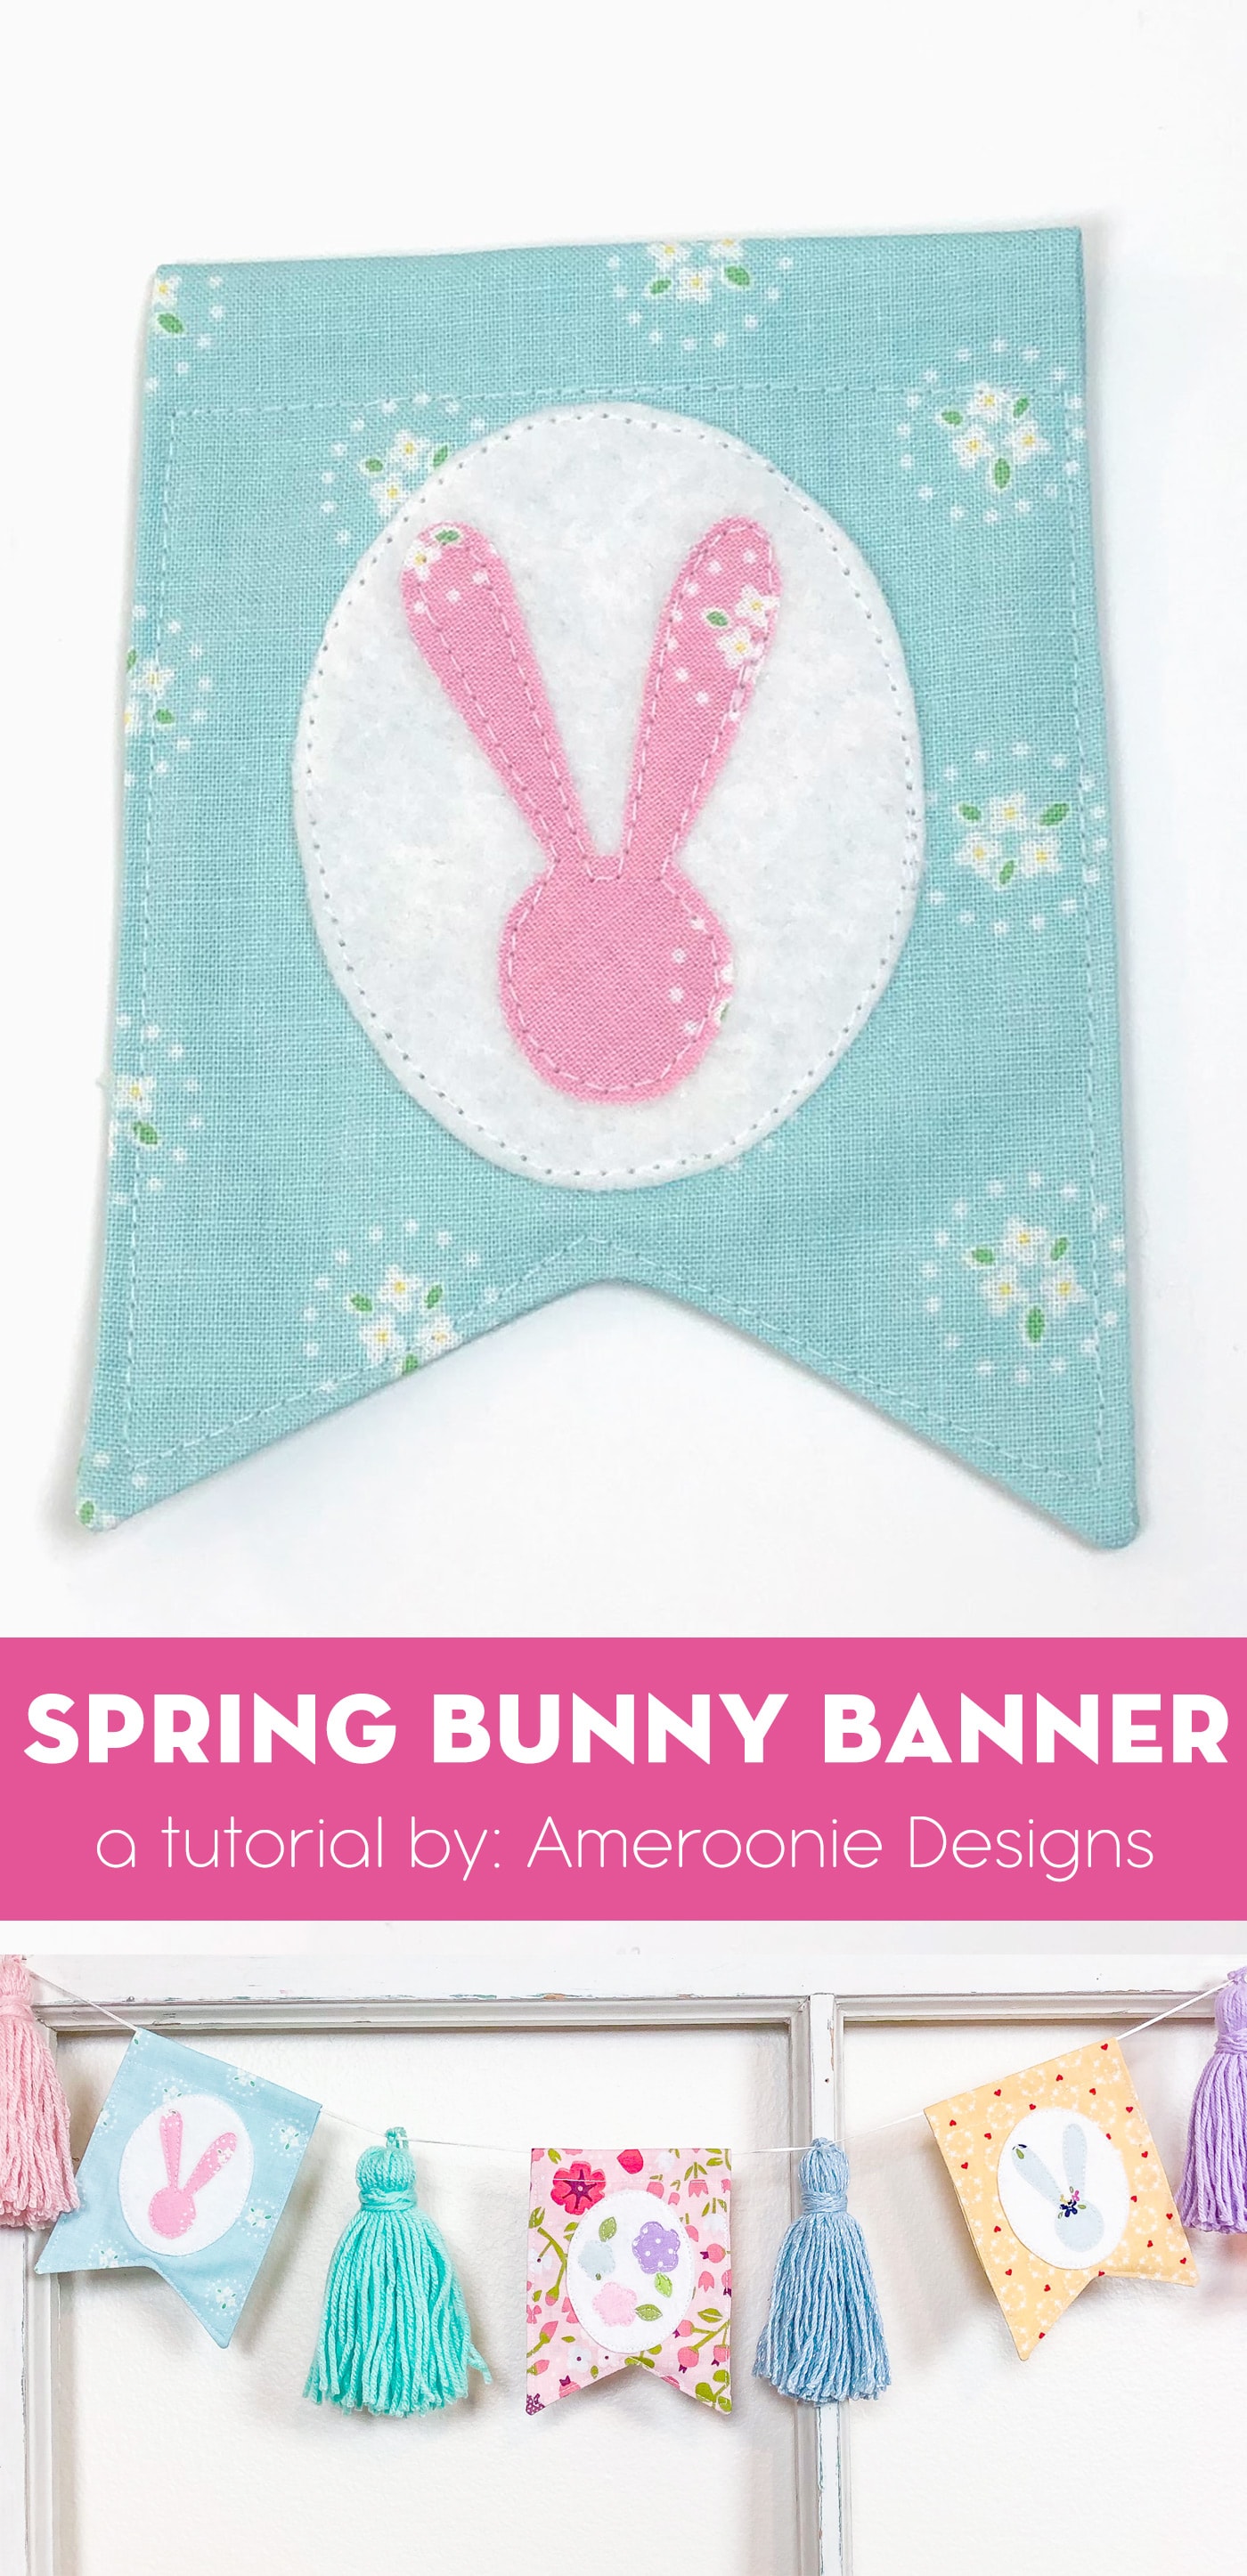
Spring Bunny Banner Sewing Tutorial
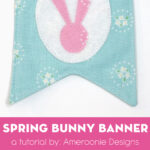
Add a touch of Spring to your home decor with this sweet felt and fabric Spring Bunny Banner Tutorial! It’s quick to stitch up and the perfect project to use some fabric scraps!
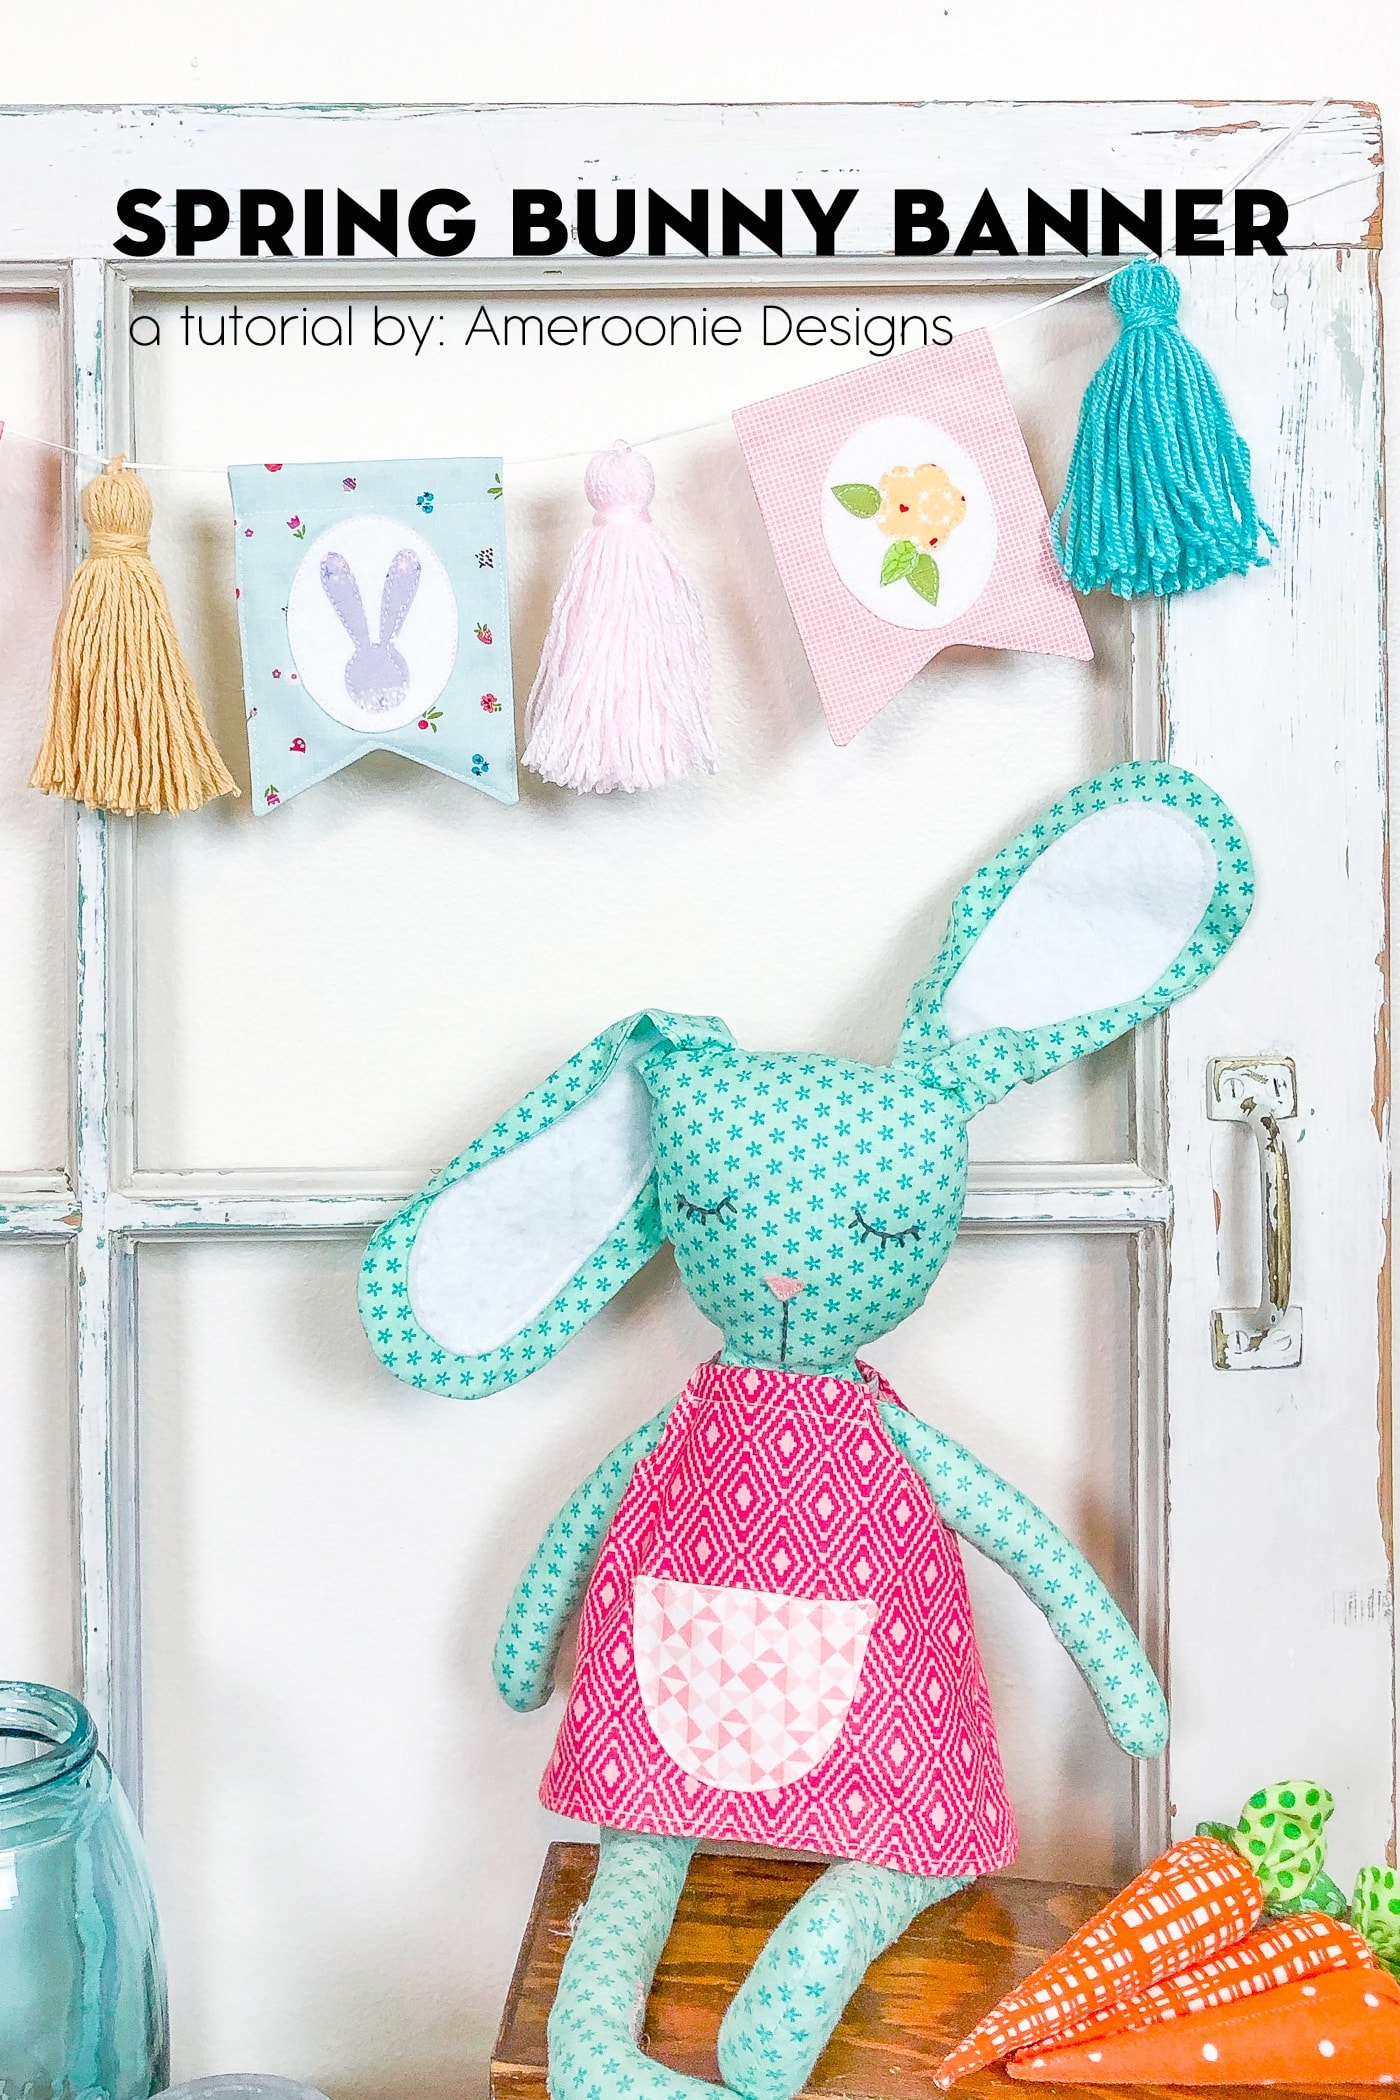
Add a touch of spring with soft pastel colors and a quick, easy applique project. This Spring Bunny Banner is quick to make and fun to display. This tutorial will show you how to DIY your spring home decor banner.
How to Get the Bunny Template
Fill out this form and we will email you a copy of the PDF template for the bunny and oval shapes.
Spring Bunny Banner Sewing Pattern
Equipment
- PDF of Pattern Shapes follow the instructions on this page to get a PDF copy of the template
supplies
- 6-8 3 1/2″ X 4 1/2″ Fabric flags You can purchase them or make your own from the tutorial linked. The flag measurements are approximate, but don’t go too much bigger or smaller so the scale of the shapes isn’t off
- 1 package Heat n Bond Lite You can purchase it by the yard in small packages, or in these printable sheets.* If you want to make this a no-sew project, use Heat n Bond Ultrahold instead.
- 4-5 colors Wool or wool blend felt I don’t recommend using acrylic felt as it will not withstand the heat required for fusing the heat and bond
- Fabric scraps
Instructions
Step One
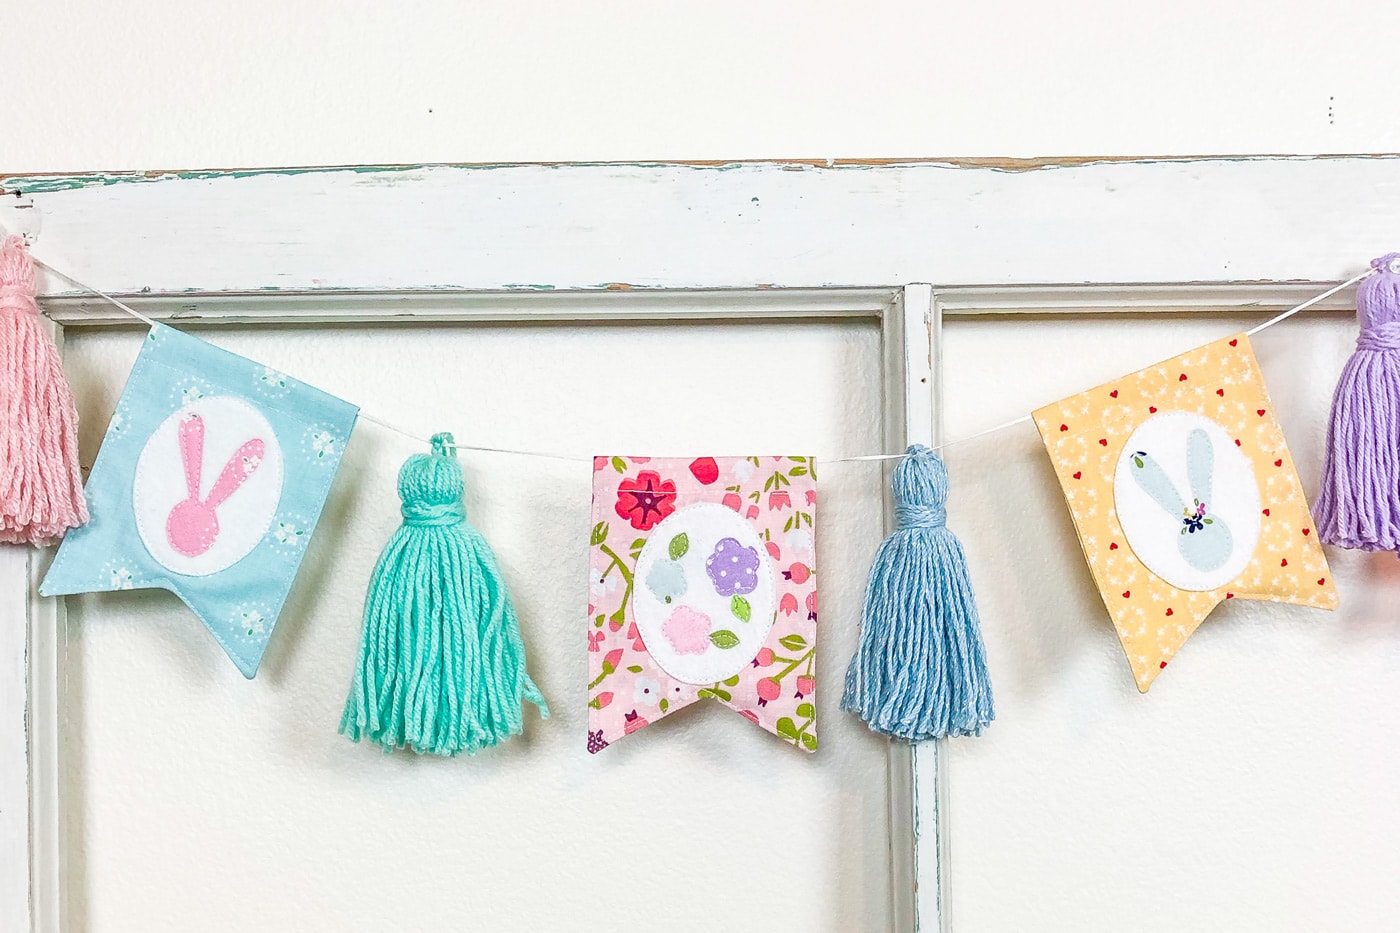
- Before you start, create your fabric flags for the applique. Find the tutorial on Ameroonie Designs.My banner has six fabric flags.

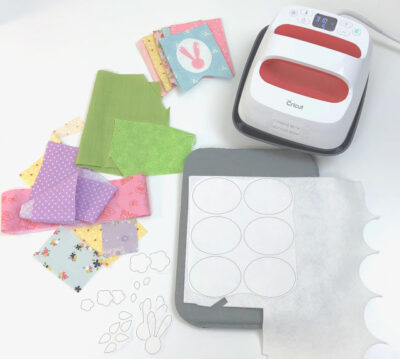
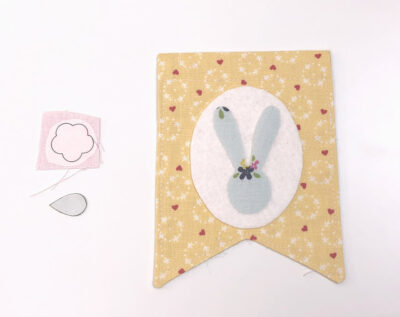
- Next, you need to create your applique shapes. To do that, trace the shapes from the pattern onto the paper side of the Heat n Bond.
- Cut apart the shapes, leaving a small margin around each one. Fuse the ovals onto the backside of the felt (there is usually one side that is fuzzier than the other; that is what I consider the back). After you finish that, cut out the ovals along the line.


Step Two
- Next, you are ready to apply your ovals to the fabric flags. Peel the paper backing off the oval and center it on the front of the flag. Using an iron or an EasyPress, fuse the oval in place. With the felt, I find it helpful to fuse from the back of the flag after fusing from the front, just to ensure it’s secured well.

Step Three
- After you’ve applied your ovals, you’re ready to add the shapes on top of the ovals. To do this, fuse the shapes with the backs of selected fabric scraps. Then, cut out each shape along the printed lines.

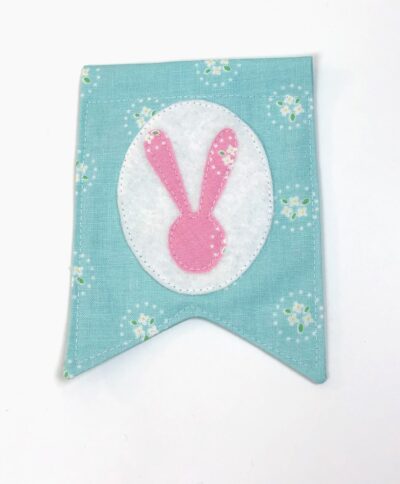
Finishing
- Position each fabric shape on the oval as desired and fuse into place. If desired, stitch around each oval with your sewing machine and the shapes inside.

- I like to string the flags on the banner with a long tapestry needle with a dull end and a large eye and string them onto some yarn.
- Add tassels, felt poms, or any other embellishments to your banner. *if you don’t have a sizeable dull needle, you can also use a safety pin to thread your string through the flags.
- You can find a tutorial for how to make yarn tassels on our site.

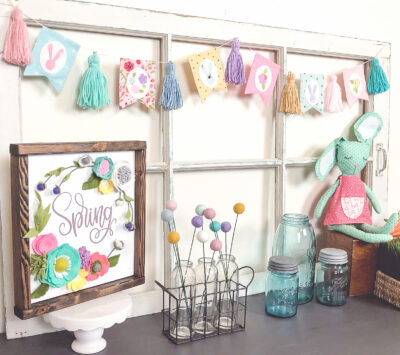
These fun banners are quick to make but pack a punch. They are also a fantastic way to use up scraps of fabric you have accumulated. If you make one, I’d love to see it—tag me on Instagram or Facebook @AmeroonieDesigns!
Happy sewing!
xoxo,
Amy
About the Maker:

Hello! I’m Amy Chappell, the person behind Ameroonie Designs. I’m a sewing and quilt pattern designer, and I’m proud to say that my work has been featured in several print publications and popular DIY websites.
I am the mom of six kids- which is a big reason I create and sew. I find that I am happiest when I am making things, and taking time to be happy makes me a better mom.
Join me in my exclusive Let’s Sew Friends membership, where you’ll find small, manageable monthly sewing patterns, live classes, and lots of video tutorials!
More Projects by Amy:
More Fun Simple Sewing Projects:
How to Make a Key Chain Chapstick Holder
DIY Roll-Up Sewing Machine Mat