How to Make a Bookmark Inspired by Favorite Classic Books
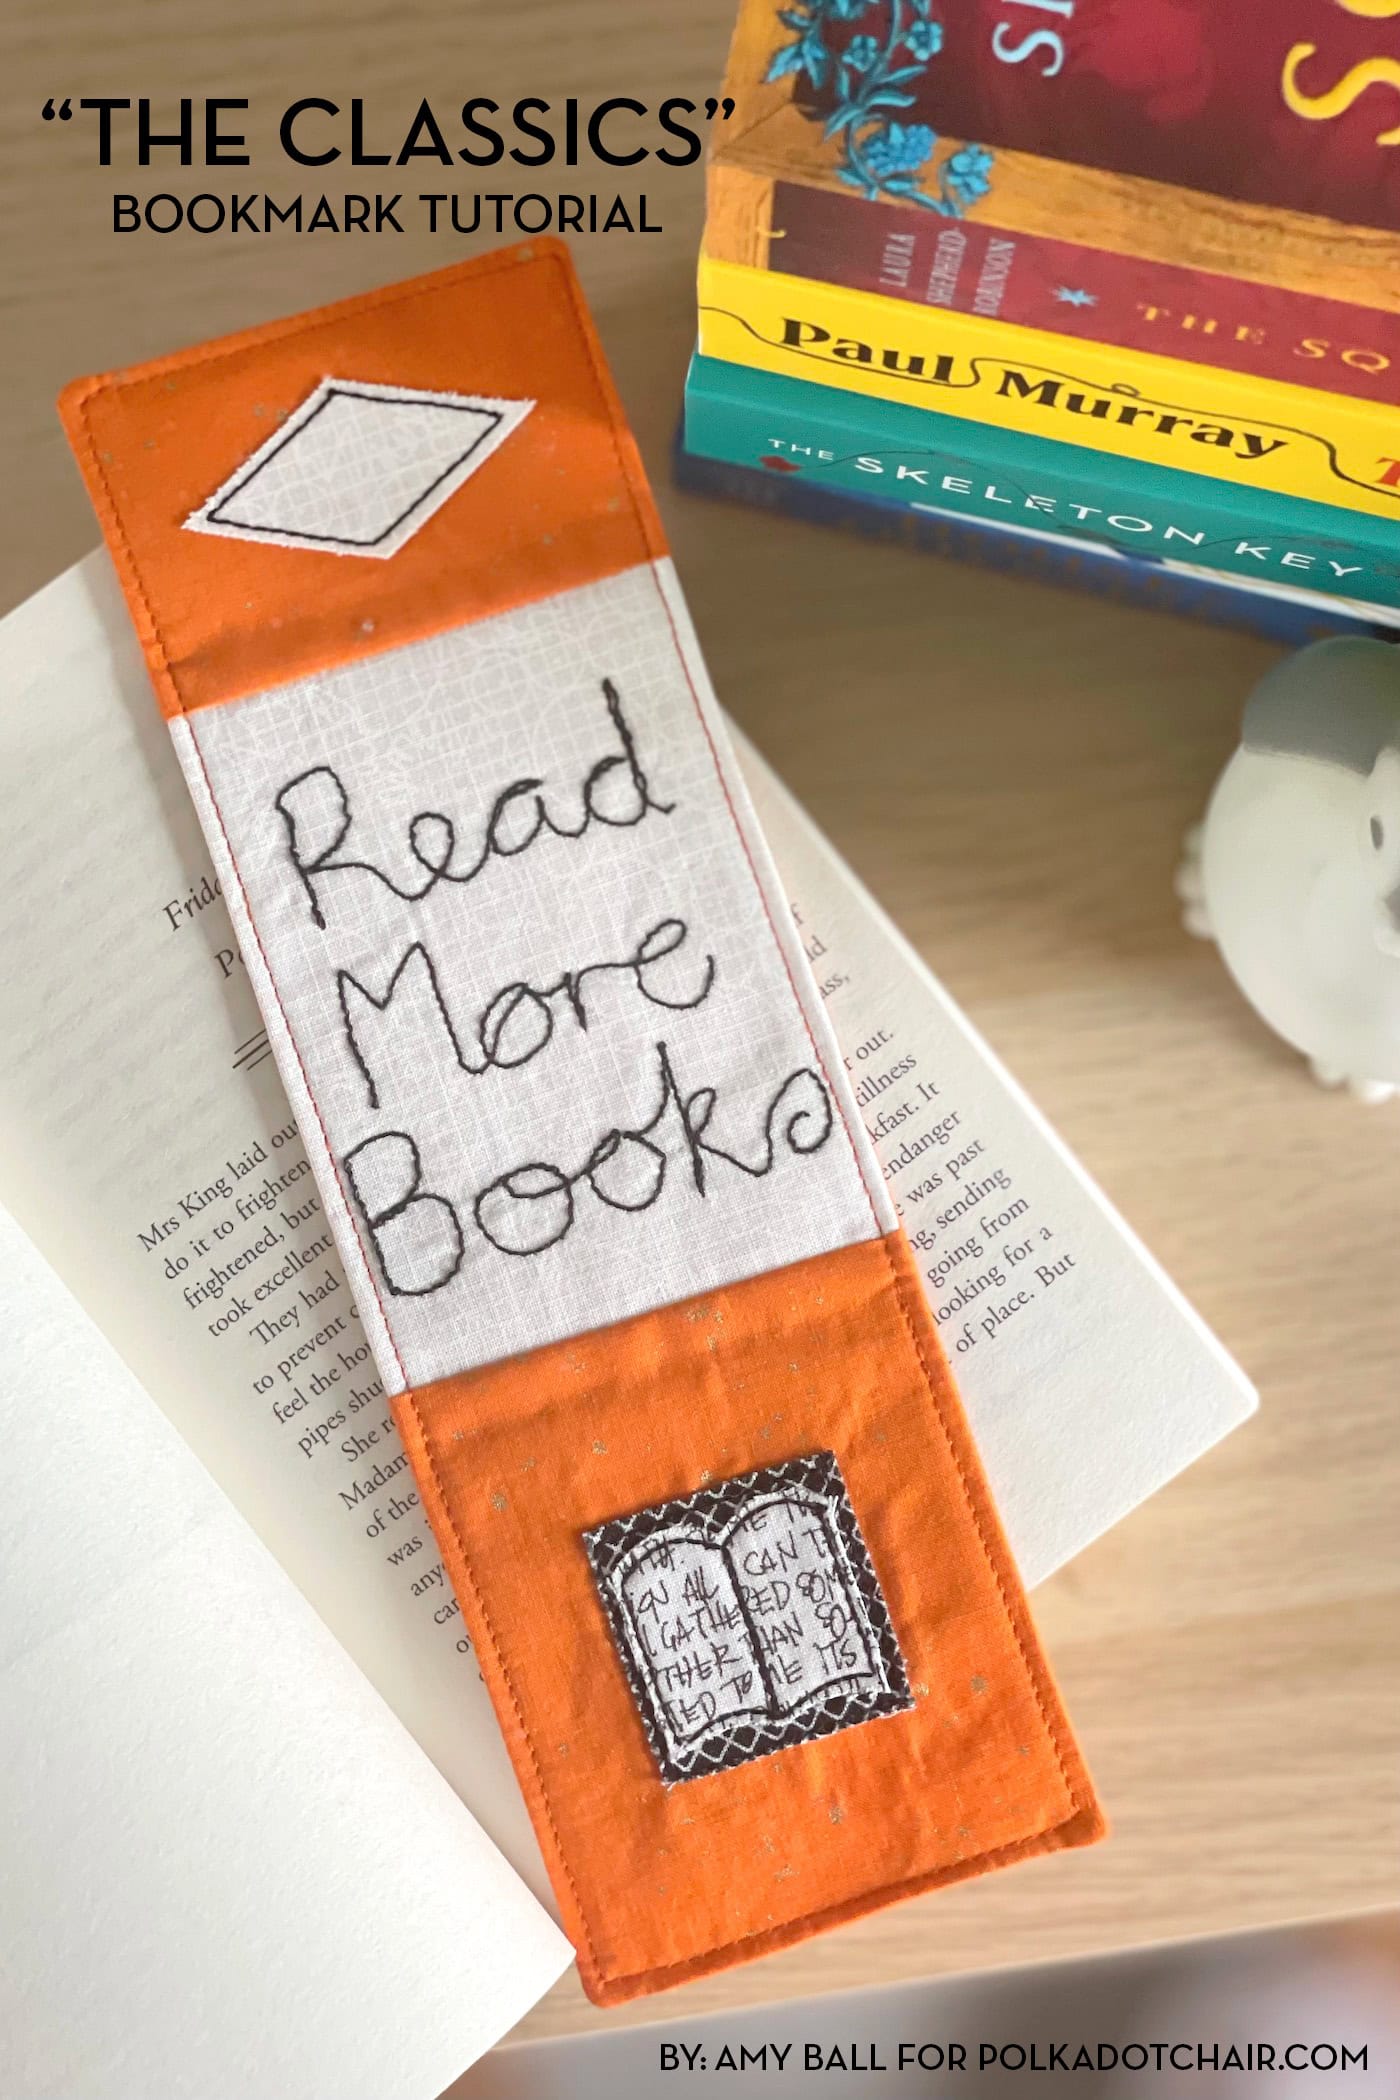
Create a bookmark inspired by one of your favorite classic Penguin books with our free DIY bookmark sewing tutorial.
In the mid-1930s, British publishing house Penguin began a “paperback revolution” by swapping the usual overly flashy illustrated covers for a simple design of three horizontal bands.
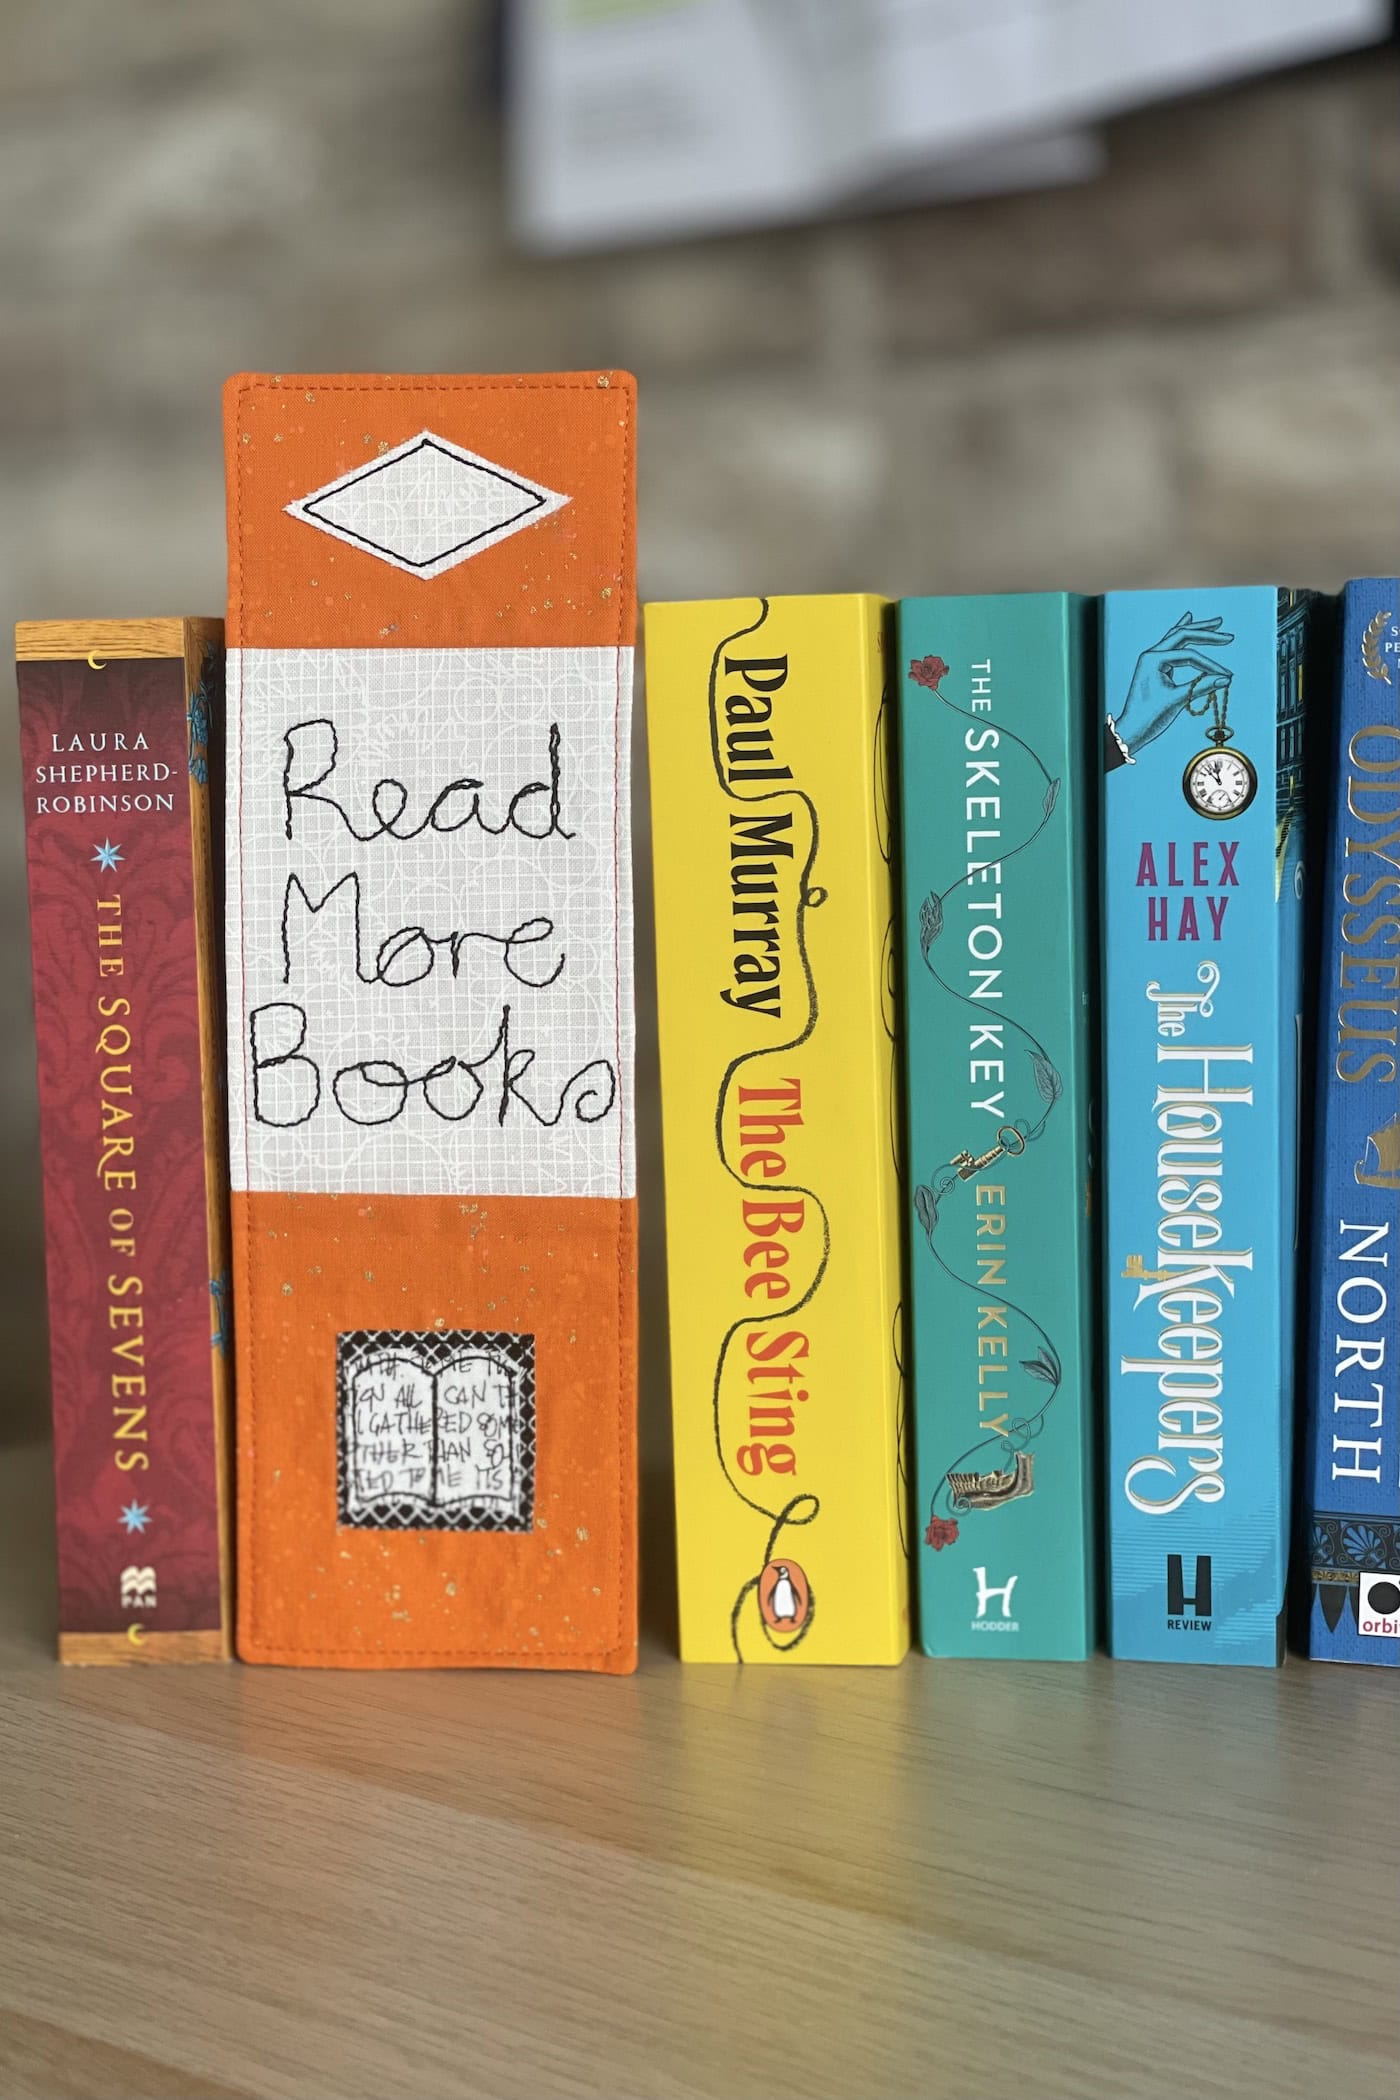
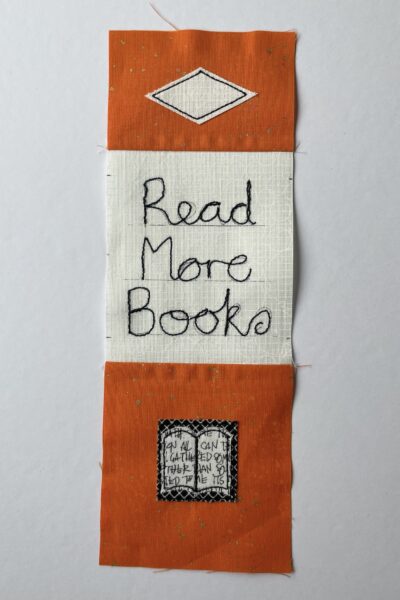
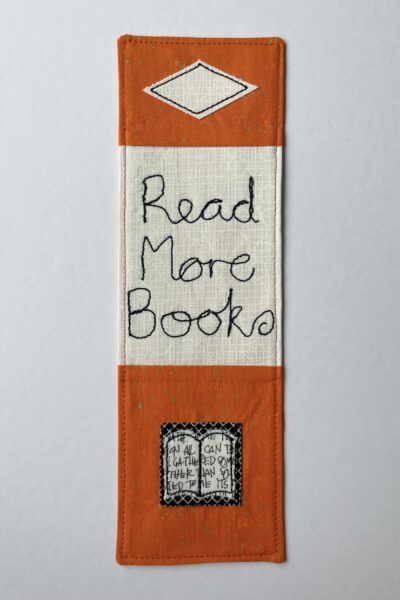
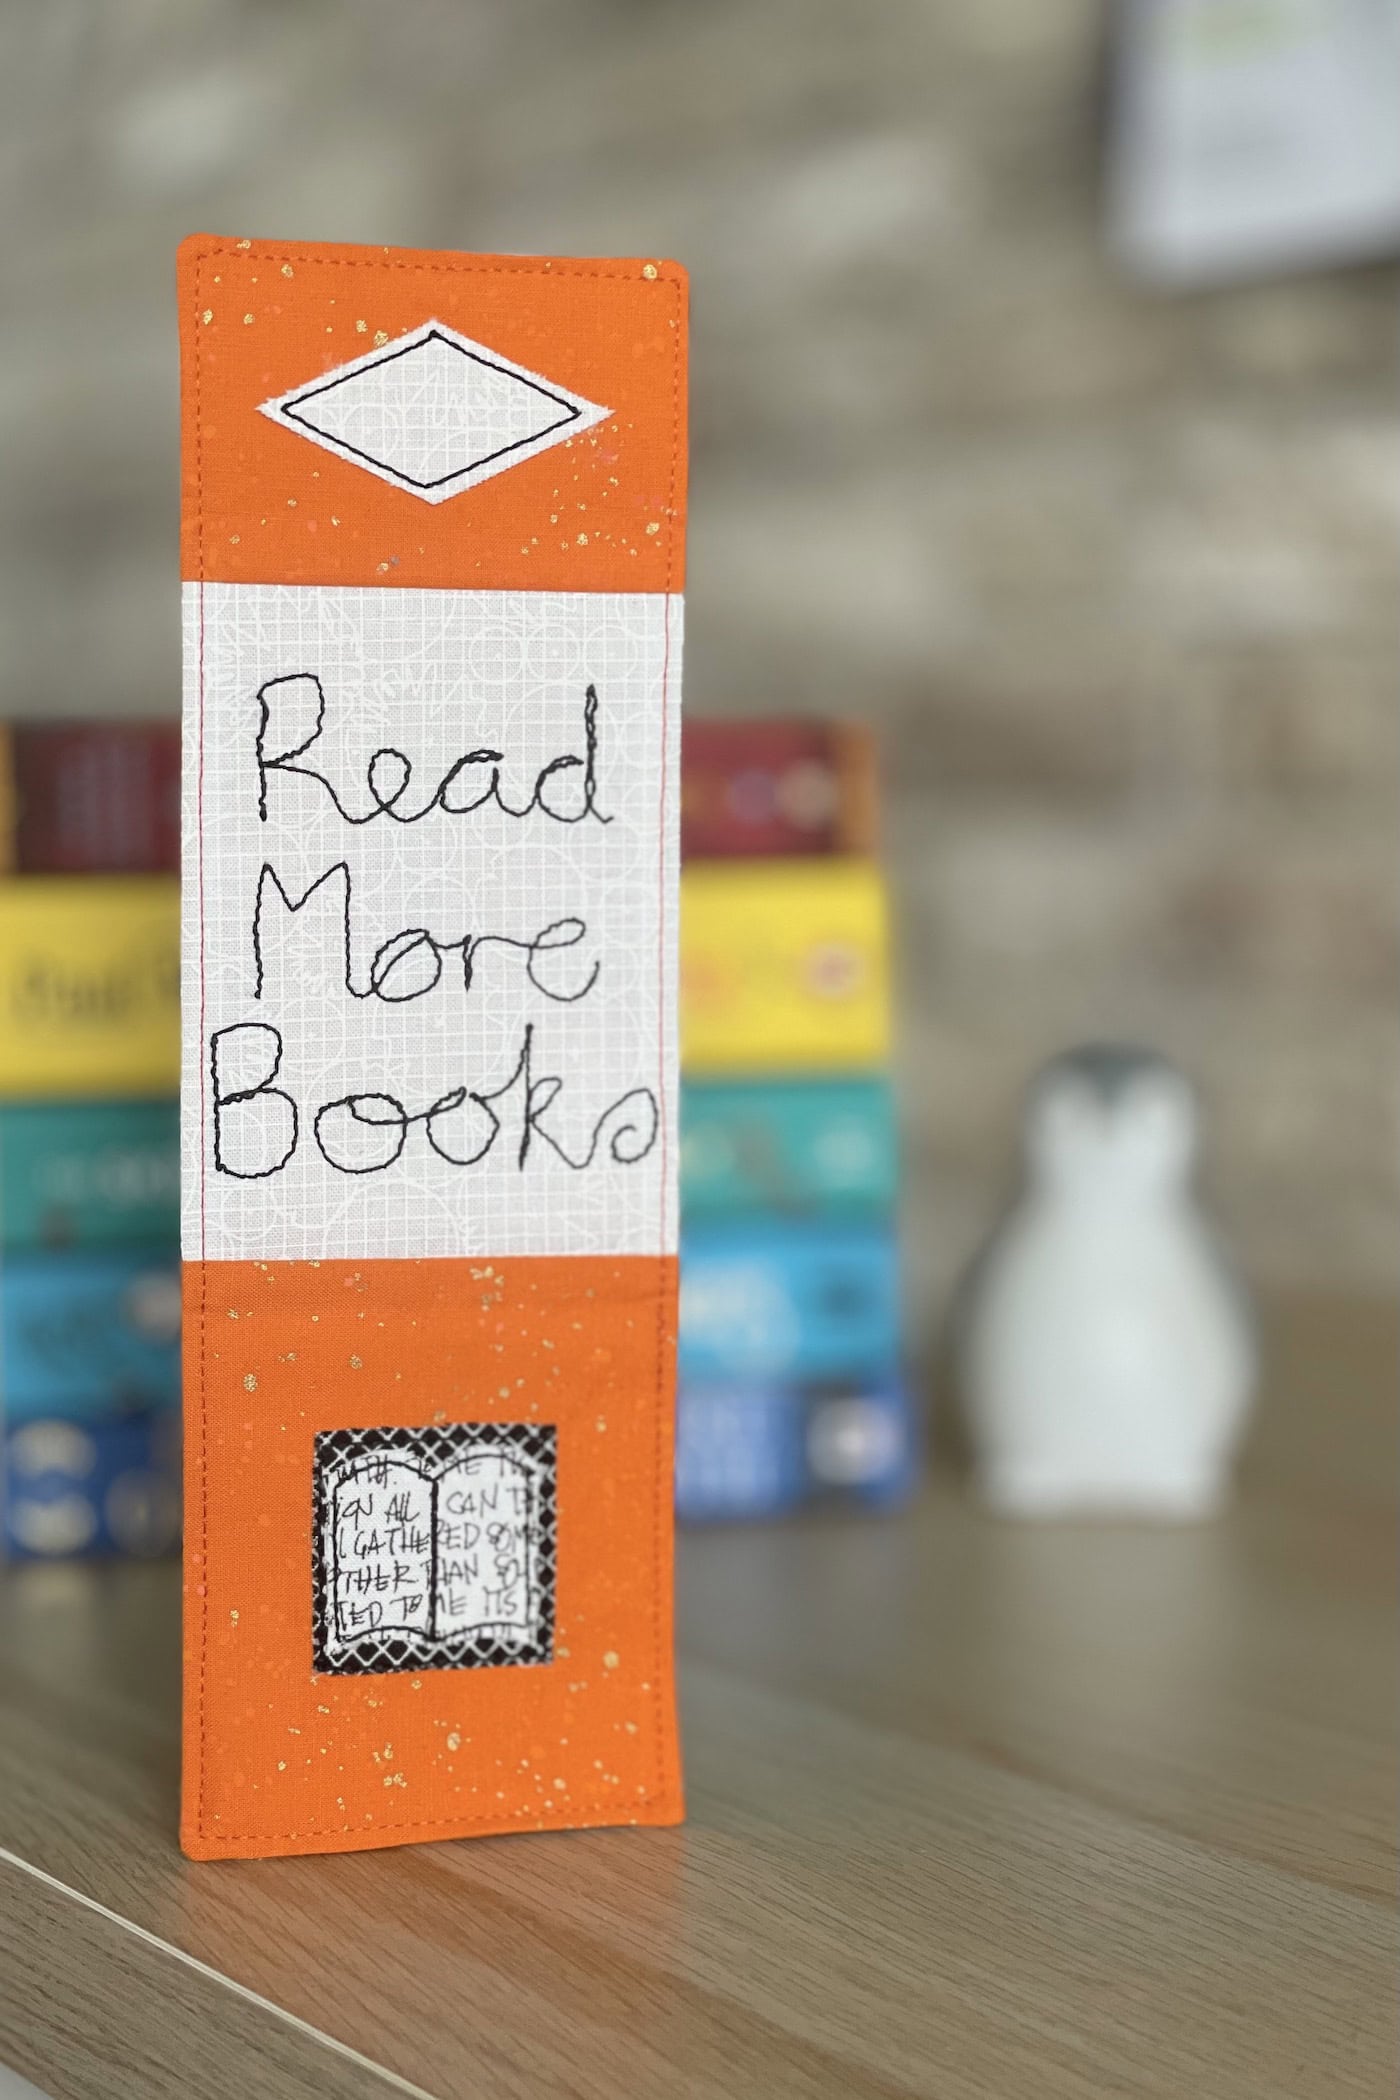
Different colors were used to show the book’s subject matter: green for crime, blue for biography, pink for travel and adventure, red for plays, and the best-known, and initially the only color to be used in this new cover style, orange for fiction. I have designed this bookmark to celebrate the classic Penguin orange and cream paperback covers.
DIY Bookmark Tutorial Series
This bookmark tutorial is the newest in our series of Creative DIY Bookmarks. Here, you can see all the other bookmark tutorials we’ve shared.
Bookmark Tutorials
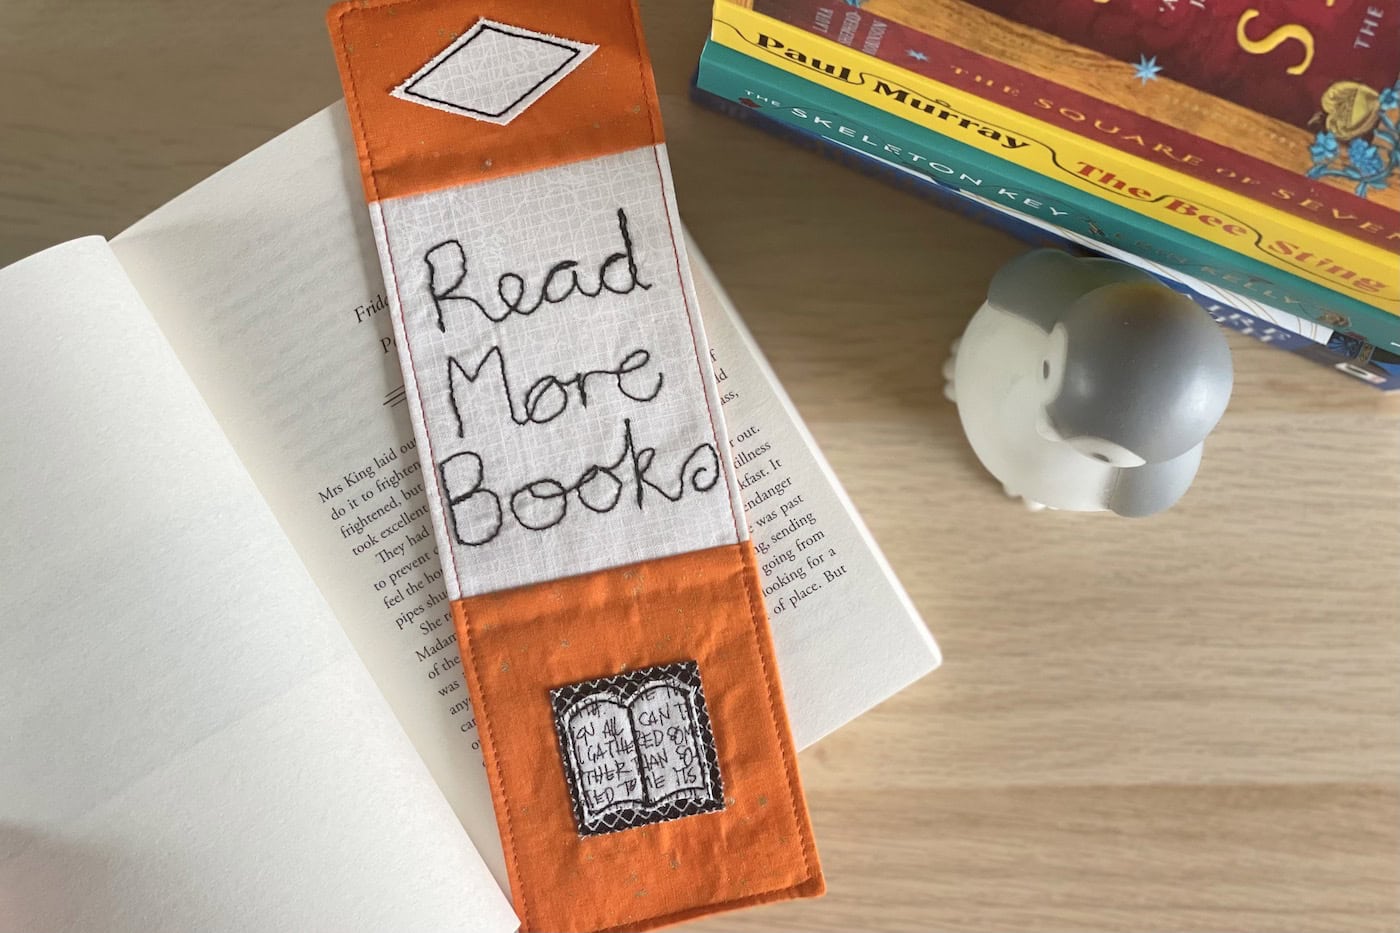
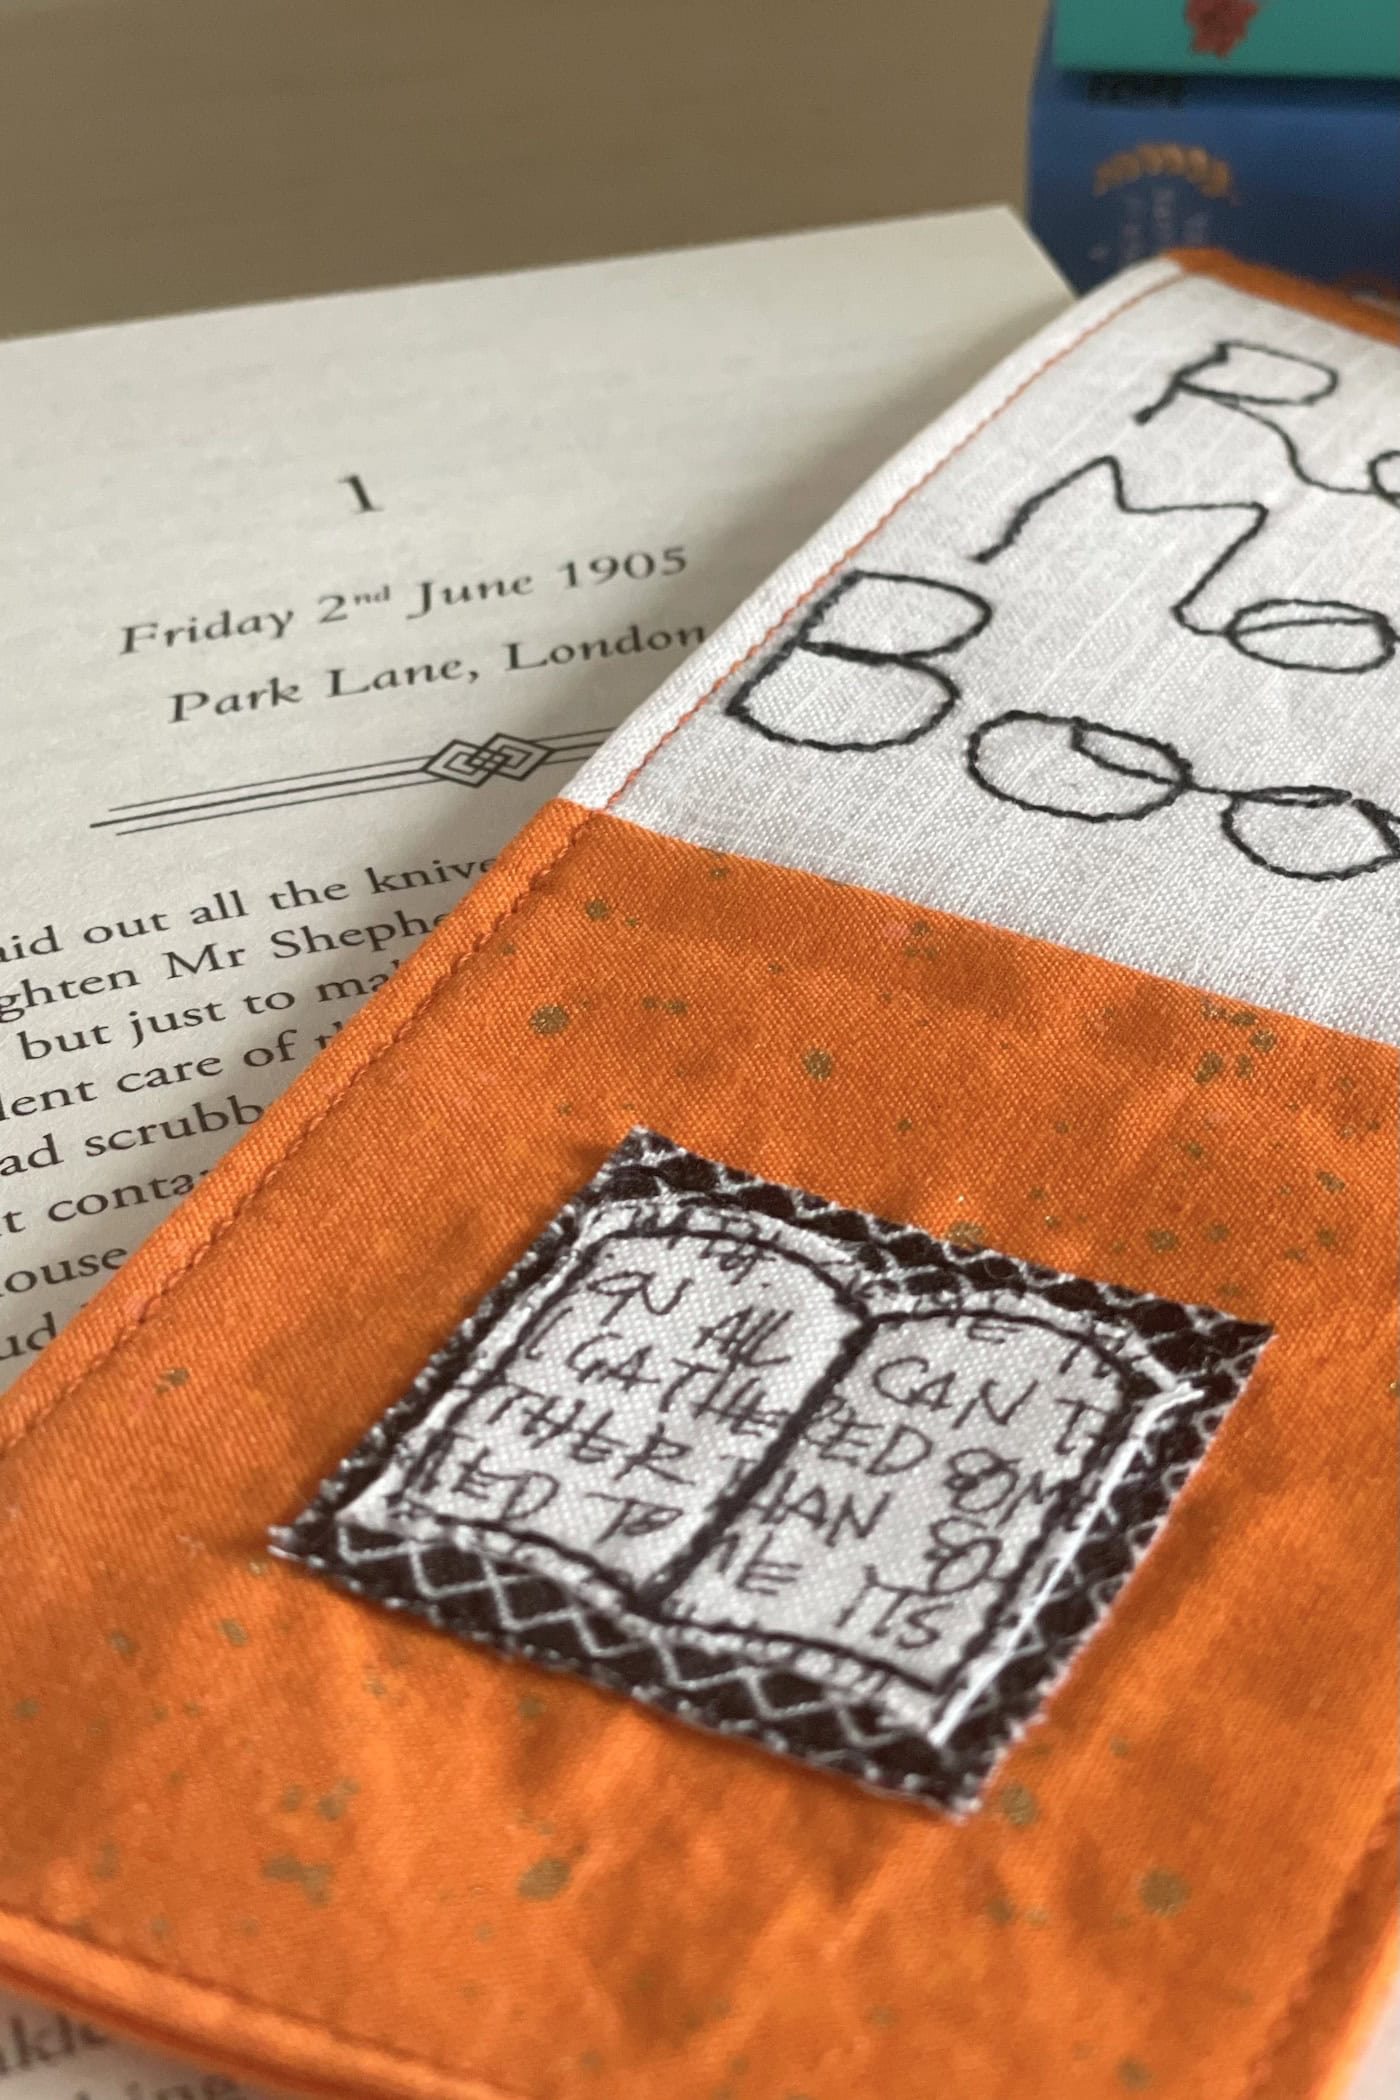
This project is perfect for fabric scraps! Did you know you can write with your sewing machine? We used the free motion feature on our machine to “write” out the words “Read More Books” with black thread.
TIP
If you don’t want to use the free motion feature on your sewing machine to create the words, you can also hand embroider them or create an iron-on with your Cricut machine.
Want to give it a try? You can find the instructions and supply list below.
SUPPLY LIST
- Orange Fabric – one Fat Eighth
- Cream Fabric – one large scrap
- Black Fabric – one small scrap
- Text (or black/white) Fabric – one small scrap
- Iron-On Interfacing
- Basic Sewing Supplies
- Fabric Safe Marking Pen
- Black Thread
Instructions
Follow the instructions below to create your bookmark; if you’d like to save this project for later, we have a print button at the bottom of the page.
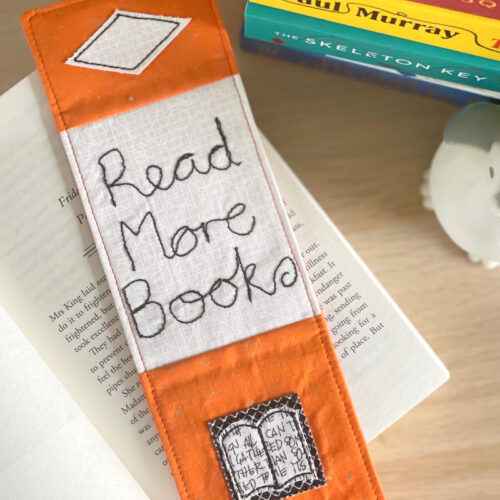
Penguin Classic Books Inspired Bookmark
Equipment
supplies
- 1 Fat Eighth Orange Fabric
- 1 Large Scrap Cream Fabric
- 1 Small Scrap Black Fabric
- 1 small scrap Text or black/white Fabric
- 1 piece Iron-On Interfacing
Instructions
Cutting:
- From Orange Fabric cut 3½” x 10” (1), 3½” x 4” (1), and 3½” x 2½” (1).
- From Cream Fabric cut 3½” x 4½” (1) and 2½” x 1½” (1).
- From Black Fabric cut 1½” sq (1).
- From Text Fabric cut 1½” sq (1).
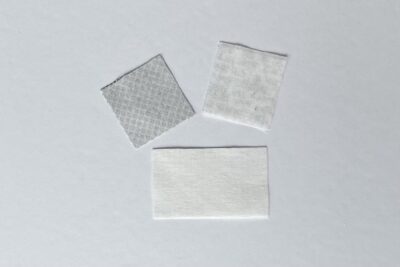
- From Interfacing cut 3” x 9” (1), 3” x 3¾” (1), 2½” x 1½” (1), and 1½” sq (2).
Construction:
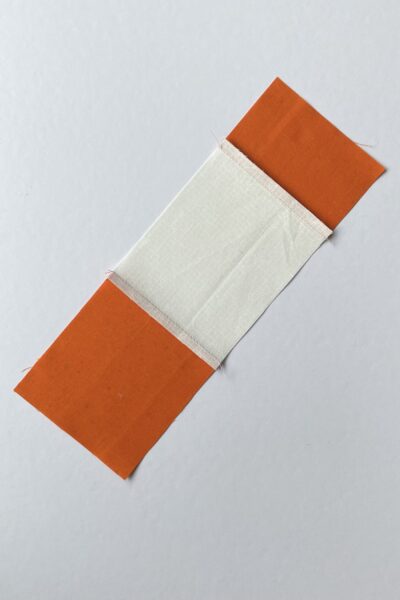
- Take the Orange Fabric 3½” x 2½” rectangle, the Cream Fabric 3½” x 4½” rectangle and the Orange Fabric 3½” x 4” rectangle. Sew together in this order then press the seams away from the Cream Fabric rectangle.
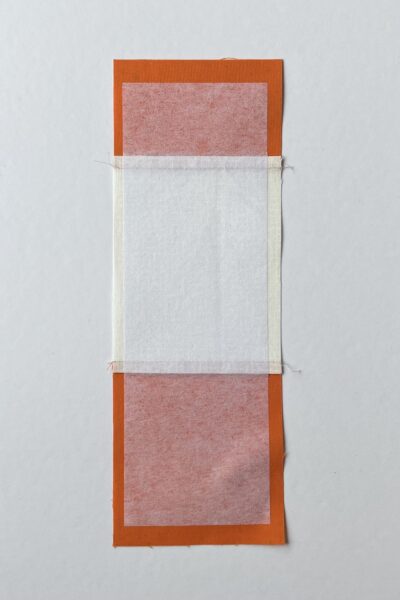
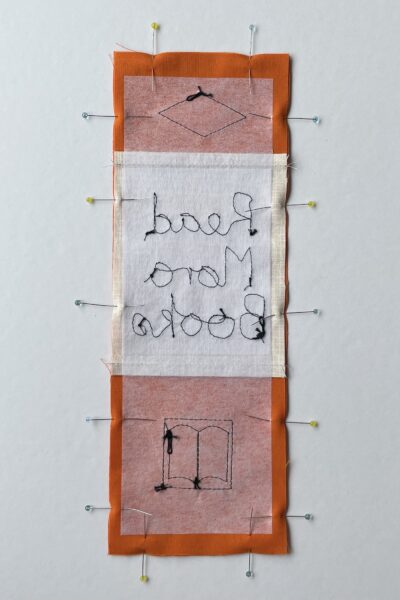
- Following the manufacturer’s instructions, add the Interfacing 3” x 9” rectangle to the wrong side of the step 1 unit, positioning it in the centre. Then add the 3” x 3¾” rectangle onto the Cream Fabric section.
- Add interfacing to the wrong side of the Cream Fabric 2½” x 1½” rectangle, the Black Fabric 1½” square and the Text Fabric 1½” square.
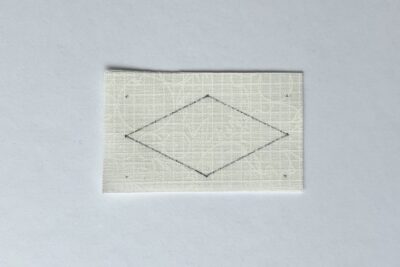
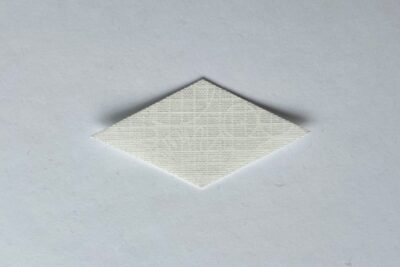
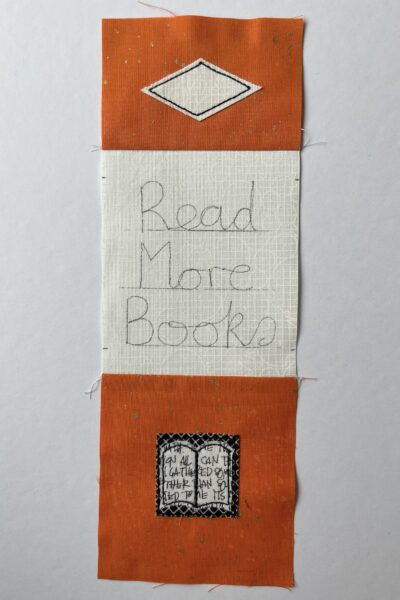
- Draw a diamond shape onto the Cream Fabric rectangle from step 3. Start by marking the four corners of a 2” x 1” rectangle, then mark the centre of each of the four sides. Now join the four centre points with diagonal lines to complete the diamond shape.
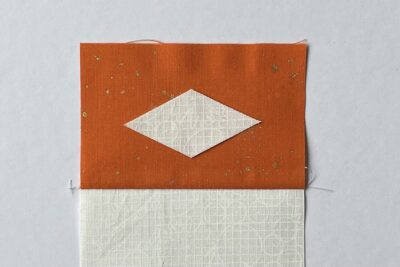
- Carefully cut out the diamond and position it, right side up, in the center of the upper orange section (make sure to position it an extra ¼” from the top edge).
- I recommend holding it in a place with a few dots of fabric glue but you can also use pins.
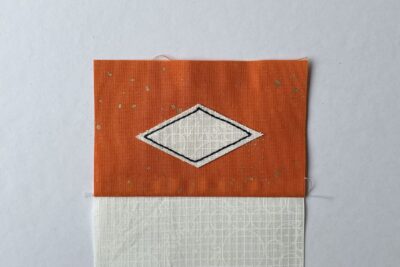
- Sew close to the raw edge of the diamond in black thread. I have used a thicker thread (12wt) for a bolder outline.
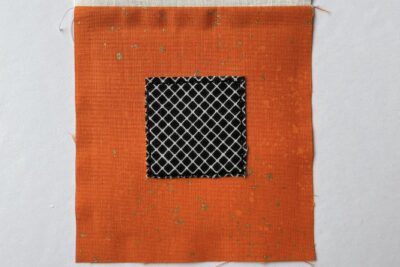
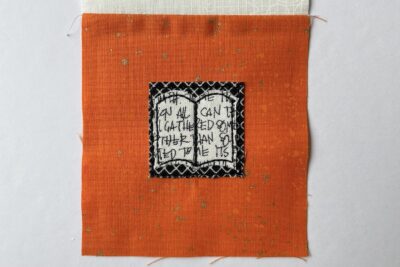
- Repeat steps 5 to 6 with the Black Fabric 1½” square on the lower orange section.
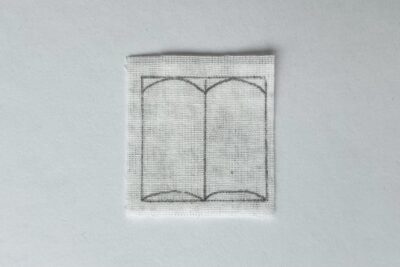
- Take the Text Fabric 1½” square and draw a 1¼” square on the wrong side with a vertical central line. Then add four shallow curves to create the book’s pages. Use the photo as a guide.
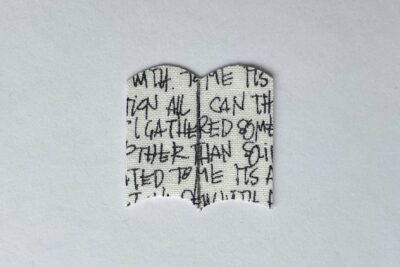
- Cut out the shape from step 7 and draw a vertical central line to the right side.
- Position in the centre of the Black Fabric square (secure with glue dots) and then sew in place close to the raw edges, plus a straight line down the centre following the guide line from step 8.
- Using a disappearing ink pen, mark three horizontal guide lines in the cream section; the first line should be ½” above from the lower seam, he second line should be 1” above the first line, and the third line should be 1” above the second line. Write the words “Read More Books”, one on each guide line.
- Free motion embroider the words onto the bookmark.
- Pin the bookmark front and the Orange Fabric 3½” x 10” rectangle right sides together. Sew together around the edges using a ¼” seam allowance and leave a turning gap of about 2” along the bottom edge.
- Turn the bookmark the right way out, carefully poke out the corners and then topstitch around the four edges to finish.
About the Designer

Amy lives in the north of England with her husband and son. When she’s not sewing and quilting, Amy can usually be found baking or reading. You can find her on Instagram @amyatthegate

