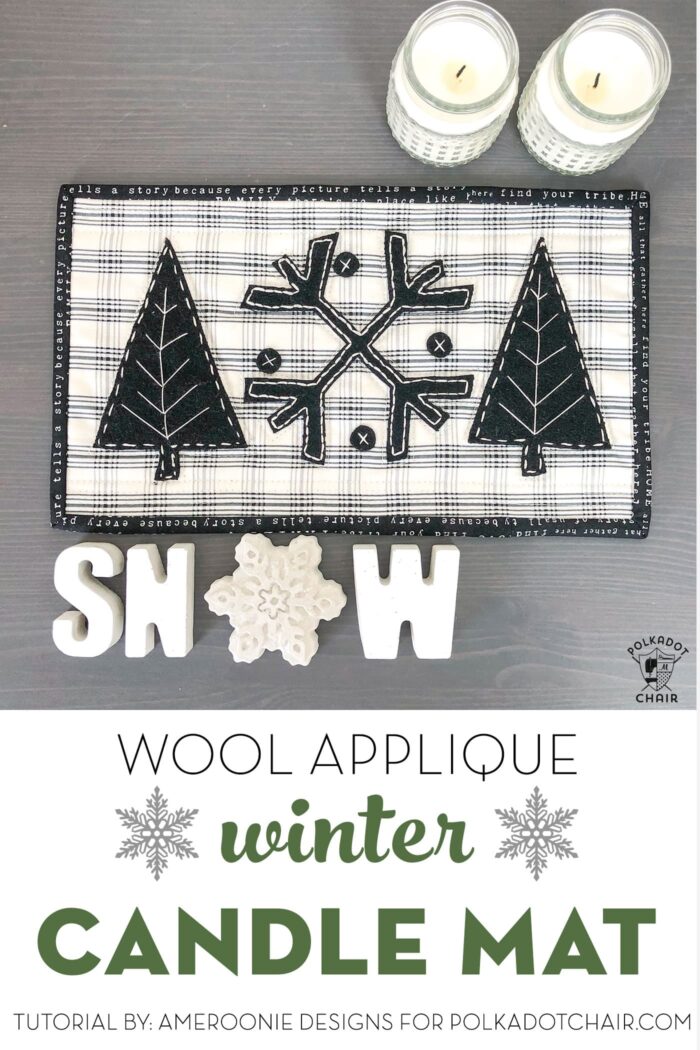
Wool Applique Winter Mat Tutorial
Who says you have to put away all of the cute decor after the Holidays? This Wool Applique winter mat is charming and cozy and perfect to add a bit of warmth to the long winter days! Amy is sharing a free tutorial showing you how to make one for your own home.
Hello there friends! It’s Amy from Ameroonie Designs, here again, to share with you this fun Winter candle mat tutorial.
I love the feeling of the house after putting all the Christmas decorations away, it always feels so fresh and clean. But, I also feel a little disappointed that I don’t have many winter decorations to fill in some of the gaps and warm up my home for the months ahead.
This year I am working to change that and I’m determined to create that Hygge feeling that has been so popular lately. It means to create a cozy, comfortable atmosphere and focuses on light and texture.
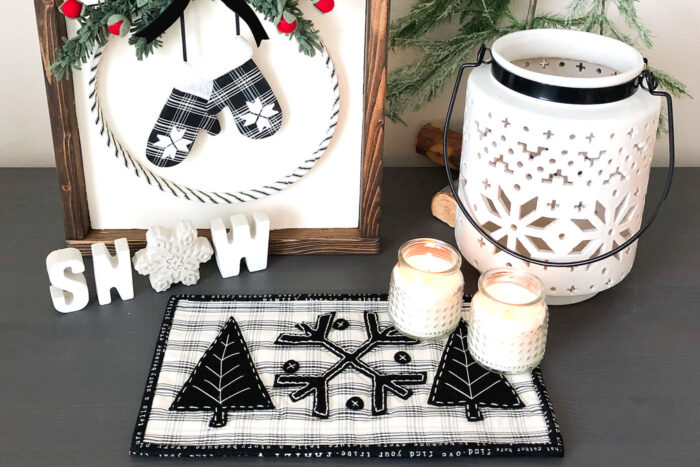
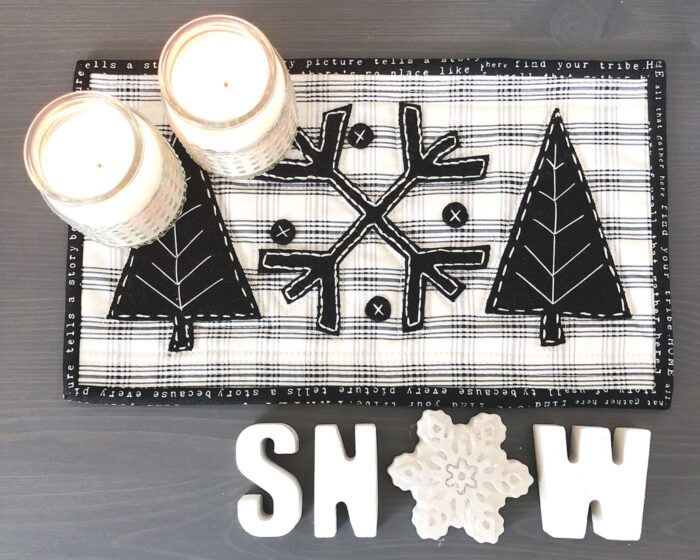
This is where the candle mat comes in. Not only is it a home for candles to rest, but the woven wool applique and embroidery also adds texture and interest to this simple decor piece. I think you’ll love how fun and simple this is to make.
Wool Applique Winter Candle Mat Tutorial
Note: Do not leave candles unattended with this or any other material.
How to Get the Printable Pattern Pieces. You can get a copy of the pattern pieces used in this project in our Template Library. Access to the library is for our Newsletter subscribers, and subscriptions are free. Please visit this page and follow the instructions to get the pattern pieces. PLEASE READ the instructions on that page. NOTE: The PDF only contains the pattern piece; you still need to read this tutorial to complete your project.
Wool Applique Winter Candle Mat Pattern
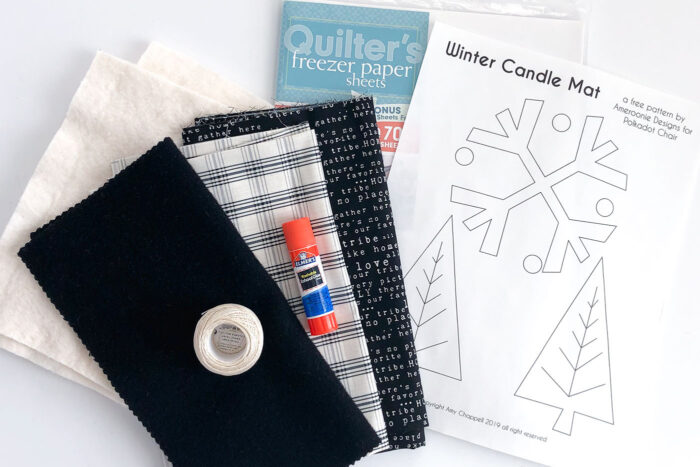
supplies
- Pattern for applique pieces - download HERE
- Fabric: 2- 7” X 12” pieces of fabric as well as a 2 ½” strip for binding
- Woven Wool or Wool Blend felt in black- I am using Riley Blake Designs Woven Wool.
- Batting- a 7” X 12” piece
- Freezer paper to cut out the pattern pieces- I like to use printable sheets but you can always trace them too.
- Glue stick
- Embroidery floss or perle cotton: I started out using 3 strands of DMC floss in ECRU but ran out, so I used the 10g perle cotton in ECRU and love how it looked. If you are purchasing materials for this project, I would recommend the perle cotton thread, but if you are using what you have- the floss works fabulously!
Instructions
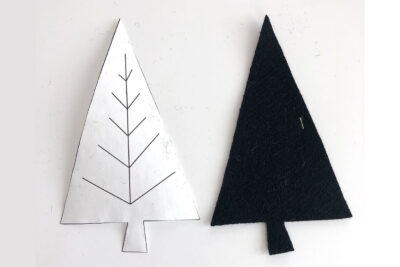
Prepare Wool Applique Pieces
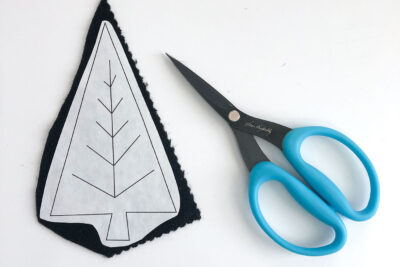
- Print or trace the pattern pieces onto the paper side of the freezer paper.

Use a warm iron with no steam to fuse the freezer paper to the wool.
Cut out the pattern pieces along the drawn/printed lines.- Remove the paper backing from the wool applique pieces.
Add Wool Applique to the Fabric
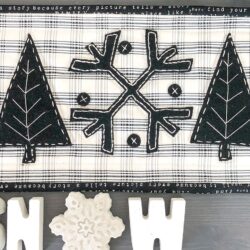
- Position the wool applique pieces on one of your 7” X 12” fabric pieces. Center the snowflake and then place the trees.
Use the glue stick to lightly glue the applique in place. I lift up a portion of the applique, leaving the bulk of it in place and just glue a small section at a time so the positioning isn’t distorted.
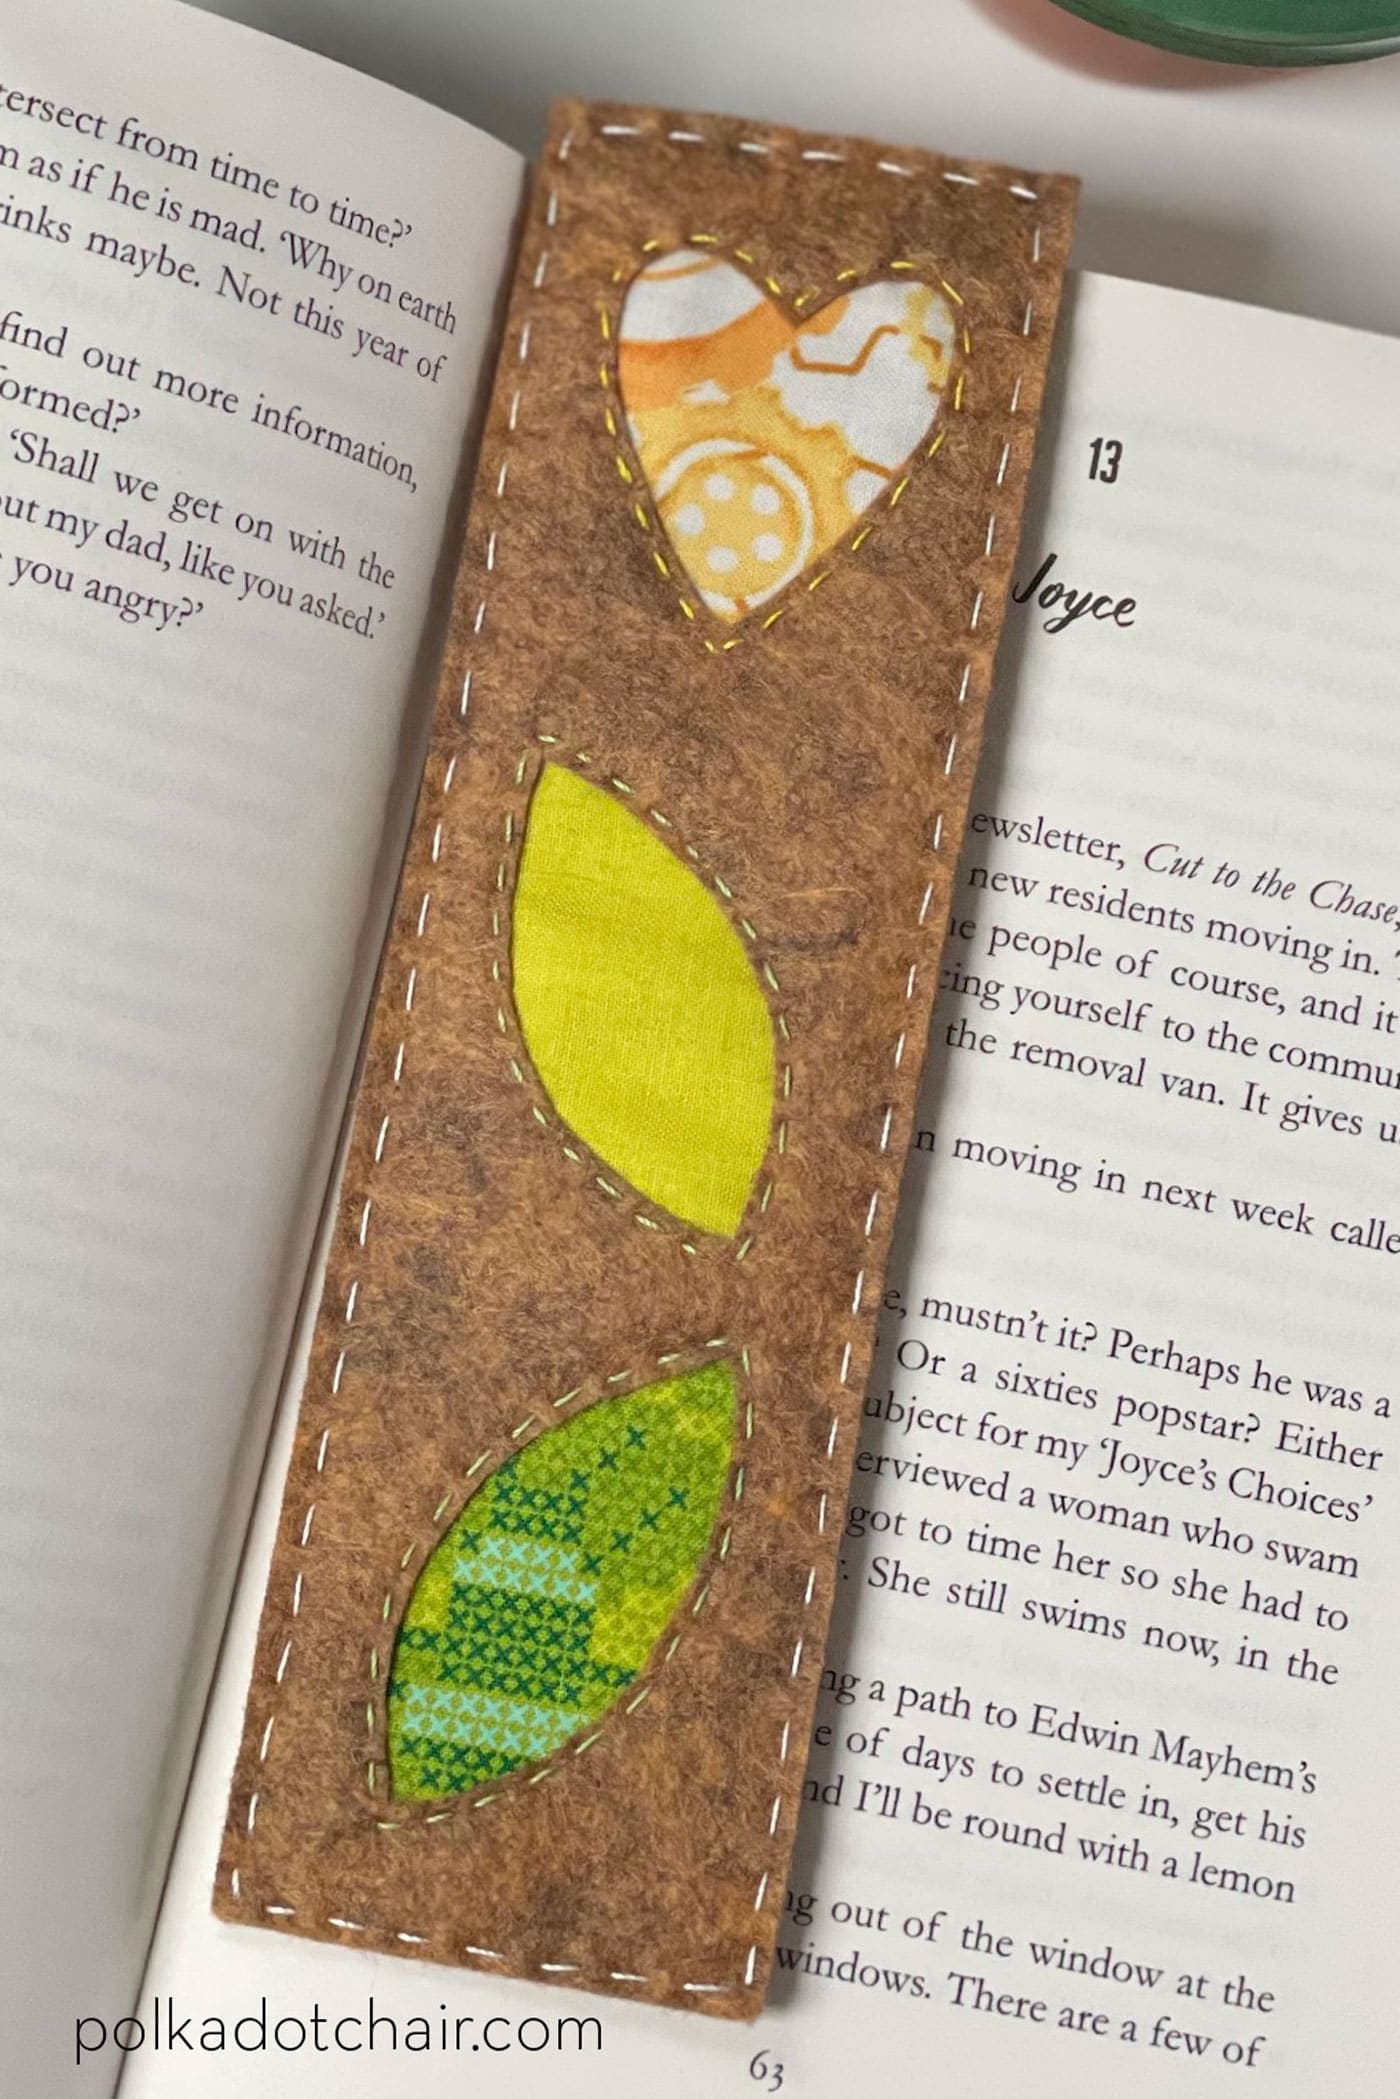
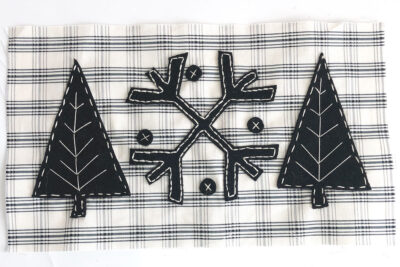
Hand Stitch Details onto Applique Pieces
- Stitch down the applique using your desired embroidery stitches. I used a running stitch for the border of the trees and a backstitch for the snowflake. The details in the center of the trees were done with simple large stitches freehand- don’t worry about matching exactly the lines in the pattern.
Finish the Candle Mat
Make a quilt sandwich for your candle mat: place the remaining piece of fabric right side down, layer the batting on top and complete with the applique fabric right side up.
Baste your quilt sandwich using your favorite method.
Quilt your candle mat. I just did a simple outline of each of the applique pieces and added a couple of rows of quilting at the top and bottom of the mat. Bind your mat using the same method you would use for binding a quilt.
That’s it! So quick and fun!
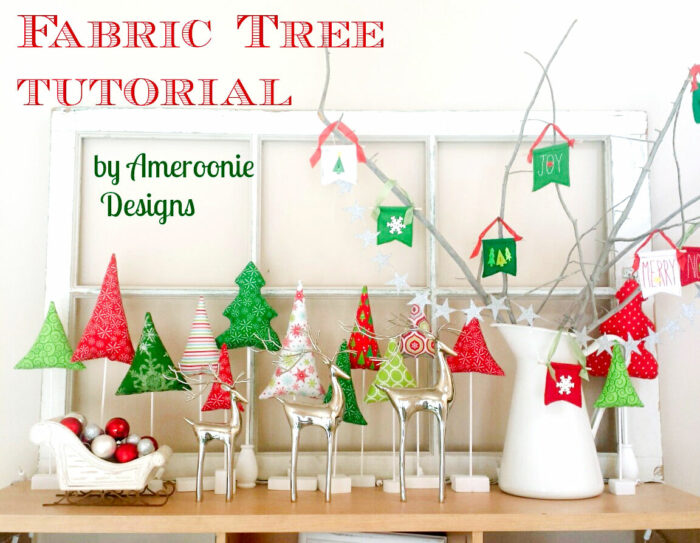
And if you’re looking for more ways to add some cozy touches to your decor this winter, you might like this fabric tree tutorial:
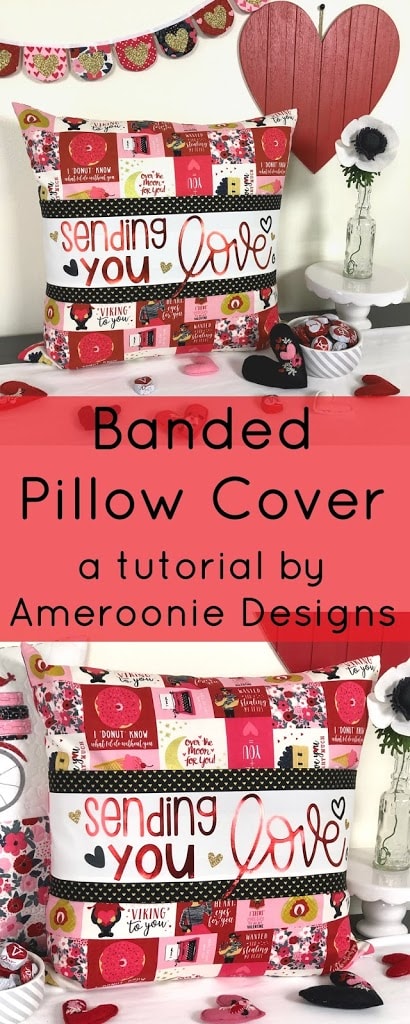
or this banded pillow cover is a fun project as well.
About the Designer:

Hello! I’m Amy Chappell, the person behind Ameroonie Designs. I’m a sewing and quilt pattern designer, and I’m proud to say that my work has been featured in several print publications and popular DIY websites.
I am the mom of six kids- which is a big reason I create and sew. I find that I am happiest when I am making things, and taking time to be happy makes me a better mom.
Join me in my exclusive Let’s Sew Friends membership, where you’ll find small, manageable monthly sewing patterns, live classes, and lots of video tutorials!
More Projects To Make with Wool:
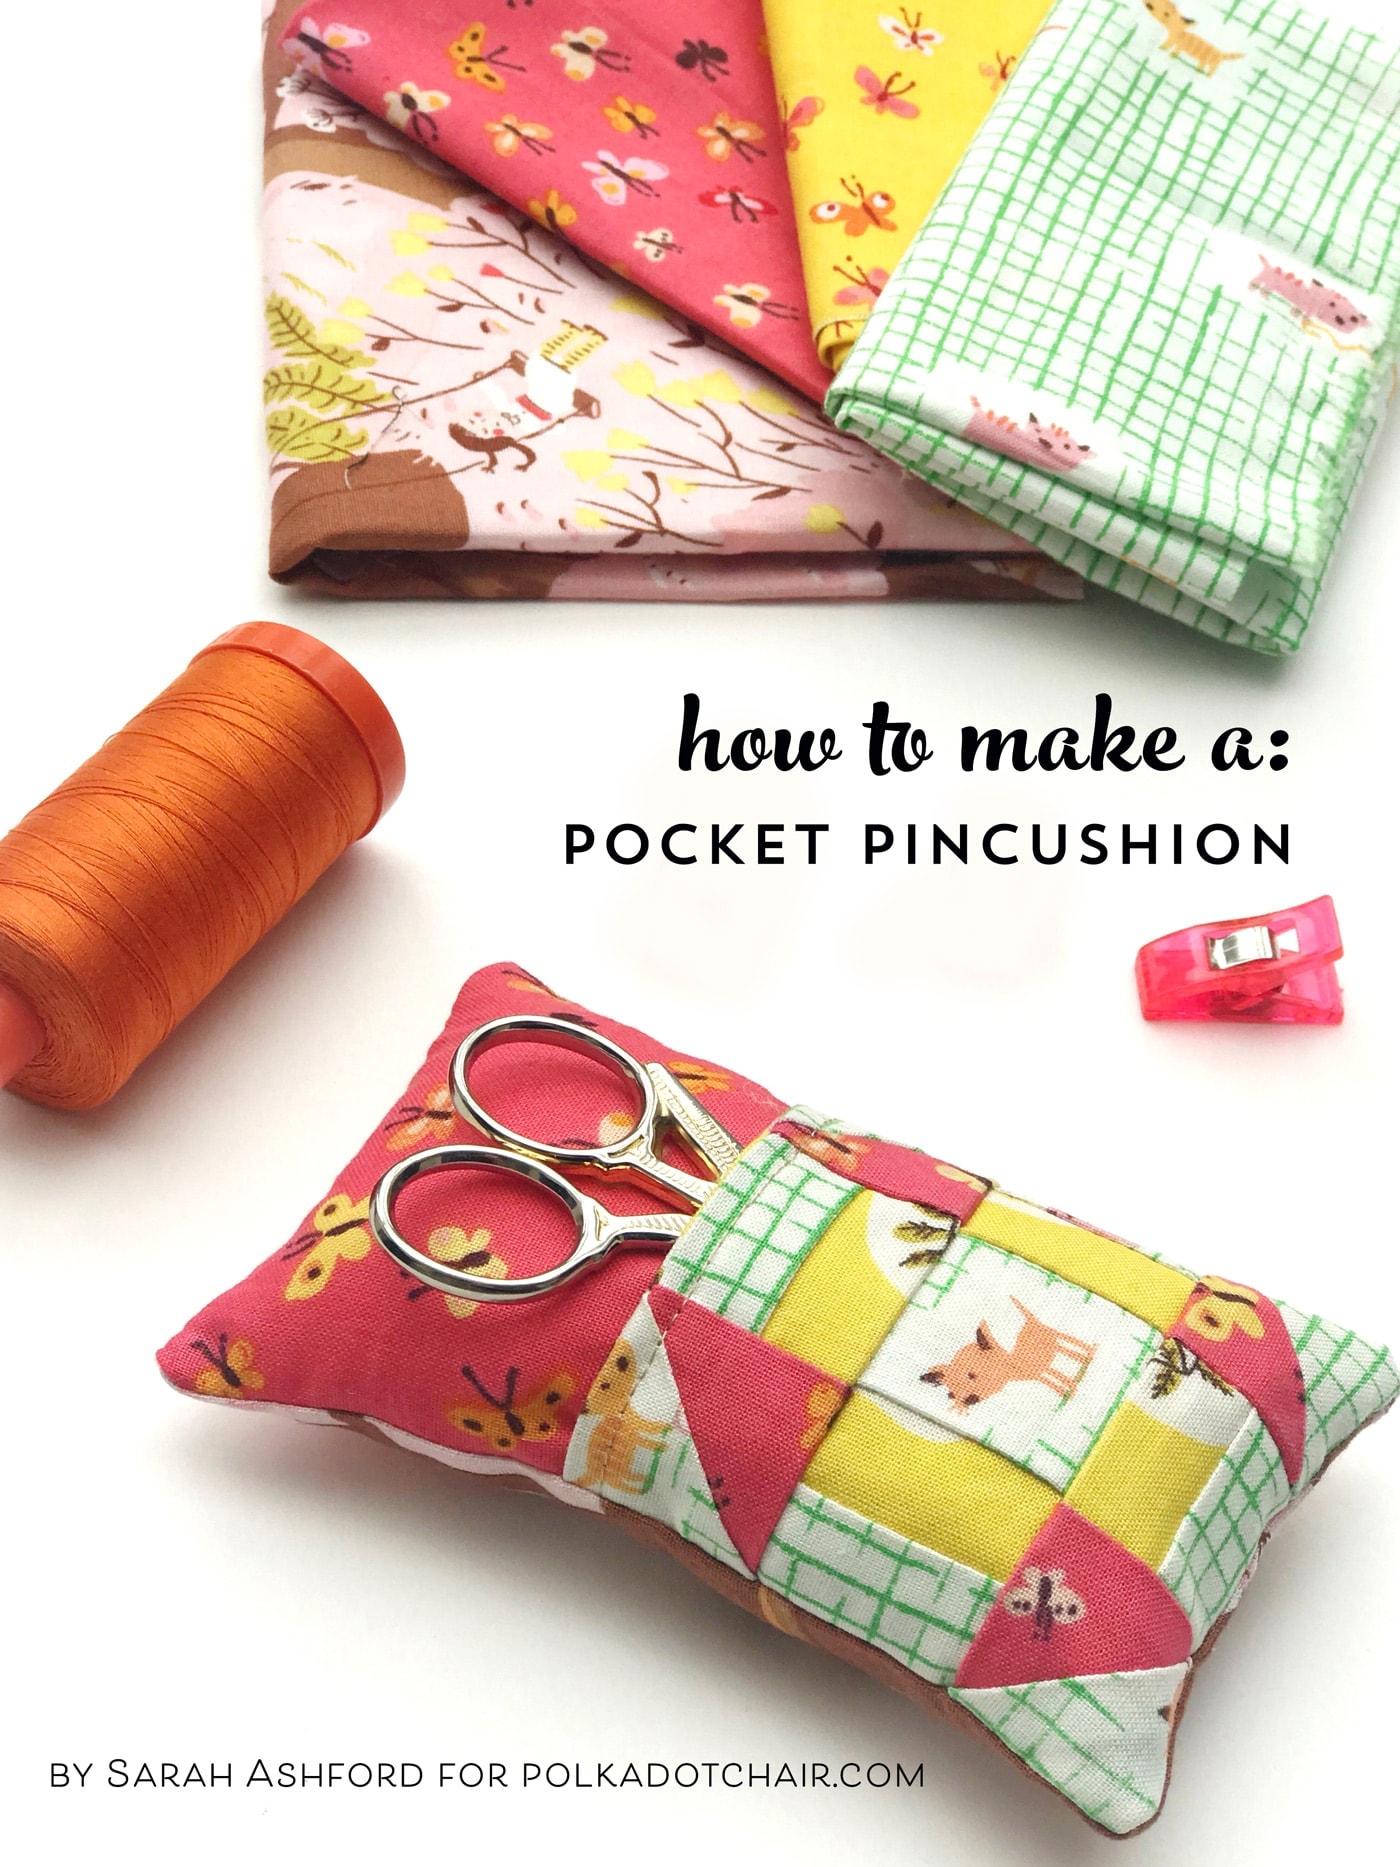
Wool Felt Applique Flower Pincushions