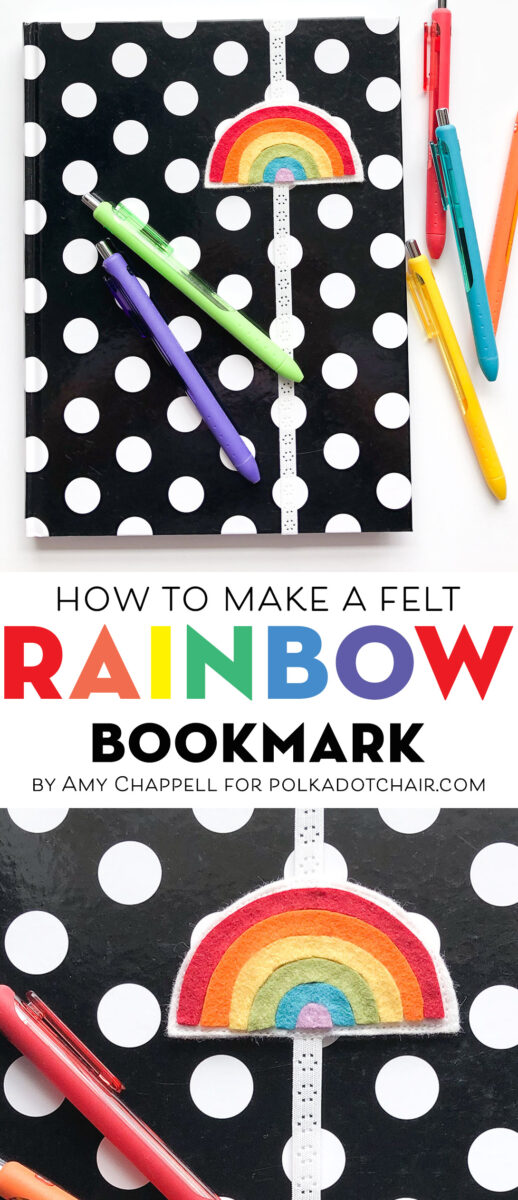
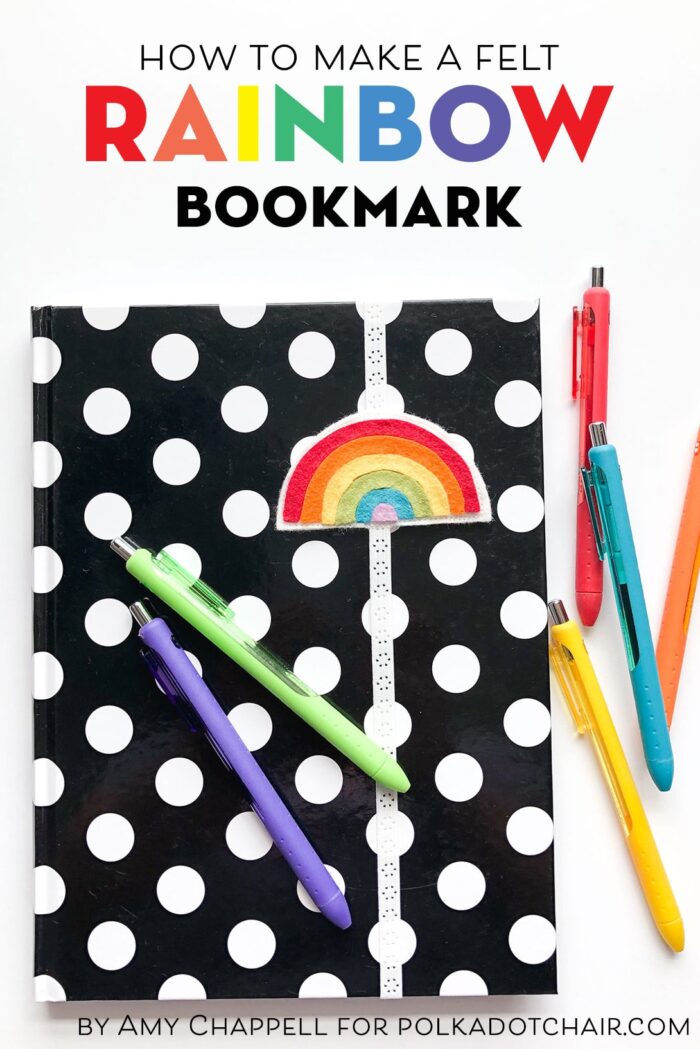
How to Make a Felt Rainbow Bookmark
Amy always has the cutest and brightest projects to share with you guys. Today’s tutorial is no exception. She’s showing you how to make a felt rainbow bookmark that attaches to a journal or book with elastic. It’s cute AND useful!
With summer reading on my mind, I wanted to create a fun, simple bookmark for my bookworms to use. Something that will also carry them ahead to all the reading a new school year will hold.
These Felt Rainbow bookmarks are fun and easy and require very little stitching. Make one or a dozen, use them as bookmarks, or glue them onto a paperclip to use in your planners.
Elastic Felt Rainbow Bookmark Tutorial:
They would also make darling embellishments on pouches or backpacks!
Do I have you convinced that you need some felt rainbows in your life? Good, let’s get going!
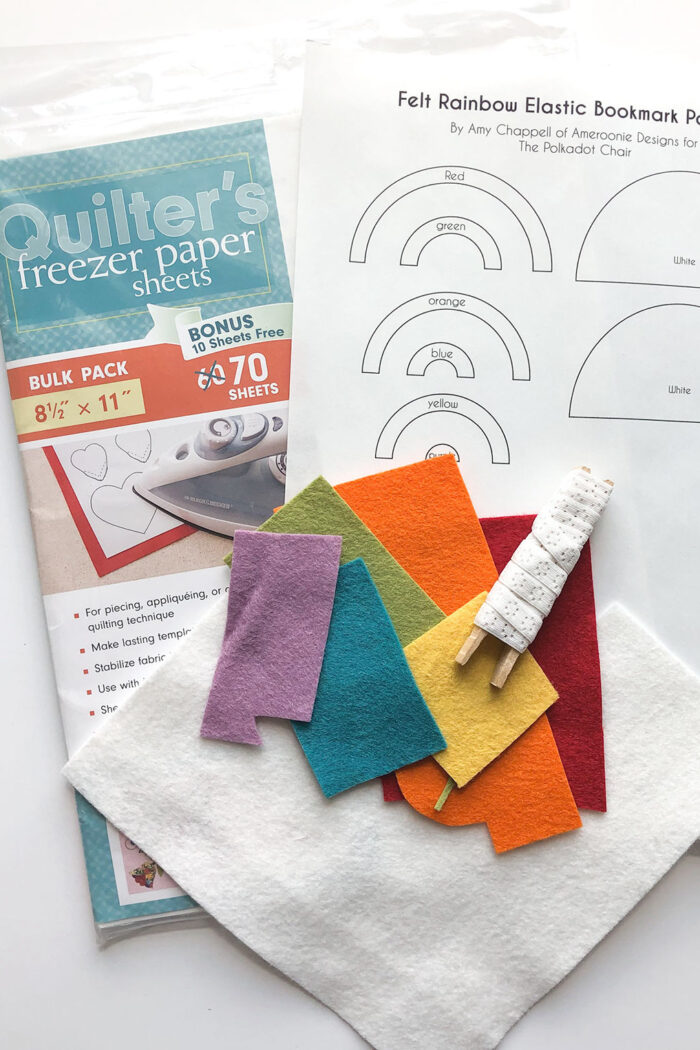
Elastic Felt Bookmark Supplies:
- Felt in rainbow colors and white- only small scraps are necessary. I recommend wool blend or wool felt, it holds its shape much better.
- Freezer paper- from the roll or in printable sheets
- Pattern for Rainbow
- Elastic for the bookmark- you can use a thin elastic, or foldover elastic whatever you prefer.
- Fabric glue or tacky glue (not shown in picture)
- Scissors and sewing machine or needle and thread
- Printable Pattern Pieces – download HERE
Making your Felt Rainbow:
Print your pattern. If you are not using printable freezer paper sheets there are a couple of options for you. Cut a sheet of freezer paper from the roll the size of a regular sheet of paper.
Then, use washi or light tack tape to tape it to a regular sheet of paper and then run it through your printer. Alternatively, you can print the pattern onto regular paper and then trace your pattern onto the paper (not waxy) side of the freezer paper from the roll.
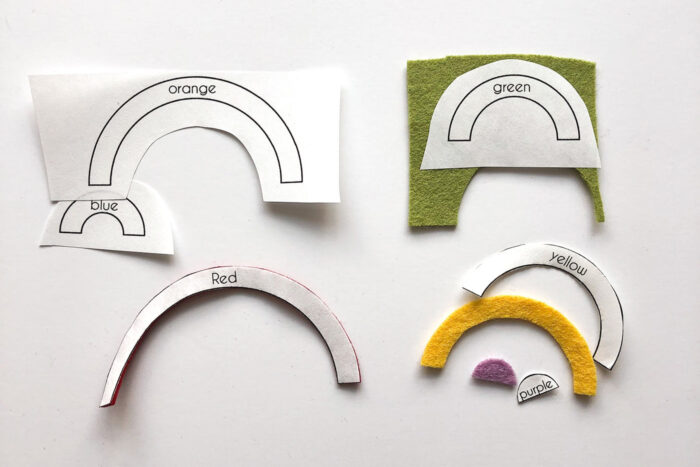
Cut apart your pattern pieces leaving a margin around each piece.
Use a medium heat iron with no steam to adhere to the waxy side of the pattern pieces to the felt.
Cut out each pattern piece along the lines.
Pull off the freezer paper from each felt piece.
Test fit your rainbow pieces, centering them on one of the white half-circle pieces. Trim felt pieces if necessary.
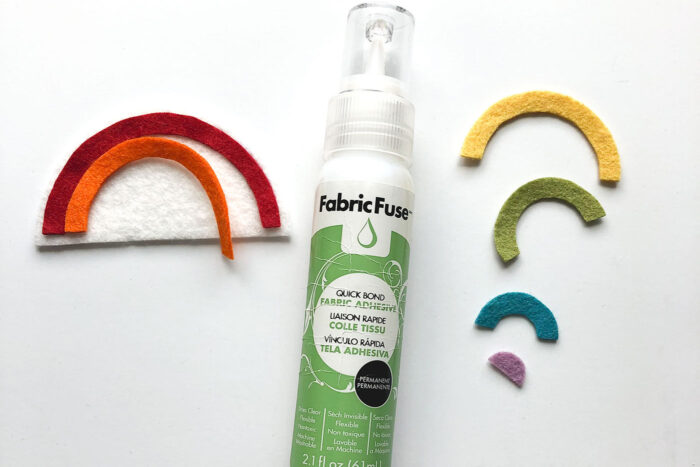
Pull all but the red rainbow piece off the white backing.
Lift up one side of the red piece and run a thin line of glue along the back, place back down on the background.
Glue the second side of the red piece.
Continue this method placing each of the remaining colors of the rainbow one the background and gluing into place.
Let it dry.
Assemble the Rainbow Bookmark:

Take your second white half circle background piece and lay it in front of you.
Take the length of your elastic- (*NOTE: I measured my elastic to fit a notebook I am using as a journal, if you want a more generic bookmark a 15” length of elastic will fit most novel sized books.) and pin each end to the top and bottom of the center of the back white half-circle.
The ends of the elastic should overlap onto the felt by at least ¼”. Make sure your elastic is not twisted and will make a loop when sewn into the felt.
Place the rainbow piece right side up on top of the back piece, sandwiching the elastic ends in the middle.
Sew around the perimeter of the rainbow keeping your stitches in the white border. I recommend backstitching over the elastic on both ends to keep it secure in your bookmark.
You can also choose to use glue to hold the pieces together, I just felt like stitching with my machine was both faster and would keep the elastic more secure in the bookmark.
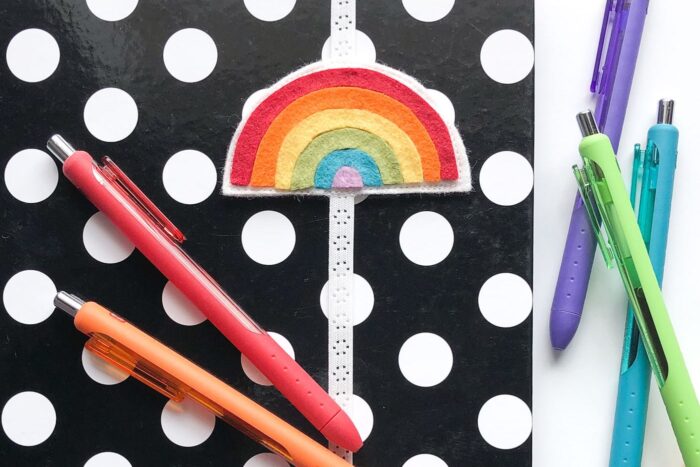
Take your bookmark, get a good book, some lemonade and find a shady spot to read.
Happy Stitching!
About the Maker:

Hello! I’m Amy Chappell, the person behind Ameroonie Designs. I’m a sewing and quilt pattern designer, and I’m proud to say that my work has been featured in several print publications and popular DIY websites.
I am the mom of six kids- which is a big reason I create and sew. I find that I am happiest when I am making things, and taking time to be happy makes me a better mom.
Join me in my exclusive Let’s Sew Friends membership, where you’ll find small, manageable monthly sewing patterns, live classes, and lots of video tutorials!
More Fantastic Project by Amy:
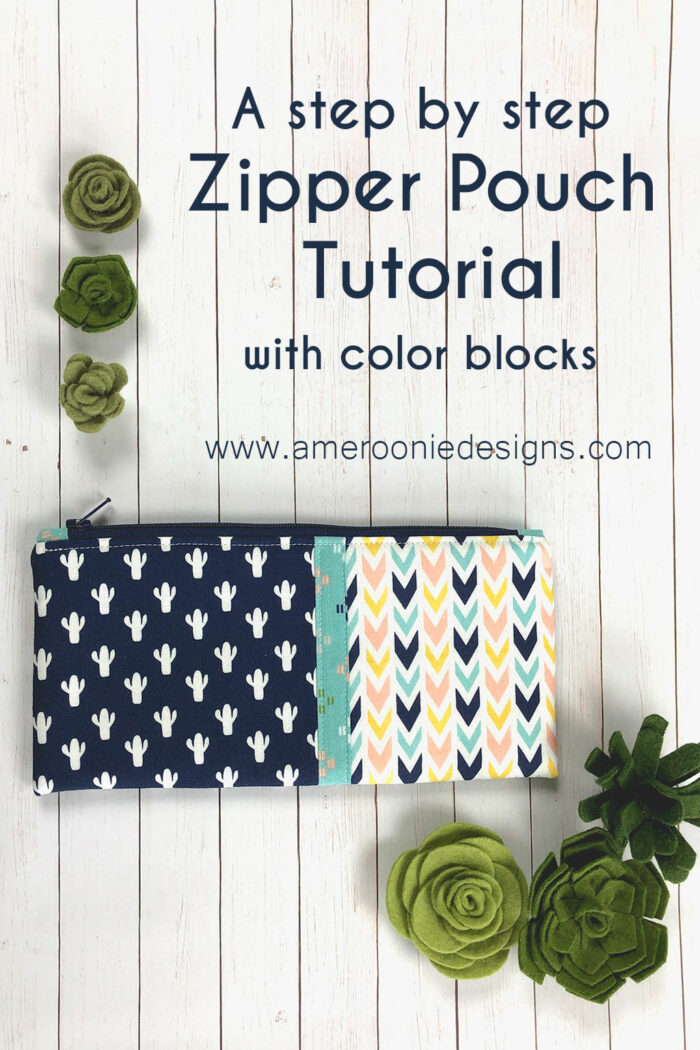
If you want a good pouch pattern to stick a felt rainbow on, Amy has one for you on my blog
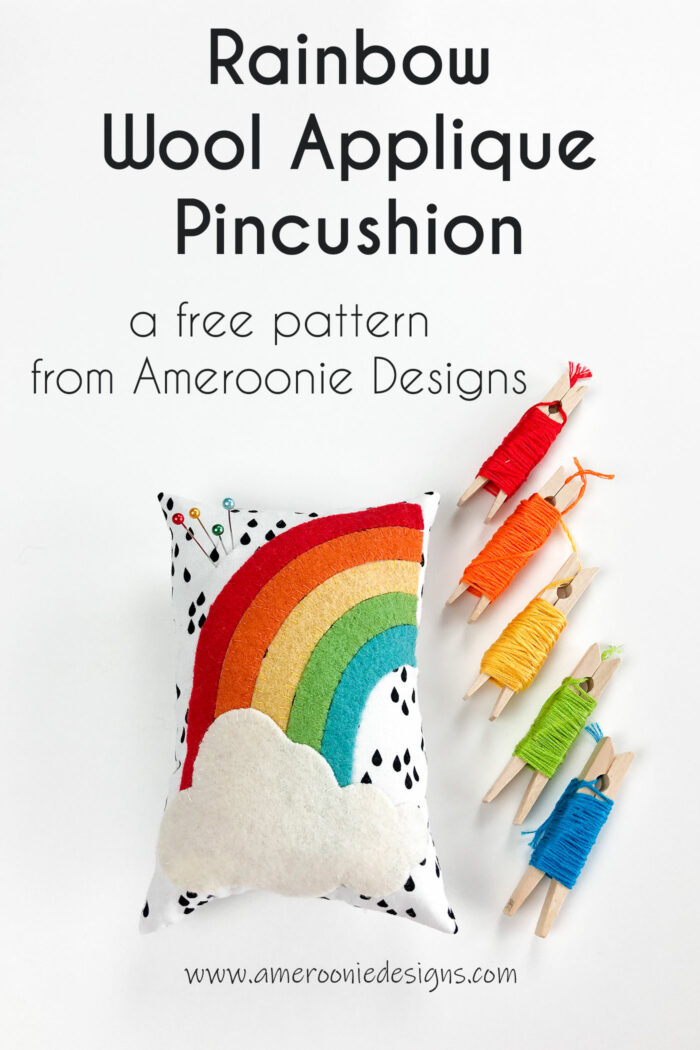
And, if you didn’t get enough of rainbows with this project and you still have your felt out, you can make this Rainbow Applique pincushion:
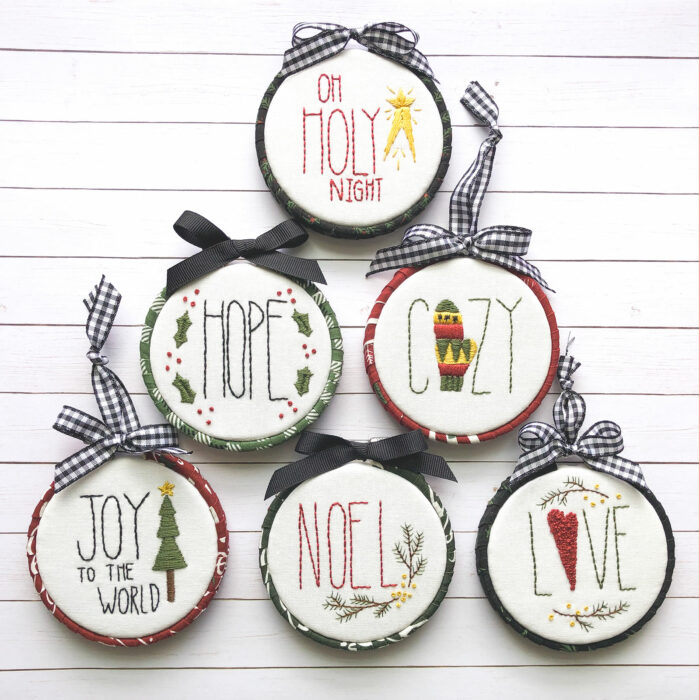
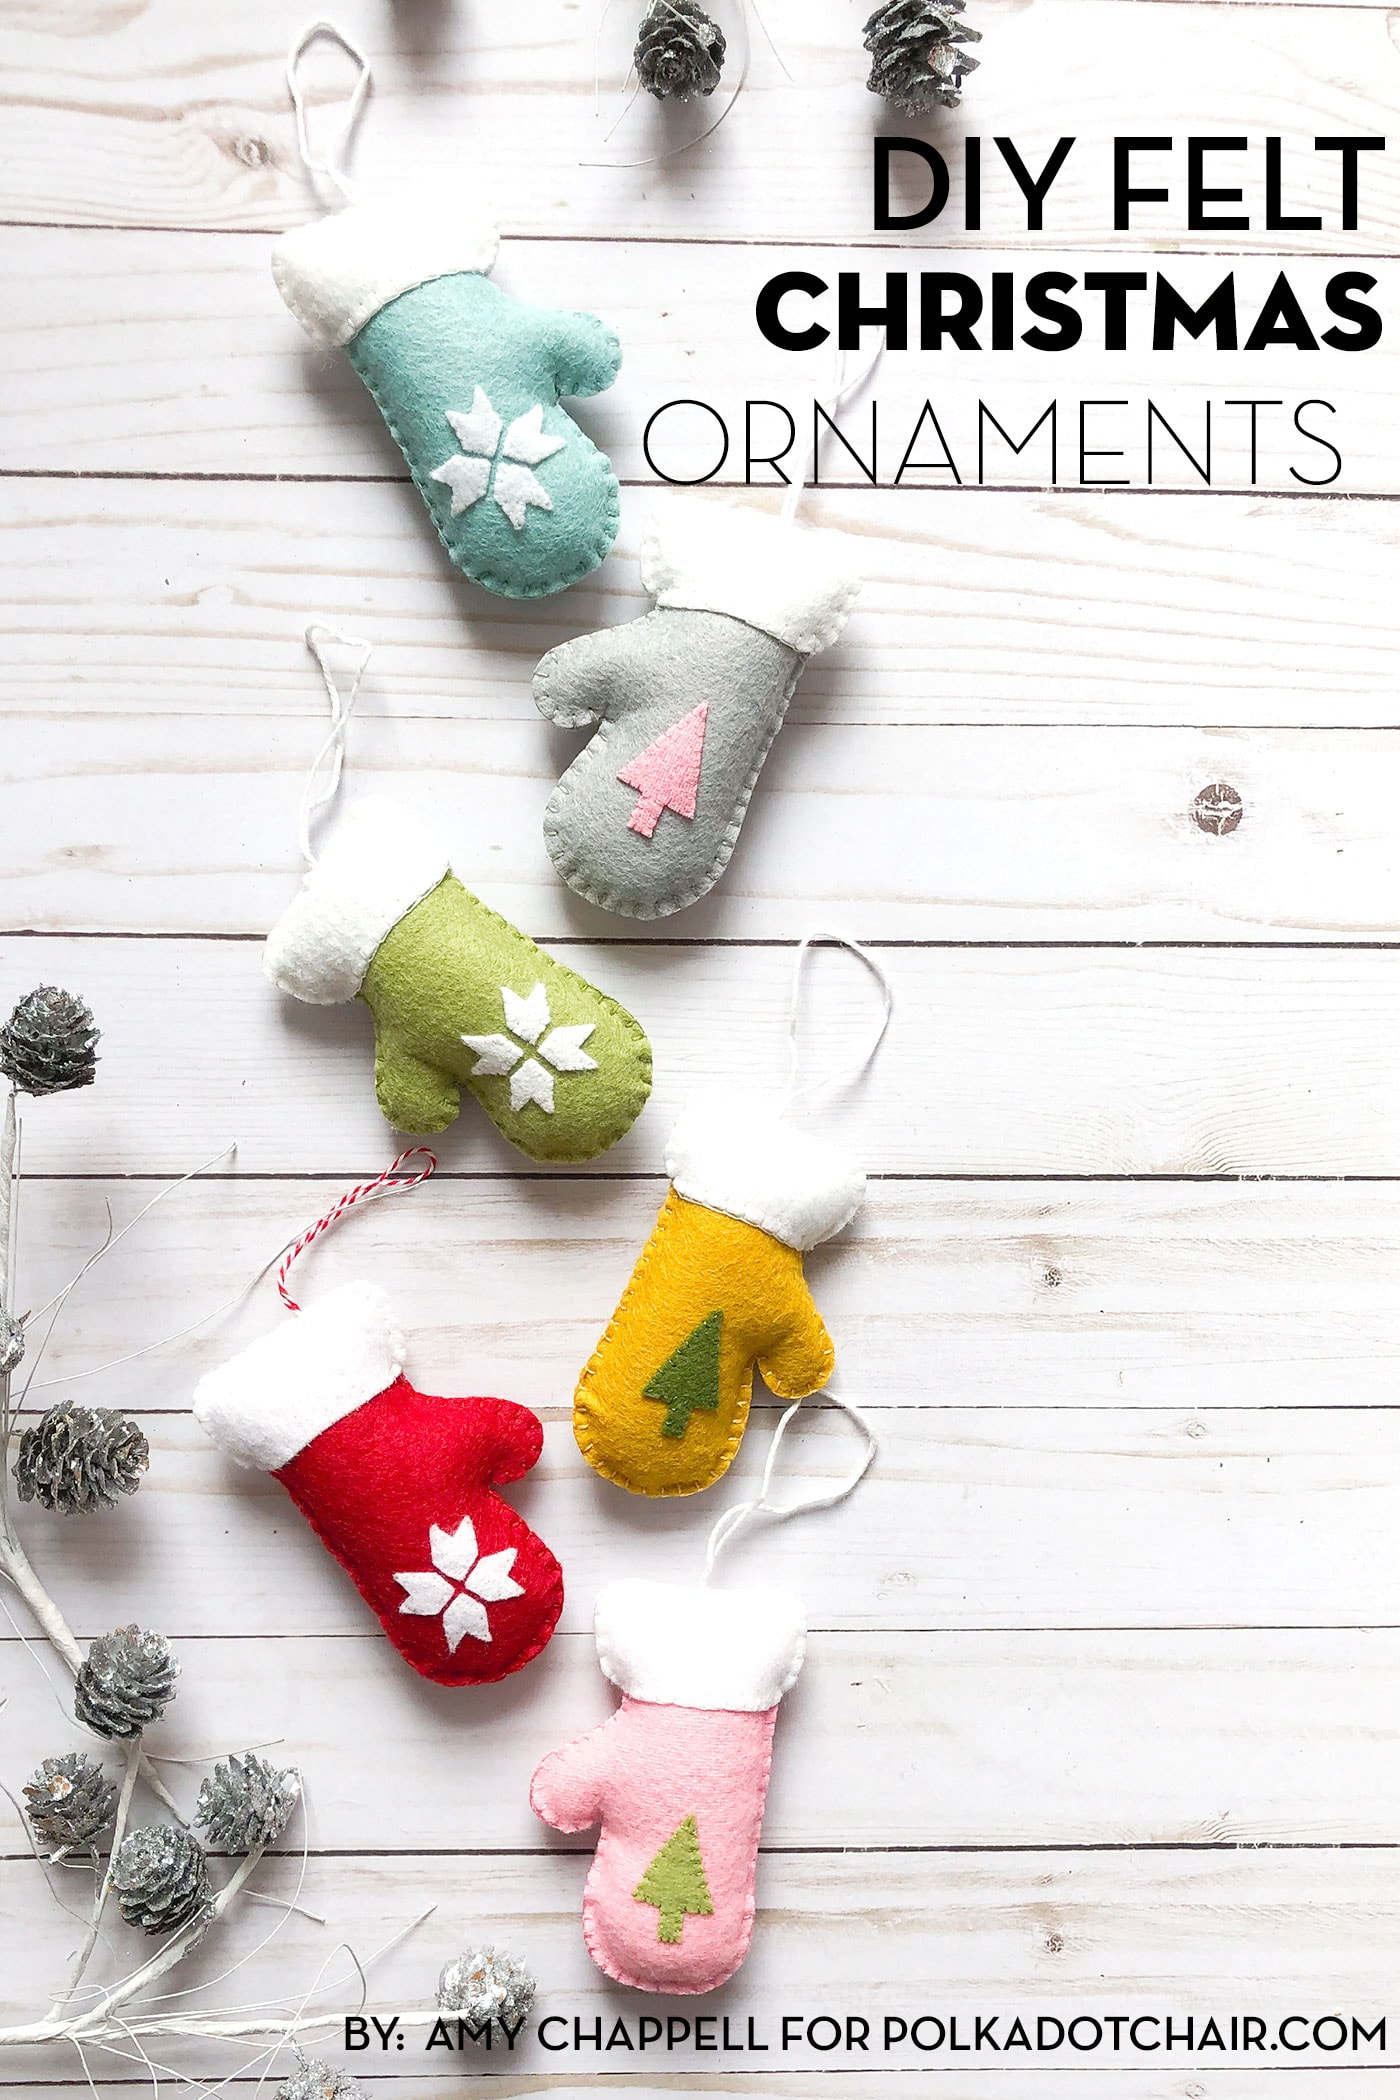
If you’re ready to start your Christmas Projects then you might like these ADORABLE embroidery hoop Christmas ornaments.
More Felt Projects to Try:
Felt Planner Clips Pattern & Tutorial