How to Sew a Skirt for a Little Girl; tutorial for a Patchwork Zig Zag Skirt
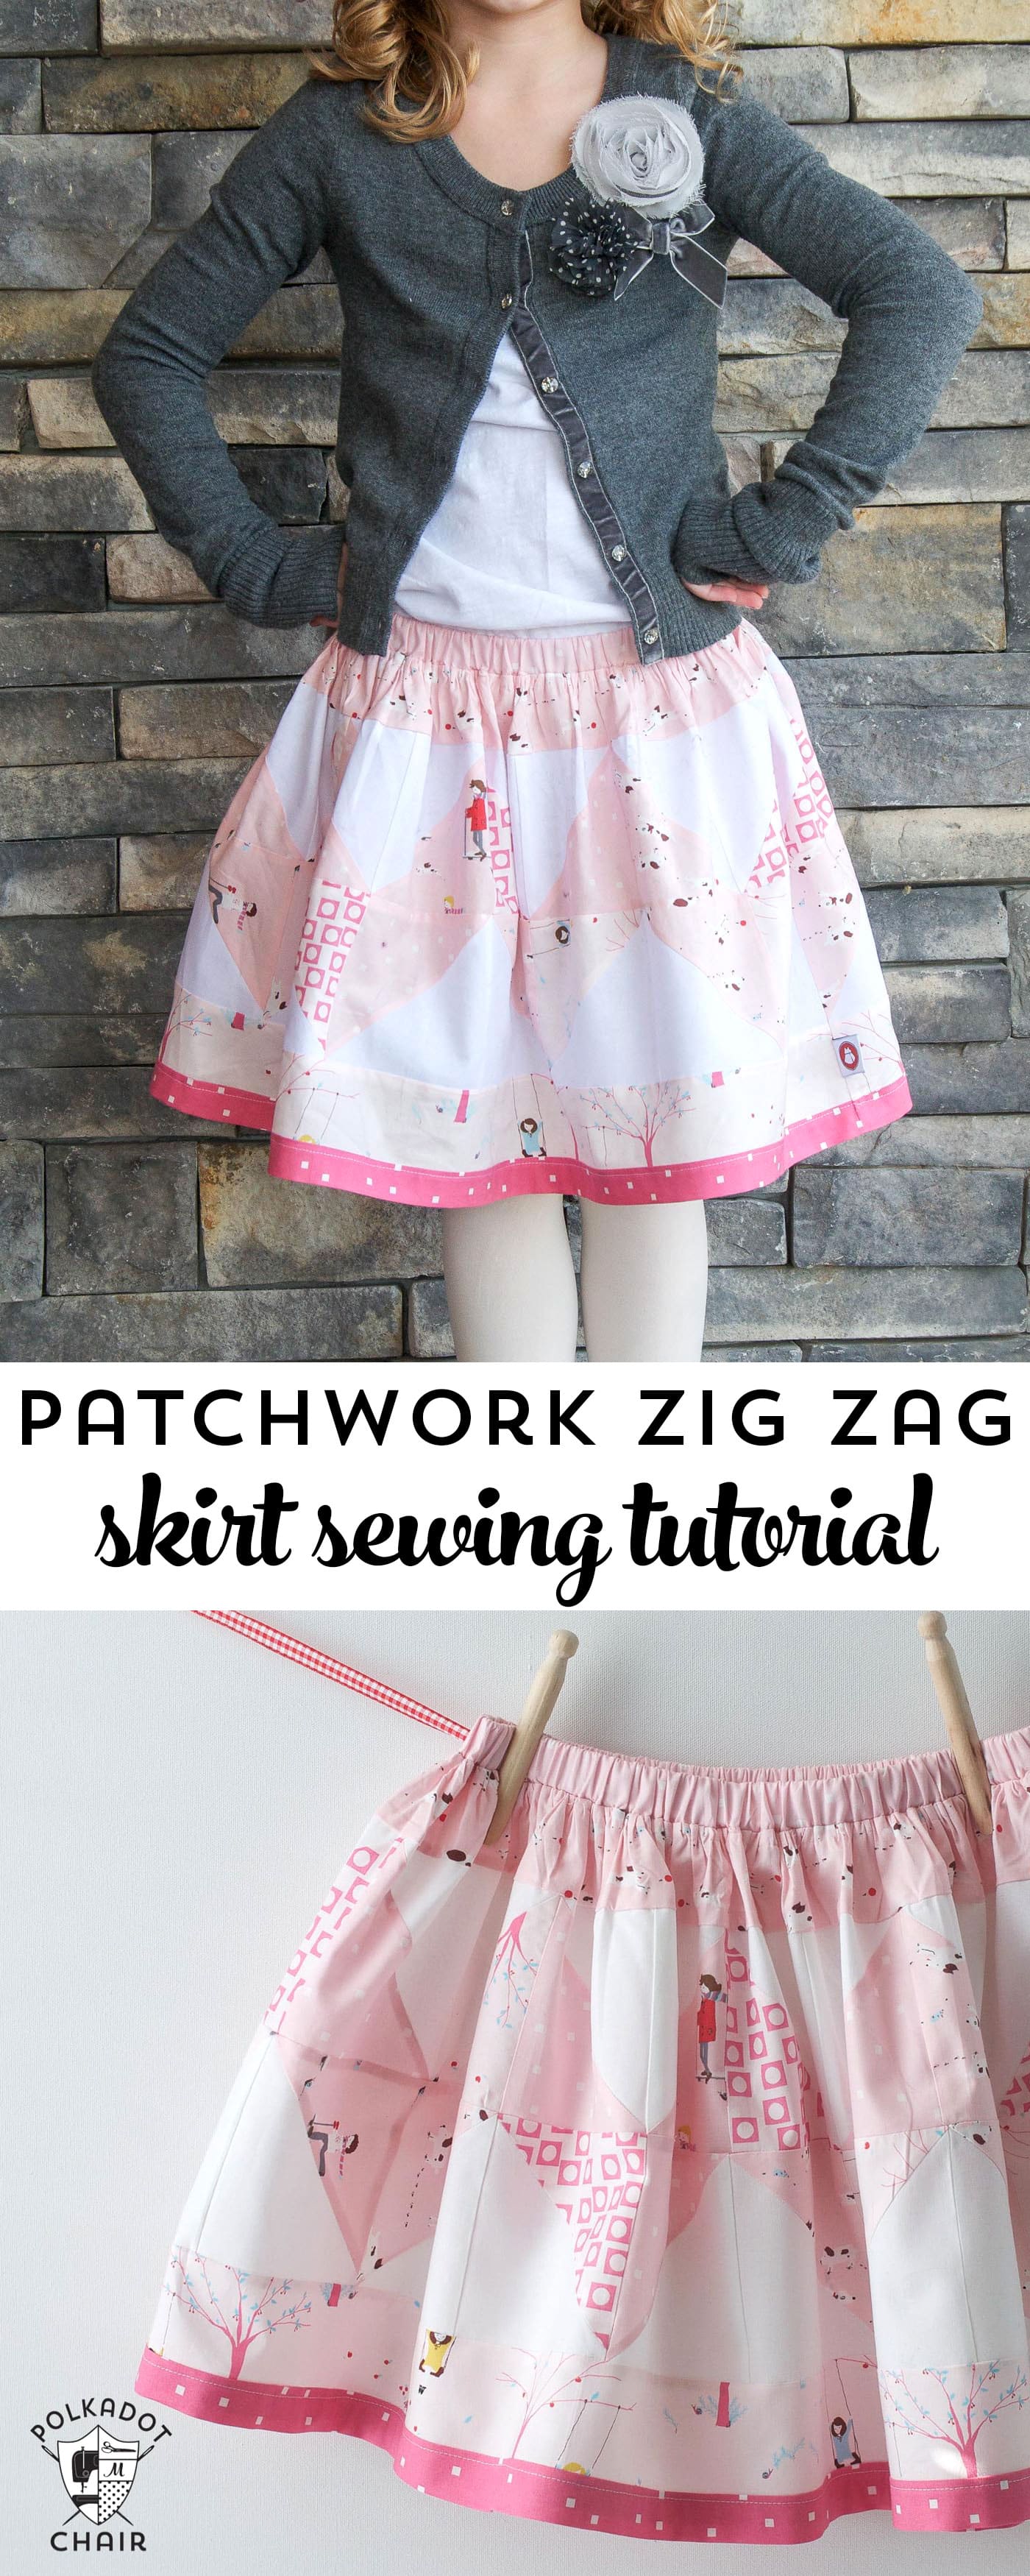
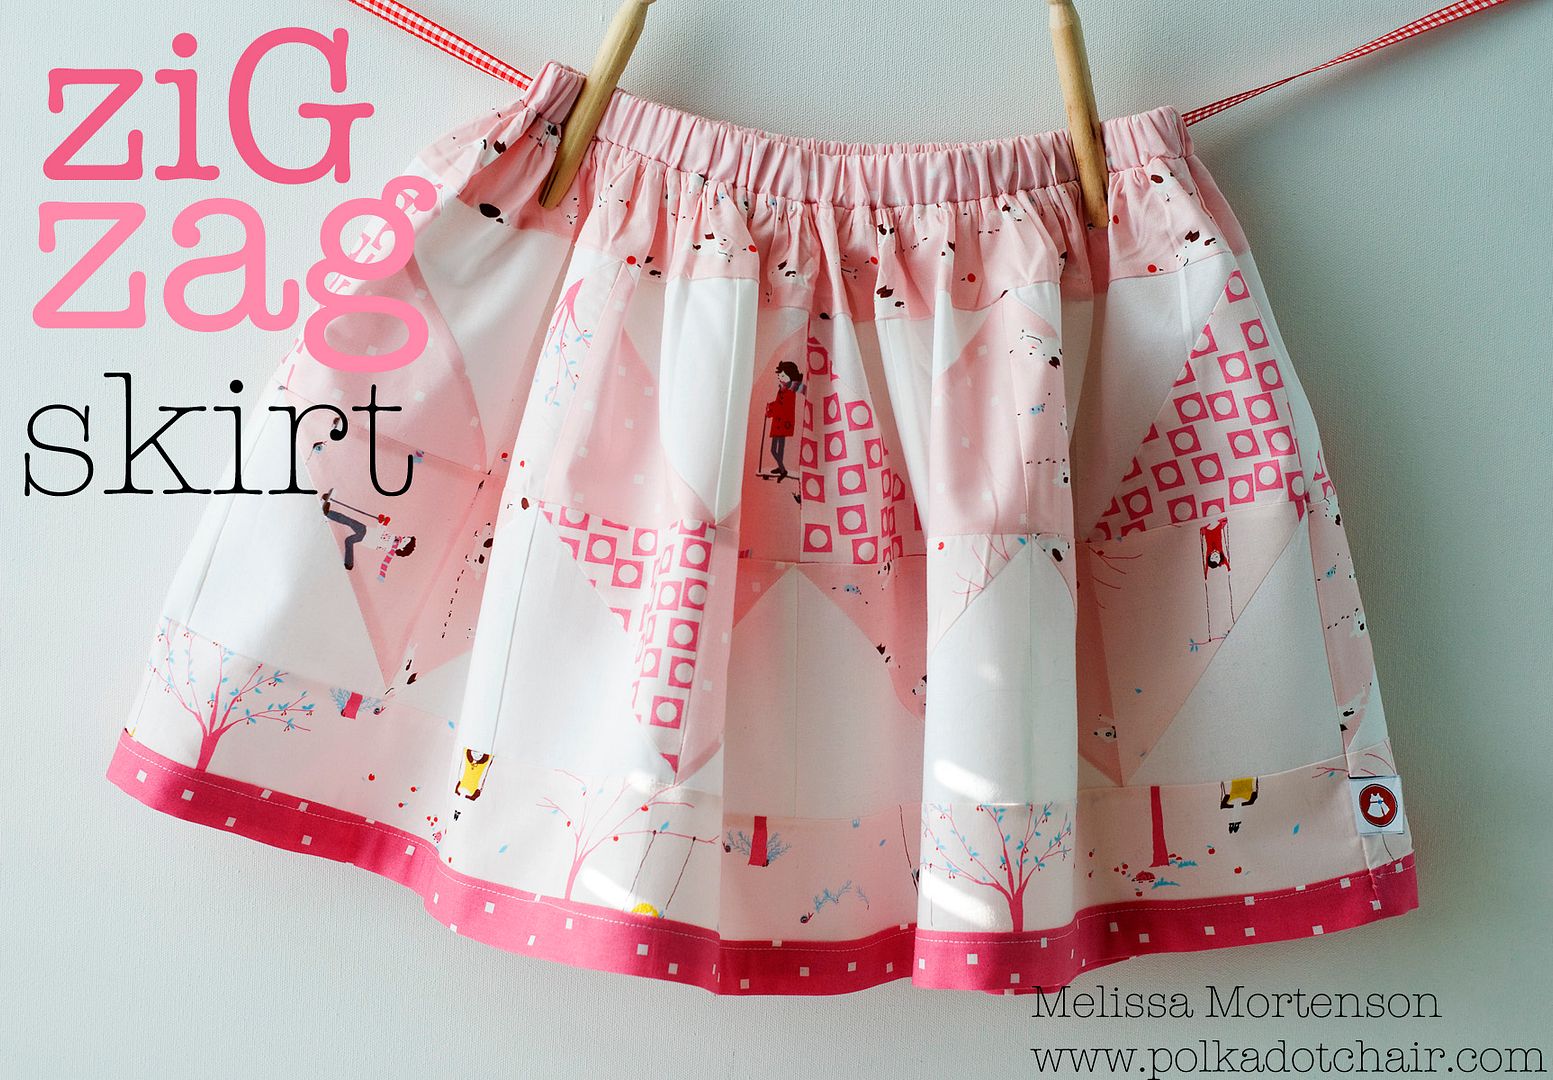
I always love finding new ways to sew with pre-cut fabric. This patchwork zig zag skirt tutorial is made using charm squares that are sewn into a chevron or “zig zag” pattern. It’s the perfect skirt to sew for a little girl! If you like this project you may also like this skirt tutorial & pattern especially designed for a tween.
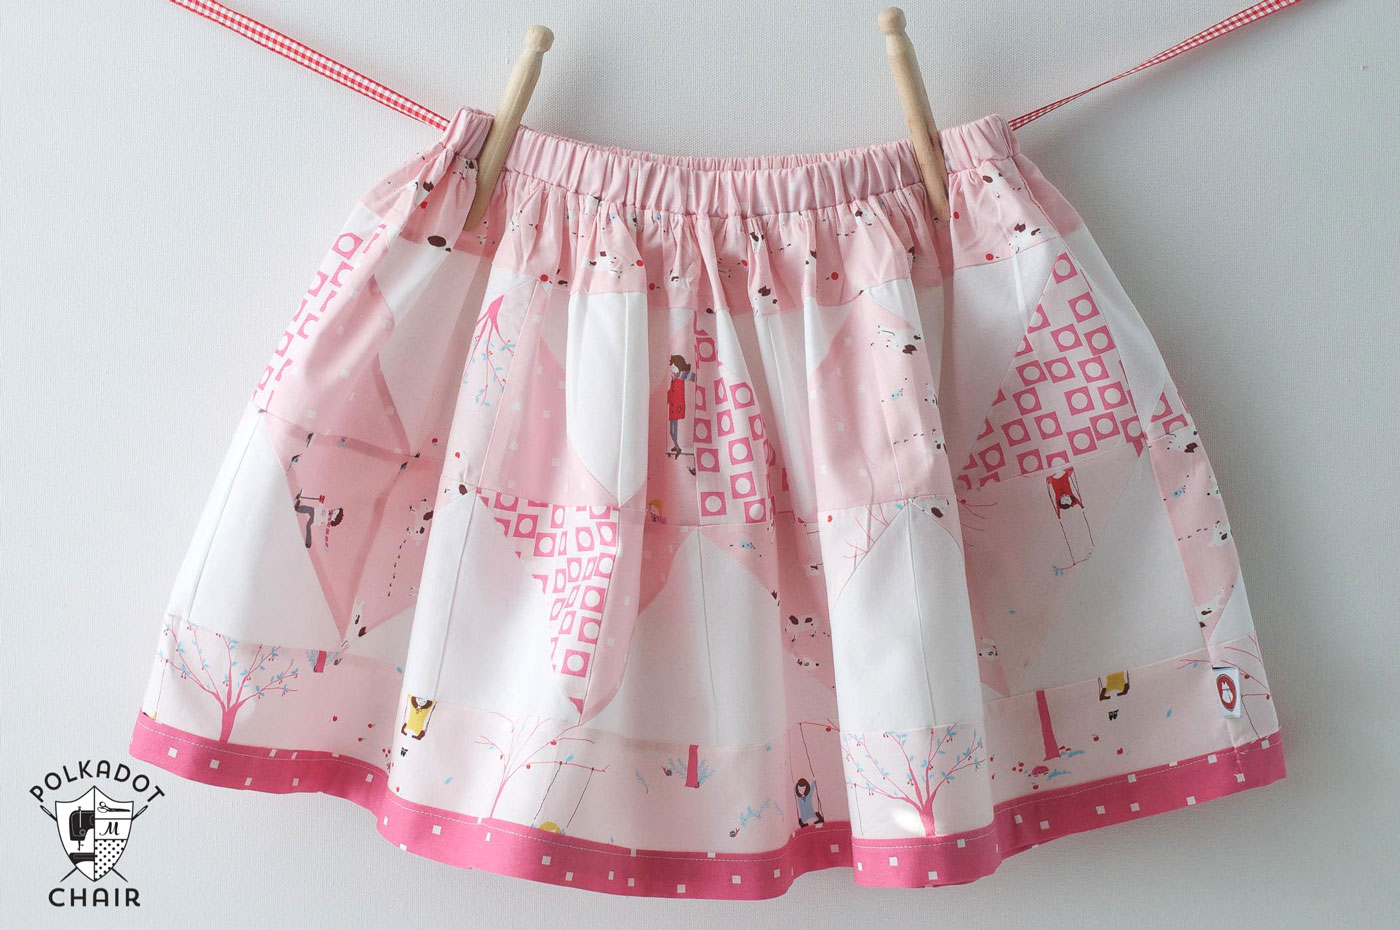
This tutorial first appeared at Moda Bake Shop.It’s a zig zag skirt made with charm squares! It features the new Sherbet Pips line!! I think it might be a new favorite of mine!
For this skirt you will need:
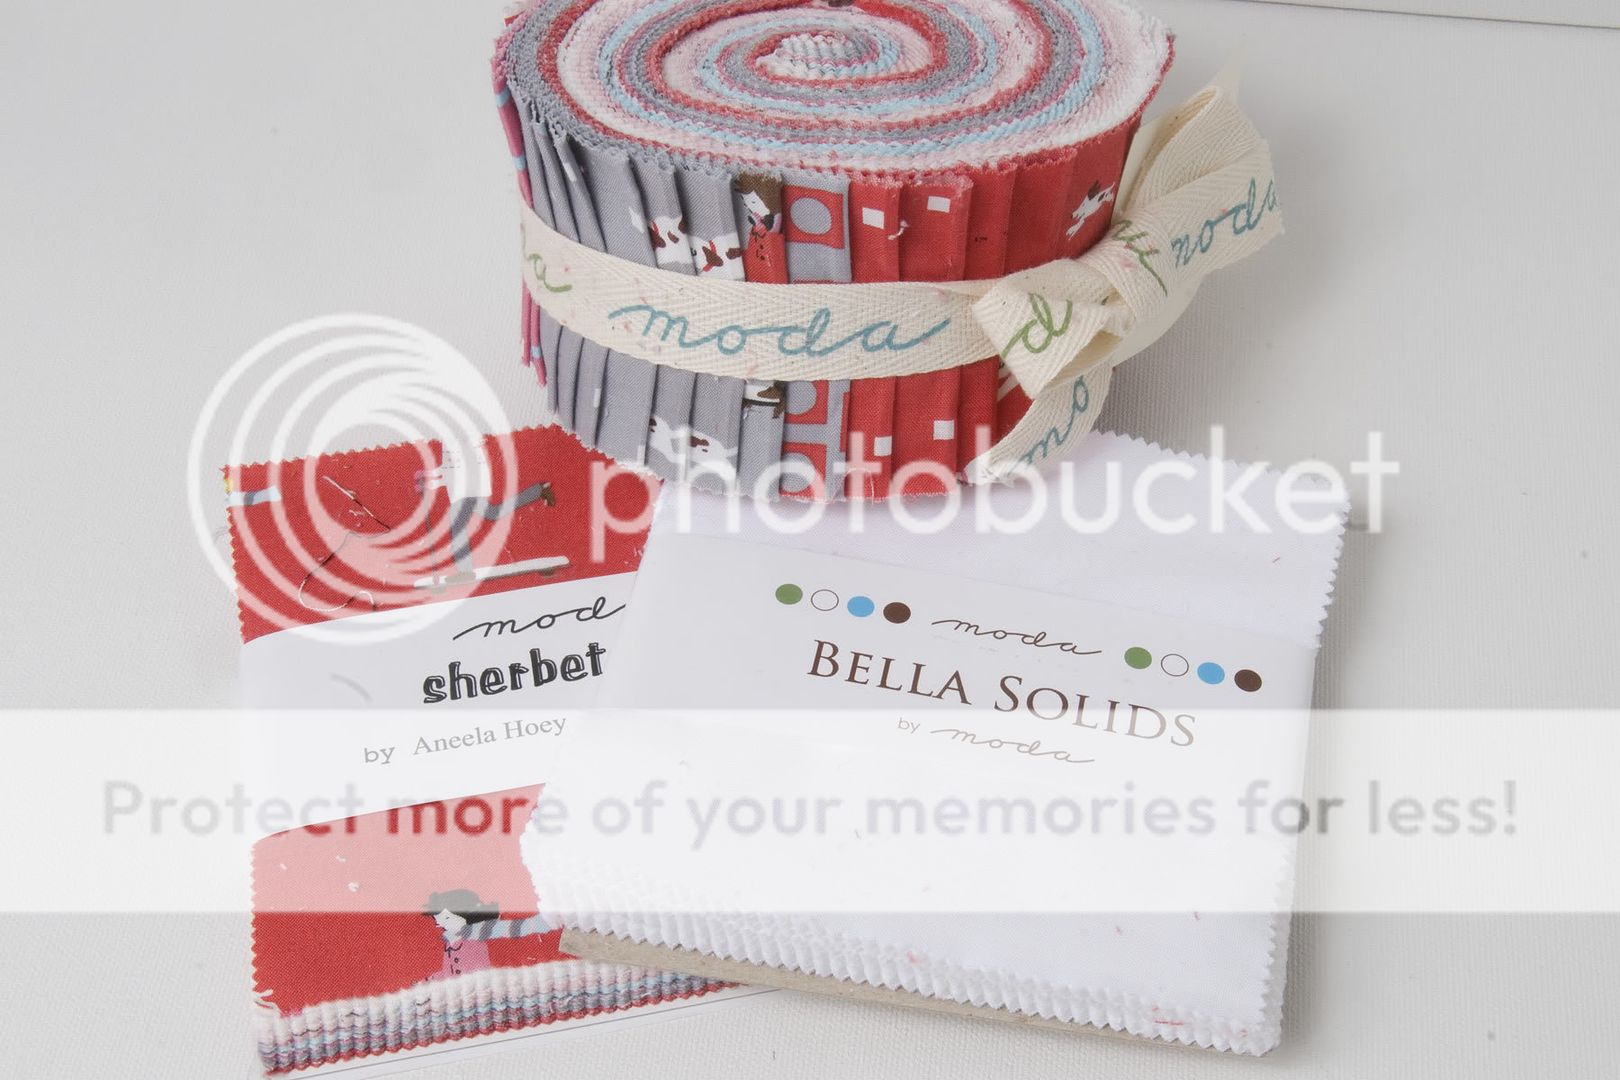
1 Bella Solids Charm pack
2 Sherbet Pips Charm pack- I recommend getting 2 charm packs. You only need 18 5″ squares but you need them ALL to be in the same color family, so depending on the charm pack you pick you may not have enough of the right color in one charm pack. The good news is that you can make more skirt with the other colors too!!
1 Jelly Roll- you will need 7 strips from your Jelly Roll
1/2″ wide elastic
I find it easiest to sort my fabrics into “front” and “back” piles. That way your skirt does not have all the same prints on the front or the back. Sorting ensures the skirt is evenly distributed.
You need 18 squares all of similar color, sorted into 2 piles of 9 squares. As we work, we will keep the skirt front and back separate (this will help you in construction).
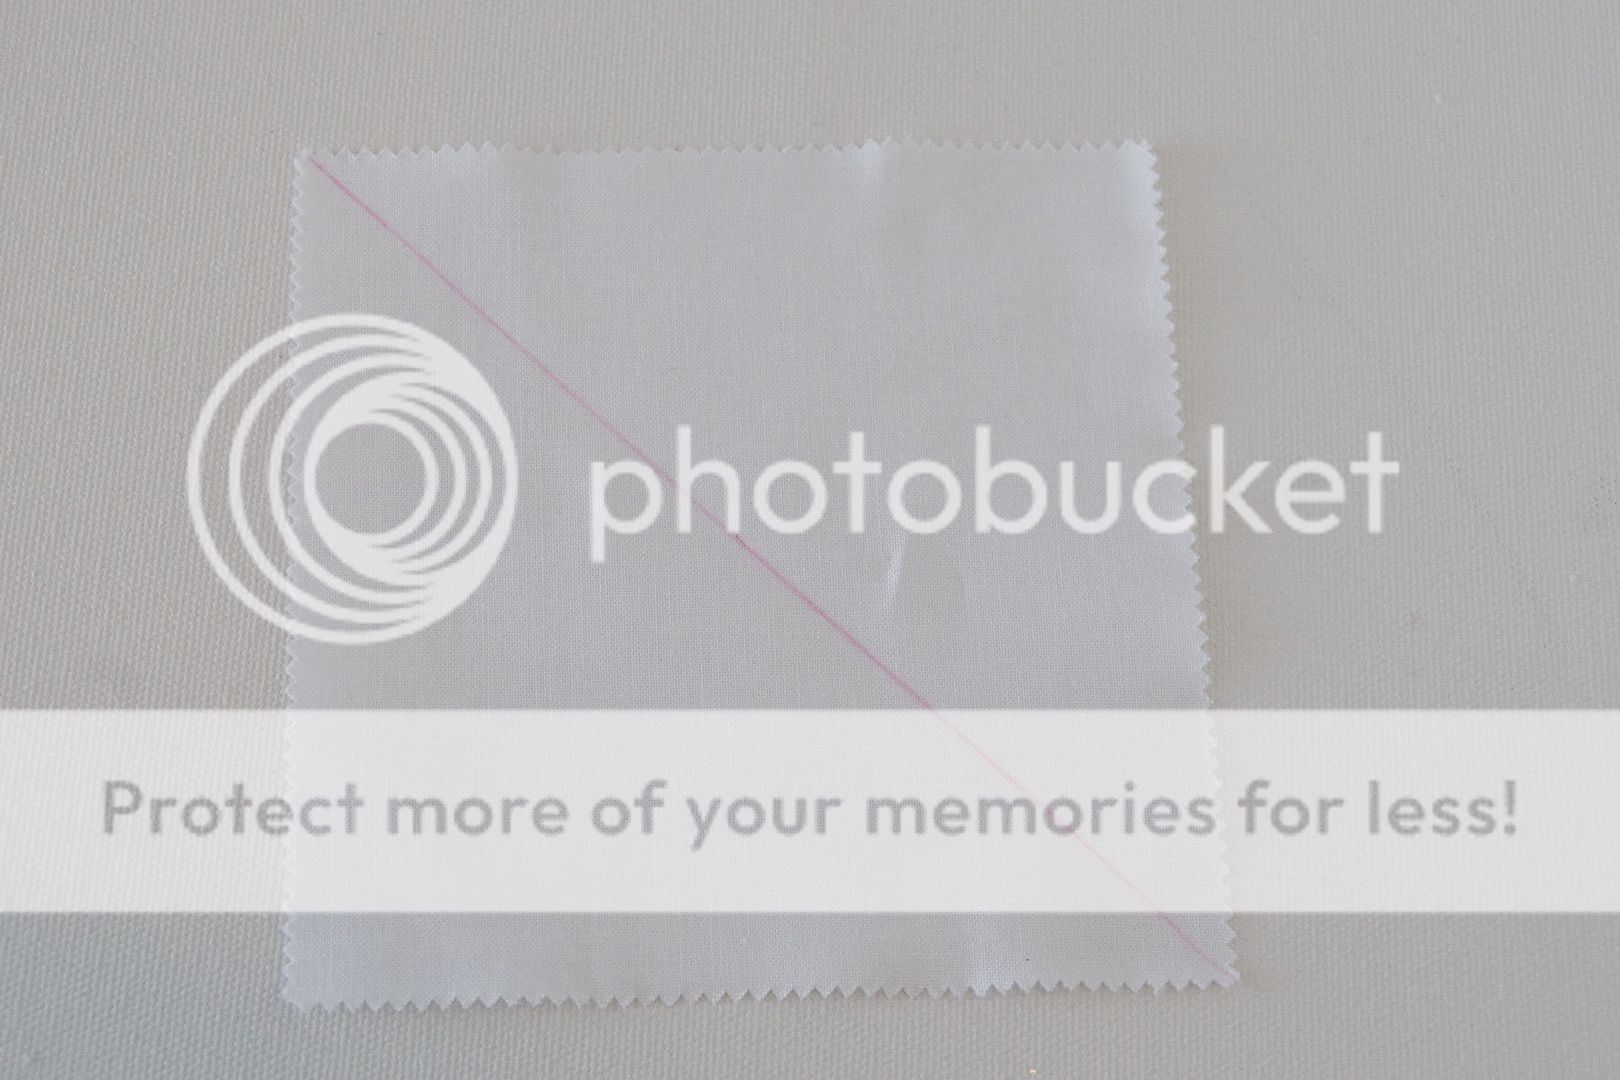
Take 18 white charm pack squares and draw a diagonal line down the center.
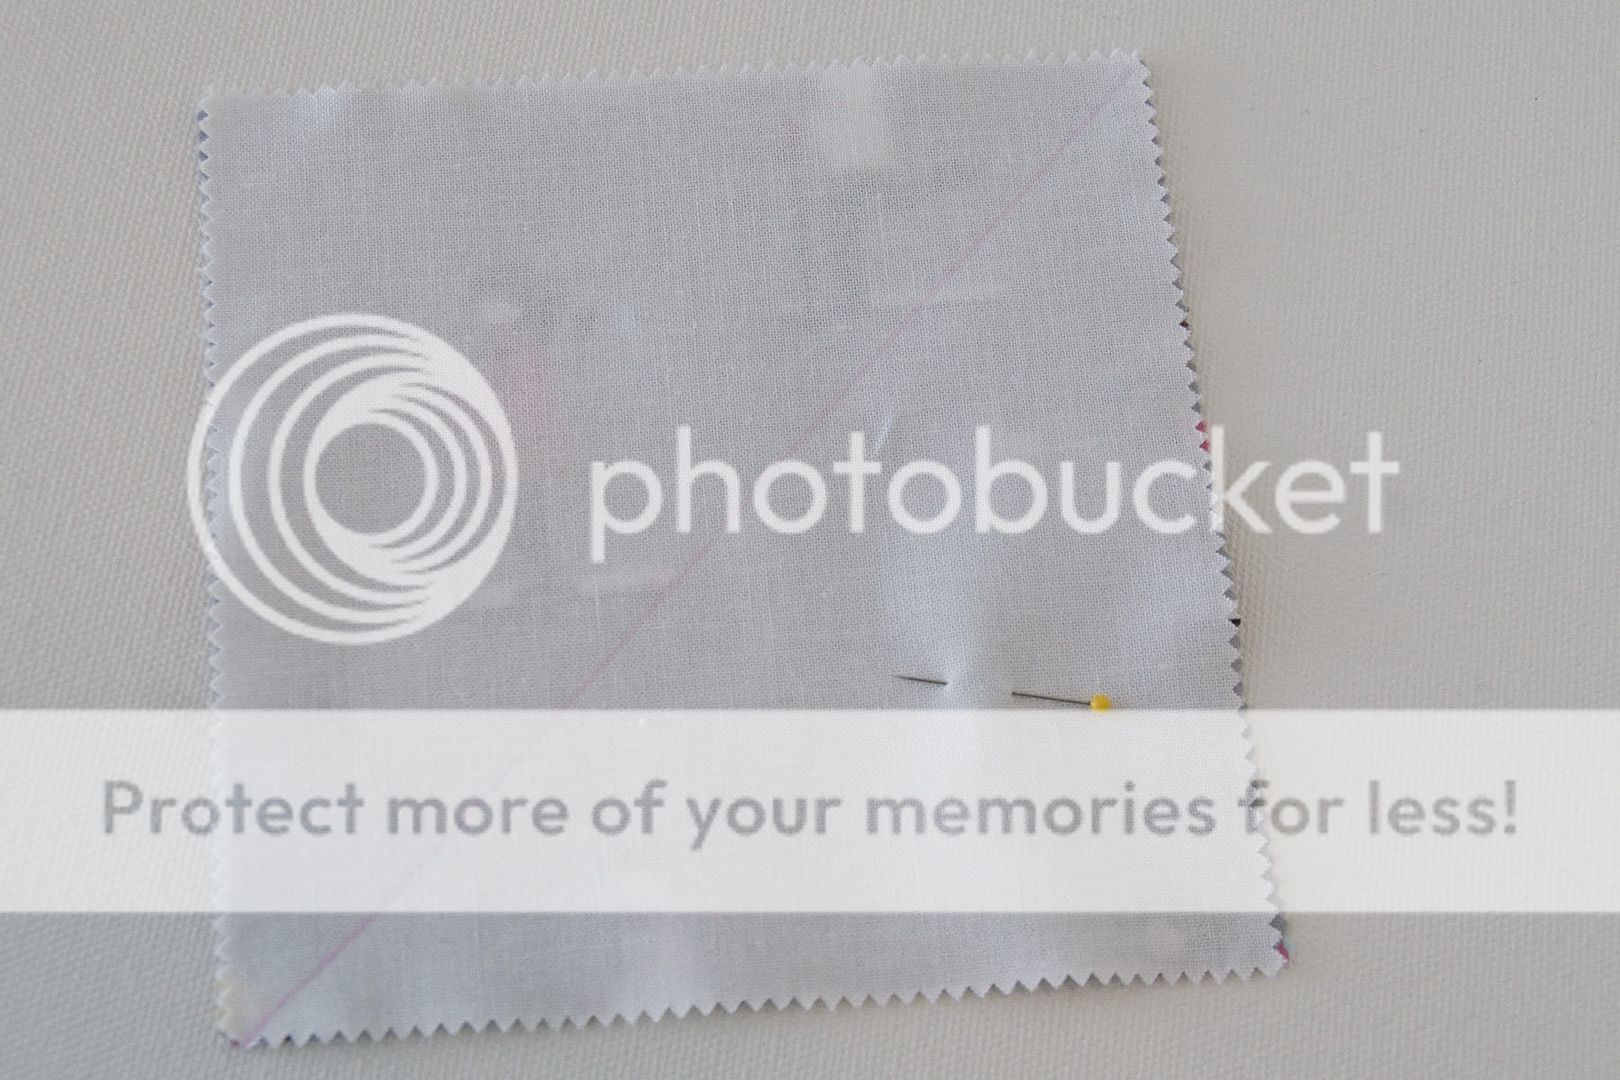
Place 18 white squares on top of 18 pink squares, right sides together. Pin.
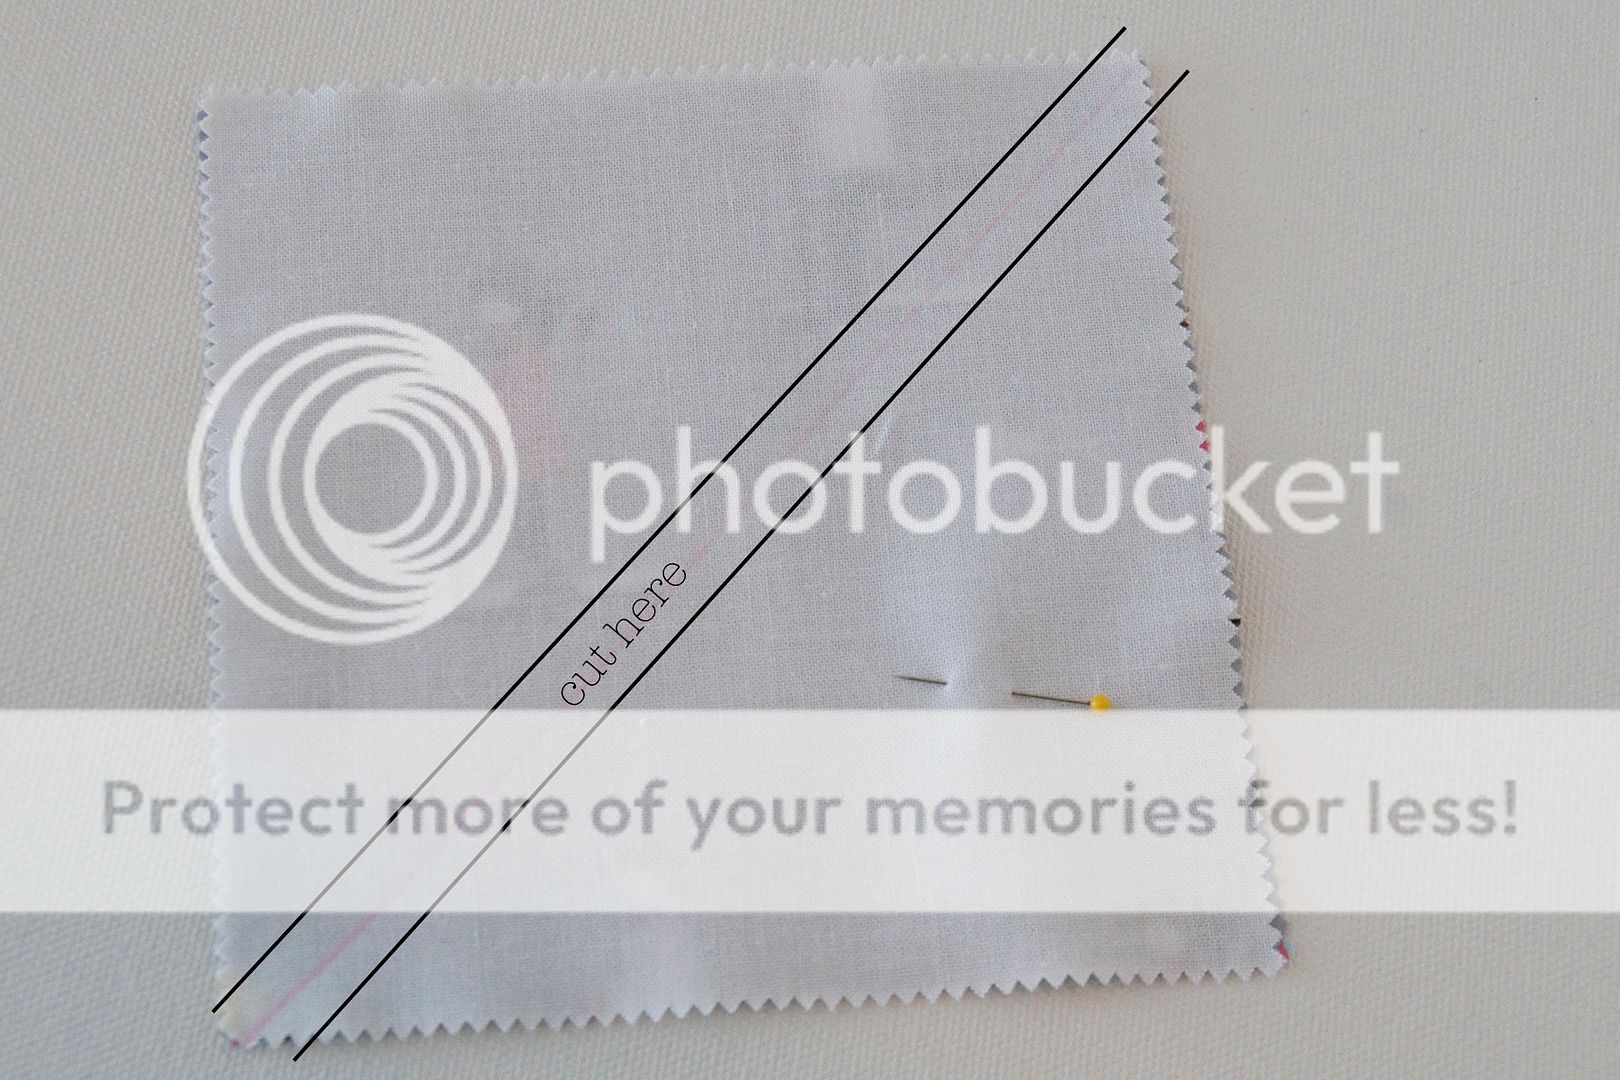
Stitch 1/4″ down each side from the centerline.
The black lines represent stitching lines.
Cut the square in half along the pencil line you drew. Press open.
You will have 2 half square triangles (HST).
Measure to make sure each HST is perfectly square, adjust as necessary.
Arrange your blocks like the diagram above.
Sew the 1st row together, press all seams to one side
Sew the 2nd row together, press seams to opposite side.
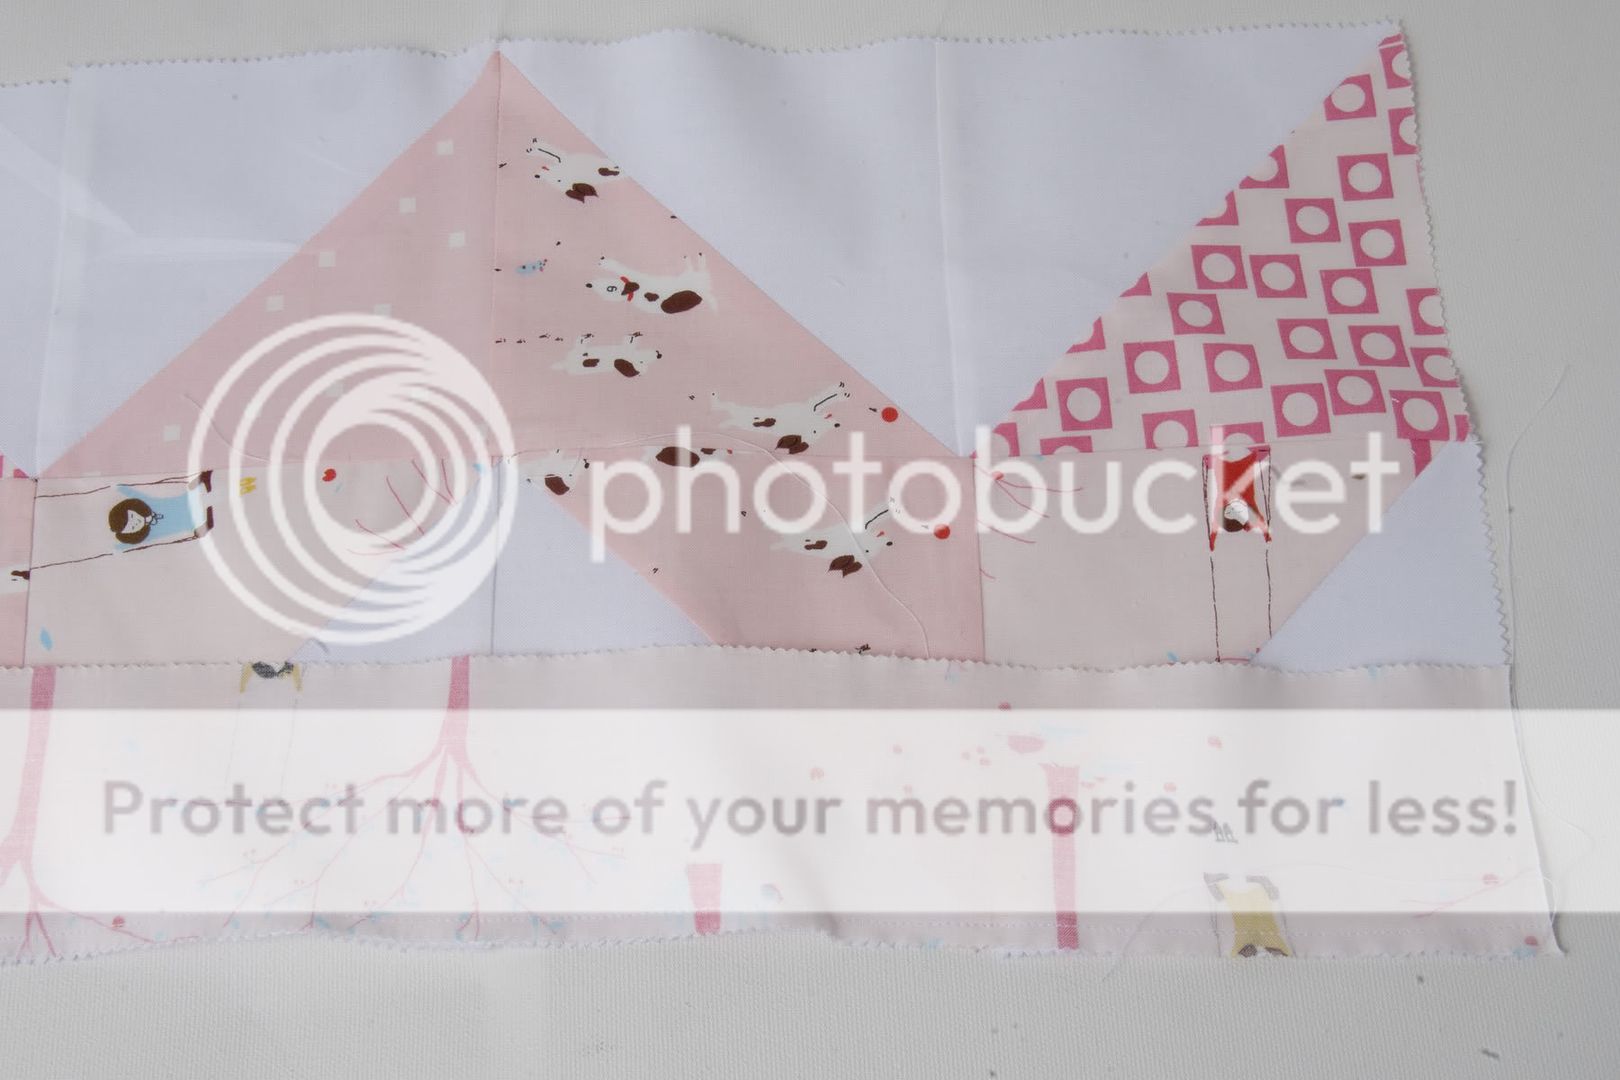
Sew row 1 and row 2 together.
Set aside and repeat for other side of the skirt.
Each side of the skirt will have 9 blocks by 2 rows.
Place 1 jelly roll strip over skirt right sides together. Stitch to bottom of skirt. Trim off excess.
Stitch one more jelly roll strip to bottom of skirt and 1 jelly roll strip to top of skirt.
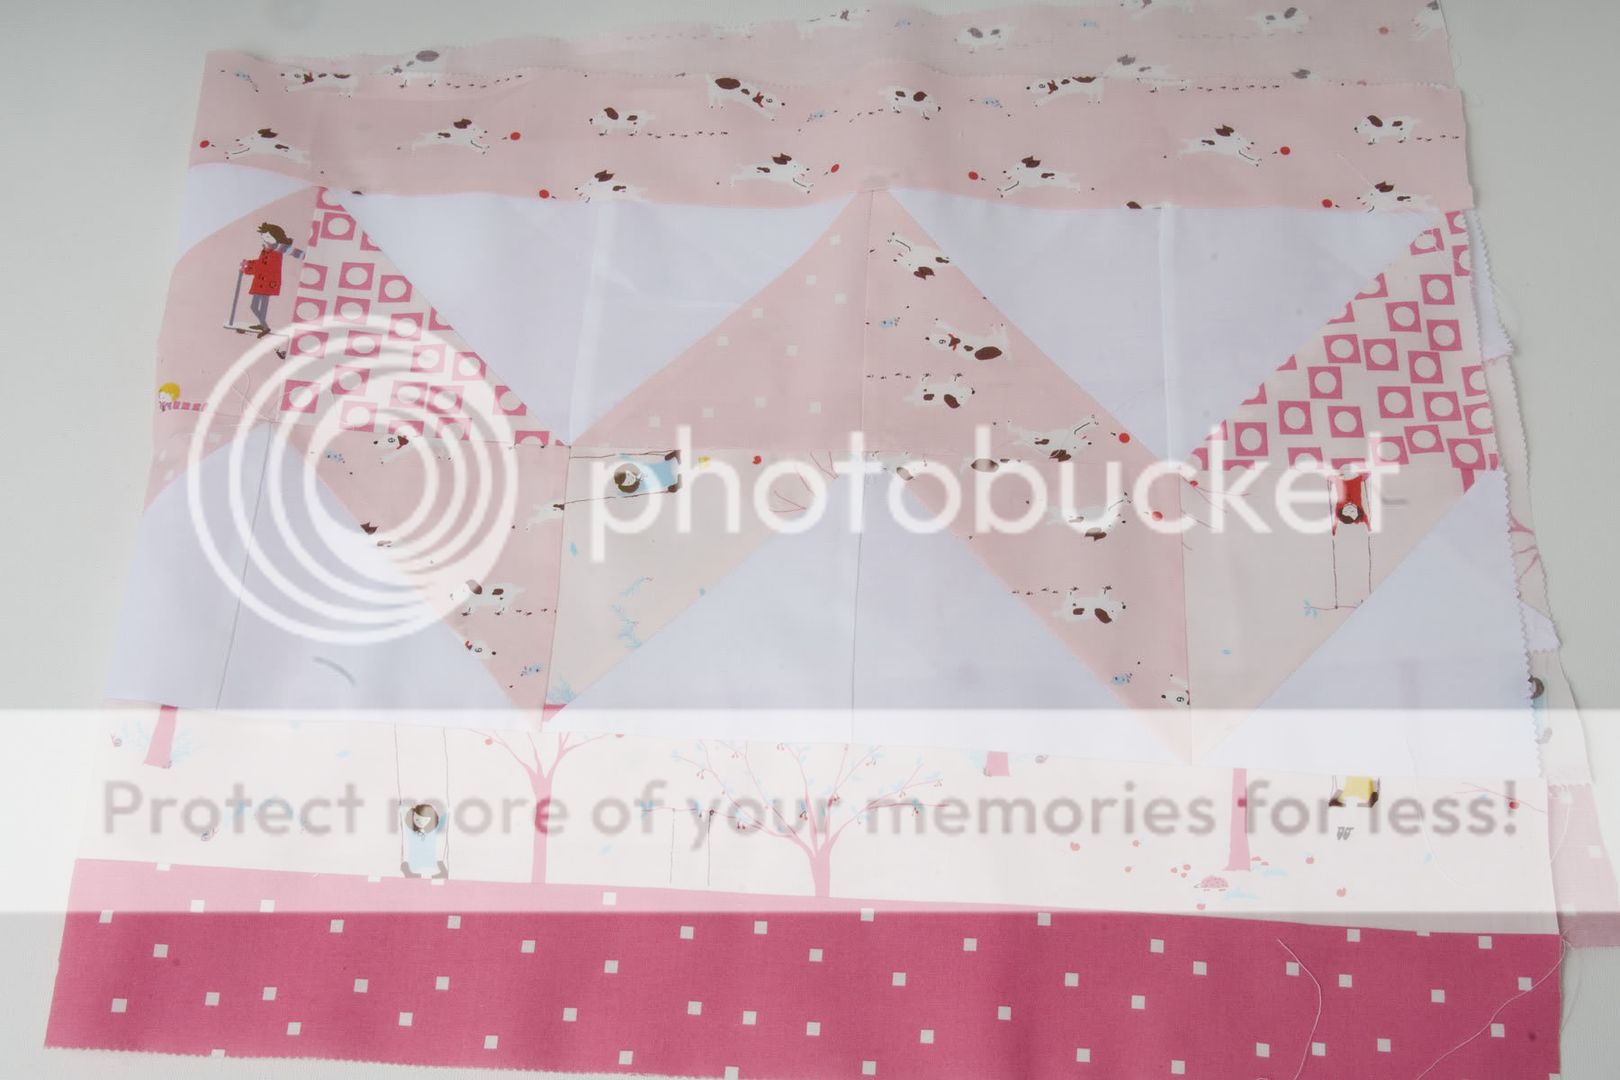
Repeat for skirt back.
You should have 2 pieces that look like the above photo.
Stitch skirt front and skirt back together. Press these seams open so that you know where your side seams are.
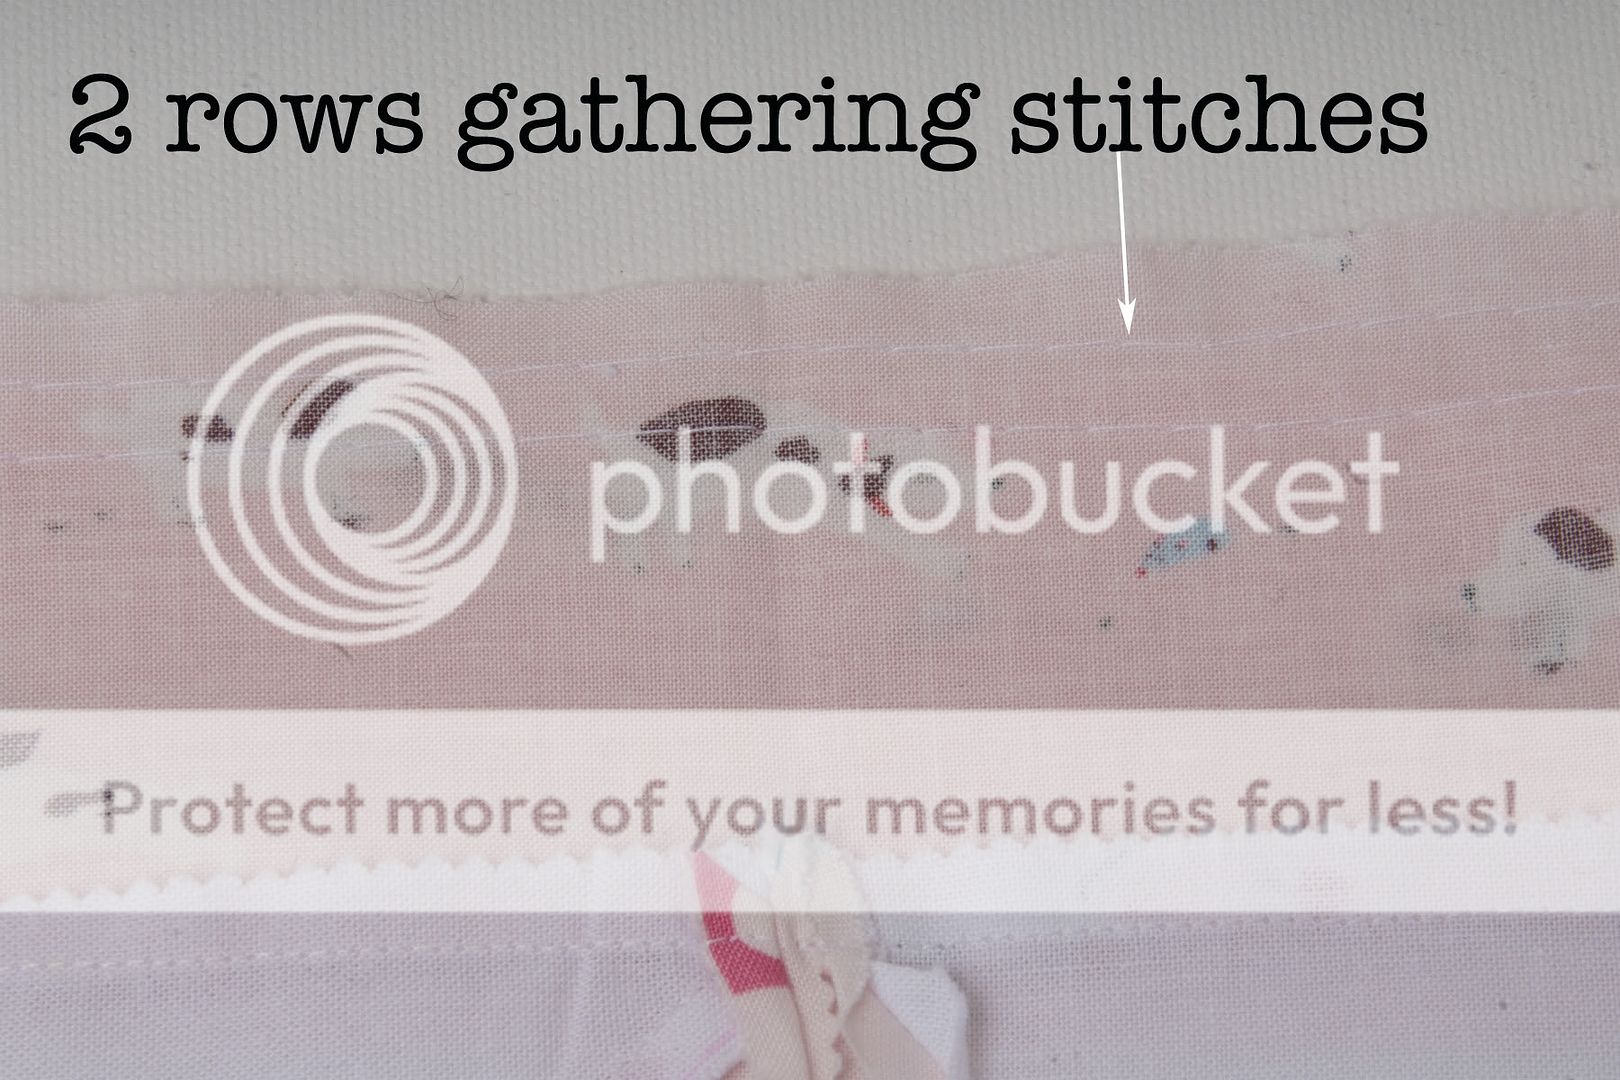
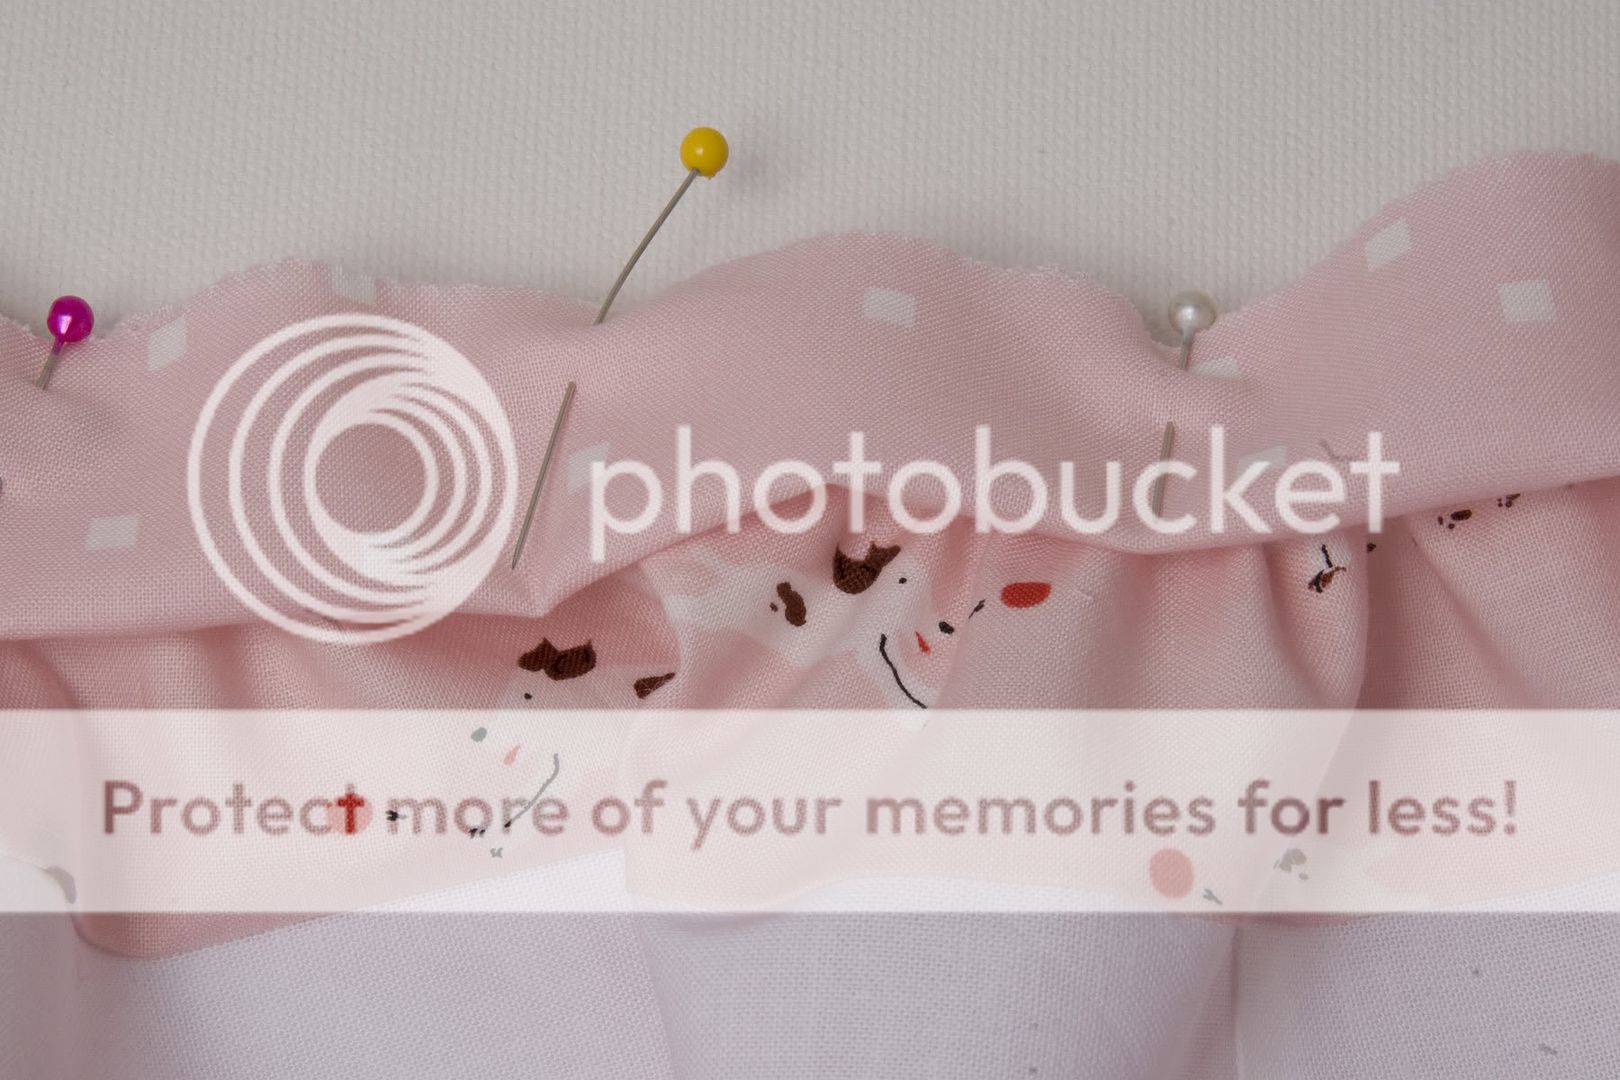
Run 2 rows of gathering stitches across the top of the skirt, stopping and starting at side seams.
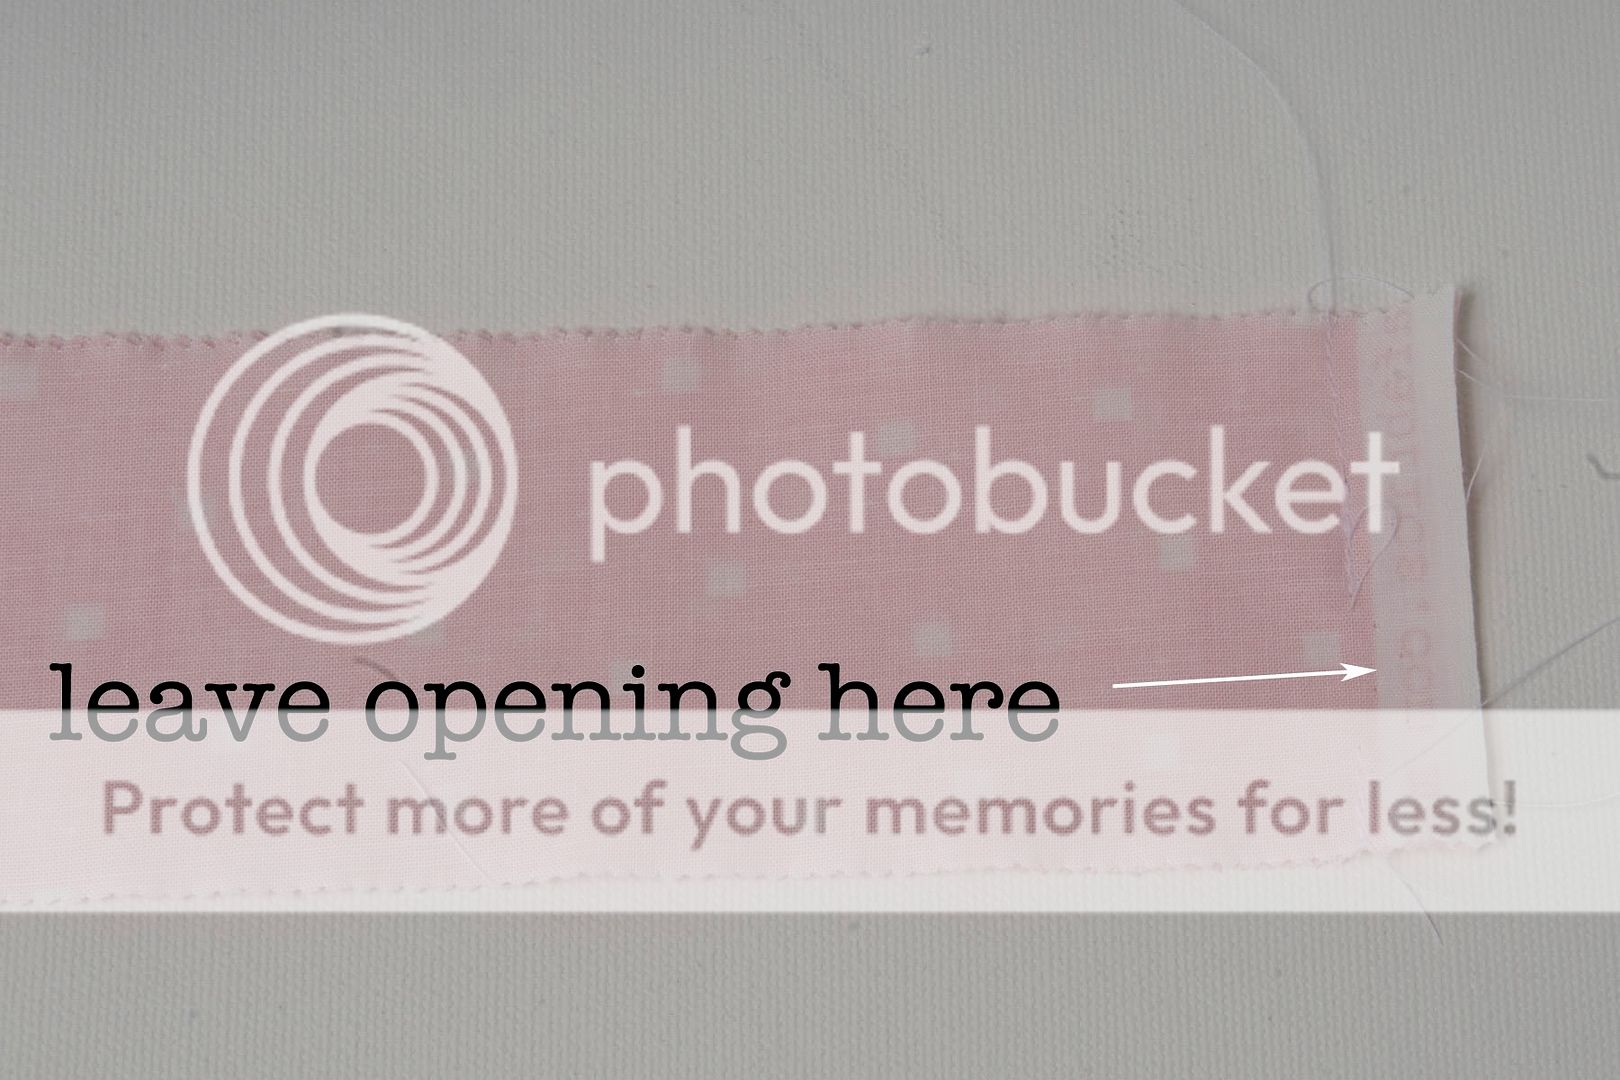
To make waistband, take one jelly roll strip and fold it in half. Stitch closed, leaving a 3/4″ hole to feed your elastic through.
Fold the waistband piece in half, WRONG sides together.
Pin waistband to skirt, right sides together, matching side seams and waistband center. Pull up on gathering stitches until skirt and waistband are the same size.
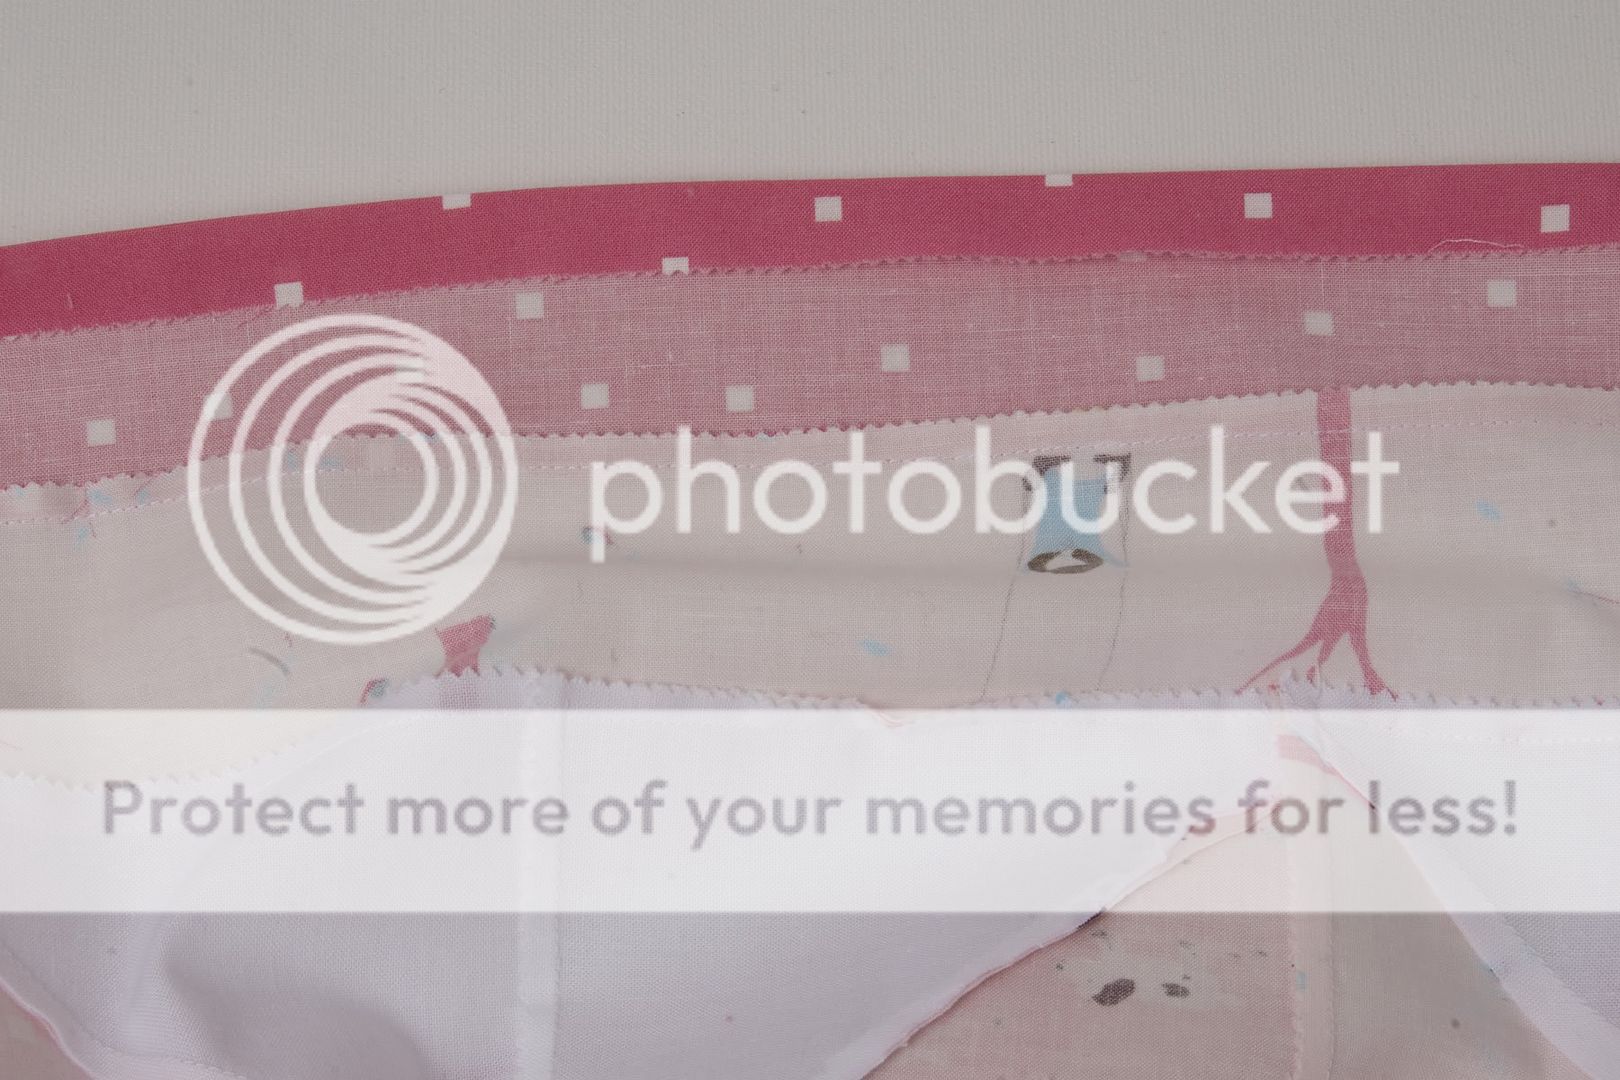
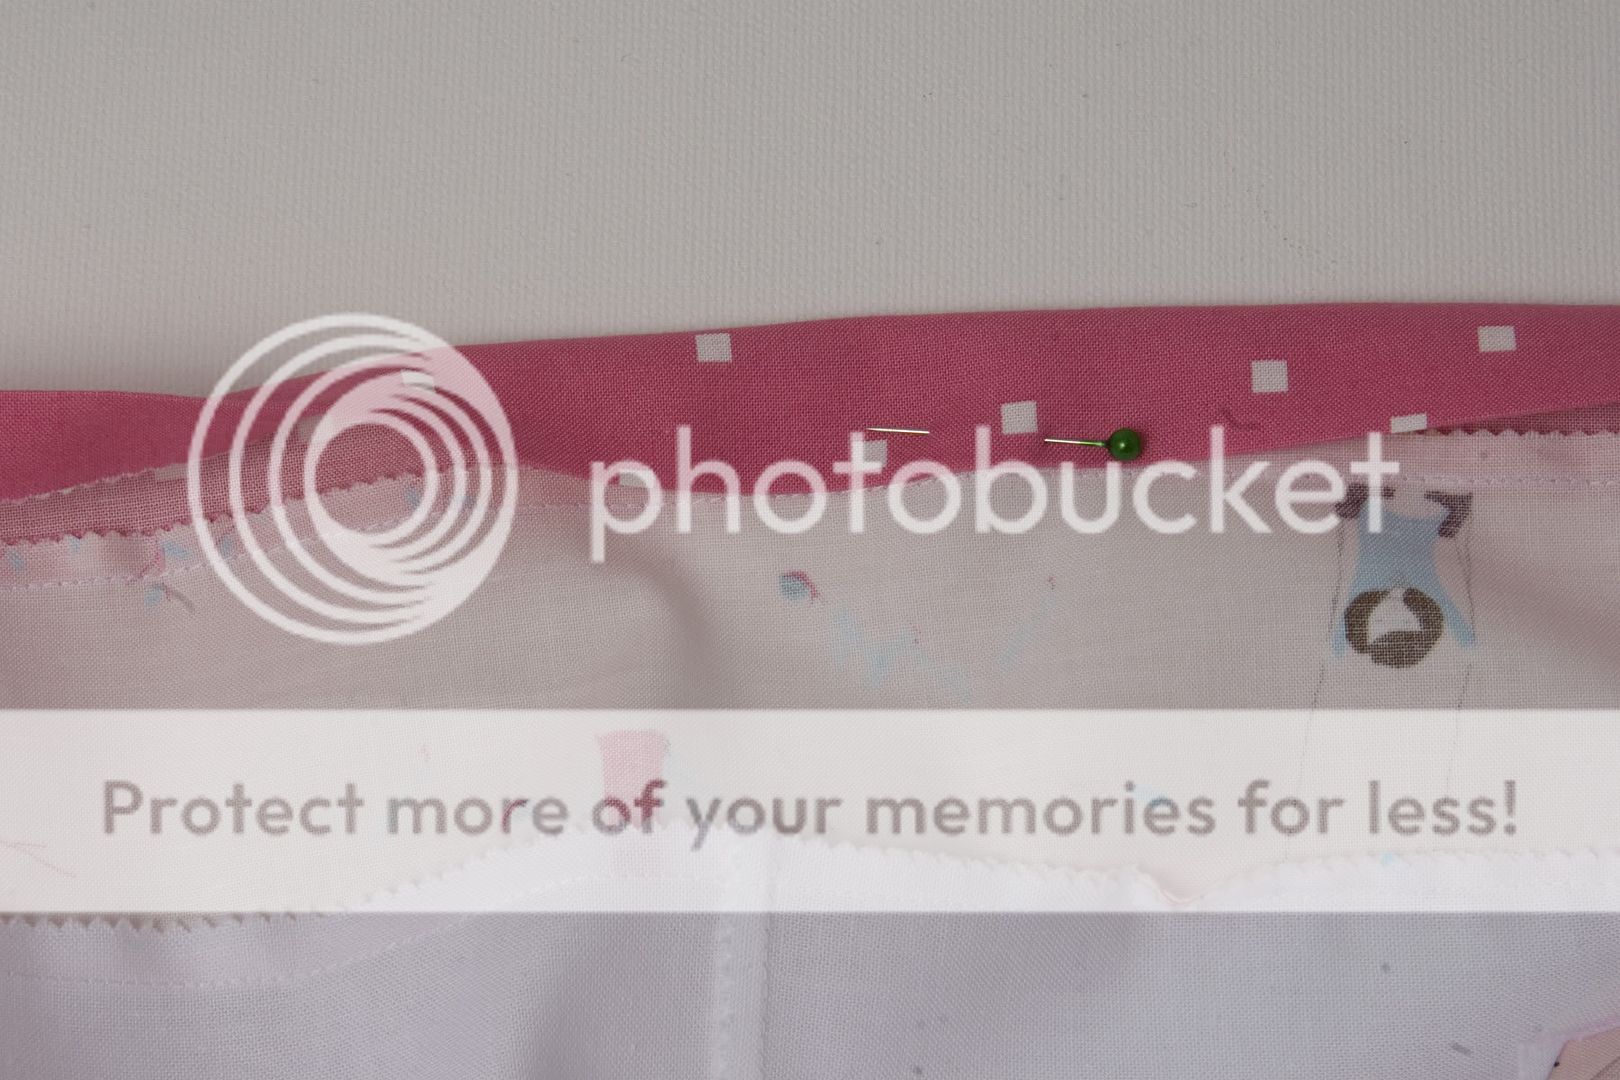
Stitch waistband in place.
Cut your elastic to the correct size (measure waist and cut elastic that length).
Using the hole you left in the waistband, feed elastic through. Hand stitch opening closed.
To finish skirt…
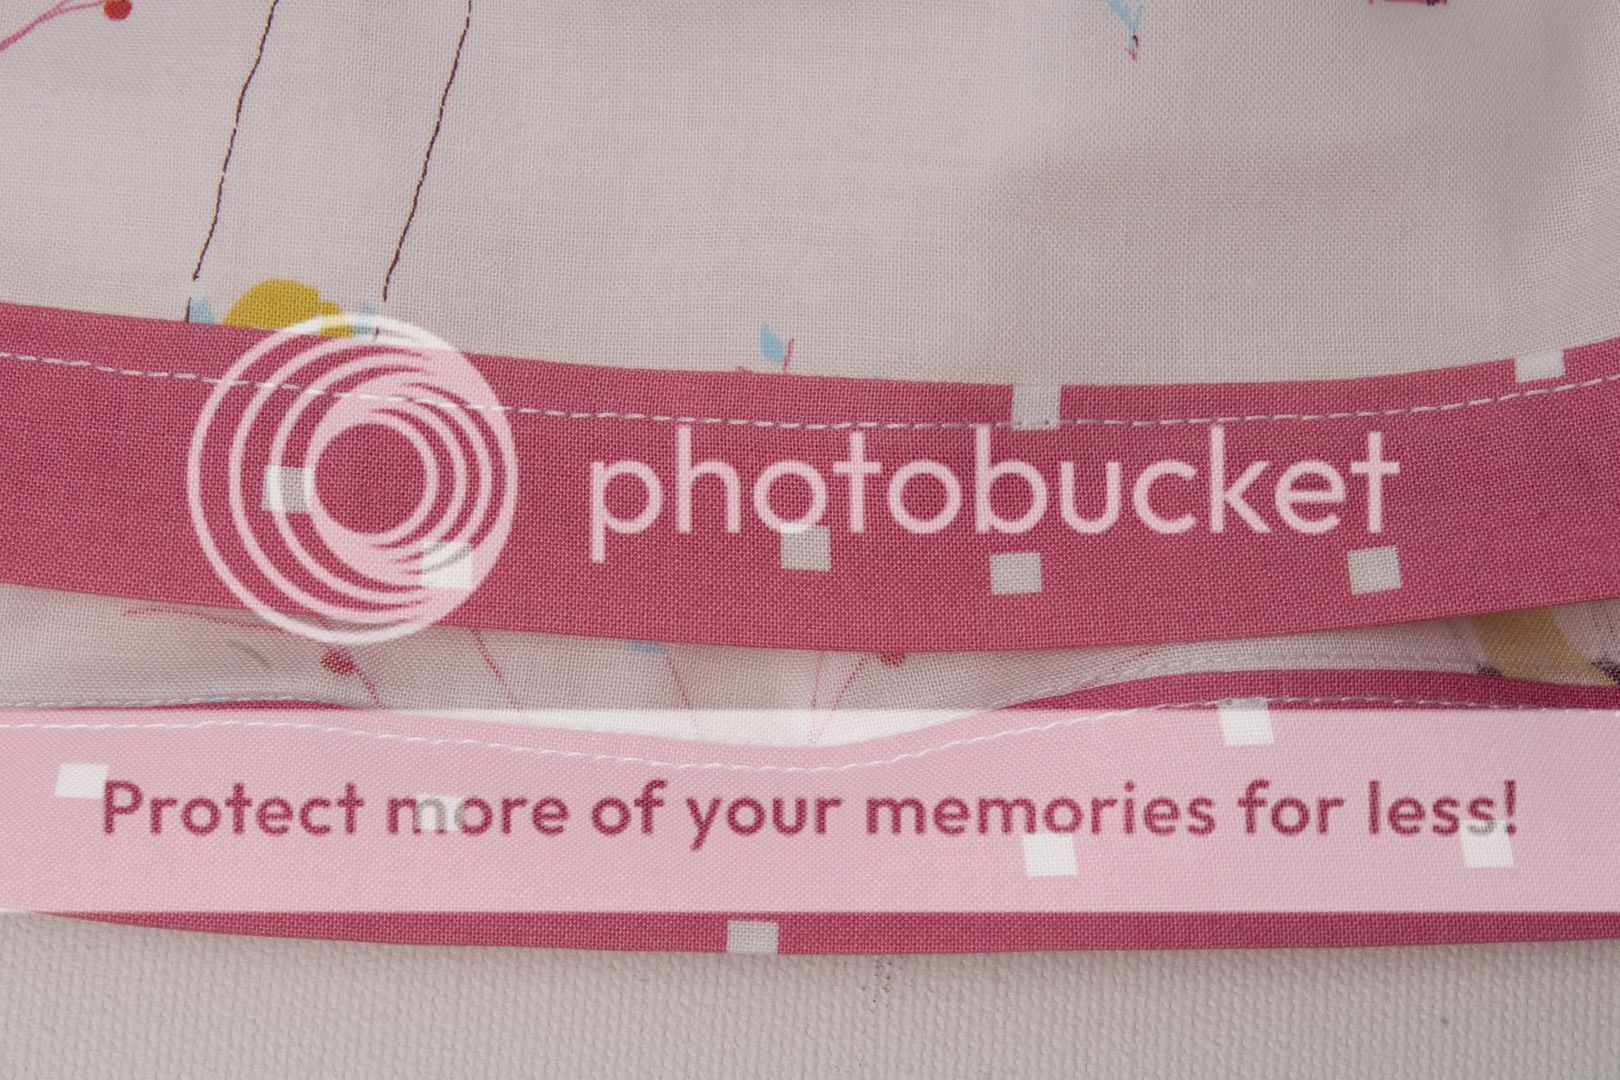
On bottom of skirt, press under 1/4″.
Fold over so that folded edge matches seam. Pin VERY well in place.
On right side of skirt, top stitch band in place.
Press well.
Clip strings and enjoy!
