Fabric Basket Sewing Pattern for the Cricut Maker
New Year’s is right around the corner, and with it comes a fresh start. My typically disorganized self suddenly urges me to organize “all the things.” To get a jump start on my New Year’s organizing this year, I thought I’d create a few fabric baskets to hold some of the trinkets in my sewing room.
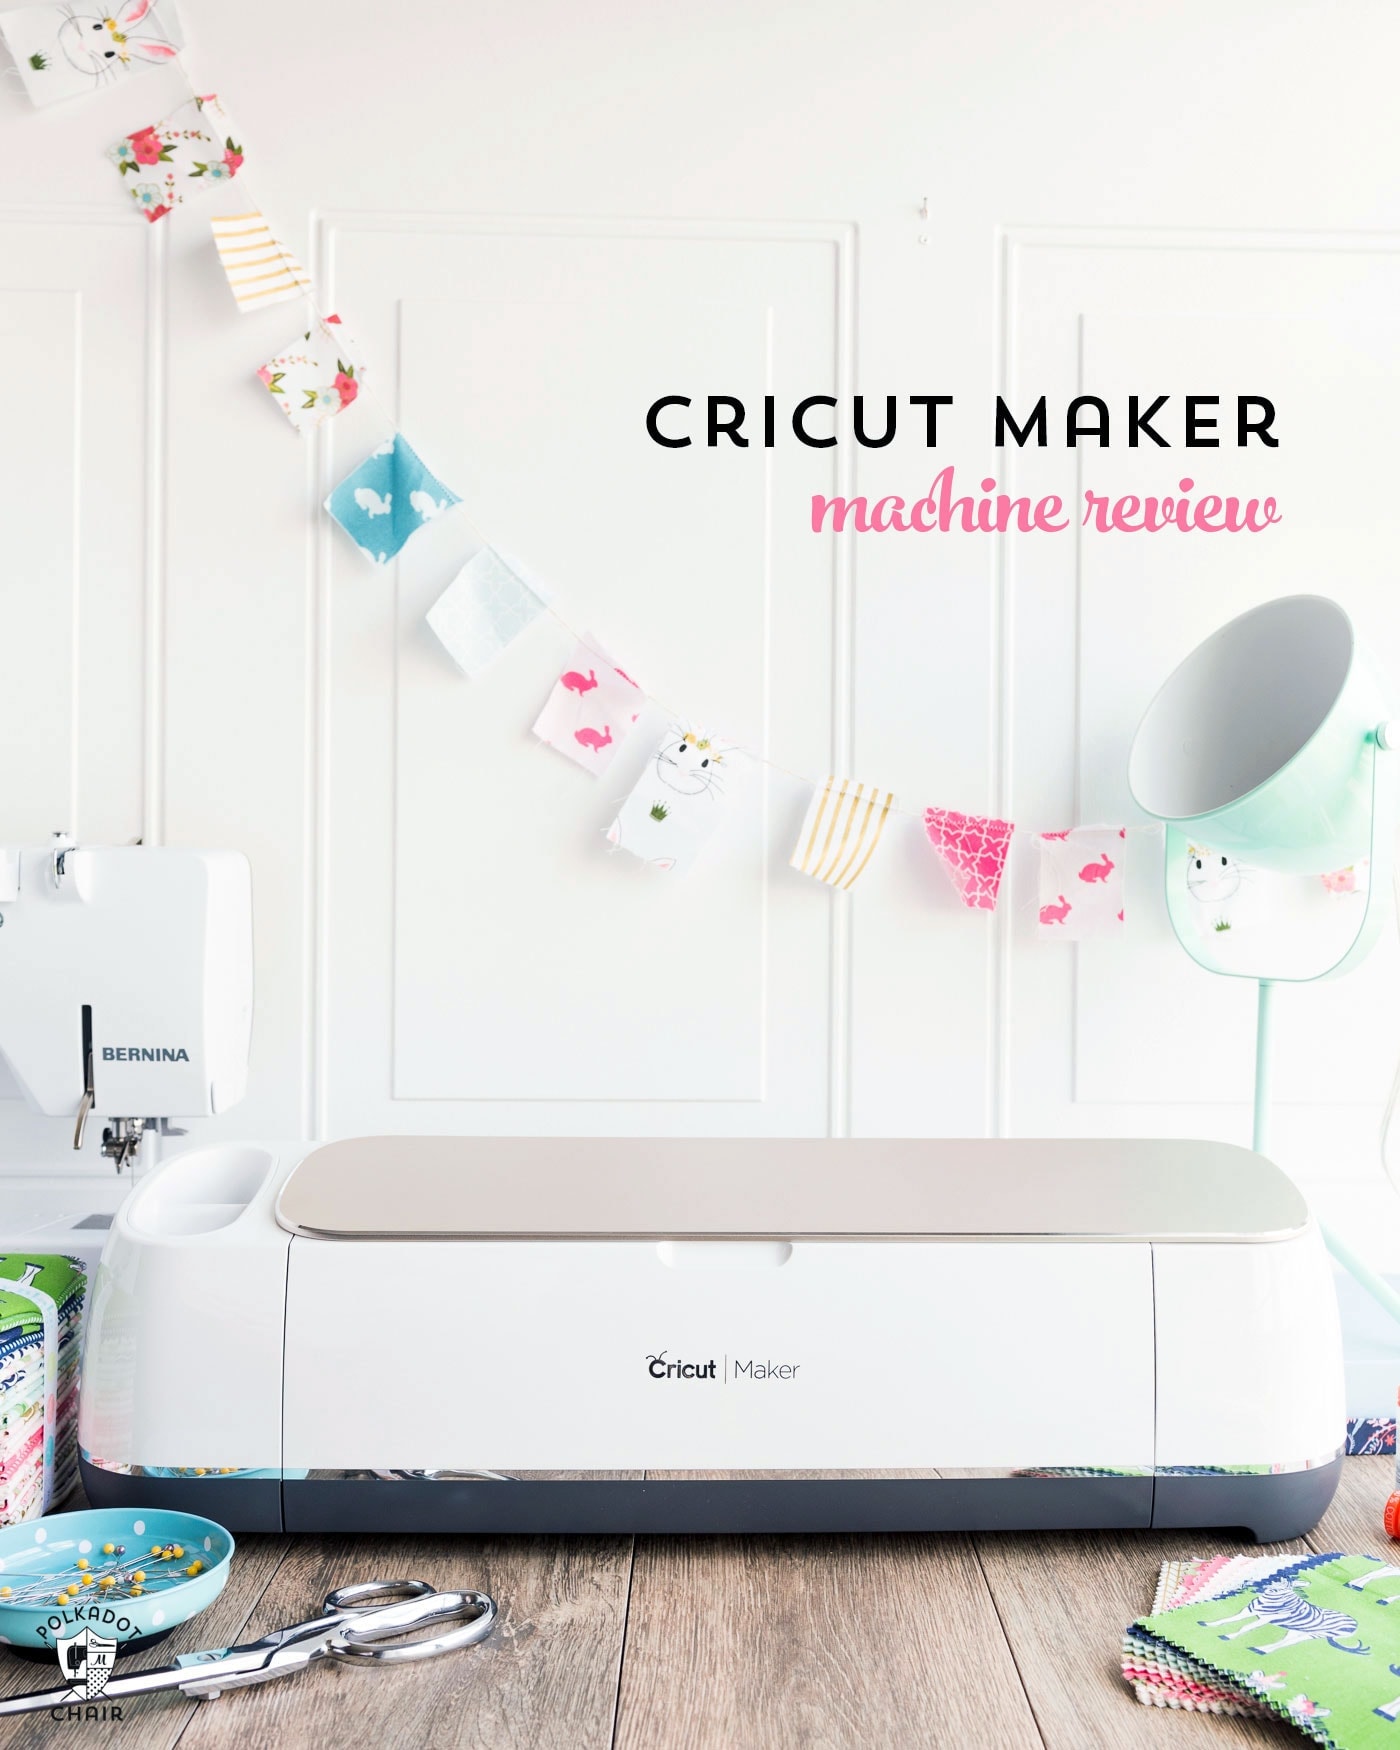
Today, I will share how to make them using this fabric basket sewing pattern. If you have a Cricut Maker machine, this project will be extra quick and easy, as I’ve also included a free Cricut Maker sewing pattern download for you!
You can cut out the entire thing on your Cricut Maker—fabric, interfacing, words, and all!! I work as a Brand Ambassador for Cricut, which is sponsored content.
About the Baskets
Last Fall, as I was prepping for my booth at Quilt Market, I needed a few baskets to hold some of my printed patterns in my display area. I was going to buy some when I arrived in Houston, but at the last minute, I decided that I could easily make some instead. The baskets were so quick and easy to make that I just kept making them! (You can see the photos from my booth at Quilt Market on THIS POST.)
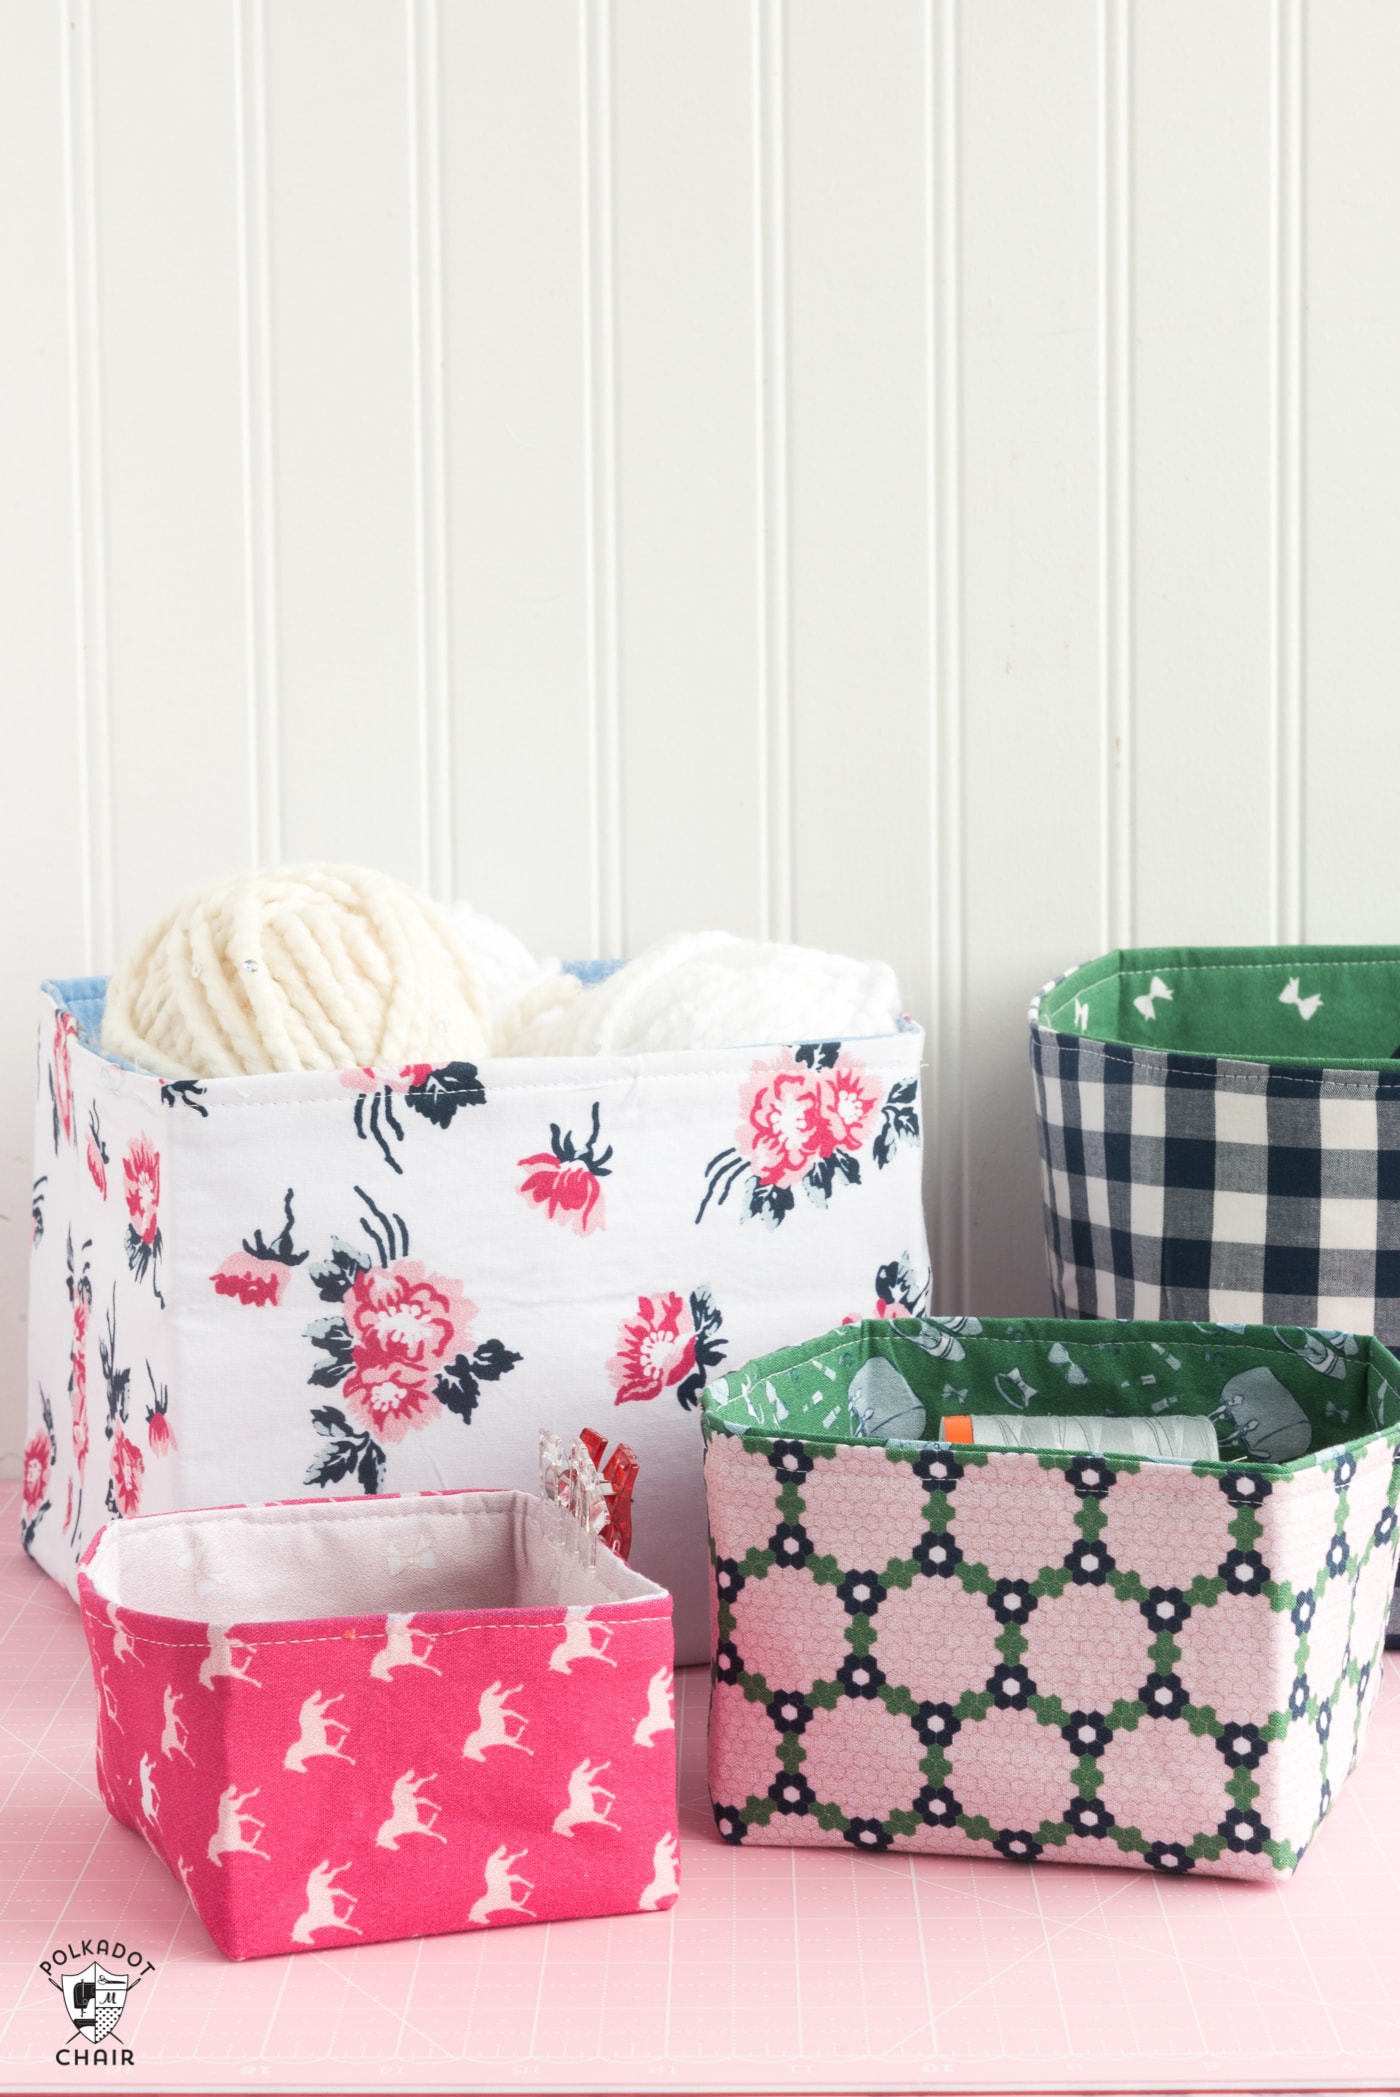
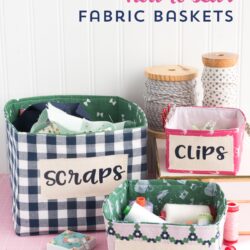
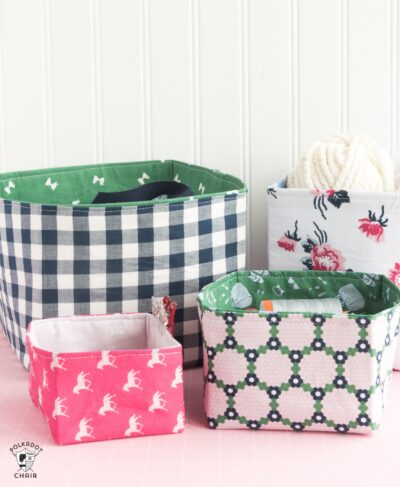
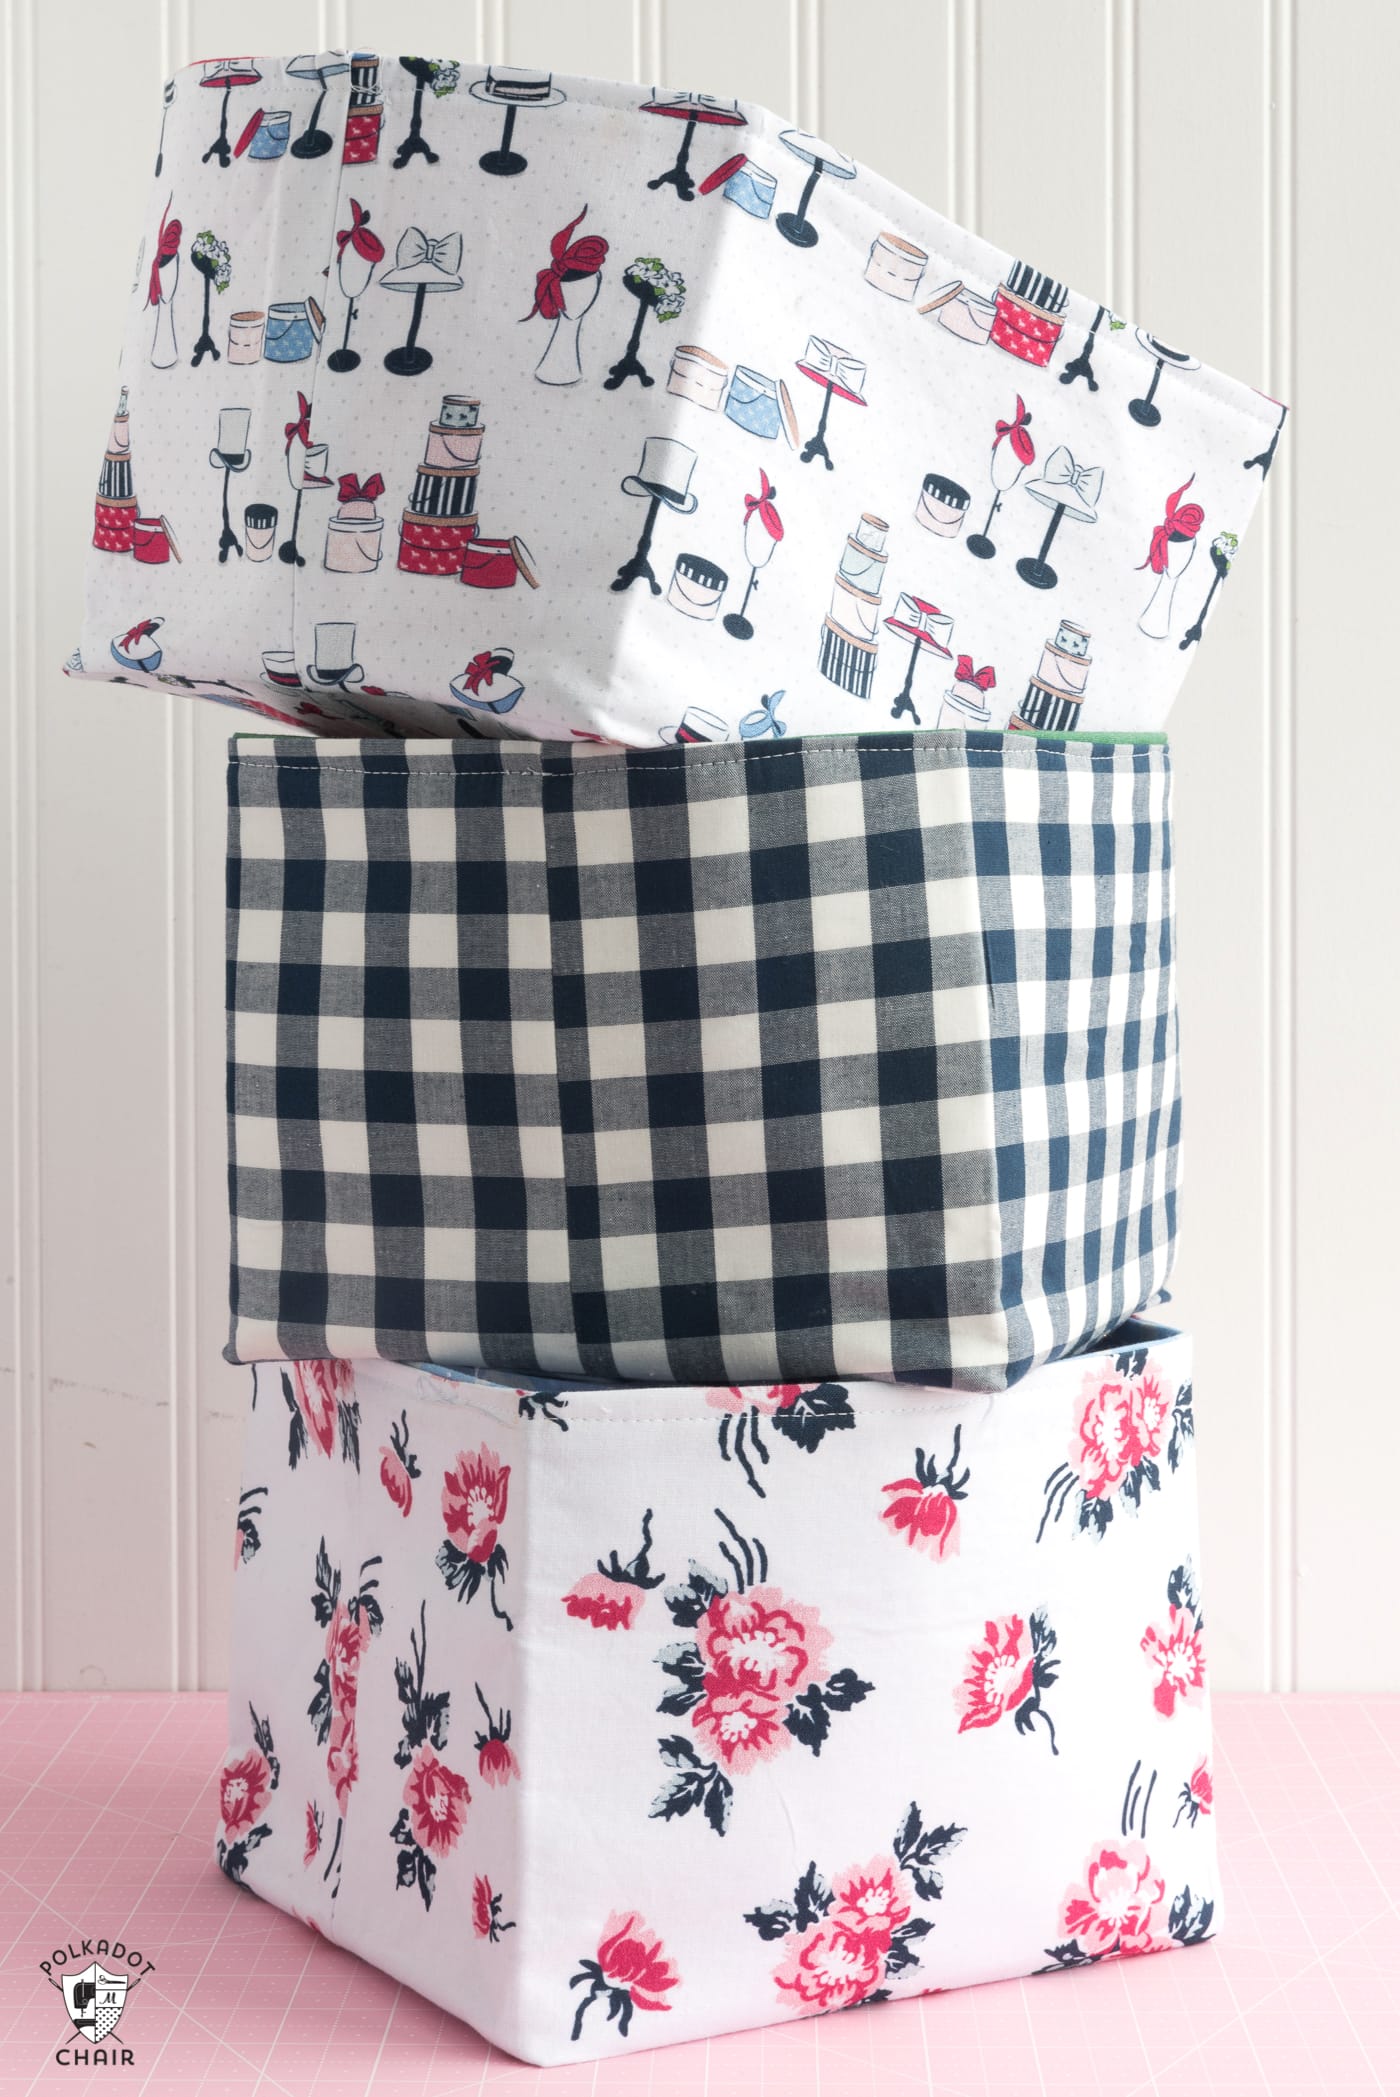
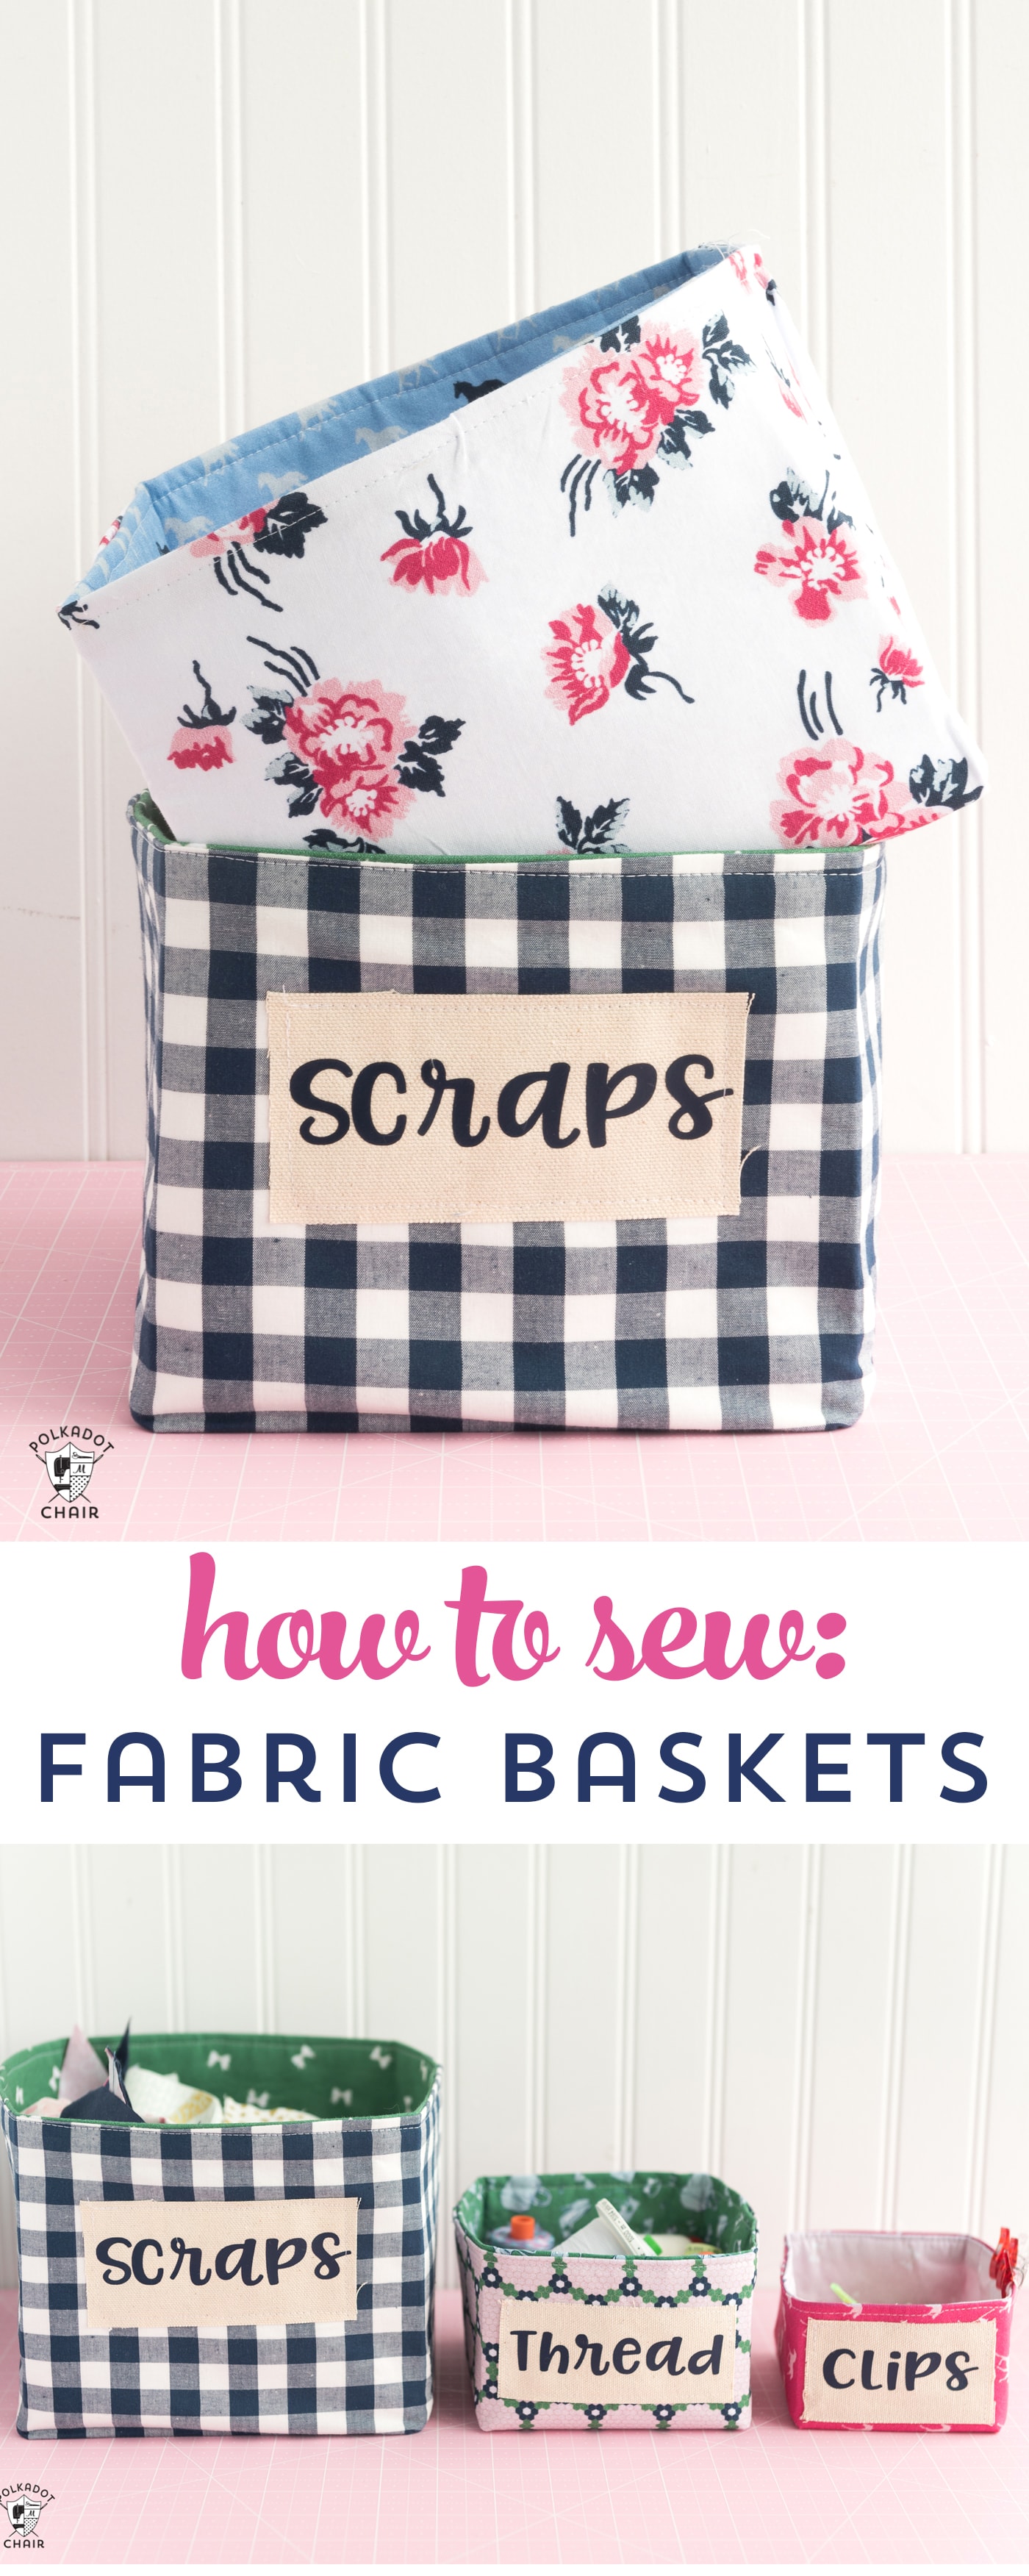
I’ve adapted the same fabric basket sewing pattern to make it in multiple sizes and cut it out using the Cricut Maker.
If you don’t have a Cricut Maker, you can still make these fabric baskets, but you’ll need to draft your pattern piece (which isn’t hard).
If you have a Maker machine, you can download the pattern piece, upload it into Cricut Design Space, and then resize it to make a basket ANY SIZE YOU WANT!
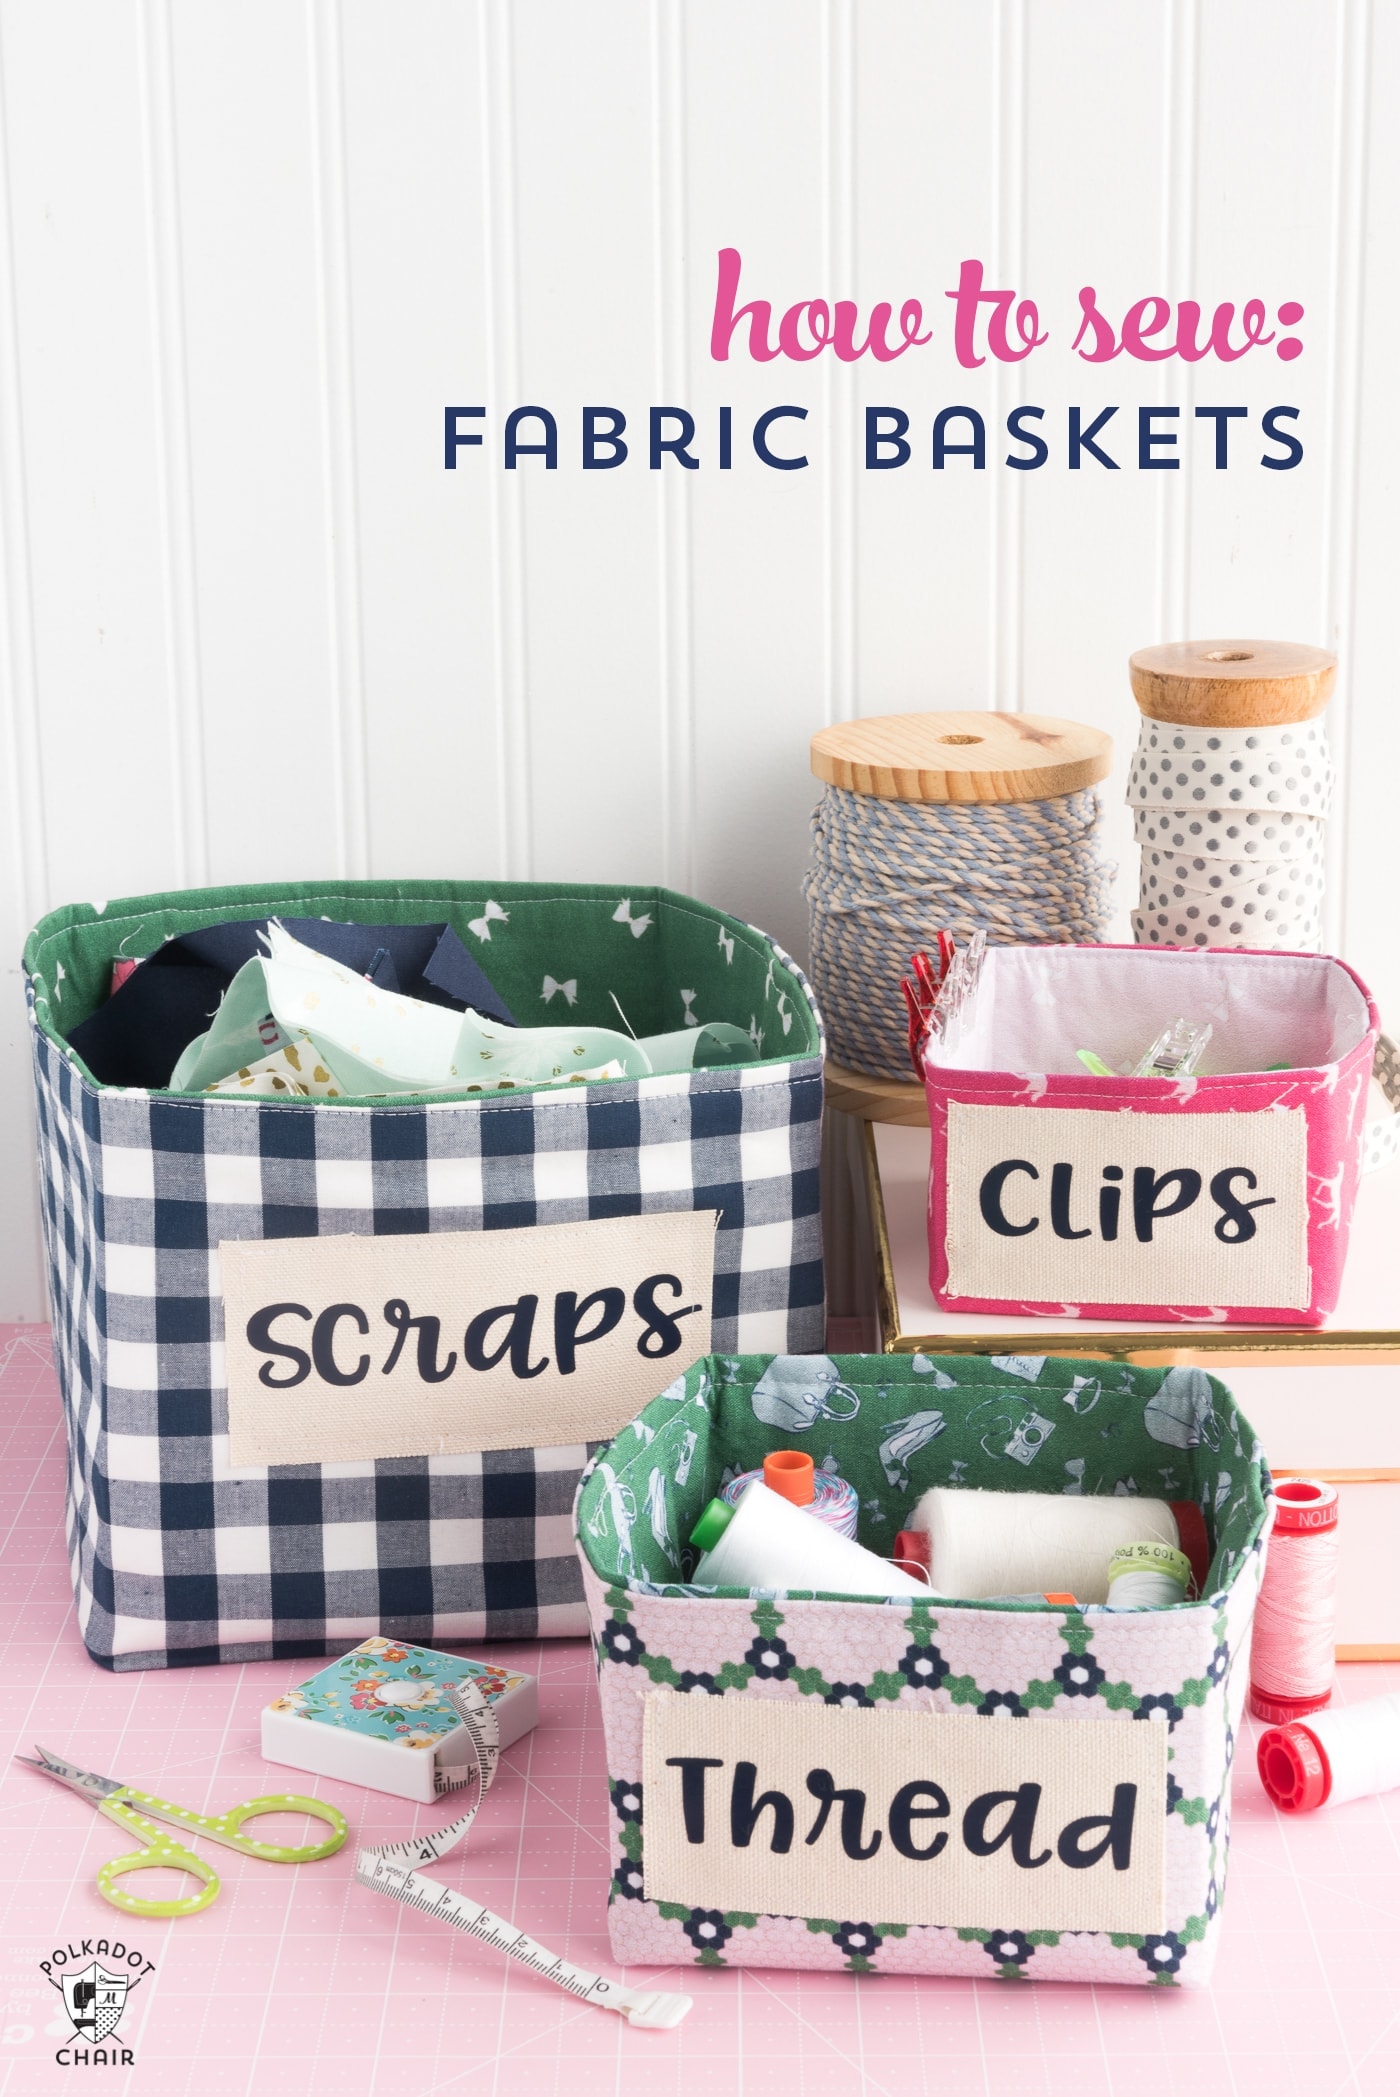
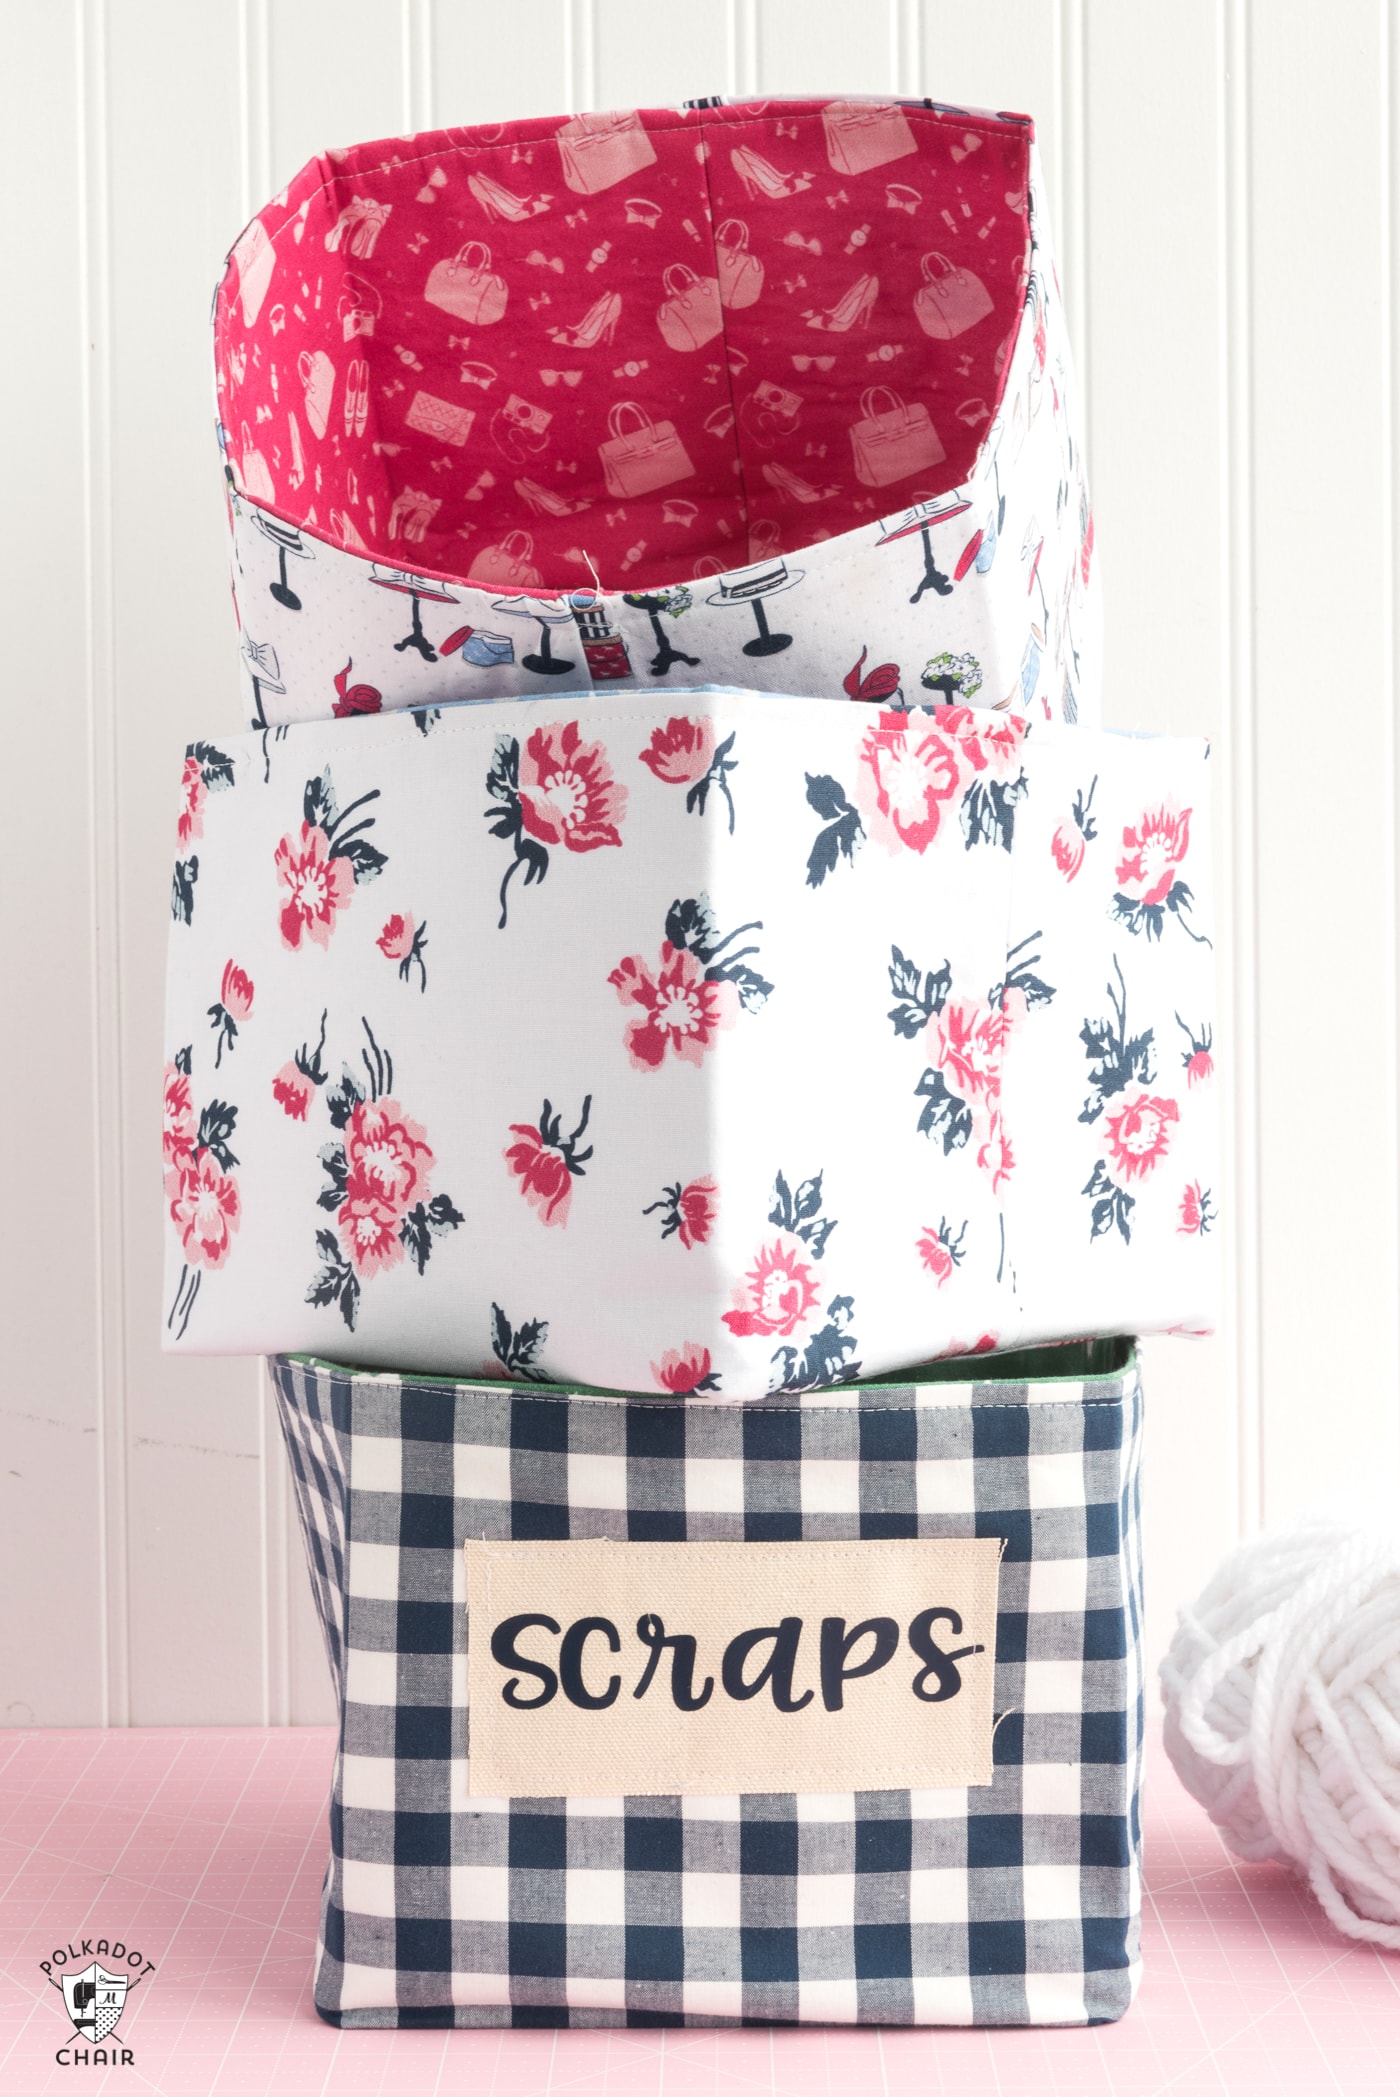
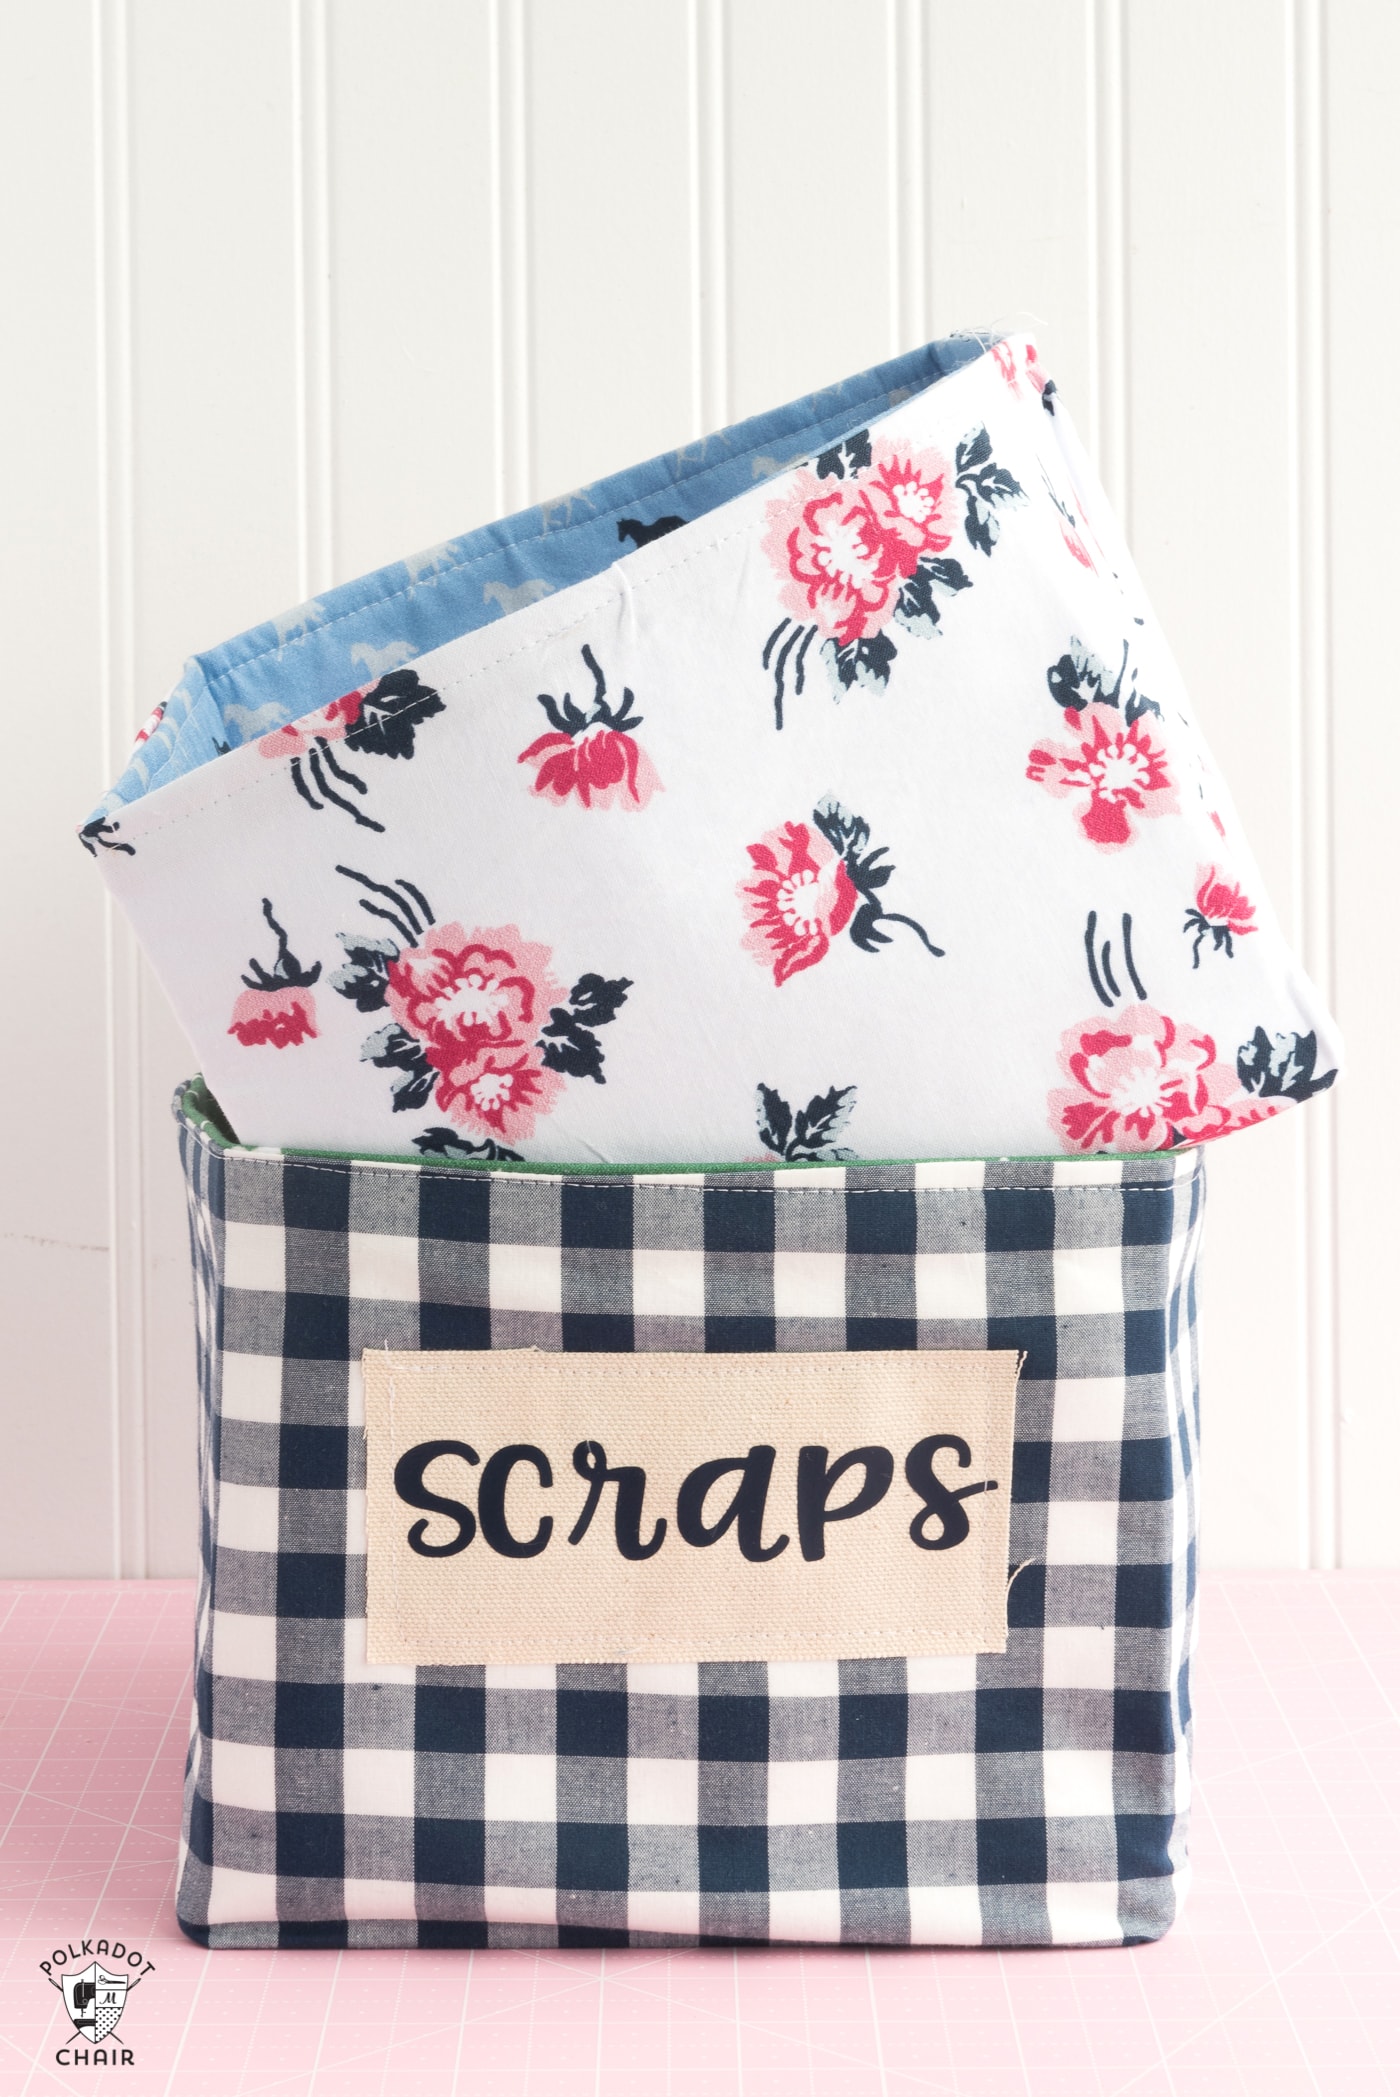
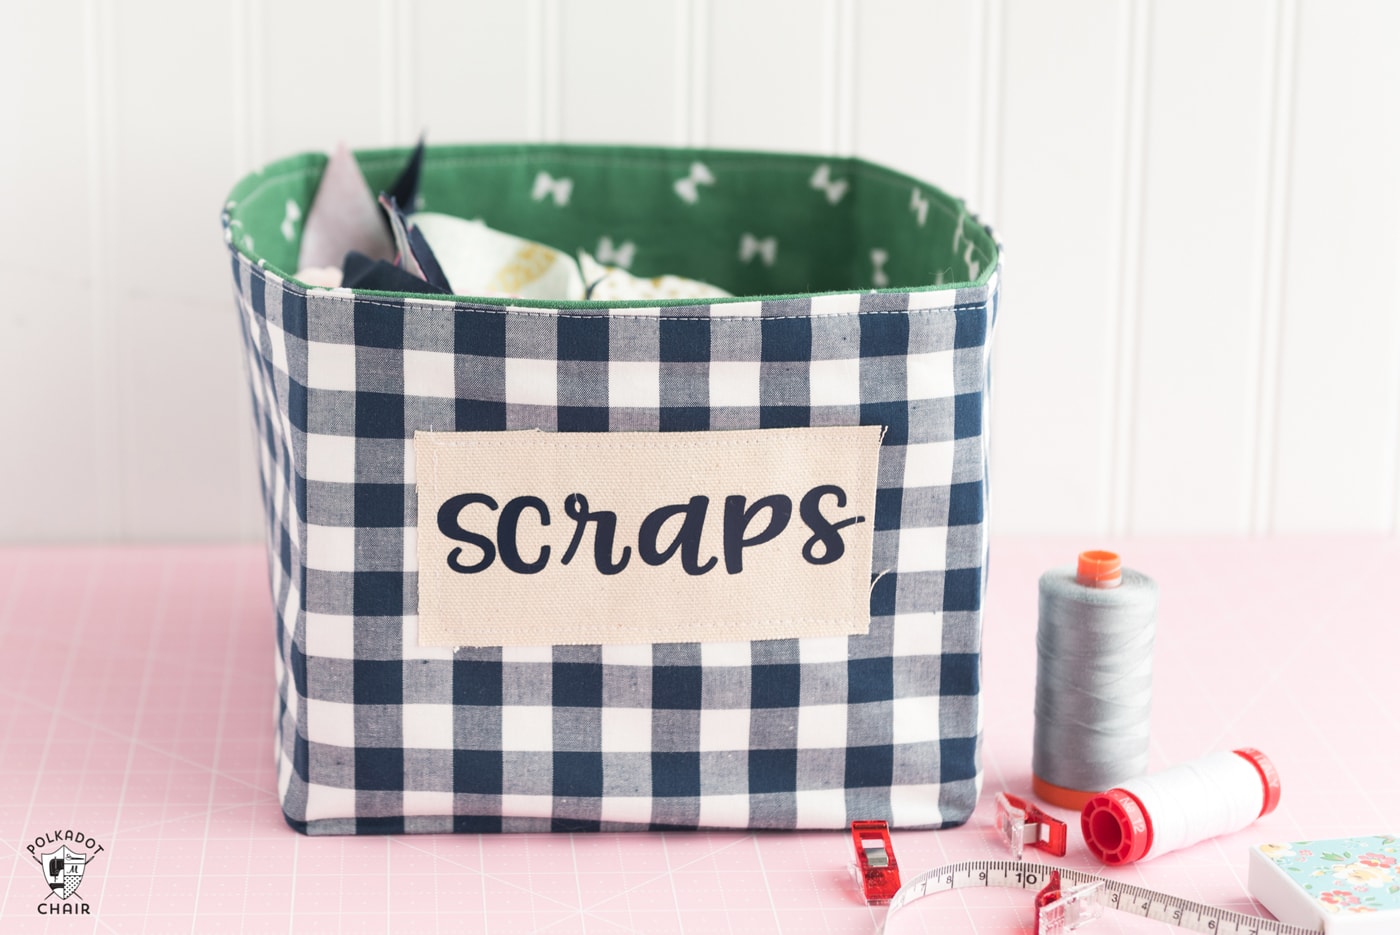
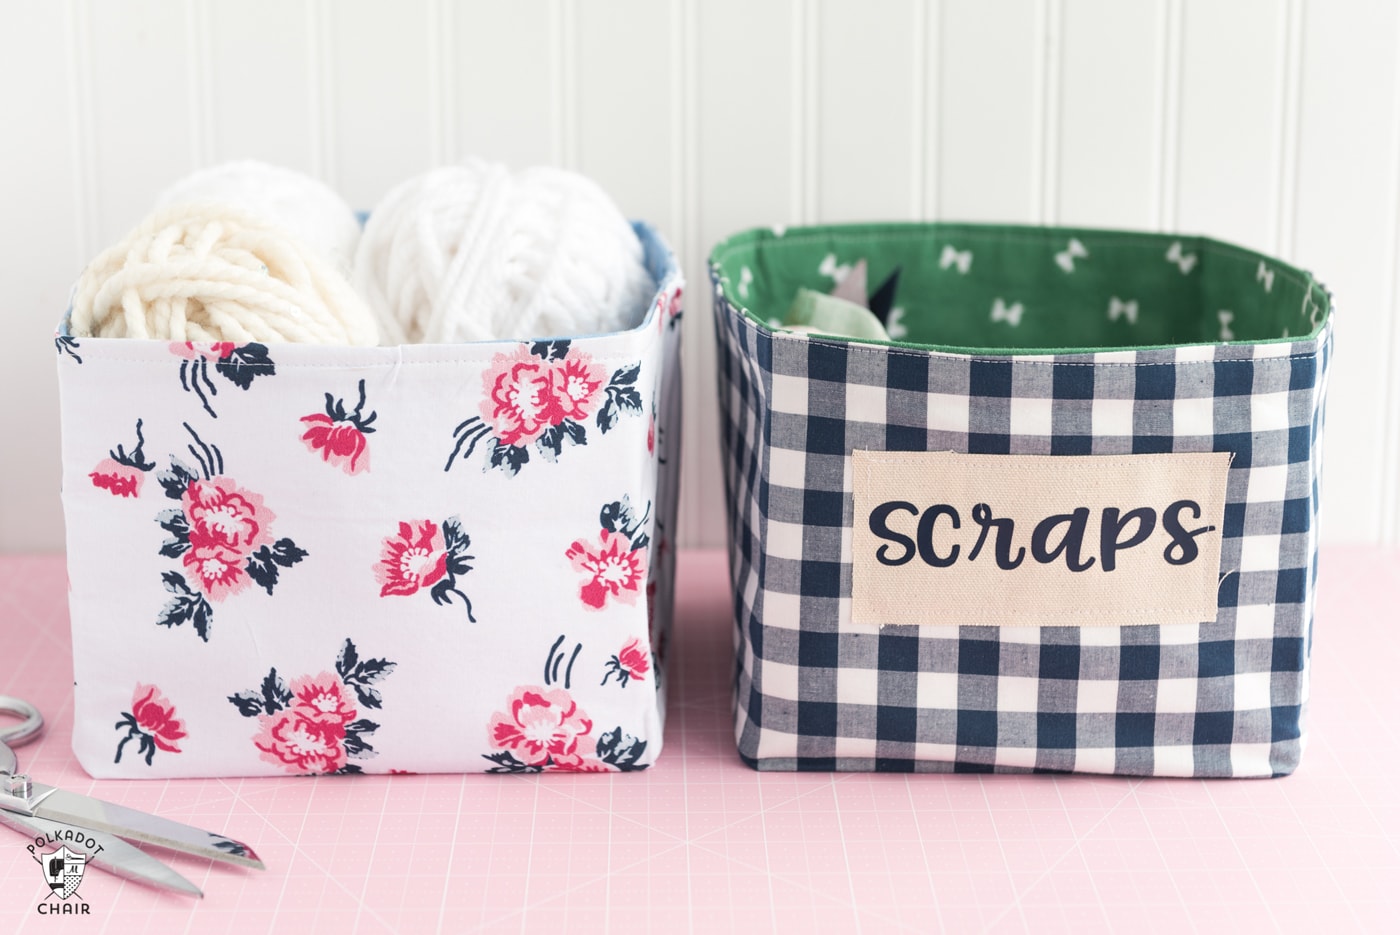
I created a little set of baskets this week. Since I was being “all organized,” I decided to add some labels to the front of the baskets. This step is optional, but I think it makes them kind of cute and fun. I also used my Cricut to cut out the iron-on vinyl letters for the front of the baskets.
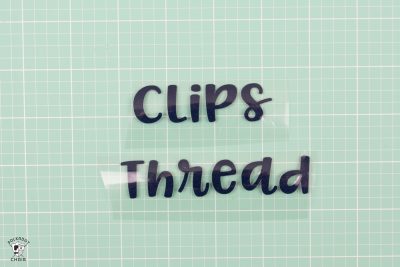
I included a free Cricut cut file with the following words: Scraps, Pins, Clips, Thread, and Markers. Hopefully, that’s enough labels to get you started organizing your sewing space!
I elected not to add a handle or a strap to my baskets; you could easily, though. Add a bit of cotton webbing to the sides before stitching the basket together.
How to Get the Cricut SVG Files
If you’d like to make this project with your Cricut Machine, we have an SVG file for BOTH the basket shape and the text on the labels of the baskets. Fill out this form, and we will email it to you.
Okay, are you ready to start?
Fabric Basket Sewing Pattern
Equipment
- Walking foot for Sewing Machine Recommended
- -Fabric Marking Pen for Cricut Maker
- Pattern Piece Info for the SVG file of the pattern piece is in this blog psot.
supplies
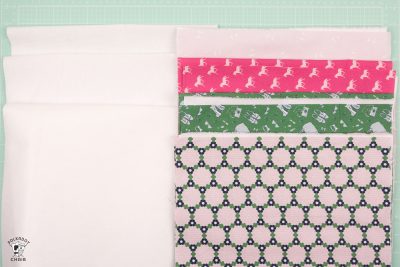
- 1 Fat Quarter Fabric or 1/2 yard for Basket Outside
- Fat Quarter Fabric or 1/2 yard for Basket Lining
- 1 Large piece of Shape Flex Interfacing
- 1 Large piece of Decor Bond Interfacing
- Matching Thread
- Scraps of Canvas
- Heat N Bond Lite
- Cricut Lite Iron on Vinyl
Instructions
Video Instructions
- First, let me tell you how to make a pattern piece without a Maker machine.
Option One: How to Draft your Fabric Basket Pattern Piece (if not using a Cricut Machine)
- If you use your Maker, skip to the supplies section below.
Basket Size Chart:
- Dimensions based on 1/2 seam allowance. I’ve given a range for the finished basket size since there are subtle differences in seam allowance, fabric thickness, and pressing techniques. Depending on those items, two people can make the same basket and end up with two different sizes.

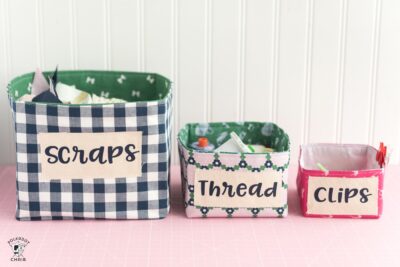
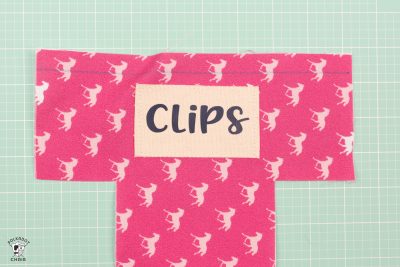
- For a Small Basket (CLIPS) which measures approximately 3 1/2 to 4″ wide x 4″ x 3″ Tall:The pattern piece is 9″ wide by 6″ tall with 2″ x 2″ square cutouts in the bottom corners
- For a Medium Basket (THREADS), which measures approximately 4 1/2 to 5″ wide x 5″ x 4″ Tall:The pattern piece is 12″ wide by 8″ tall with 3″ x 3″ cutouts in the bottom corners
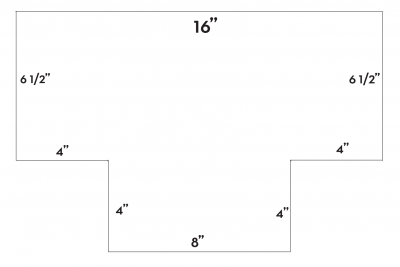
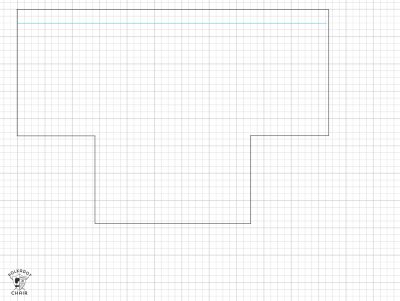
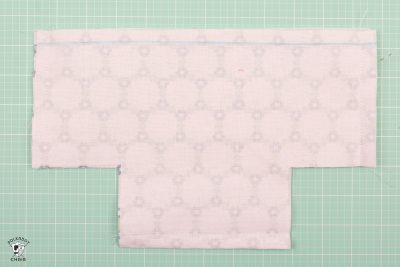
- For Large Baskets:You need to make a “t” shaped pattern piece. Use the diagram below as a guide. This pattern piece is the same one I used to make the larger baskets. It yields a basket that is 6 1/2″ to 7″ wide x 8″ deep x 6″ tall.Cut from your pattern piece: two pieces for the basket outside, two pieces for the basket lining, two pieces from shape flex interfacing, and two pieces from decor bond interfacing. Iron the decor bond interfacing onto the wrong side of the lining pattern pieces and the shape flex interfacing onto the wrong side of the basket outside pieces.
- Skip to the CONSTRUCTION section below.
Option Two: Cutting Fabric with the Cricut Maker
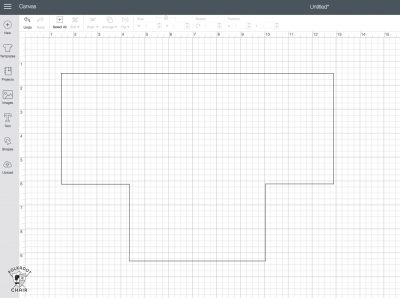
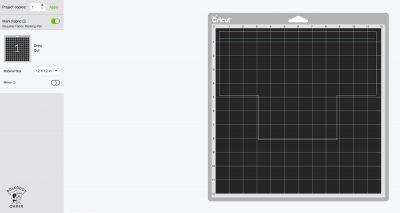
- Begin by uploading the sewing pattern piece to the Cricut Design space. It will load in at 16″ wide x 10 1/2″ tall, which will fit on the large fabric cutting mat. If you want to make the basket in another size, just resize the file. As a general rule, the width of the pattern piece divided by two less 1″ is the finished size of the basket (i.e., a 16″ wide pattern piece yields 7″ wide basket).
- You can not make any part of the pattern piece larger than 11 1/2″ wide.
Size your Pattern Piece:
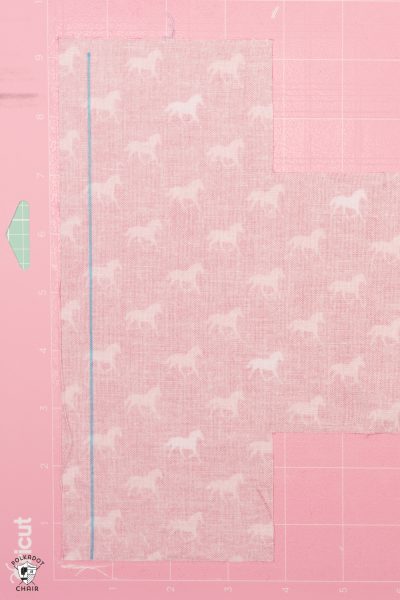
- After you have sized your pattern piece accordingly, you’ll add a few marks to it. These will help you as you sew the baskets together.

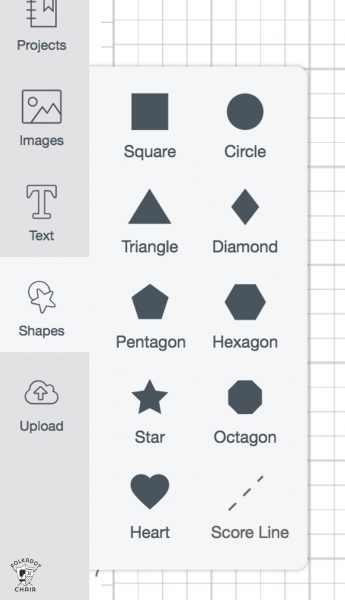
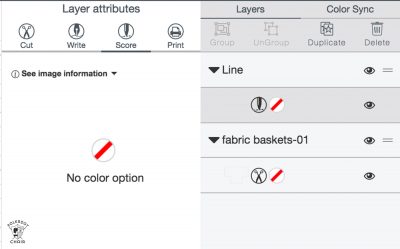
- To do this, click the shape box on the lower left-hand side of the Design Space software. Click on the add scoring line.

Add Stitching Line for Fabric Pen:
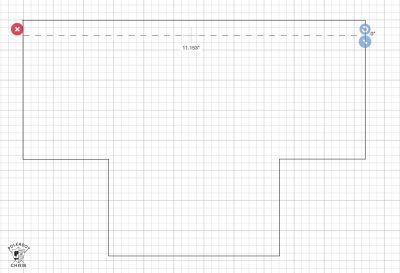
- Draw a scoring line across the top of the pattern piece precisely 1/2″ down from the top edge of the pattern.

- After drawing the line, go to the line attributes box (on the upper right-hand side) and click the circle icon. Change the line from a scoring line to a Write line and select Fabric Marker from the drop-down list.

- After that, click on the two pieces and “attach” on the layers panel. This will make your line and your piece cut and mark simultaneously.

- Next, click Make it.
Cutting:
- You will need to cut this piece 4 times. 2 for the front of the basket and 2 for the lining. If you have a small enough piece that you can fit both on one 12″ x 24″ mat, then you only need two mats.
- You will need four mats, so change the copies to 4 in the dialog box in the upper left-hand corner.

- Okay, for the next steps, I’m going to recommend something different than what I did. I cut out the interfacing separately. Looking back, I think it would have been easier to iron the interfacing onto the fabric and THEN cut it out. The “glue” side of the interfacing didn’t stick well to my mat, and it has to be ironed on anyway, so I think it’s a bit faster to do that first.
- So next, cut your basket outside fabric, lining fabric, and interfacings to 12″ wide. The length doesn’t matter; the extra will just fall off the mat at the end.
Prepping the Fabric:
- Iron the Shape Flex interfacing onto the wrong side of your basket’s outside pieces. Iron the Decor Bond interfacing onto the wrong side of your basket lining pieces. (My photo does not show the interfacing)
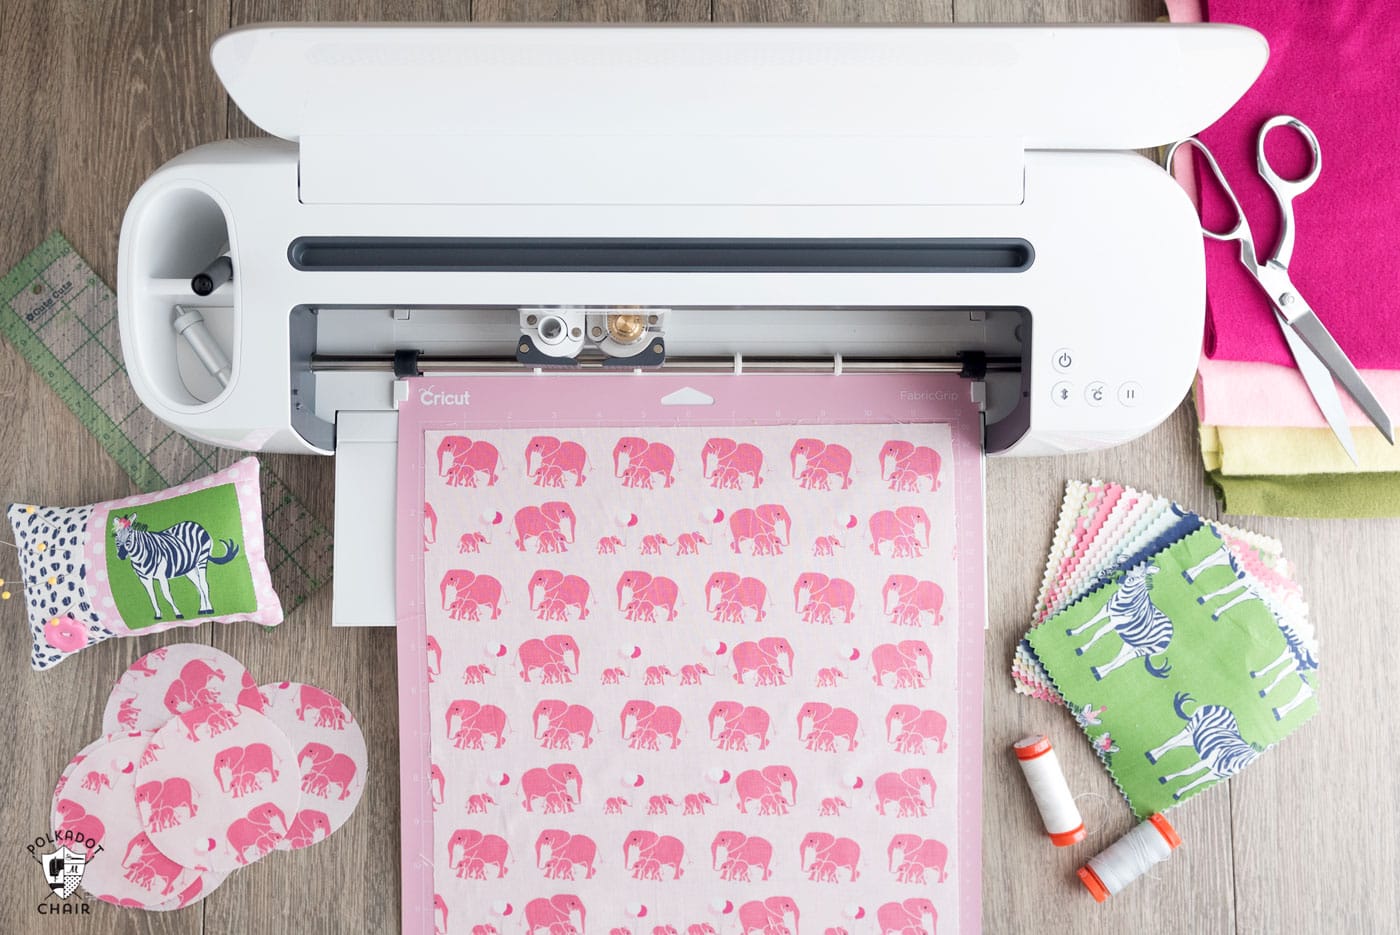
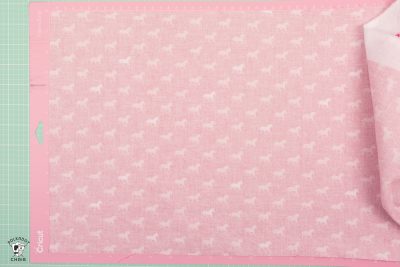
- Place the fabric right side down on your pink fabric mat. Following the prompts on your screen, load the mat into the machine and cut out your first piece. You’ll want to choose “cotton medium” as your fabric type and ensure your marking pen and the rotary blade are installed on your machine.
- Load the mat and cut your piece. Repeat until you’ve cut out all four pieces.

Construction Steps:
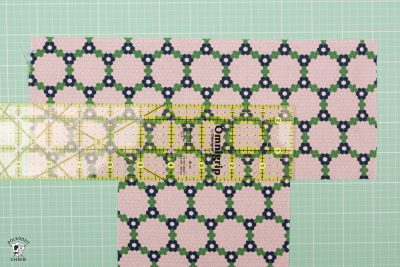
- If you are attaching labels to the front of your basket, measure how wide you’d like your label to be using a ruler.
- Then, use Iron on Vinyl and cut out the letters you’d like. All of the “words” are in the file. Just hide the ones you don’t want to cut out.
- Once you’ve cut out your words (for more tips on working with Iron on Vinyl, see this post).
- Cut out a piece of canvas that fits the label. Apply a scrap of heat’ n bond lite to the wrong side of the canvas. Attach the words to the right side of the canvas using your Cricut EasyPress.
- Peel off the backing from the heat n bond and iron the label to the front of the basket. (Make sure you don’t touch the iron on vinyl with your iron)
- Stitch around the edge of the label to adhere to it.
To Sew the Basket Together:
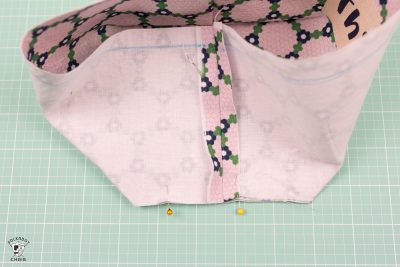
- Place your basket outside pieces on the right-facing side. Stitch down the two sides and the bottom with a 1/2″ seam allowance. Don’t stitch in the ‘box’ in the corners.
- Press the seams open.
- Pinch the corner to make a pleat. Stitch with a 1/2″ seam allowance.
- Repeat for the other side.
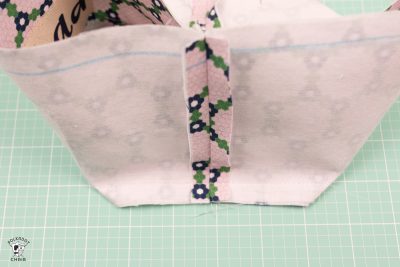
- Trim the seam allowance down to 1/8″.
- Using the marked line as a guide, press the top edge of your basket outside piece under 1/2″.
- Set aside.
- Repeat for the bag lining pieces.
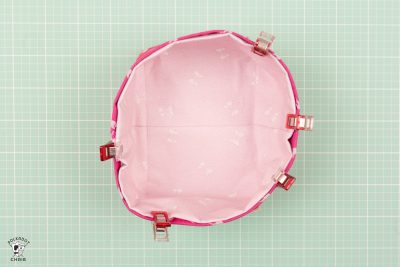
- With your basket outside piece right side out, slip the basket lining into it, matching side seams.
- To finish your basket, top stitch around the edge. I find using a walking foot on my sewing machine helpful for this step.
- After sewn your basket, you need to press the creases into it to give it a “box” shape. Press each of the four corners and the bottom edges well.

- That’s it! You’re done!!!
This is a sponsored conversation I wrote on behalf of Cricut. The opinions and text are all mine.

I love these! I need a few baskets for the top of some new cabinets in the laundry room. Thanks!
Thank you so much for this tutorial on making baskets with the Maker. It has helped me learn how to use it for fabric more than anything else.
I love your baskets very much! Thank you the beautiful fotos and patterns!
with love
Marianne
Adorable ! What is the best way to resize this?
Thank You
I love your baskets…. and great tut!
I am going to press the top hem before sewing the sides. Just easier for ne to press flat than in a tube with the seam.
Thank you sew much!
This looks amazing and easy! Will this work with a cricut air 2? I don’t have the maker. Thanks!!
I just got my Maker a week ago and as a subscriber already, was pleased to find some sewing ideas for it here! Thank you! I downloaded a few on my iPad….it is now easily do-able since iOS 13 came out! I love that I can use it with my Cricut. It makes it go portable – right to my sewing room!
I fused the fabric to the Shape Flex Interfacing before cutting it. The Burlap cutting selection on my Cricut Maker worked best. I also created scoring at the bottom and sides of the basket. Almost finished with the first basket. Thanks for the pattern.
Oh Thank you for the tip!
Thanks for this pattern. I’m excited to try these baskets. I wondered about your sample in the video that is rectangular. To get a rectangle, would the top dimension (16″ on the larger basket) need to be extended, and then would the corner cutouts also need to be adjusted? Thanks for your help and for all the patterns and tips you provide!
The sample in the video is rectangle mostly because it’s stuffed with fabric fat quarters. The basket takes on the shape of whats inside it since it’s not terribly sturdy. If you wanted it to be extra rectangular, just extend the top dimension. You don’t need to change the corner cutouts.
The baskets are super cute going to attempt to make some! But one question. Where did you get that iron? I love it so much !