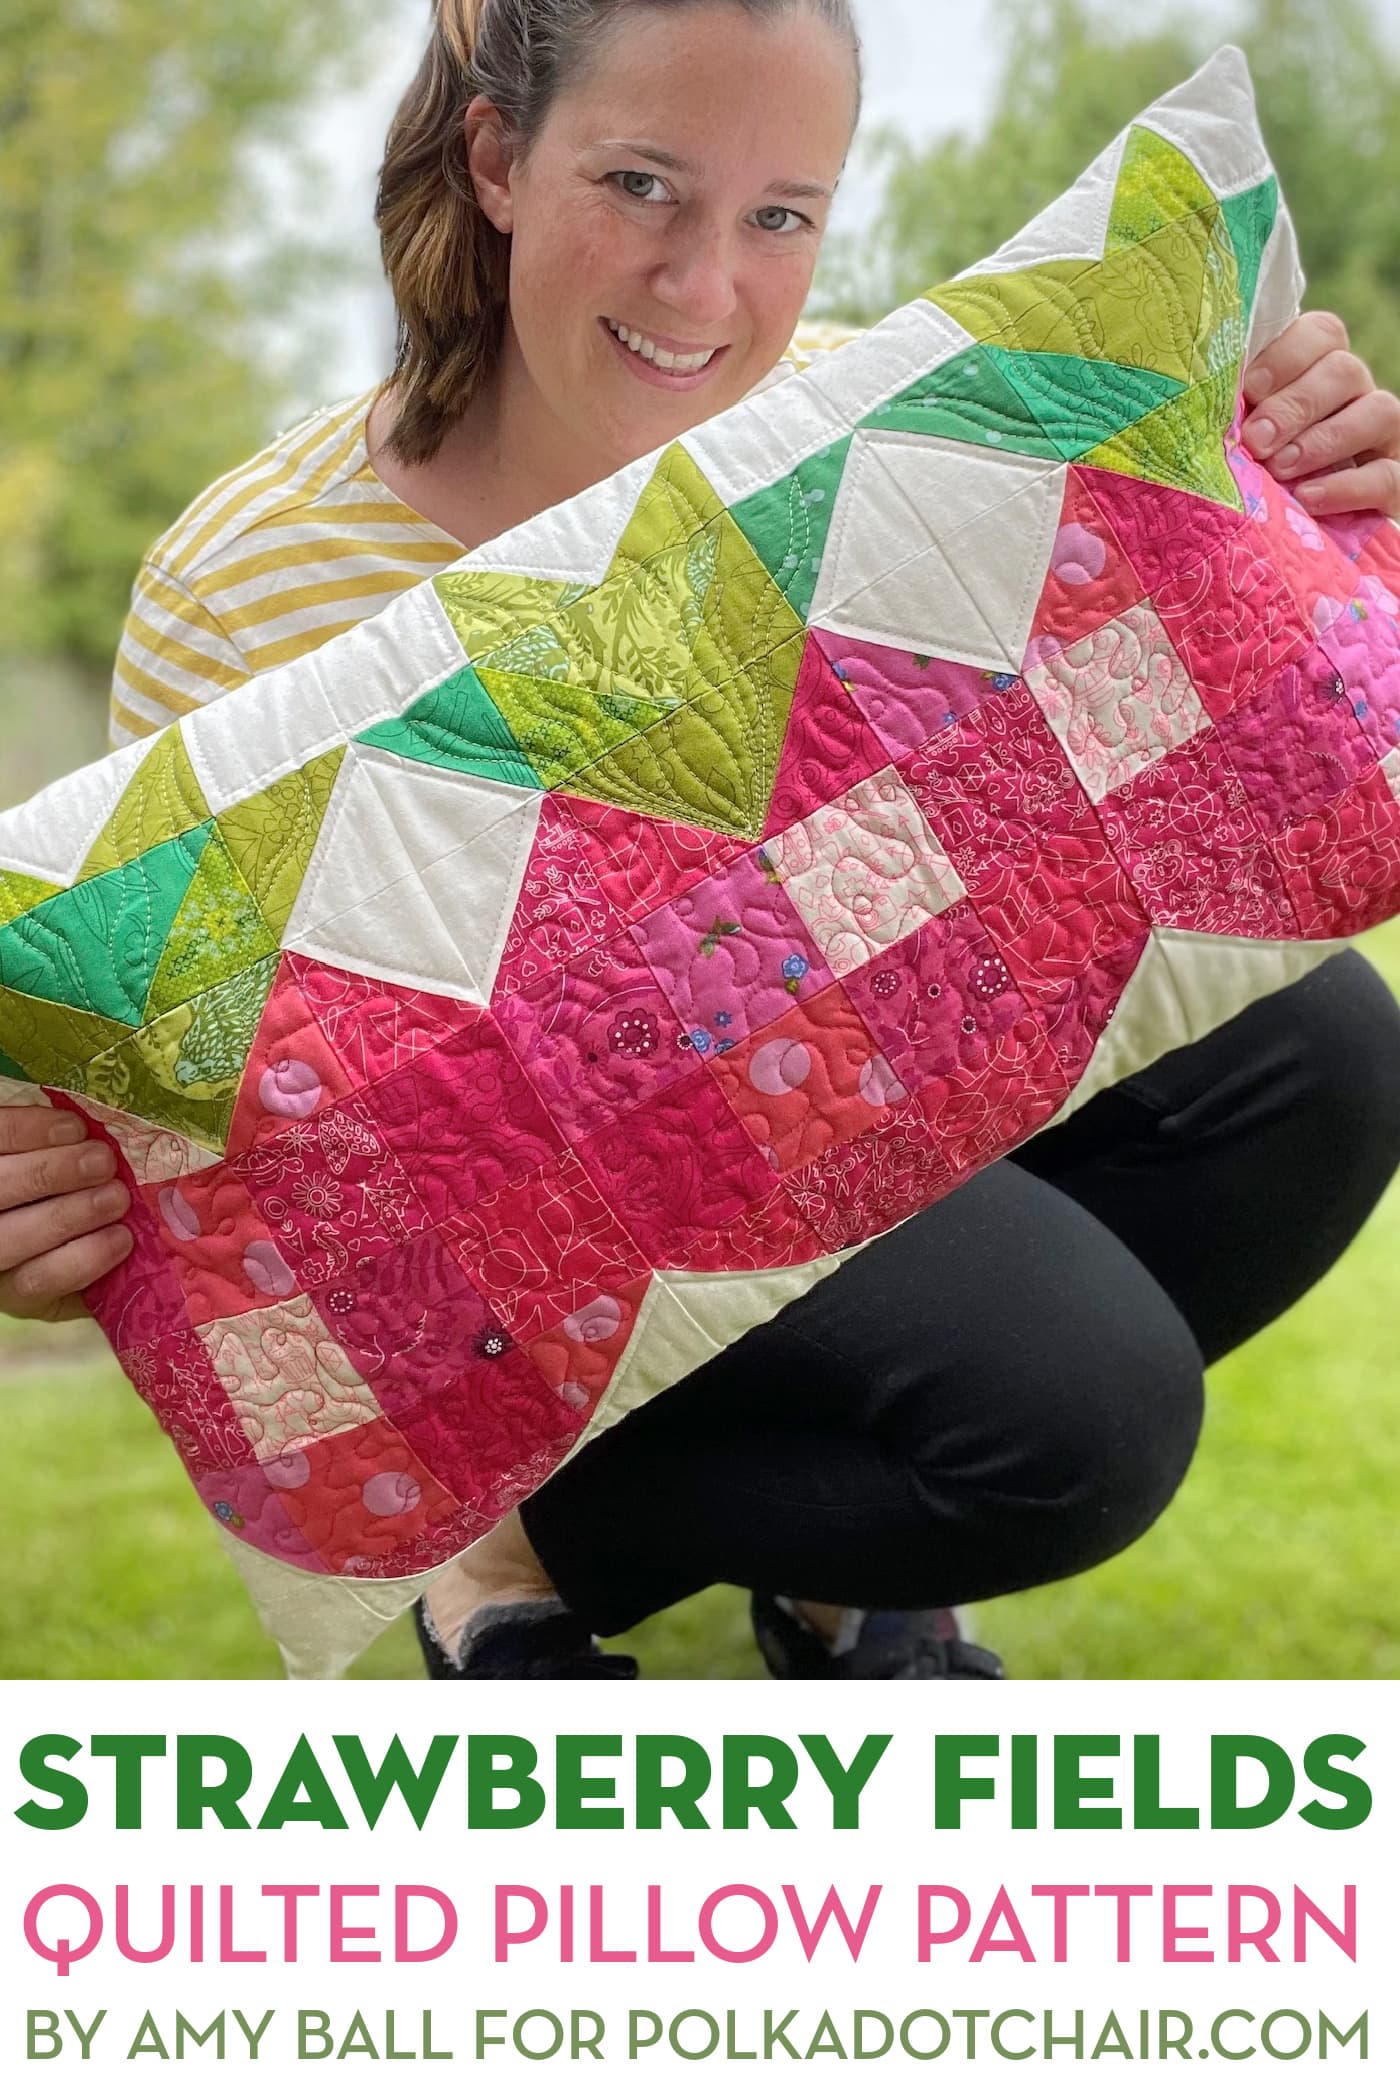
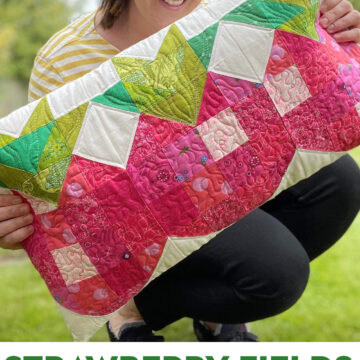
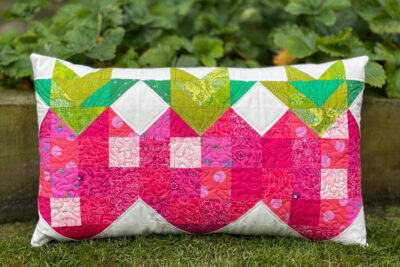
Strawberry Fields Bench Pillow Pattern
I think you will love our August pillow of the month pattern. Amy Ball has designed a cute summery bench pillow using Strawberry Quilt Blocks Learn how to make the pillow and get a free pattern for the strawberry blocks.
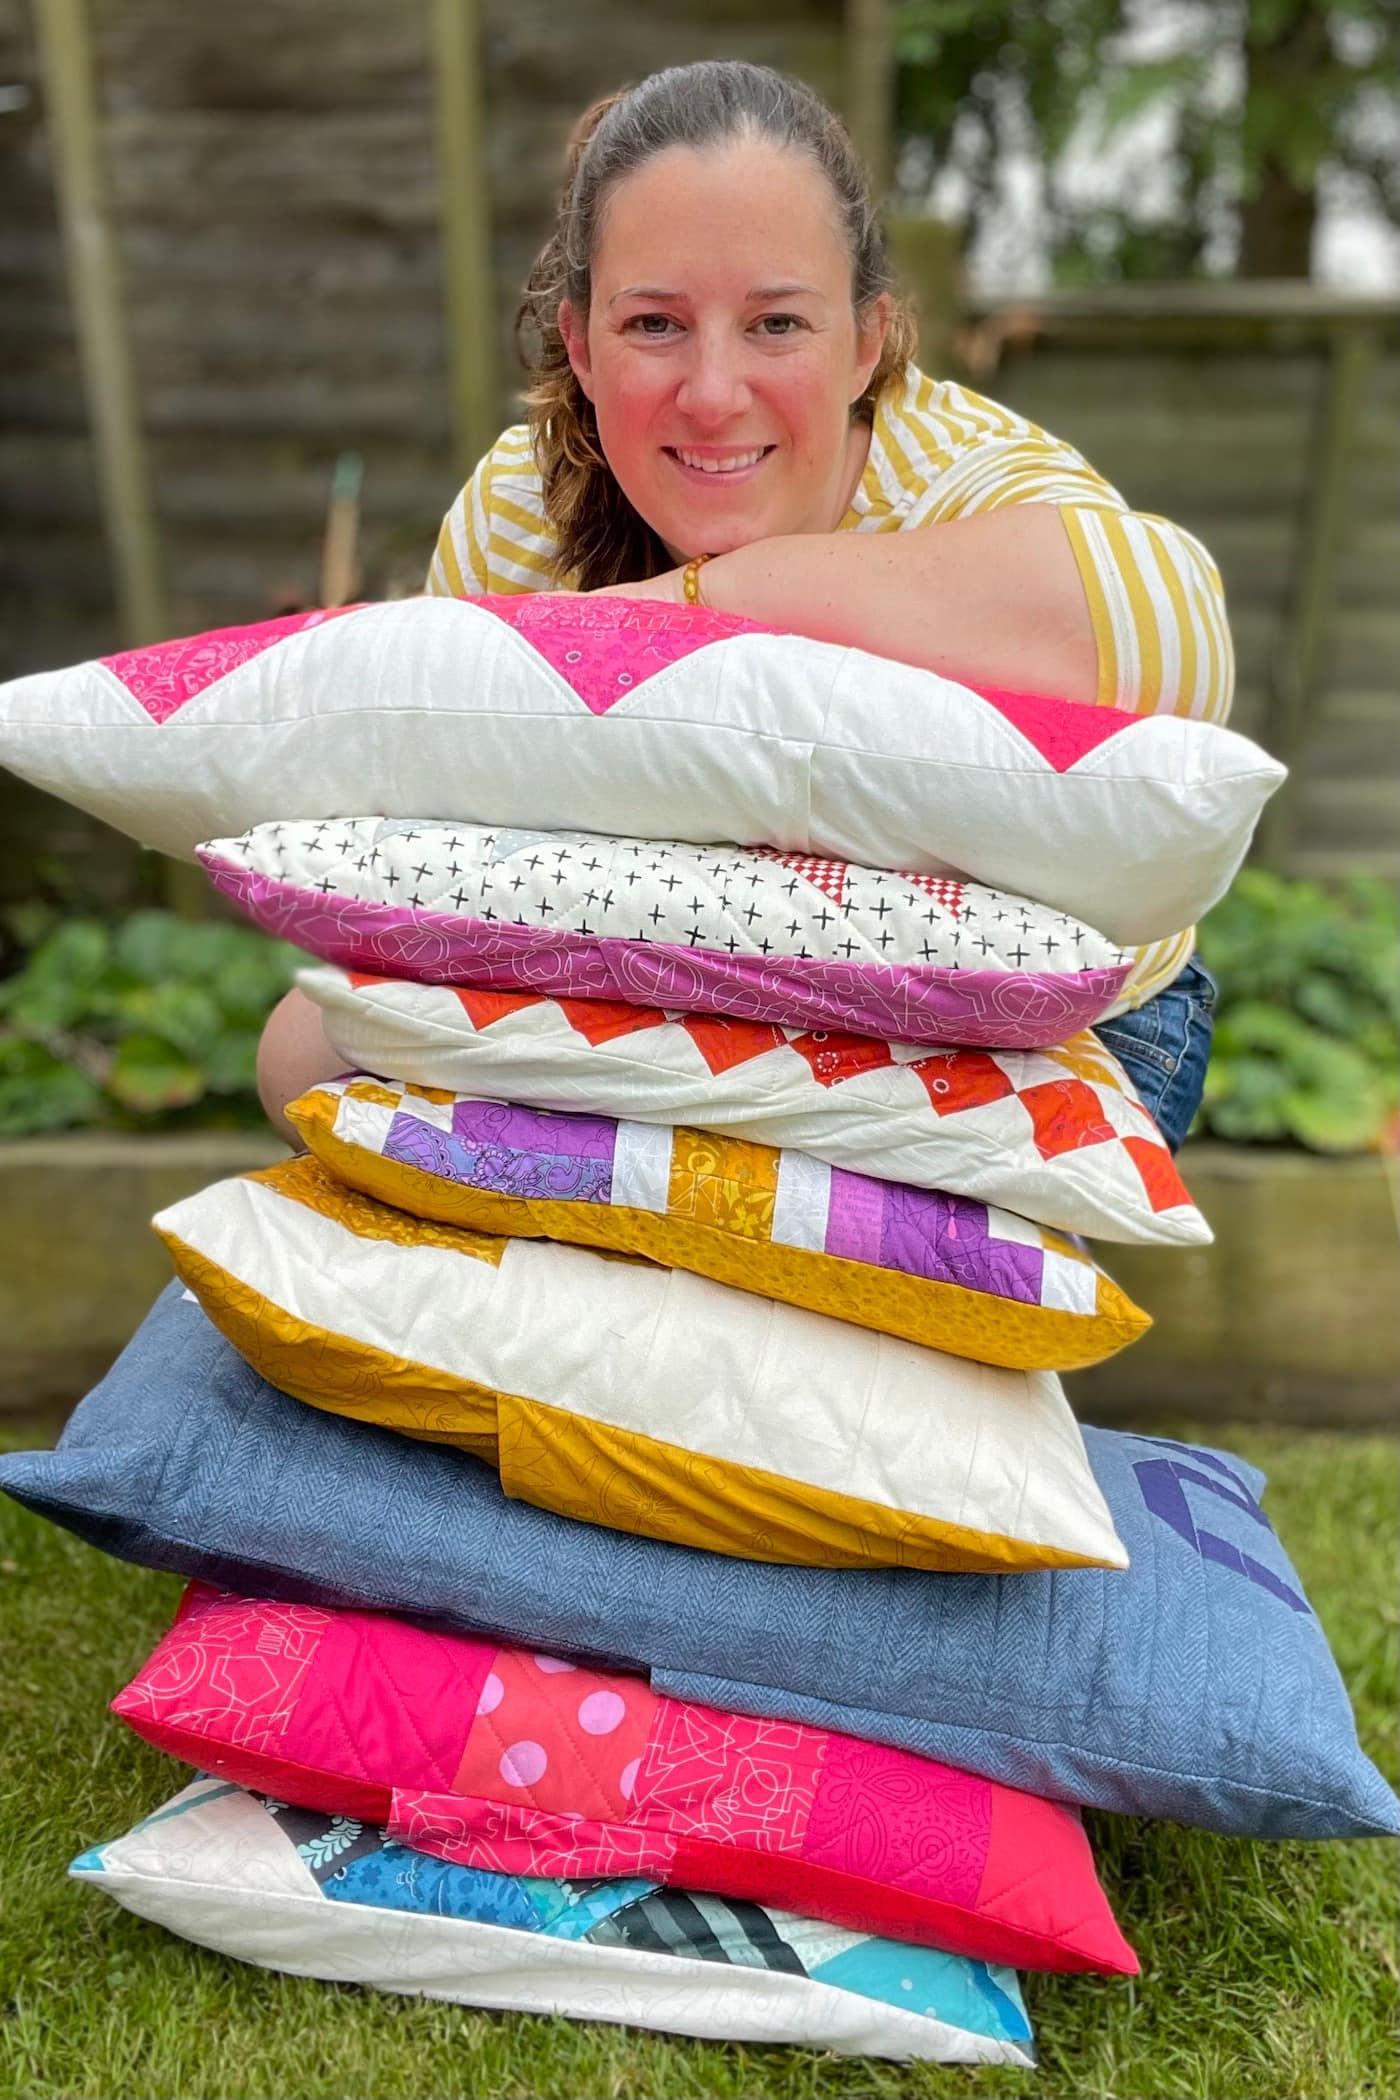
I have heard from so many of you that you are enjoying our Pillow of the Month patterns. Amy has done an excellent job designing and creating the projects to share with all of you!
Pillow of the Month Patterns
If you missed one of the free pillow patterns, you can find them on our site. I can’t wait to see what she designs for the remaining patterns this year.
- January: Patchwork Plaid Pillow
- February: Heart Quilted Pillow
- March: SLEEP Pieced Letters Pillow Pattern
- April: Patchwork Beehive Pillow
- May: Queens Jubilee Celebration Pillow Pattern
- June: Moroccan Tiles Pillow
- July: Prism Paw Quilted Pillow Pattern
- August: Strawberry Fields Patchwork Pillow
- September: Improv Patchwork Pillow Pattern
- October: Twin Pines Quilted Pillow Pattern
- November: Peeking Reindeer Patchwork Pillow
- December: Christmas Presents Pillow
Patchwork Course
In addition to the patterns she designs, Amy also teaches Patchwork and Quilting courses online. If you’ve ever been frustrated with mismatched points when quilting, she has a lot of tips to help you out in her newest course; Pointless.
Pointless: Online course – What if you never had missing patchwork points again? With Pointless, there’s no need for flat corners and mismatched points. You’ll learn how to make, sew, press, and piece perfect half-square triangles and flying geese in just one day.
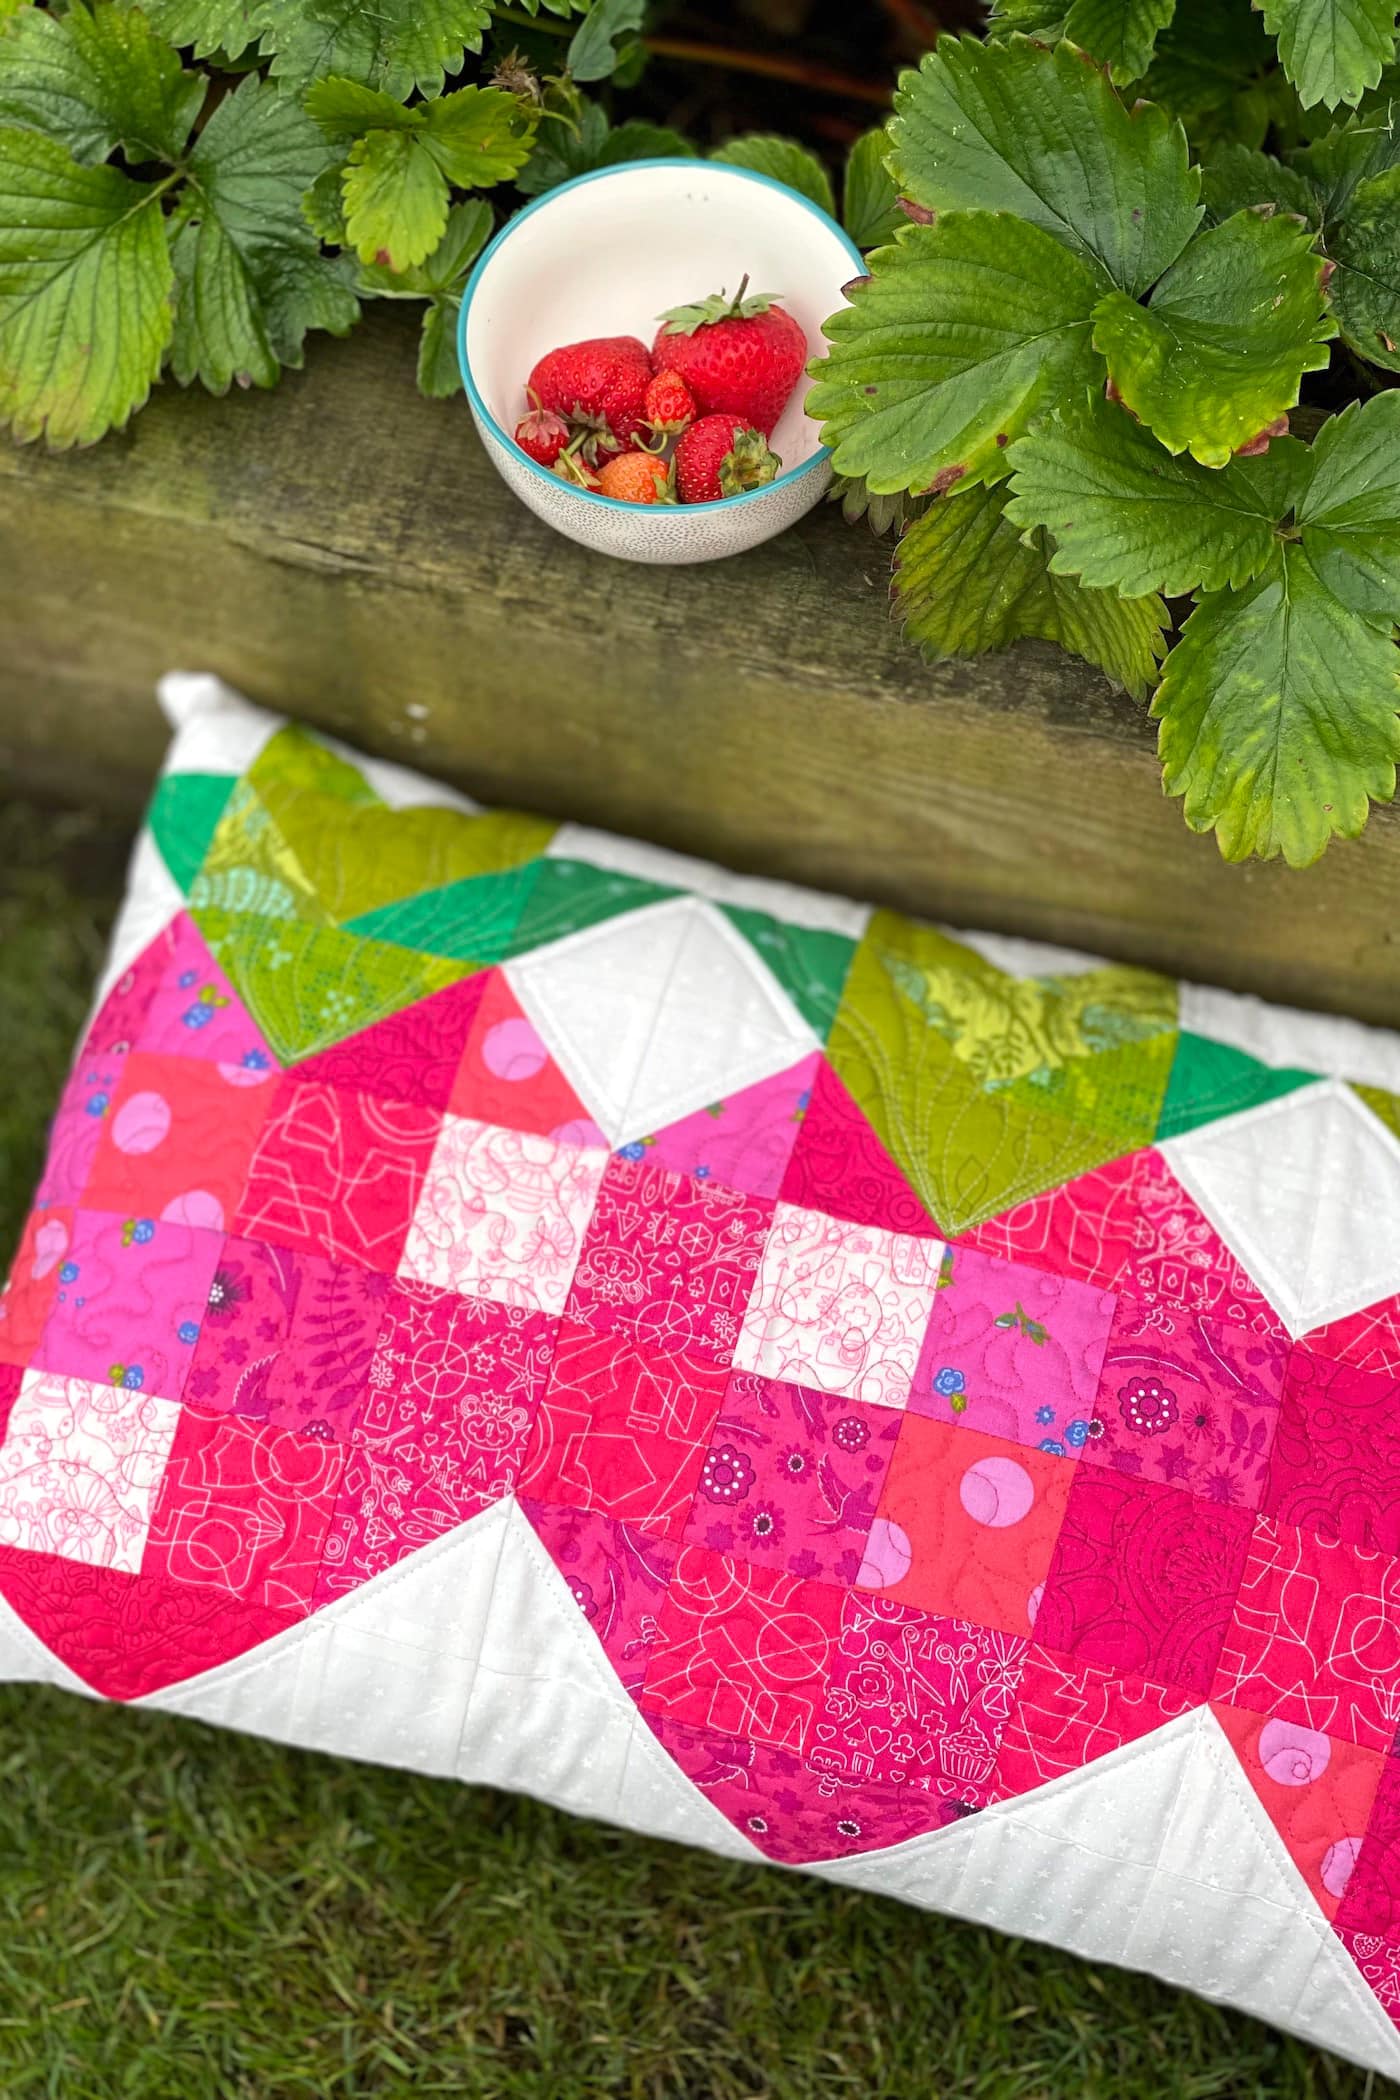
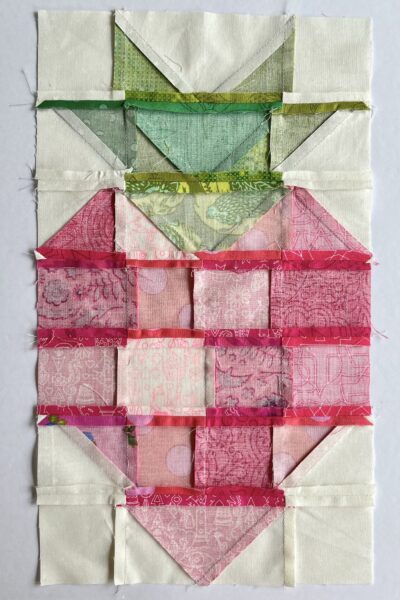
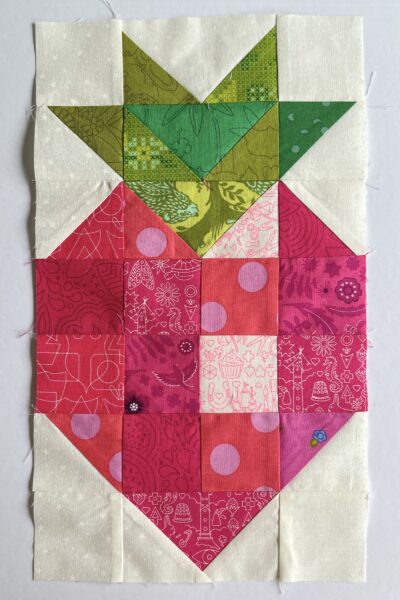
Patchwork Strawberry Quilt Block Pillow Pattern
Hello, I’m Amy Ball. In my little English garden, I grow a lot of strawberries. We’d eat them all year round if we could, but they’re usually ready for picking in July and August, so this seemed like the perfect month for a strawberry-themed pillow of the month.
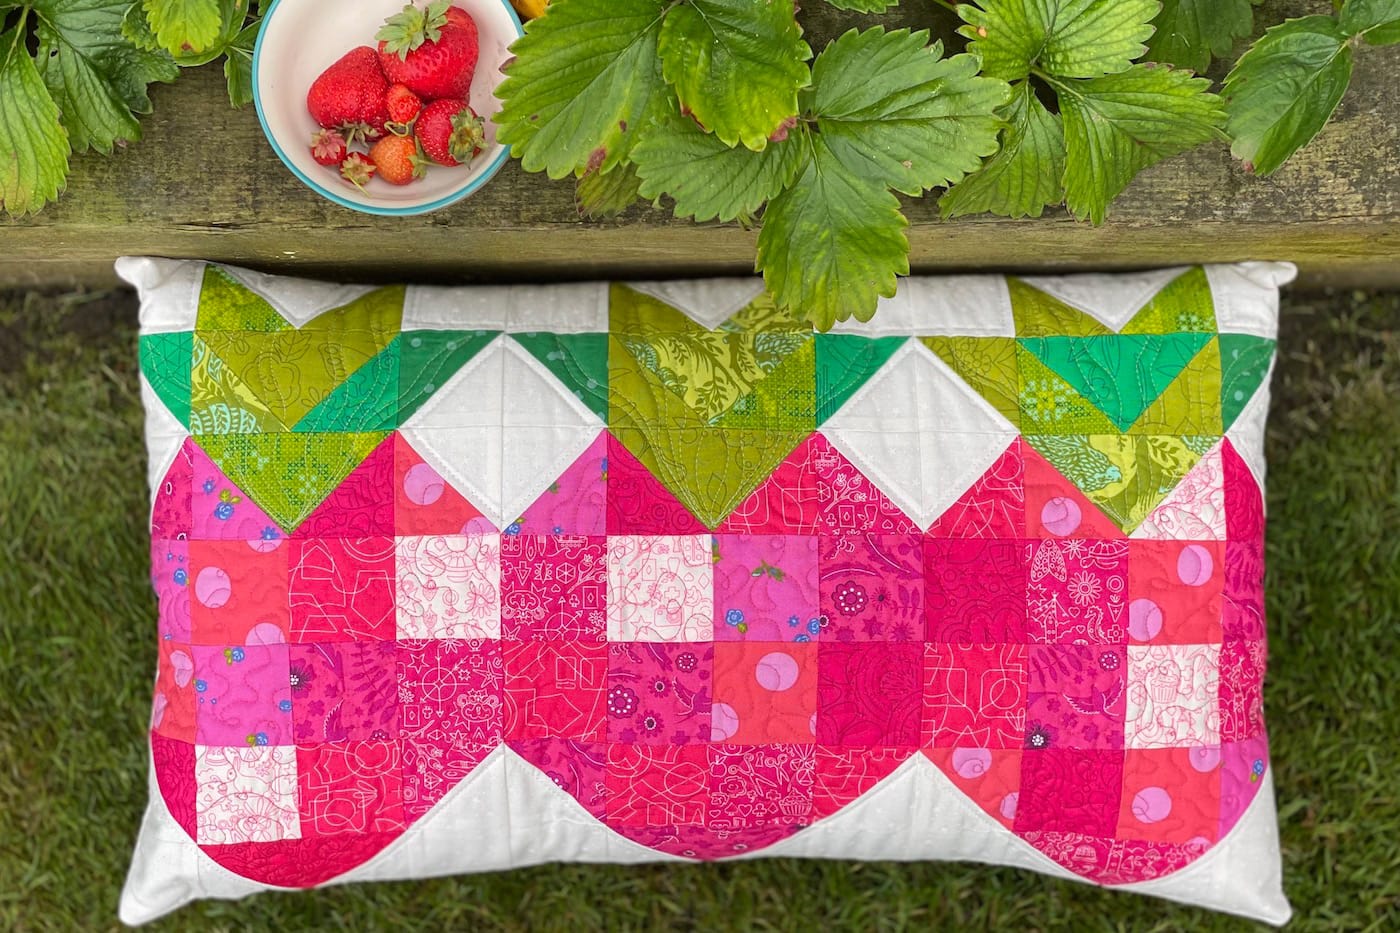
This is an excellent design for using up scraps, and I think it looks better using a mix of different pink and green prints for the berries and leaves…the texture that you get from using a combination of prints gives them a more realistic and natural look.
Supplies Needed
This project is a great one to use up your stash of scrap fabrics. If you don’t have enough scrap fabrics, you can also use fat quarters of fabric.
Strawberry Fields Bench Pillow Pattern
Equipment
supplies
- 1 Fat Quarter Pink fabric or selection of scraps
- 1 Fat Quarter Green fabric or selection of scraps
- 1 Fat Quarter White fabric
- 1/2 Yard Light backing fabric
- 1/2 Yard Pillow back fabric
- 1 piece
Batting 26” x 16”
- 1 Cushion pad: 24” x 14”
Instructions
Cutting:
- From pink fabric cut 2½” square (30), 3” square (6), 3½” square (6), and 5” x 3” (3).
- From green fabric cut 3” square (12), 3½” square (3), and 5” x 3” (6).
- From white fabric cut 2½” square (12), 3” square (6), 3½” square (9), and 5” x 3” (3).
- From Pillow back fabric cut 16½” x 14½” (2).
Preparation: Make half square triangles as follows:
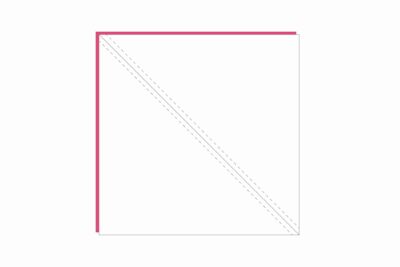
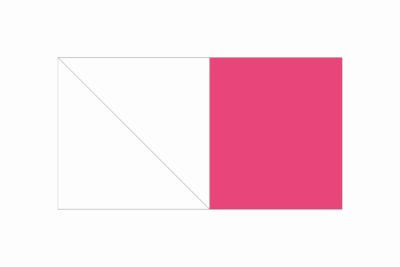
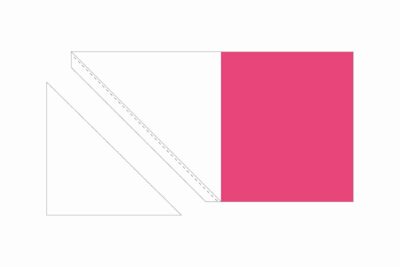
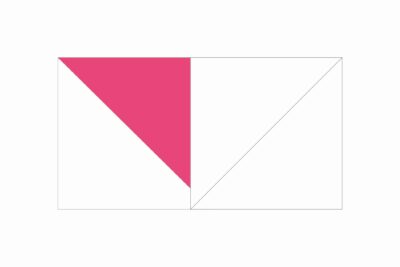
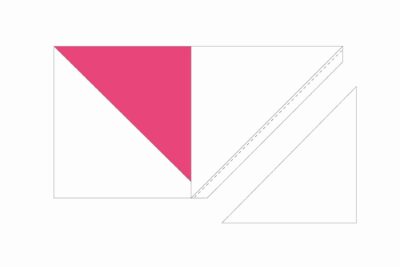
- Pair one pink 3½” square and one white 3½” square right sides together. Draw a diagonal line on the wrong side of one square and sew ¼” either side of the drawn line.

- Cut along the drawn line to make two half square triangles and press the seams.
- Trim both half square triangles to 2½” square.
- Repeat steps 1 to 3 with five more pink and white 3½” squares to make eleven more pink/white half square triangles.
- Then repeat steps 1 to 4 using three green 3½” squares and three white 3½” squares to make six green/white half square triangles. Set aside.

Make flying geese as follows:
- Take one pink 5” x 3” rectangle and two white 3” squares.
- Draw a diagonal line on the wrong side of both squares.
- Pin one white square to the left edge of the pink rectangle (right sides together) with the drawn line running top left to bottom right.
- Sew just to the outside of the drawn line and the trim away the excess fabric leaving a ¼” seam allowance.
- Press the corner into place.
- Now pin the second white square to the right edge of the pink rectangle (right sides together) with the drawn line running top right to bottom left.
- Sew just to the outside of the drawn line and trim away the excess fabric leaving a ¼” seam allowance. Then press the corner into place.
- Now trim the flying geese unit to 2½” x 4½”. Be careful to trim evenly around all four edges making sure the center point stays in the center with a ¼” seam allowance above it, and the diagonal seams run right into the corners.
- Repeat steps 2 to 8 of this section to make two more pink/white flying geese units.
- Then repeat steps 2 to 8 using green 5” x 3” rectangles with pink 3” squares, green 5” x 3” rectangles with green 3” squares, and white 5” x 3” rectangles with green 3” squares. In total, you will end up with the following flying geese units: pink center with white (3) green center with pink (3) green center with green (3) white center with green (3)

Construction: Use a ¼” seam allowance unless otherwise stated.
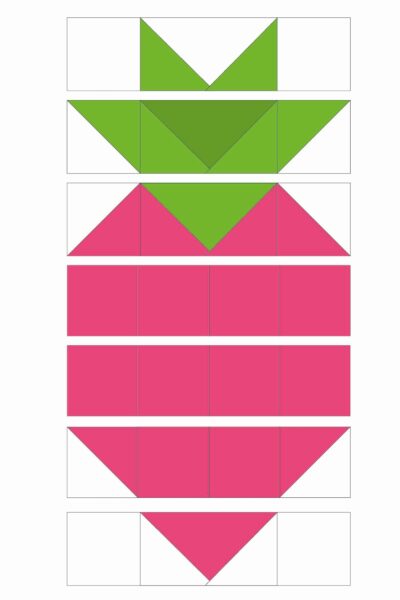
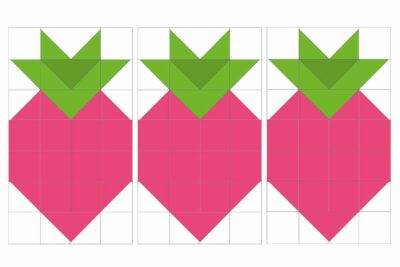
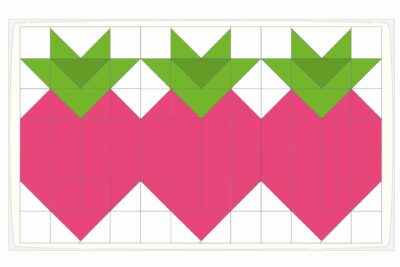
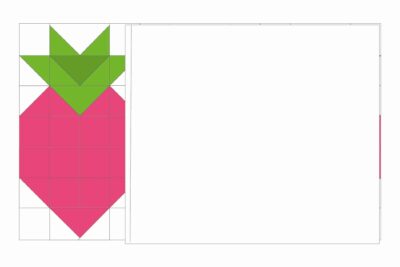
- The pillow front is made of three large strawberry blocks, constructed as follows:
- Take two white 2½” squares and one white/green flying geese. Sew together with the flying geese unit in the middle with its central point facing downwards.
- Take two green/white half square triangles and one green/green flying geese. Sew together with the flying geese unit in the middle with its central point facing downwards, the left HST positioned with its seam running top left to bottom right, and the right HST positioned with its seam running top right to bottom left.
- Take two pink/white half square triangles and one green/pink flying geese. Sew together with the flying geese unit in the middle with its central point facing downwards, the left HST positioned with its seam running bottom left to top right, and the right HST positioned with its seam running top left to bottom right.
- Take four pink 2½” squares and sew together in a row.
- Take another four pink 2½” squares and sew together in a row.
- Take two pink/white half square triangles and two pink 2½” squares. Sew together with the 2½” squares in the centre, the left HST positioned with its seam running top left to bottom right, and the right HST positioned with its seam running top right to bottom left.
- Take two white 2½” squares and one pink/white flying geese. Sew together with the flying geese unit in the middle with its central point facing downwards.
- Arrange the rows from steps 1 to 8 of this section in this order, using the image as a guide.

- Sew together to complete one strawberry block.
- Repeat steps 16 to 23 to make two more strawberry blocks.
- Now sew the three blocks together to complete the patchwork pillow front. Press well.


Quilting:
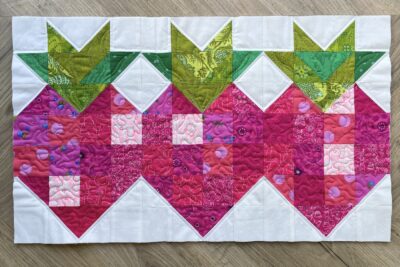
- Now it’s time to make a quilt sandwich. Place your light backing fabric (right side facing down) with your batting on top, then add the patchwork pillow front with the right side facing towards you. Make sure all the layers are smooth and flat then baste the layers together using your preferred method.
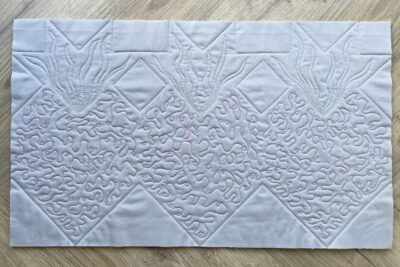
- Quilt as desired. I have free motion quilted using a loopy meander motif in pink thread in the “berry” sections and using a very open McTavishing motif in green thread in the “leaf” sections. I then used echo straight line quilting round the edges of the strawberries in white thread. Other quilting ideas: vertical straight lines across the whole pillow front or lots of hand quilting for texture…you could add stitch seeds to the berries!
- Once you have finished quilting, trim off the excess backing fabric and batting, and square up your pillow block if required.
Finishing:
- Take one cushion back 16½” x 14½” rectangle and hem one short edge by pressing the raw edge to the wrong side by ¼” then again by another ¼”. Press well and sew. Then repeat for the second cushion back 16½” x 14½” rectangle.
- Pin or clip the cushion back pieces to the quilted block, right sides together, all around the four sides.
- Sew around all four edges using a ¼” seam allowance, securing the start and finish with some back-stitching.
- Trim the corners, turn the pillow cover the right way out, carefully poke out the four corners and then press.
- Stuff with an 24” x 14” pad and enjoy your new Strawberry Fields pillow!

About the Designer

Amy lives in the north of England with her husband and son. When she’s not sewing and quilting, Amy can usually be found baking or reading. You can find her on Instagram @amyatthegate