Annie’s Choice 12″ Quilt Block Tutorial
Learn how to make an Annie’s Choice quilt block with our free twelve-inch quilt block tutorial and pattern.
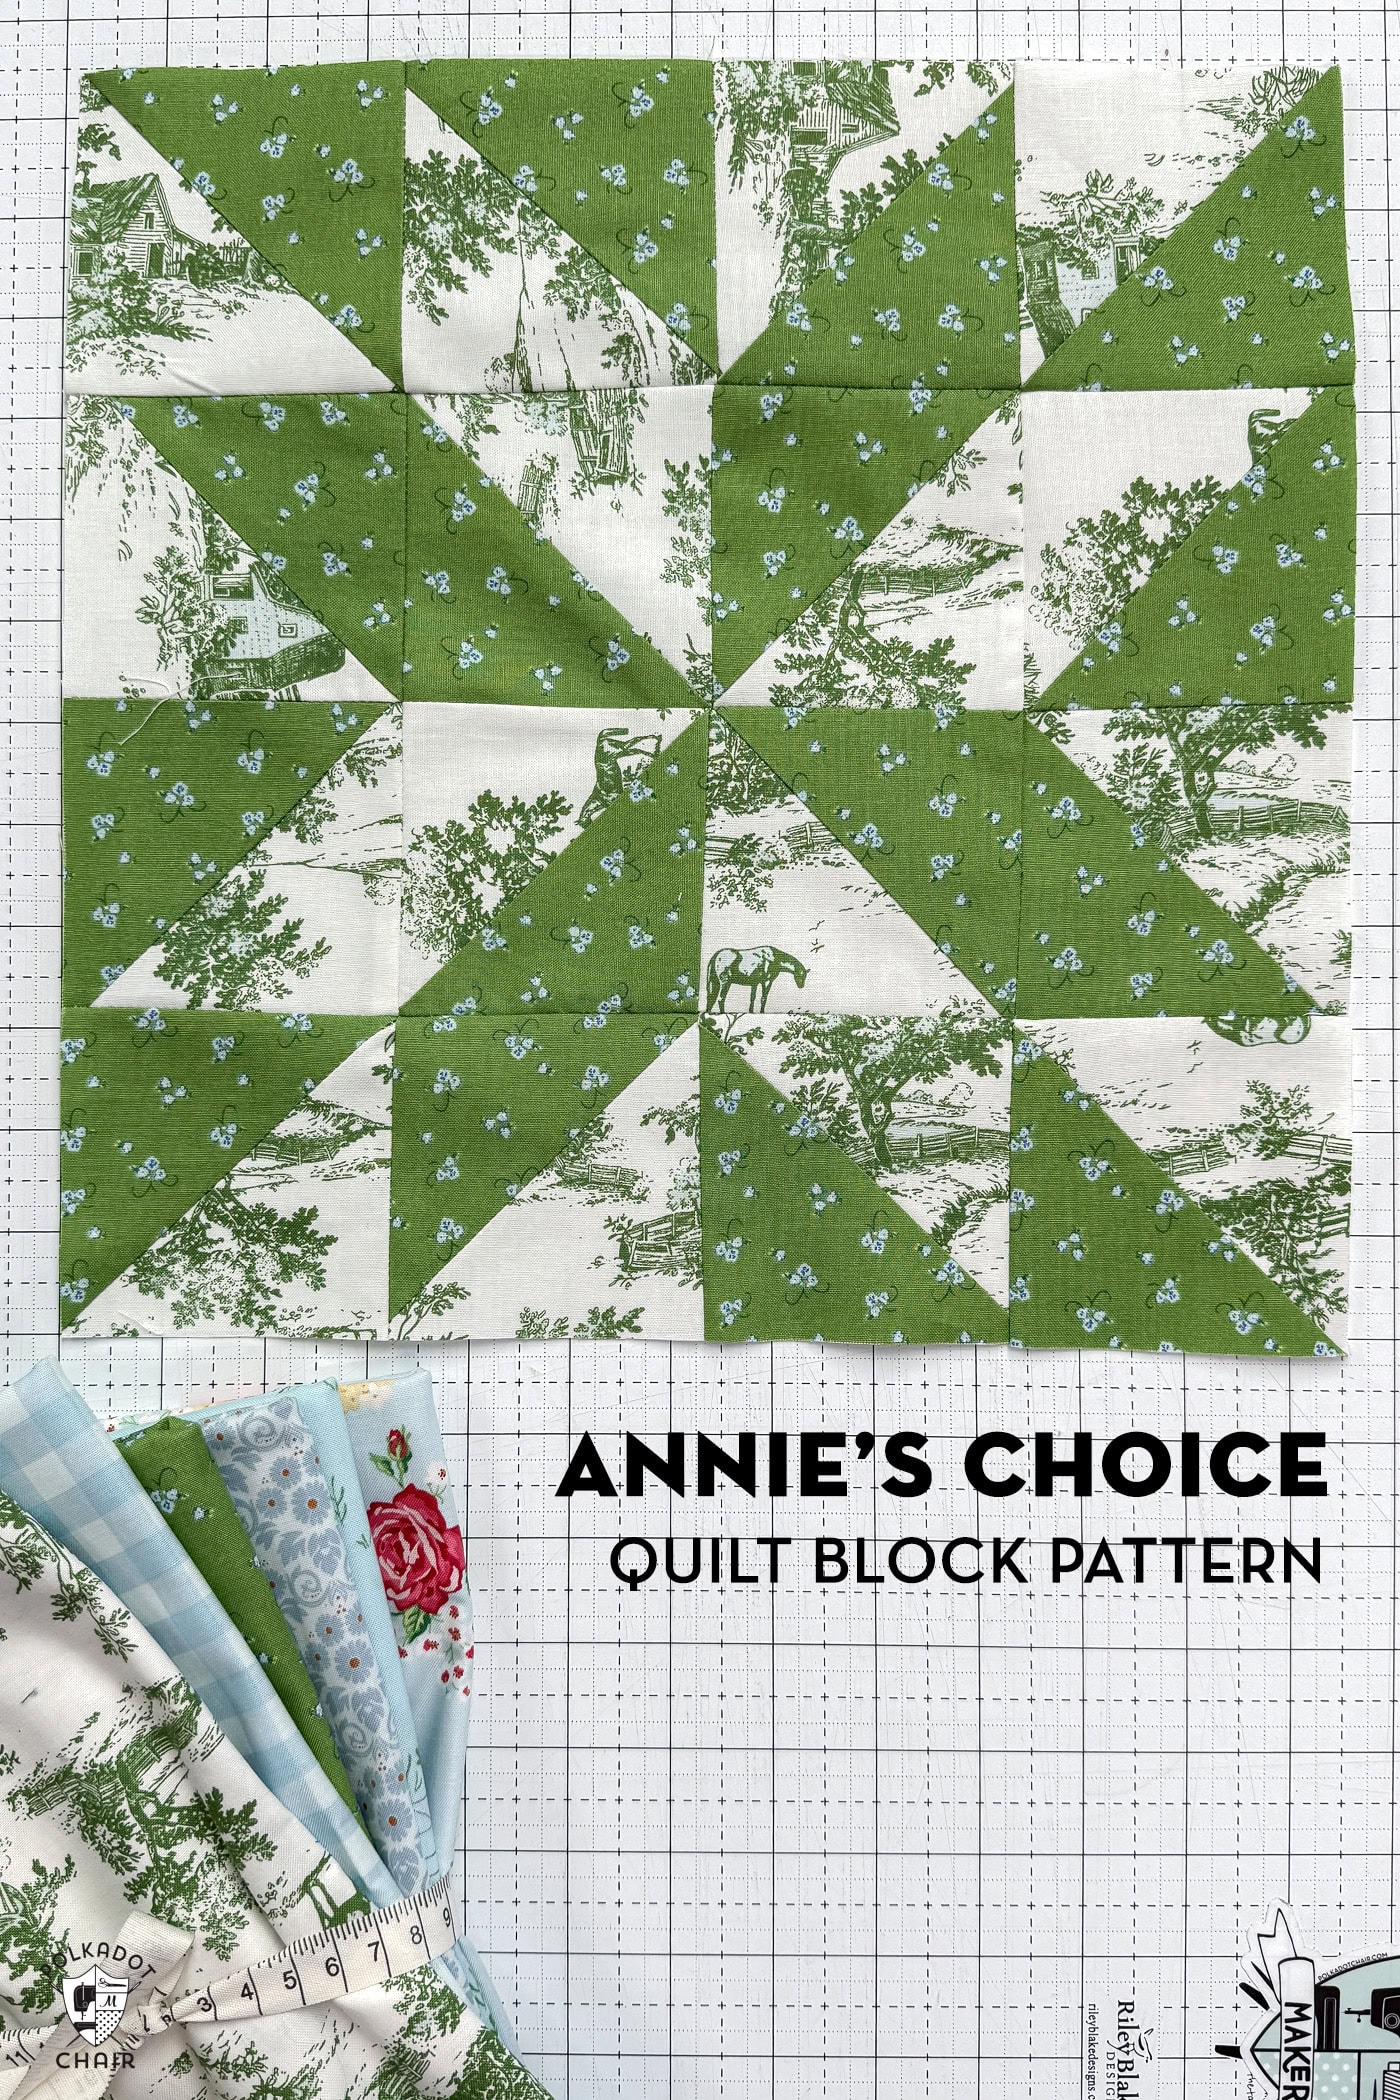
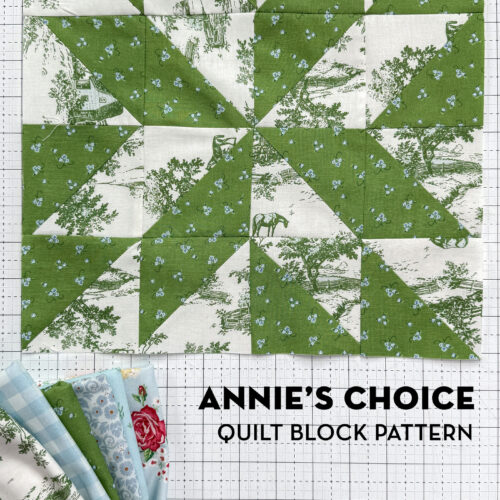
If you love classic quilt designs with timeless charm, the Annie’s Choice quilt block is one you’ll definitely want to add to your collection. This traditional block features a beautiful mix of half-square triangles that come together to create a dynamic variation on a simple Sawtooth Star block design.
It’s simple enough for confident beginners, yet interesting enough to keep experienced quilters engaged.
A Little History of the Block
The Annie’s Choice quilt block is a traditional quilt pattern that dates back to the early 1900s, when it was published in several quilt newspapers and pattern catalogs. Over the years, variations of Annie’s Choice have appeared under different names, but the essence of the block remains the same.
Note: This block can also be made using a combination of Flying Geese and Half Square Triangle blocks; however, today we are making it using the eight-at-a-time half-square triangle method, which I feel is a quicker method.
Annie’s Choice 12″ Quilt Block Pattern
Equipment
supplies
- 1 Fat Quarter Fabric A
- 1 Fat Quarter Fabric B
Instructions
- Block is 12 1/2" x 12 1/2" BEFORE Finishing
Cut:
- From Fabric A:2 Squares 8" x 8"
- From Fabric B:2 Squares 8" x 8"
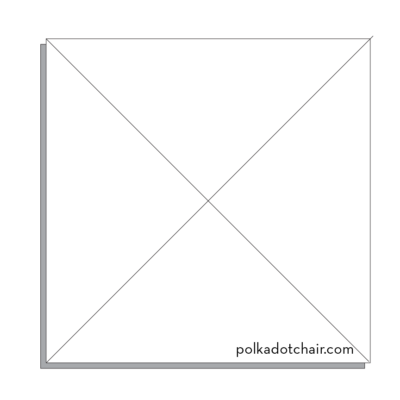
Step One: Mark the Fabric
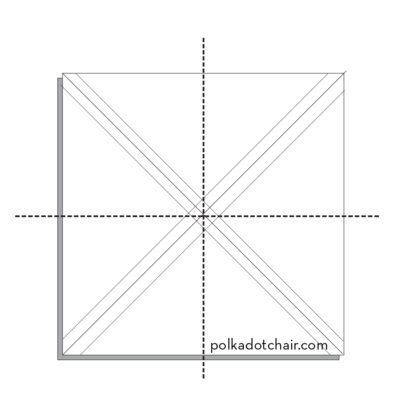
- Draw an X diagonally on the wrong side of the lighter square of fabric.

Step Two: Pin
- Pin one marked fabric square with one square from a 2nd fabric, right sides facing.
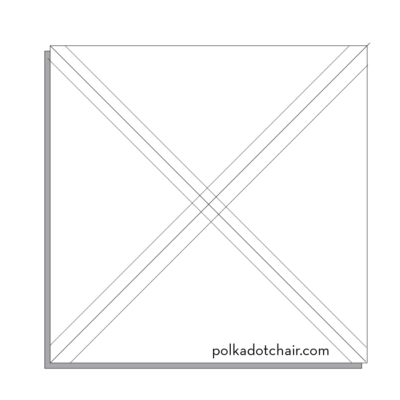
Step Three: Sew
- Ensure you know the 1/4″ seam mark on your sewing machine foot. For these steps, stitching exactly 1/4″ on each side of the line is essential.
- Stitch 1/4″ on each side of the line you drew in both directions.
Step Four: Cut
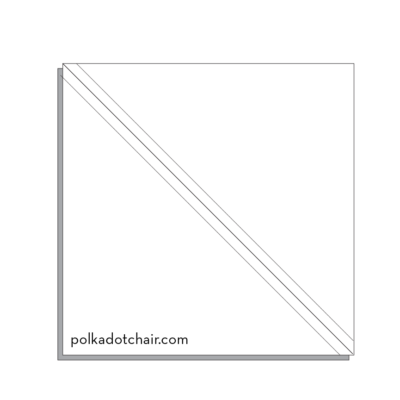
- You are now ready to cut your square into eight smaller pieces. Using your rotary cutter and quilt ruler, make four cuts.
- First, cut a line horizontally across your block precisely in the center. Next, make a vertical cut also in the center.
- The last cuts are made diagonally along the line you drew in step one.
Step Five: Press & Trim
- You should now have eight pieces of fabric. Open up the HSTs and press the seam towards the darker fabric.
- Trim up each sewn HST to 3 1/2" x 3 1/2"
- Repeat all steps one more time to have sixteen sewn units.

Step Six: Assemble Block
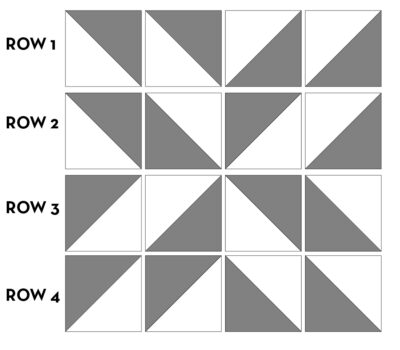
- There are a few ways to assemble this block from the sewn HSTs. I think the simplest way is to sew the rows of the block together then sew the rows to each other.

- Using the chart as a guide, sew Row 1, Row 2, Row 3 & Row 4
- Sew the rows together. Trim and square up the block to 12 1/2" x 12 1/2"
Additional Free 12″ Quilt Block Patterns
- Churn Dash Quilt Block
- Log Cabin Quilt Block
- Friendship Star Quilt Block
- Economy Block
- Shoo-Fly Quilt Block
- Bear Paw Quilt Block
- Maple Leaf Quilt Block
- Maple Star Quilt Block
- Nine Patch Quilt Block
- Turnstile Quilt Block
- Sawtooth Star Quilt Block
- Bow Tie Quilt Block
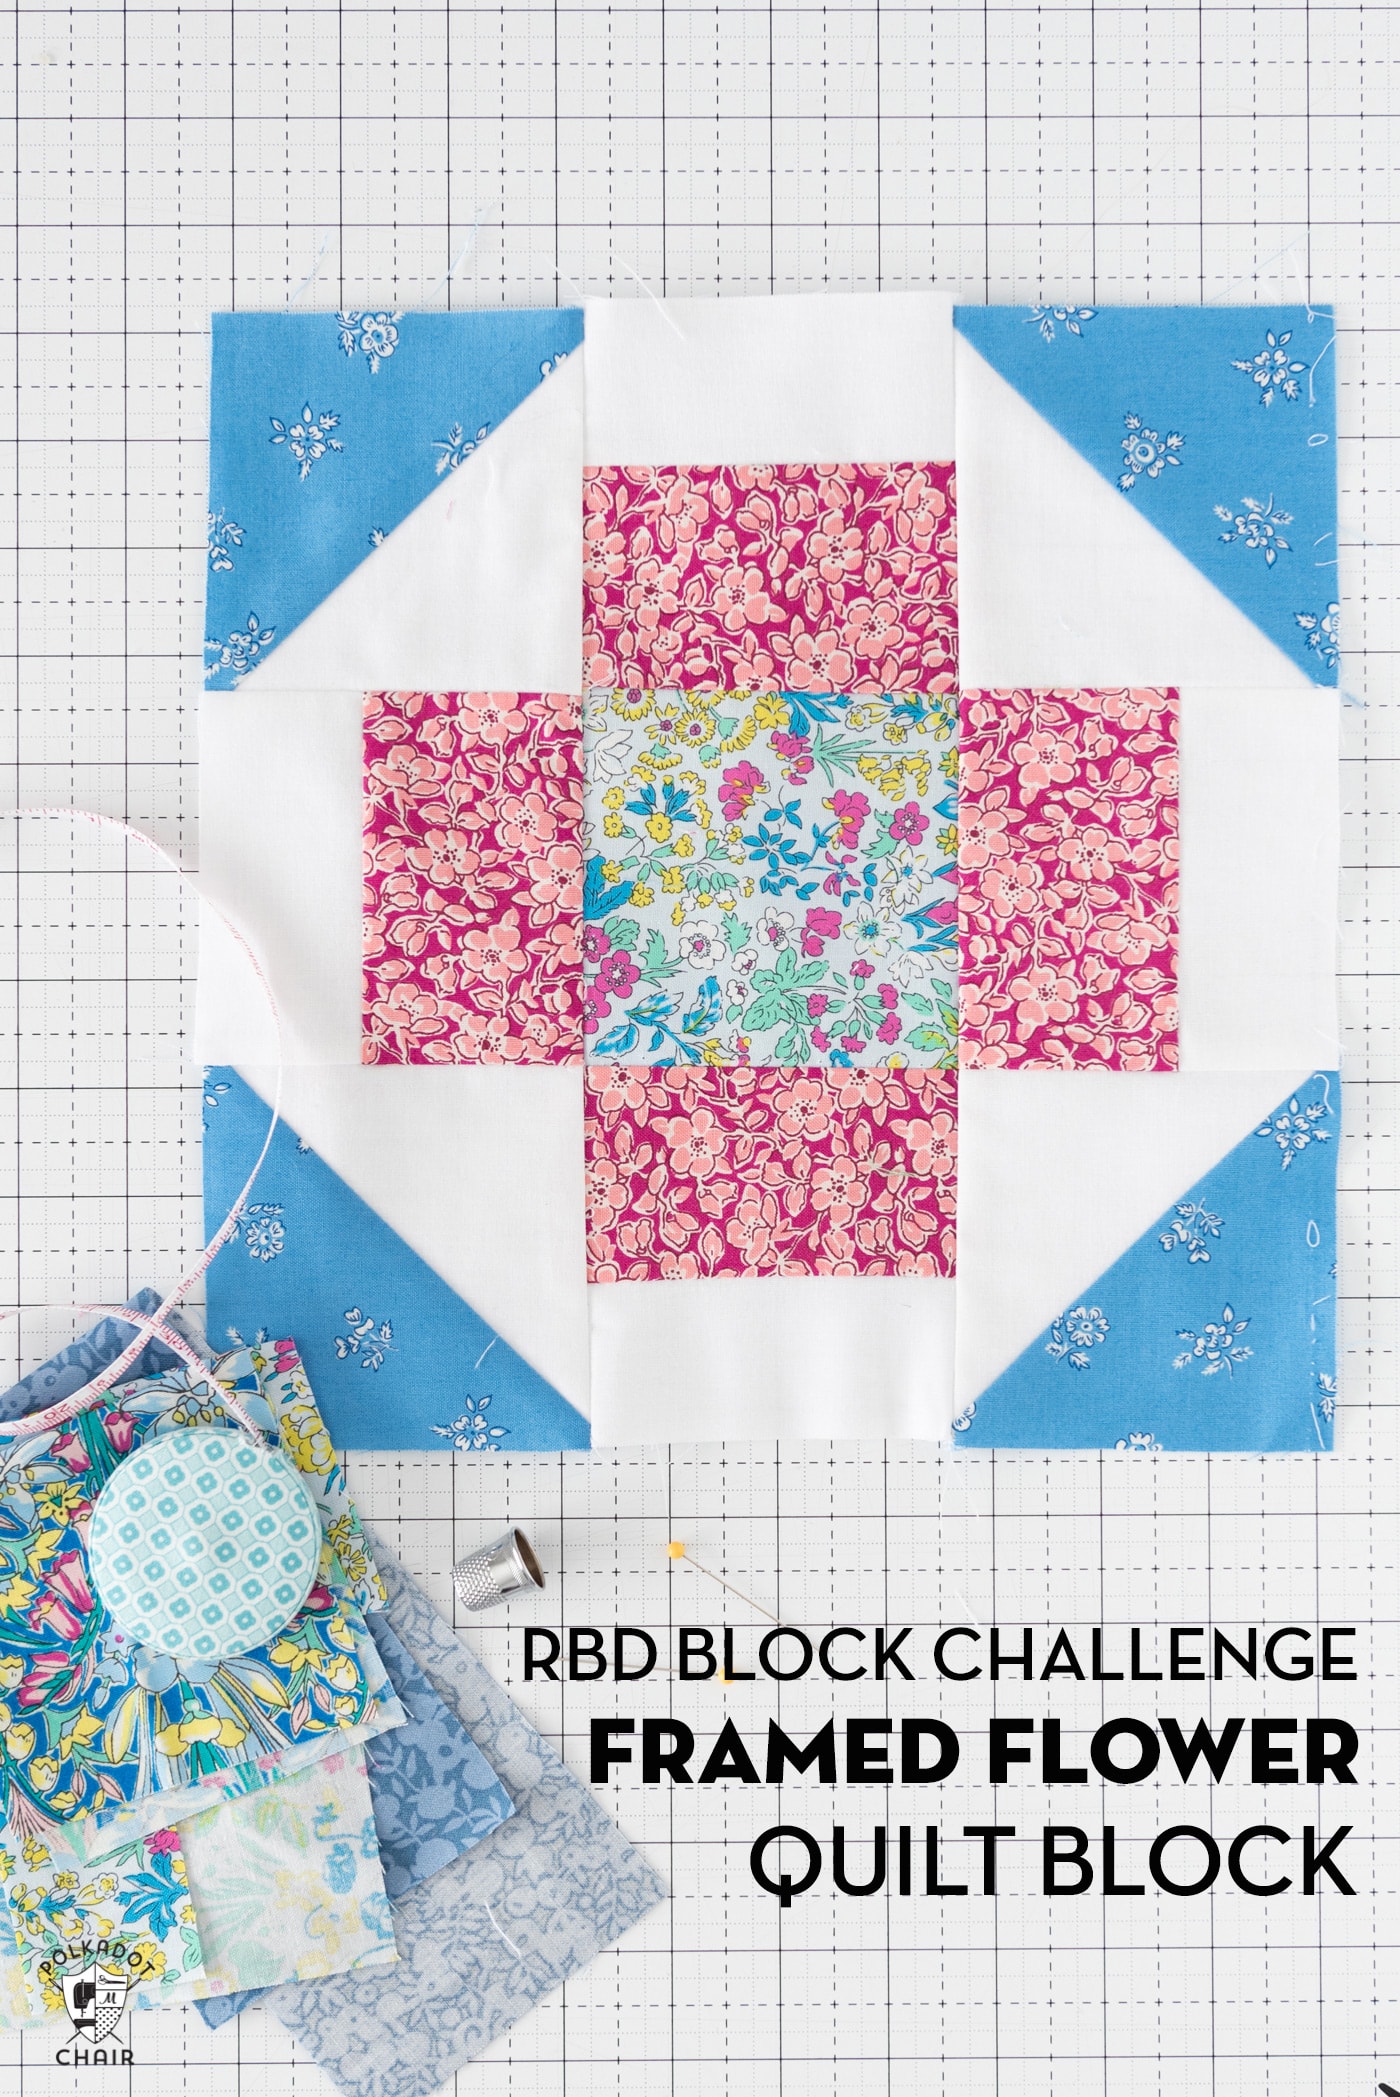
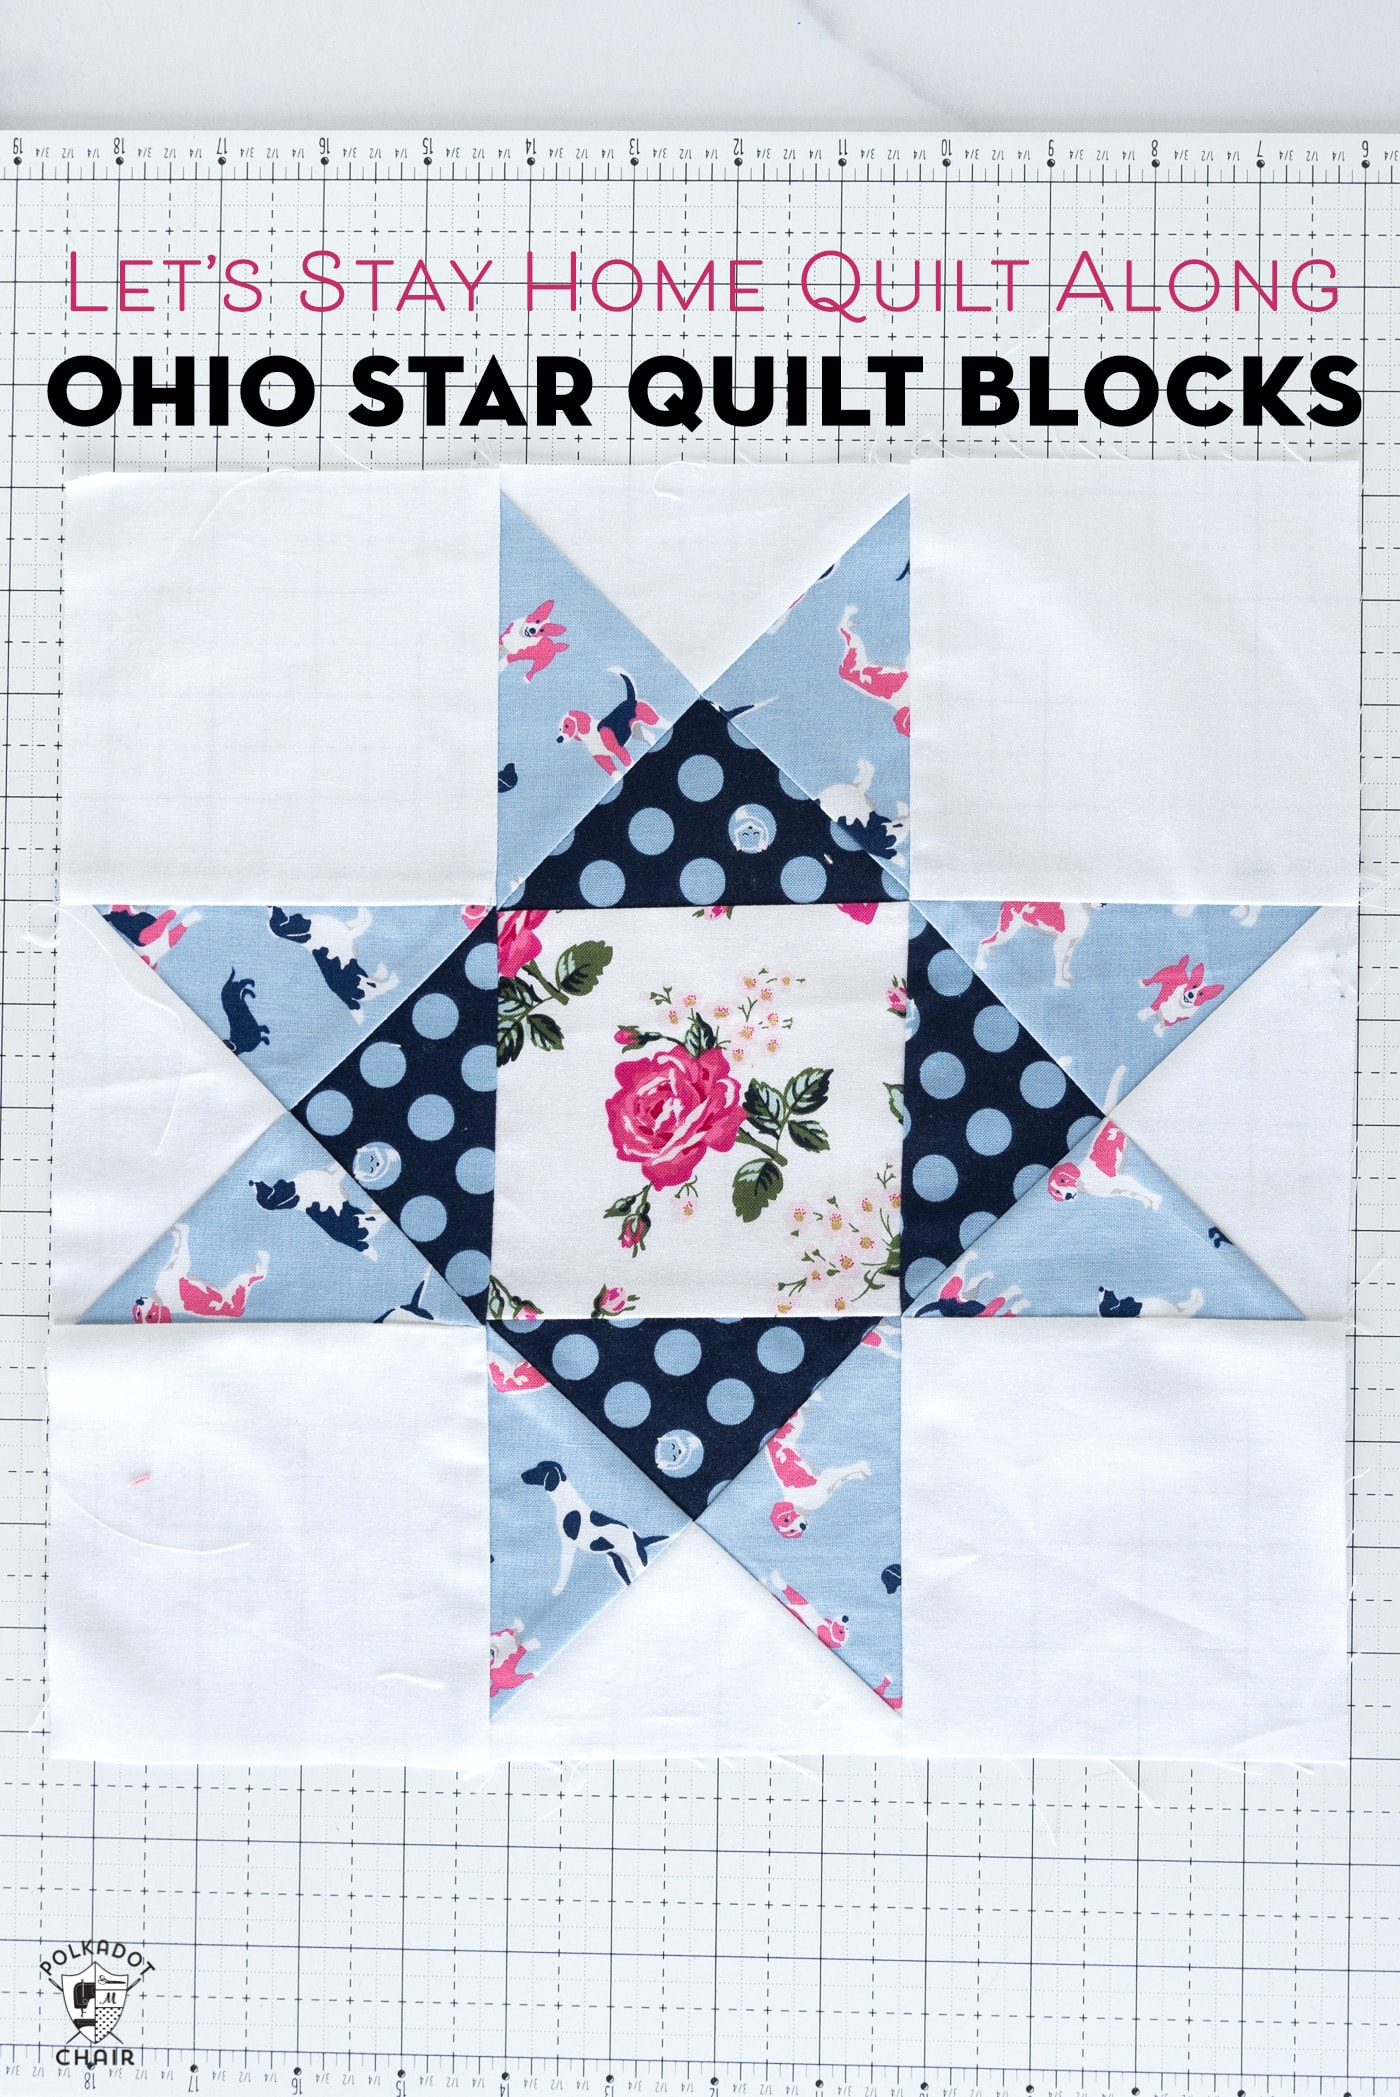
- Ohio Star Quilt Block
- Pinwheel Star Quilt Block
- Basket Quilt Block
- Heart Quilt Block
- Rail Fence Quilt Block
- Annie’s Choice Quilt Block
- Butterfly Cross Quilt Block
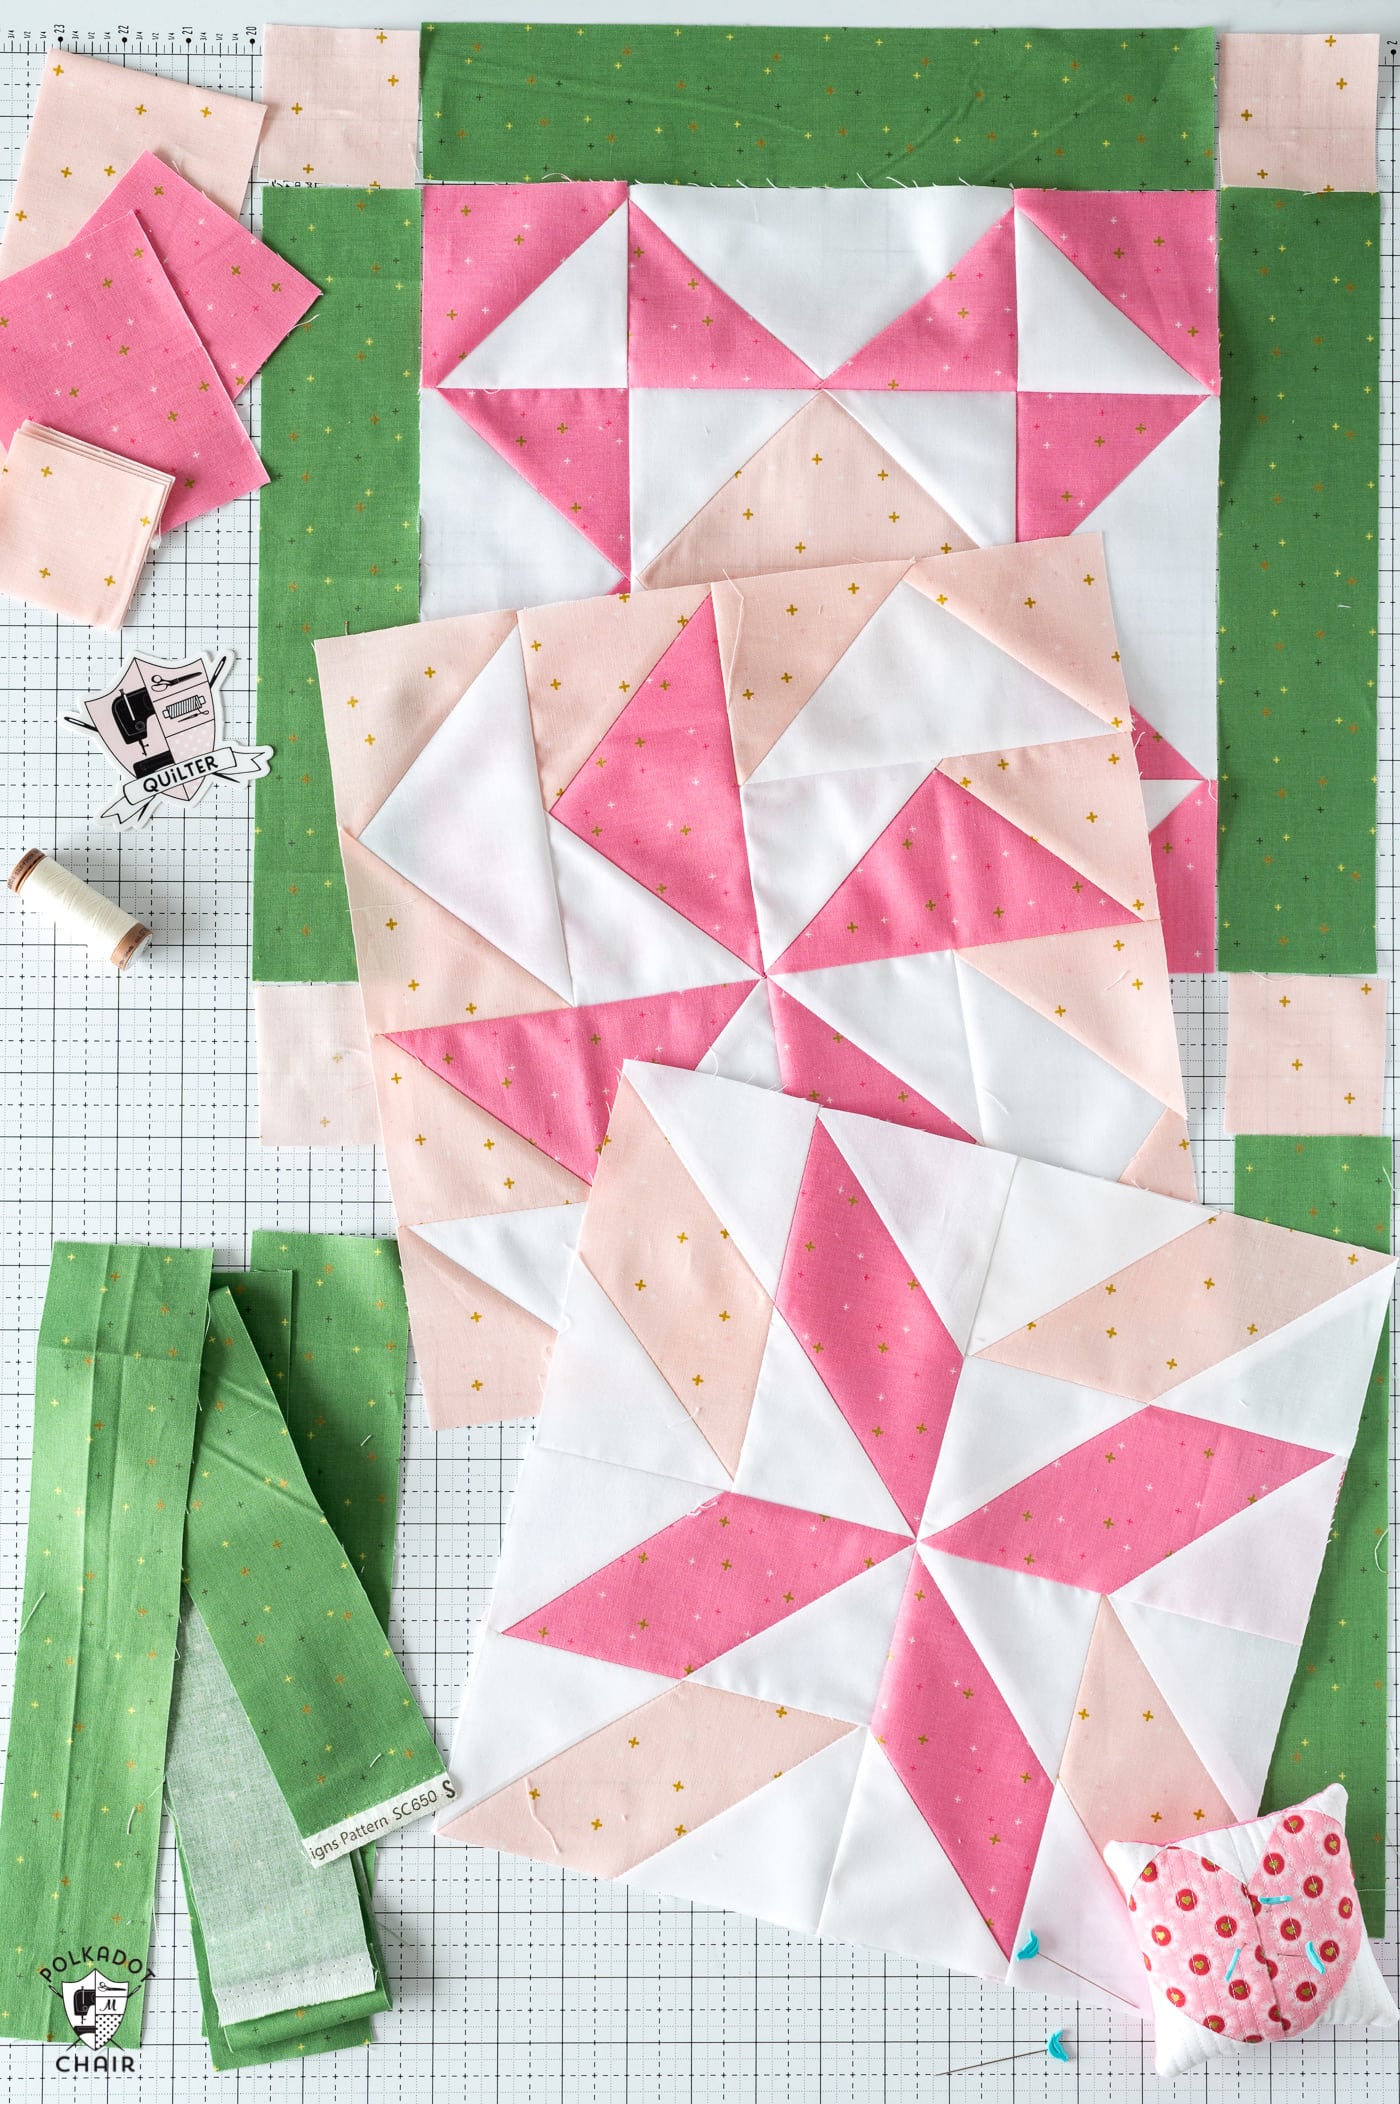
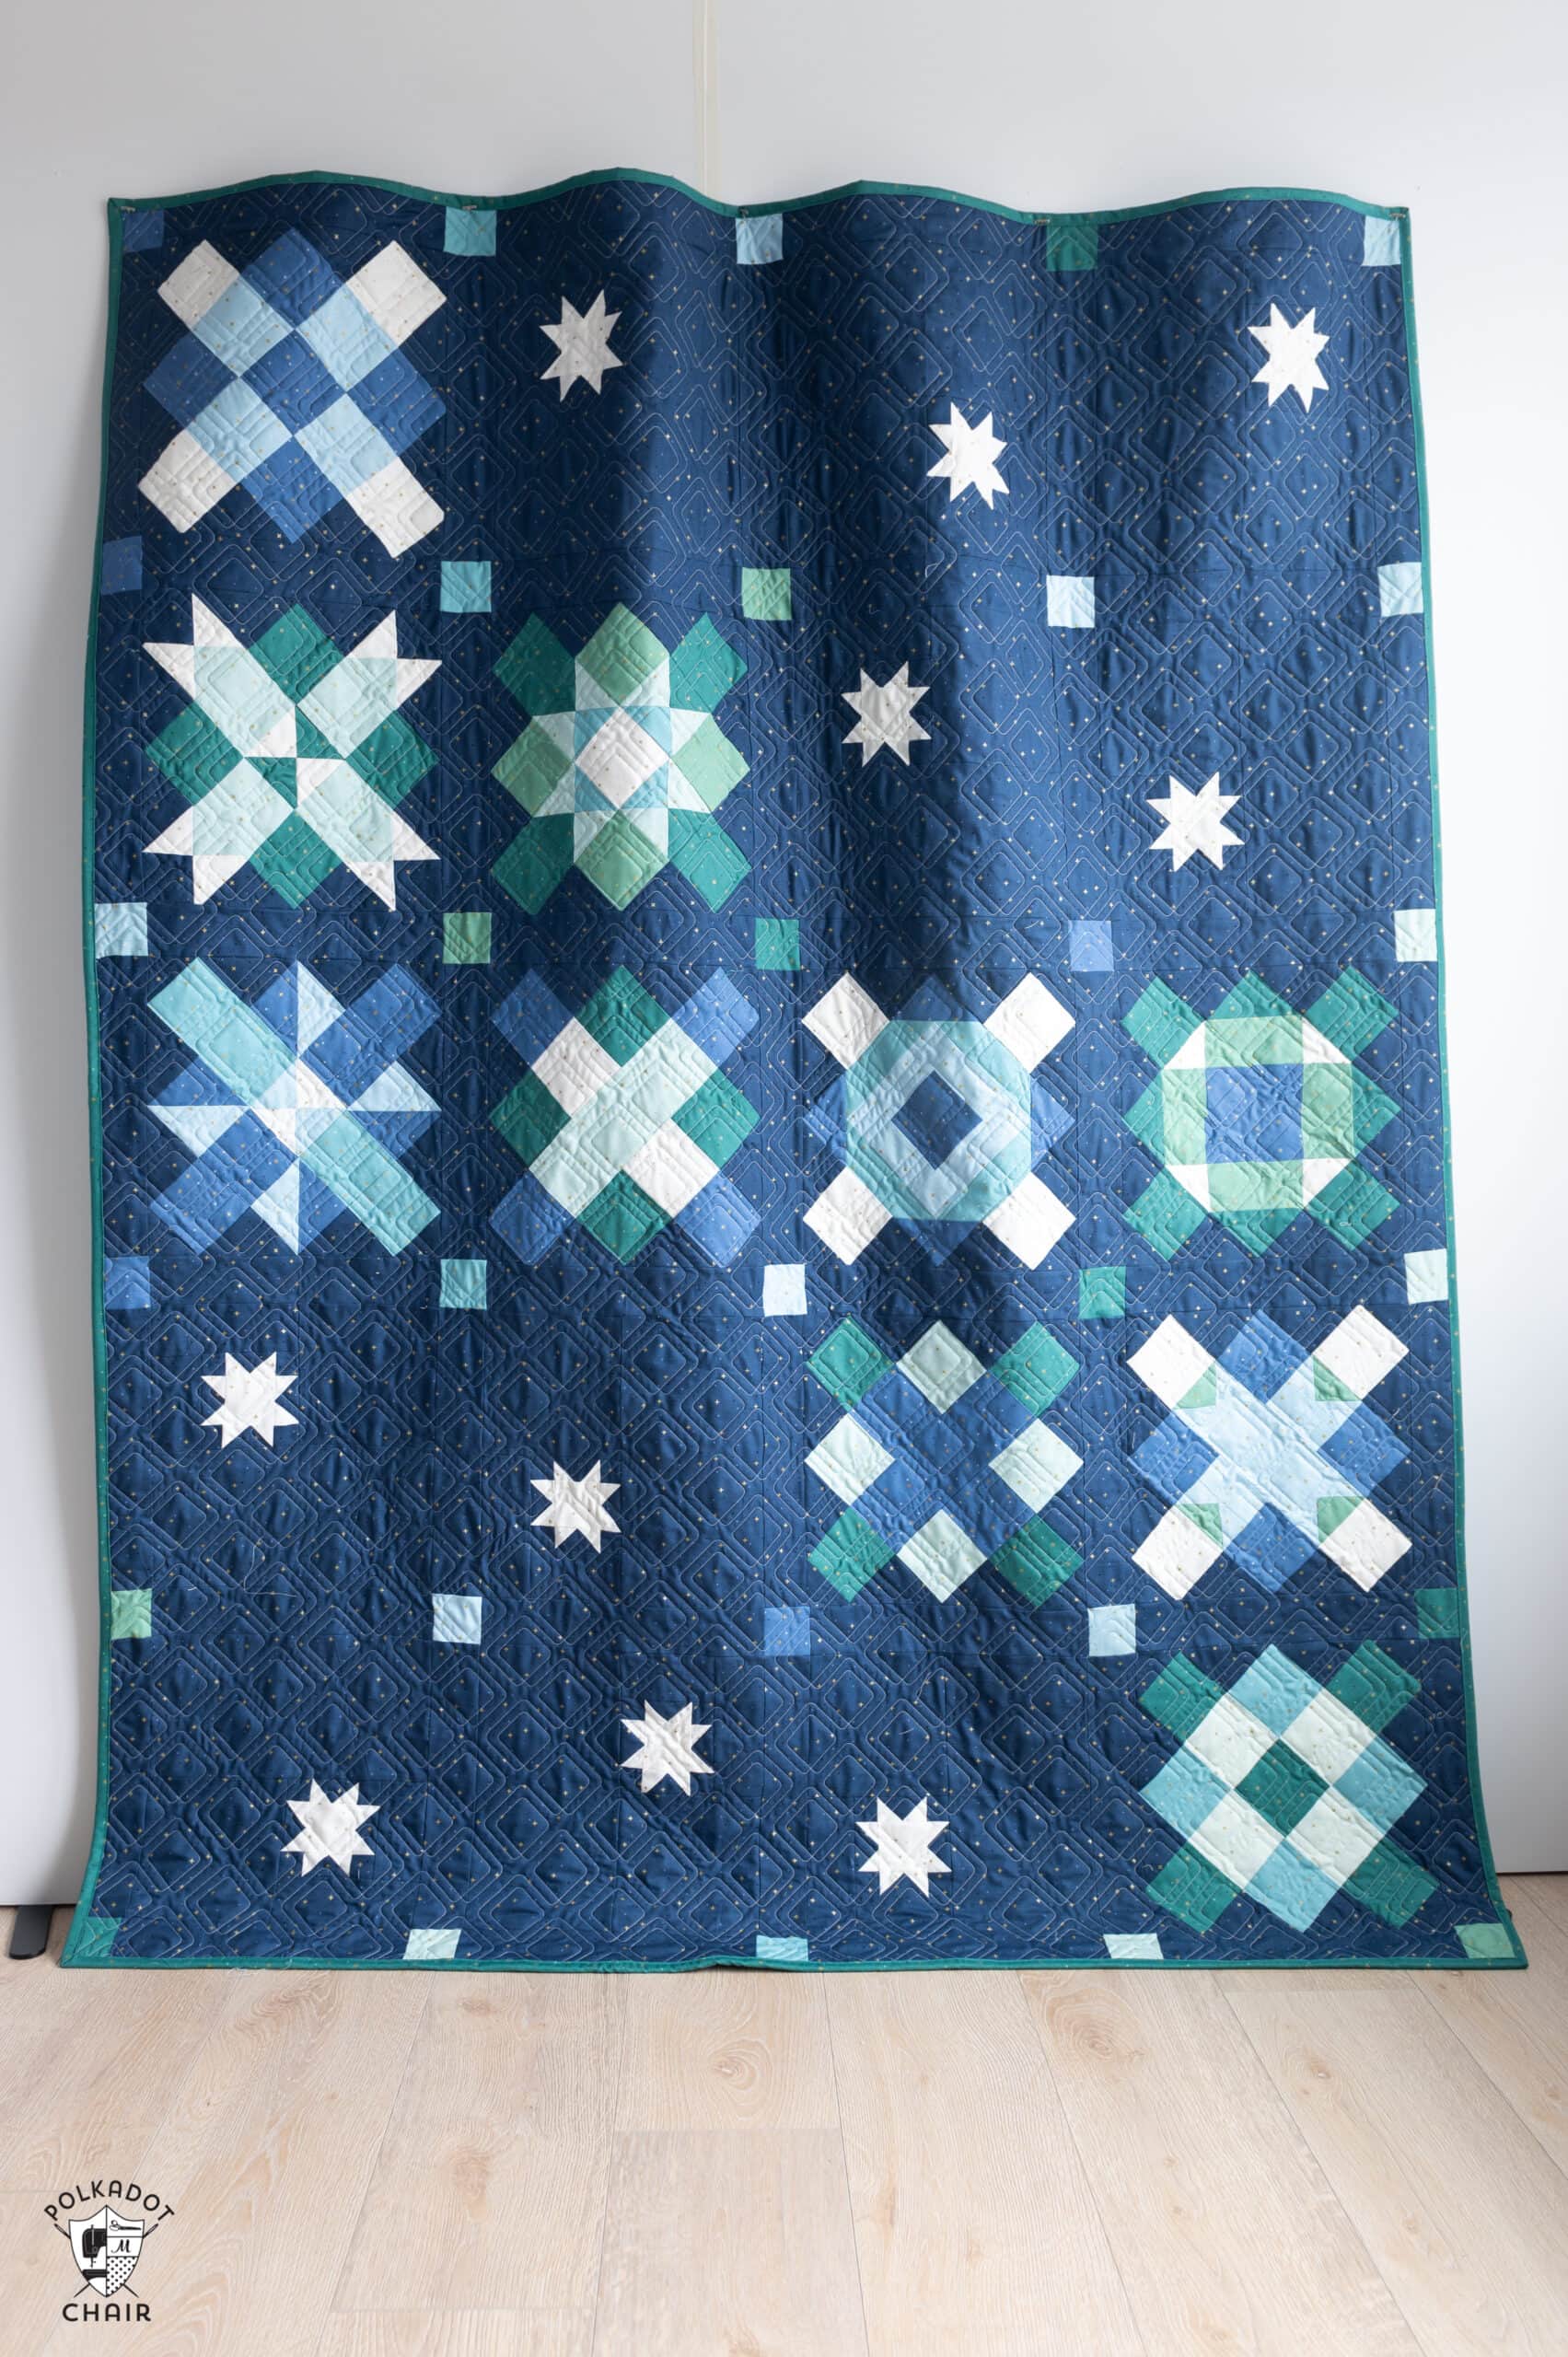
I love the Annie’s choice block, but I would love to see the entire quilt finished.
I’m slowly working on a sampler quilt with a lot of different blocks, this is just one of the blocks in the quilt.
I love the fabrics you show in the sample picture (the blues and greens). Can you tell me what fabrics they are?
Yes,
They are from my Bluegrass Charm collection, you can get it here: https://shop.polkadotchair.com/collections/bluegrass-charm
Thank you so much! So cute!!
All the 12 inch block patterns are great. Thank goodness winter is almost upon us. Now I’ll be busy.
Thanks a million